Looks like we have 5 or 6 days of rain in the forecast. I can't spray the primer in these conditions. The shed roof leaks! *sigh* That will definitely have to get fixed when the boat has been flipped.
Until the weather clears I'll start work on the Gin Pole & rigging. I picked up all the hardware I'll need yesterday. The lumber was delivered the day before.
The boat has been wiped down once with soapy water & rinsed. It'll get wiped down again with acetone just before it gets primer. I'll have to wait for better weather for that. Until then.....
Standby.
She:Kon, pronounced "Say-go" traditional Iroquois greeting meaning "Do you still have the Great Peace?"
Thursday, July 31, 2014
Monday, July 28, 2014
I'm callin' it!
That's IT, I'M DONE SANDING! WOOOOOOOOO FREAKIN' HOOOOOOOOO
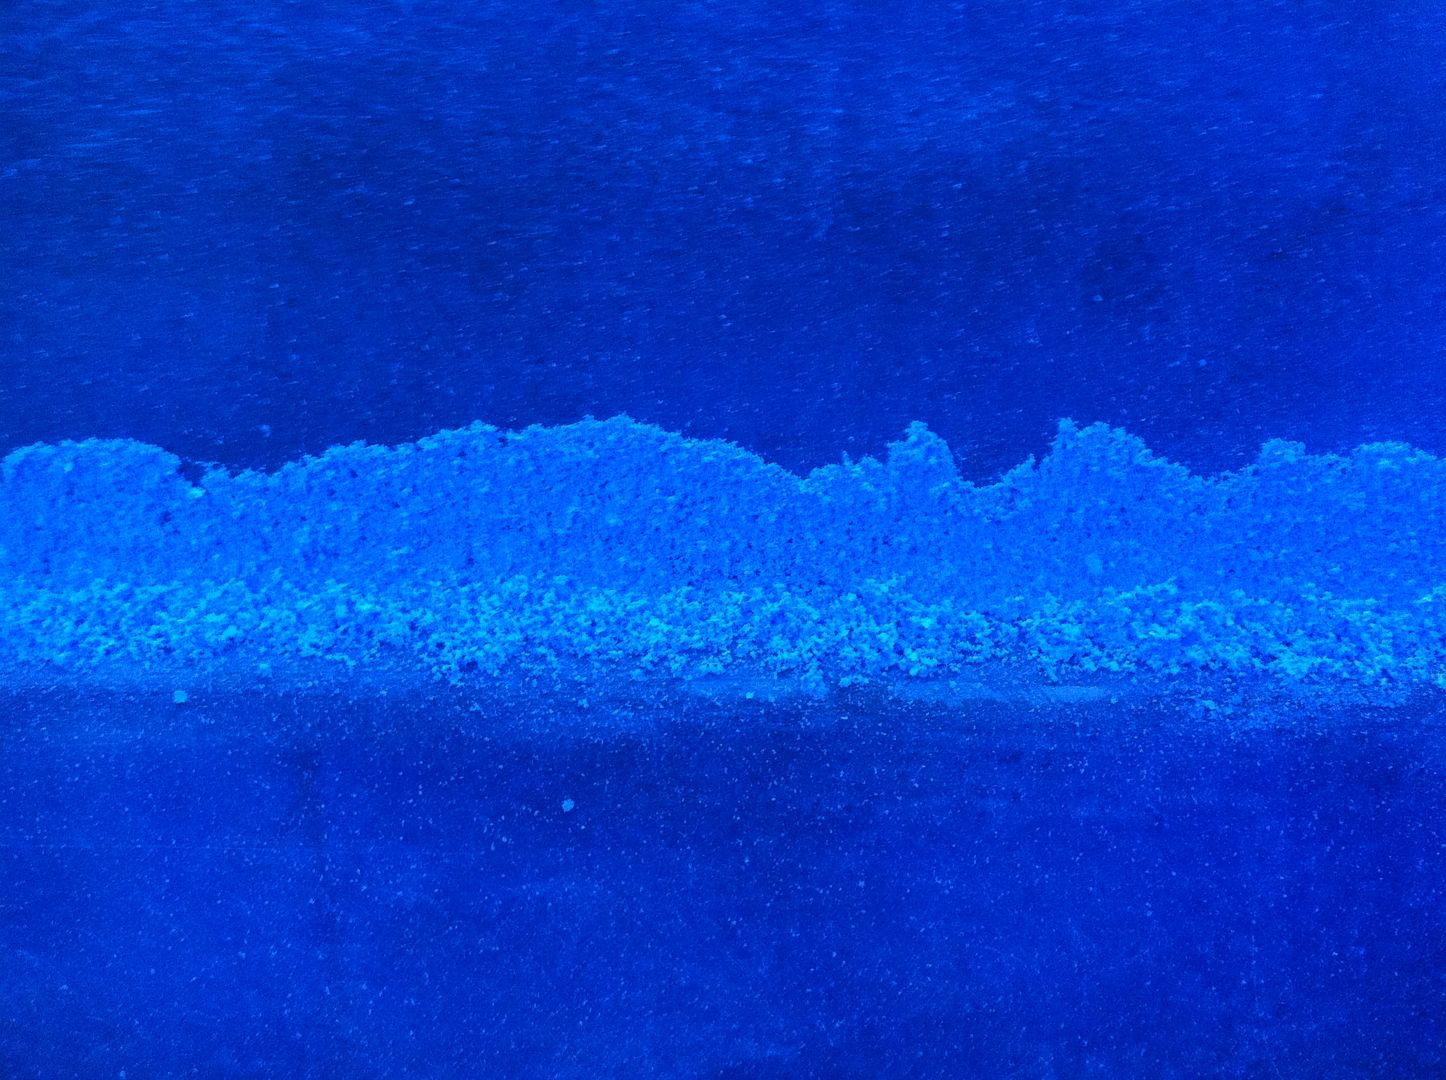
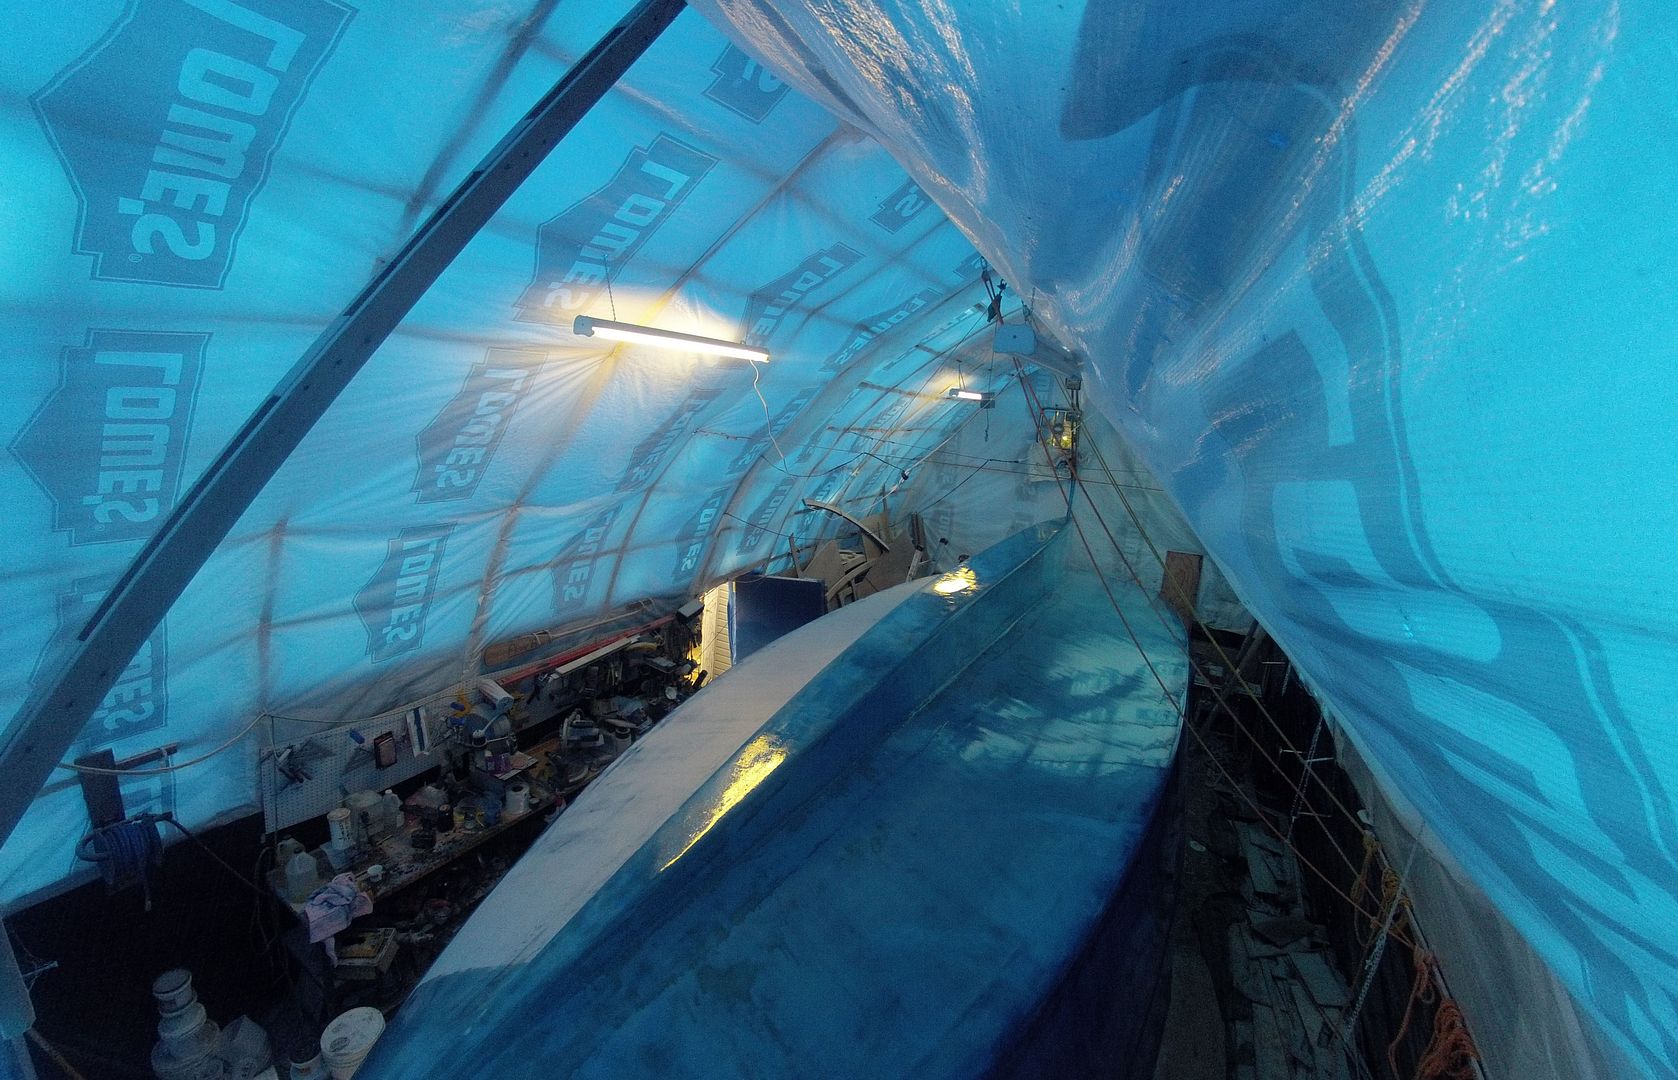
5+ hours today sanding out the last lil' bits. I went around and dressed the chines & stem plus the transom. Each side got a hit of the Flexicats for good measure. That's all the sanding on the outside of the hull that will be done till finish fairing just before topcoat paint. That won't happen until just before the boat comes out of the shed!
The last lil' bits of sanding dust gathered on the hull break between the sides & bulwarks!
 Tomorrow I'll clean it all off and wipe it down in prep for primer! Will have to keep an eye on the weather to see what Mother Nature's going to throw at us. I want near ideal conditions when I spray the primer!
Beer Time!
Standby........
5+ hours today sanding out the last lil' bits. I went around and dressed the chines & stem plus the transom. Each side got a hit of the Flexicats for good measure. That's all the sanding on the outside of the hull that will be done till finish fairing just before topcoat paint. That won't happen until just before the boat comes out of the shed!
The last lil' bits of sanding dust gathered on the hull break between the sides & bulwarks!
Beer Time!
Standby........
Sunday, July 27, 2014
A mini Milestone I guess
Sorta hit a milestone today. Keel & bottom panels sanded. The RO
sander came off the top of the boat never ever to go back up again! ;-)
I've got maybe another day sanding on the sides & bulwarks & corners and then she'll get cleaned up for primer. I do have a couple of low spots on the sides that might need 'nuther coat of epoxy. I think they're too deep for primer to hide. We'll see tomorrow when the sanding is done.
I've got maybe another day sanding on the sides & bulwarks & corners and then she'll get cleaned up for primer. I do have a couple of low spots on the sides that might need 'nuther coat of epoxy. I think they're too deep for primer to hide. We'll see tomorrow when the sanding is done.
Friday, July 25, 2014
Three Months & Counting
Yesterday marked the three month mark that I've been filling & fairing & sanding this whale. I honestly don't know where the time flies! It doesn't seem that long but it has. When I look back at the pictures & video's etc. I don't really remember doing half this stuff. I mean I know I did it but it's like you go on auto pilot or something.
Today was my least favorite activity of all, getting up on top (actually the bottom) of the boat & sanding.
 I always leave the worst to last I guess. My ole' back & knees don't like this activity too much. Usually I'll take a Robaxacet first and that keeps the back muscles from cramping. Didn't have any left today though. :-(
The checklist to primer is getting shorter. As of right now I have a patch on the stbd bottom panel to sand and the port side bulwarks forward. The port side panel will need to be be long boarded in it's entirety and the stbd side panel is 2/3's of the way long boarded. The only thing left to do then will be to sand all the joins. This has to be done by hand and is a bit of a PITA. If all goes according to plan I should be spraying primer on the hull by mid-week next week.
And now for your viewing enjoyment, you guessed it, another sanding video! This time with a slightly different perspective. I try to keep it fresh and interesting! :-)
Enjoy!
Today was my least favorite activity of all, getting up on top (actually the bottom) of the boat & sanding.
The checklist to primer is getting shorter. As of right now I have a patch on the stbd bottom panel to sand and the port side bulwarks forward. The port side panel will need to be be long boarded in it's entirety and the stbd side panel is 2/3's of the way long boarded. The only thing left to do then will be to sand all the joins. This has to be done by hand and is a bit of a PITA. If all goes according to plan I should be spraying primer on the hull by mid-week next week.
And now for your viewing enjoyment, you guessed it, another sanding video! This time with a slightly different perspective. I try to keep it fresh and interesting! :-)
Wednesday, July 23, 2014
Six hours of sanding today.
Six hours of sanding today. Nothing but sanding. Sanding blue tinted epoxy. I'm pretty much fed up with sanding 'cept I got more sanding to do tomorrow! *sigh* Time to hit the shower. I look like Poppa Smurf!

Parting shot: "Build your own dreams, or someone else will hire you to build theirs.” ― Farrah Gray

Parting shot: "Build your own dreams, or someone else will hire you to build theirs.” ― Farrah Gray
Tuesday, July 22, 2014
Around and around we go!
Where & when will this torture stop nobody knows. *sigh*
The process: Roll on some expensive goopy stuff. When it hardens sand most of it back off so you can roll on some more expensive goopy stuff. *sigh*
I'm pretty sure now I could have done this a lot easier had I know then what I know now. Oh well, live and learn. I'm into it and I'll finish it. Started out today at 80 degs in the shed at 08:00 and only got warmer. The humidity is probably the highest it's been all summer. I really notice a lot of moisture coming out of the sander. The little water trap thingy on the compressor just can't keep up. I may have to get a larger air dryer for that.
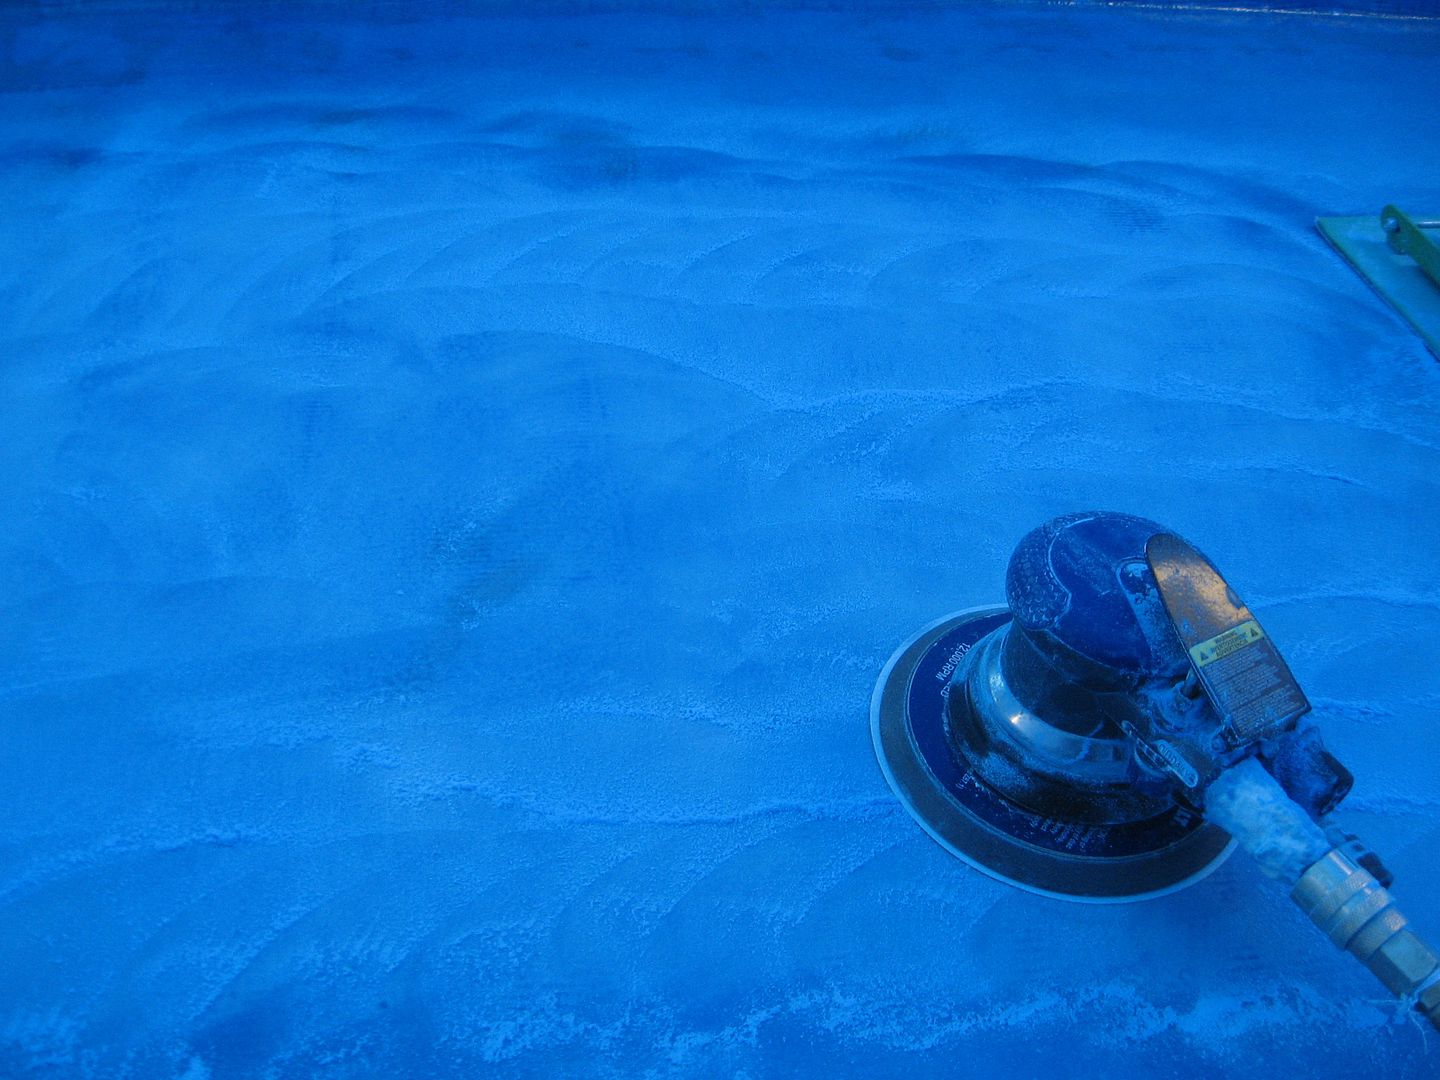
 Working my way from the bow to the stern on the port side bottom panel. It's so humid the dust just balls up and gums up the sanding disks. I think I've gone through 6 so far today. Usually I only have to change them once a day.

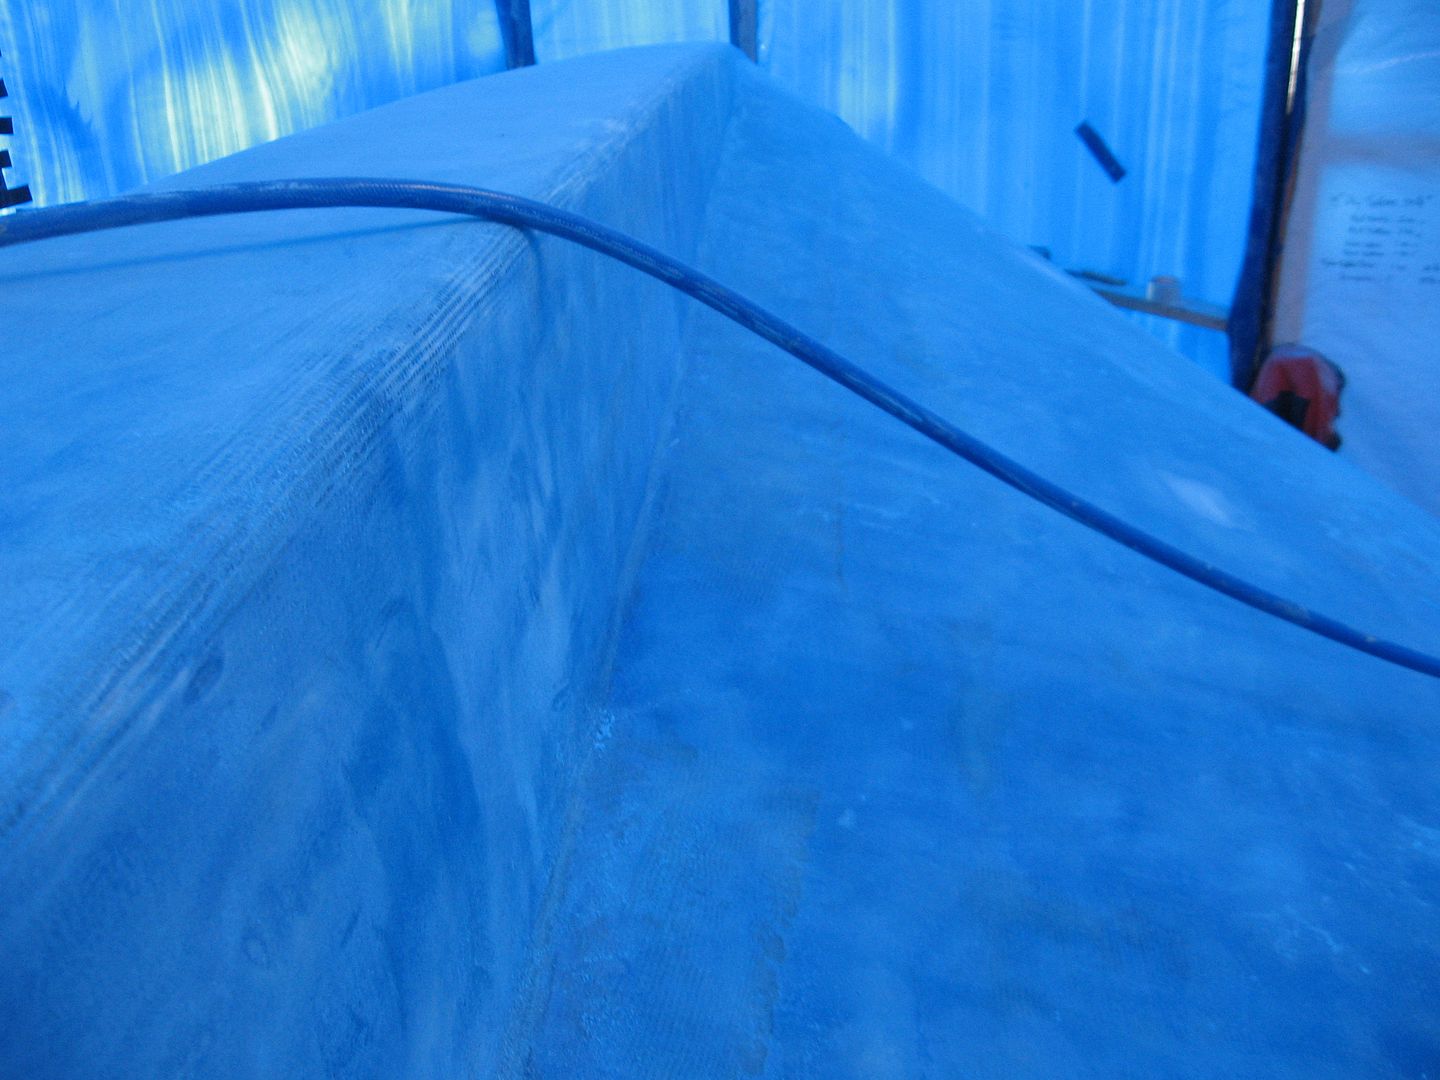
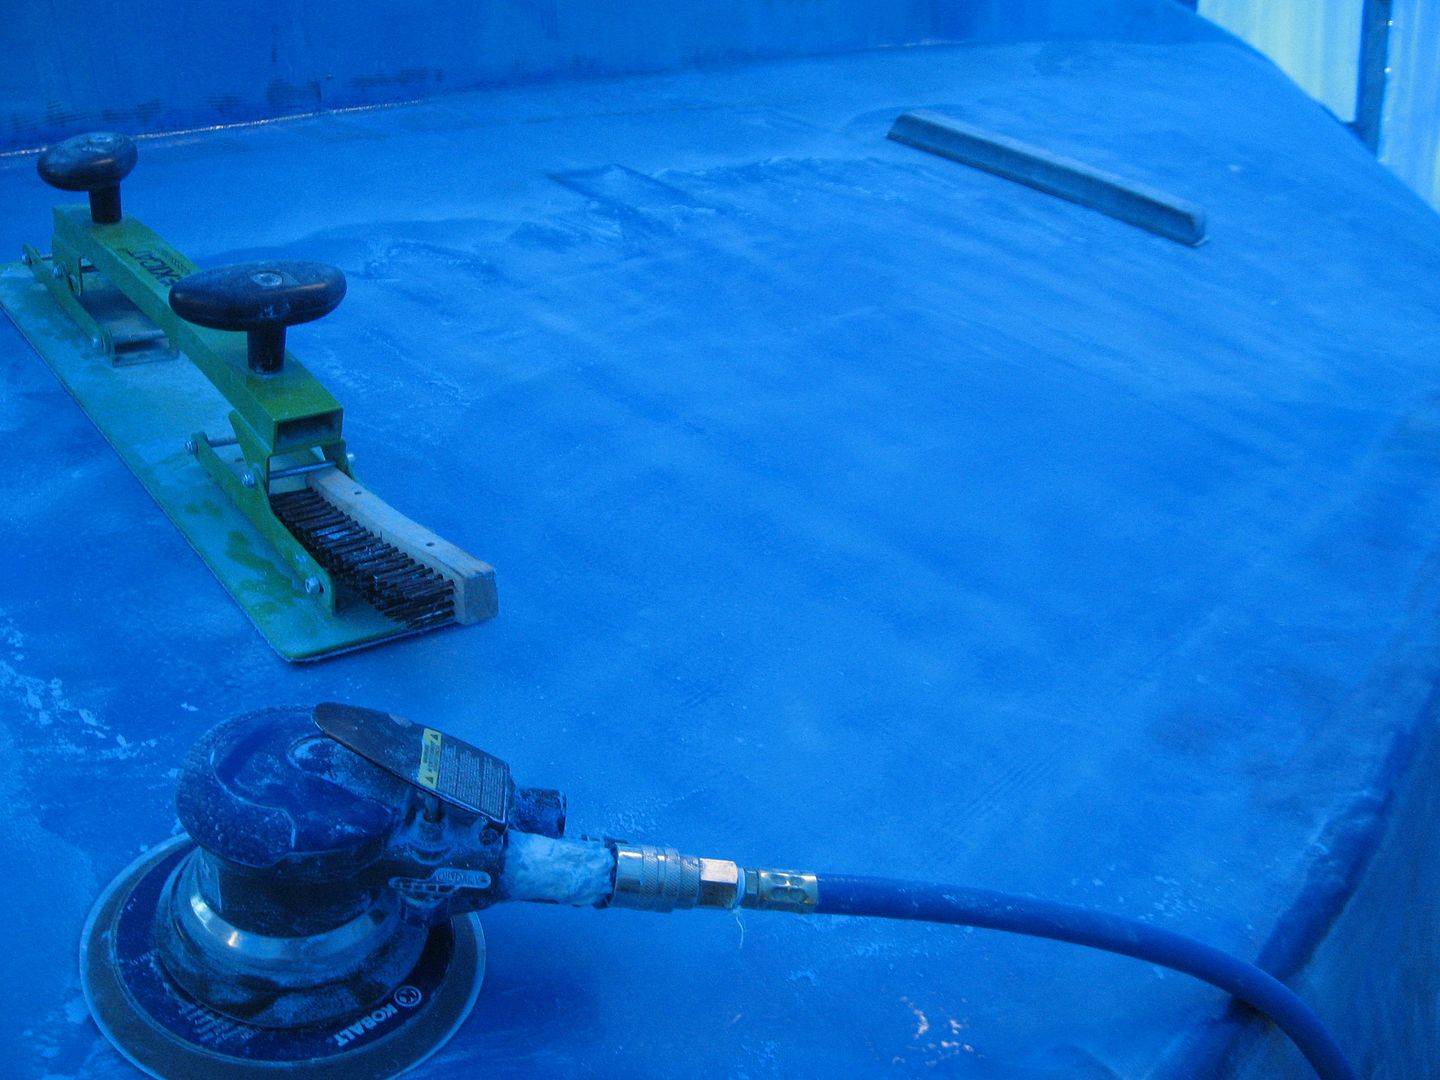
 Nice orderly waves of sanding dust! ;-) I try to be methodical but have to change it up as much as I can to relieve the stress on my wrists. Carpal Tunnel Syndrome is no joke. If you've ever hand Tennis Elbow you'll know the pain.
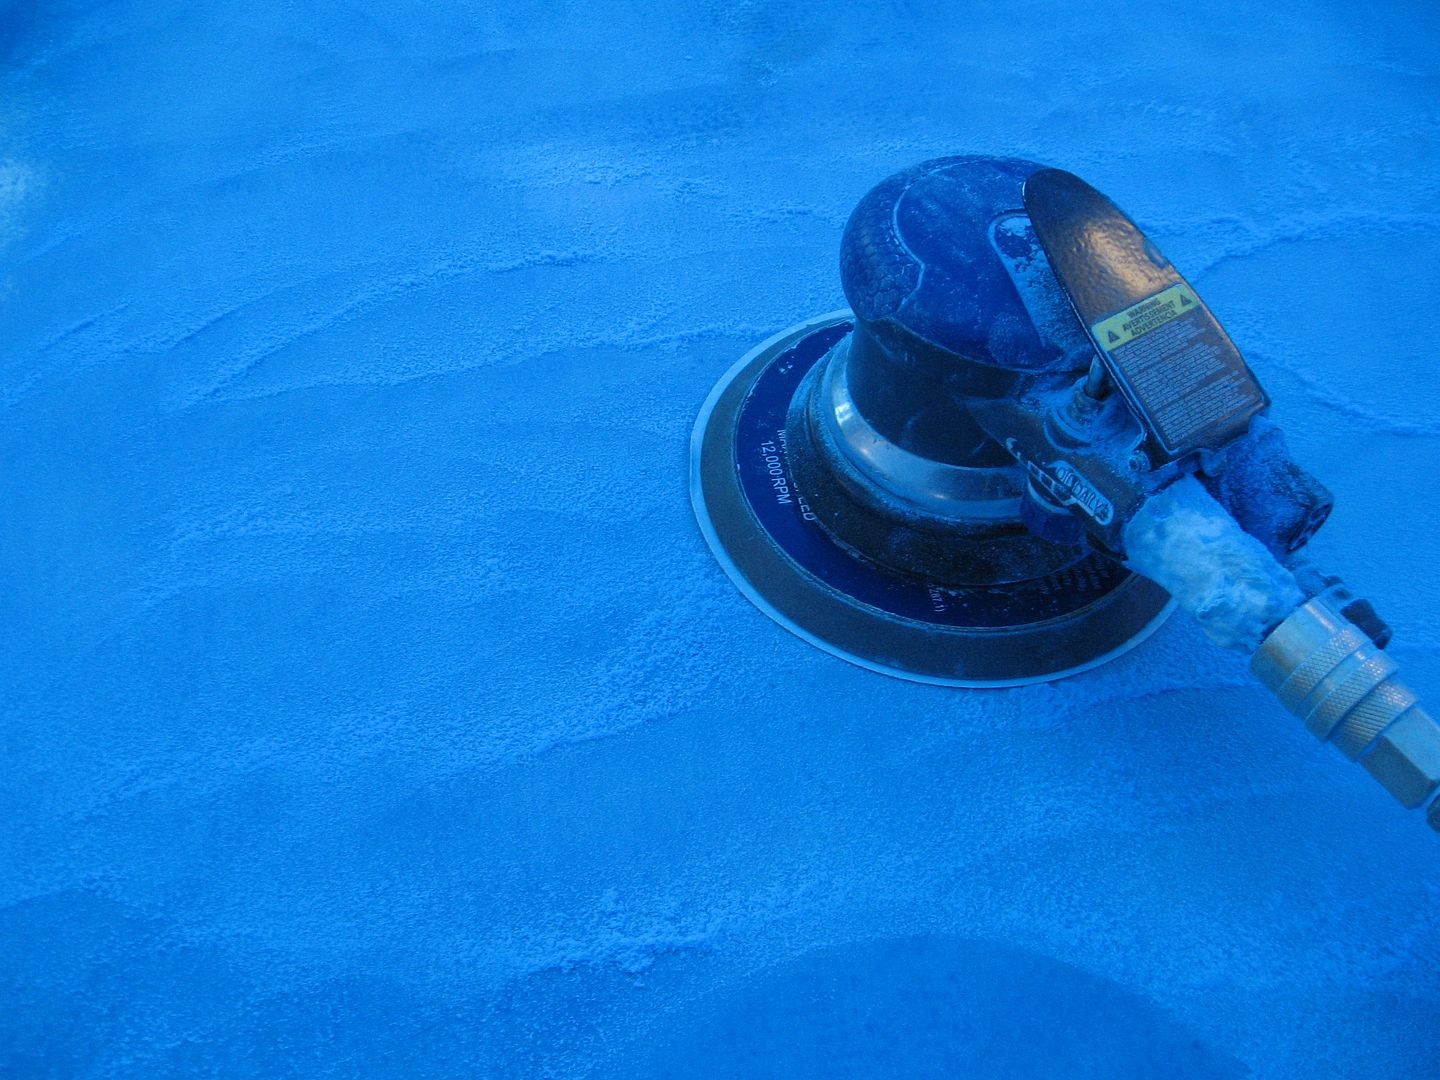
 You can see the shine coming off the epoxy. This stuff is HARD. It's been baking in the shed for almost a week now. Luckily I don't have to press too hard to get eh pebbles sanded down and the shine off of it. Using 80 grit disks which is what's required for the next step, primer.
Just in case you missed it here's the link to yesterday's Sandinsanity video!
http://youtu.be/ScWyNJz8Ofg
Temps supposed to hit 40 C with the humidex today. I'll see how long I can go. I keep the fans blowing right on me which helps.
Standby........
The process: Roll on some expensive goopy stuff. When it hardens sand most of it back off so you can roll on some more expensive goopy stuff. *sigh*
I'm pretty sure now I could have done this a lot easier had I know then what I know now. Oh well, live and learn. I'm into it and I'll finish it. Started out today at 80 degs in the shed at 08:00 and only got warmer. The humidity is probably the highest it's been all summer. I really notice a lot of moisture coming out of the sander. The little water trap thingy on the compressor just can't keep up. I may have to get a larger air dryer for that.
Just in case you missed it here's the link to yesterday's Sandinsanity video!
http://youtu.be/ScWyNJz8Ofg
Temps supposed to hit 40 C with the humidex today. I'll see how long I can go. I keep the fans blowing right on me which helps.
Standby........
Monday, July 21, 2014
You know you want it!
Here you go! Today's sandinsanity video!
Admit it, you missed my sanding videos eh? ;-)
Admit it, you missed my sanding videos eh? ;-)
Saturday, July 19, 2014
Scratching The Surface
This old tune came to mind this morning while I was sanding all the shiny stuff of the hull! Somehow it seemed appropriate for the occasion.
I know the sanding videos were popular but I didn't make one today. I hope you're not disappointed! ;-) I spent the better part of 4 hours sanding down the port side taking off the shiny surface of the epoxy coats I put on this week. Seems counter intuitive but it's gotta be done for the next step, primer.
 Still a few low spots to be dealt with. I outlined these and put in a lil' bit of epoxy thickened with cabosil.
 Tomorrow the sanding will continue. Going for a boat ride this afternoon so Wohoo! a break from the boat shed! :-)
Oh yeah, one last pic.

That's it. Shower time!
Dingy's rigged & ready to go!
Thanks for looking in.
Standby........

Oh yeah, one last pic.

That's it. Shower time!
Dingy's rigged & ready to go!
Thanks for looking in.
Standby........
Friday, July 18, 2014
Waterproof
So technically the hull is now waterproof! That blank spot on the left side is now coated & sealed up!
 I got it and the rest of the bottom panels coated this morning. I'll go out this evening and get a second coat on the stbd side as well as try to get a second coat on the keel with the extension handle. It's been a tough slog doing this alone. I miss my shop helper! ;-( Oh well nobody said this was gonna be easy.
Cold beer time! Standby.....
Cold beer time! Standby.....
Thursday, July 17, 2014
Got an early start
Got an early start today, was in the shed at 07:00. I knew I was going to be in for a long day so I wanted to get to it early before it got too warm. It took me almost 2 hours just to clean off the bottom & the keel with acetone. Had to do this to ensure there are no contaminants on the surface that'll affect the epoxy from sticking properly. Even oil from your hands can adversely affect the results.
 I wanted to get the entire bottom & keel coated but it was hard going, up and down the friggin' step ladder just about wore me out.
 By noon I was whipped. Stopped for some lunch (the Ole' Mummy made me Tuna Sammmichs). Went back to try to finish it off but it was too hot now. The epoxy was kicking off in the paint tray.
 Should only take an hour or so tomorrow to finish off the stbd side then Wohoo! I get to start all over again! *Sign* If I recoat within 24 hours it's all good, no need to sand in between coats. Whew!
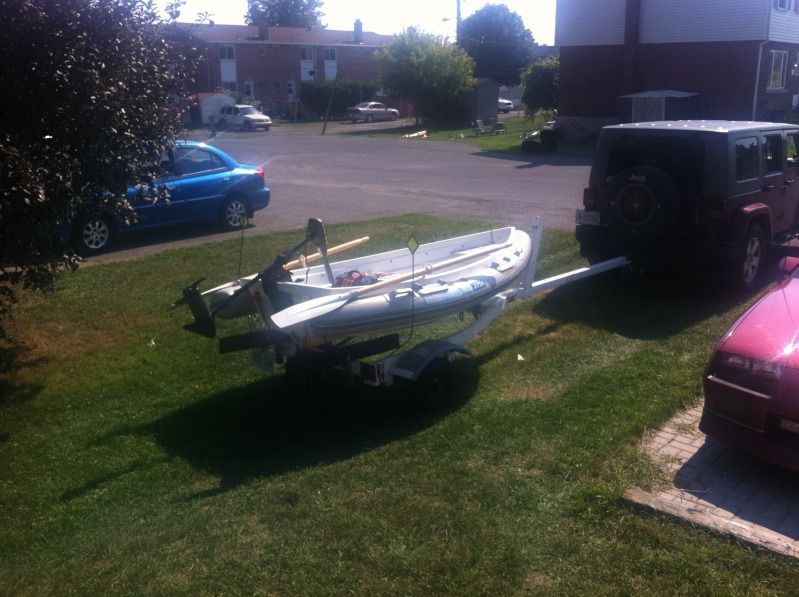
Plan B's battery is being charged. We're goin' for a boat ride on Saturday! Wohoo!
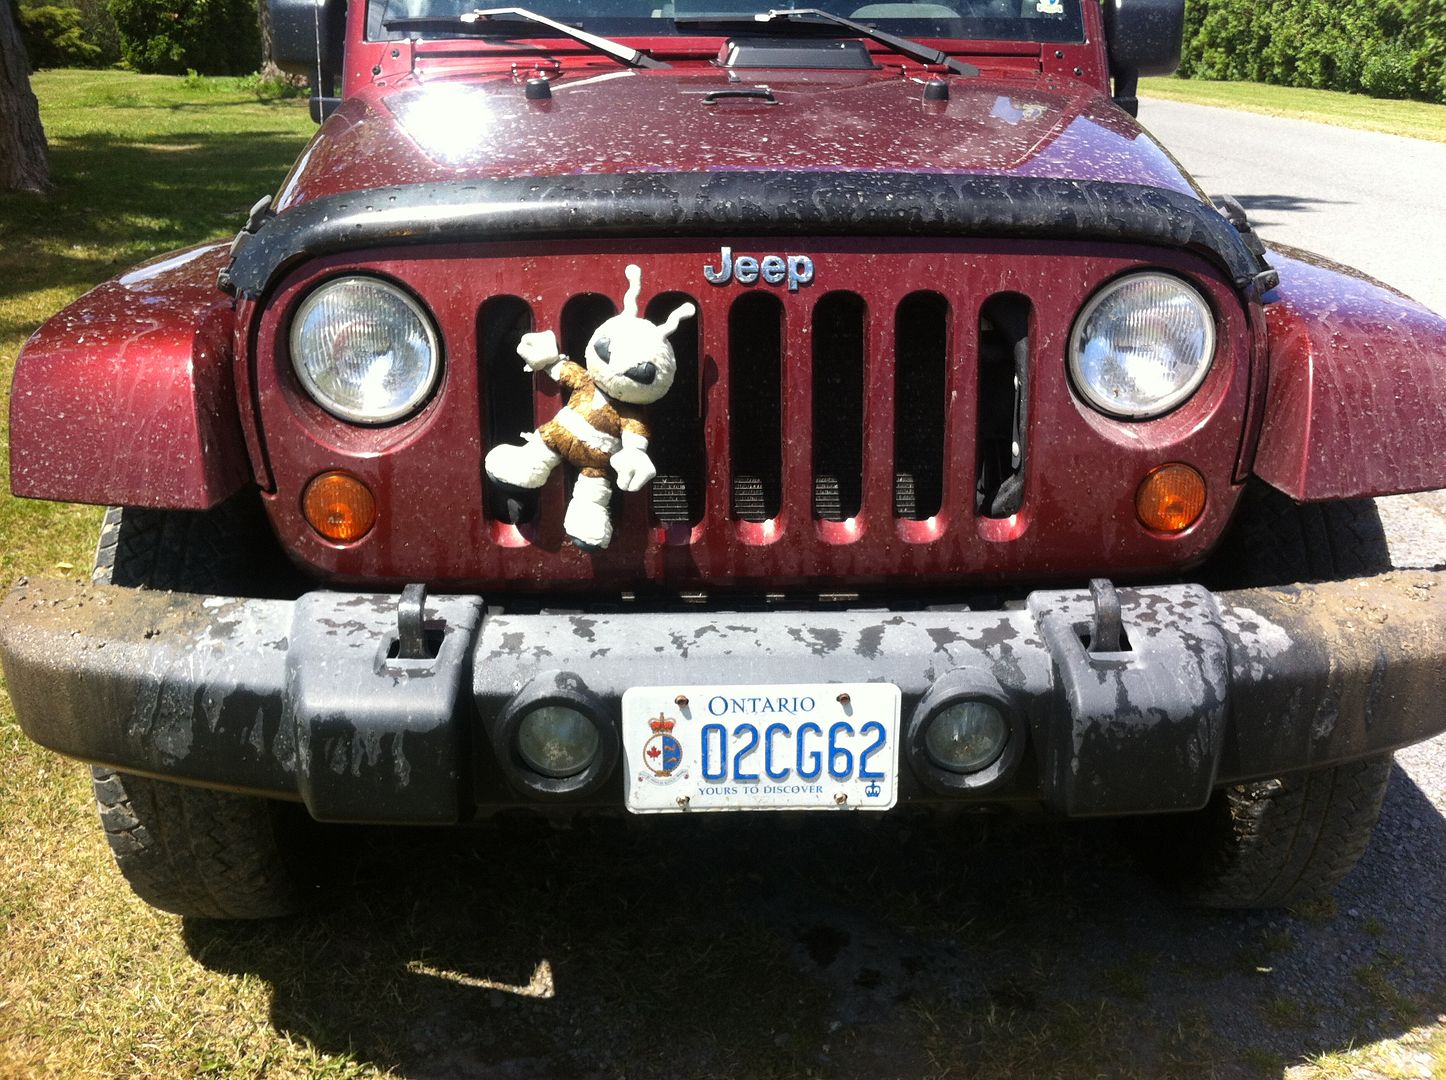
 Good ole' Plan B, she's a mighty fine ship! I was worried the Jeep wouldn't be able to tow her! ;-)

Plan B's battery is being charged. We're goin' for a boat ride on Saturday! Wohoo!
Wednesday, July 16, 2014
Monsoons and Epoxy
Monsoons and epoxy don't mix. I was out in the shed early yesterday to start some more coats of epoxy on the hull. About 9:30 or so the heavens opened up and it started to pour! I mean it came down in buckets! I knew I was in for it. The shed roof leaks like a sieve. I did get some of the bulwarks done and had to quit till the afternoon when the rain stopped.
 About 1:30 I got back out and managed to get the stbd side & transom coated. This morning I was back out there and got another coat on both sides and the transom.
 I do have to say I think it's coming along really well. One more coat on the sides and transom then I'll kick it upstairs to the keel & bottom panels. I've sort of got a rhythm and process going that sort of speeds things up. Maybe I can get a helper to mix while I roll. That'd be sweet 'cause all that up & down the latter stuff really tuckers me out!

Standby........
Standby........
Monday, July 14, 2014
Another Delightful Day
Yet another delightful day of Sandinsanity! Managed to get the rest of the first coat of epoxy sanded. Tomorrow I'll skip up on top and start coating the keel & bottom panels. Got a call out on Facebook for volunteer epoxy mixers. Offered beer & smoked sausages but so far no one's answered the call. :-(
Apologize for the crappy close up pic. This is the epoxy & fiberglass job I did on the air sander swivel thingy. It actually works!
 It leaks a little bit but the sander is usable now. It doesn't swivel anymore though! :-) First thing I did this morning was trip coming out of the garden shed. Doh! Ripped a chunk out of my middle finger tip! Ouch! Some shop towel & hockey tape fixed it up so it was usable too!
 Did I mention how much I hate sanding tinted epoxy? Yeah well I do just in case it's not obvious what I was doing today! Hold all the 'Papa Smurf' jokes, I've already hear them all! ;-)
Standby... more epoxy & sandinsanity fun coming your way soon!
Apologize for the crappy close up pic. This is the epoxy & fiberglass job I did on the air sander swivel thingy. It actually works!


Standby... more epoxy & sandinsanity fun coming your way soon!
Sunday, July 13, 2014
It's all part of the learning curve
So you saw this pic yesterday.
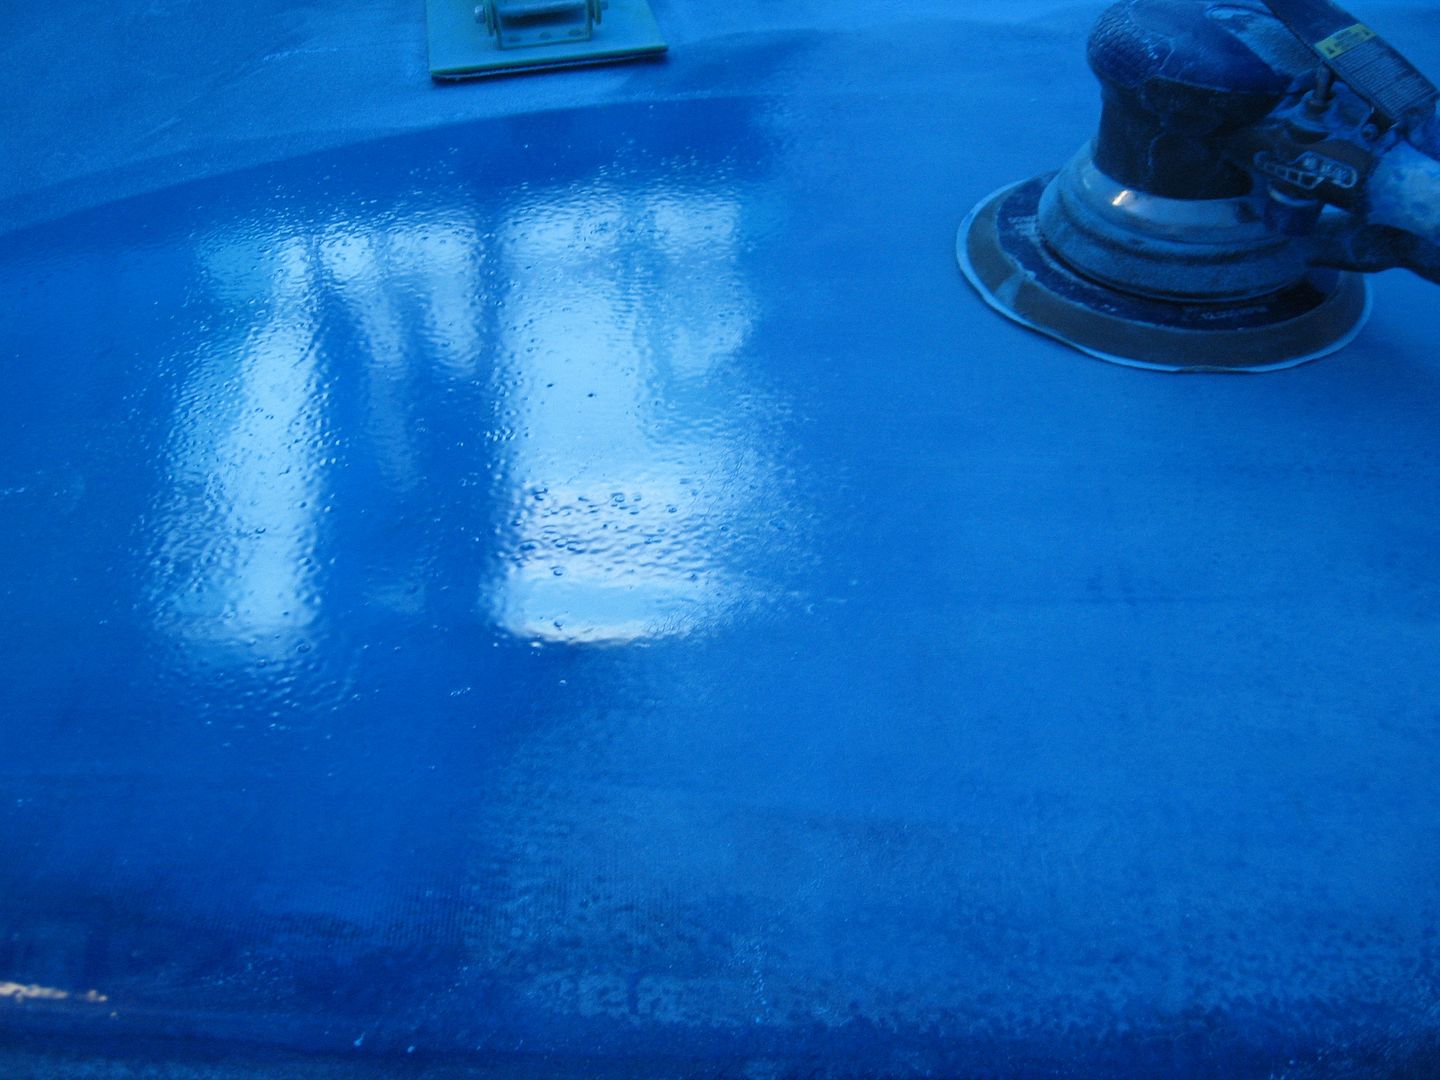
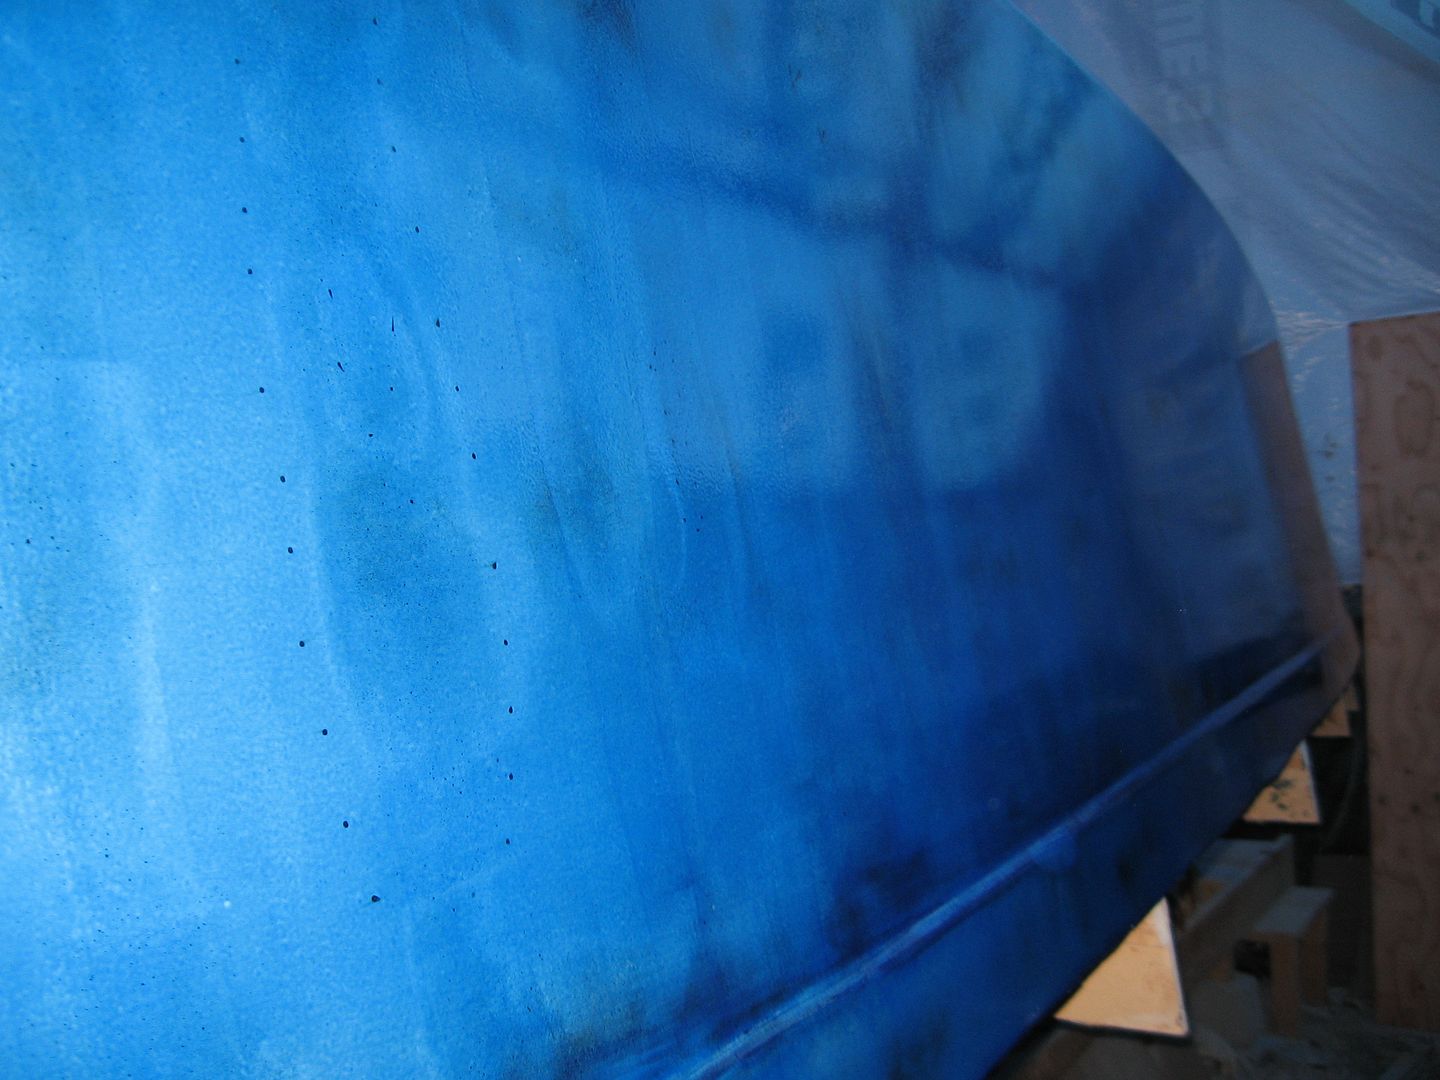
 Freshly coated with tinted epoxy. Well apparently I should have squeegeed it out to get the lil' air bubbles etc. out. Live and learn. So today I sanded the area with 80 grit on the RO and the Flexicats. It's amazing how you can now see the low spots!
 That shiny strip running down the middle is a low spot. You couldn't see it before and you couldn't feel it. I'm kind of glad I actually did this today. Now I know better what I'm in for as I go along. Hopefully by the time I get to the primer stage all these little imperfections will be gone.
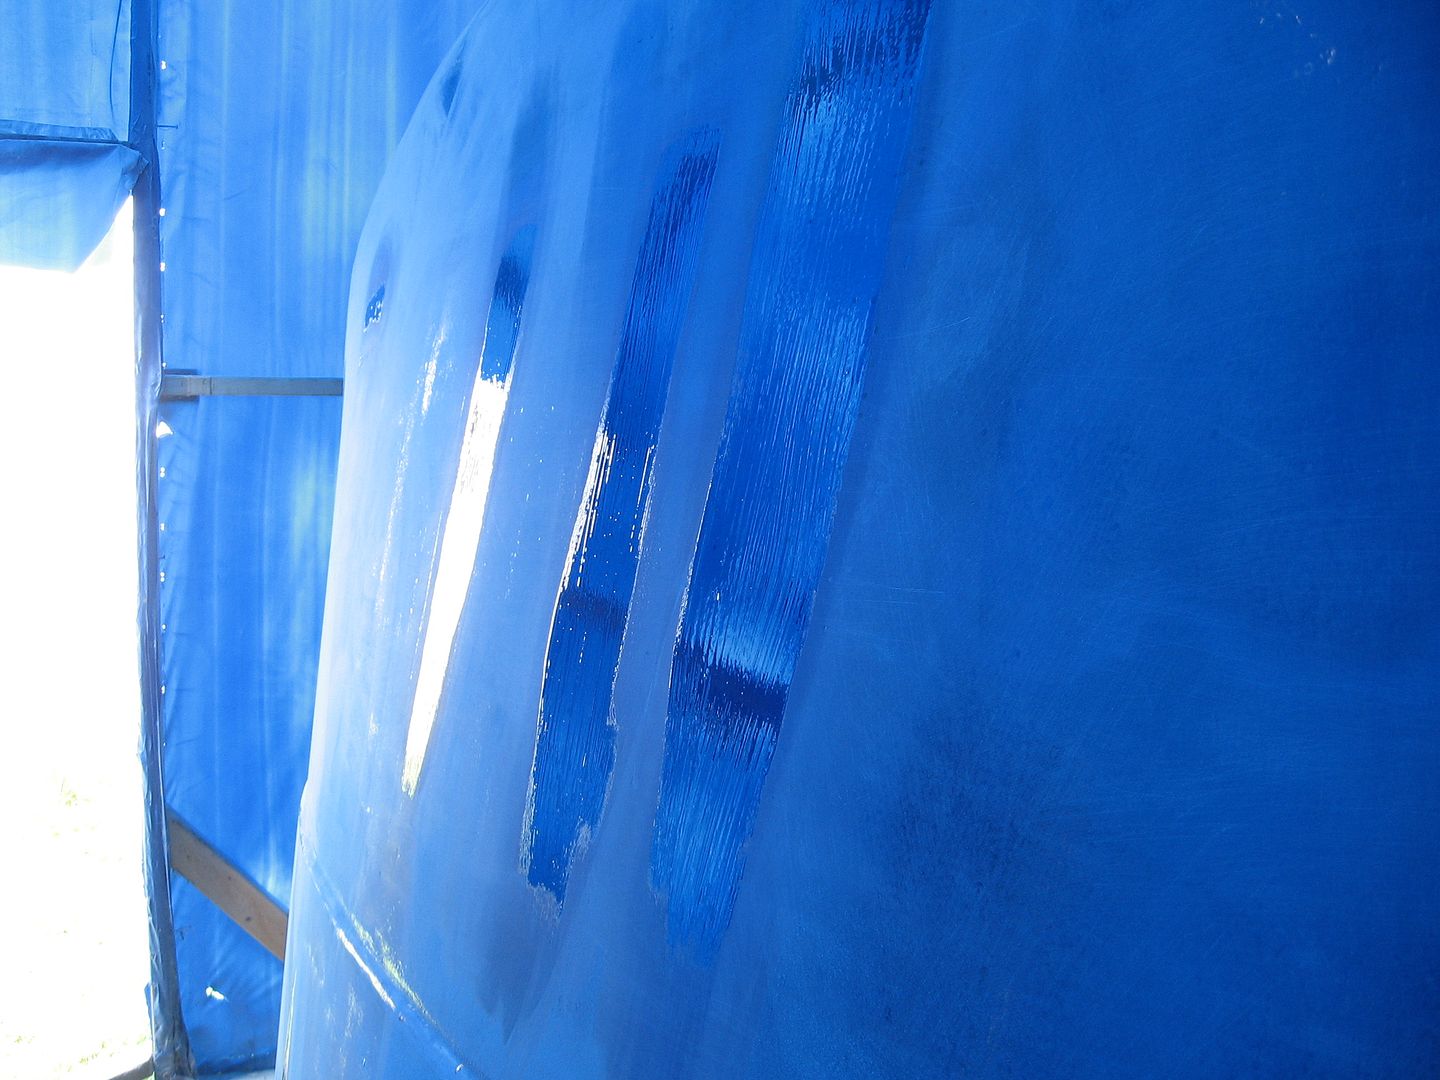
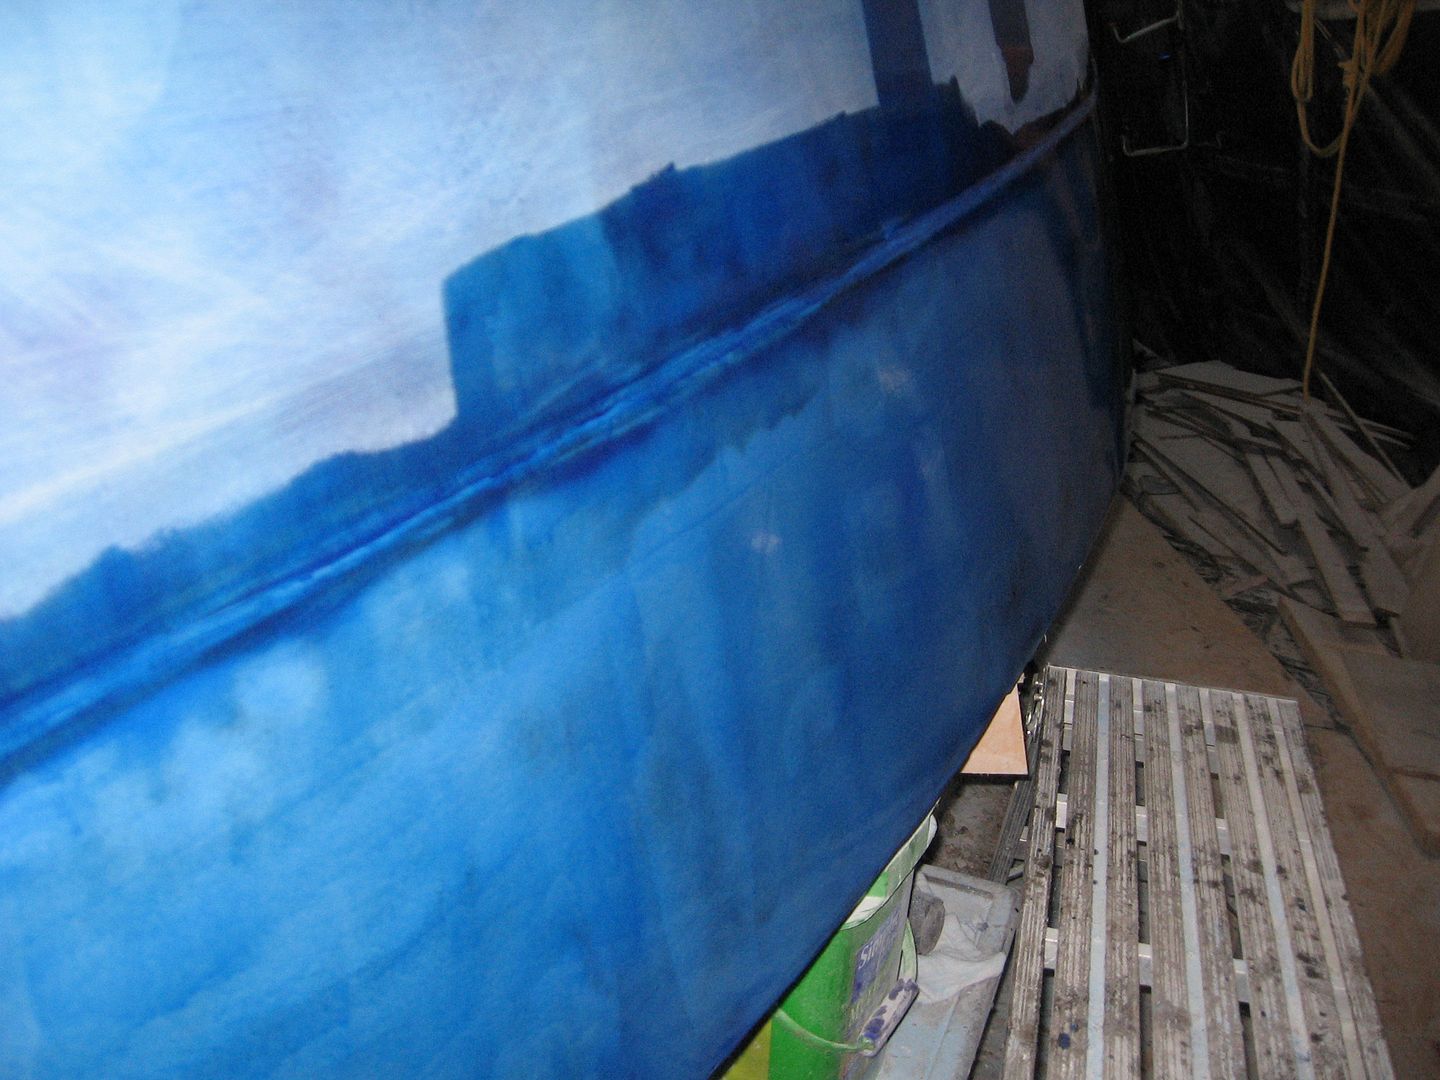
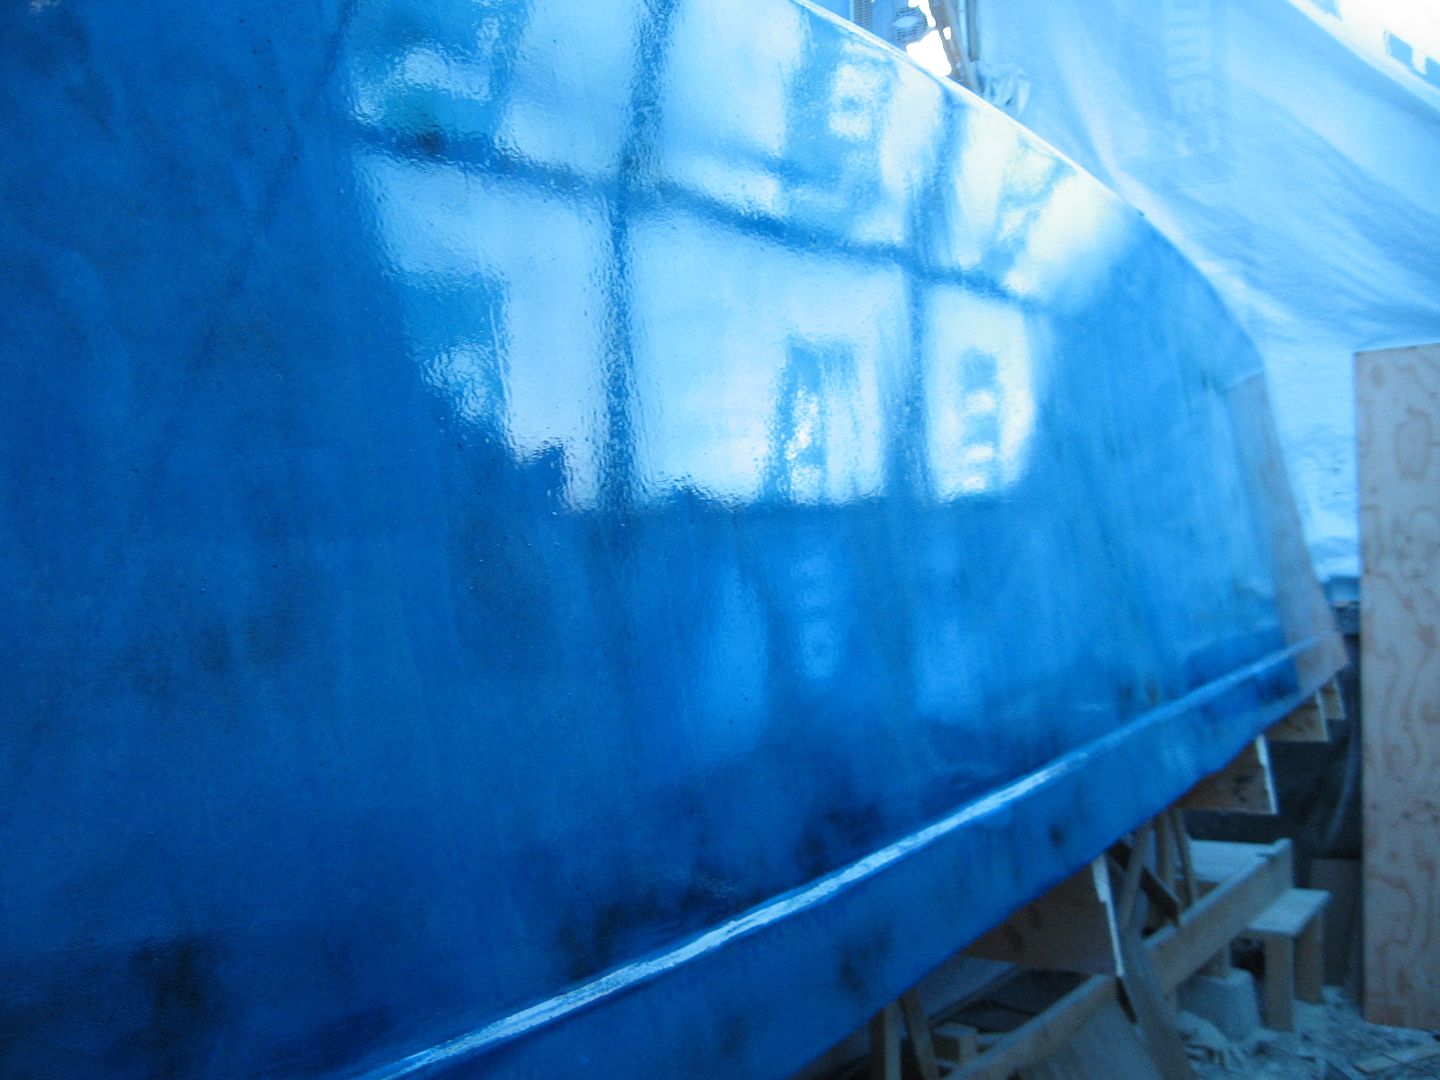
 A little farther back the side this time. The dark blue areas are shiny and low spots. Most of the other low spots are much smaller. Overall I think it's coming along well. Patience and perseverance and slow and steady as she goes.
Killed another air powered RO today. Well not dead dead but the Kobalt RO I bought last year (13 days shy of a year) has a swivel sort of attachment on the air line.

I guess the swivel serves some sort of purpose to prevent strain on the air hose. Well that fancy gadget failed. There's a bunch of tiny ball bearings in it and they all came shooting out when it let go so now it leaks air like crazy. You can't get replacement parts. Silly me didn't buy the extended warranty either! Doh! So I do what I do best. I took it apart and epoxy & fiberglassed it back together. I'll wrap it in rubber hose and seal it with a few small hose clamps! Problem solved. Pics at 11:00!


Killed another air powered RO today. Well not dead dead but the Kobalt RO I bought last year (13 days shy of a year) has a swivel sort of attachment on the air line.
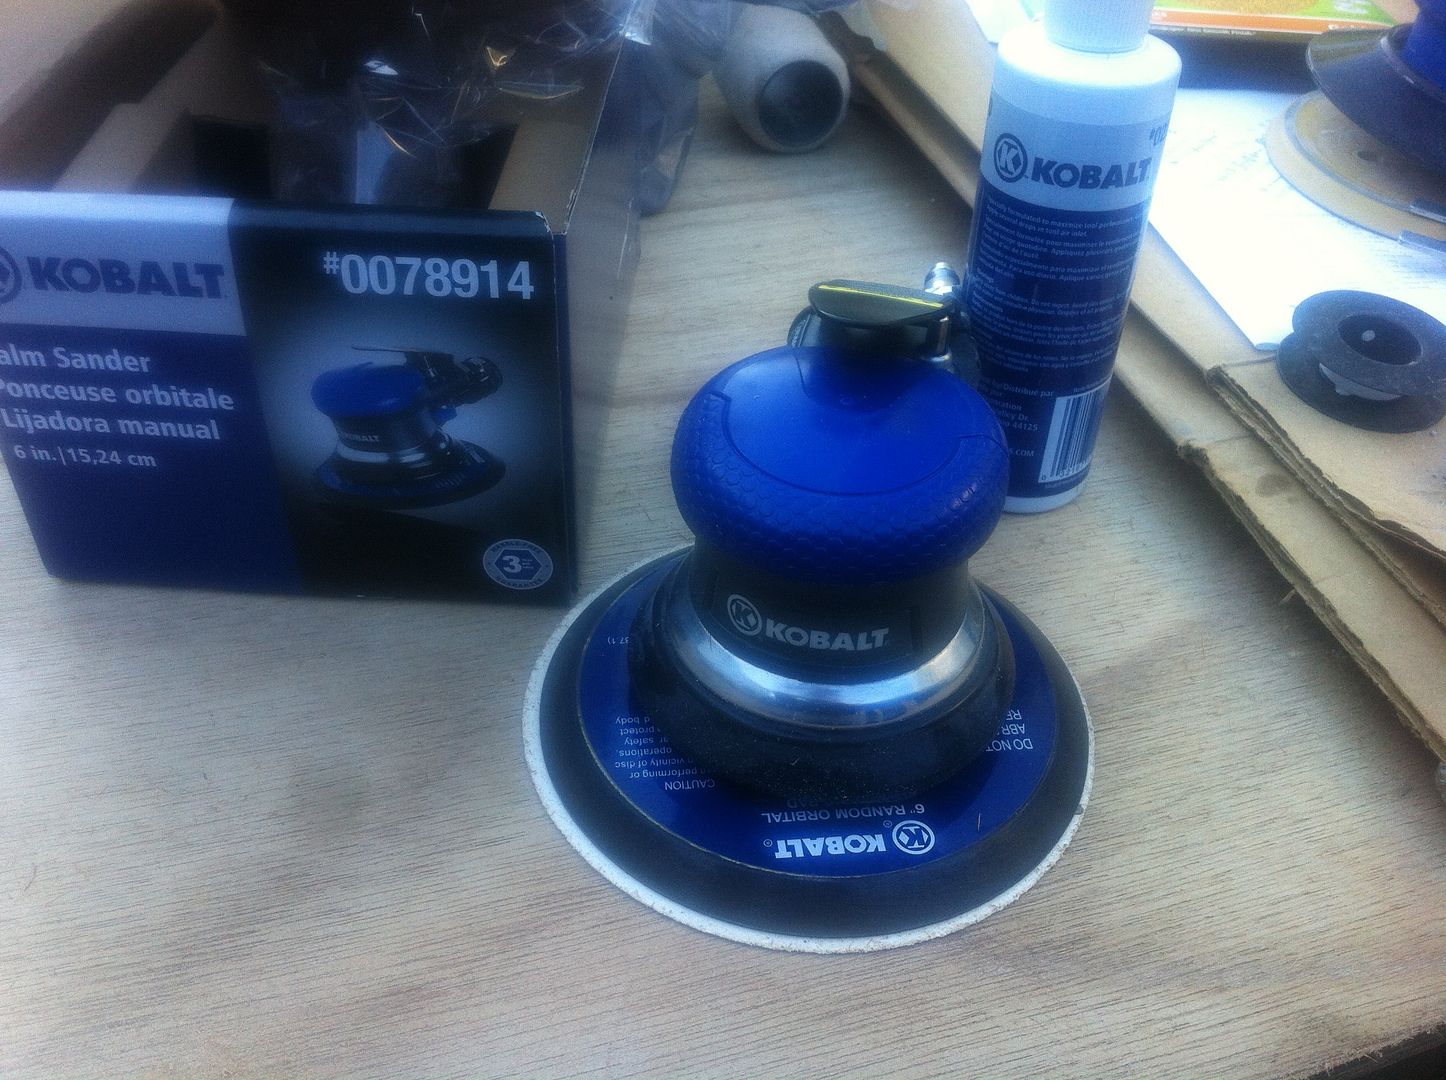
I guess the swivel serves some sort of purpose to prevent strain on the air hose. Well that fancy gadget failed. There's a bunch of tiny ball bearings in it and they all came shooting out when it let go so now it leaks air like crazy. You can't get replacement parts. Silly me didn't buy the extended warranty either! Doh! So I do what I do best. I took it apart and epoxy & fiberglassed it back together. I'll wrap it in rubber hose and seal it with a few small hose clamps! Problem solved. Pics at 11:00!
Saturday, July 12, 2014
Starting to seal 'er up!
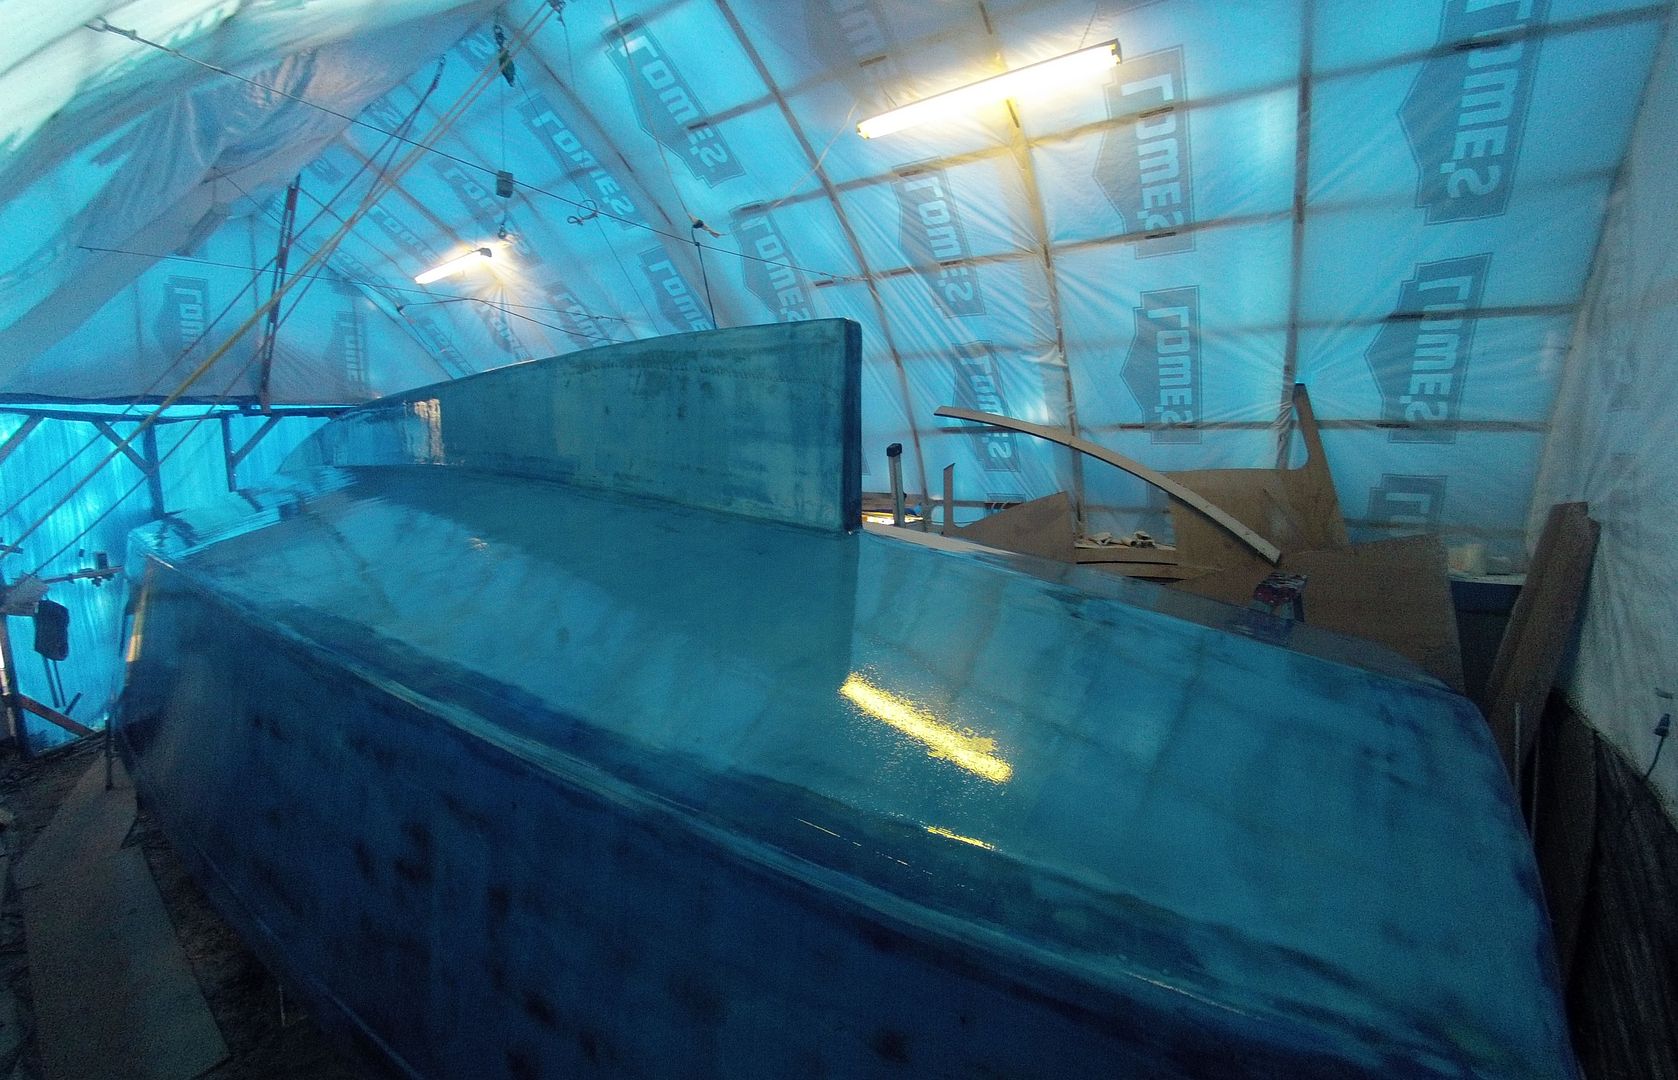
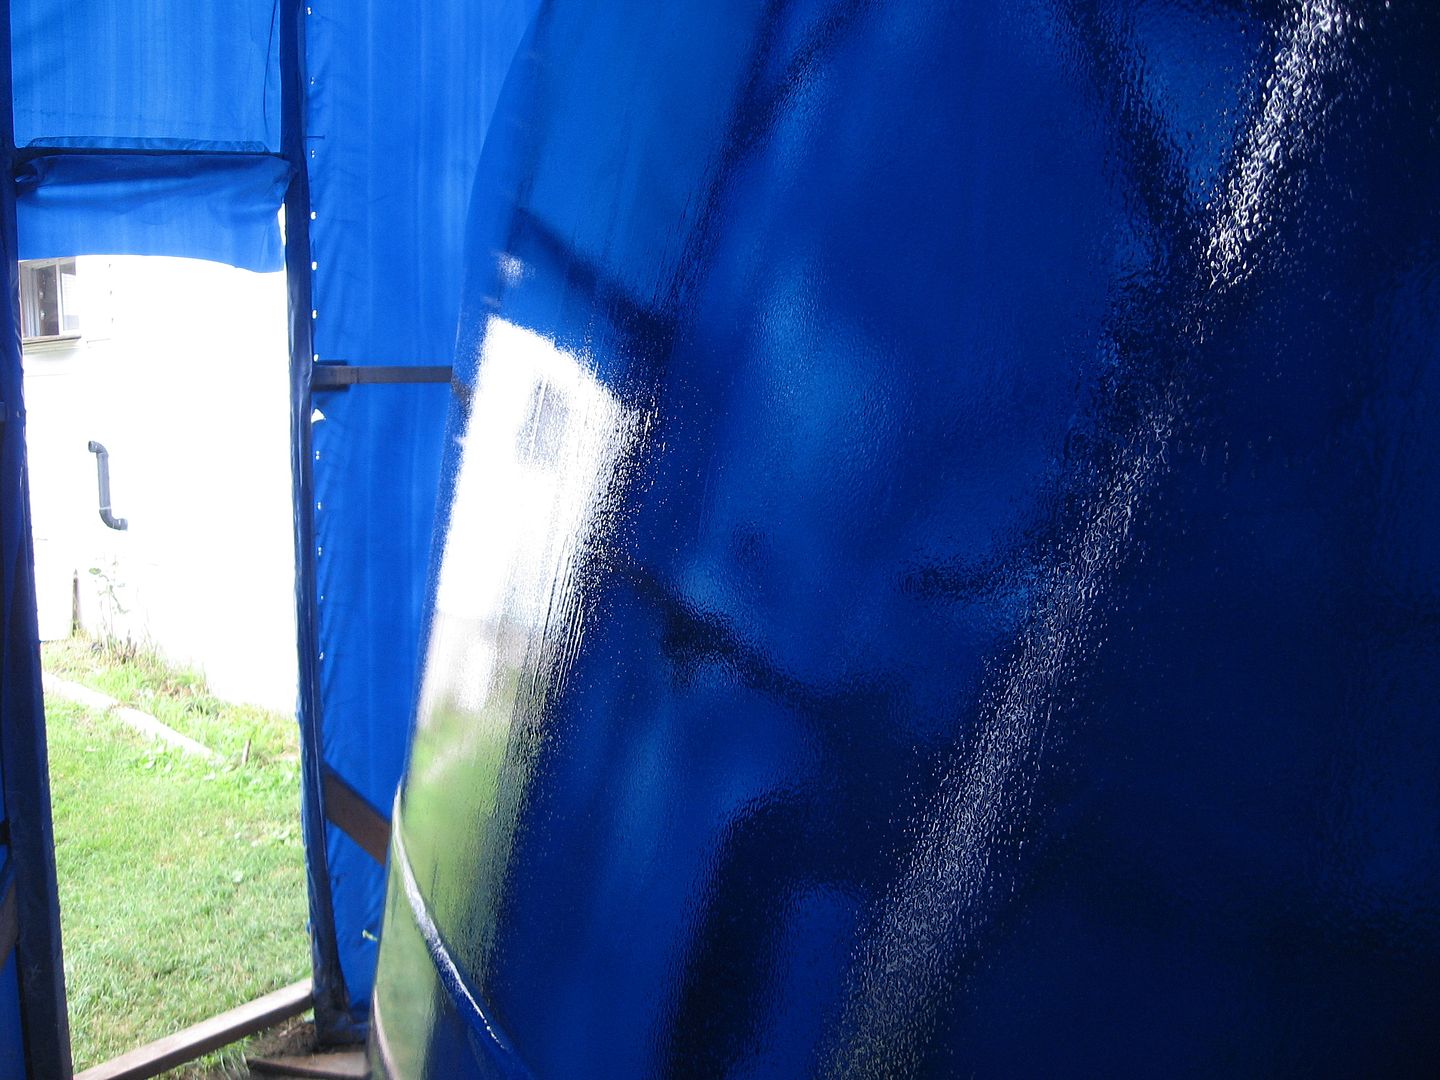
I had no idea what I was going to actually do this morning when I went out to the shed. I had tested some epoxy tint a couple of days ago and that seemed to go Ok so I mixed up some more and decided to go down one side.
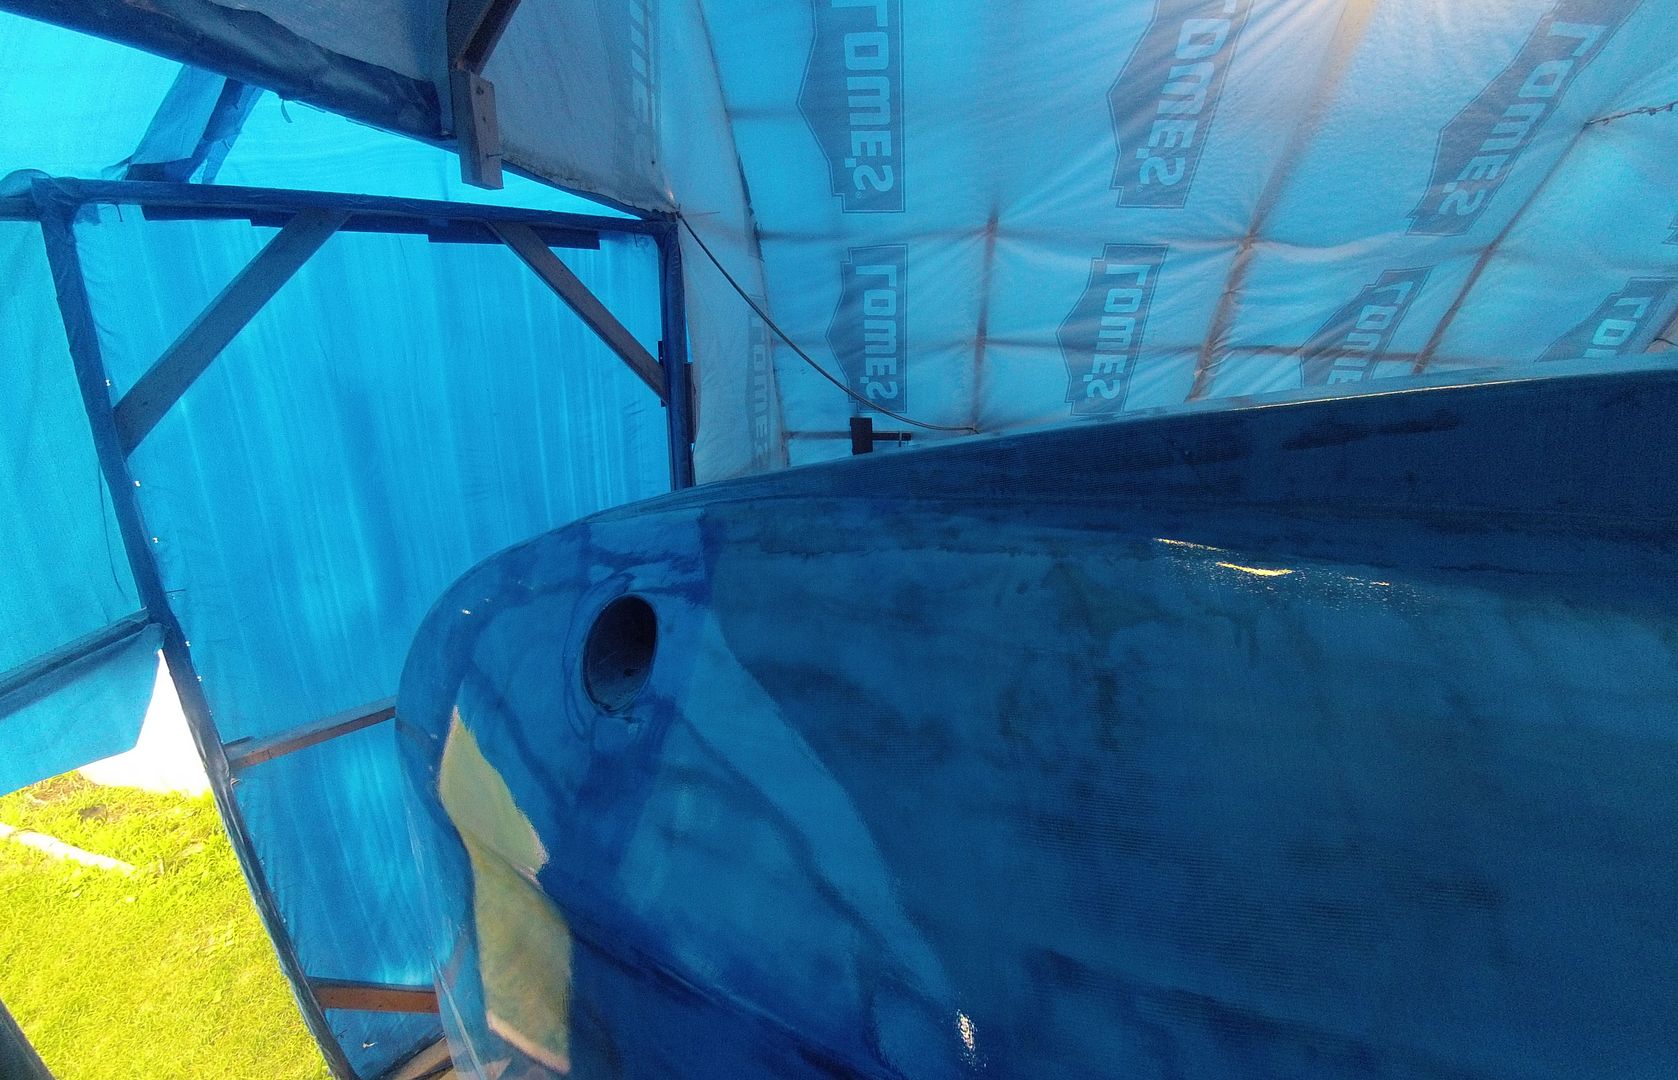
 The camera had a hard time getting a good exposure and focus because it was so shiny! This is just plain epoxy with some blue pigment mixed in. Nothing special. It'll seal up the underlying fairing compound.
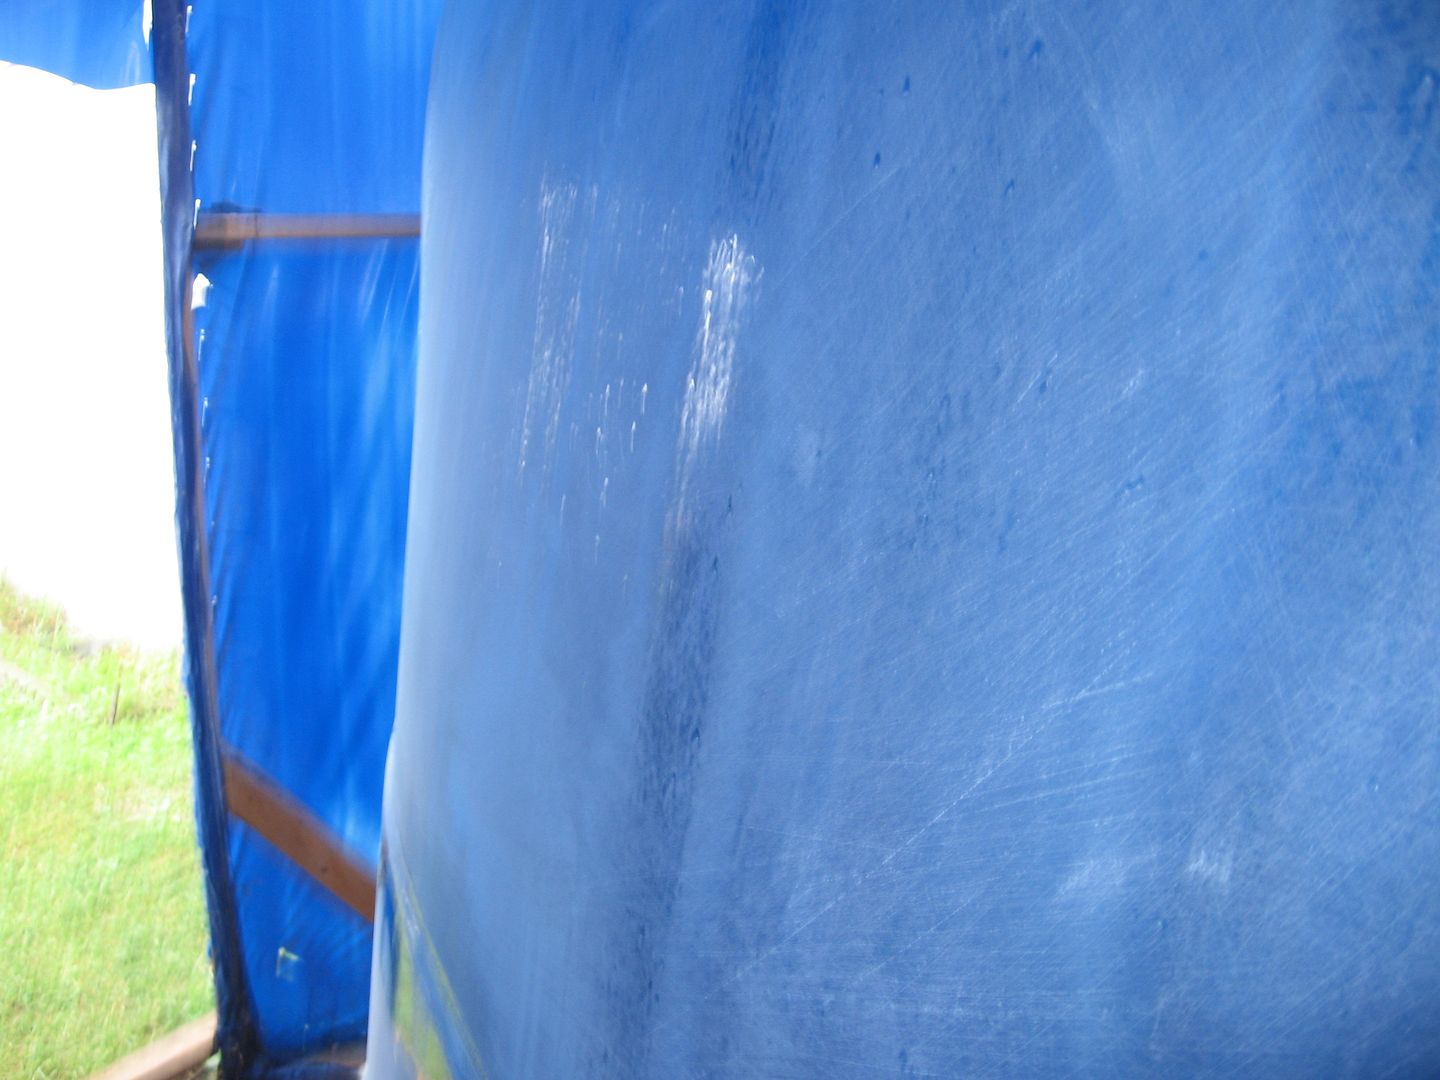
 I'll get another coat on it before any sanding gets done. I'll switch to the other side tomorrow for its first coat then work my way back around.
Even with just this one coat on the defects that'll have to be fixed in final fairing are evident. Nothing major just a few flat spots. Once all the epoxy is set it'll get sanded in prep for primer. I did notice a lot of bubbles getting into the epoxy when I used a short nap roller so I switched to a foam roller and it was better but the bubbles are still there. I'm sort of thinking maybe I need to rig up some apparatus to de-gas the epoxy before I roll it out. I have the vacuum pumps for that just not a container to do it in.
This Thursday past a couple of the 'Girls' from the ole' Office came by for a visit. Feeling the need to get away from the hustle & bustle of the big city (Ottawa) they decided to go for a lil' drive in the country and visit the Big Blue Boat Building Shed!
Sylvia's retired. She packed it in about the same time I did. Erika still works in Coast Guard doing the web stuff I used to do. They had a ball that day. Erika had to get right up on the boat and check it out. Not the best idea to wear black jeans on a freshly sanded boat hull! ;-)

I took them for a ride in the Jeep and we did a little off roading and puddle jumping!
 Sylvia was tickled pink to go for her first 'Drive' in the St. Lawrence River! :-)
 It certainly was a fun day. Nothing got done in the boat shed but that's Ok! Nice to have company stop by to check out the progress and shoot the breeze! Thanks for coming Sylvia & Erika. Come back again soon but be prepared to work next time! :-)

This Thursday past a couple of the 'Girls' from the ole' Office came by for a visit. Feeling the need to get away from the hustle & bustle of the big city (Ottawa) they decided to go for a lil' drive in the country and visit the Big Blue Boat Building Shed!
 |
| Sylvia & Erika |

I took them for a ride in the Jeep and we did a little off roading and puddle jumping!

Wednesday, July 9, 2014
Order from Chaos
I've got this whole boat flipping thing constantly on my brain. Was up half the night thinking about it and how I'll get it done. Decided to break it down into little steps that all lead up to the big event (likely July 30th.).
Step #1: Get my sh*t together and get some sh*t straightened out.
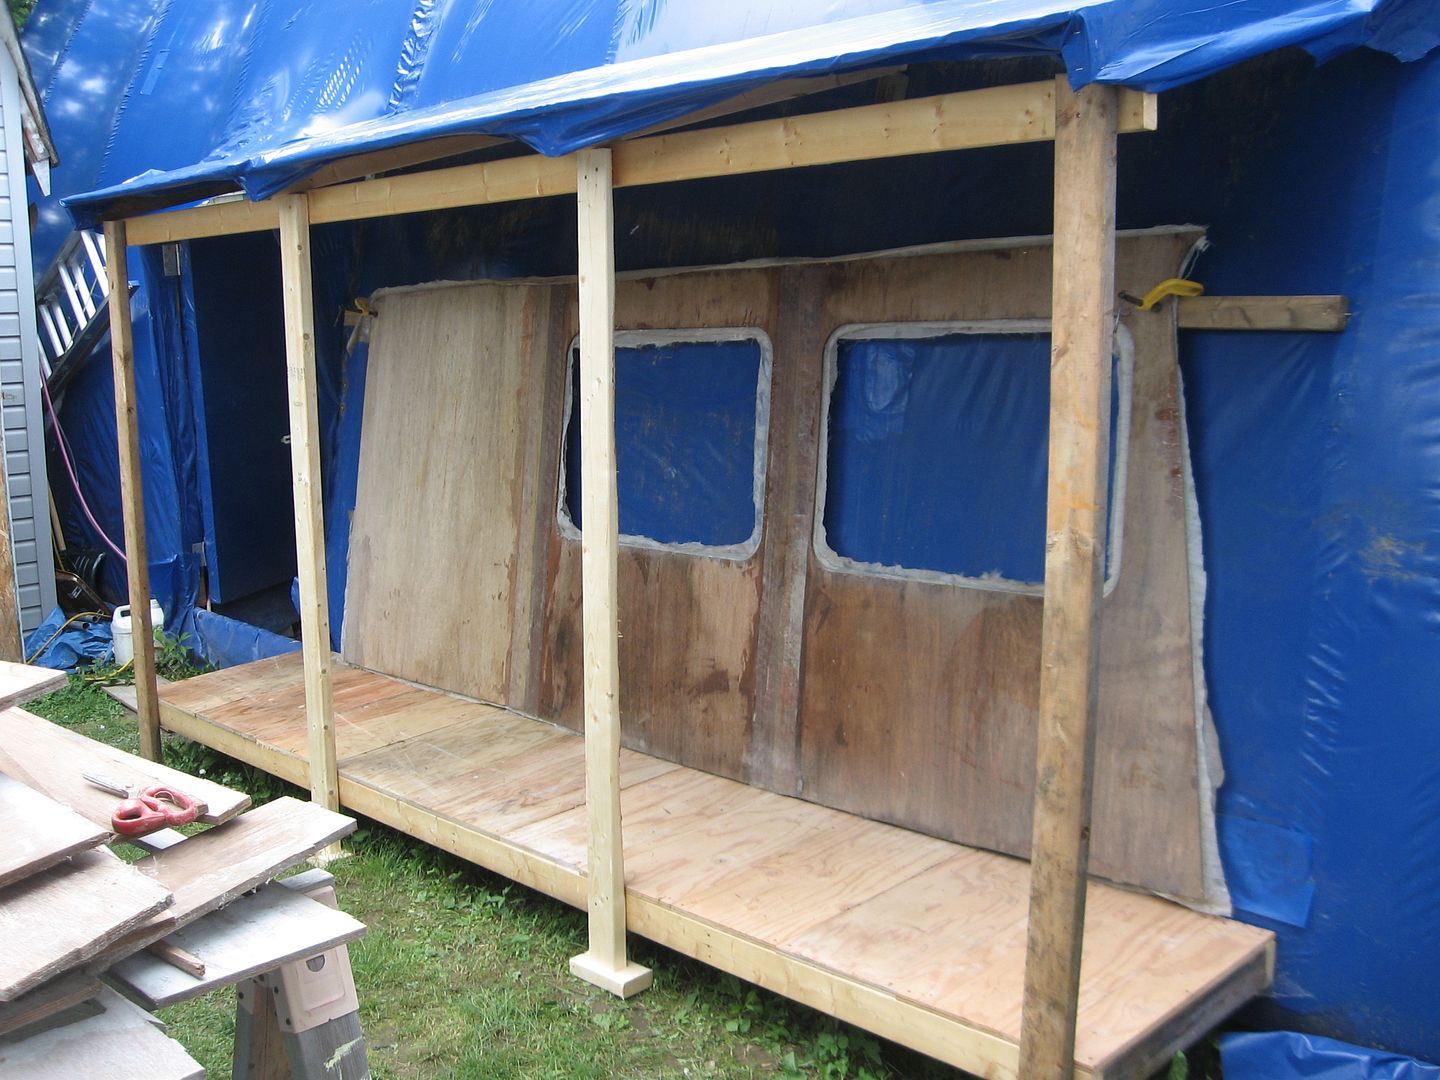
This spring I saw a lot more water in the shed than in any other spring. All my offcuts of mahogany plywood were standing on the ground so they were getting stained. I knew I had to get them up and off the ground. Problem is I don't have much space, at least not in the shed. I'll need all the room I can get in there to do the flip. Eureka! Build a porch!

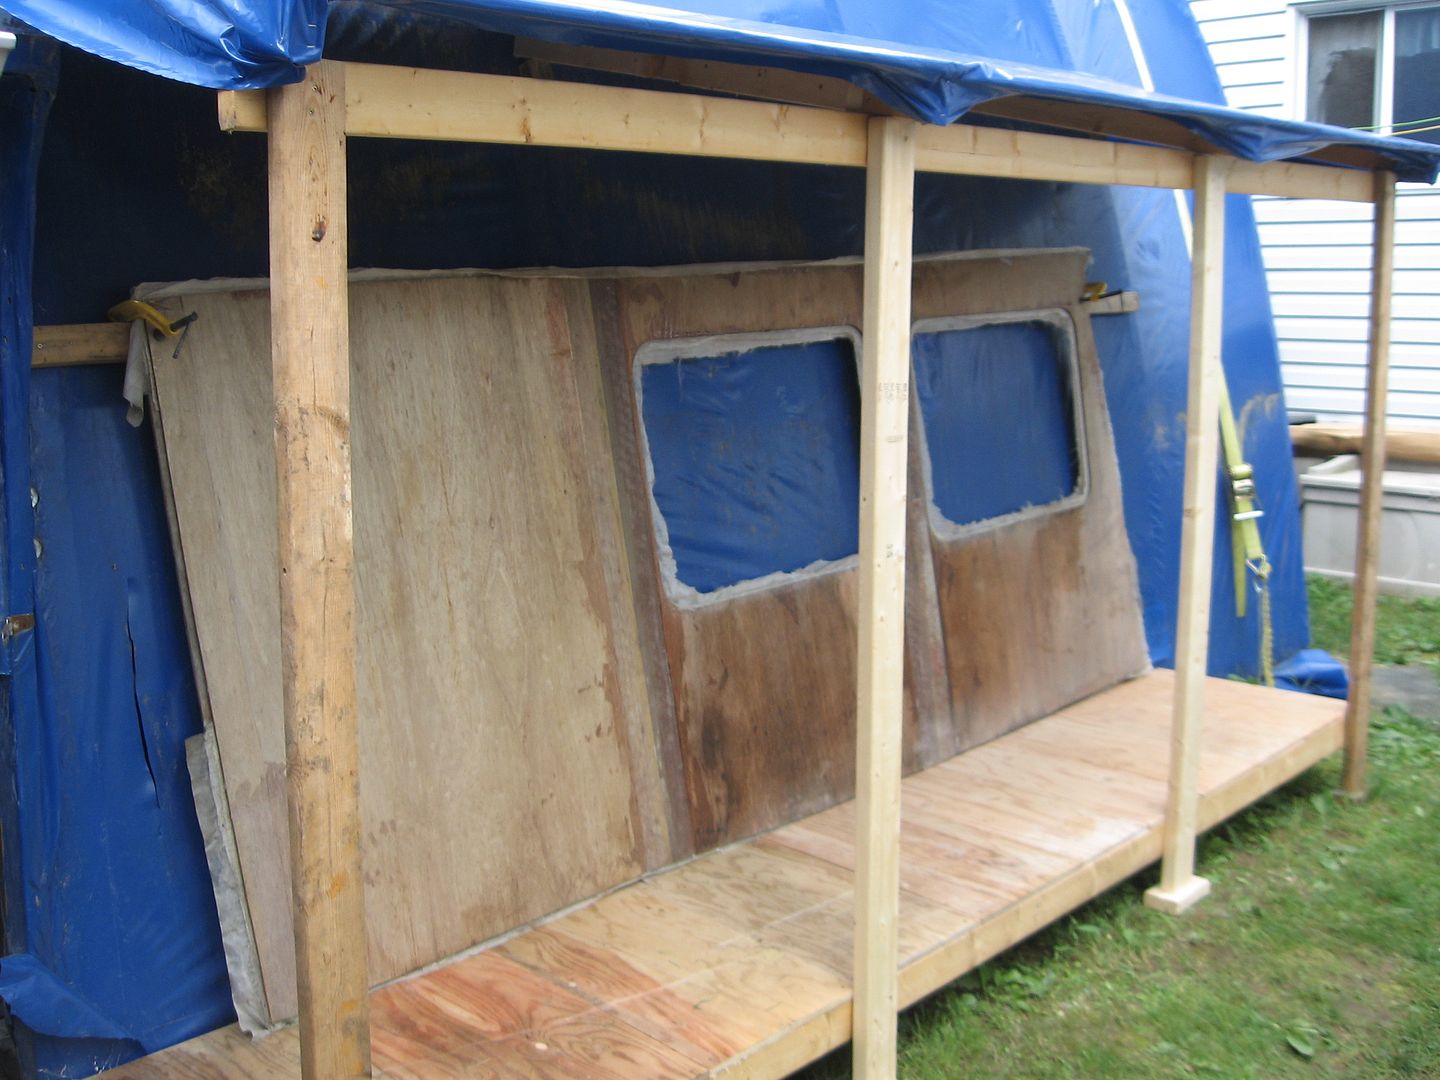
 Attached to the side of the shed where the cabin sides used to reside is the new 'lean-to'. I'll eventually cover it all up with shrink wrap so it'll be weather tight.
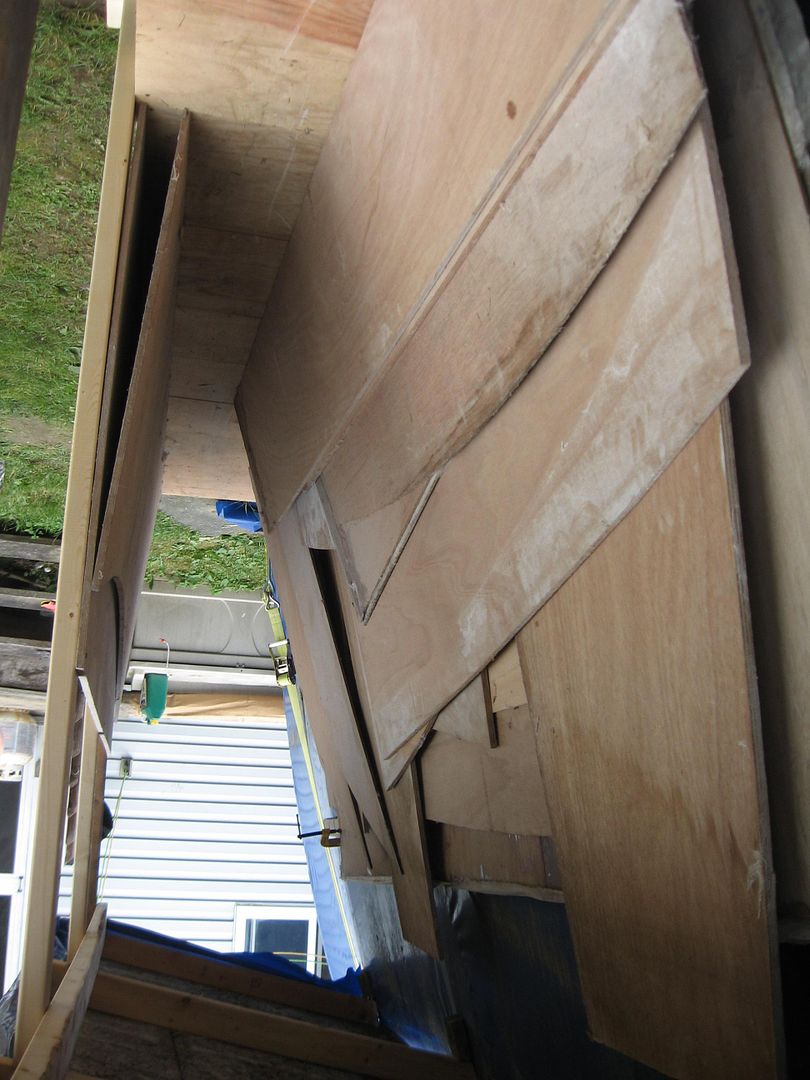
 My shop helper and I got a lot of the boat parts out of the shed and off the ground. Most of these are sole panels and side decks etc. The cabin sides are back there too as you can see in the first two photos. I still have a ton of cutoffs that I want to keep. I might have to put them in the shed and will likely build a bin to hold them all.
Tomorrow we build a work bench just for paint! Standby.....
Step #1: Get my sh*t together and get some sh*t straightened out.
This spring I saw a lot more water in the shed than in any other spring. All my offcuts of mahogany plywood were standing on the ground so they were getting stained. I knew I had to get them up and off the ground. Problem is I don't have much space, at least not in the shed. I'll need all the room I can get in there to do the flip. Eureka! Build a porch!
Tomorrow we build a work bench just for paint! Standby.....
Tuesday, July 8, 2014
Just a weeeeeeee bit of frustration
So, I wanted to get a custom intermediate shaft made for my Python Drive.


So, what's a Python Drive? you ask. Well it's a Constant Velocity Joint, actually two Constant Velocity Joints (part F & part I) attached to each other by an Intermediate Shaft (part G) that are in turn attached to a Thrust Bearing (part B) which in turn is attached to the Propeller Shaft (part K) and that whole rig is attached to the Engine Gear Box. Whew!
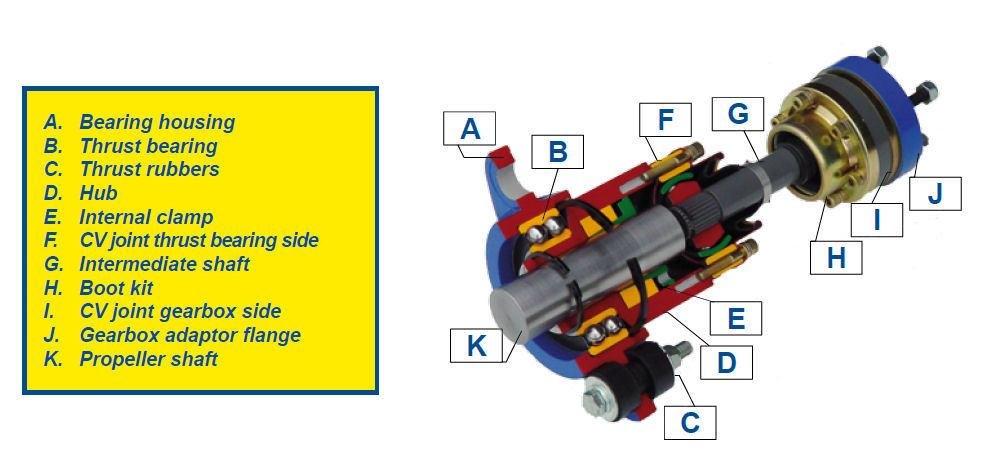
Got that? Yes, move on. No? Ok basically it works like this, The thrust from the propeller is transferred up the Propeller Shaft (part K) to the Thrust Bearing (part B). The Thrust Bearing is solidly mounted to the superstructure of the boat (framing) so that it can push the boat through the water. The output from the Transmission is transferred via the CV joints (part F & part I) and Intermediate Shaft (part G) to the Propeller Shaft (partK) via the Thrust Bearing (part B). Whew!
So, why all these extra parts? you ask. Well in a conventional boat the arrangement is for the propeller shaft to be hooked directly to the engine's gearbox. The thrust from the propeller is transferred to the transmission and its mounts or to the engine and its mounts. Alignment of the two mating flanges, propeller flange and transmission flange are critical, usually less than 2 or 3 thousandths of an inch.
 | ||
| Photo Credit: http://www.todddunnmicroyachts.com/tortuga/repower-2.html |
The setup above you can see the misalignment of the Propeller Shaft flange and the flange on the Transmission. This situation normally requires the adjustment of the engine or transmission mounts to get the two flanges to meet within tolerances. The process can be tedious. Depending on when/where the adjustments are made, in the water, out of the water etc. the alignment can fall out of tolerance. Alignment call also change due to transmission mount wear, engine mount wear, shaft cutlass bearing wear or grounding etc.
This is where the Python Drive (and there are others that work on the same/similar principals) come into play. A constant velocity joint allows a wide range (or narrow) of movement between the driving force (propeller shaft) and the prime mover (engine) or in the case of a car the drive shaft and the wheel. They work something like this.
In the case of the Python Drive the range of motion is much smaller than on a car, between 2 and 8 degs. Zero degs of alignment is not recommended as it will prevent the CV joints from self lubricating.

This angle allowance works in all orientations so it allows for a much higher degree of misallignment without possibly damaging the transmission or your engine and their mounts. There is also a fair amount of fore and aft to account for flexing of mounts in those directions. The Thrust Bearing (part B) is also soft mounted with rubber inserts to allow some degree of movement of the propeller shaft.
 |
| Photo Credit: http://www.cruisersforum.com/forums/f54/installing-a-3jh4e-yanmar-rant-36940-2.html |
Above you can see a typical Python Drive installation as described.
So, what's that all got to do with me wanting a custom Intermediate Shaft (part G)? you ask. Well, the company that makes the Python Drive is in The Netherlands (Holland). They no longer have a Canadian Distributor. I contacted them directly to get info on having a custom 1m (meter) shaft made for my model of Python Drive. The quote was reasonable:
Shaft: €55 - $80.00
Shipping: €80 - $116.25
Shipping: €80 - $116.25
Payment has to be made via direct bank transfer to their account in the NL. So off I go like a hurd of turtles to the bank this morning to get the money sent off by International Money Transfer. The teller hands me the quote:
Shaft: €55 - $80.00
Shipping: €80 - $116.25
Bank surcharge: $30.00
EMT: $100.00
Total: €224.51 - $326.25 Cdn
Shipping: €80 - $116.25
Bank surcharge: $30.00
EMT: $100.00
Total: €224.51 - $326.25 Cdn
After I picked my jaw up off the floor I had her tear that up and got out of there as quickly as I could. That's nuts! Over 4 times what the cost of the part is. So sent off a flurry of emails to the company, on hold, off hold, looking for a way to transfer the money etc. I spent about 2 hours online this afternoon looking at online services that could do the transfer to a company account. The first six were no go, they only did to individuals. On my last attempt before giving up I stumbled across an online service from the UK Xendpay that could do a direct deposit into the company's account. Their rates were reasonable. In the end all said and done it cost me:
Currency exchange: $186.52
Transfer Fee: $6.99
Payment Fee: $4.74
Delivery Fee: FREE
Total that you pay: $198.25 (Cdn)
Transfer Fee: $6.99
Payment Fee: $4.74
Delivery Fee: FREE
Total that you pay: $198.25 (Cdn)
So I'm happy. I saved a chunk of change ($128) that'll be better spent on some more boat stuff than paying for some Bank Manager's kids University PolySci or Underwater Basket Weaving text book. :-)
So, why do you need an custom 1m Intermediate Shaft (part G)? you ask. Well I guess I didn't explain that part. If you remember back earlier in the blog I told you about stretching the boat 1m in length. Well I need the engine to stay as far forward as possible near the Center of Gravity (CoG) as possible. If I wasn't able to get the custom shaft I was looking at having to have a custom Jack Shaft (shaft with two mating flanges) made locally (approx. $350) to span the gap between the transmission and the Thrust Bearing (part B).
Whew!
Thanks for looking in.
Feel free to carry on with your regular Interweb browsing activities.
Sunday, July 6, 2014
This ain't Pixar
This is no Pixar animation! :-) I've never done an animation before. It was really clunky to do in Sketchup (more likely 'cause I have no idea of what I'm doing) but I was trying to illustrate how I'll use a Gin Pole to flip the hull over.
I've omitted the tag lines & come-a-longs that'll be used to steady the hull as it turns and pull it sideways. The white pole on the left is the Gin Pole. It's a 6" X 6" pressure treated timber 16' long. 4' of it will be buried in the ground. It will have to chain stays anchored into the ground to keep it vertical. The 6 x 6 is able to handle a compressive load about 25 times that of the weight of the hull and the buckling load is at least 5 times the weight of the hull. I think it'll be safe enough. Lifting power will come from a 2500 lb electric winch.
If I have time I'll try to do a better animation. Standby.
Friday, July 4, 2014
It may have been
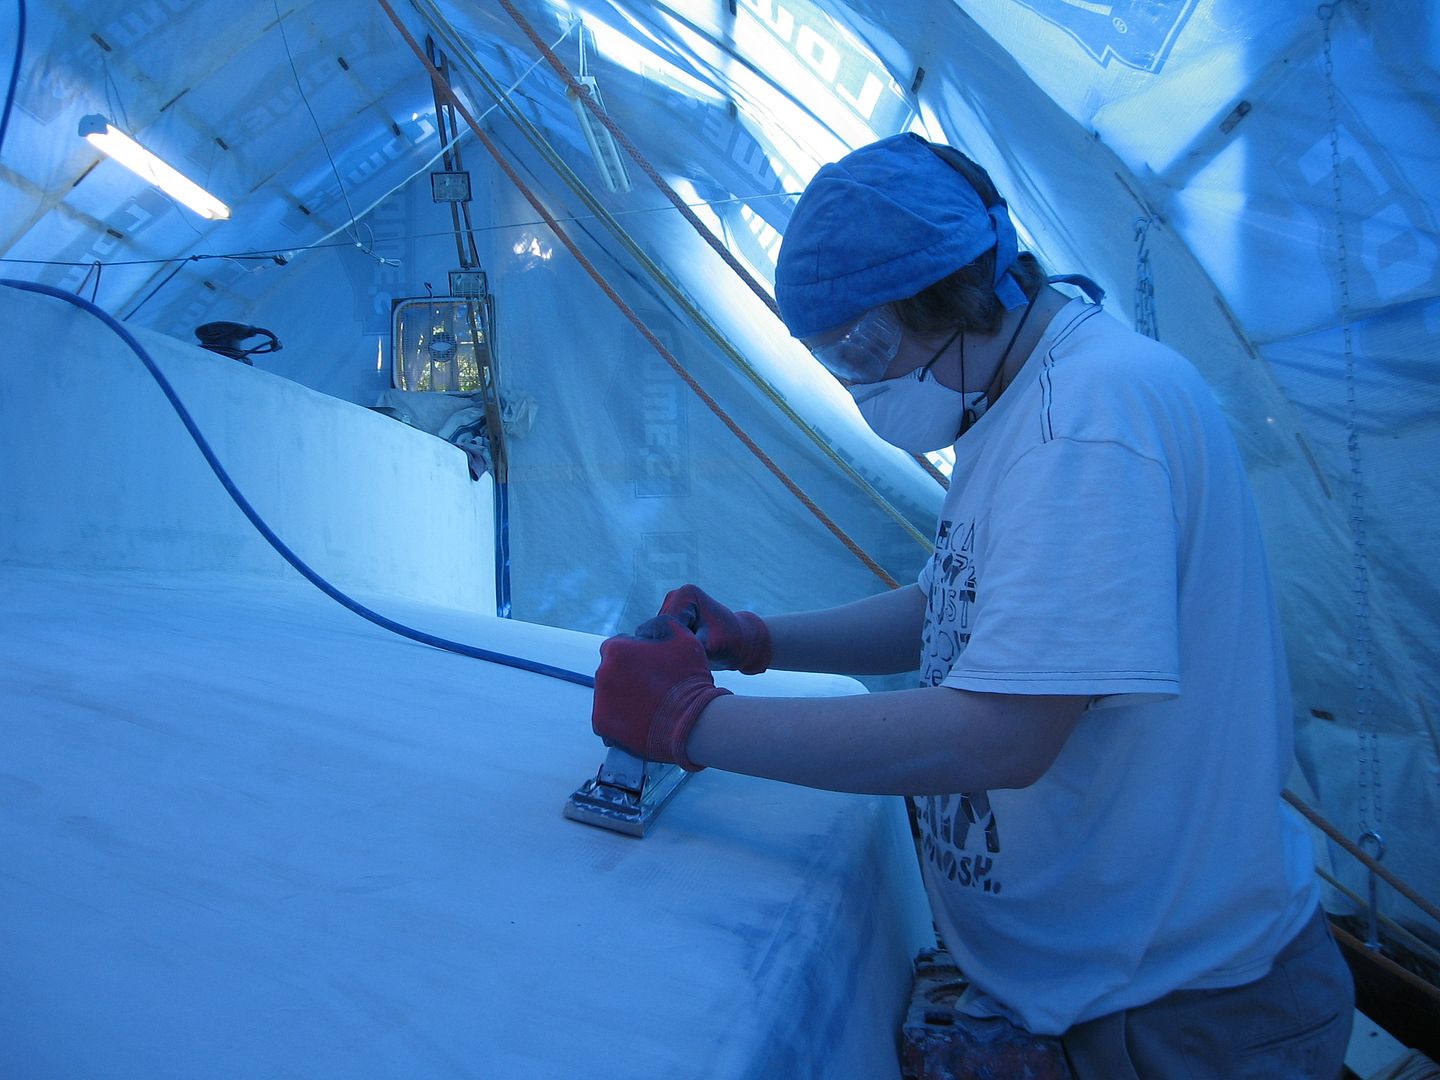
a holiday for our friends south of the border but the work never stops in the Big Blue Boat Building Shed! :-) I put the kid (Thomas) through his paces for a few hours this morning sanding the keel and bottom panels.

Here he is going down the sides with the RO smoothing things out a bit more. I'll likely have a few small spots to fill but otherwise it's pretty much ready to be sealed with a few coats of epoxy.
I busied myself bringing out some epoxy & my 'Sticky Stuff' dispenser etc. while I turned Thomas loose on the bottom panel (stbd side) with the inline sander. He used it a bit on the keel sides but it's pretty heavy and takes a fair amount of muscle to use properly. It works much better when you have gravity working on your side.

Also gave him the Flexicat to try. I don't think he liked it as much as the air powered sander. It too takes a lot of muscle to get it working properly. He troopered on though. I'll give him credit for that.

The Kid needs to take a few days off to recover (or hang out with his buddies) so I'll be on my own for awhile. That's Ok, what's left to do now is just little detail stuff. Should be rolling out epoxy to seal up the fairing compound by Monday. Standby...
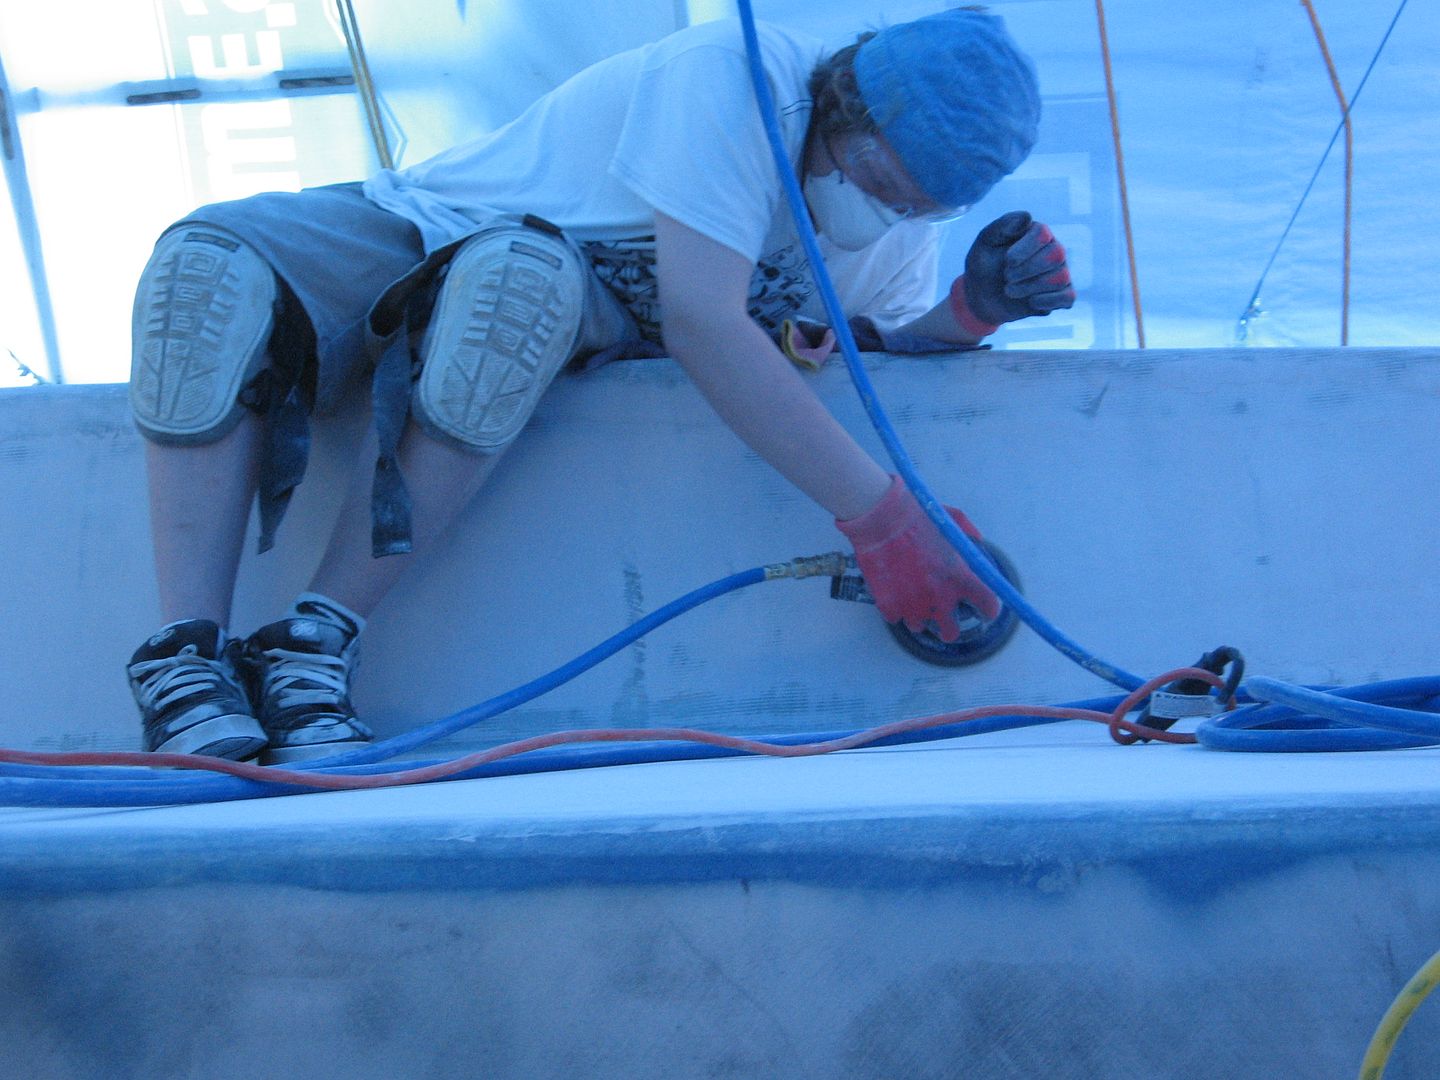
Here he is going down the sides with the RO smoothing things out a bit more. I'll likely have a few small spots to fill but otherwise it's pretty much ready to be sealed with a few coats of epoxy.
I busied myself bringing out some epoxy & my 'Sticky Stuff' dispenser etc. while I turned Thomas loose on the bottom panel (stbd side) with the inline sander. He used it a bit on the keel sides but it's pretty heavy and takes a fair amount of muscle to use properly. It works much better when you have gravity working on your side.
Also gave him the Flexicat to try. I don't think he liked it as much as the air powered sander. It too takes a lot of muscle to get it working properly. He troopered on though. I'll give him credit for that.

The Kid needs to take a few days off to recover (or hang out with his buddies) so I'll be on my own for awhile. That's Ok, what's left to do now is just little detail stuff. Should be rolling out epoxy to seal up the fairing compound by Monday. Standby...
Tuesday, July 1, 2014
Quick update
Went out to the shed at 08:00 and it was already 85 degs in there! I knew I had to get some Quikfair on the keel so we can sand it tomorrow when the help arrives. I managed to get it done in about half an hour but I was soaked with sweat. It must have been 95 degs up on top of the boat so I shut it down for the day.
That is all. Continue with your normal browsing activities.
That is all. Continue with your normal browsing activities.
Subscribe to:
Posts (Atom)