Saturday, September 28, 2013

The Marine Installers Rant & A few other things


The Marine Installer's Rant is one of my favorite blogs to follow. It has a virtual treasure trove of knowledge buried in its pages on many things electrical and electronic on boats. It's author, Bill Bishop - Parmain , is a very experienced marine electronics installer who's taken it upon himself to share is experiences, good and bad. I asked him a week or so ago if he could put together a list of his top 10 tips or tricks that a boat builder could use to help make his (and others like him) life easier. Definitely a 'must read' for anyone building or refitting a boat. Here's what he's come up with:

http://themarineinstallersrant.blogspot.ca/2013/09/the-top-ten-things-that-make-my-life.html

A more modern rendition of an old Floyd tune, this one's for you Bill. Thanks.


The fall ritual begins. First the ole' Camaro got an oil change prior to being stored away for the winter then it was time to look over the boat shed for repairs. Just like other years there's a few issues to be dealt with.
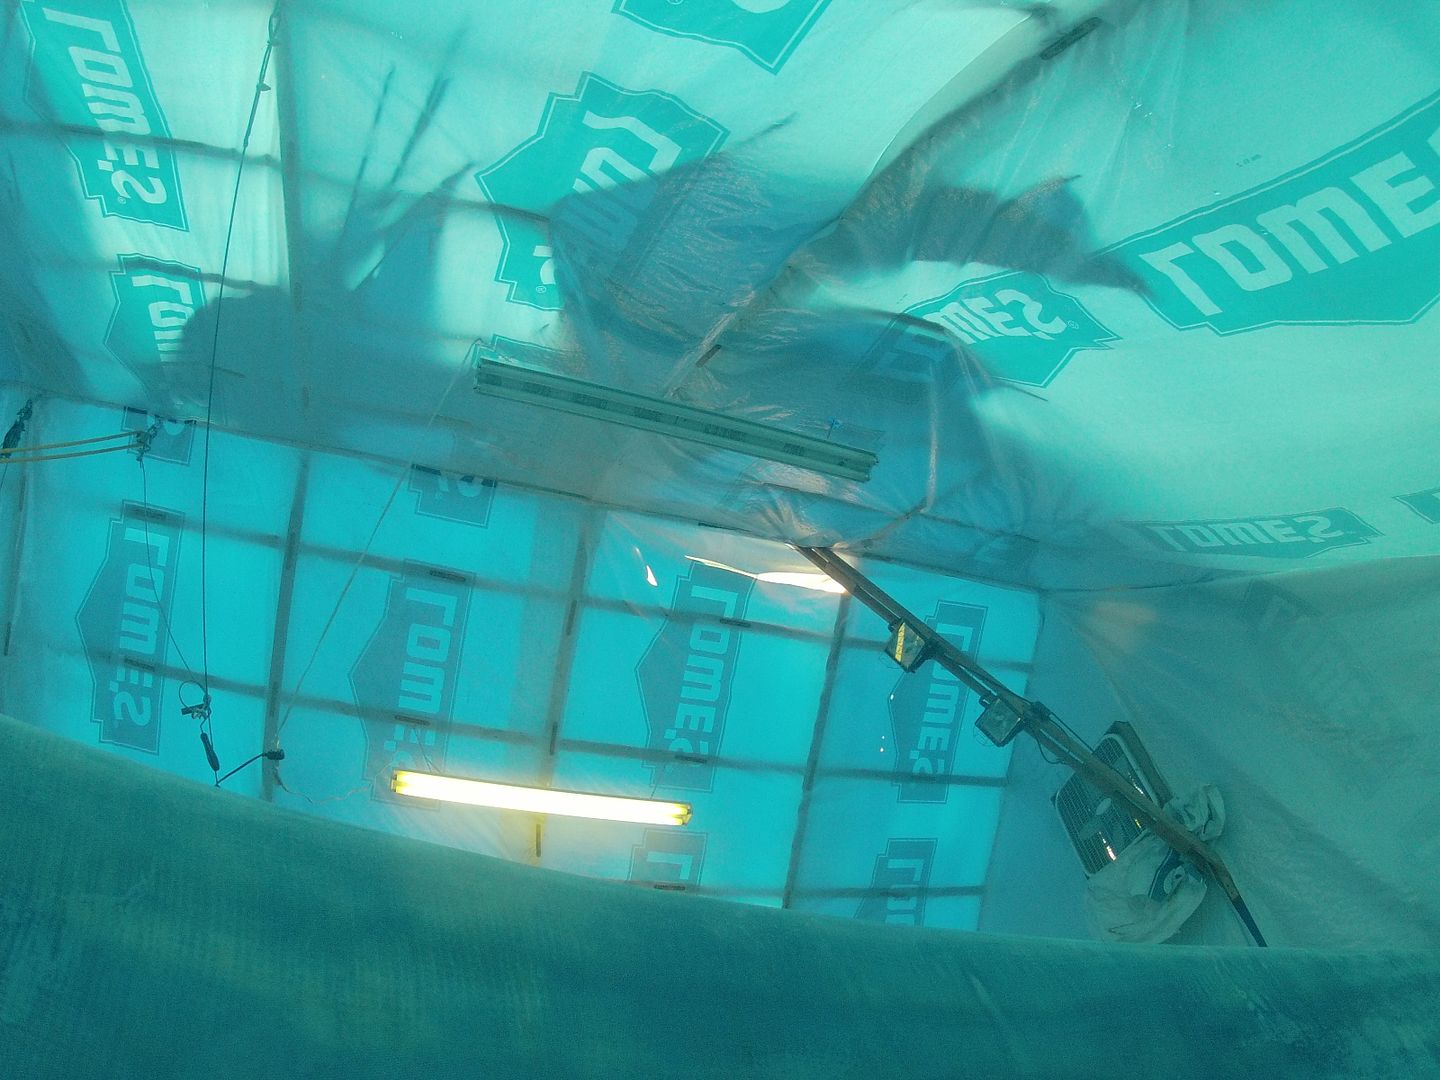
You can see the rip just near the ridge. This one has opened up in the last few days. I think it's a case of the shrink wrap plastic breaking down from UV exposure. This side has been pretty good since it gets little direct sunlight. The plastic has been up there almost 4 years now so I guess it was due for a failure or two. Most of the other patches are just small holes.

I spent the rest of the afternoon sanding and testing out my fairing skills (which I obviously don't have). I find it hard to get consistent results with the materials I'm using. I think I'll have to invest in more Quickfair.
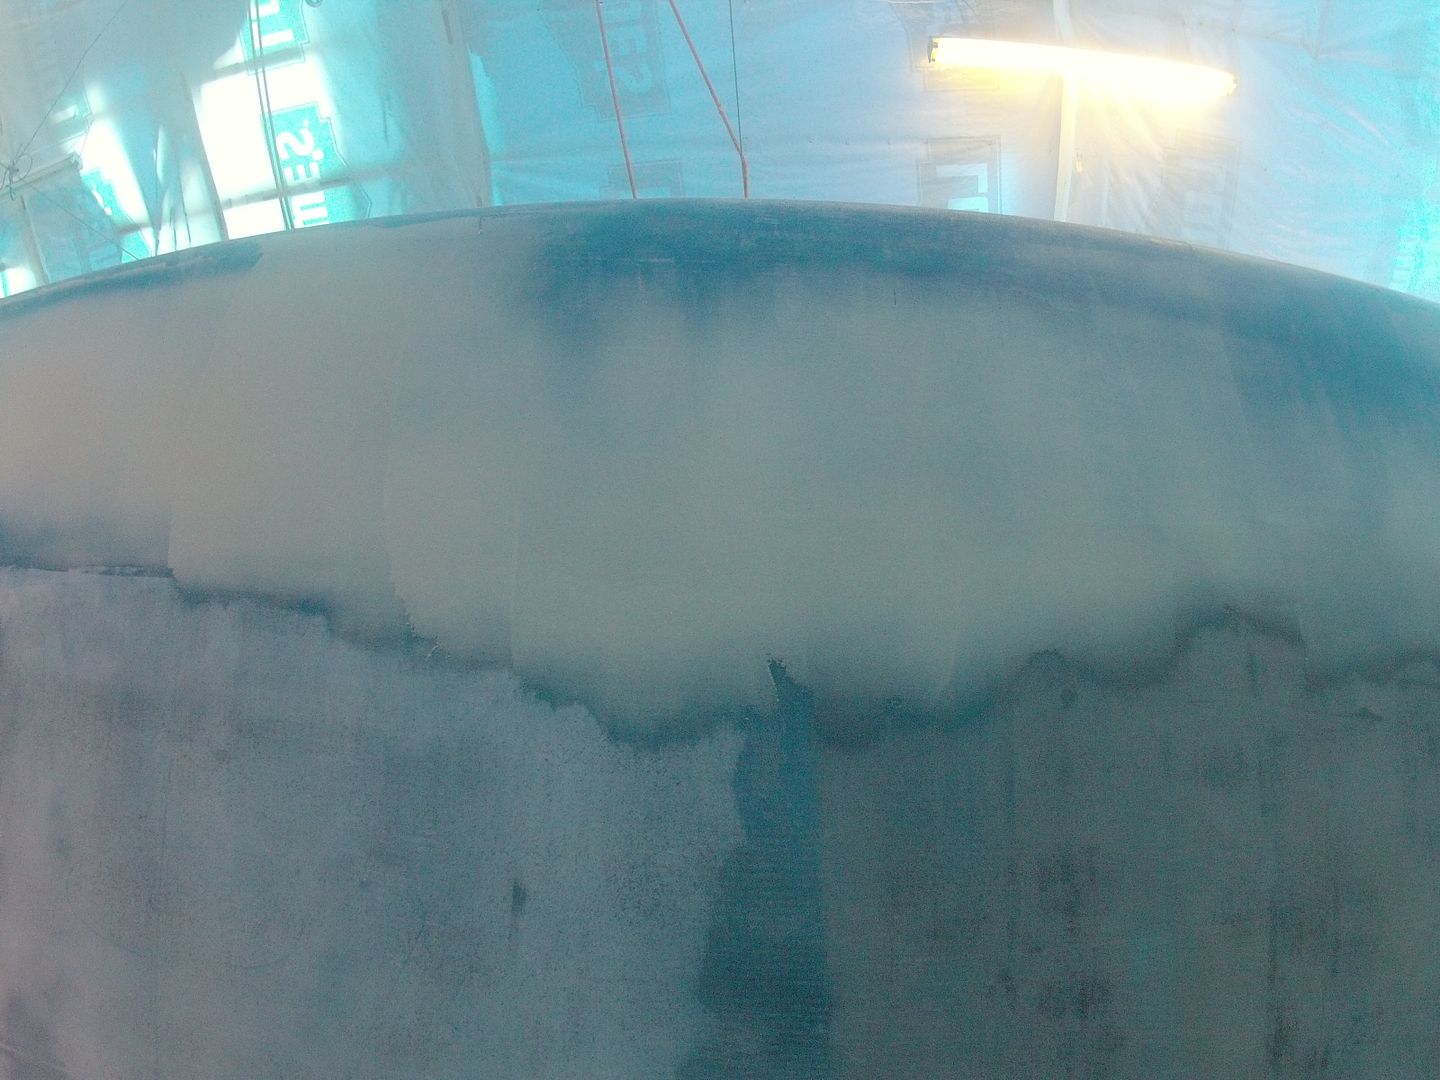
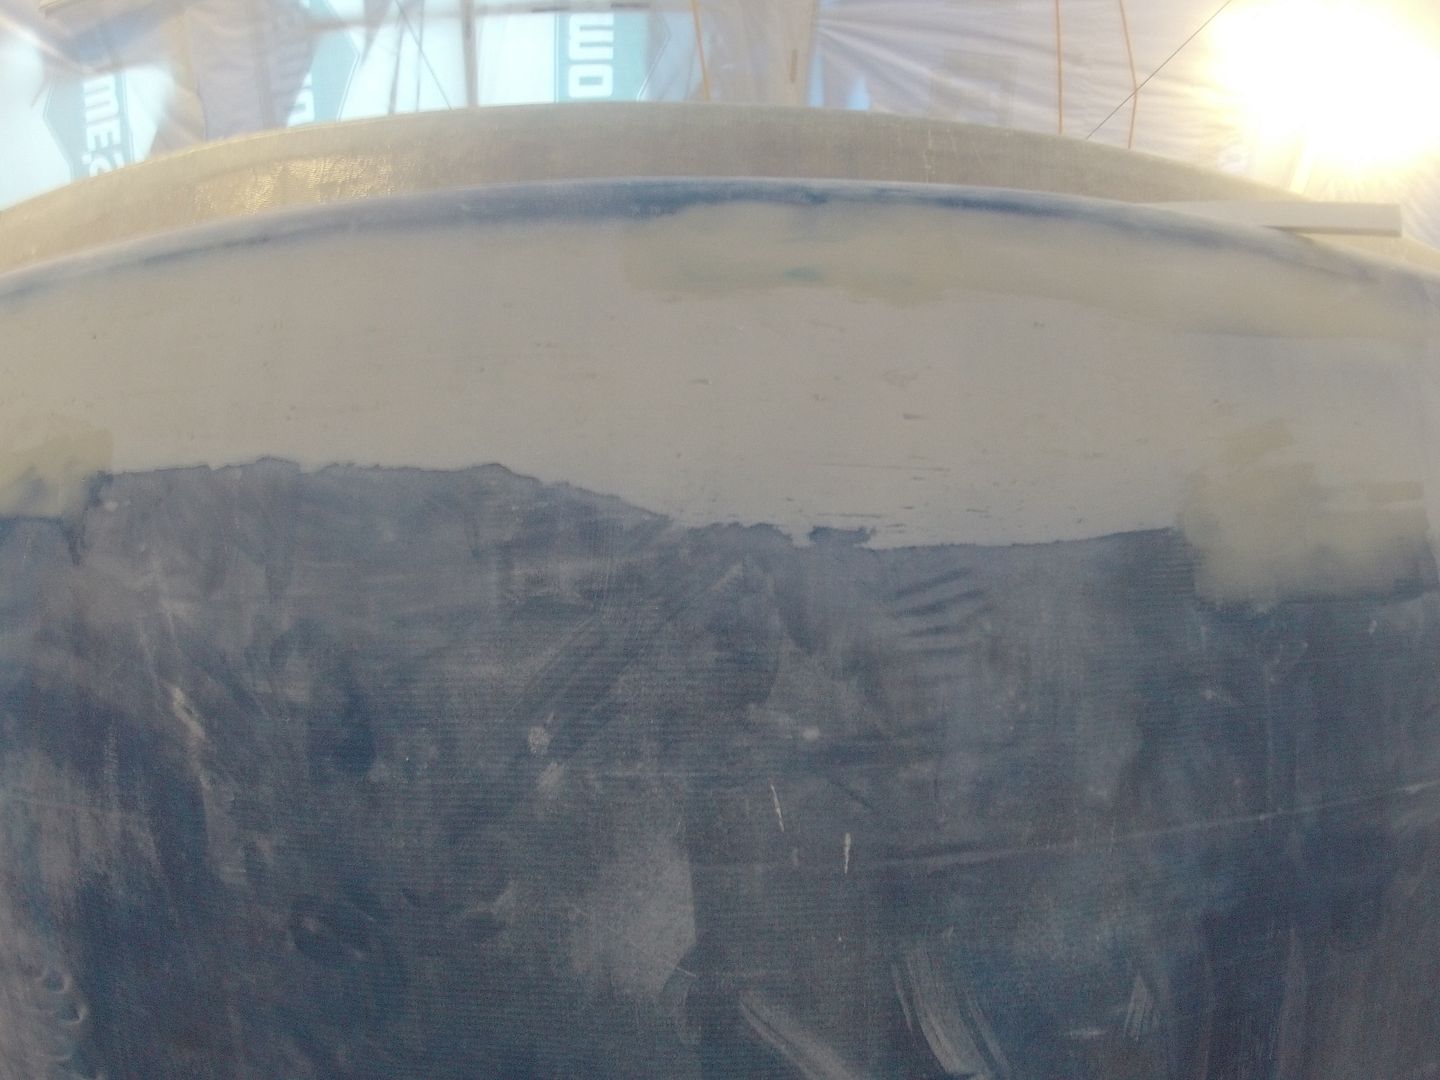
The hardest part to fair right now is the ridge left from all the overlapping fiberglass on the chine (where the bottom panels meet the side panels). By my count there's 4 layers of tape and 6 layers of fiberglass cloth all overlapped there. I'd say at the deepest there's a 1/8" gap to be filled and faired.

The side of the boat I last fiberglassed got a light sanding today in prep for fairing. Using a lighter grit (80) sandpaper made pretty light work of it. About an hour and a half and I was done the entire side. I was so happy I decided to do another home movie for your watching pleasure!  ;-)


My buddy Andrew came over this morning and helped fix up a few holes in the shed. I'm glad I got a buddy who's part monkey!  ;-)  Thank you Andrew!


Sunday, September 22, 2013

Sunday Sandinsanity

Today was a sanding test of the test patches I put on the hull yesterday. I put it all together in a video for your watching enjoyment!  :-)

I learned a few things too. If you have extra goop, don't just slather it on somewhere random. You're just gonna have to sand most of it off! Doh! I think fairing the entire hull is going to be a big job, much bigger than I thought. But that's nothing new with this project.

The Quickfair is specifically made for this process and is the easiest to work with. It's a bit spendy but so is using epoxy and your own fillers. I'll do as much as I can with what I have then buy some more Quickfair for the final fairing before primer.

That's about it till next weekend. Back to work tomorrow. Standby...

Saturday, September 21, 2013

I'm absolutely sure

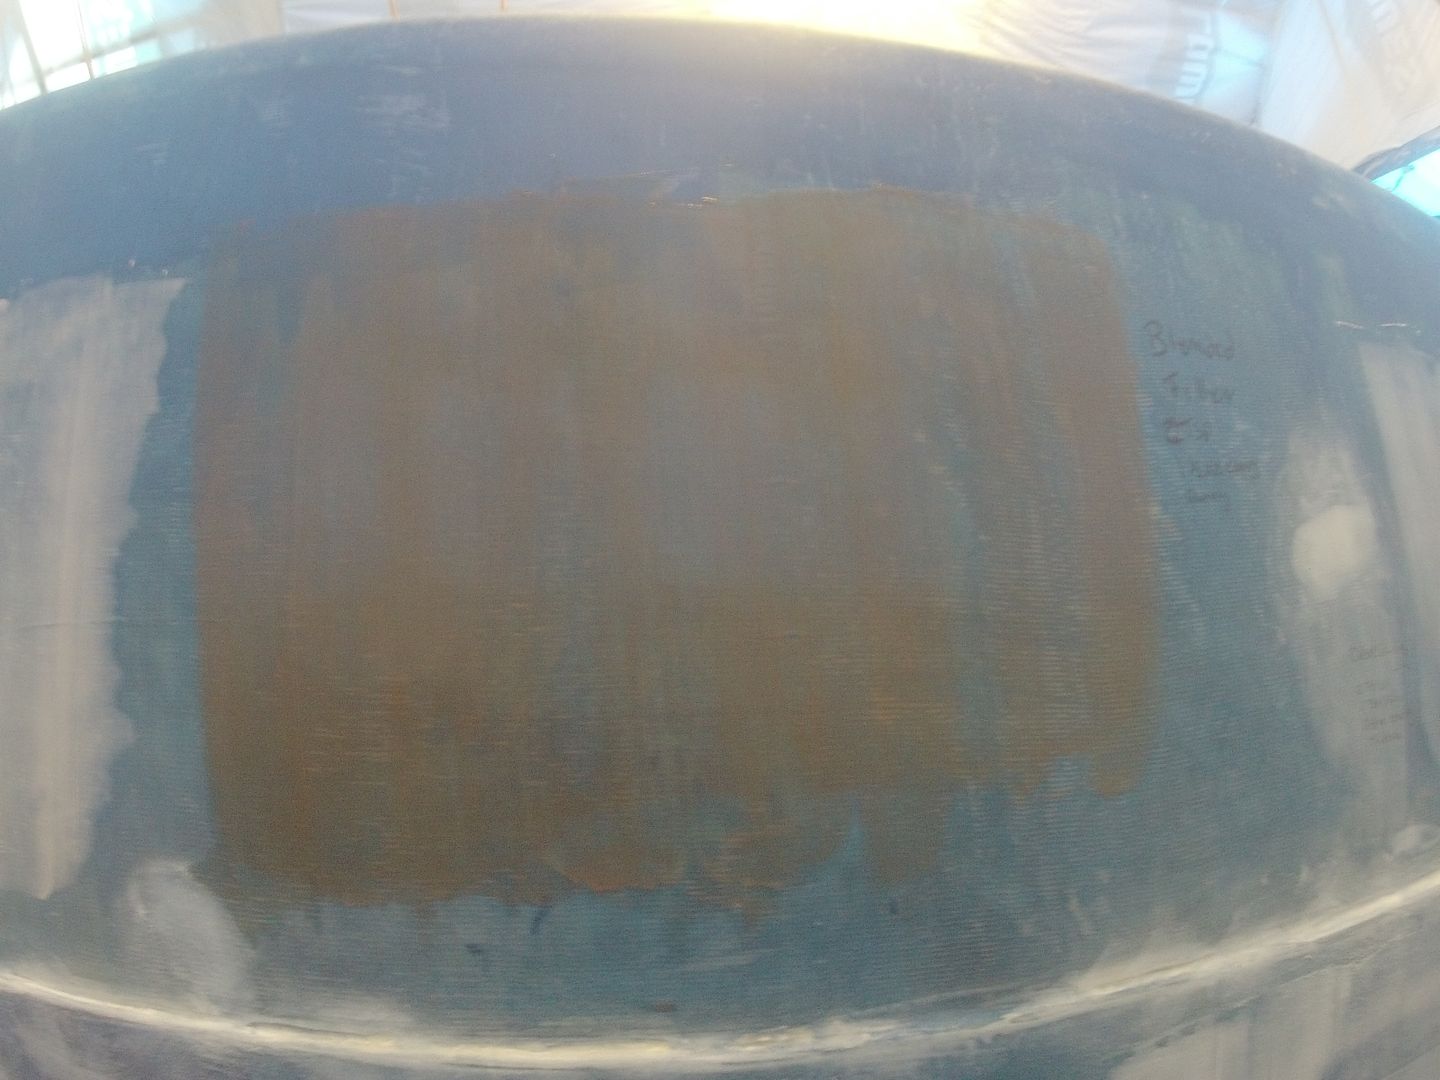
I know nothing about fairing a boat hull. So with that in mind I tried a few fairing recipes with the materials I have on hand. The first one I tried is called 'blended filler' from Bateau.com. This is a lightweight filler sold by the designer specifically for this purpose. I had a small sample I got with a test kit many moons ago.

This section of the hull is very fair already so a skim coat should give me some idea of what it's like to work with and sand.

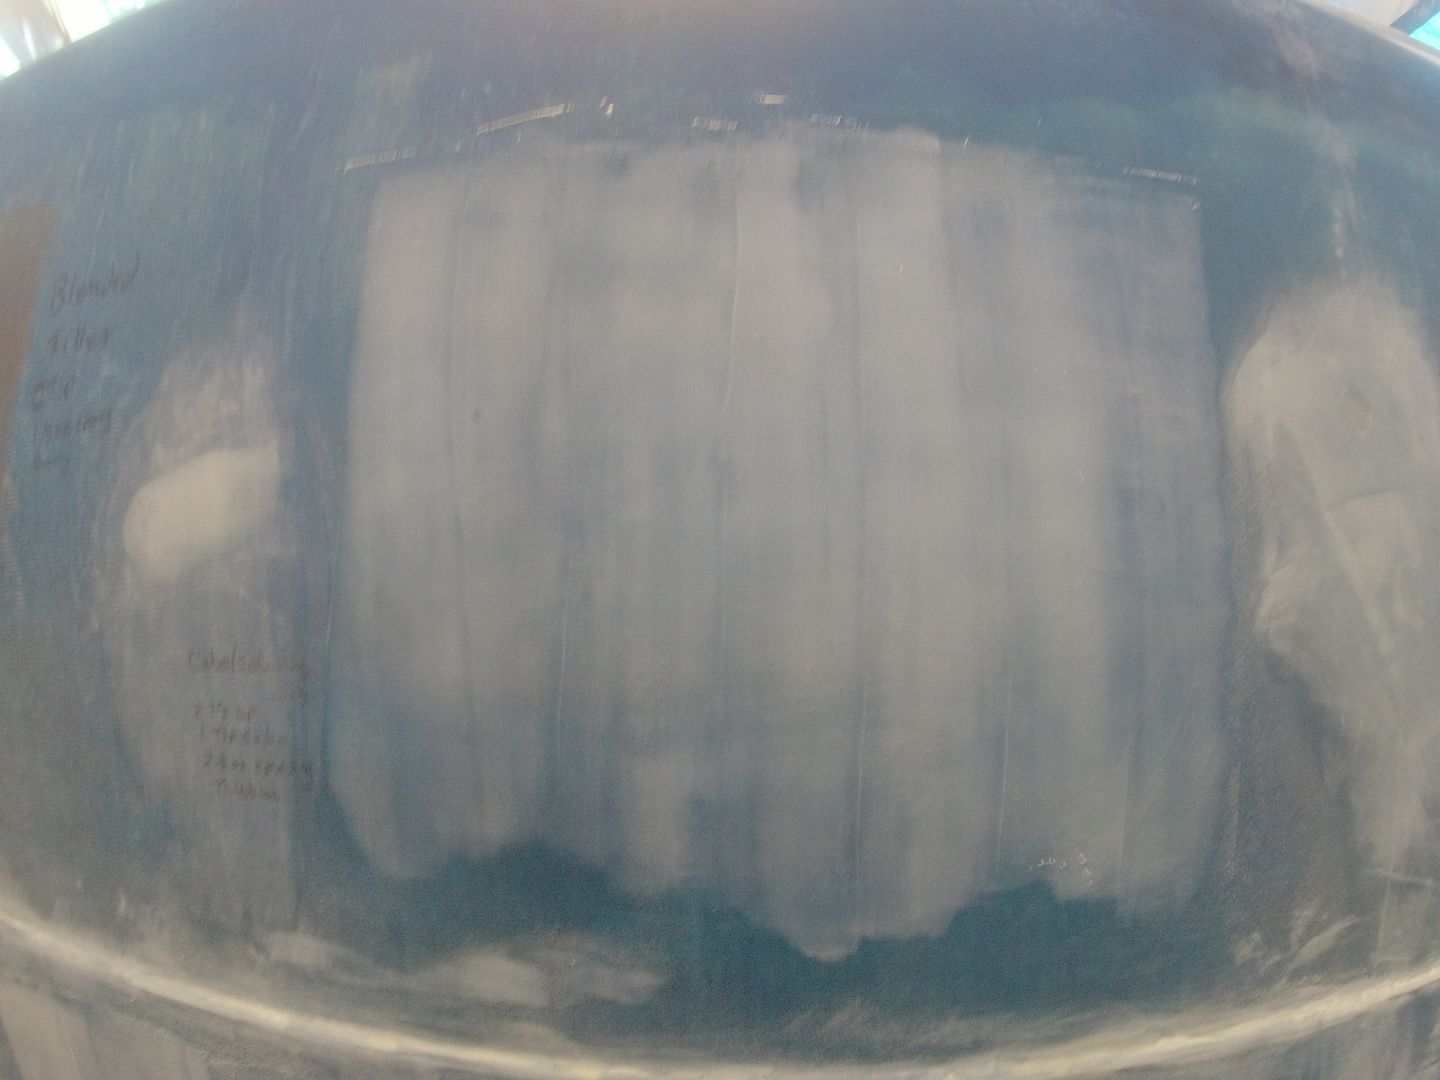
The second I tried is a combination of microspheres (tiny glass bubbles) and cabosil (colloidal silica). It makes a very light weight filler and should be easier to sand.

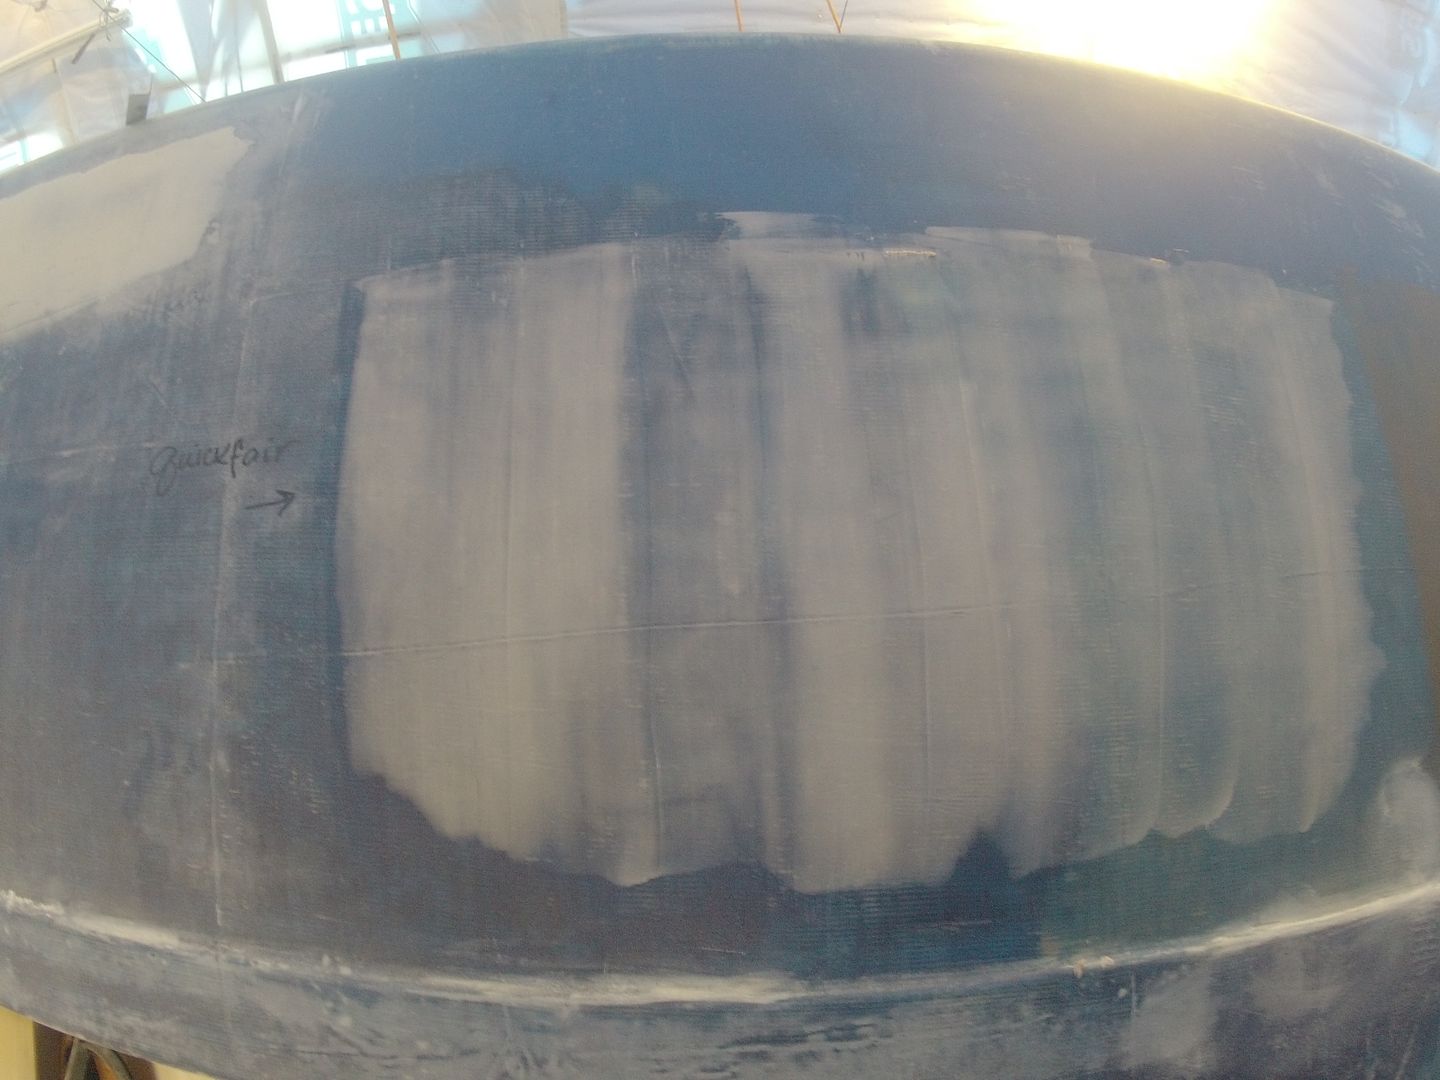
The third fairing compound I tried is a readily available filler called "Quickfair" from System 3. It comes as a two part product you mix just like bondo. It's easy to work with and I've dabbled with it before. Very nice to work with.

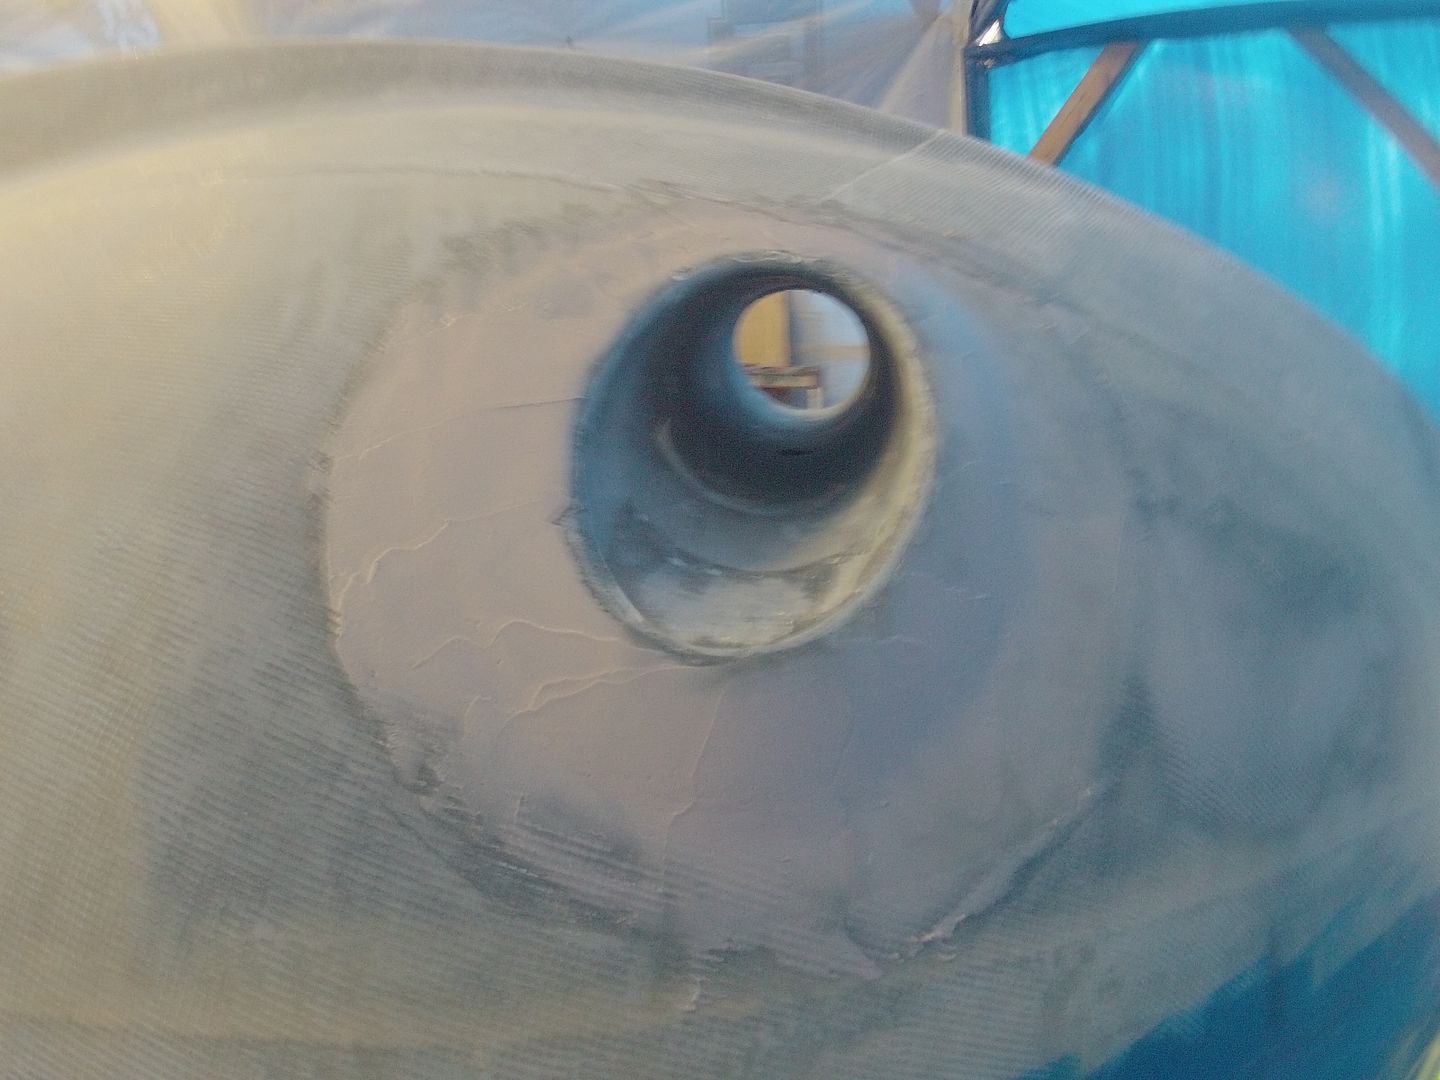
You can see from the picture it's a bit thicker than the others. Certainly overkill for this section of the hull. I used what was left over around the bow thruster hole.

There's one particular section of the hull where the sides join the bottom where there's a pretty significant gap that needs to be faired. This was caused by the multiple layers of fiberglass all overlapping at this point. There's 4 layers of tape and six layers of fiberglass all overlapped there. At the worst I'd say there's about a 1/16" gap.

I mixed up a much heavier filler for this area. A combination of microspheres, cabosil and wood flower for bulk. Even mixing it rather soupy it's hard to spread out evenly. I used a large drywall knife and followed the curve of the chine as a guide. It'll be a bit harder to sand simply because of the bulk of it. It looks messy and it is!  :-)  That's part of the fun of building a boat I guess!

Tomorrow I should be able to block sand the test patches and see how they turned out. Standby....


Thursday, September 19, 2013

Video processed and ready to go

Here's another video delight to waste some more of your time!  :-)

Still working at improving the videos. It's hard to condense 3 hrs of raw video into 6 1/2 minutes. Thanks for looking in.

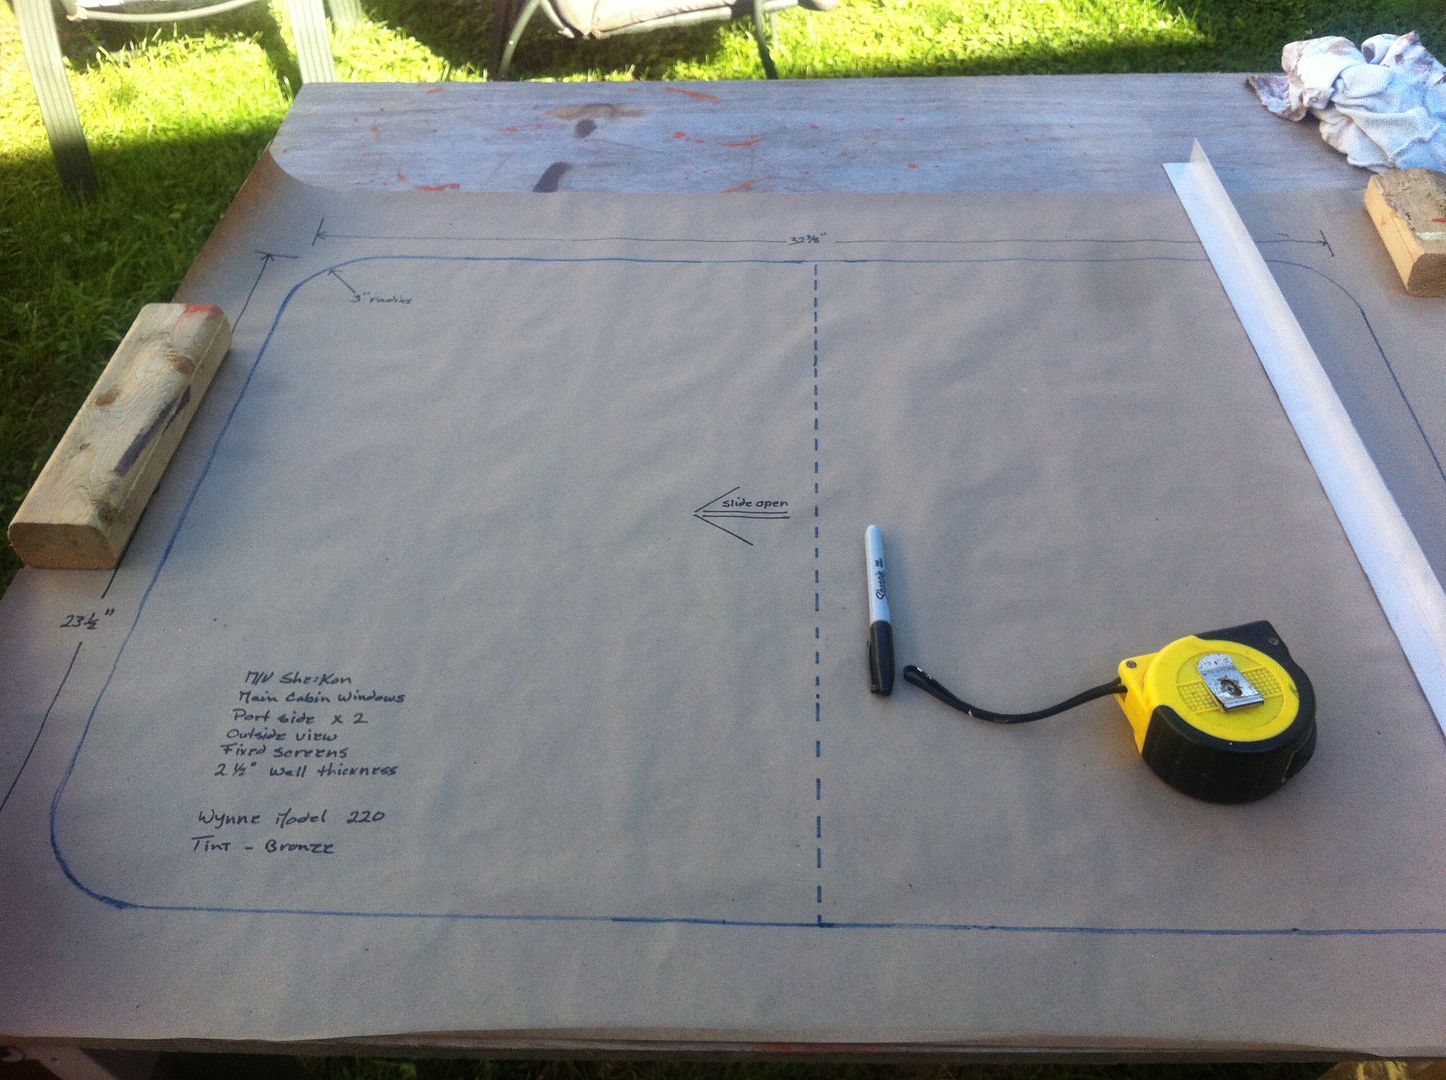
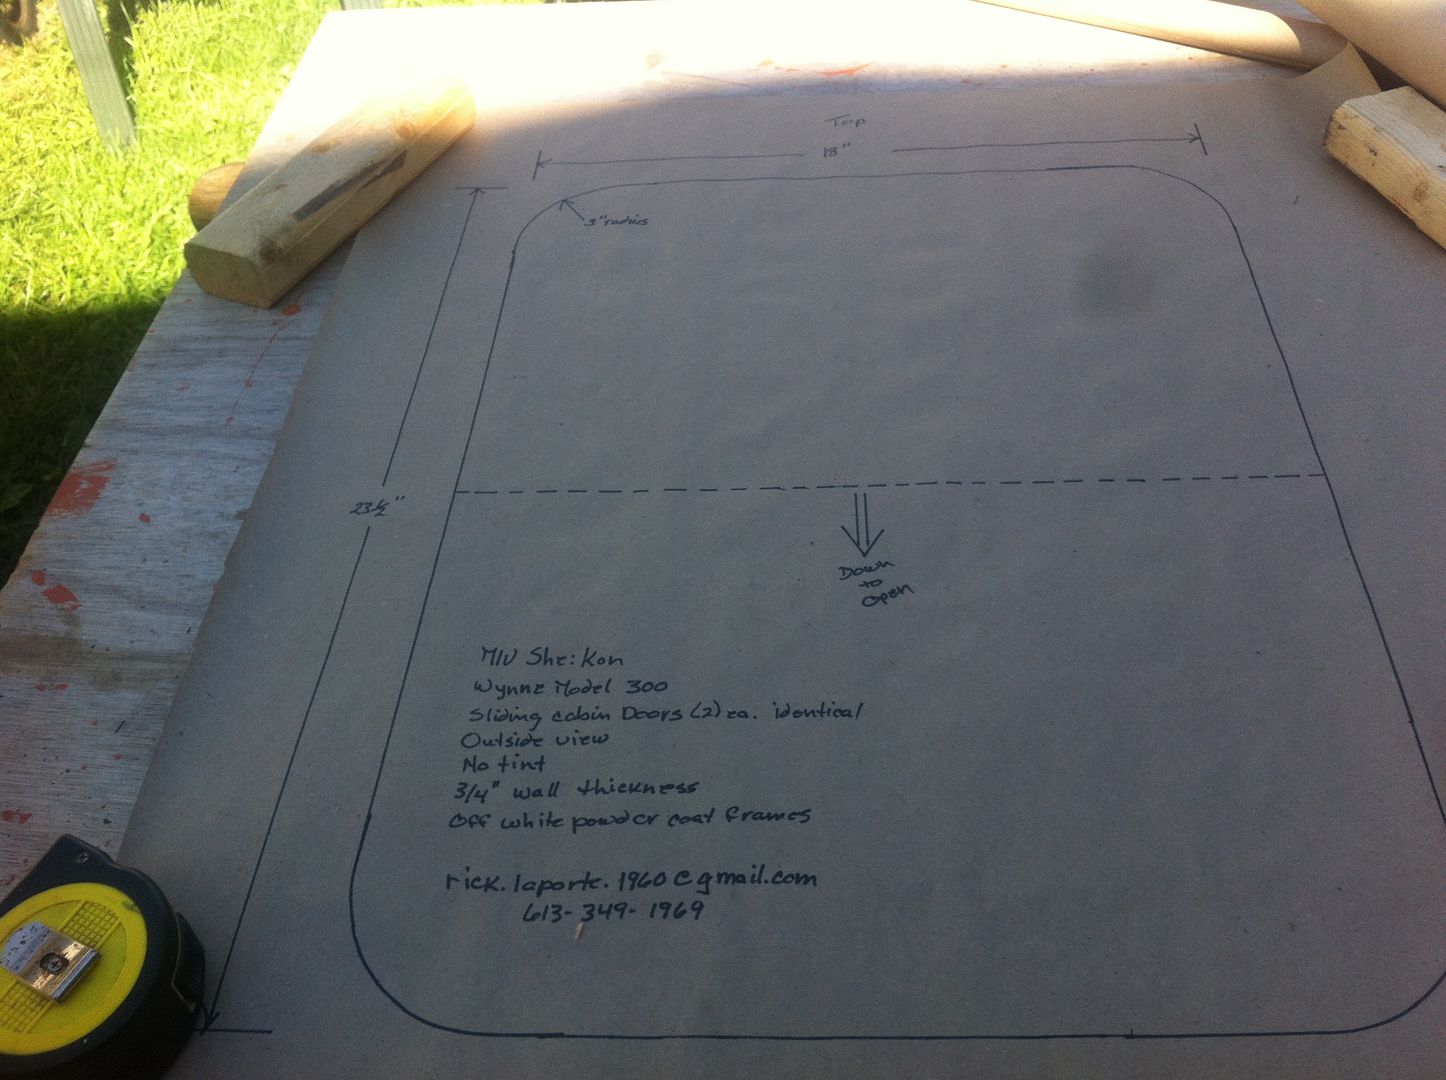
Update: This mornings task was to make templates for the windows.

All the windows were CnC cut in the kit so it was easy to use the cutouts to make the templates. I had to specify styles & materials. This one above is one of 4 side windows. They'll be polycarbonate sliding windows with fixed screens, tinted Solar Bronze.

This one was a little more difficult. It's for the sliding doors that were not CnC cut in the kit. It's part of the modifications we made to the design so some of it is pure guesswork at this point. I'll ask the company for a quote and see what these will set me back.

We've decided to open up the aft bulkhead of the main cabin and make it more like a 'picnic' boat. It'll look something like this.

Well maybe not exactly like that but you get the idea. We'll enclose the aft cockpit with a canvas enclosure and a canvas wall for privacy. I think it'll open up the boat immensely and make it much nicer for socializing while underway. The near total removal of the aft bulkhead will make it a bit challenging to replace the structure that's removed. I have a few ideas on how to do that.

Yesterdays fiberglass turned out fantastic. Hardly a bubble in sight and those are long the hull side/bulwark where they won't be seen. I intend to put a large rub rail, likely a rope rub rail along that line. Something like this.

Maybe not that big of a rope but you get the idea. Going back to work tomorrow so things will slow down a bit again. Standby.....


Wednesday, September 18, 2013

I do try to learn

from my mistakes or previous attempts at this boat building stuff. As you saw earlier I hauled the peel ply off the other day's work on the starboard side and the results were just Ok. Today I decided to forego the peel ply and relied on some aggressive squeegeeing to get eliminate the bubbles and dry spots.

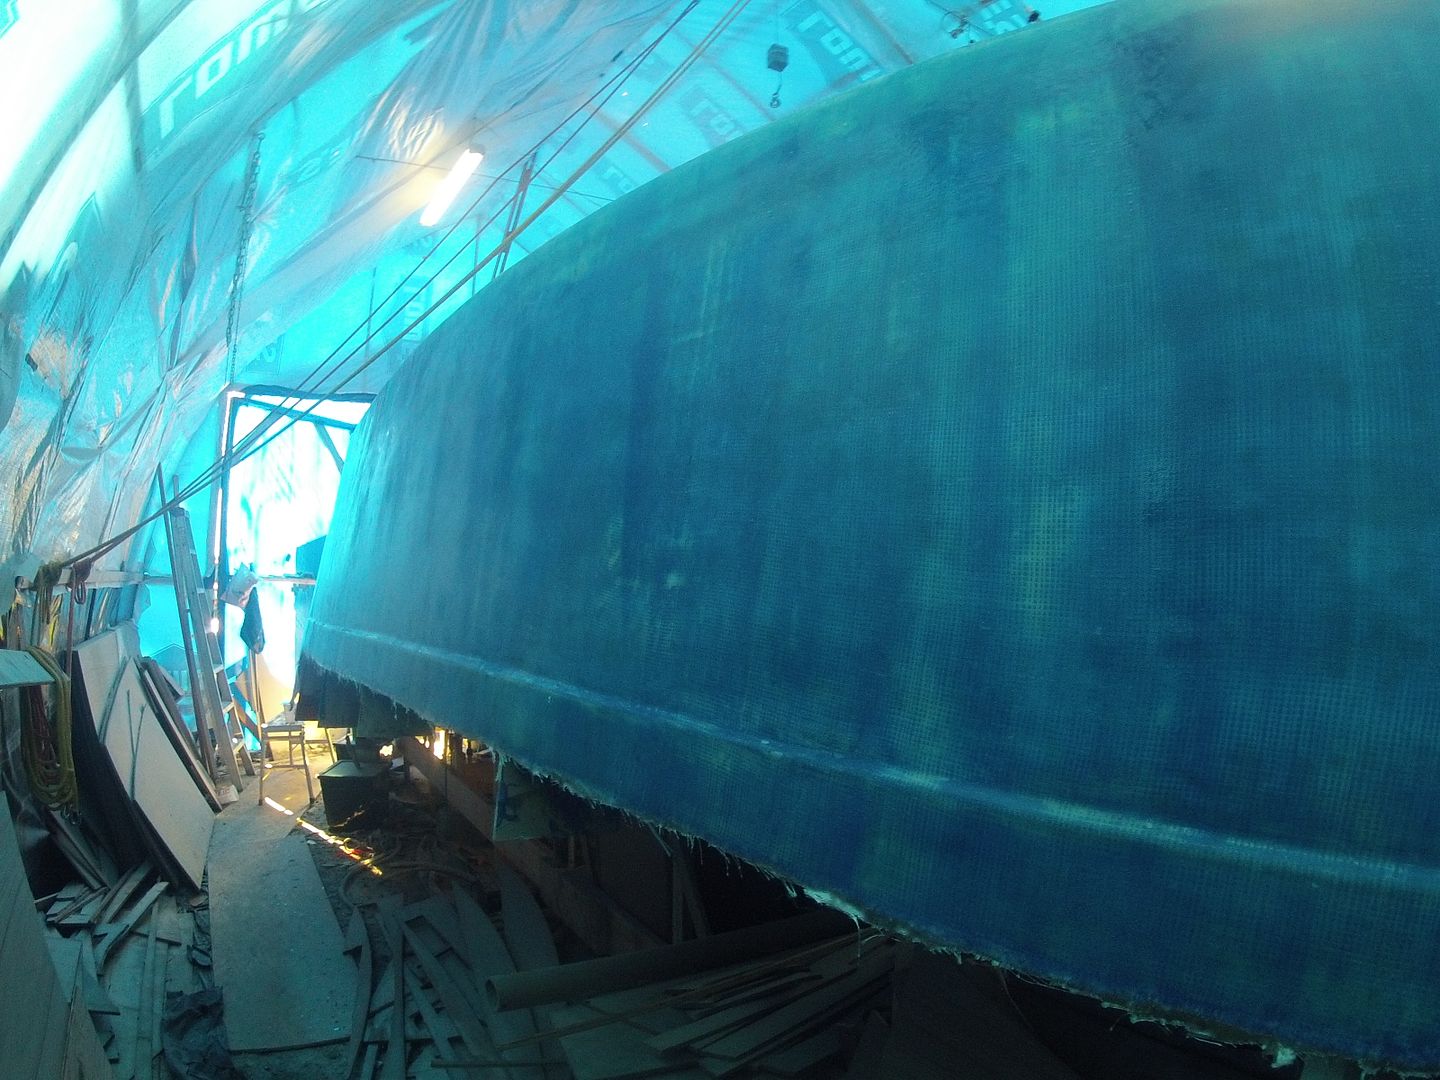
Starboard side looking forward.

Starboard side looking aft.

I know the pics don't look like much other than the 'big blue blog' but there's a discernible difference between this side and the one I did the other day. I used half the epoxy in about an hour less time and there's no bubbles or dry spots. The downside is when this cures the entire surface will have to be sanded before I begin the fairing process. The other side won't require much sanding at all. Just a few spots where I had to fill some bubbles.

Today's tally was 2 3/4 litres of epoxy, one roller sleeve (a new one I tried and liked very much), 8 pairs of latex gloves (I changed often handling the GoPro camera) and under 3 hours to complete.

Today's work represents sort of a milestone. This is the last fiberglass that'll go on the outside of the hull! :-)  That's it. It's onto fairing from here. So the steps are, fairing, barrier coat, primer, paint the bottom and flip this whale (in the spring)!  :-)

I'm working on another video so I'll post that later. Standby.