So after a very disappointing year in the boat shed I've got to try to get this project on some sort of track. I'm thinking I'll set some goals to be met.
Finish Rudder: Final fairing & infusing reinforcement (glass and carbon fiber) layer. Paint.
Install Engine: New motor mounts, fasten down into place. R&R all hoses & starting circuit wires.
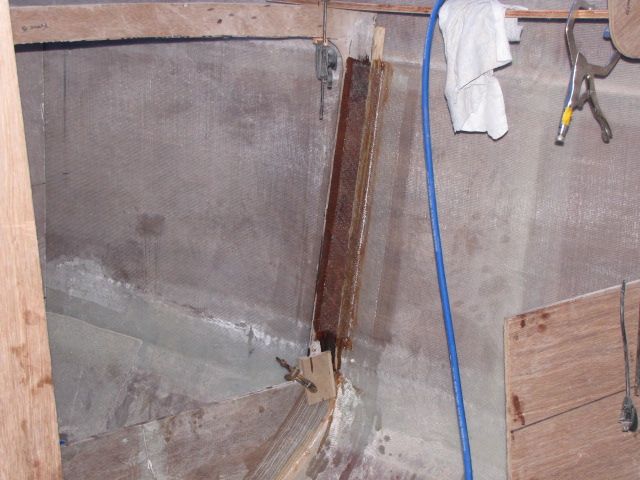
Install Skeg: Seal and bolt in.
Install Rudder: Finish rudder stuffing box mount & down tube. Install bronze rudder bushing.
Install Prop Shaft: Install shaft tube and bearing carrier. Install shaft and have custom cut to length. Reinstall.
Frame E Install: Main bulkhead install.
Finish Tabbing: Almost all internal joints need another layer of tape and/or fillets & tape.
Tank, Water Heater & Battery Beds: Fabricate and install all six tank beds and one each for batteries and hot water heater/pumps.
Aft Framing: Complete last three aft frames.
Raw Water Inlet: Install raw water inlet for engine cooling.
Exhaust: Run exhaust hose and thru-hull so that engine can be run every few months.
Crash/Bilge Pumps: Install crash & bilge pumps in engine space
I think I can do that much this upcoming boat building season. It's a lot of work and I know I'll need some help for some of it. We'll see how well the old body holds up. Hoping to get a good head start on it in the spring, weather permitting of course.
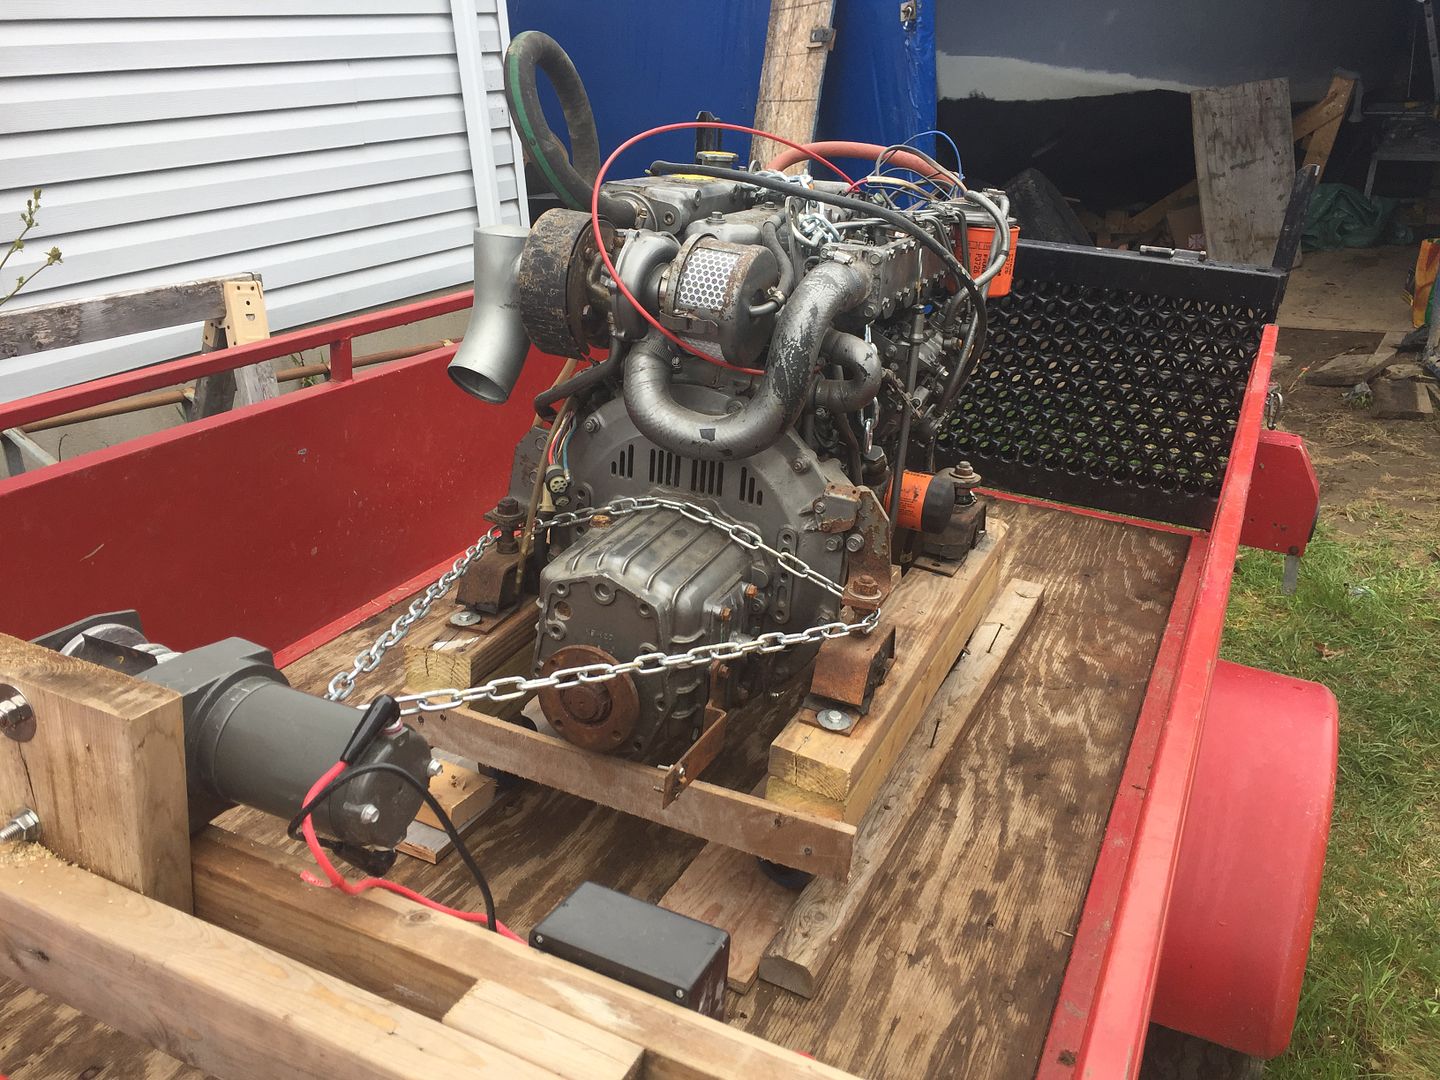
At long last our lil' huffer (diesel engine) has made it's way home.
Yanmar 4JH-TE 55 Hp Turbo
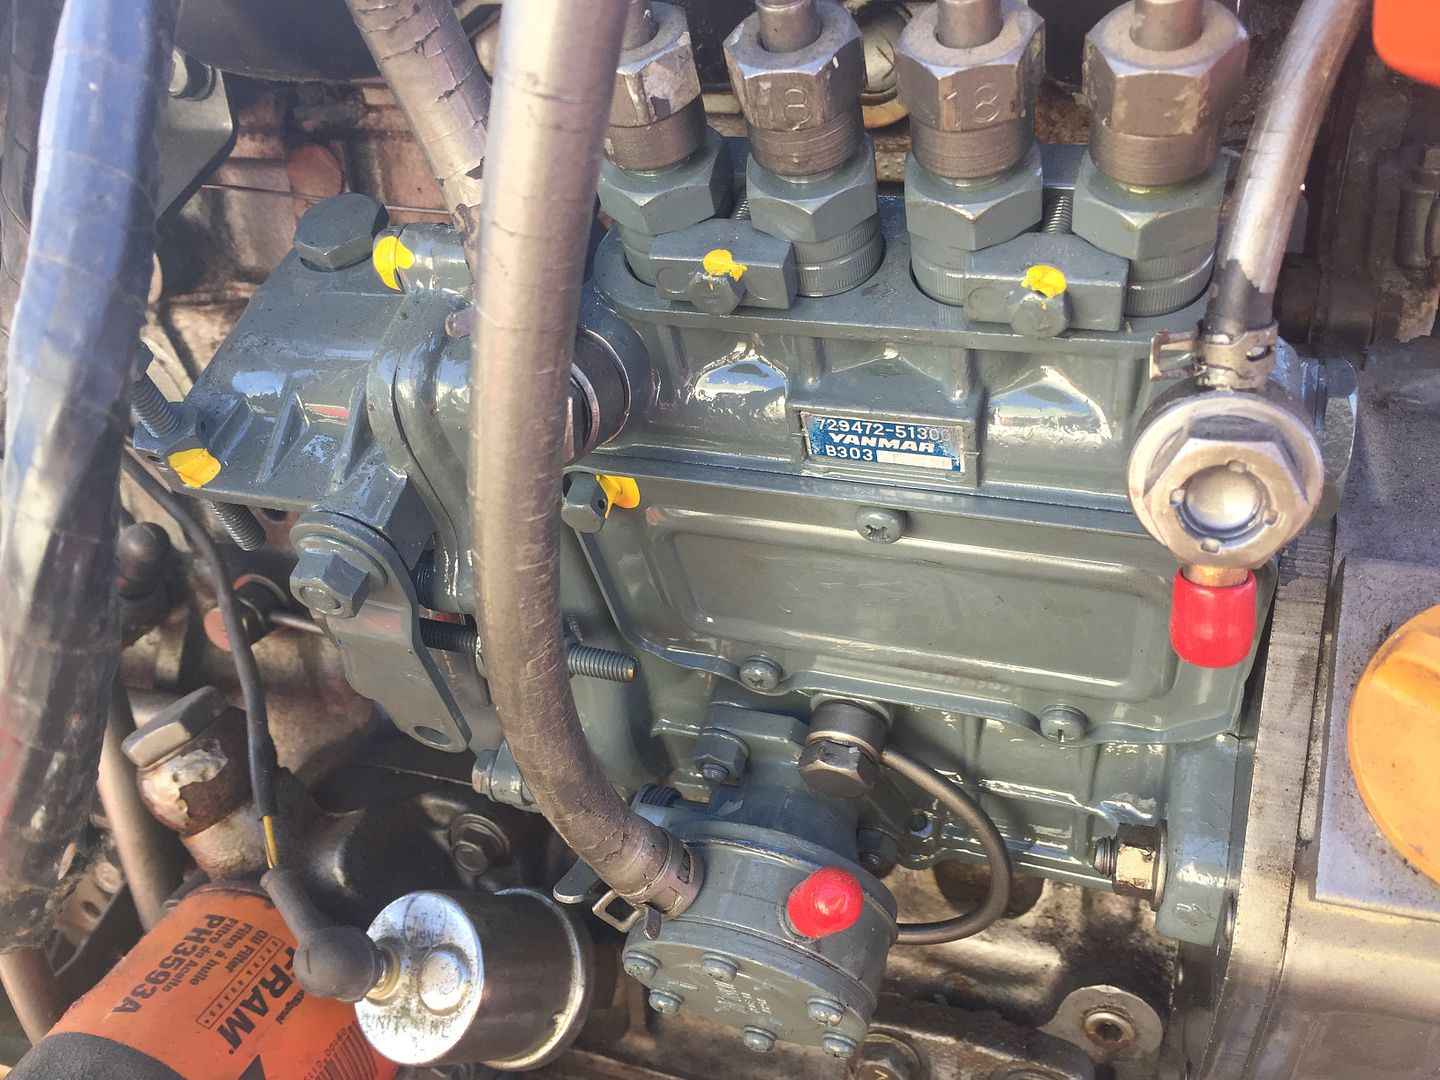
It took approx 6 months to get the fuel injection pump rebuilt and re-installed. Apparently it was a problem with sourcing the parts required. There was a lot of damage inside the pump from improper storage (my fault) or pre-existed. Anyhow it's home.
The Offender - Fuel injection pump
She's all tucked away under 4 layers of tarp and sitting in the lil' red wagon. I've got some work to do in the shed in the spring and we'll set her in the boat ASAP. The service technician said I should run it ever 3-4 months so that's what we'll do!
That should be it for boat building this year. I know there wasn't much that got done and nobody is more disappointed in that than me. Maybe next year will be better.
Stay well and happy my friends. See you in the spring.
With only a couple weeks left before we head out on our Big RV Adventure I've been doing just a little of This & That around the boat.
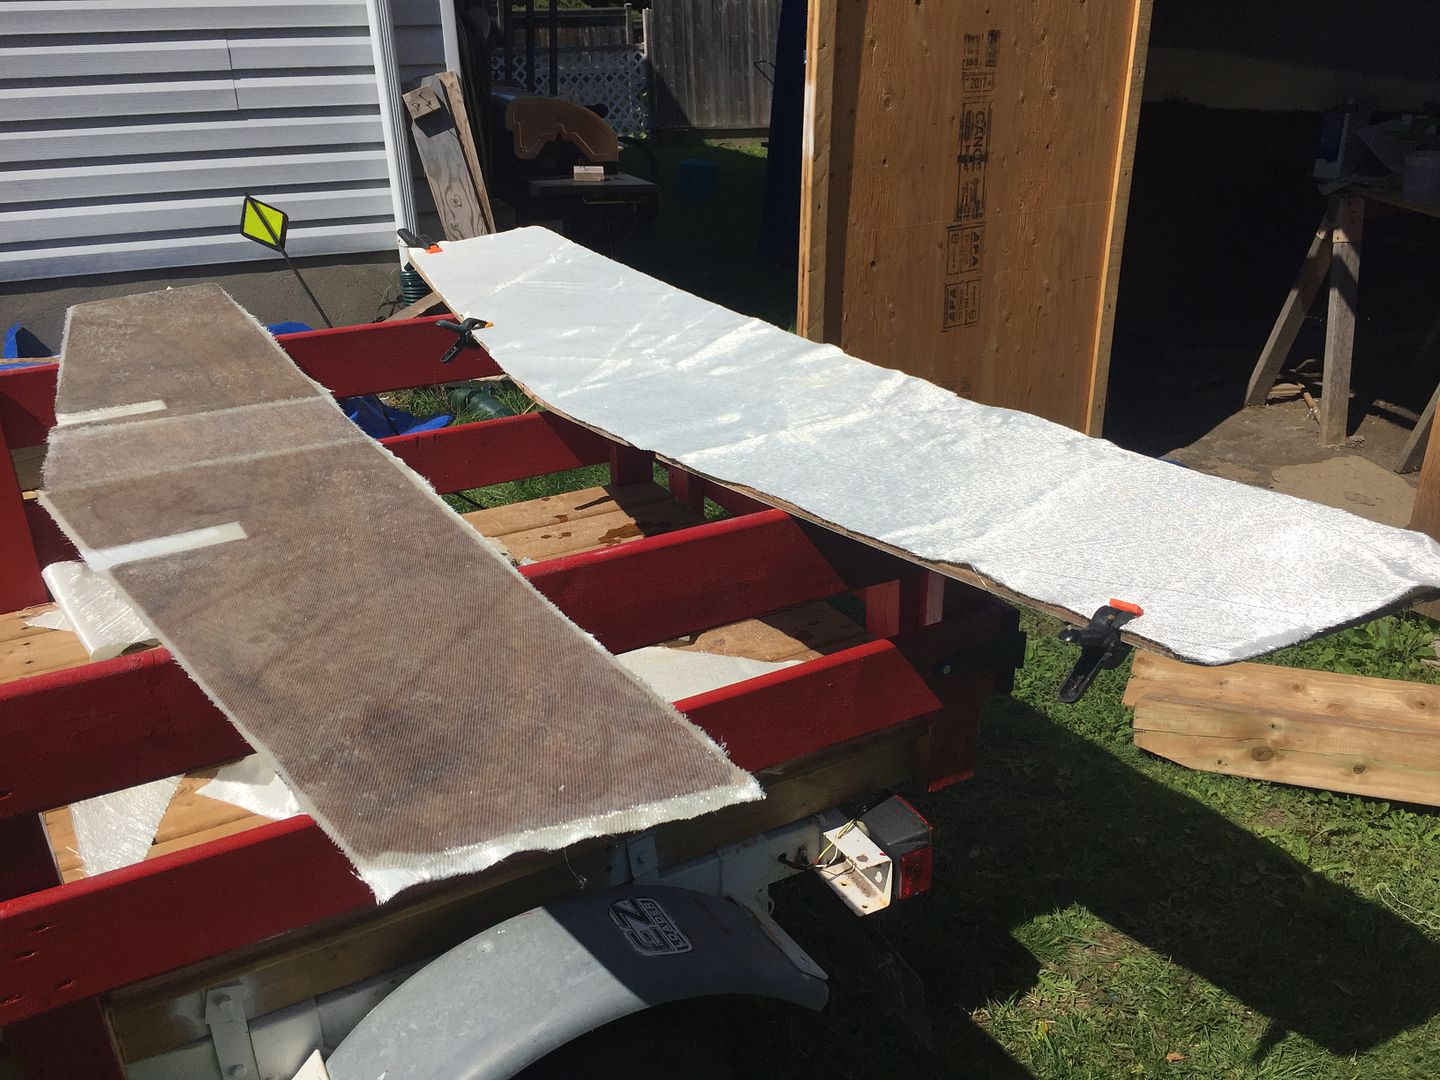
A few days spent fairing the frakkin' rudder! *sigh*
Multiple coats of Quickfair
A couple more coats of Quickfair and I should be ready to add the reinforcements.
Yes Dear! I did read the instructions! *Grrrrrrrr*
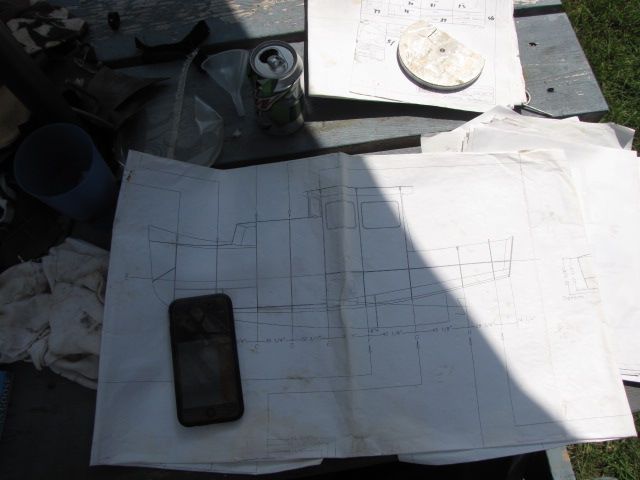
Stations Drawing
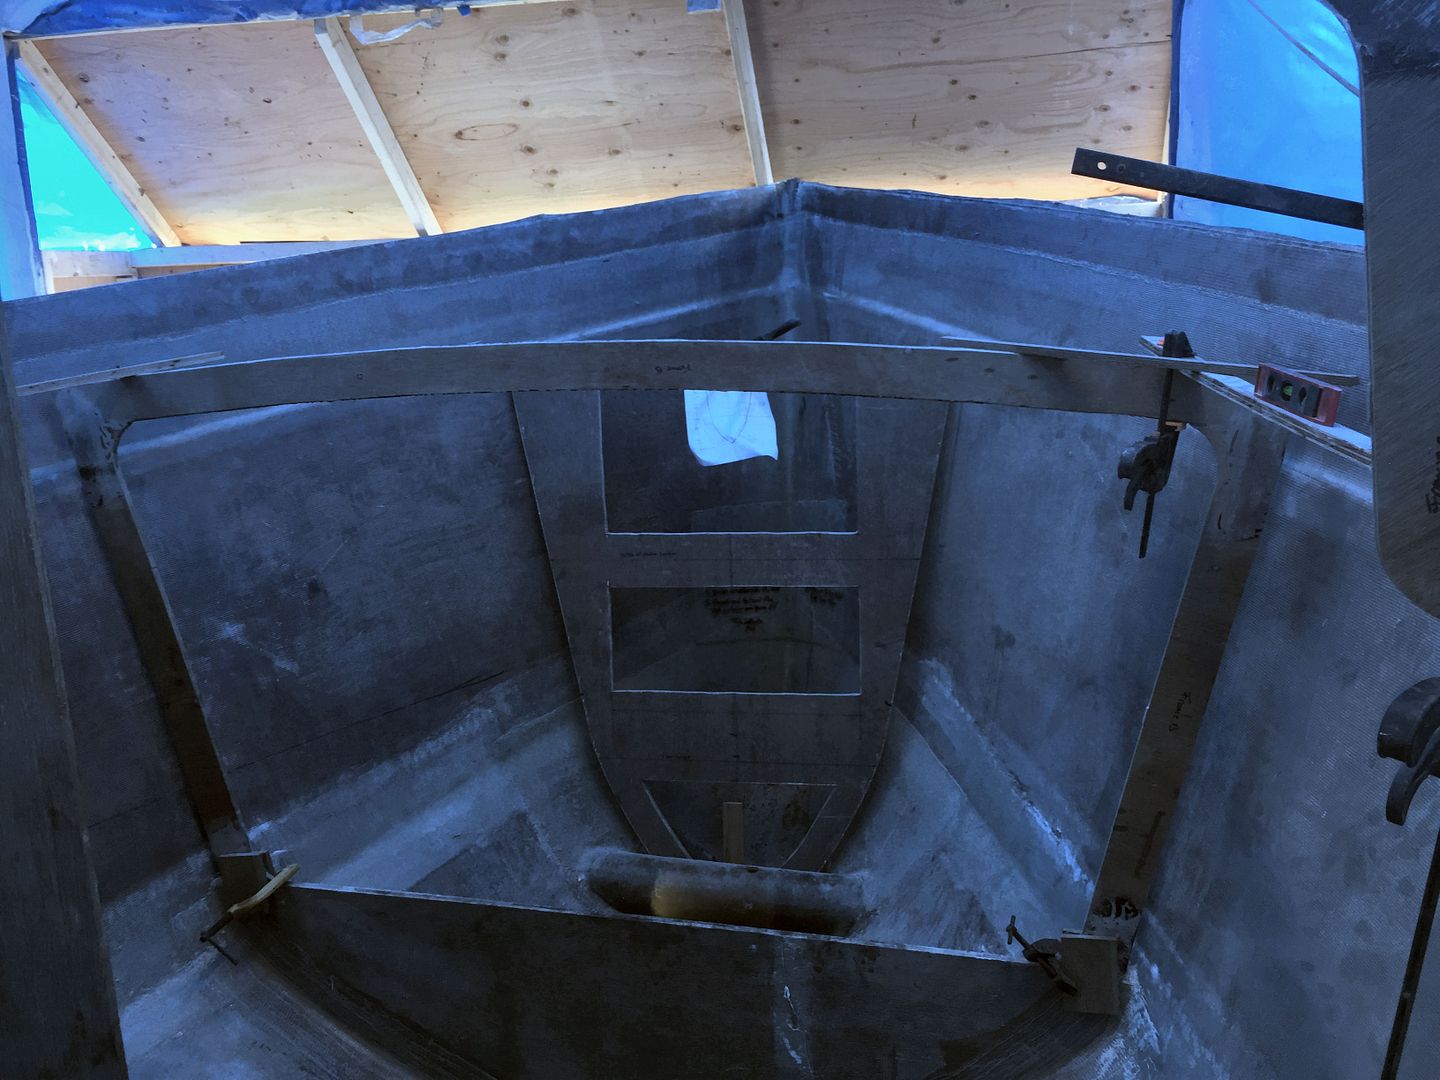
Double checking measurements for the placement of the bulkheads. I got bulkhead (station G) lined up today and will glue/tape it in tomorrow.
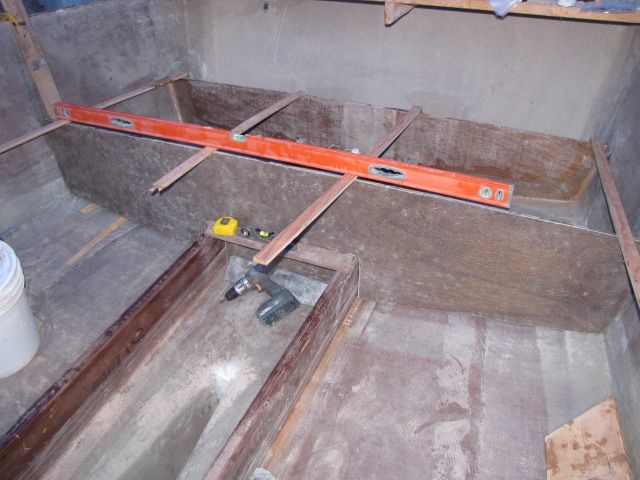
Bulkhead G aligned ready for glue & tape. Bulkhead I in the background.
Working on dirt it's a PITA to have to re-level the boat every time it rains. We've been in drought for almost a week now so the boat has settled quite nicely. I use a 'water level' for that.
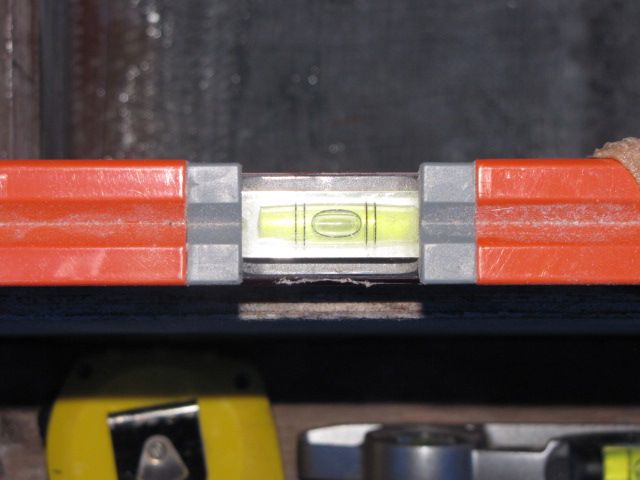
Right On The Bubble
Measuring the level on the top of the bulkhead, Nailed It! :-) Lil' bit fussy when it comes to that sorta stuff. It's plumb too!
The weather's too nice, it hasn't rained in 36 hrs so I got to work on some minor tasks.
Frames H and I
The two after most frames needed glass on one side. I did the other side last year.
Turned out pretty nice
Pulled some offcuts out of the bin and trimmed them to size. It was warm out so I knew I had to work quickly. The smaller bulkhead took about 20 oz of epoxy and the larger one almost 30 oz. That's some heavy glass. Probably the 24 oz triaxial I had laying around. I had it so I used it. Wasn't totally necessary to glass these two but they will certainly be waterproof!
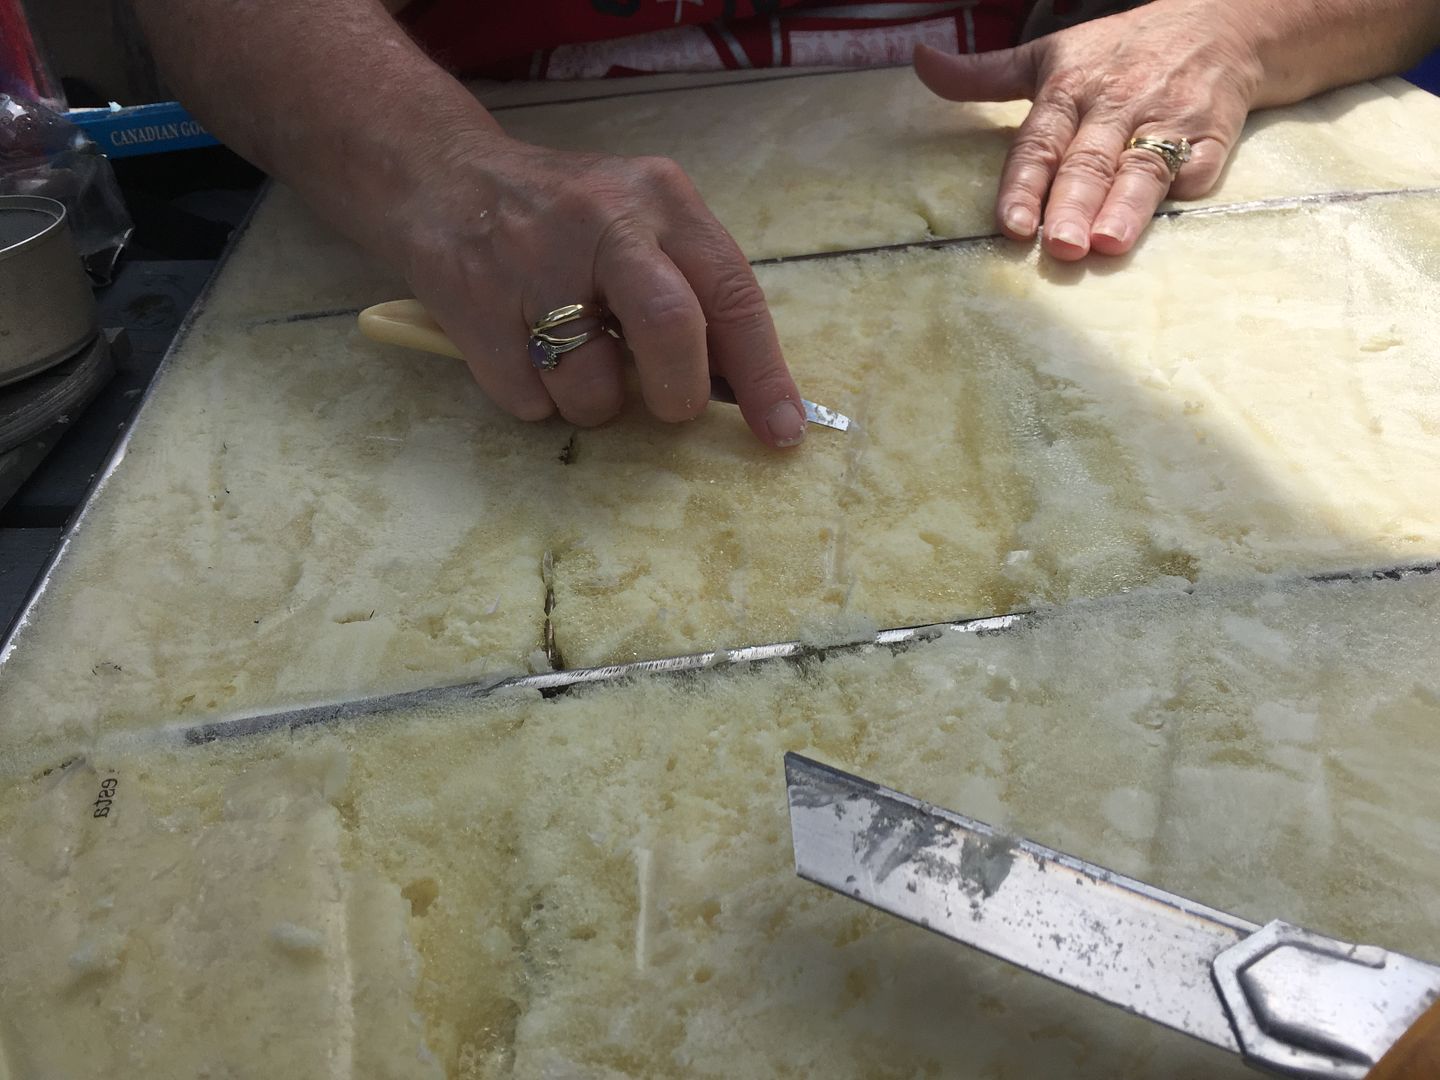
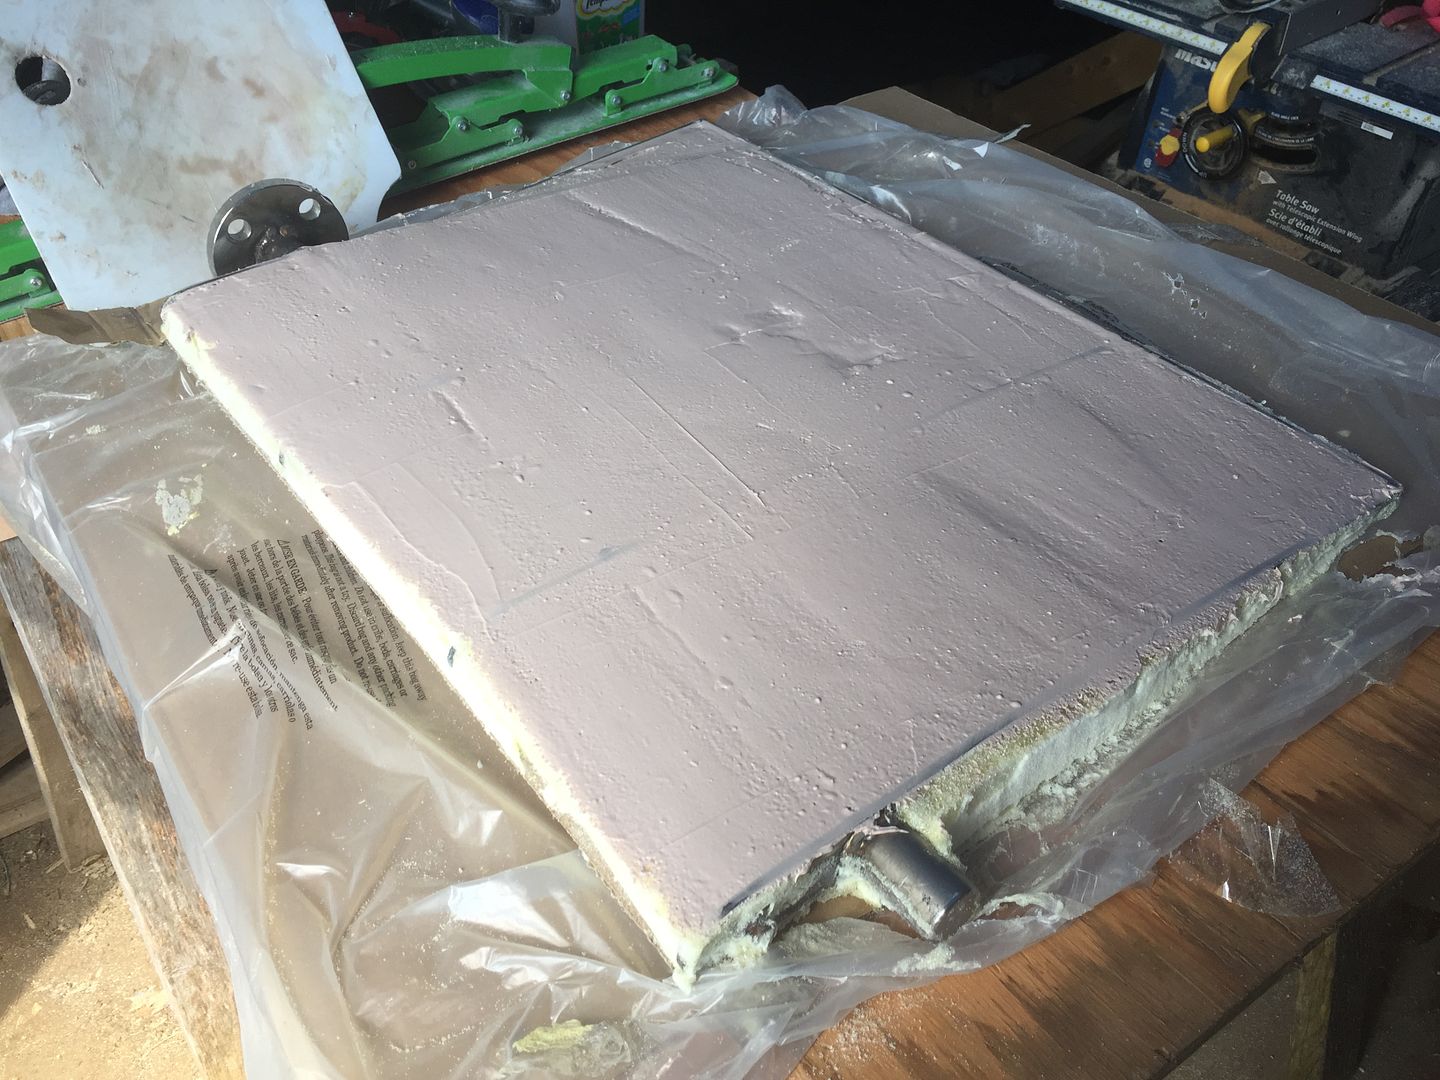
The other thing we did today was pick the plastic wrap off the backside of the rudder. OMG! What a PITA! For you old folks out there OMG = Oh My God! and PITA = Pain In The Ass! :-) Never, ever pour foam over plastic!!!
Picking Plastic off the Foam
The Admiral loaned an extra pair of hands and we had it done in half an hour or so. I got the first layer of mud on and that'll be ready to sand later on today.
I did manage to get the boat levelled. Let's hope it stops raining or I'll have to do it again. Don't, ever, build a boat on dirt! :-(
When it comes to a project this size and with limited experience it's way too easy to overthink everything. That's my curse. If I just decide to do 'something' and go do it without a whole lotta thought, it manages to get done. That happened this morning.
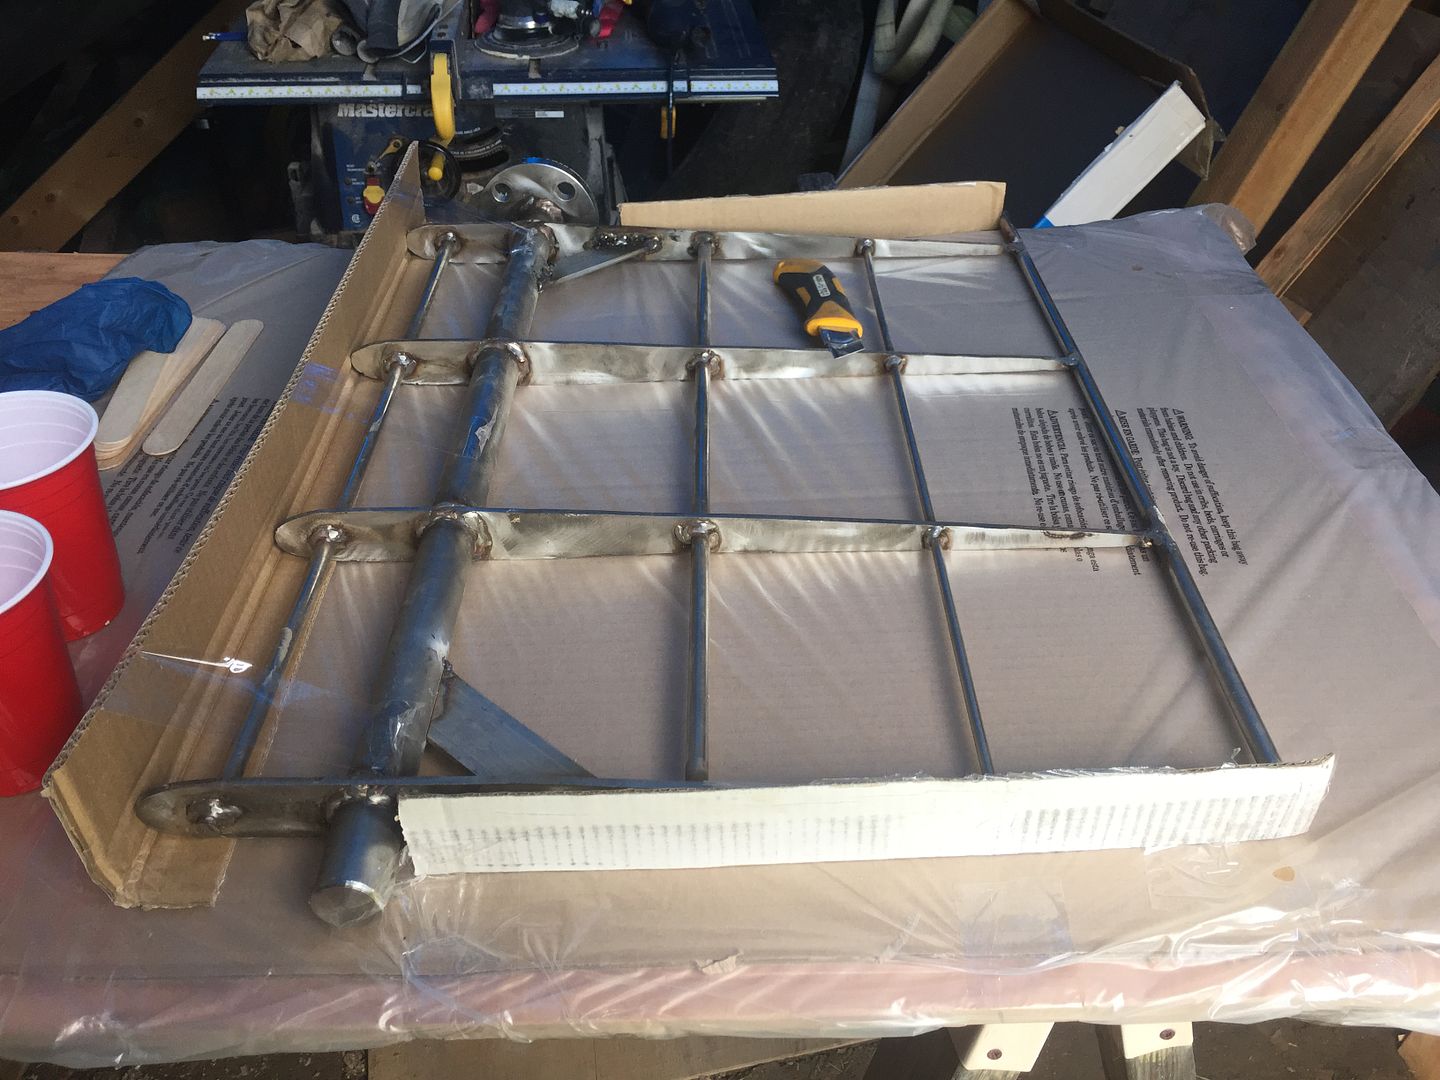
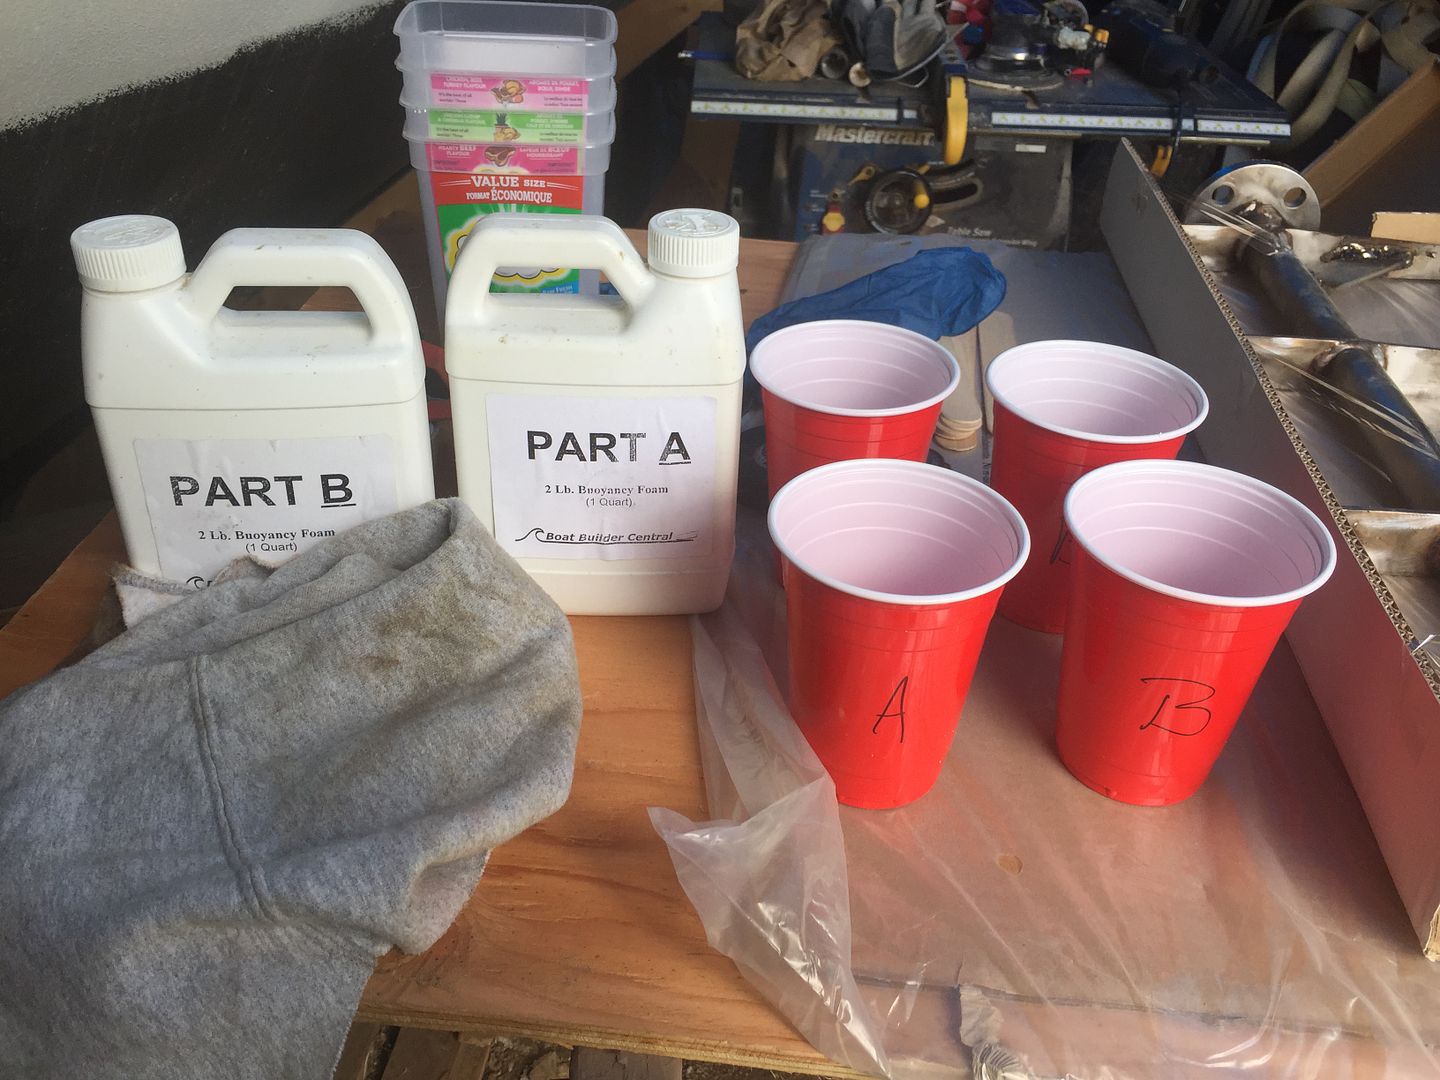
Decided to get to work on my rudder. The rains seemed to have stopped and the shed has dried up enough to work in there. The idea is to fill the voids in the rudder with expanding foam. I've never worked with this stuff but it's pretty easy to use.
I've only seen this two part foam used on the Web, YouTube & the forums etc. Seems pretty simple. Mix equal parts of A & B, stir and pour. It was a lil' coolish in the shed today so it didn't kick off as fast as I was expecting.
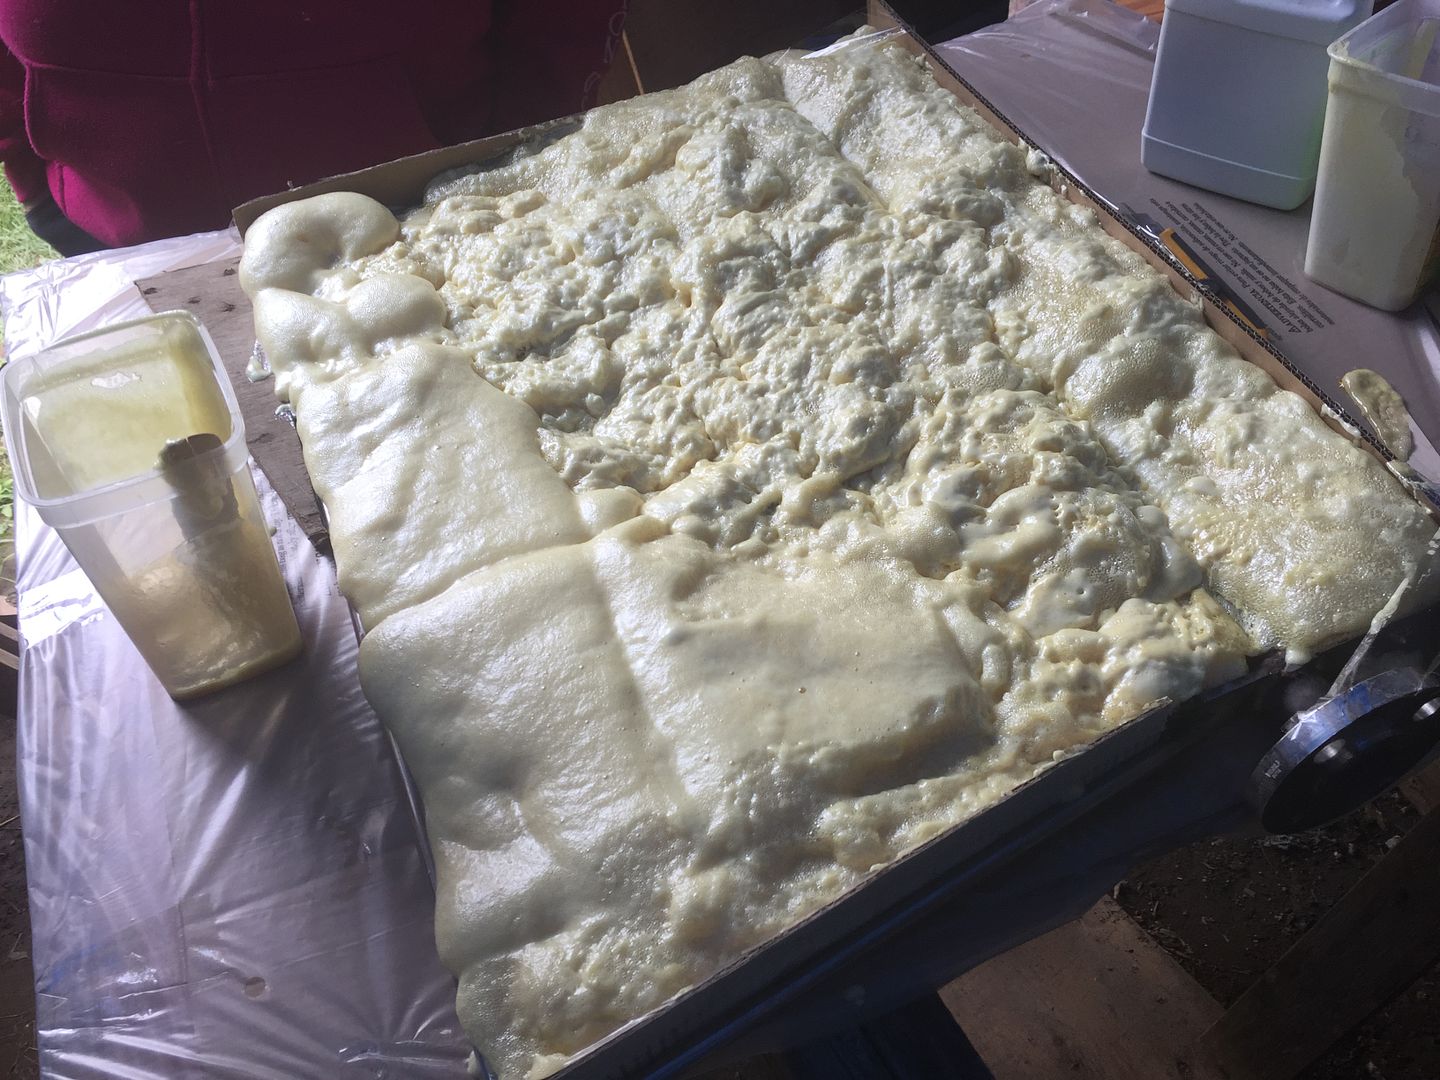
The foam doesn't take long to kick off and stiffen up. Thirty minutes maybe. You can see the part where I was mucking around in it compared to the second pour with much less mucking about!
I baked a cake!
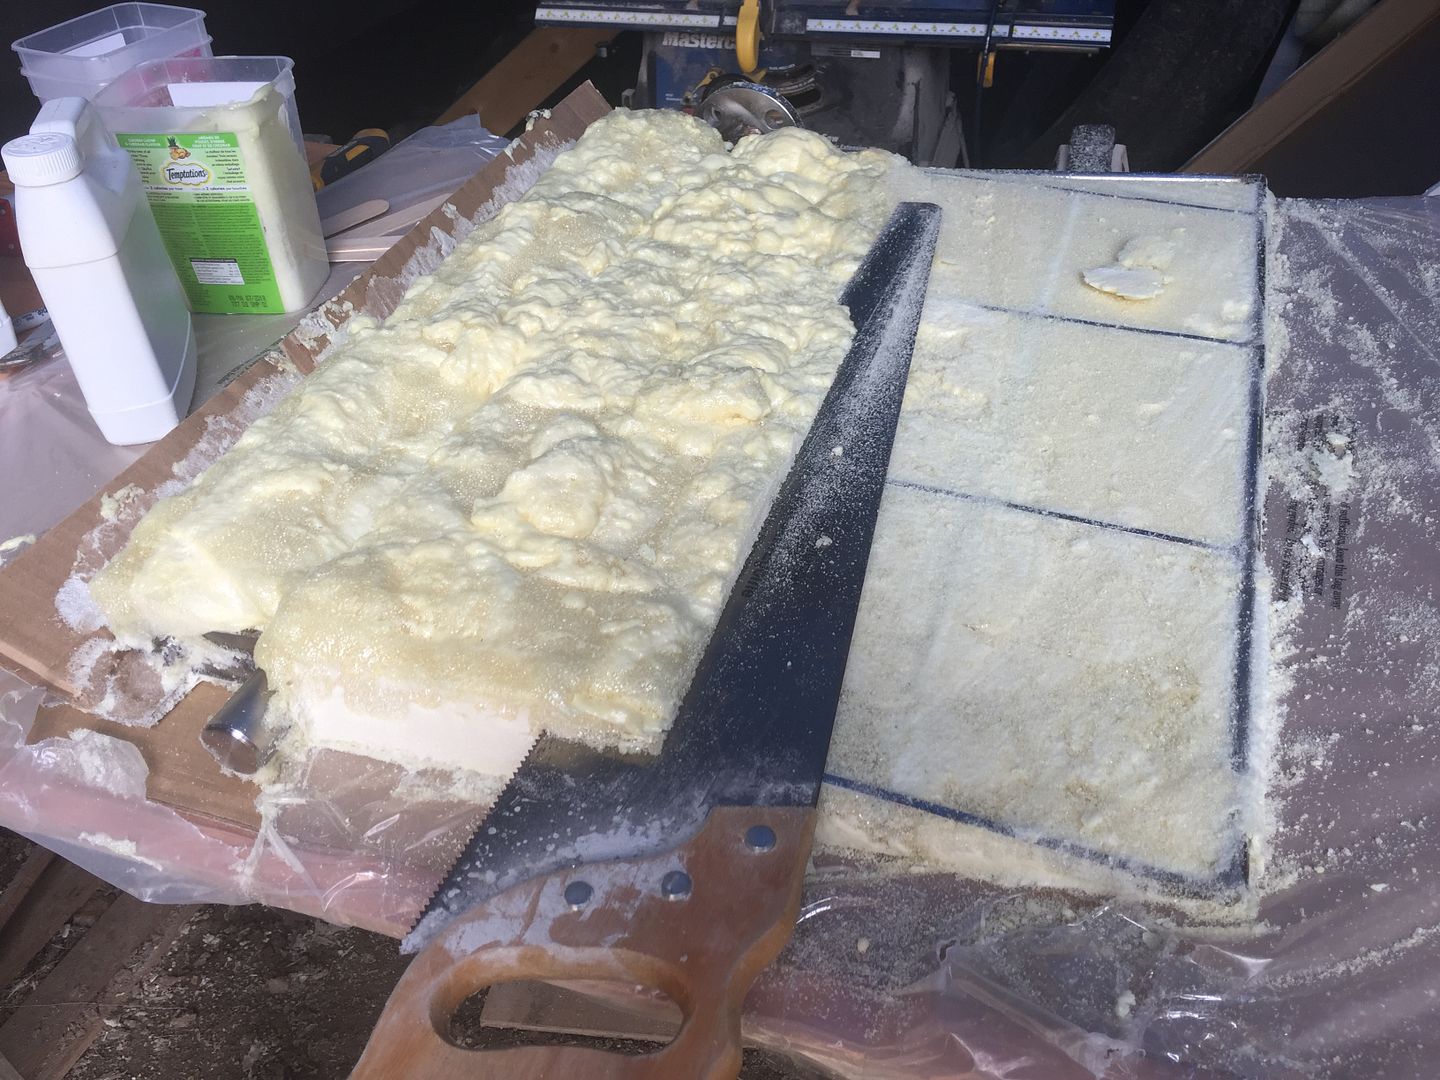
Once it stiffened up I could begin cutting off the excess and roughing out the shape of the rudder.
Handsaw makes quick work of the excess foam
The foam cuts surprisingly well with a plain hand saw. Just follow the ribs of the rudder for the rough shape.
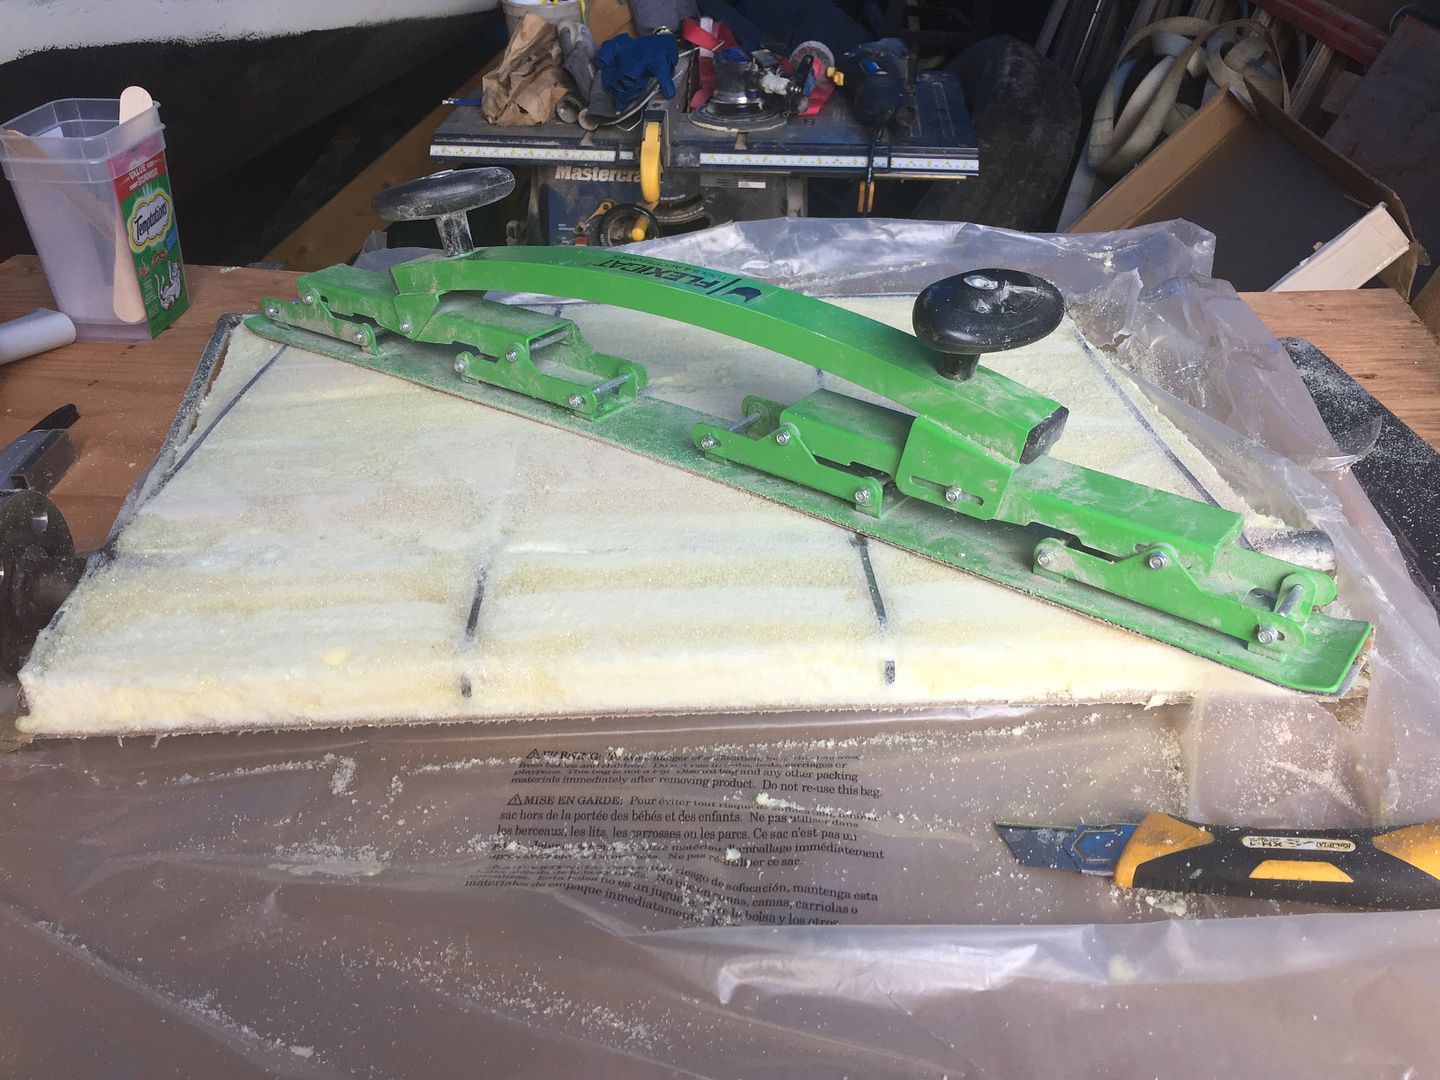
Flexi-Cat sander helps get it as smooth as possible
A little sanding and the shape came together nicely. Little messy but it's the easiest way I think.
First coat of QuickFair
QuickFair is epoxy putty. It's made for filling large (and small) areas that will be sanded smooth. This rudder will require a couple of applications before it gets good enough for fiberglass.
Lots of little bubbles
I didn't want to overwork the QuickFair and make a real mess but you can see lots of tiny bubbles. I think the foam may have still been off gassing. I'll pop these open tomorrow with the sander and do another coat.Adding the QuickFair now will hopefully stabilize the rudder so I don't screw it up by punching a hole in it or anything stupid like that.
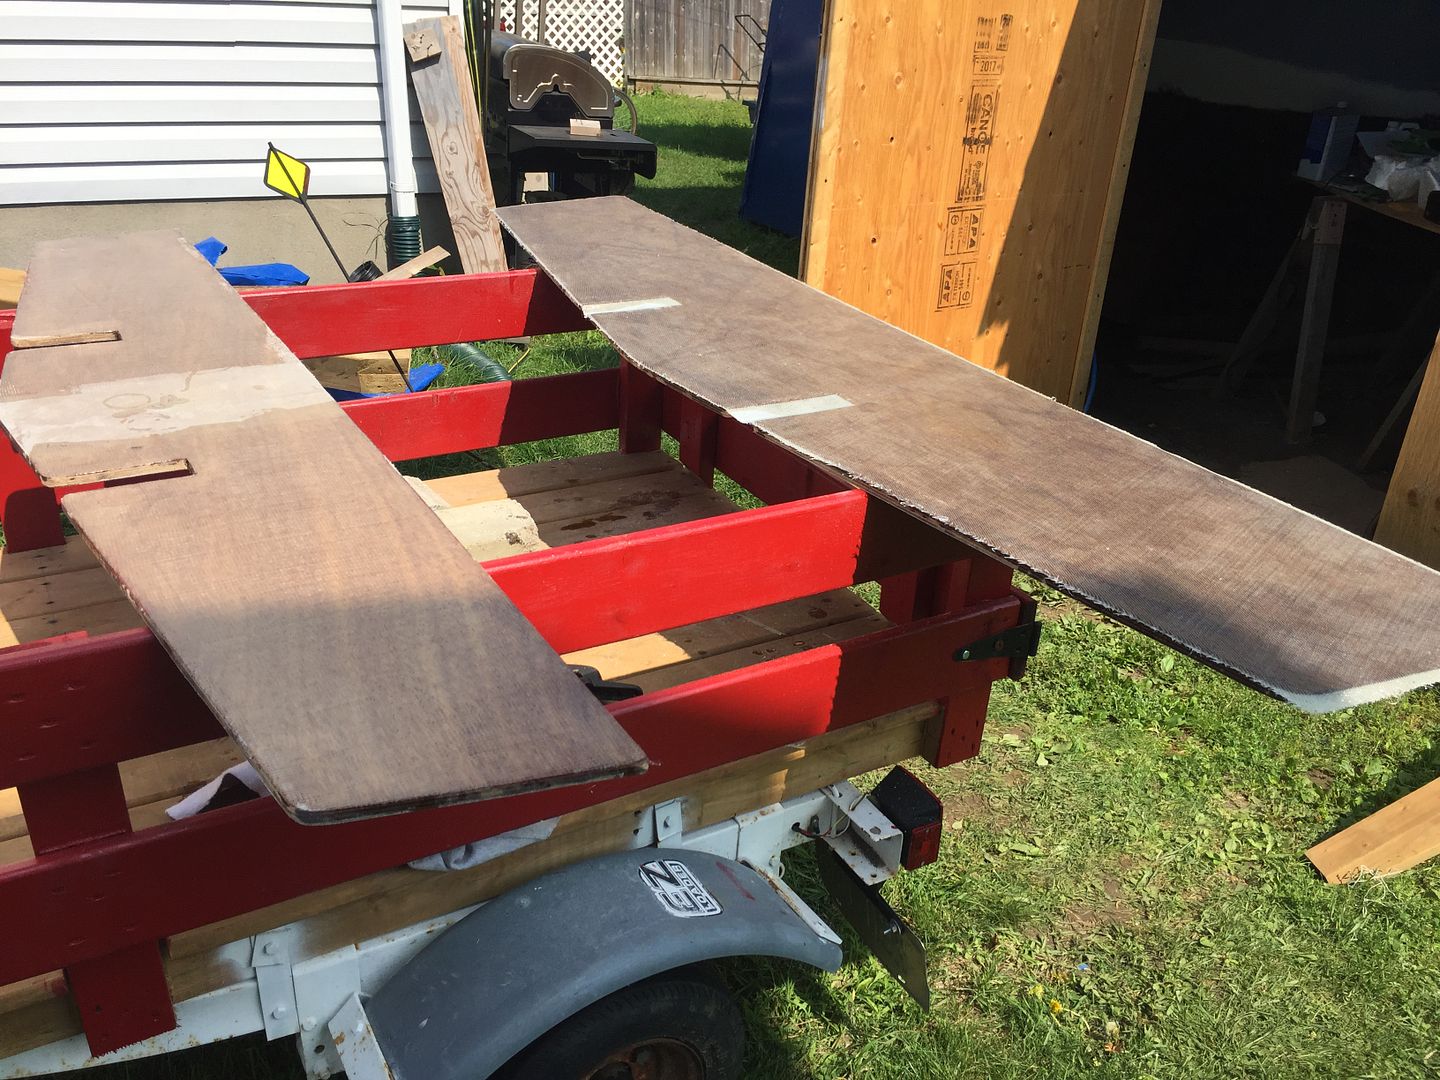
Once this side is finished I'll flip it over and do the other, which should be in much better shape. A bit of sanding to form the leading and trailing edges etc. and we'll be ready for a resin infusion of the reinforcing layers of glass and carbon fiber.
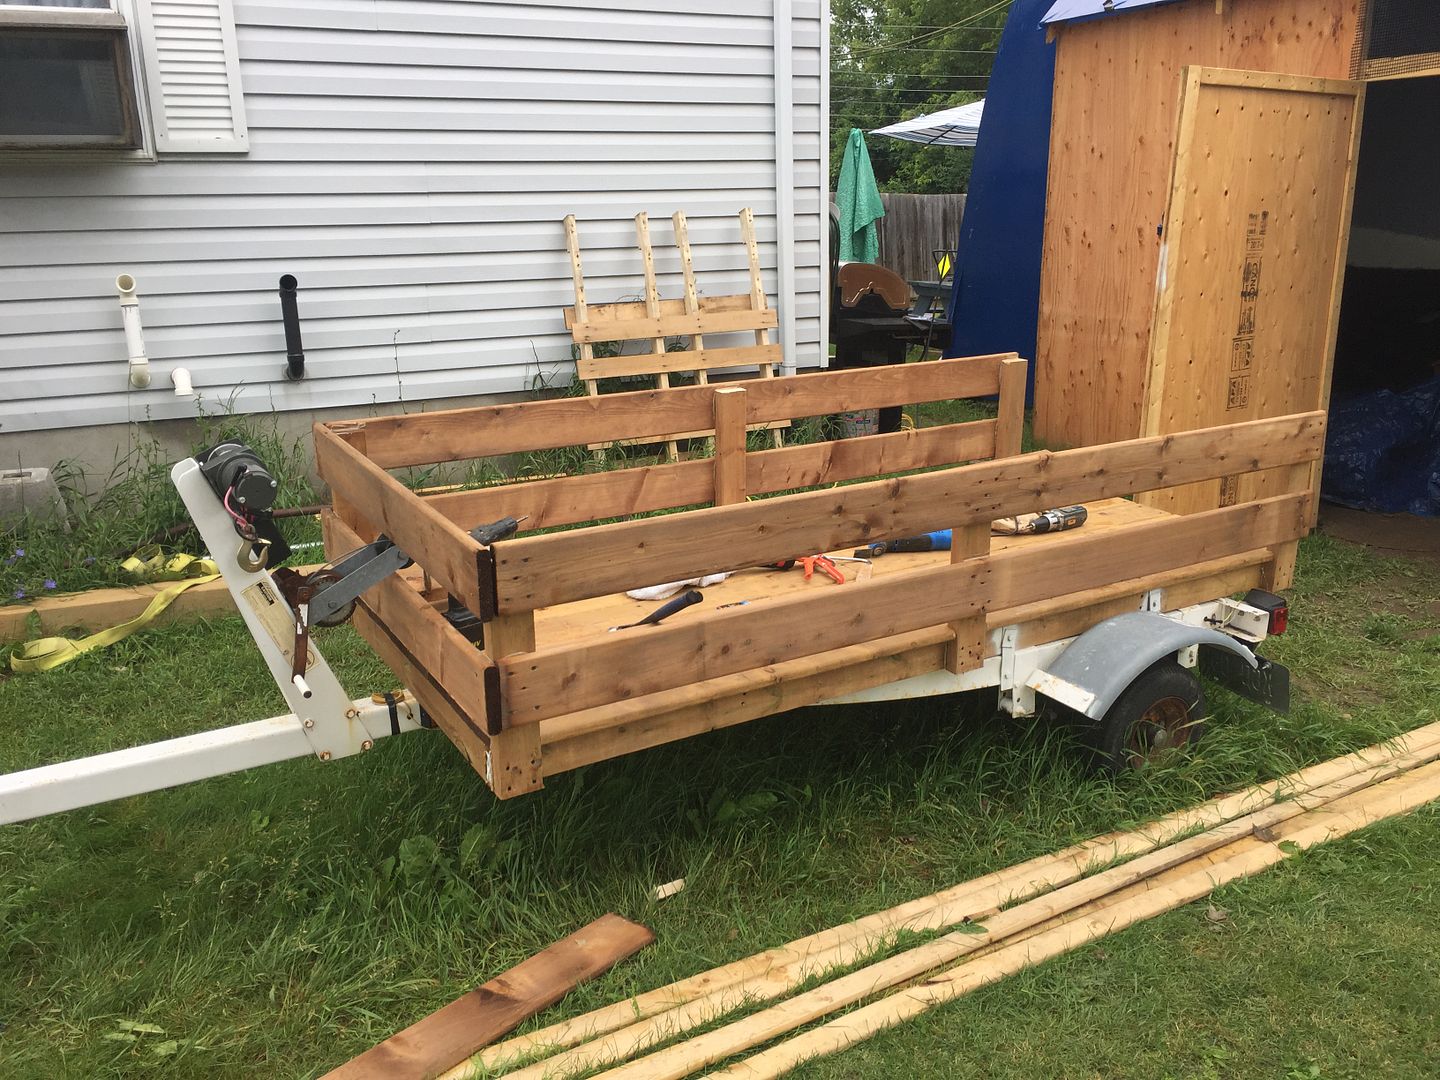
Not strictly boat building subject today but I've put together a little trailer for myself. Usually I end up borrowing my buddy Tim's or my Dad's trailer. We sold our Walker Bay dingy this spring (doubled my money) and was left with the trailer. What better thing to do than build a lil' flat bed on top of it!
The old dingy trailer
To try and keep things as simple as possible I used size lumber (minimizing cuts) and bolted the longitudinals to the trailer with steel straps. Four bolts and the whole thing reverts back to a boat trailer.
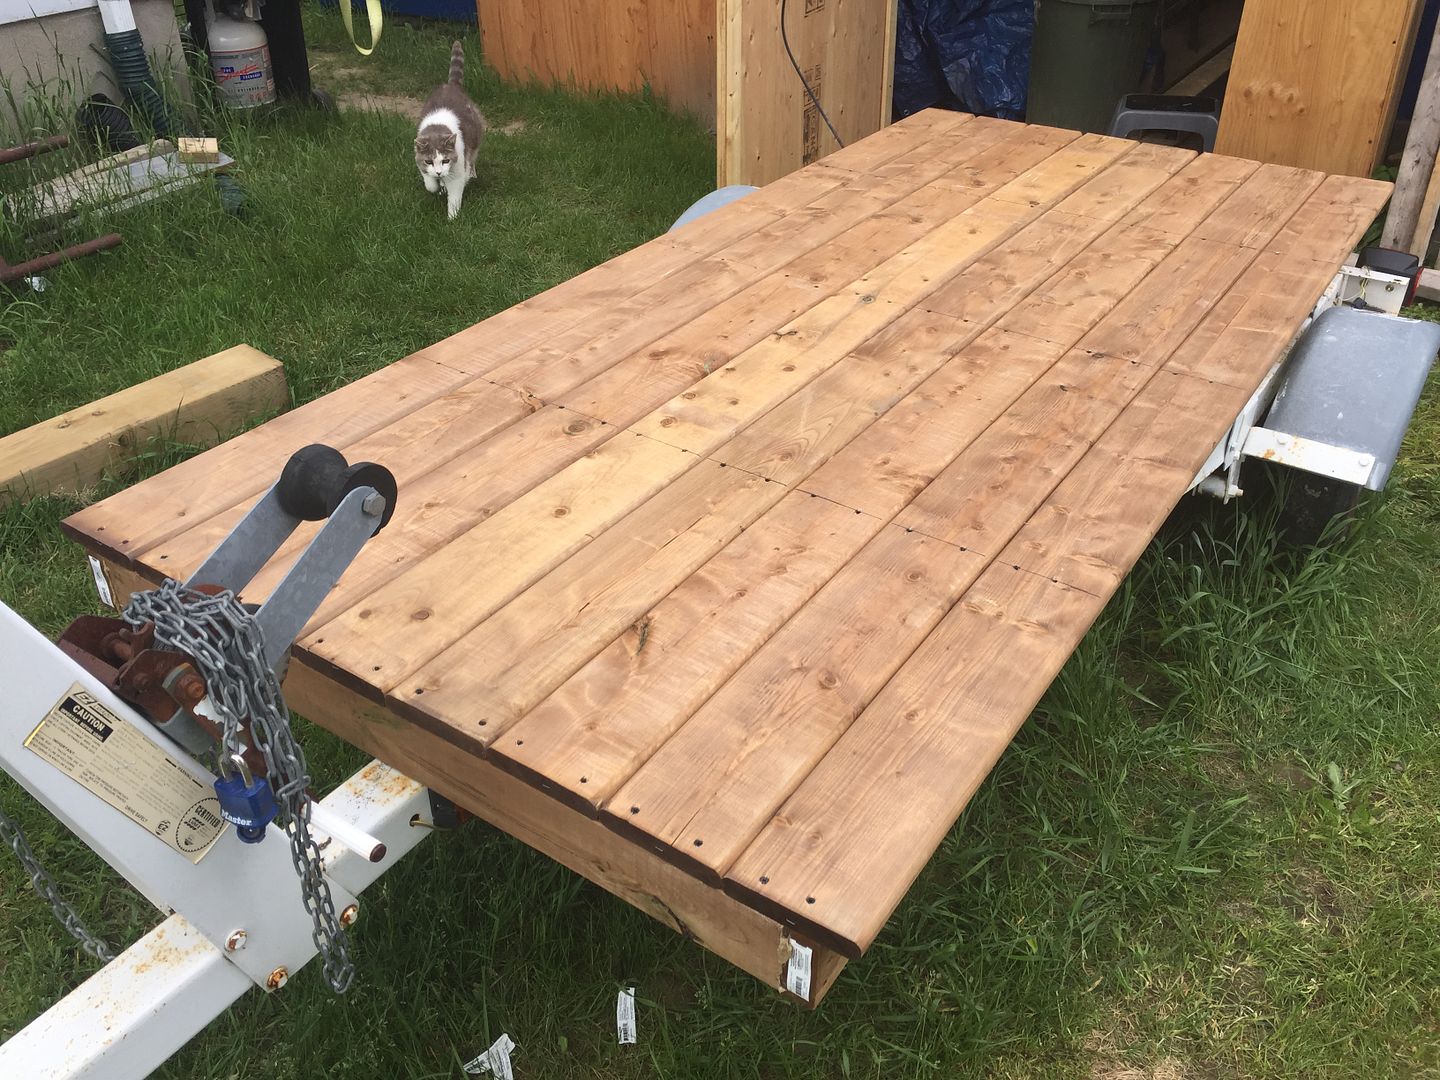
Decking on and PM coming to review the progress
I used pressure treated lumber and coated it with Thompson's Water Seal.
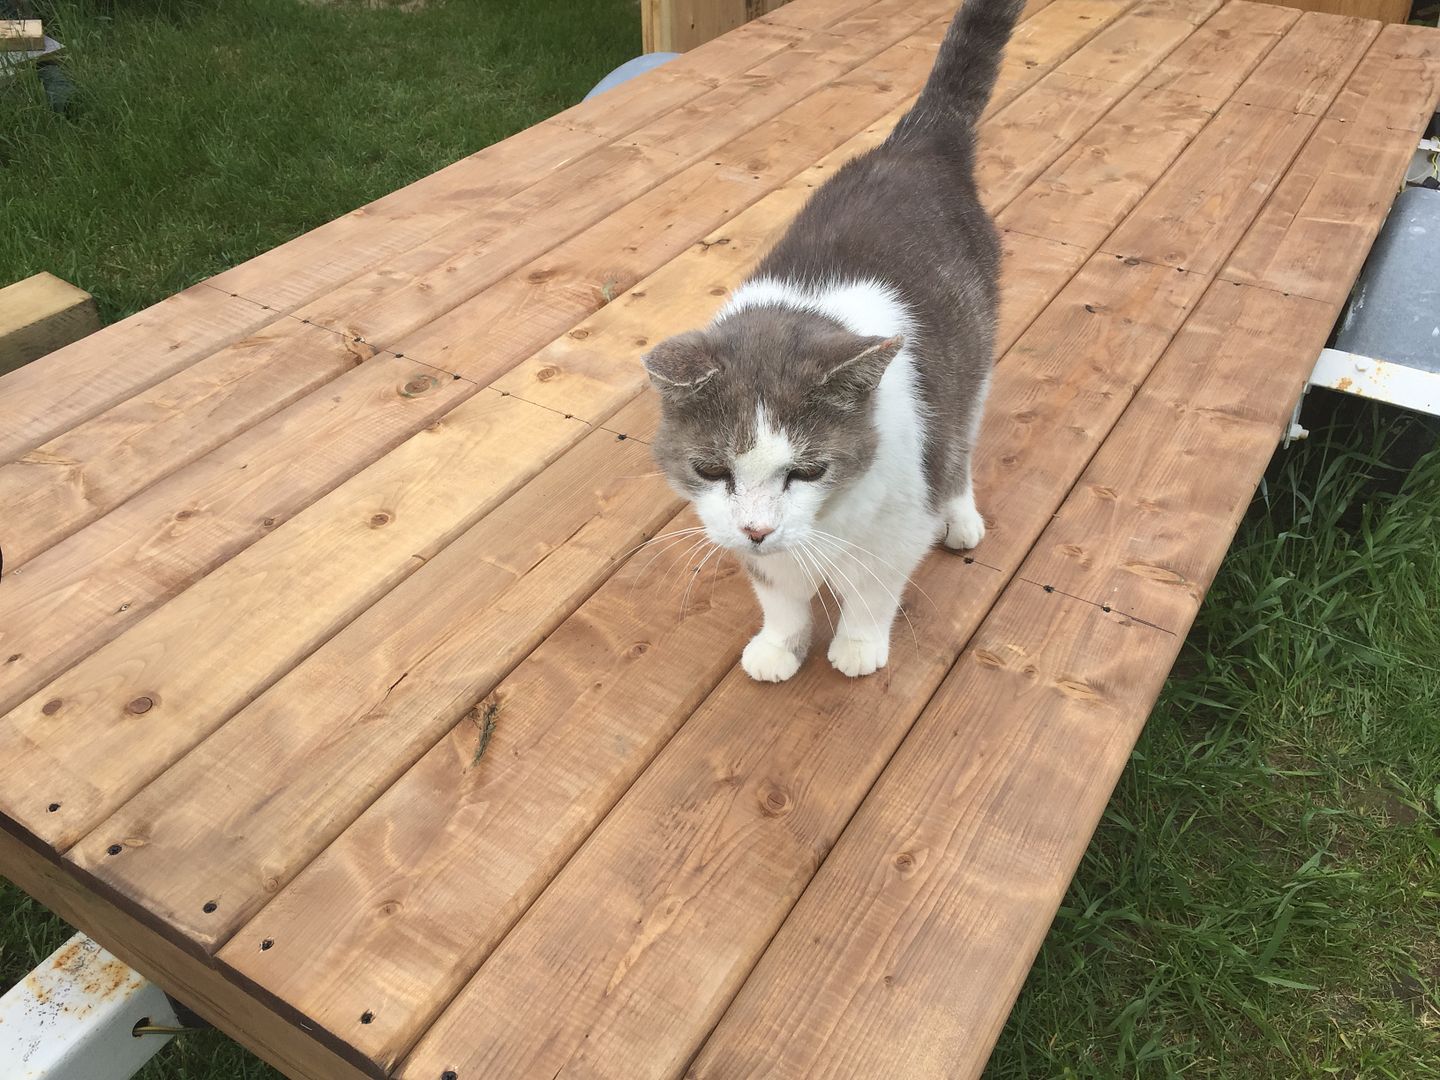
PM gives his Paw of Approval
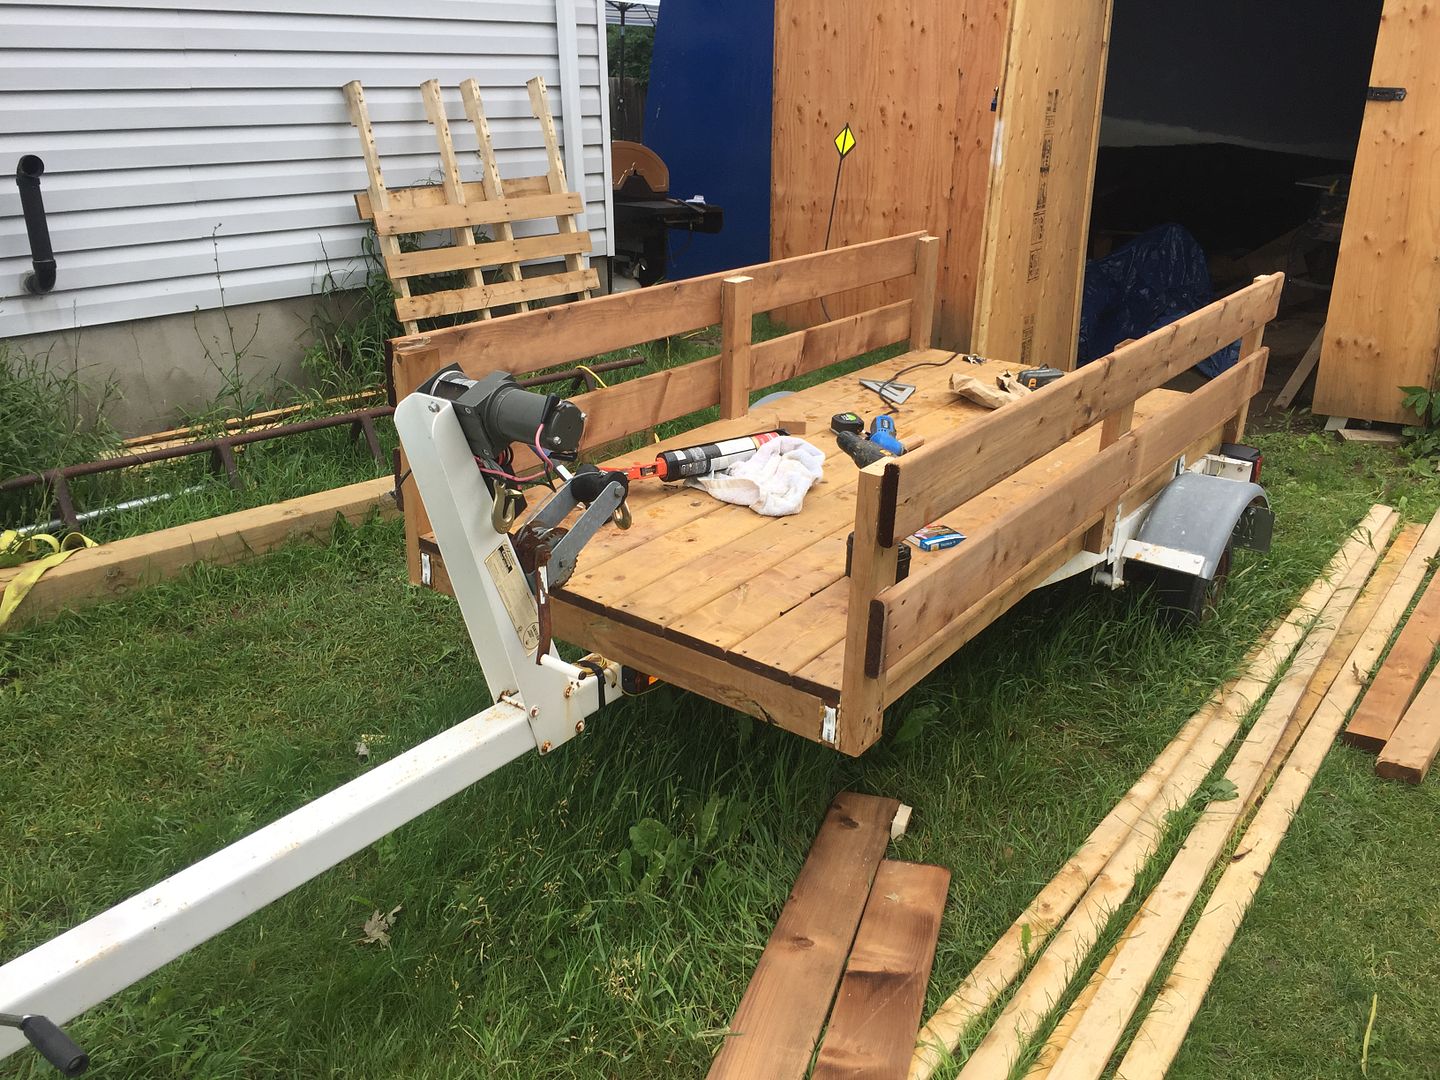
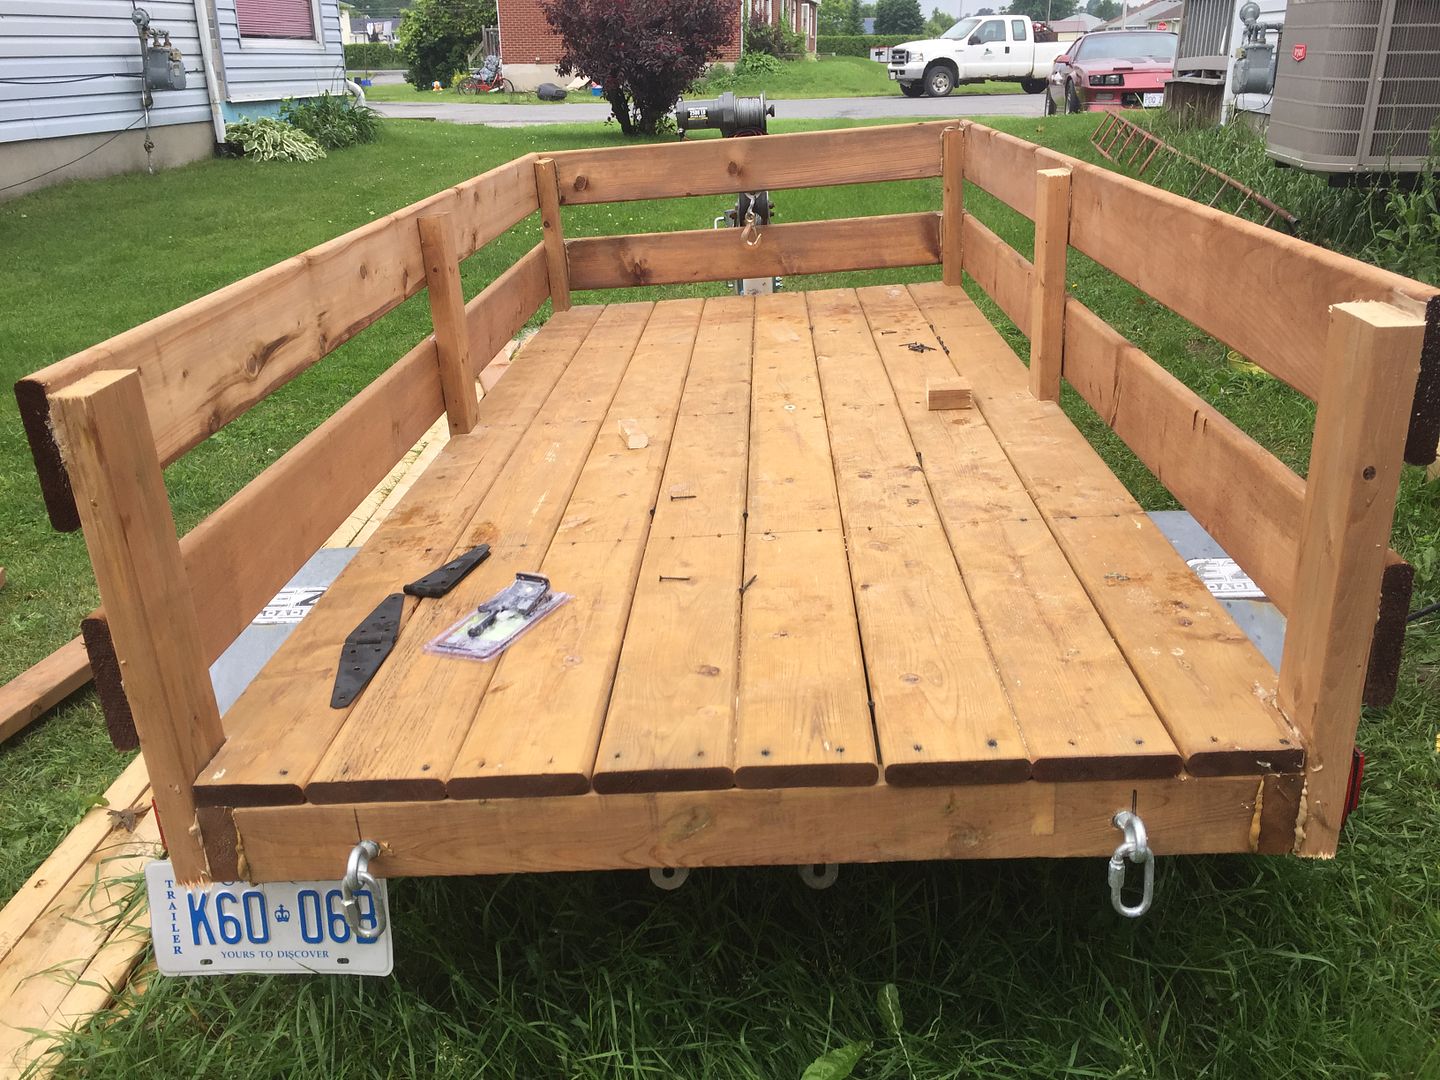
I looked at it and pondered long before deciding to put sides on the bed of the trailer. I think it'll make it a bit more useful for things other than dump runs.
Sides going on
Sides and front glued and screwed
Every board is fastened with 5 screws and PL Premium Construction Adhesive. That stuff is formidable! I don't think it'll be coming apart anytime soon.
All it needs now is a gate
The heavens opened up again, its our Monsoon Season. Boat shed is semi-flooded and I had to pack it in for the day. Will have a look later but I may have to relocate the tail lights.
It's not a heavy hauler. IIRC the max capacity is 800 lbs for the trailer. It'll be fine for boat supply runs and runs to the dump etc.
That's about it till thinks dry up a little bit and I can get back to boat work.
Ole' Mummy found my shed camera so we have some better pictures today.
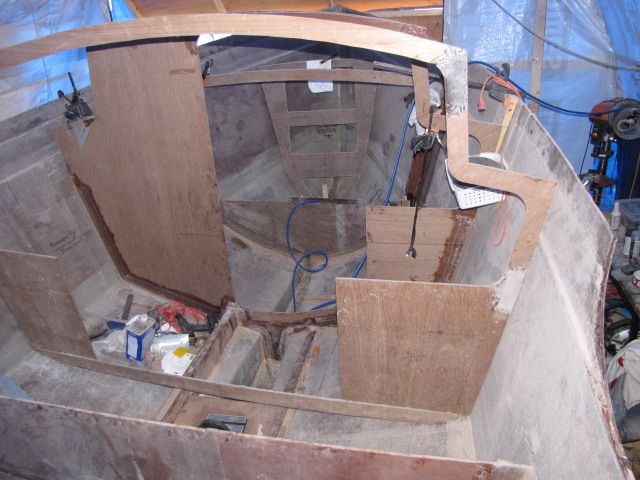
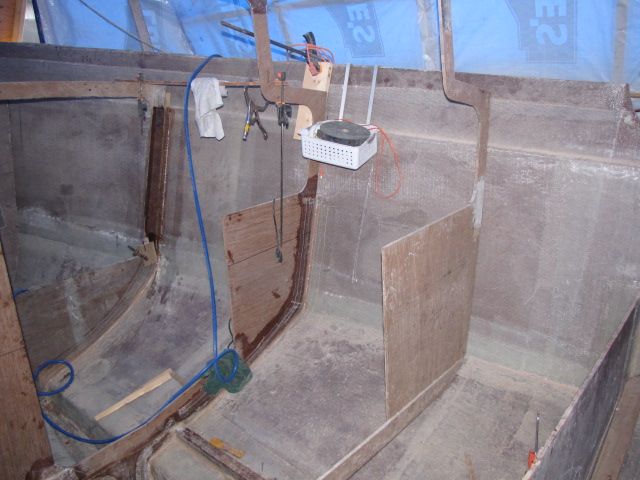
Overview midships looking forward
Taped the upper part of Frame B to the sides. This will be setup tomorrow then I'll align and tape in Frame D.
Frame B tabbed to the hull
Frame D forms part of the W/C and the galley section. For our layout we'll move the galley up and use that space for a sewing table & maybe an ice maker.
Starboard side, Frame D on the right. Frame C to the left.
Port side. Frame D forms up the separation between head (l) and vanity (r)
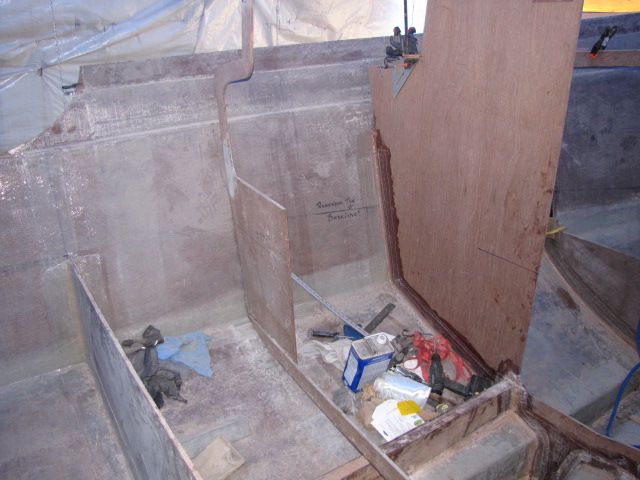
Another overview from farther back. Pictures don't capture the scale of this monster! ;-)
Aft looking forward. The half frame is Frame F.
Paced myself again today and my back was Ok for awhile. Near the end of the 5 hrs it was starting to tweak up pretty good. Up and down the ladders 50 times a day might be helping a little bit!
Just like the old saying: 'Suck it up buttercup'! Well that's what I'm gonna have to do. The consult with the neurosurgeon yesterday went well. He explained all the issues. Apparently what I have is a 'Tethered Nerve' likely caused by scar tissue, which we already surmised. There is no surgical solution. He'll report to my family physician and we'll decide what to do next. Likely physio and maybe acupuncture plus pain meds.
Today I started aligning the upper section of Frame B. Did a little sanding in prep to glue it in place tomorrow. There's a fair size gap between the frame and the hull sides so I have to fabricobble some filler strips otherwise it'll use up to much epoxy & filler.
Frame A forward, Frame B and looking through Frame C
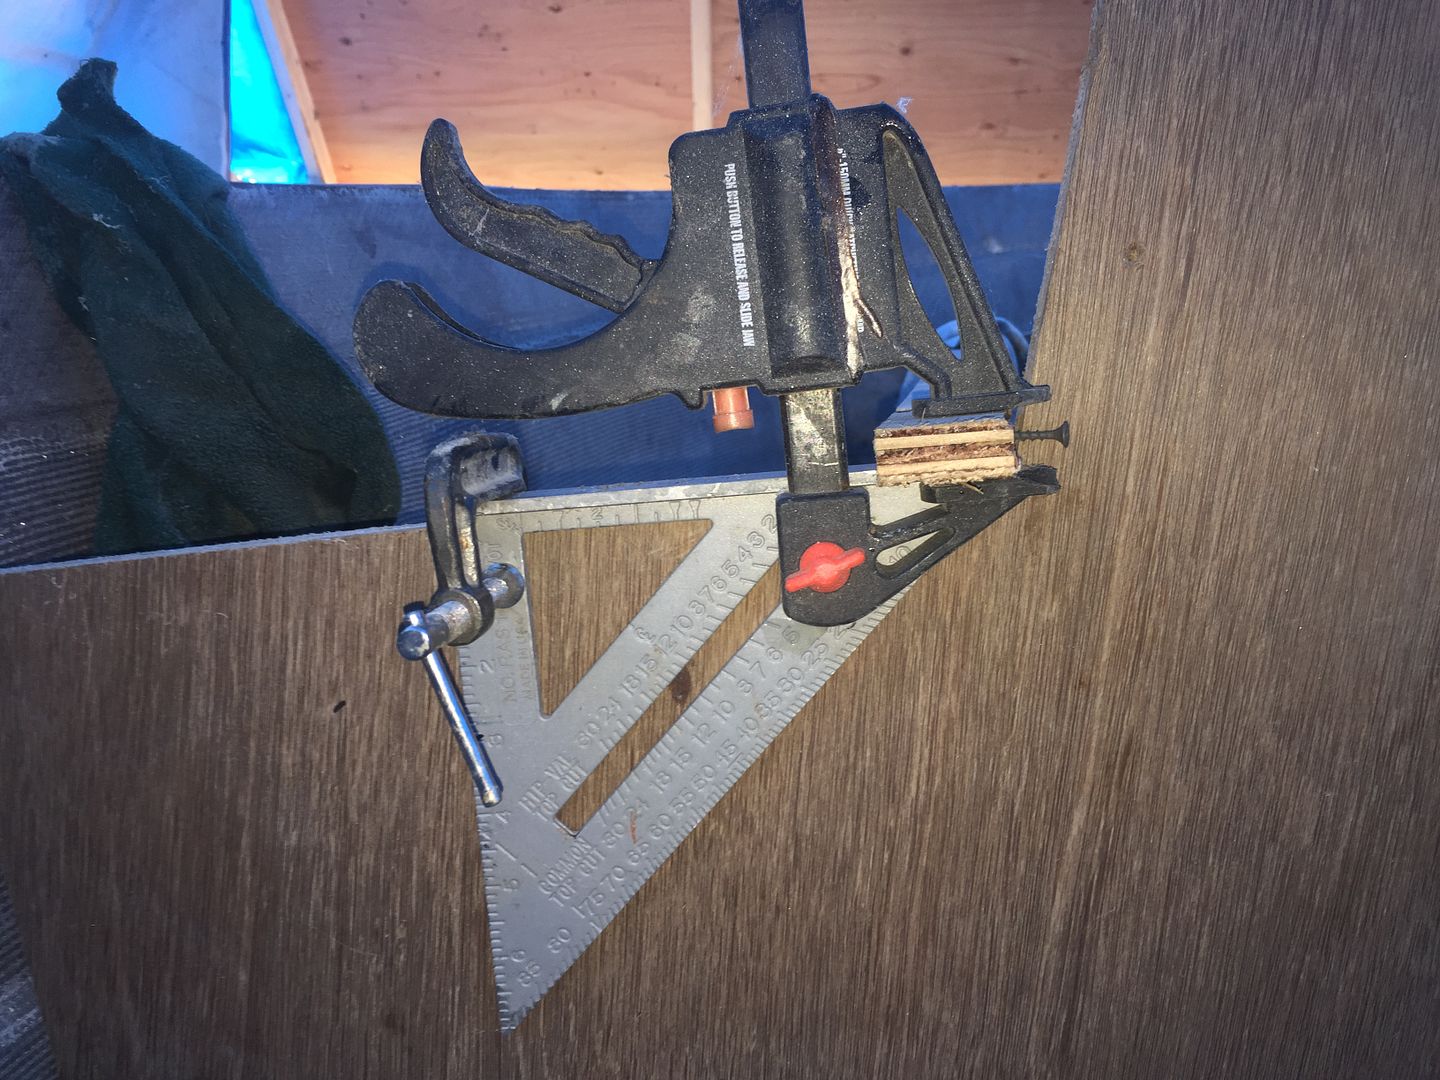
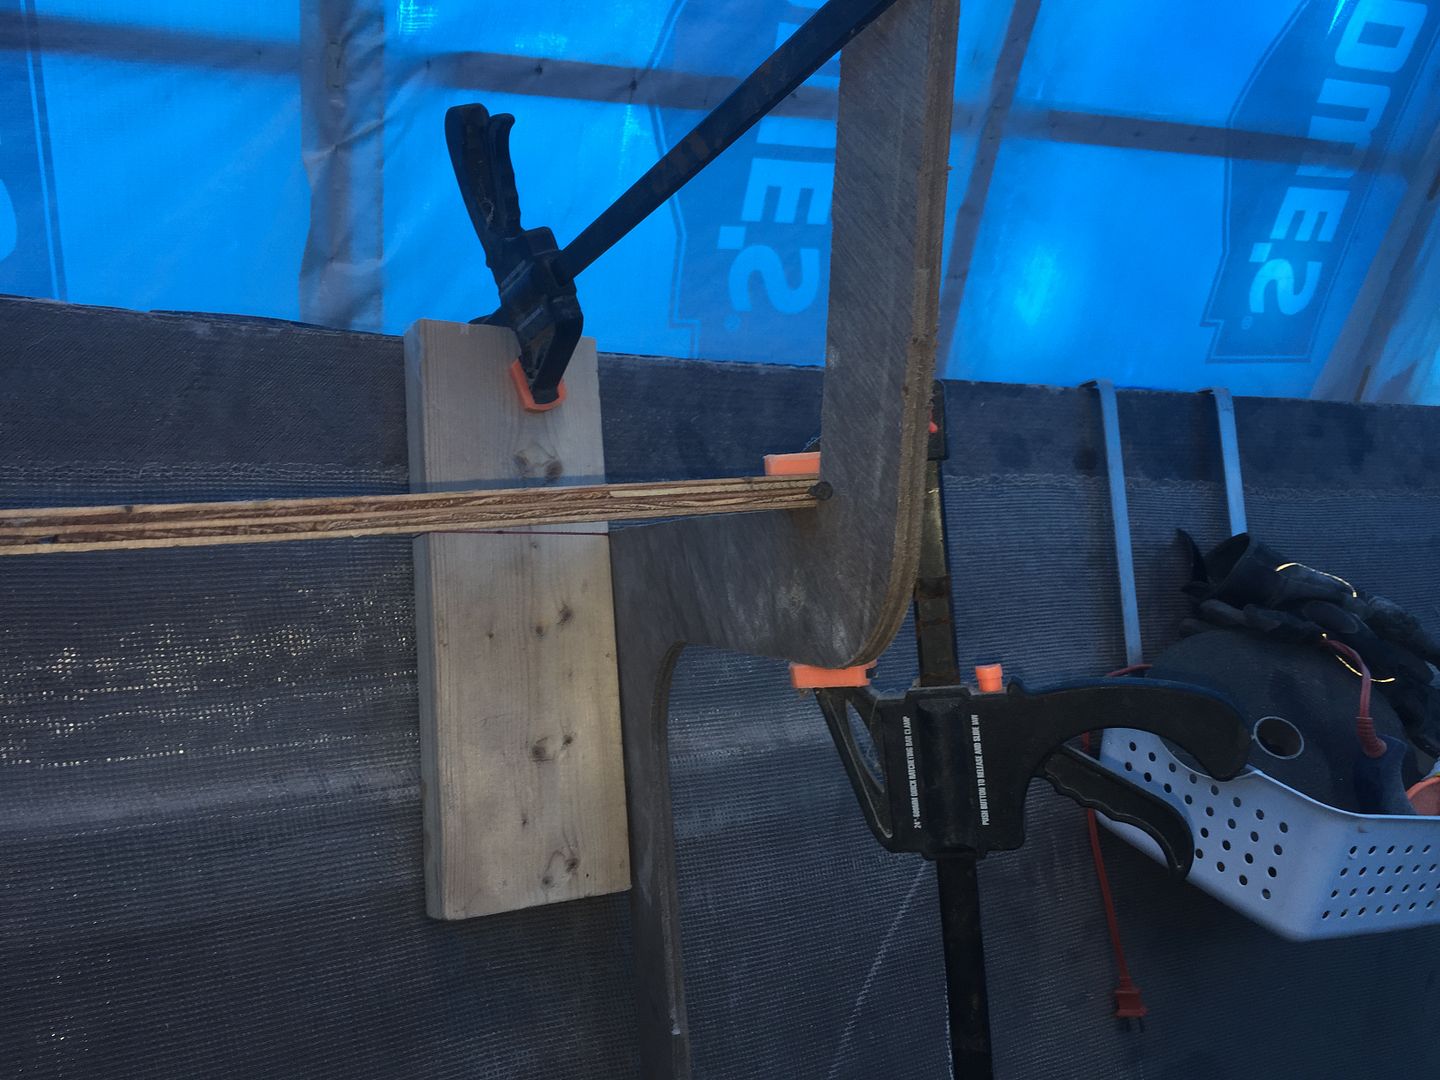
It took some fancy clamping to get the bulkheads plumb and equal distant. Some of them have twisted over the years of standing up in the corner of the shed.
Clamps & Screws got it!
Another view of Frame C clamping
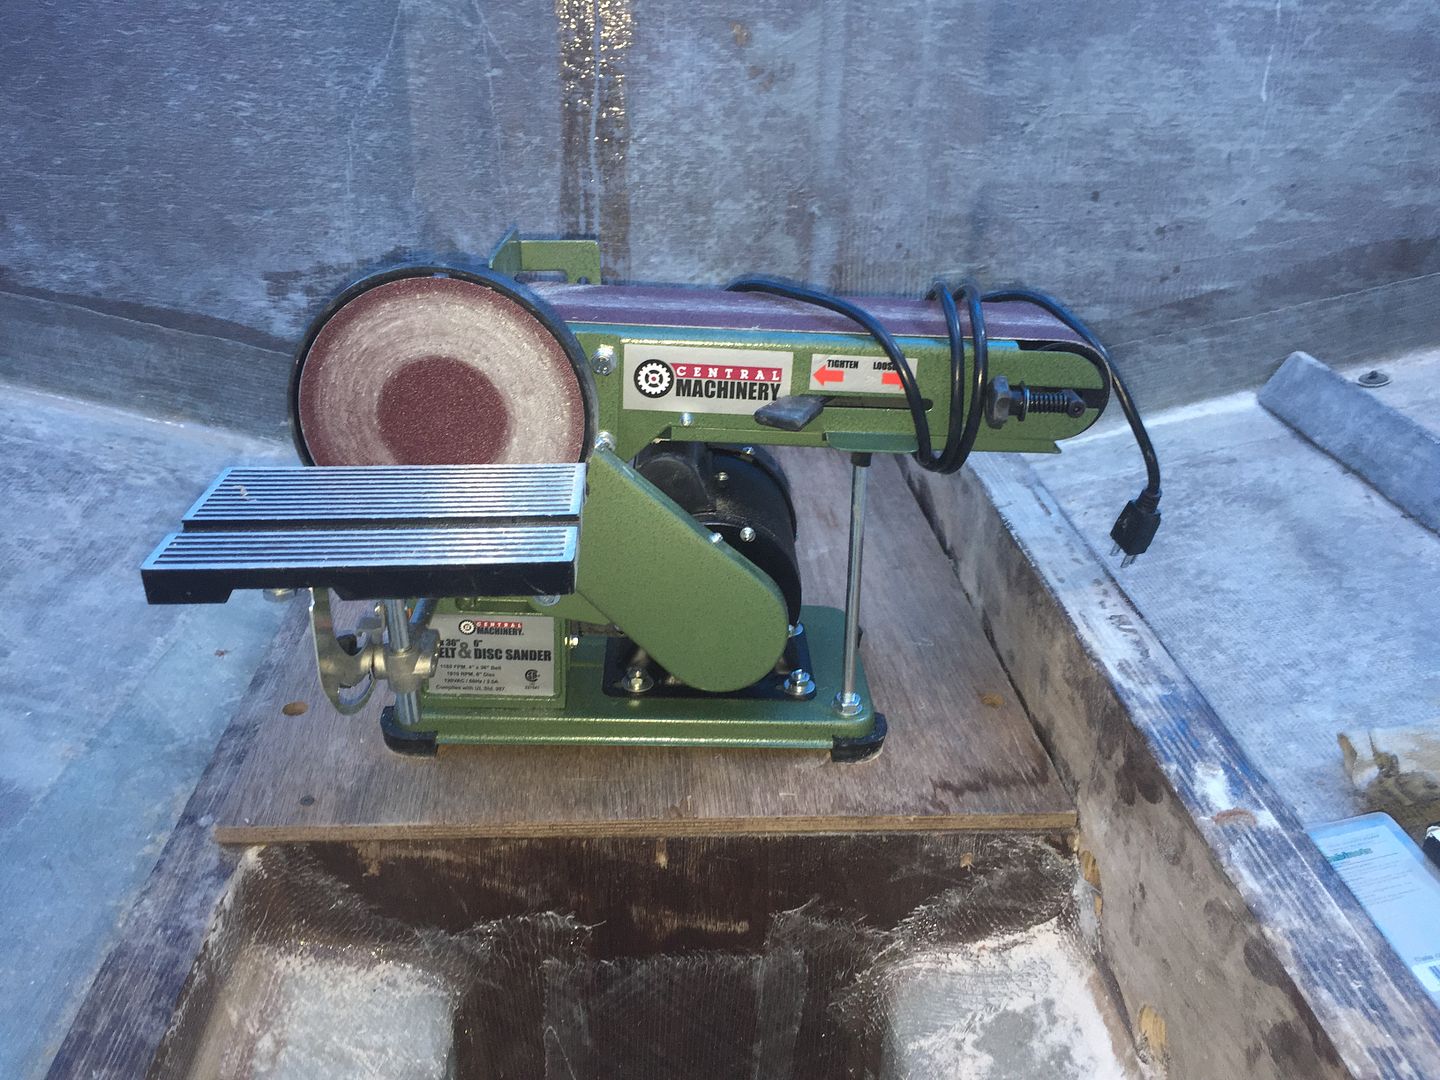
There's a lot of gaps to be filled between the frames and hull so I picked up this belt/disc sander at Horror Fright for $60 USD. I figure if it gets me through this project it won't owe me anyting!
4 x 36 belt & 6" disc sander from Harbor Freight
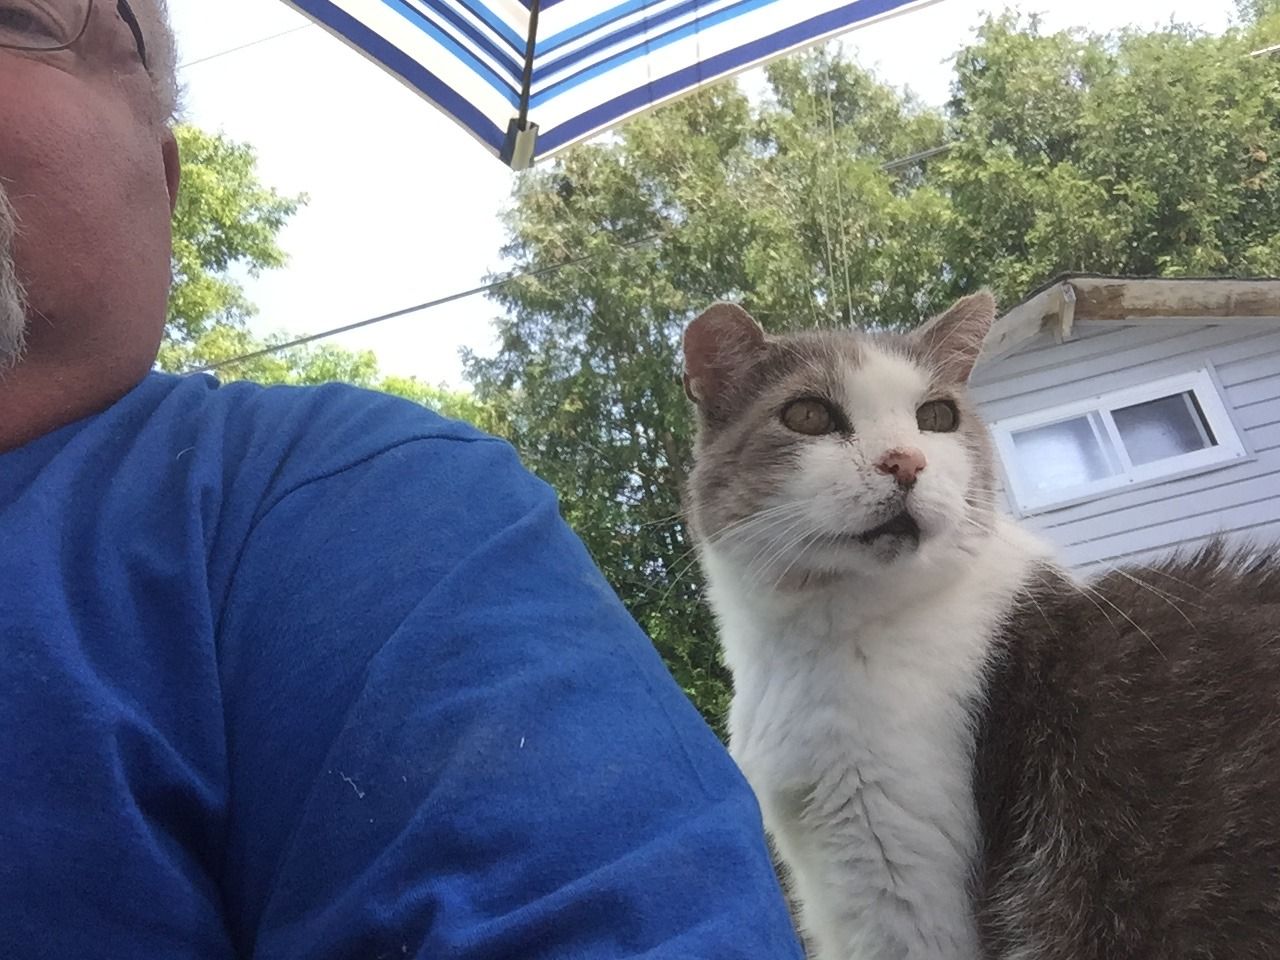
Not much to show for 5 hrs in the boat shed but I'm easing my way back into it. Actually feel pretty good today. Little cramps in the legs but nothing major. The Project Manager kept a close eye on me today.
Boots, The Old Tom Cat AKA The Project Manager
Tomorrow: Glue Frame B upper into place. Let the epoxy flow!
Finally something worth of reporting. I haven't been totally laid out on my back but pretty close. Some days are better than others. I try to get a couple hours of tinkering in the shed each day.
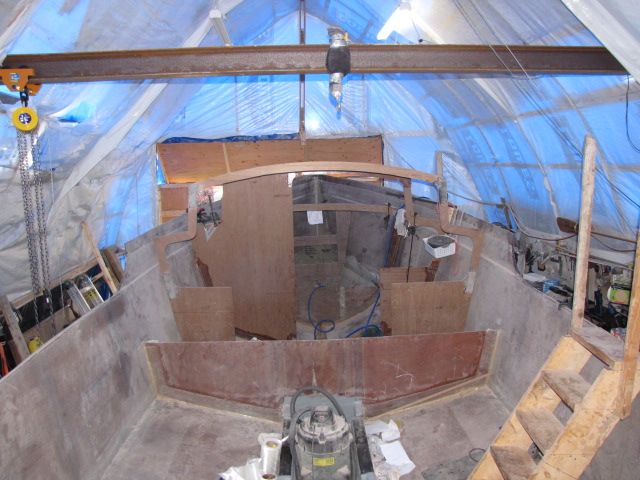
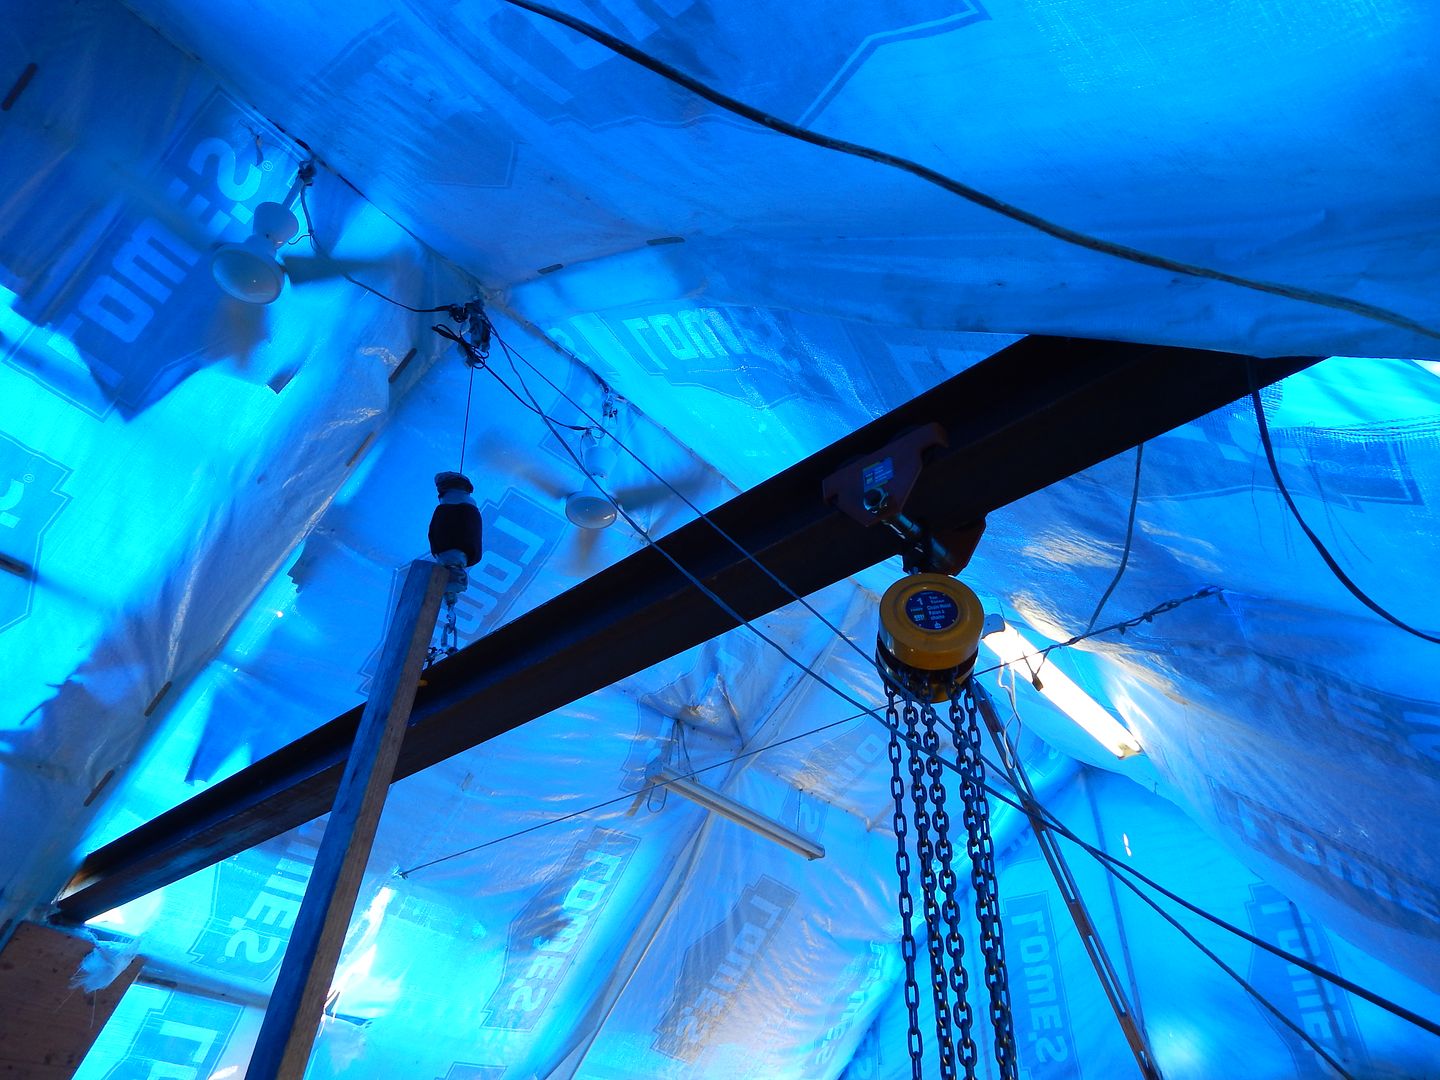
I'll start with the most recent and work my way back. Spent the last couple of days trying to get my 6" x 16' i-beam up into the shed 10' above the ground. This will be what I use to lift the engine into the boat. I explored a number of other options and this one was the most cost effective but more laborious, at least doing it all by yourself.
iBeam, trolley and chain hoist
The beam is currently resting on the shed longitudinal's which are 1x3's with a 2x4 scabbed on. I'll be adding a 6" x 6" post at each end of the beam to support the weight of the engine when I lift it.
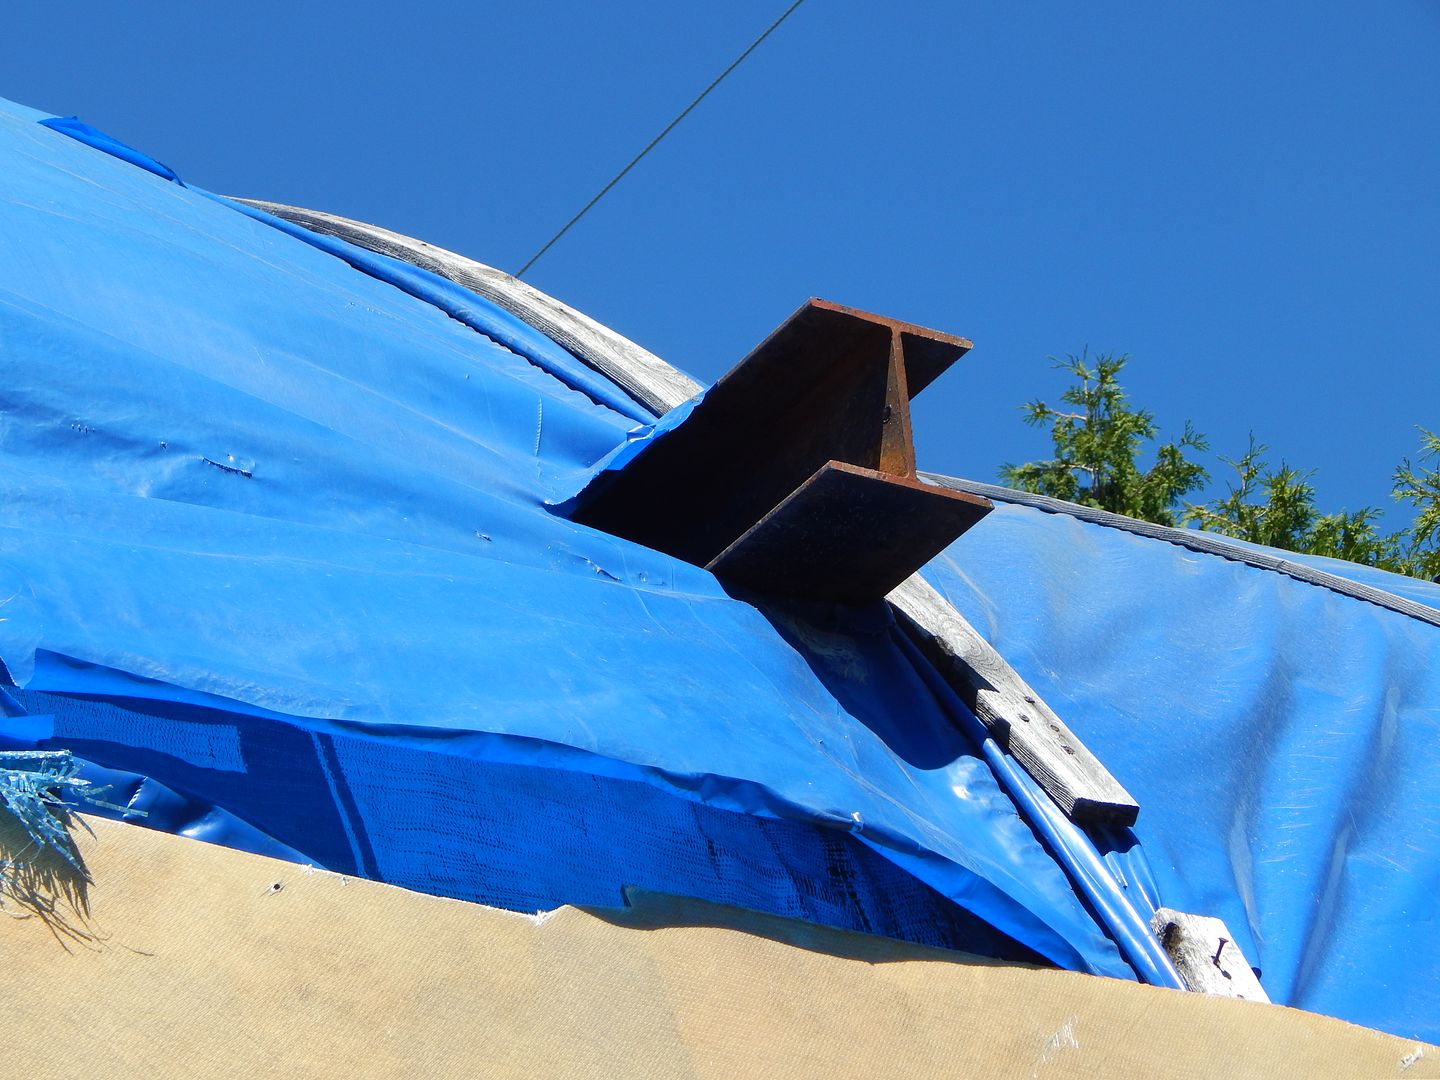
iBeam sticking through side of boat shed!
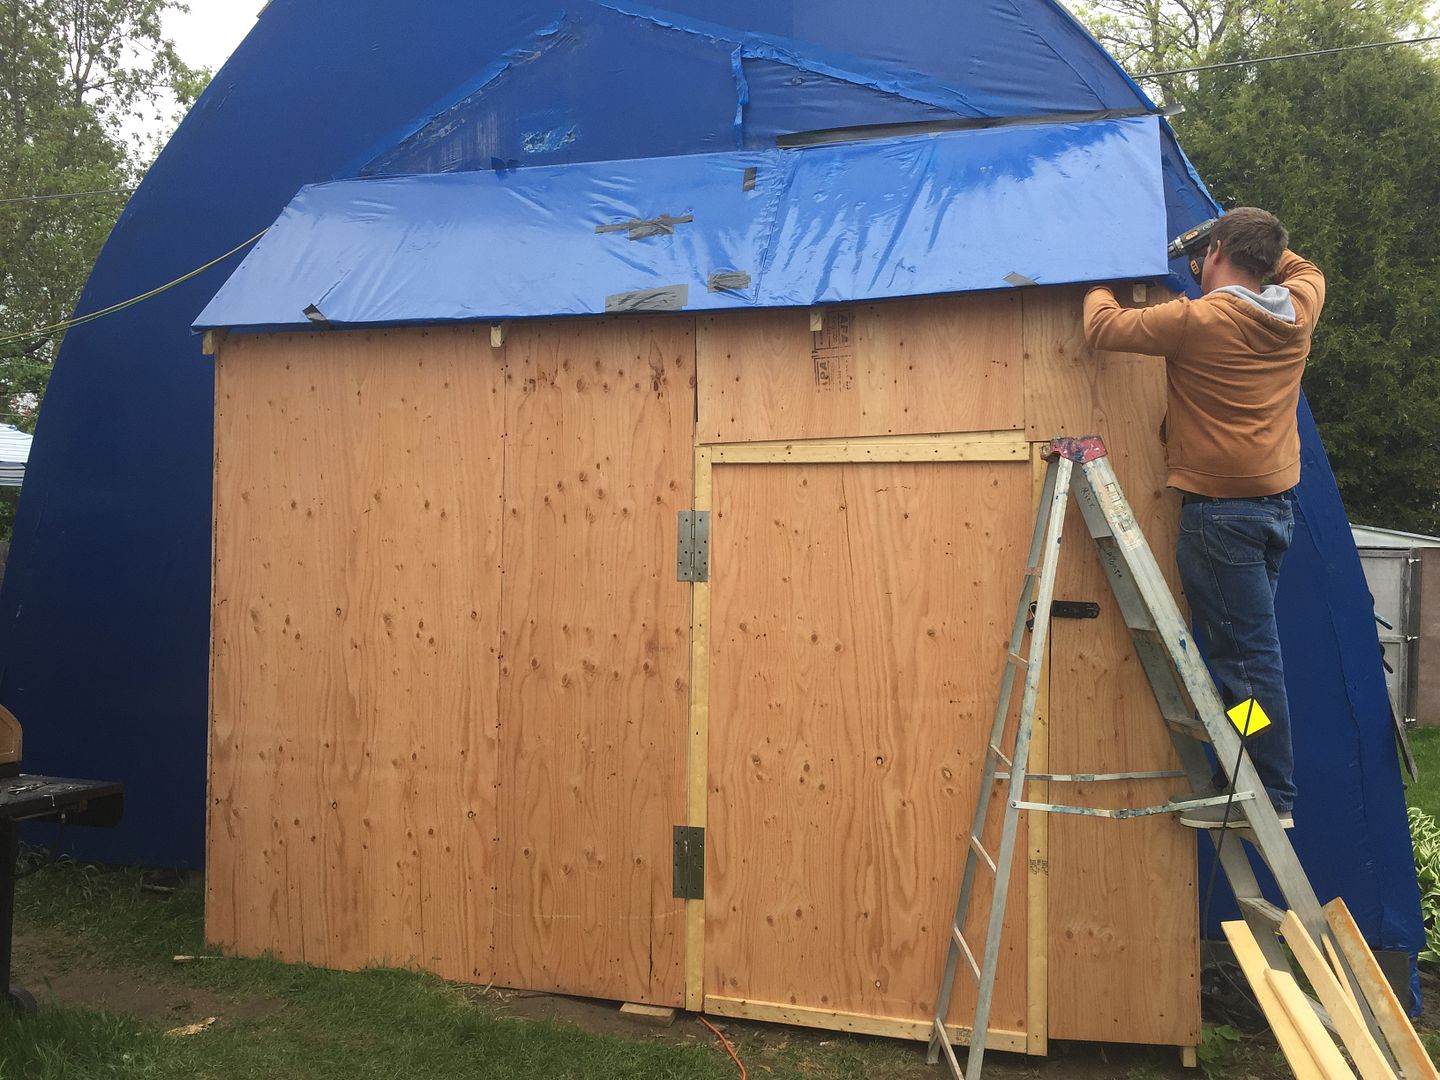
A couple weeks ago Mother Nature ran through here like a freight train and tried to blow my shed down. She did a good job stoved in both the front doors. Decided to bite the bullet and put a shed end on with plywood.
My buddy Andrew putting some of the finishing touches on the shed end.
Have spent a few days just cleaning up and trying to organize stuff better. Managed to get my work bench cleaned up a bit. Bought some bins and separated out screws from nuts and bolts etc. Still can't seem to find stuff. *sigh*
I've always had to borrow trailers for supply & dump runs. If not my buddy Tim's it was my Dad's trailer. Sold our Walker Bay this spring and kept he trailer. Got inspired one day and turned it into a flatbed trailer. Now I can go get my engine & do runs without having to beg for the use of someone else's trailer.
4 bolts and it's back to a boat trailer
Lori and I took a week to go see the kids in Grande Prairie AB. Lori wasn't able to go with me last time to meet our first Grandson Connor. He'll make a fine addition to the crew. Extremely happy and energetic baby. Handsome too, just like his Grampy! :-)
'sup Dudes? ;-)
Dis My Gramma Too! :-)
Ok I know it's not much but it is what it is. I'm going to try to get back to some serious boat building soon. I have an appointment with the neurosurgeon next Wednesday to see if there are any options to getting my back fixed. *Fingers Crossed*. Until the engine is back from service I'm going to do a bit more clean up then try to get the skeg installed.
Ok, it's been a minute or two since last update. I apologize. Having a terrible time with back & leg issues. Finally got an MRI scan of my back and there's definitely something wrong in there. Just waiting on a referral to a neurologist.
Anywho, some slow progress on the boat. I've tried to clean some stuff up but it's hopeless. The monsoons' keep returning. Ground is way too soft to re-level the boat just yet.
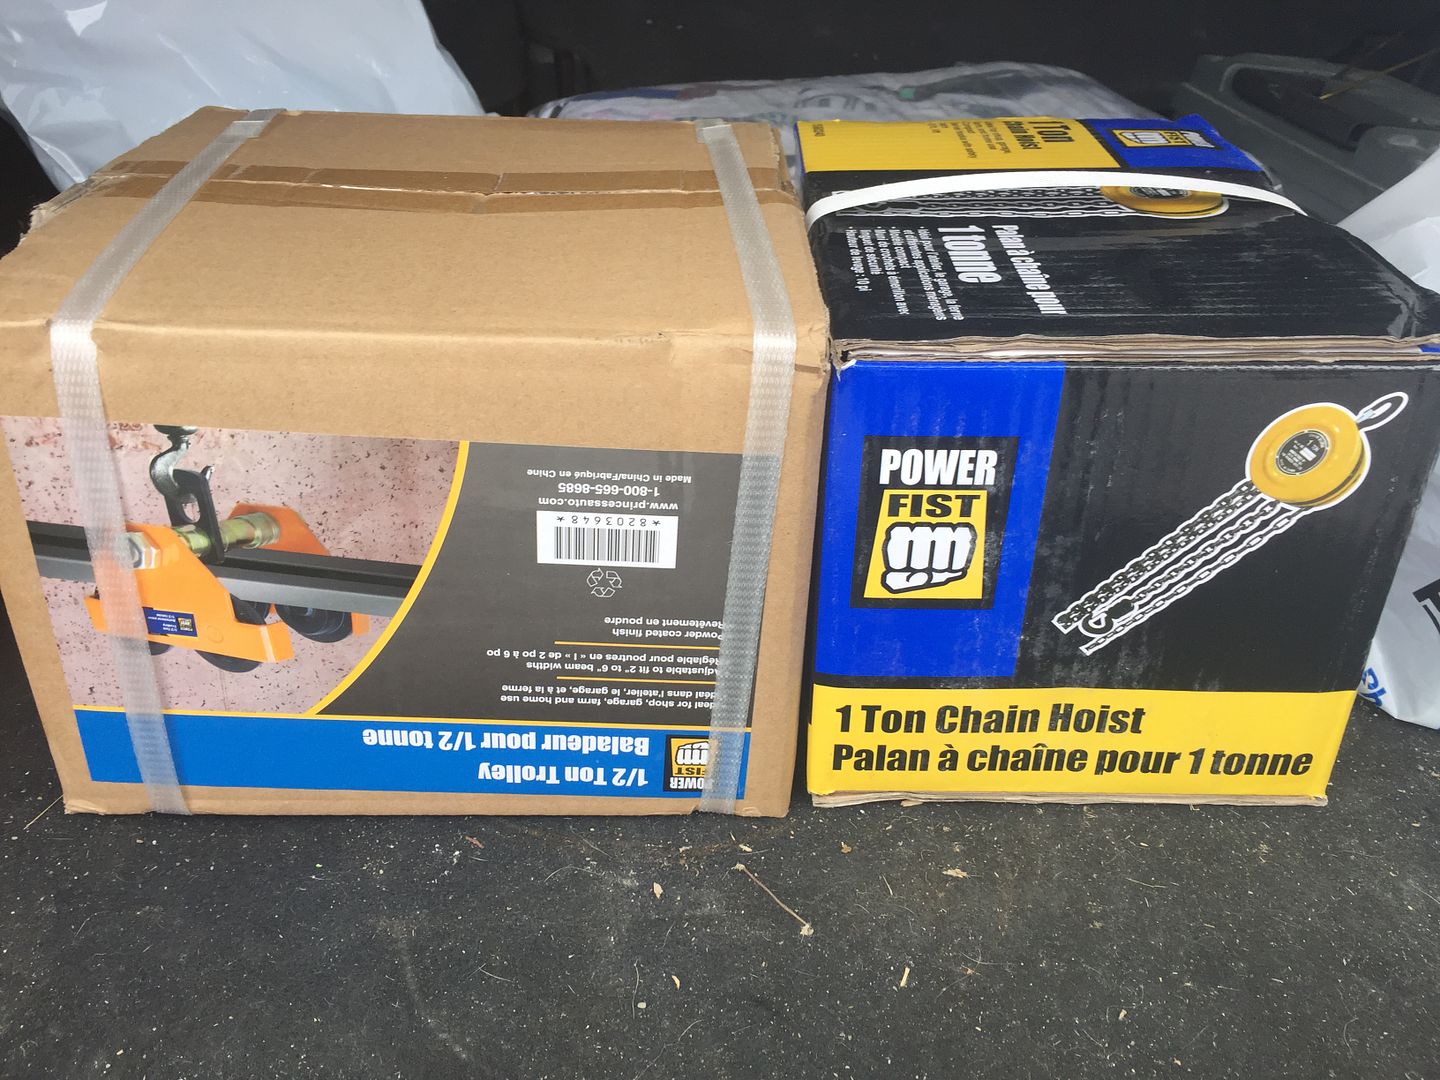
Decided to put in a temporary overhead gantry to lift the engine and drop it in the boat. Ordered a 6x6 inch I-Beam 16 feet long. Dunno how I'm gonna get it up in the air but that's just a small challenge. I'll rig a trolley & chain hoist from the I-Beam. Got a wee bit of math to do to ensure I can lift the engine over the side of the boat.
Trolley & Chain Hoist
When I'm finished with it I can 'market it' as a DIY'er Gantry Crane for your work shop. :-) I figure I should be able to recover a good percentage of my investment.
Next task was to get the engine to a repair shop. The issue with the governor is not something I can do myself. Besides I need to know it's been serviced properly before I drop it in the boat. It's likely going to have to sit in there for a couple of years before it ever sees it's chance to drive the boat through the water! *sigh*
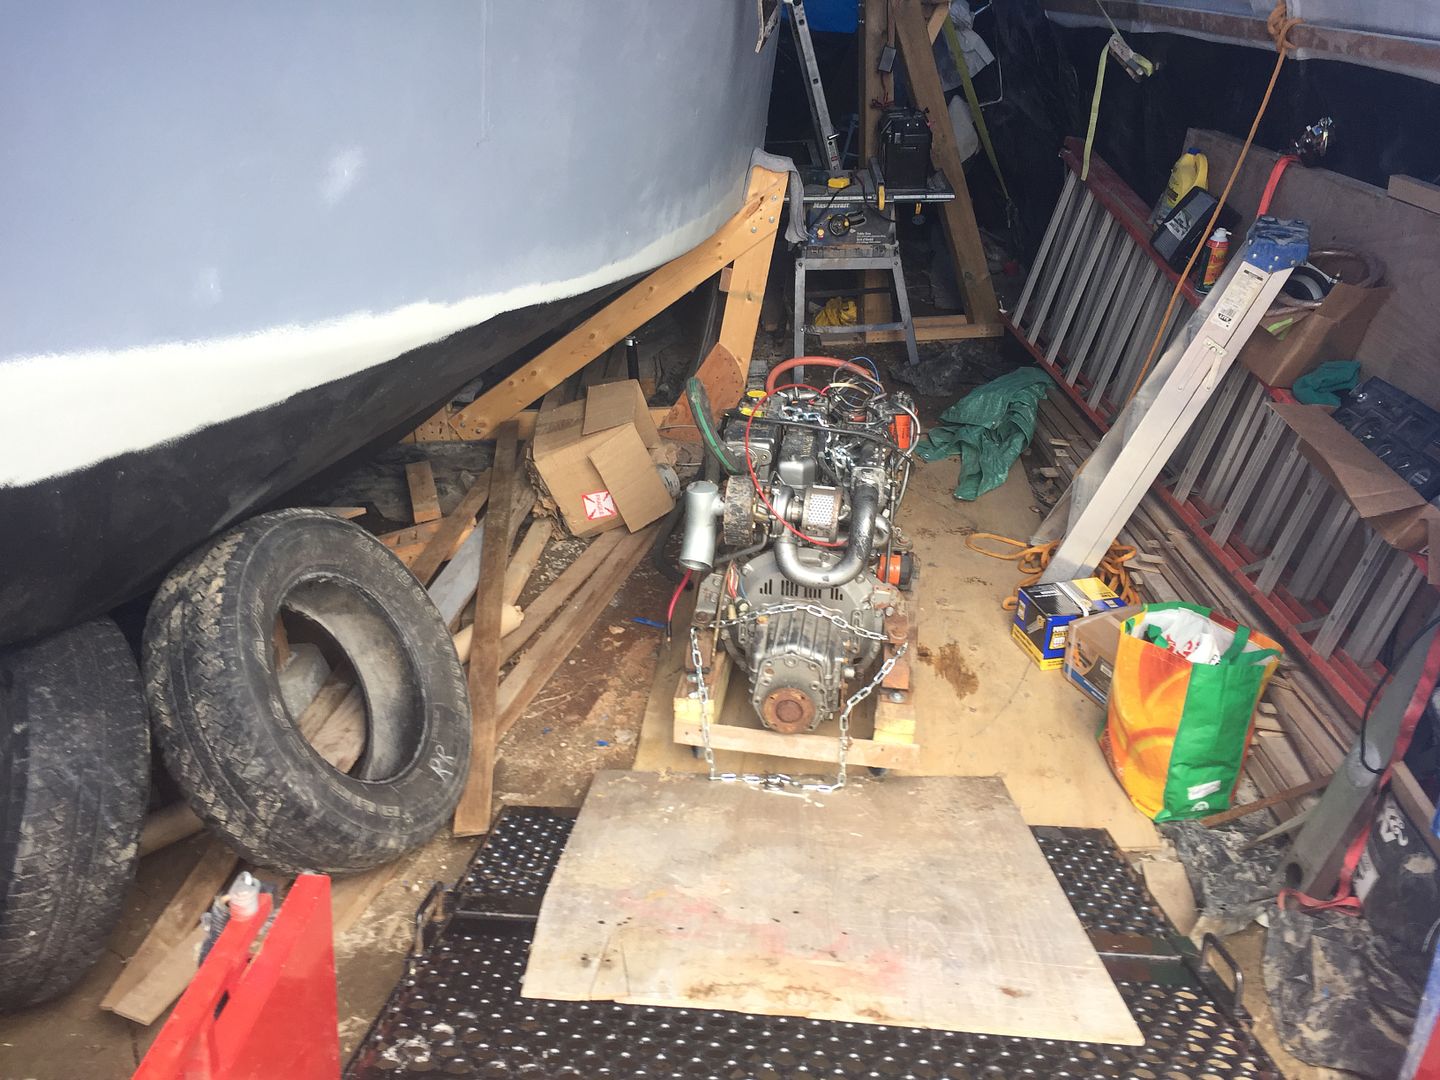
The Lil' Huffer sees Daylight
Took me half a day to dig the engine out! Finally got it loaded up today and hauled off to Precision Diesel in Winchester. It's in good hands.
Locked & Loaded
Getting pretty adept at moving this huge hunk of iron around all by myself. Hopefully this is the last time I'll have to do that though.
Tomorrow it's a quick run to the bank in the AM then back to dismantle the Gin Pole.
Door to the boat shed is always open if anyone wants to come and help or just hang out for awhile & shoot the shit. I take a Large Timmy's with 3 cream and 2 sweetener! *hint hint*
Wow, that was one sucky winter! I'm glad we missed 4 weeks of it while in Mexico. I could have stayed another month at least! Duty called and I went back to work for the Gubment for the month of March. Still haven't gotten paid yet thanks to Phoenix but they're working on that.
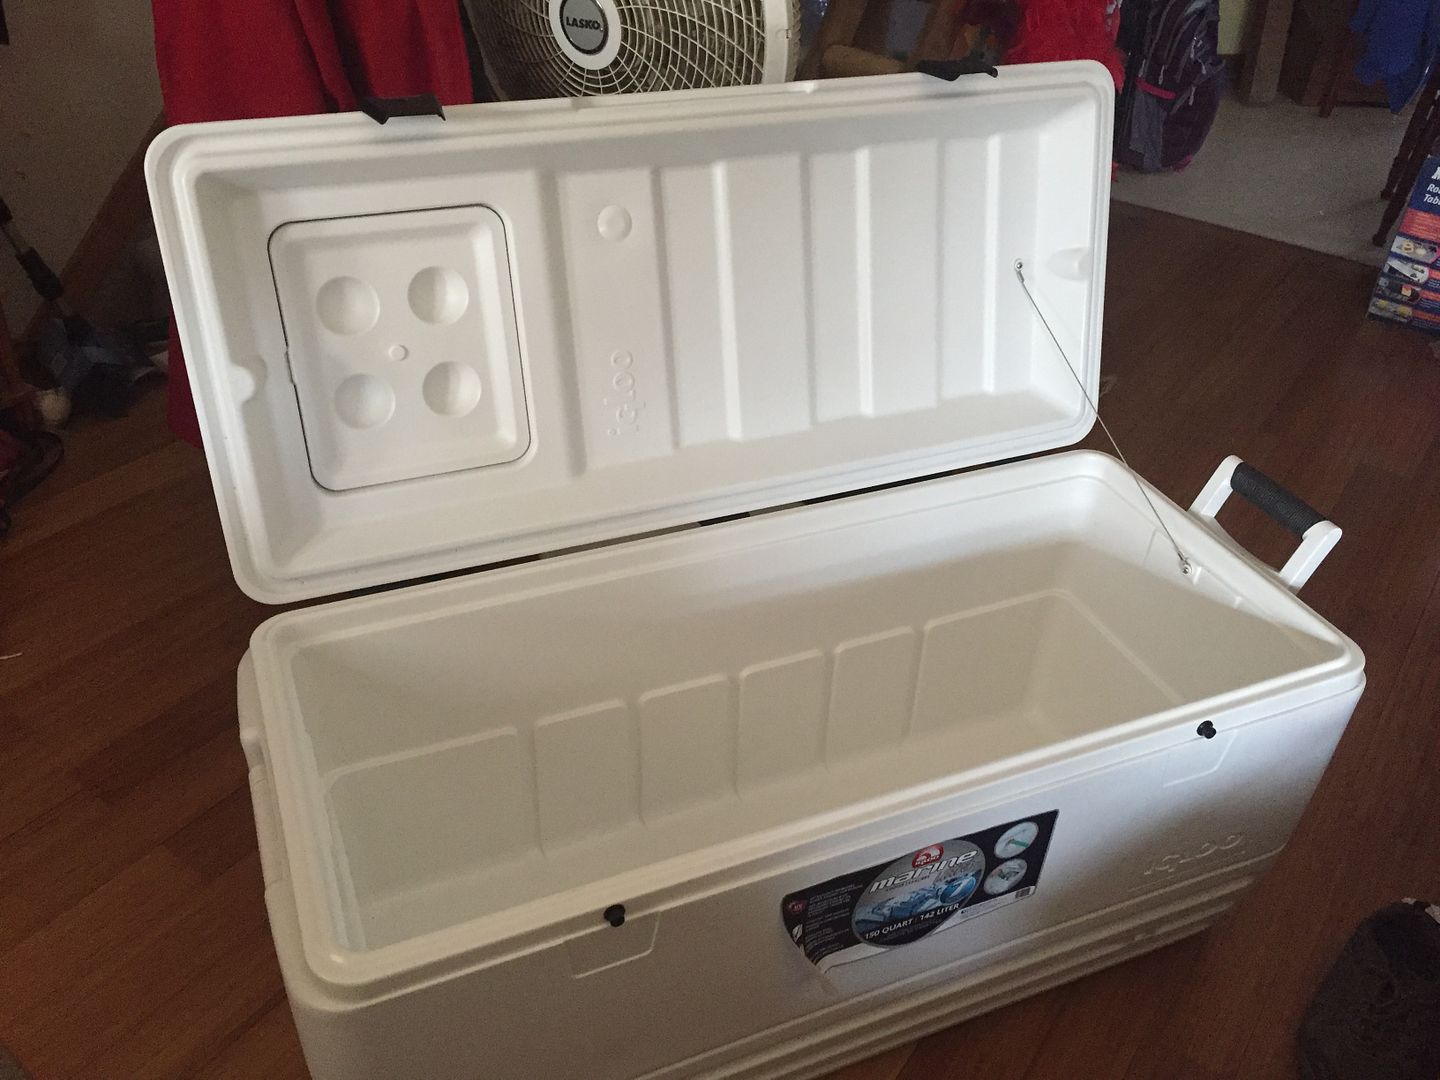
I picked up a couple of 150 qt Igloo coolers. These things are huge!
Igloo 150 qt cooler
Planning on putting these under the benches in the cockpit. One to be used as a conventional cooler and the other likely for dry storage unless another need arises. At $77 Cdn Pesos's each they were a deal I couldn't pass up!
The newest member of our crew is growing like a bad weed! :-) Soon be reaching his first '6 month day'!
Connor
It would be nice of him to come visit his Grampy for the summer. I have some painting jobs in tight spaces he could help with! :-)
I follow a few other blogs and a new one popped up recently. The Sea Dreamer project. This one's not a Bateau or stitch & glue project but a 41' Diesel Duck! Definitely check it out. I'll be following closely.
Everybody wants to know when the boat will get launched. It's still years away folks. :-( All I can do is the best my broken down old body will allow me to do. If I were to venture a guess I'd say at least two more summers. Likely more. Everyone's welcome to come and help. Even if it's just to spend some time and shoot the shit. I'd appreciate the company. If you want to pitch in, cool. If not, that's Ok too.
First project this year will likely be to finish the rudder and get the running gear installed.
So while I'm here in sunshiny Mexico rehabilitating my ruptured disc I thought I'd take the opportunity to say something. ;-)
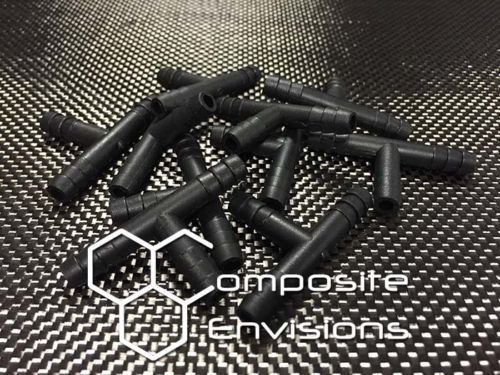
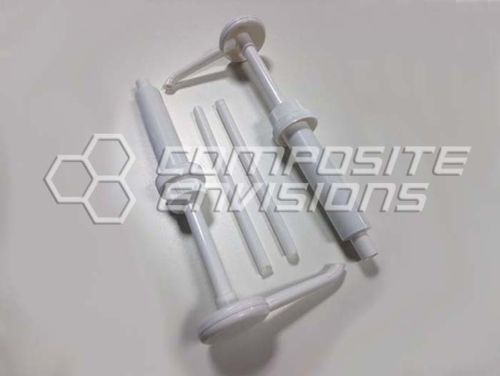
Just ordered some infusion supplies to complete the rudder construction. Ben will be happy. I promise to video the entire process.
Plastic T's for resin flow & vac lines
2:1 epoxy pumps
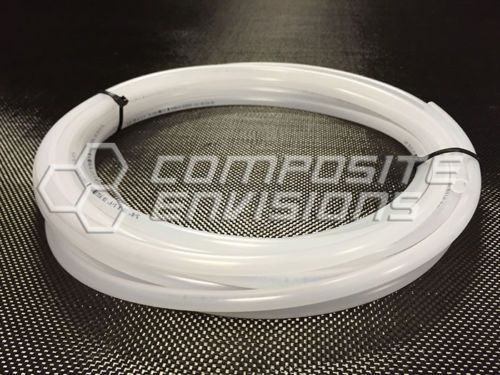
Spiral wrap for resin feed & vac lines
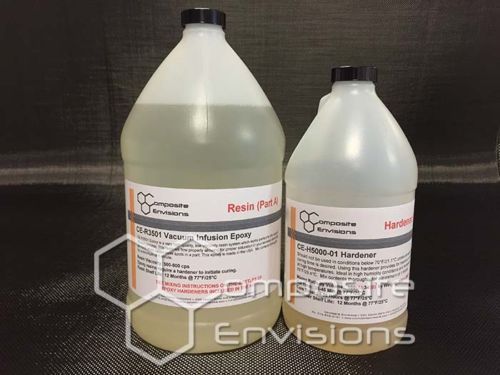
Ultra Low Viscosity 2:1 epoxy resin/hardener
Carbon Fiber Fabric 4x4 Twill 3k 8.3oz
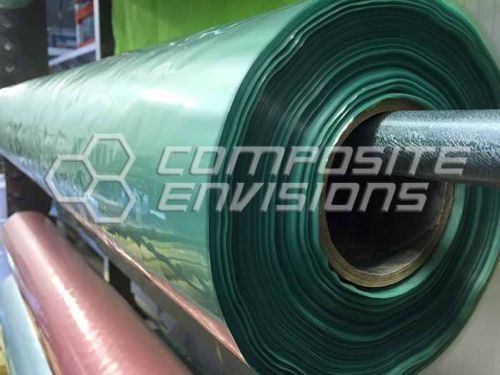
Stretchelon vacuum bagging film
I have everything else I'll need to finish the rudder. When I'm finished my Mexican Rehab I'll see if I can dig my way into the boat shed and retrieve all the parts so I can work on this in the basement this winter.
Looks like I'll be going back to work for at least a month when I get home as well. That's good. This stuff ain't cheap!