Tuesday, September 30, 2014

How much effort is involved

I often get asked how much effort is involved in building your own boat. My usual answer is 'twice as much as you think'. In reality it's likely even more. Doing it on your own requires a lot more pre-planning and I don't find myself doing a lot of that. In reality I usually end up figuring it out once I step into the boat. Such was the case this morning.
I had very little wood flour and Cabosil (thickeners used to make epoxy glue) left to work with. Having a look around I really needed to do the fillets along the chine and finish one joint with tape.
Using up the last of my supplies I managed to get about 25' of fillet done. The joint that needs to be taped got a little extra thick stuff to fill the small gaps that remained from when it was glued while the panels were on the strongback.
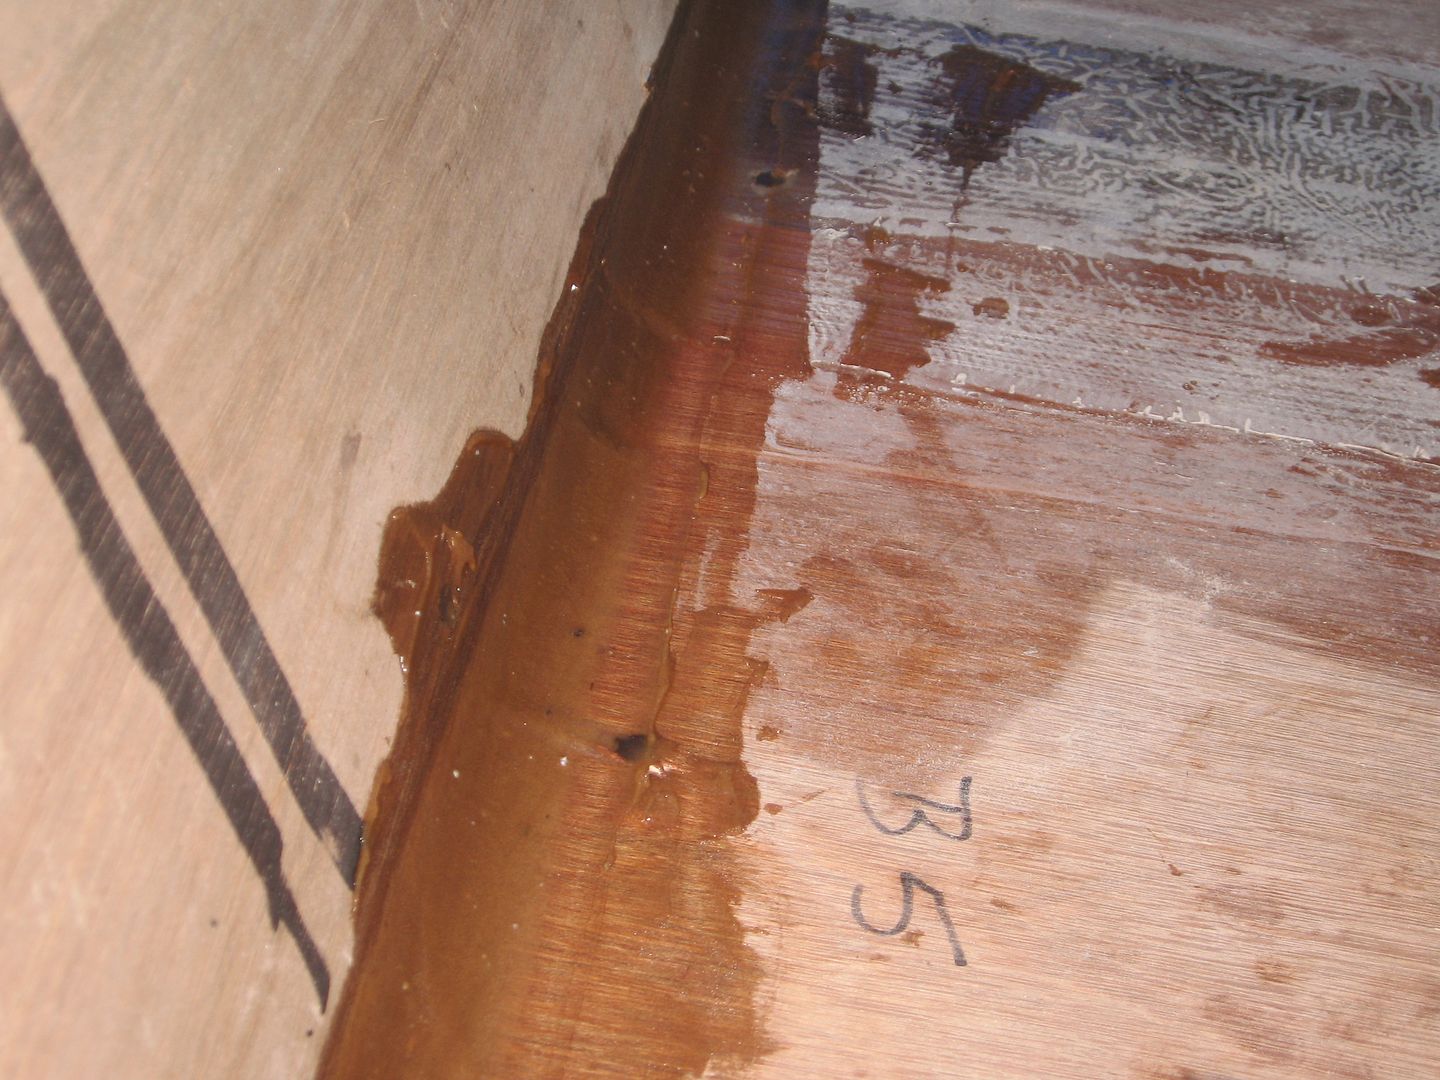
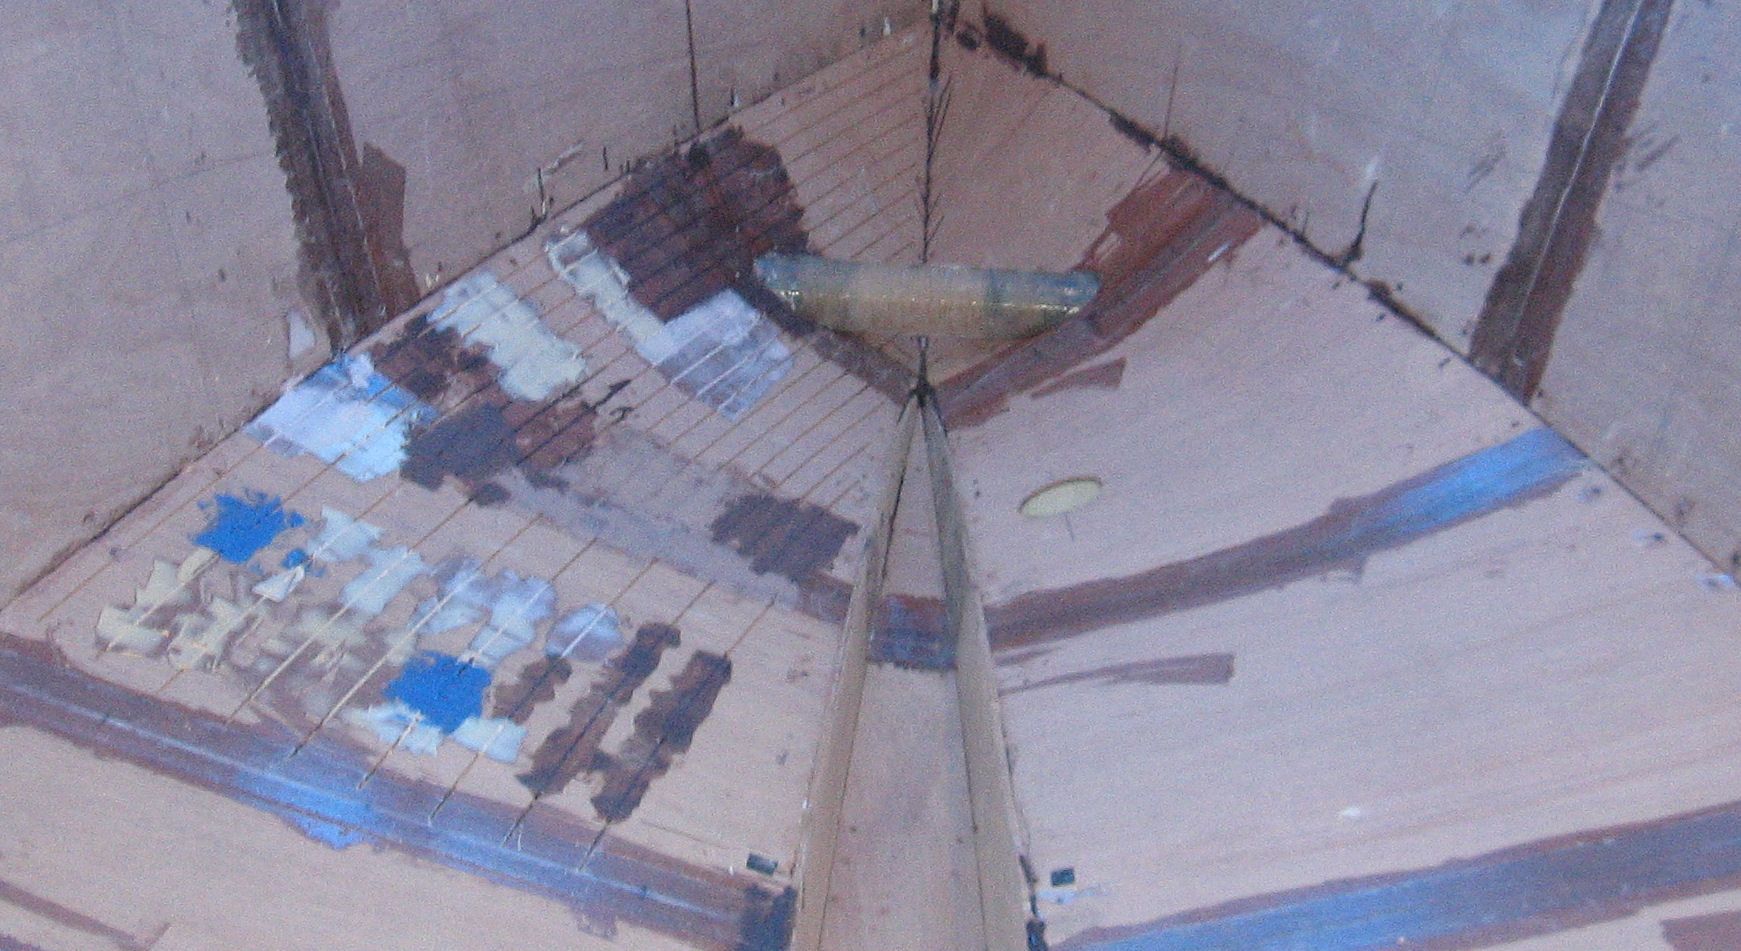
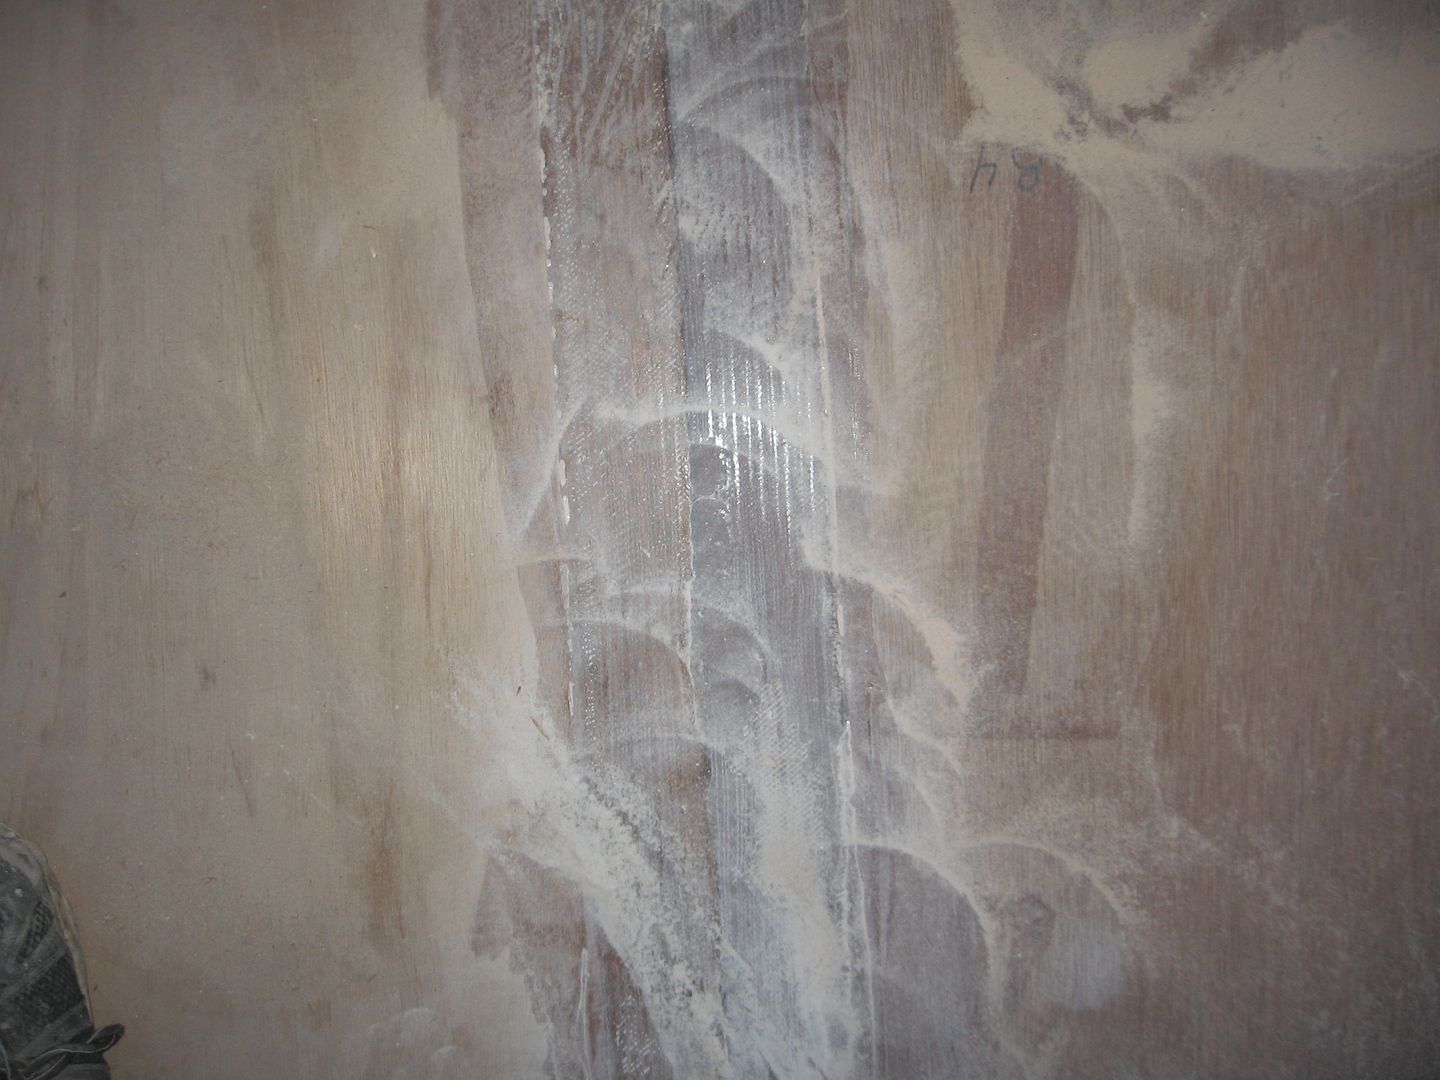
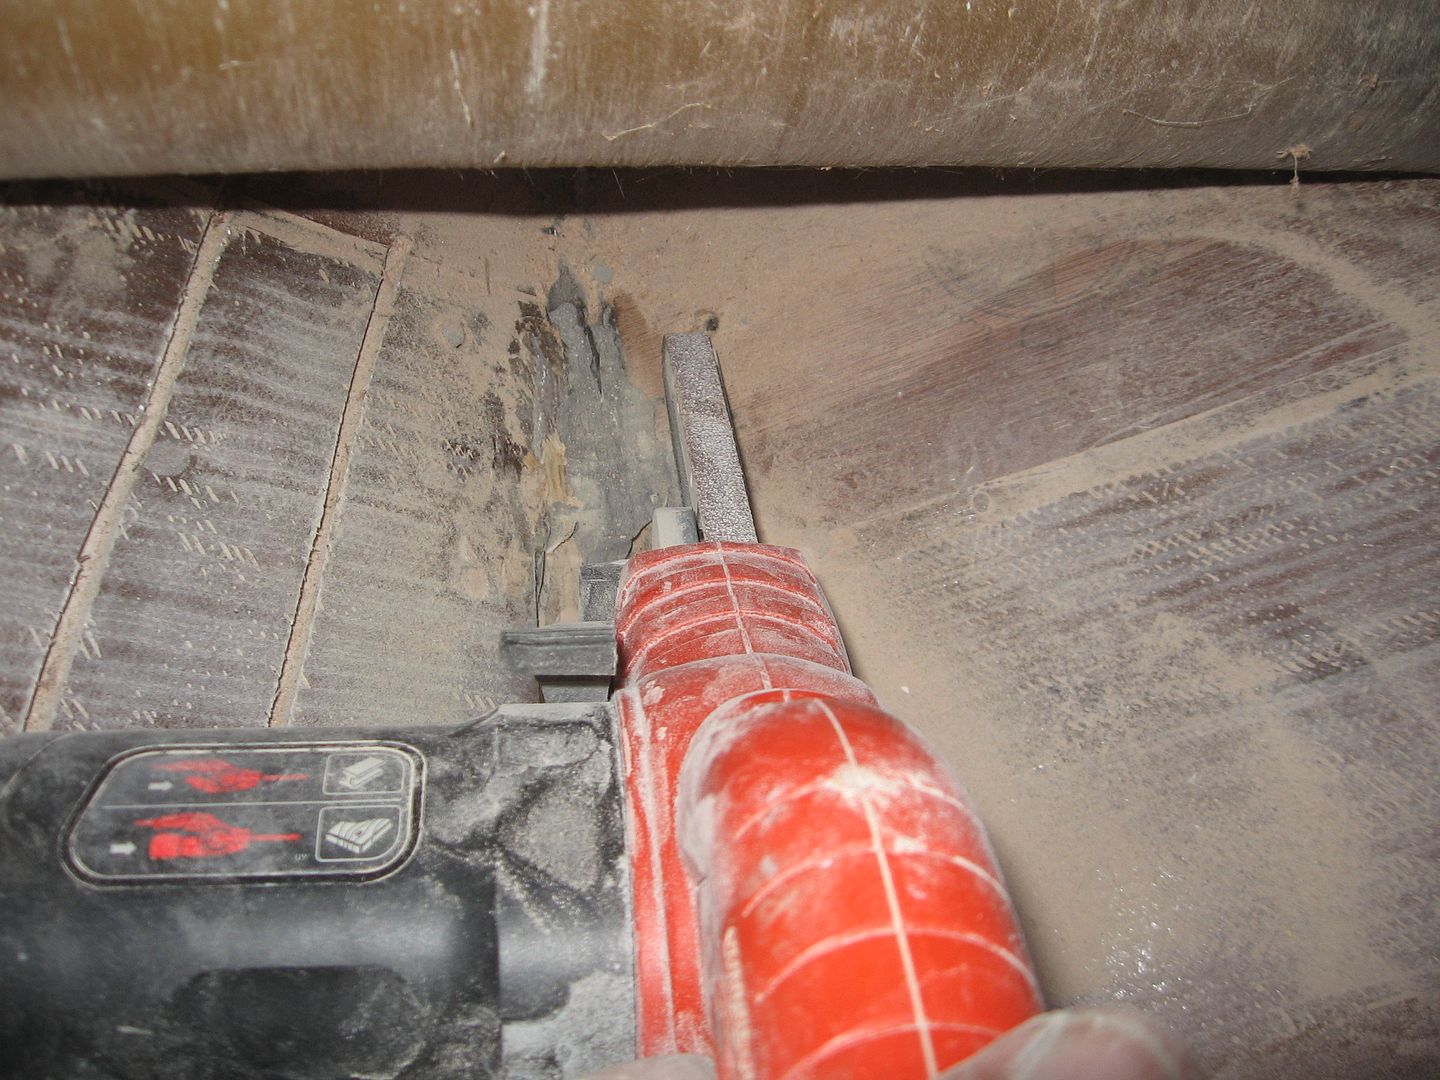
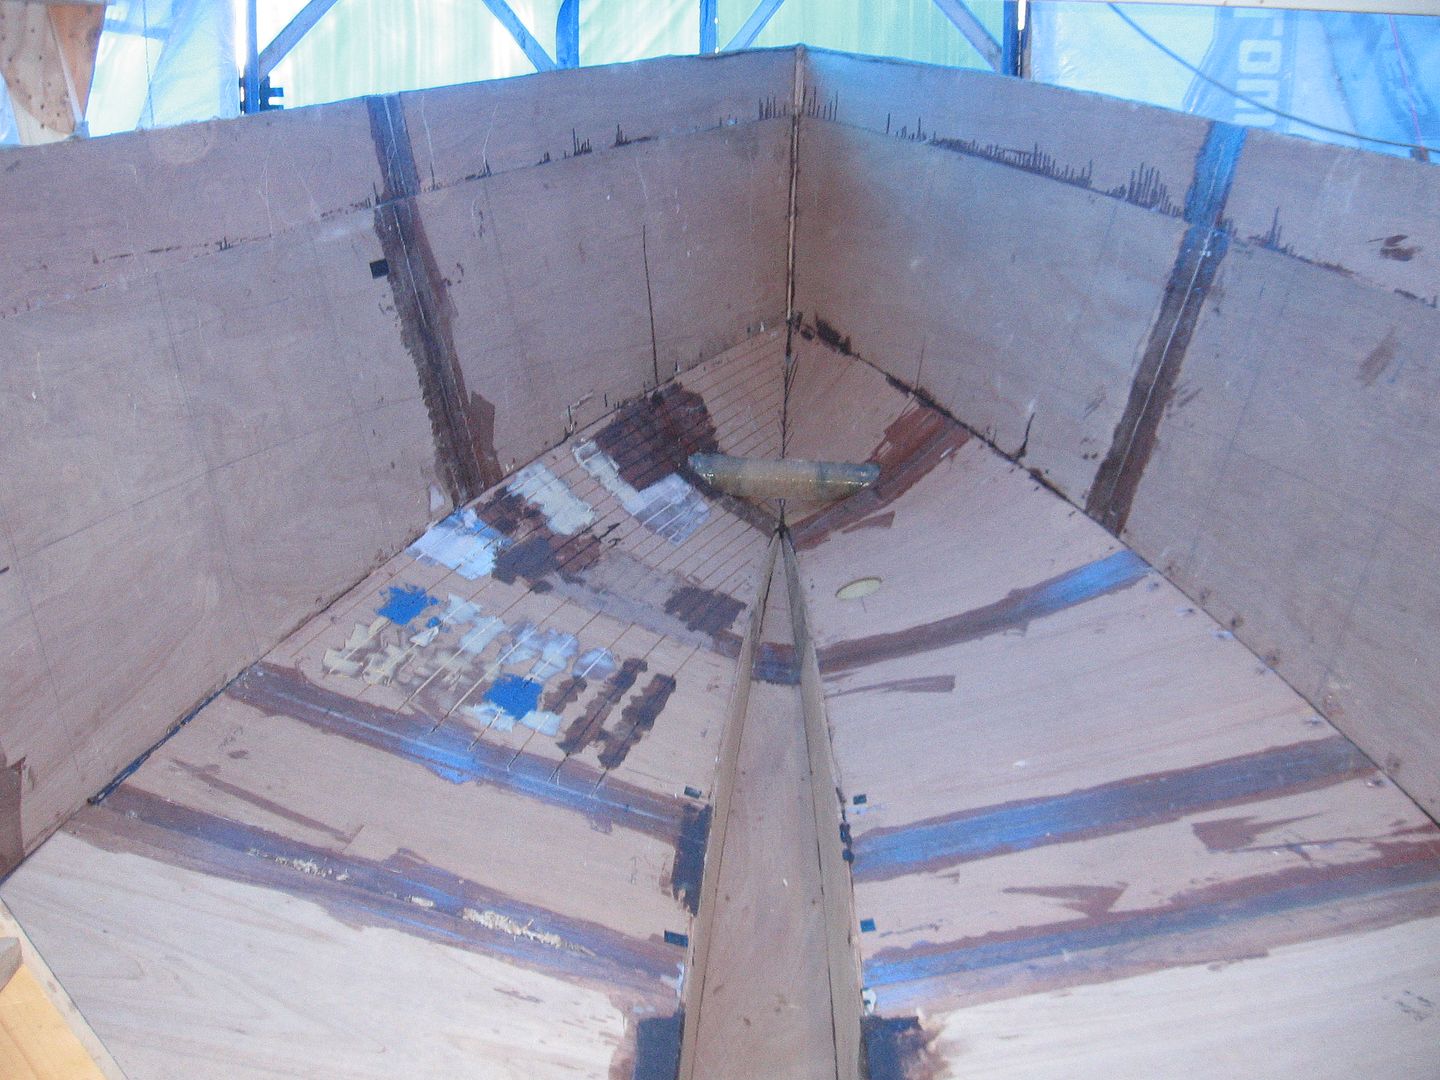
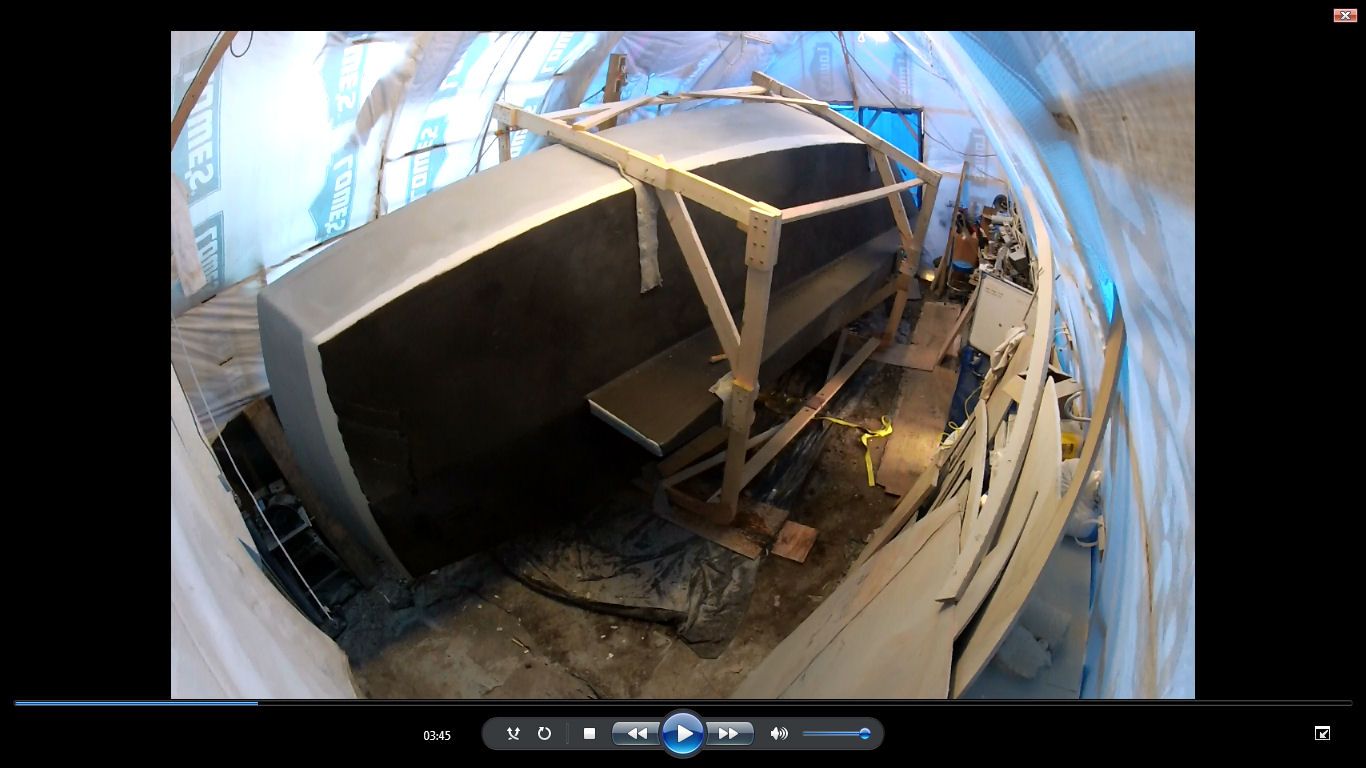
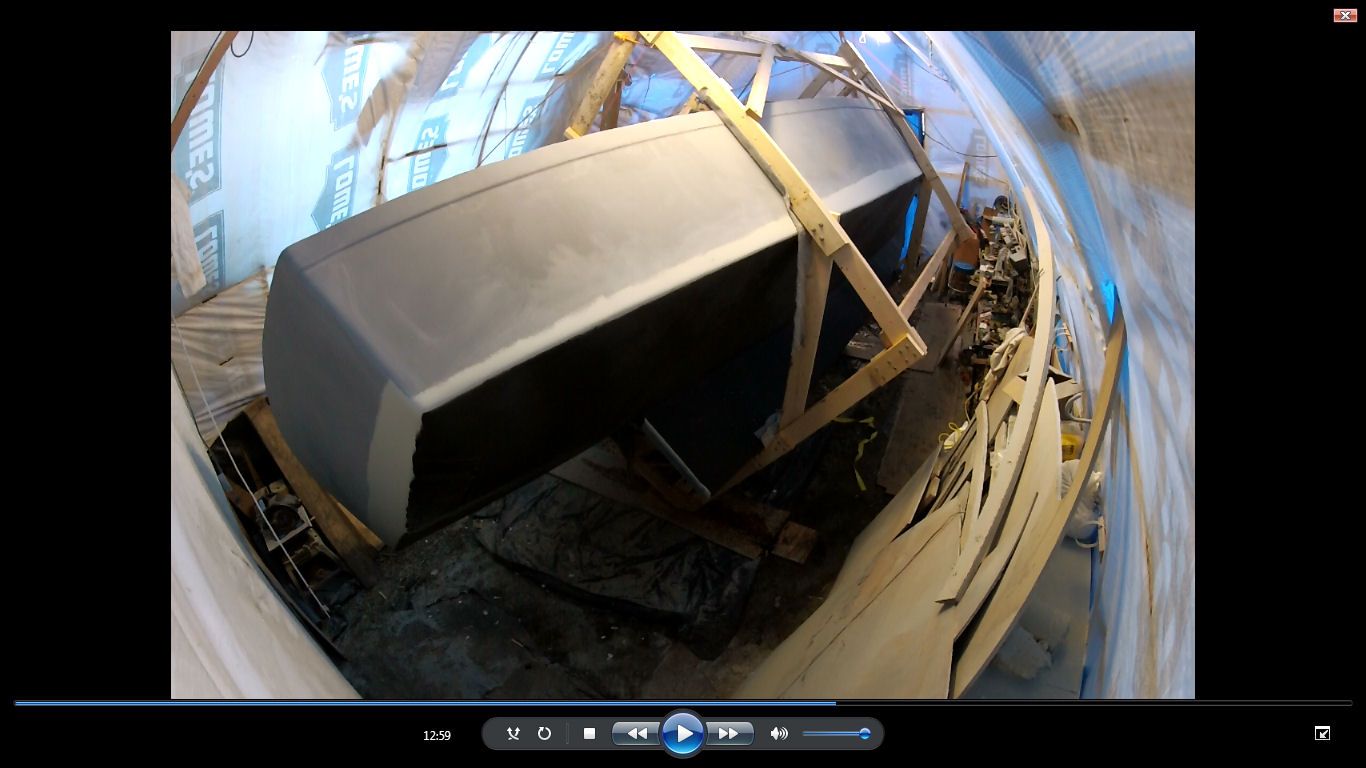
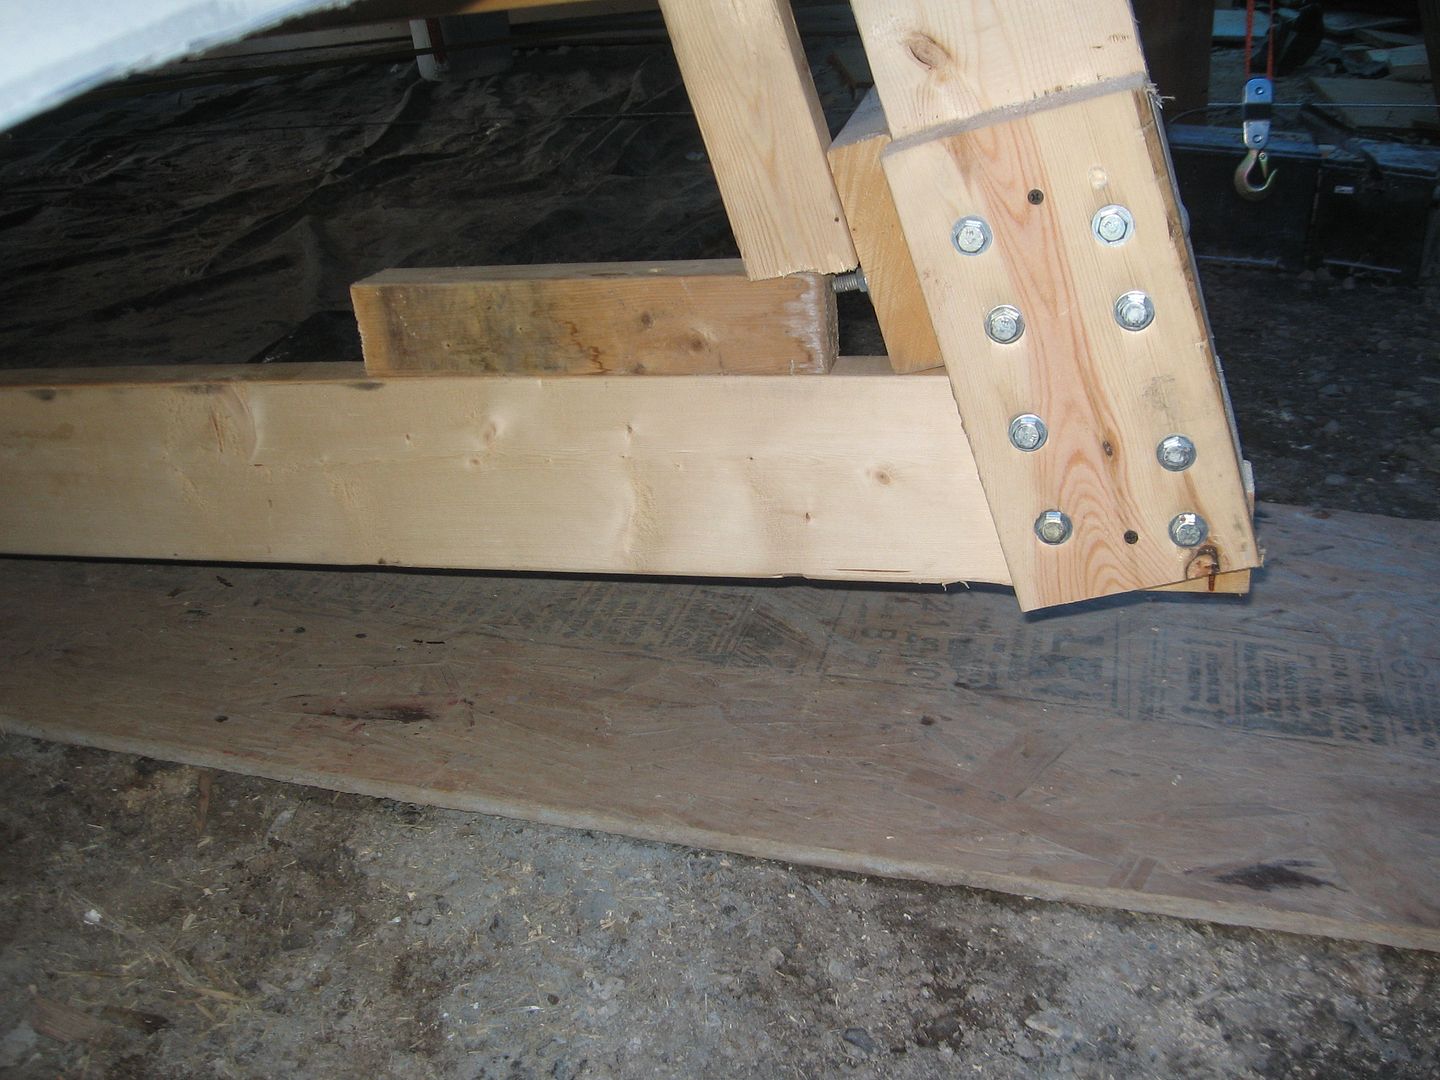
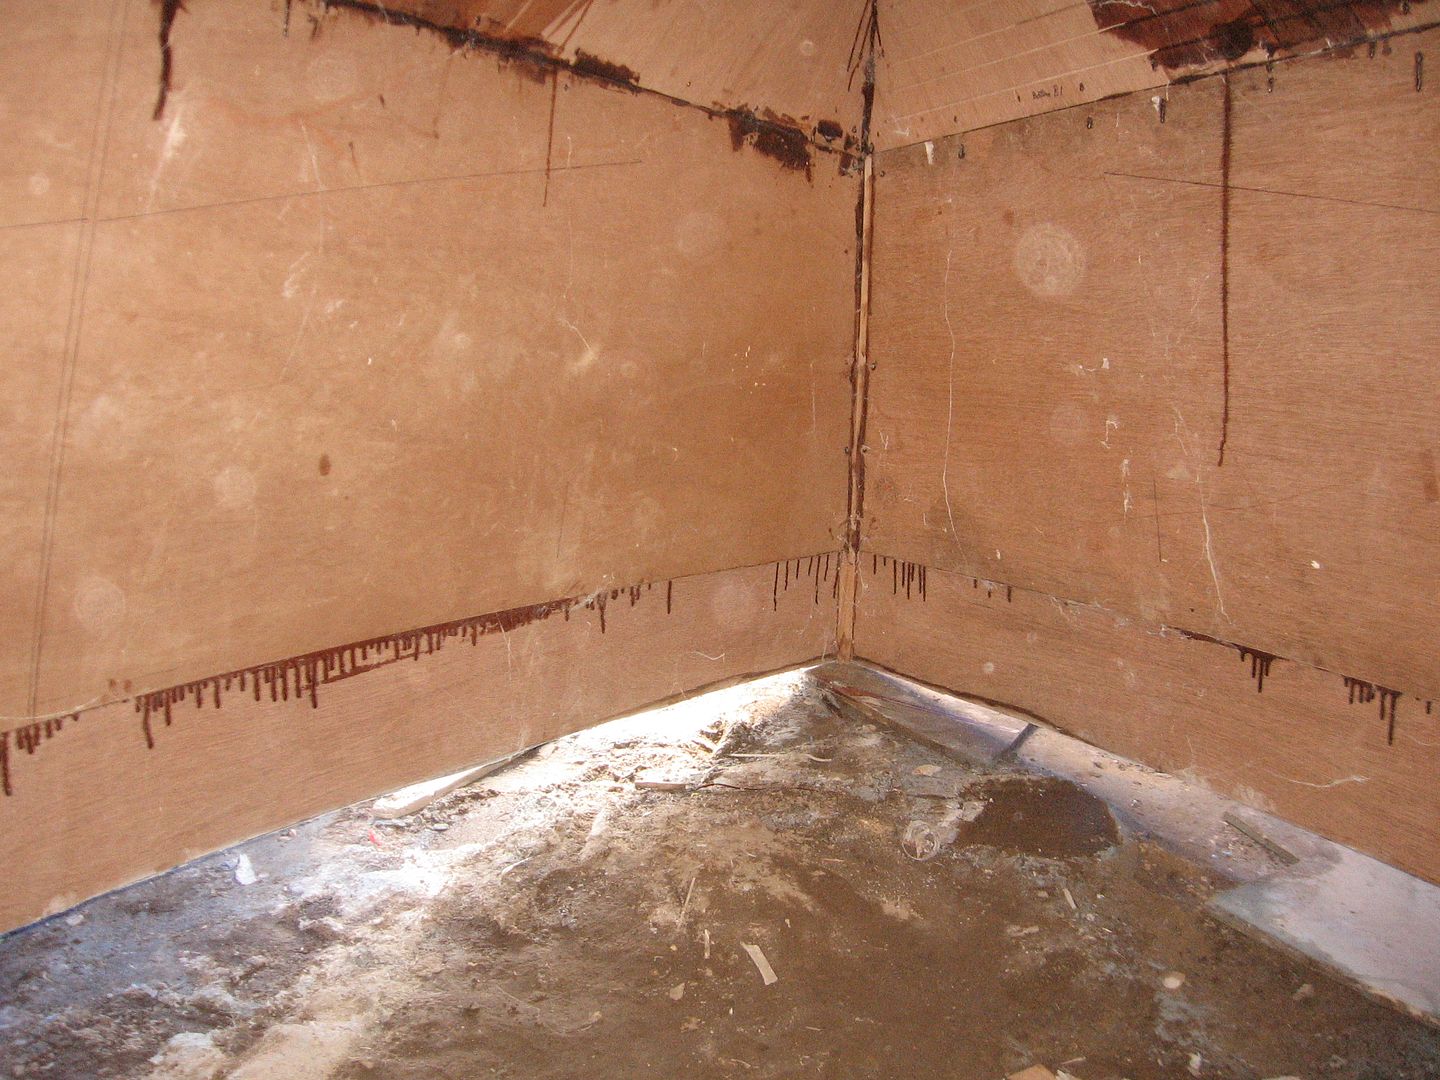
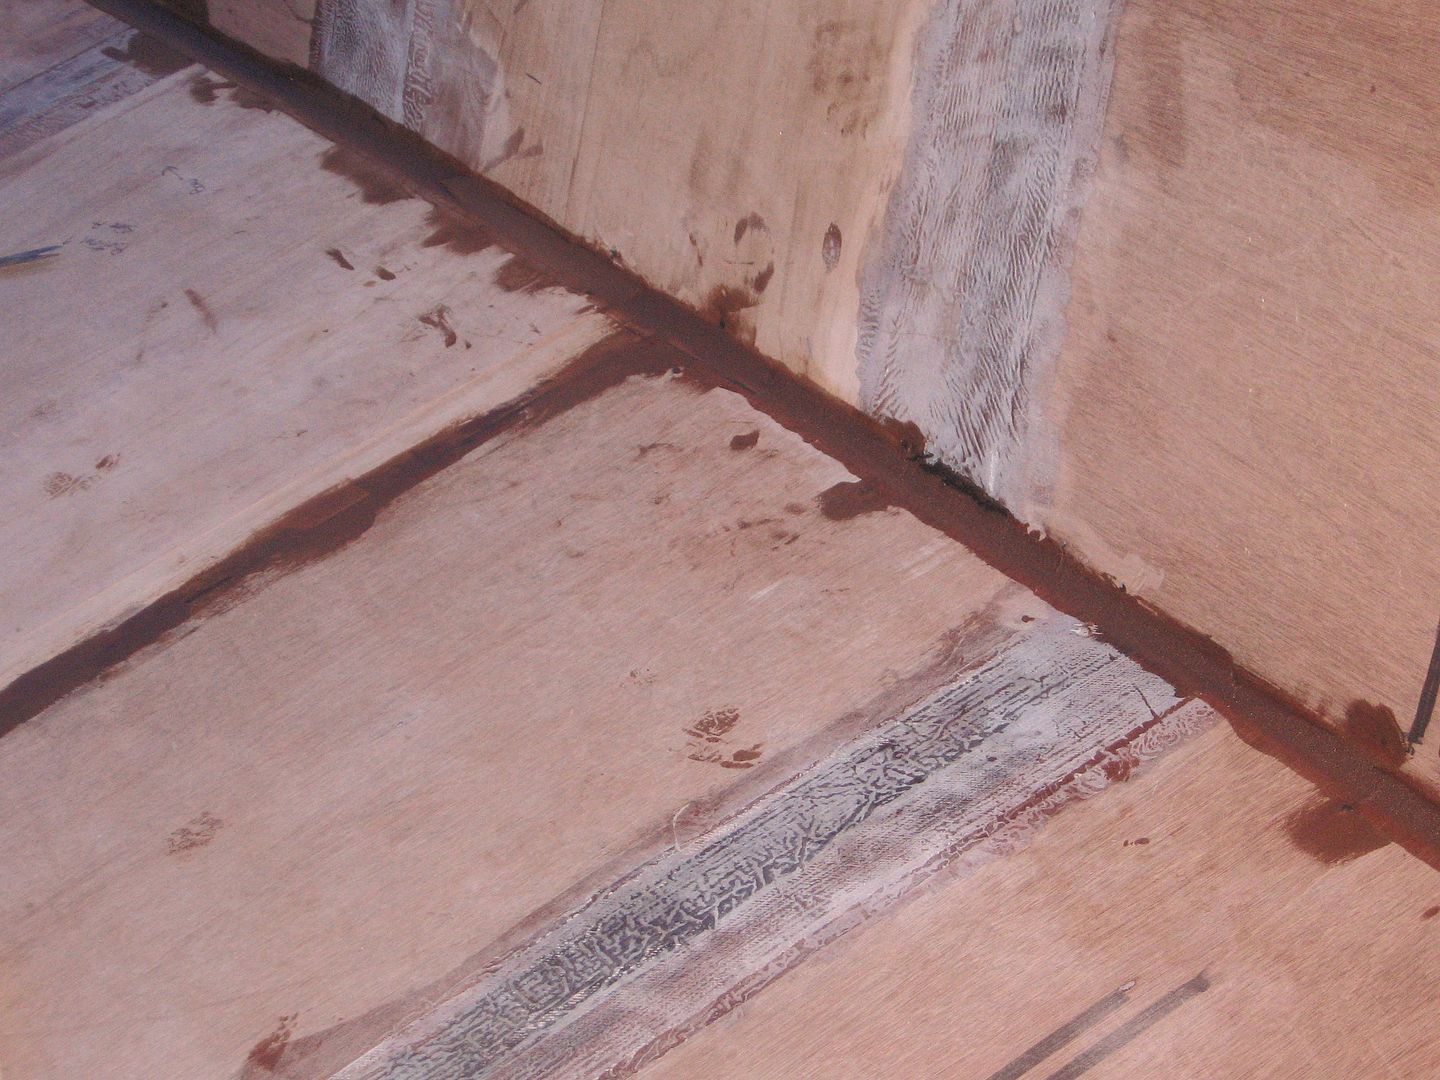
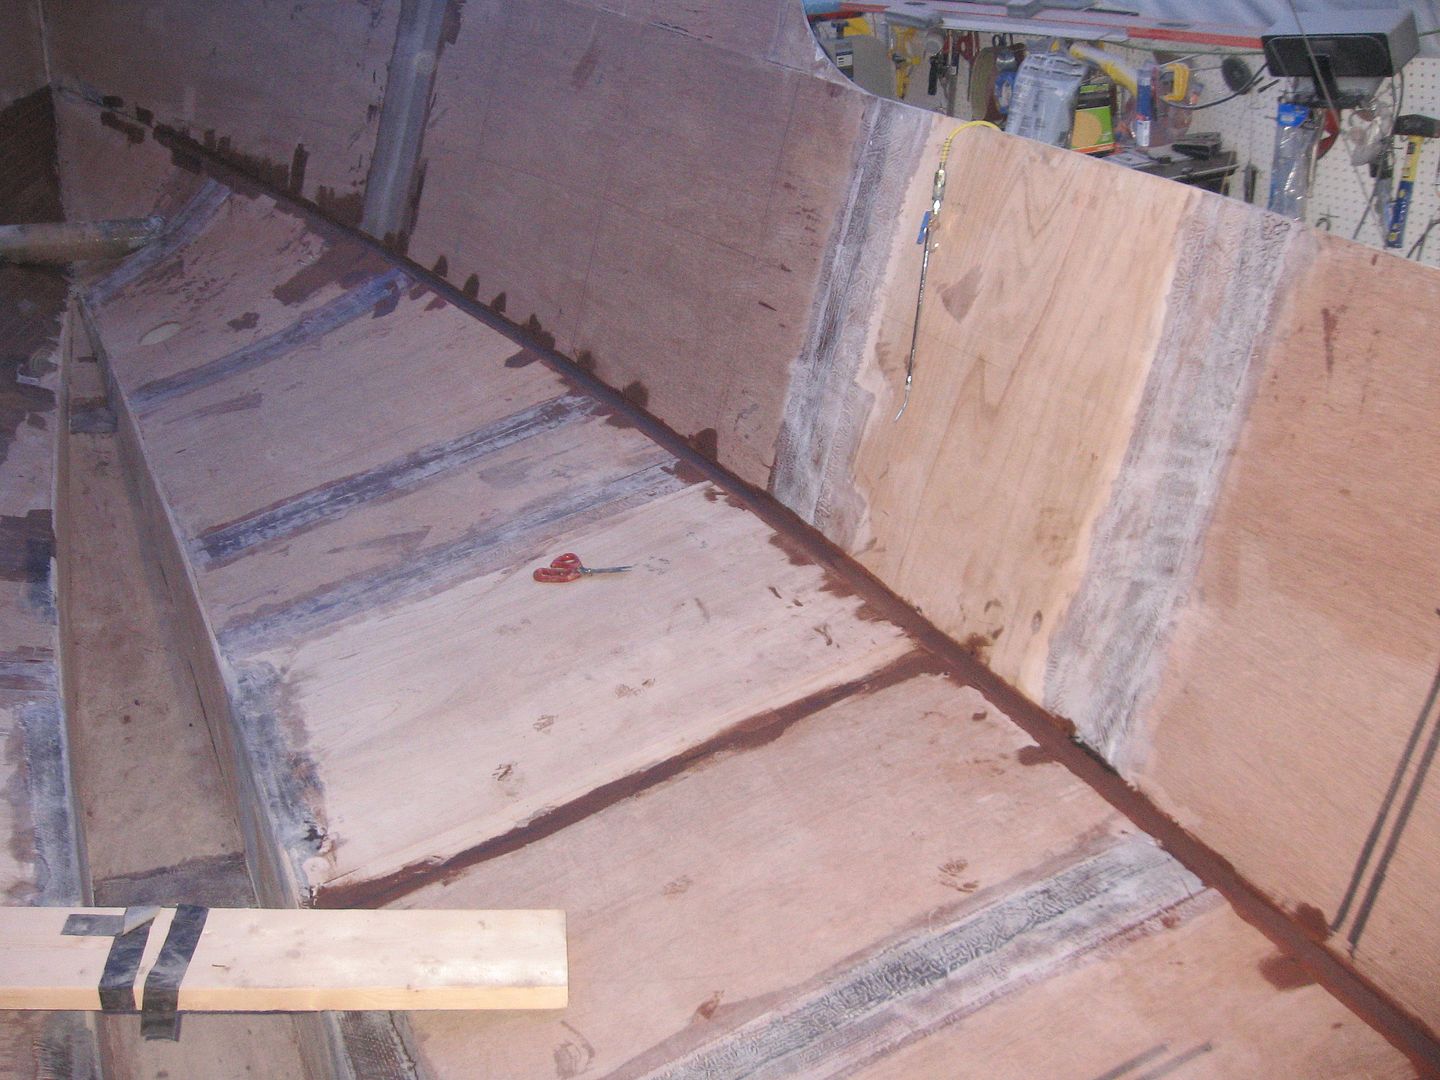
This is one of two joints that I fixed the day before yesterday. They turned out ok. A few small bubbles that'll need to be ground out and fixed.
A little closer. They're good to go now I think. There'll be three layers of glass go over all of these joints next spring. 

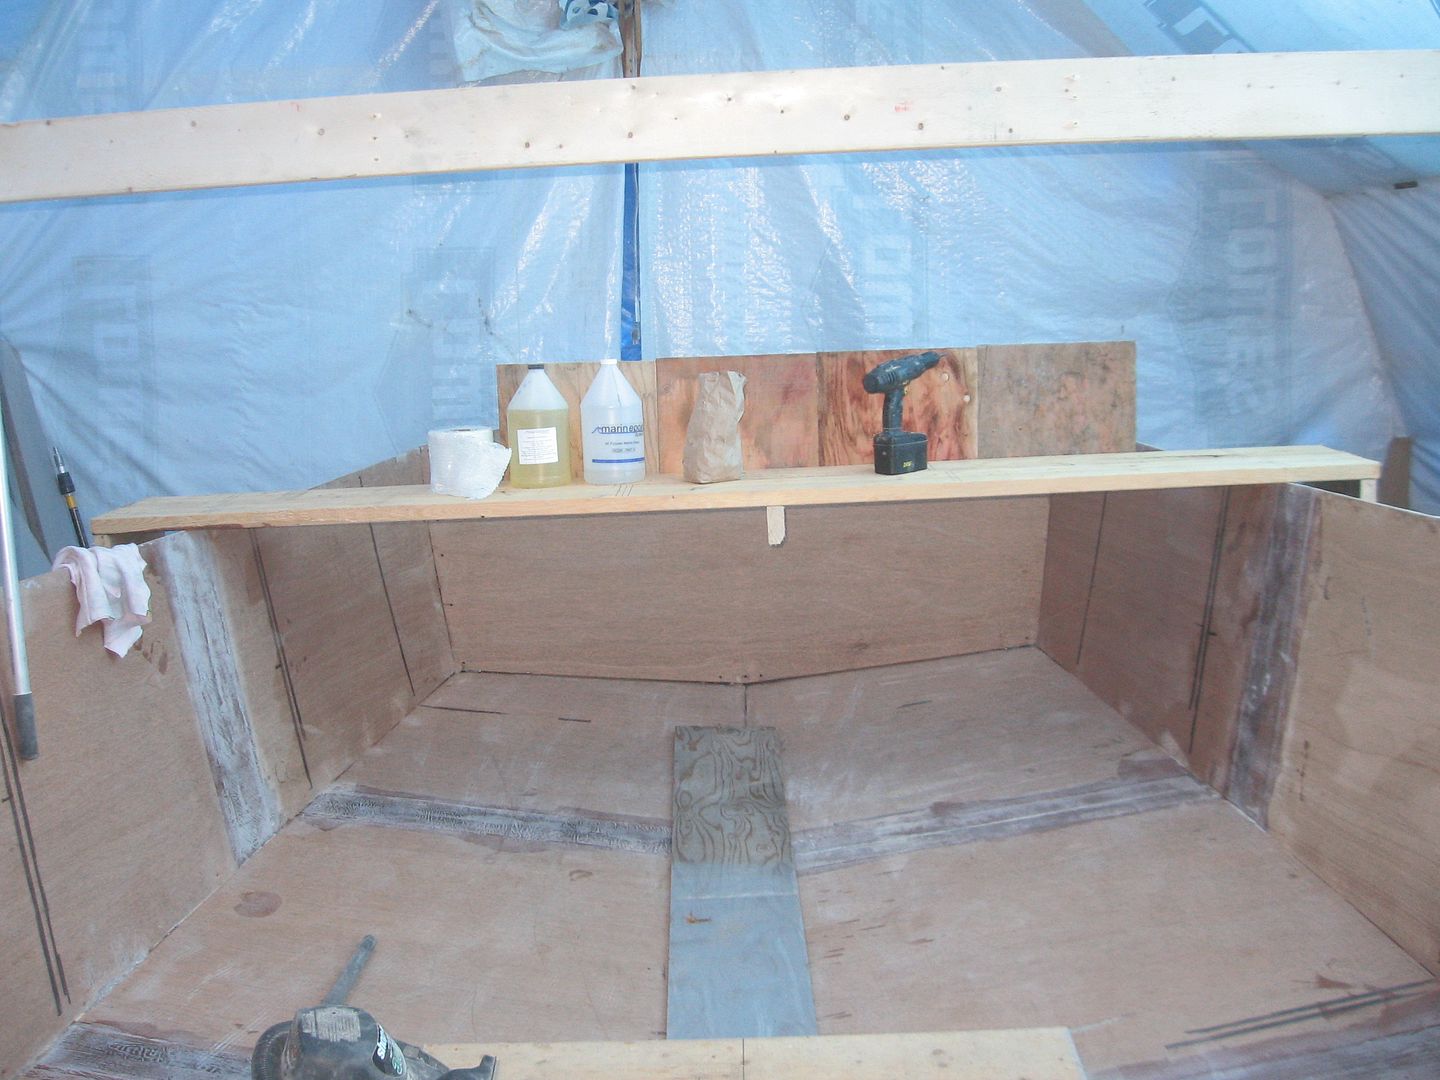
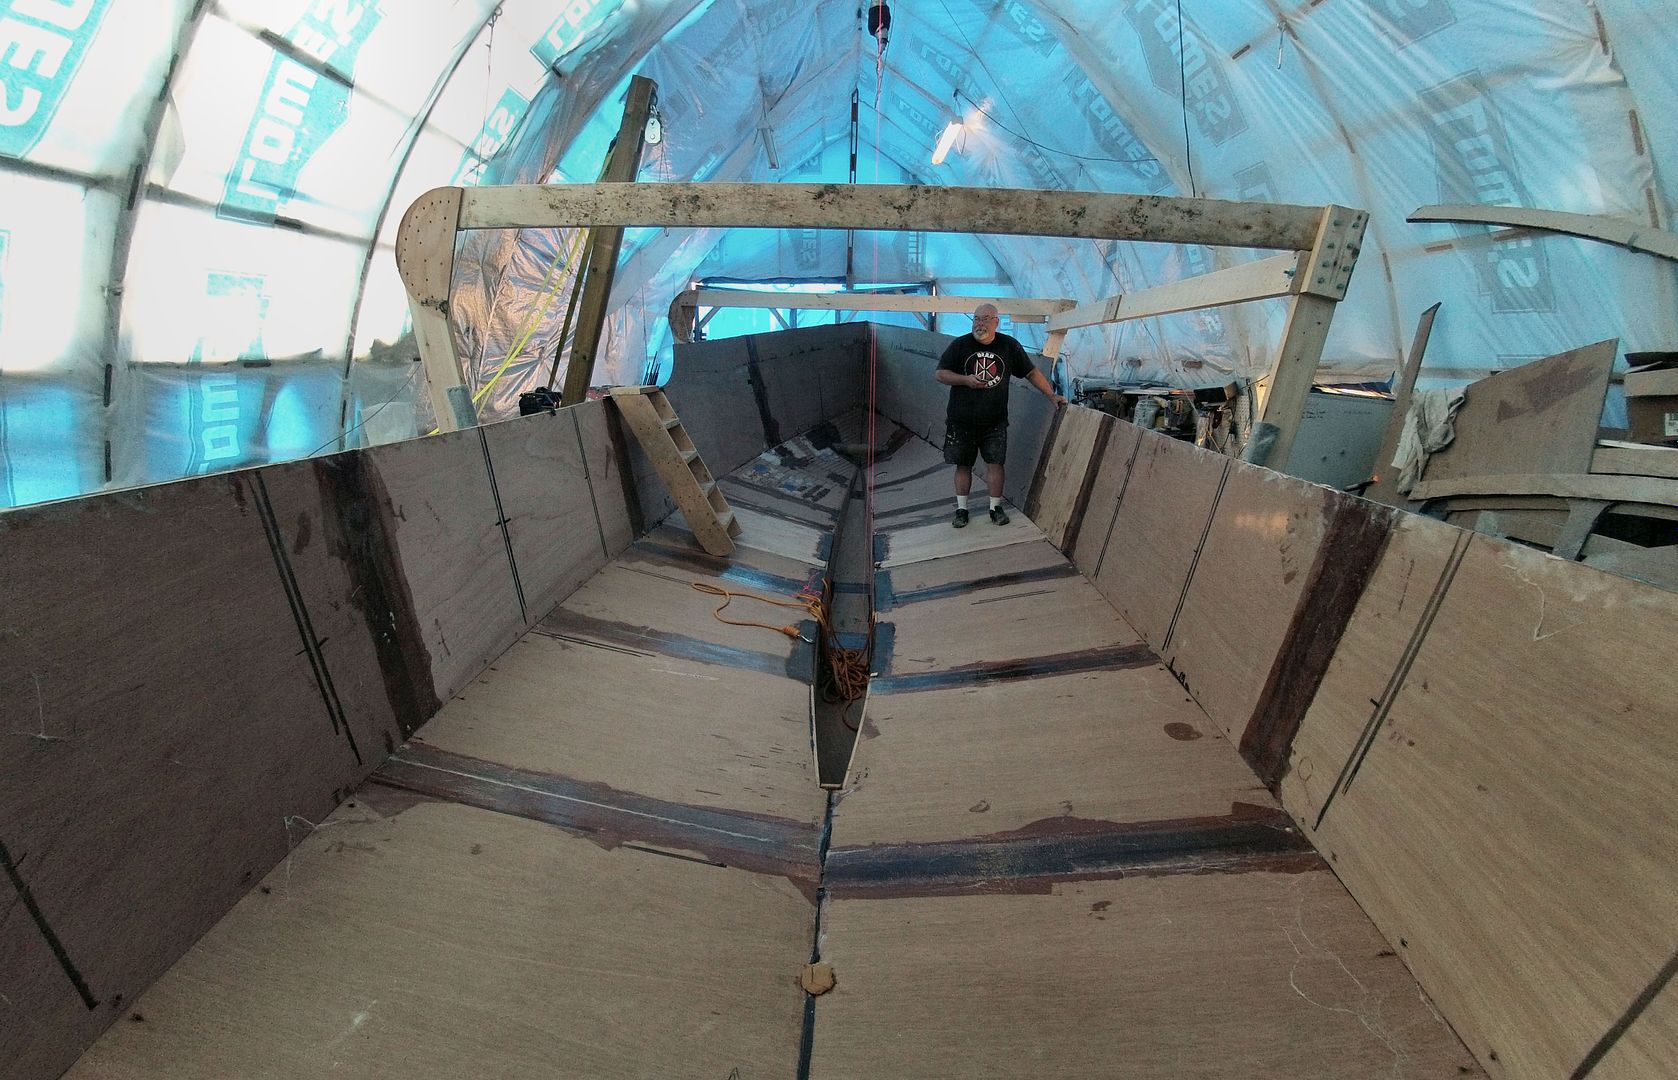
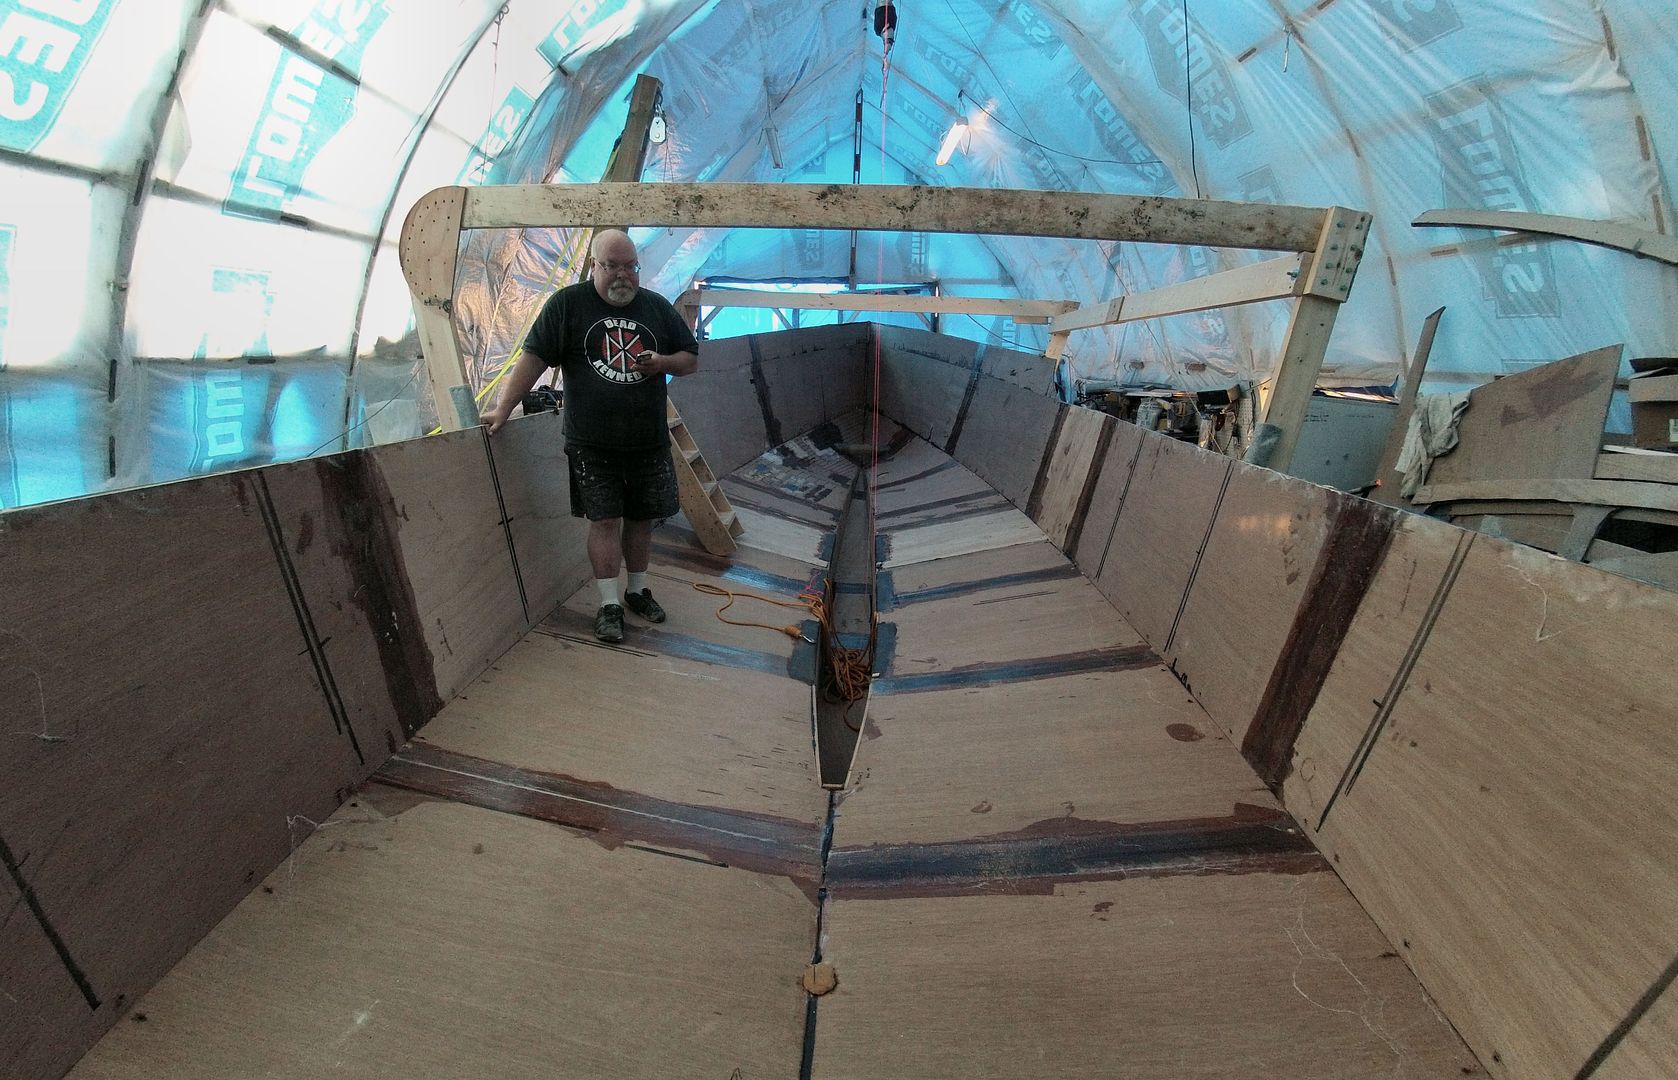
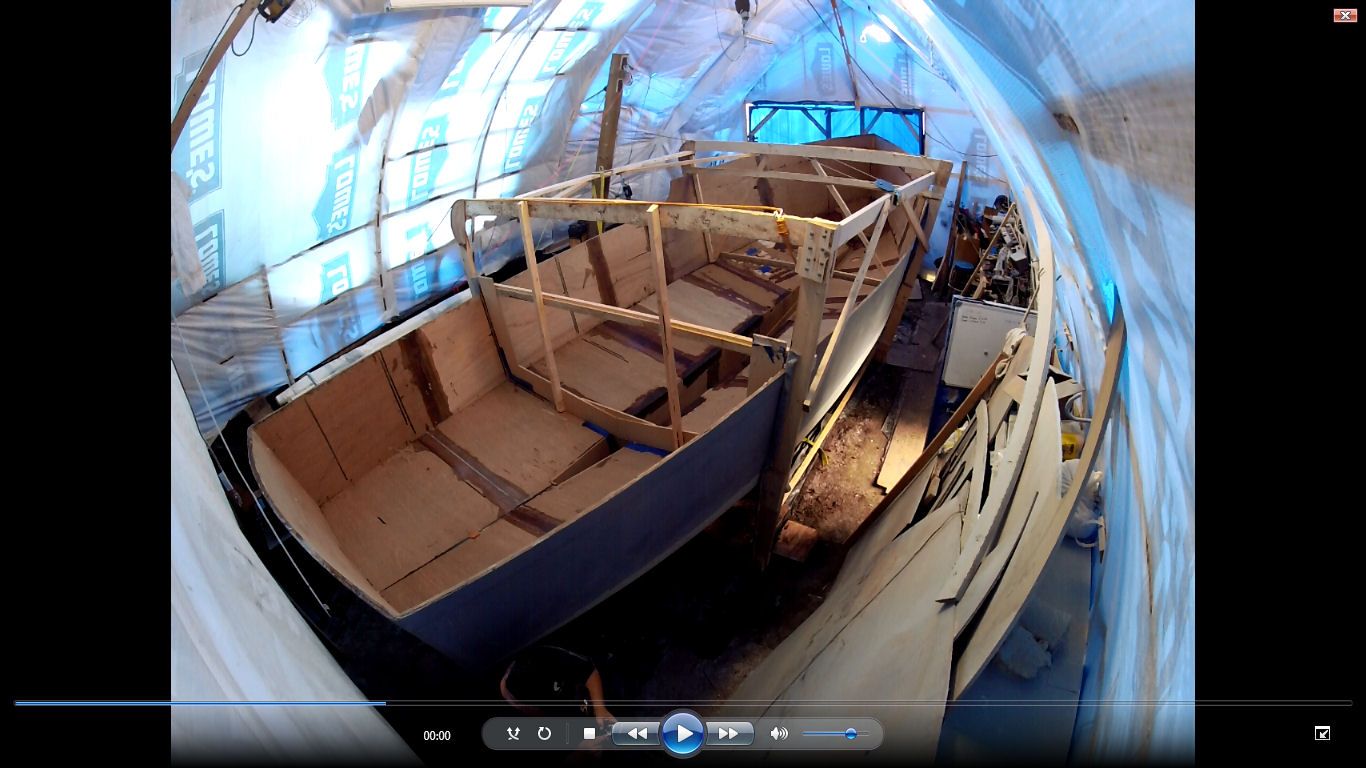
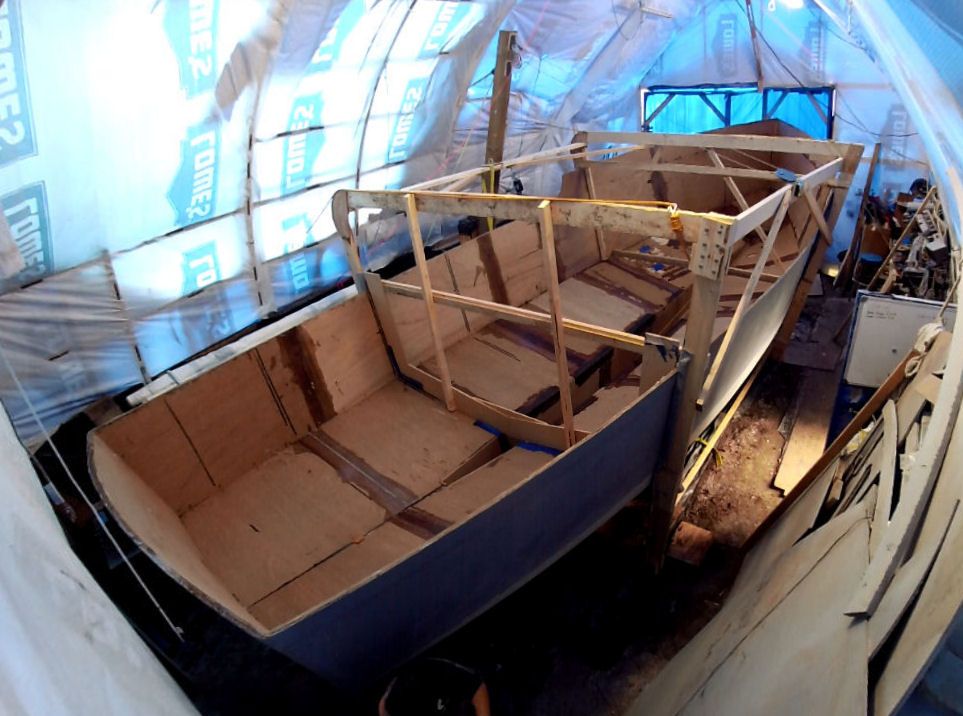
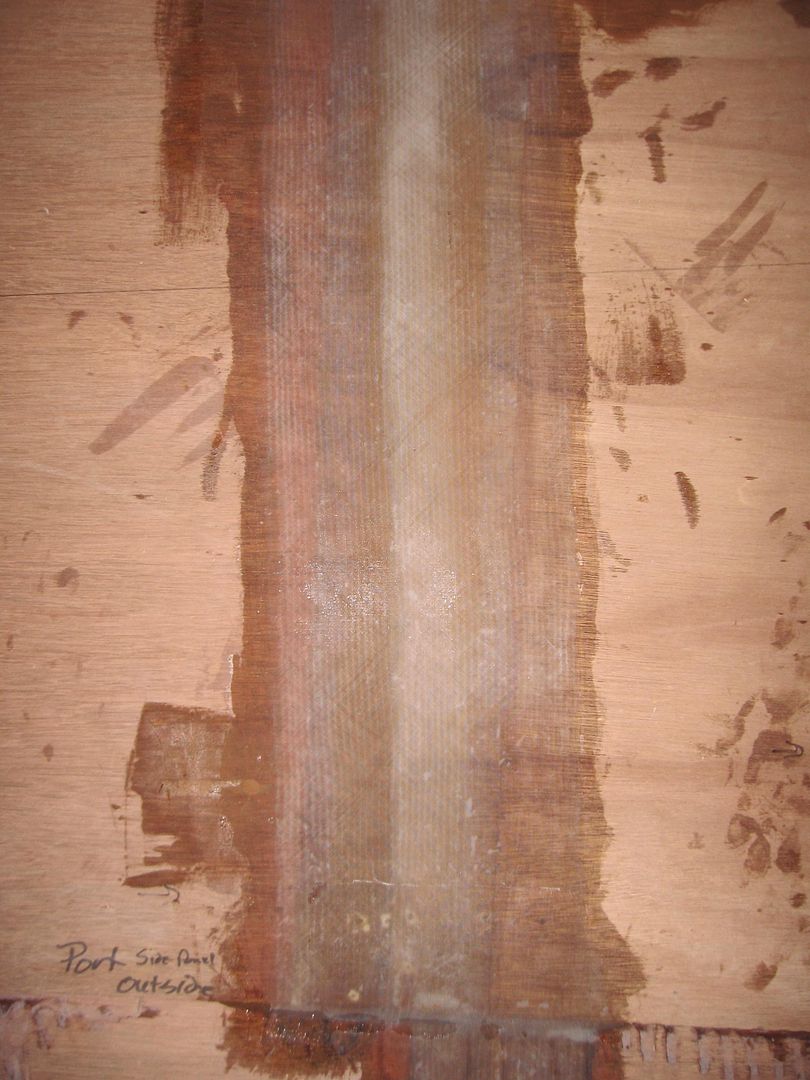
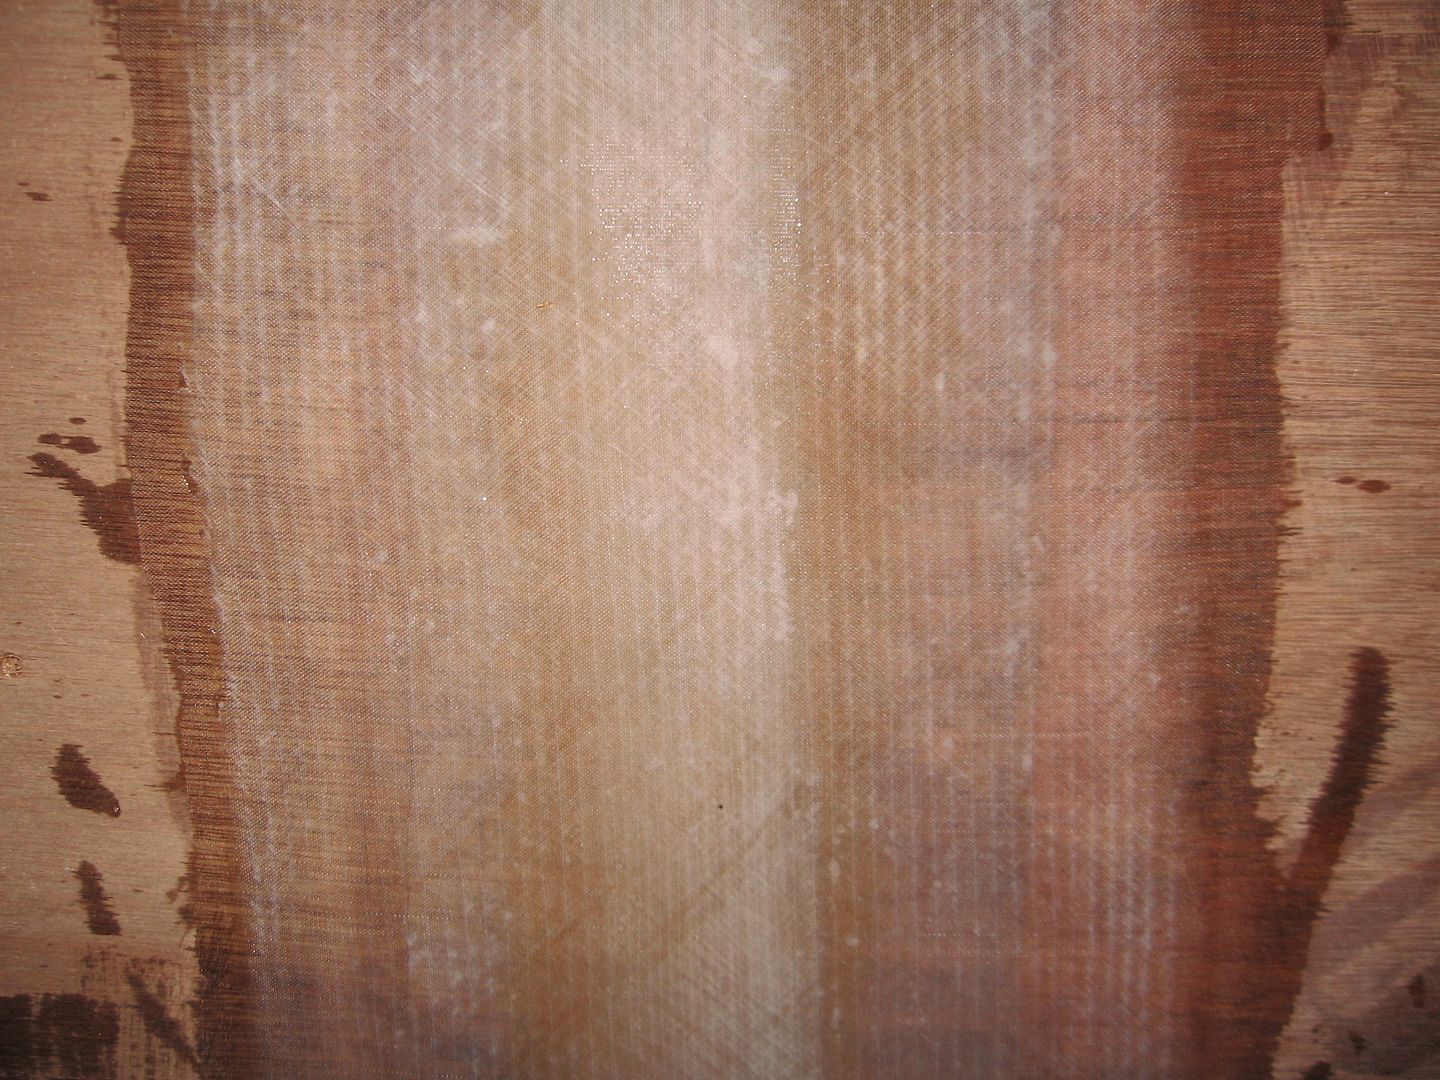
I made a video today, 20 mins unedited to illustrate the amount of effort that goes into taping just one joint.
I'm sure there are better ways but this is the one that seems to work for me. I'm not a very neat worker and there's epoxy flying everywhere. Hopefully I'l improve on that. It's been quite awhile since I last taped a joint on the boat! :-) That's my excuse so I'll stick with it. 

So now I'm right out of materials. I've got no wood flour or Cabosil but they're on order and should be in by Friday. I'm very low on tape and have to wait a few days to order more. The weather's cooling down a bit which in one way is good it gives you more time to work with the epoxy (medium hardener) and bad in others as it takes a lot longer for the epoxy to cure. Oh well, that's life.
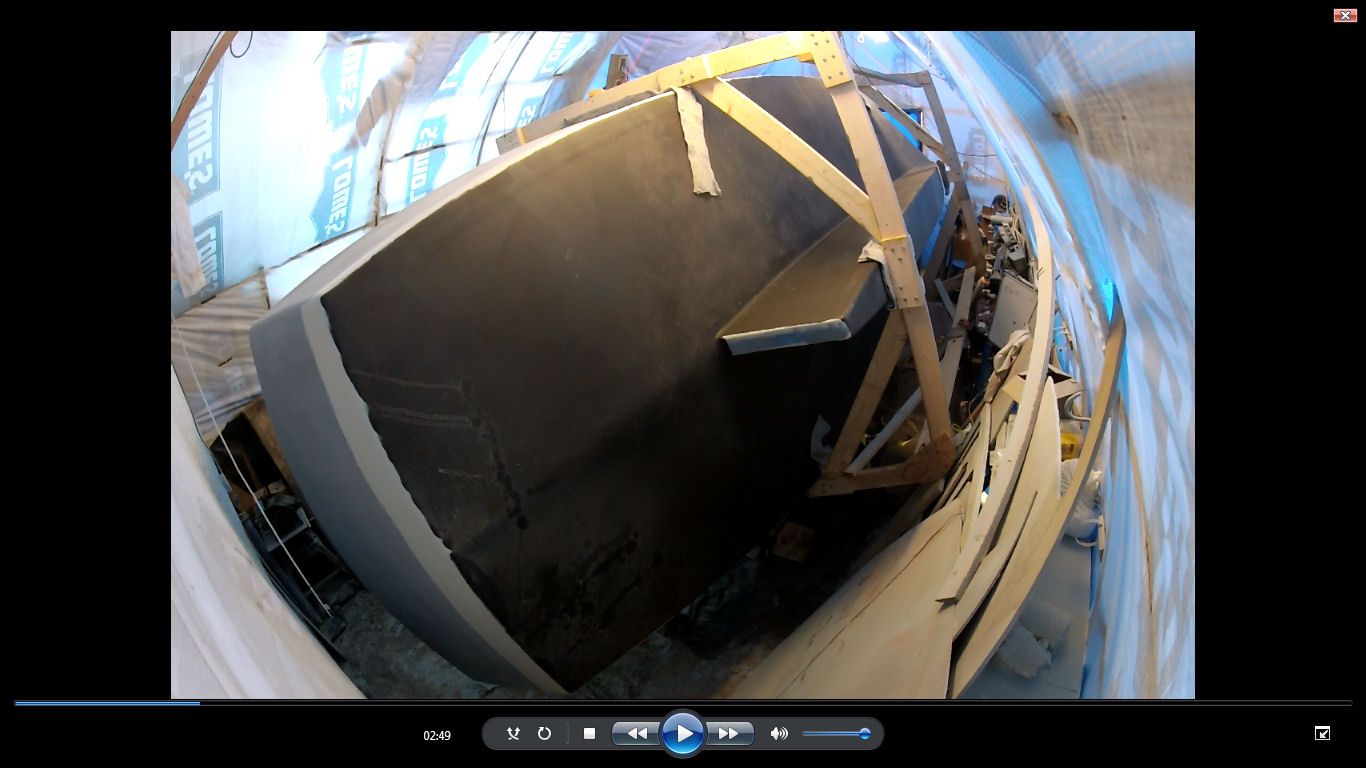
Standby.....

Sunday, September 28, 2014

Week End Update

Just a few things to report. The shed roof got fixed yesterday. My buddy Andrew came over and worked his magic. It should be good for a couple of yeas now. Hopefully that's all I'll need it for. Sorry, no pics, forgot to put the memory card in the camera. Doh!

Finally managed to figure out how to get a custom channel name for my YouTube account.

http://www.youtube.com/user/MVSheKon

So far the video views are still pretty low. Usually under a hundred. The boat flip video is approaching 500 views though. I'm trying a few new things to get more subscribers etc. If you have any ideas or are willing to cross promote each others blogs & YouTube channel let me know. More than willing to particpate.

Awhile back I wrote about the problem I had with two of the butt joints having failed.
I fixed those today with a couple layers of tape. Again, no pics, sorry. I'll get some tomorrow after the Dr. appointment. I'm getting low on fiberglass tape and don't know if I'll have time to order some and get it here before the weather turns cold. I've got wood flour & cabosil on order so I'll be able to do the fillets etc.

That's about it. Thanks for looking in. Help spread the word by sharing our blog & Youtube videos. We do appreciate it.

Cheers!

Friday, September 26, 2014

Do not step in the wet epoxy

then walk in the house and across the kitchen floor. Don't ask me how I know!  :-(

Today I started filling the kerfs in the bottom panel on the starboard side. These needed to be filled before any fiberglassing takes place.
I know it looks a little messy but no one will ever see this once I'm finished. I used up leftover epoxy glue etc. when I was working on the outside of the hull to fill some of the kerfs. It took about two 1 qt batches of epoxy & wood flour to fill them all. I add a little cabosil to keep the epoxy from slumping or running out of the kerfs.
Once I had the kerfs filled I started to fillet the joint between the side panels and the bottom panels. The fillets will make a nice smooth transition for the fiberglass to conform to as it's laid over the inside of the hull.
The fillet is just epoxy, wood flour and cabosil. It can be a bugger to work with and you have to be quick. It was about 80 degs inside the boat this morning and I could feel the epoxy kicking off in my hand. The trick is to get a nice smooth fillet without having to go back over it and rework it which just makes a mess.
So as the title of today's blog alluded to, don't step in the wet epoxy then walk in the house. Doh!
Here's my 'onboard' work bench I cobbled together yesterday. It'll slide back and forth as required. Sure makes it a lot easier to be able to mix up goop inside the boat instead of having to climb up and out and back up and in all the time. Not that I couldn't use the exercise mind you.

I made a little 'walk around' the boat video to give you an idea of what we've been thinking we'd like the boat to end up like. I know it's a little premature at this point but you might get a feel for our thinking on some of the ideas we've had (mostly stolen ideas).


Enjoy the tour. Thanks for looking in.

Cheers!

Wednesday, September 24, 2014

The No Blog Entry Today Blog Entry

Yet another day when I wasn't going to do a blog entry but I did anyways. :-)  Finished up around 13:00 after finishing the sanding & vacuuming inside the hull. Tomorrow morning I'll build myself a work bench for 'INSIDE' the boat. That'll save a few trips up and down the step ladder.

So as long as the weather cooperates I'll start filling the kerfs in the bottom panel on the stbd side forward and maybe move onto some fillets along the joints. There's some small areas that need some filler and tape on the seams.
When I was putting the boat together and had some leftover goop I'd try to get it on the kerfs before it kicked off. Sometimes I was successful, sometimes I wasn't. I've chipped away all the loose stuff and vacuumed out the kerfs so they're ready for more goop. It'll be nice having gravity on my side this time.

For the boys on the Woodenboat Forums. The LPBC cap got a workout today!
Oh, and in case you missed it here's yesterday's Sandinsanity video!

Cheers


Tuesday, September 23, 2014

Makin' Dust

I wasn't going to do a blog entry today, just a video but decided to call it quits a bit early and enjoy the remainder of a nice, but cool day.

I know you've all been waiting anxiously for the next Sandinsanity Video so here it is!


Had to tape my GoPro to a board to get it to sit in the hull without sliding all over the place from the sander vibration.
It actually worked really well. I do have to work on my composition a bit more.

Making swirlies in the dust!
Couldn't find anything else more interesting to photograph, sorry. ;-)

I think I have figured out a way to extend my boat building season by at least a couple of months. More on that later.

Standby......


Sunday, September 21, 2014

Bad day to be Sandpaper

Still working in and around the bow area cleaning up seams & drips etc.  In the first 5 minutes I went through one brand new sanding belt and three disks, all 40 grit. The 3 yr old epoxy glue is hard as diamonds and just rips them to shreds.
One of the hardest areas to get at is the bow and around the bow thruster tube. The hull bottom slopes up quickly and there's no place to stand so when I have to work low I'm on my knees sliding out of my knee pads! *sigh*
I'll eventually have to go in there and sand by hand but the little detail sander makes quick work of it. Great little tool but you have to be careful, it's a 'Weapon of Mass Destruction all on its own! ;-)  Big benefit is it can be operated with one hand quite easily.
The air powered RO is my next favorite tool. It really is the workhorse of the whole operation. I make double sure I oil it every day before use and it's holding up better than the first one.
When we laid the side panels on the forms ohhhhhhhhh about 3 yrs ago I had two of the butt joints fail. They didn't break just bent in a way they shouldn't have. I can only guess it was the stress of the long sheets being bent over the forms to shape up the bow.
You can see th white line running down the middle of the joint. The fiberglass tape has buckled indicating it has been crushed.
Opened up the joint today with the detail sander to see what was going on inside. The glue join looks fine so it was just the fiberglass tape. I'll fill this as I go and retape the joints. This happened on both sides. It's what caused a bump in the panels on the outside that took me weeks to fair out properly.

I'm about 1/3 done the sanding on the inside. If the weather cooperates I'll fill the kerfs in the bottom panel and do some filleting of the seams etc. till I run out of materials.

Standby.....


Friday, September 19, 2014

Let the Sandinsanity begin

and the dust fly (again). Moved inside the boat to start cleaning up the seams etc. They all have to be sanded smooth to get them ready for fillets & tape. I used pretty much every sander in my repertoire and my electric hand planer as well! :-)
Didn't take long to fill the boat with dust to the point I couldn't see what I was doing. Up and out again to fetch R2D2. This poor old shop vac has been with me for almost 30 years. It's seen duty from sanding car paint off of a bedroom wall (tenants *sigh*) to evacuating backed up toilets and now it's being pressed into service for the first time on the boat.
Just before lunch break I stopped sanding and laid back to look at the shed roof trying to figure out how we're going to recover it tomorrow. It was so peaceful and quiet and relaxing I fell asleep! :-)
One just has to stop and admire their own handiwork every once in awhile!

More Sandinsanity to come.

Standby......


Wednesday, September 17, 2014

Another Serious WTF

Got the keel blocked up yesterday and the cross bracing/form out of the way today. I had to bodge together a set of steps to get into and out of the boat this morning. Decided to take a pause to reflect on my handiwork and had another one of those WTF have I gotten myself into moments.
Sitting pretty much where the head will be. A likely spot for a respite from the rigors of boat building! :-)  I corrected these photos for fisheye and it makes the hull look longer and narrower than it really is.
Approx. location of the helm position. I think the deck will be about 20" higher once it's installed.
I think where I'm standing above is Station H which is the aft bulkhead for the main cabin. Everything aft of that is cockpit.

Had to call it quits for today. Got errands to run etc. Back at it tomorrow. I have a date with my belt sander!

Thanks for looking in.

Standby....


Sunday, September 14, 2014

Video from yesterdays flip

Here's the edited video from yesterdays flip. The 'crash boom' happens just after the 6 minute mark. Only casualties were a 2x3 & my undershorts. Boat is fine and no one got hurt.

Carry on....

Saturday, September 13, 2014

With a little help from my friends - Flipping the hull

Well today was the day. Nothing left to do but flip the hull over. The team assembled and we got right to it after some accusations of me stalling!

I apologize for having to use screen captures from the video. I was a little too busy to be taking pictures.
Finishing the first part of the lift, up on a 45 deg angle and resting against the work bench & stack of bulkheads. It got hung up a bit. We are pulling the bottom of the lifting frame sideways as we lift.
Over on its side. It did exactly what I thought it would do, slide down uncontrolled. We had moved the tag lines to the other side thinking they were needed there to help control the roll from the top. She slid down with a boom but nothing or nobody got hurt.
The second pull with the ratchet strap went a lot slower. We had to reposition it higher on the gin pole to get the lift we needed. It worked really well, much more control over the hull as we inched the bottom of the frames towards the gin pole and payed out on the main hoist.
And after some repositioning slowly lowered to the ground.
Finally, upright! It's taken 3 years to get to this point (we have short building seasons up here). The only casualties were one 2X3 and a pair of underwear.

Special thanks to the 'crew':

Greg Kroone, Tim Gilligan, Robert Taylor, Jim Campbell, Mike Laporte & Doug Laporte.

Now the real works begins.........

Standby.....


Tuesday, September 9, 2014

Journal of the Molly B

While researching option on how to flip my boat hull I stumbled across the Journal of the Molly B. The Molly B is a modified Glen-L Argosy which the builder, Tom Schmidt, built starting way back in 2002. I immediately purchased and downloaded the first three of his journals to see what info I could glean from it's pages. With Tom's permission here are some of the photos and details of how he flipped his 40' hull.

First thing you'll likely notice are the rolling frames and Gin Pole. These allow the hull to be flipped basically within it's own shadow. The hull Tom built has much of it's framing already installed so there's no need to overdo the rolling frames. He's pulling from a single point with a chain hoist in much the same manner I'll lift my hull.

Up she goes. As the main hoist lifts the hull the bottom rolling frames will want to move towards the gin pole. In my instance where I don't have a whole lot of extra room we'll pull the bottom as we lift.

In the above pic you can see the internal structure in the hull. The rolling frames and lifting points are tied to these (temporarily). They provide the structural integrity to the hull as it's lifted. At the point the hull is in that pic there's the greatest force being applied to the hull trying to collapse it.

This is the point of no return. The boat will go to the floor. The maximum stress on the gin pole is also at this point when the hoist is at max extension. The tendency will be for the rolling frames to want to scoot out from underneath the boat towards the gin pole dropping the hull to the ground. I've planned for this and will have a couple of bodies with tag lines standing by to arrest the slide if it happens.

So in a nutshell that's how it works. Looks easy. In theory it is. In practice, well we'll see how it goes.

Standby.....


Friday, September 5, 2014

Postponed

We've got some bad weather headed this way for tomorrow morning so I'm going to postpone the flip. I would need people outside the shed to handle tag lines etc. and I can't really ask them to do it standing in the rain. Will try again for next weekend. Sorry.

Tuesday, September 2, 2014

It's ready to go over!

That's it. Boat is rigged ready to be flipped. All I need now is to put together a crew for Saturday. I drove the ground stakes into my neighbors backyard this morning and rigged up the straps that'll hold the Gin Pole back. Worked like a charm!
The anchor on the right hit rock about 2' down. I would have liked to get it a bit further down but it just wouldn't go.
Above is where the strap exits the shed.
The Gin Pole with the full weight of the boat on it. It never flexed a bit. I couldn't resist the urge and lifted the boat.
I let it hang there on the winch for about 5 mins. The winch held it up quite nicely. No moans or groans or sqeaks or cracks. :-)

So other than some housekeeping duties and recruitment for Saturday this will likely be the last post till the boat is flipped over. I do intend to get it on video.

Standby.....


Monday, September 1, 2014

Carnage in the Boat Shed

Oh don't worry. I didn't hurt the boat.  :-)   Just wanted to get your attention.

Before I got started this morning I put together a 5 min video of the current state of the boat. It's been awhile since I've had a chance to do any videos so here's one for ya. At least it's not a sanding video!  :-)

This mornings task was to finish disassembly of the strongback frame and lower the boat to the ground. There was cuttin', and jackin' and hammerin' and swearin' and some bleedin' going on . You can see the carnage all around the boat!  :-)
More carnage!
I was just tossin' stuff out from under the boat like a mad man!
As you can see here the rolling frame is sitting on the OSB that I'll use to keep the frames from digging into the dirt floor. I've got about 1000 screws that I took out of the forms that I'll screw through the OSB into the ground like cleats. That should keep the OSB from sliding around.
I apologize for the terrible picture, the bow just kissing the ground!
Better shot of the bow from the inside.

Again the frame sitting on the OSB.
It took me about 4 hours to finish removing the strongback frame and lower the boat. I really wasn't working that hard at it. Had to stop and ponder a few times. :-)  The hull feels very secure in the turning frames. As I was jacking & lowering it there were no creaks or moans or groans at all.

I've got a very short list of some last minute details to deal with then it'll be ready to flip. Tomorrow I'll likely start to sink the ground anchors in my neighbors back yard (I bought another one yesterday just to be safe).

Standby...