is the same as the first! Same as yesterday except only 3-1/2 hrs of sanding this morning. Couldn't take it anymore. Arms falling off. :-(
Need to go to the hardware store and buy some Draino. I hope it cuts coagulated epoxy dust so I can have a shower without flooding the bathroom! :-)

She:Kon, pronounced "Say-go" traditional Iroquois greeting meaning "Do you still have the Great Peace?"
Saturday, May 31, 2014
Friday, May 30, 2014
Plus ça change, plus c'est la même chose
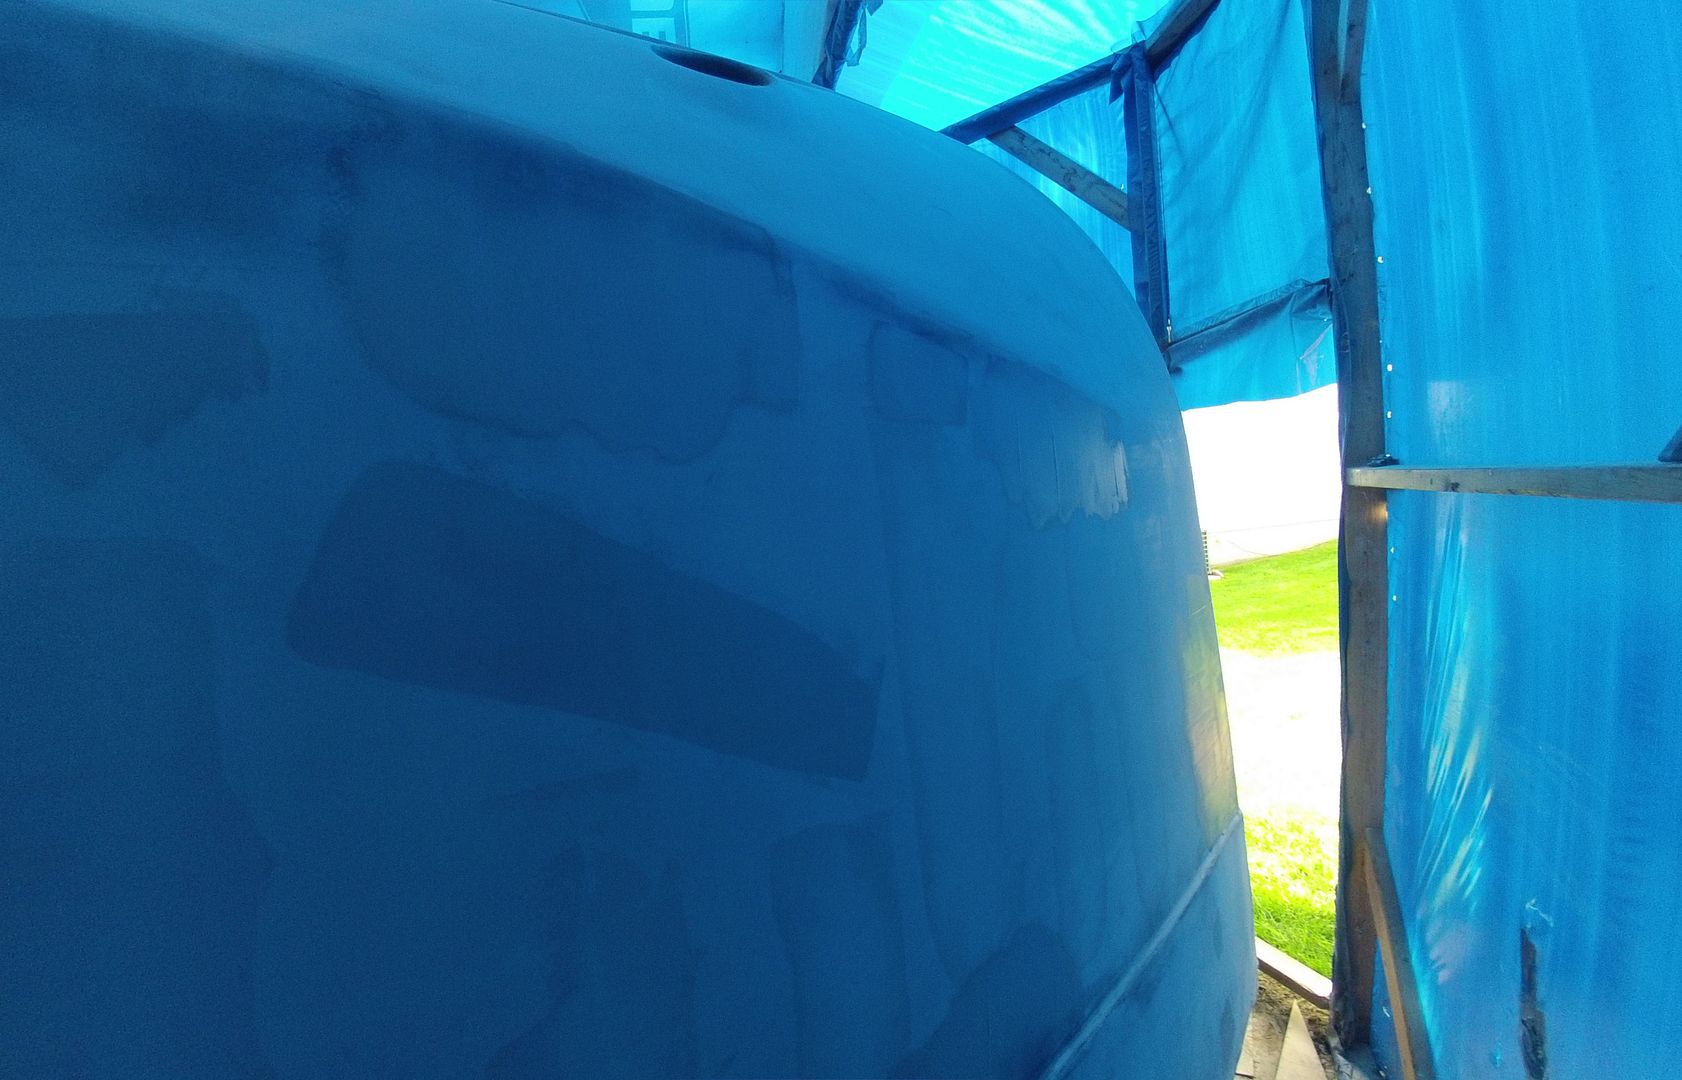
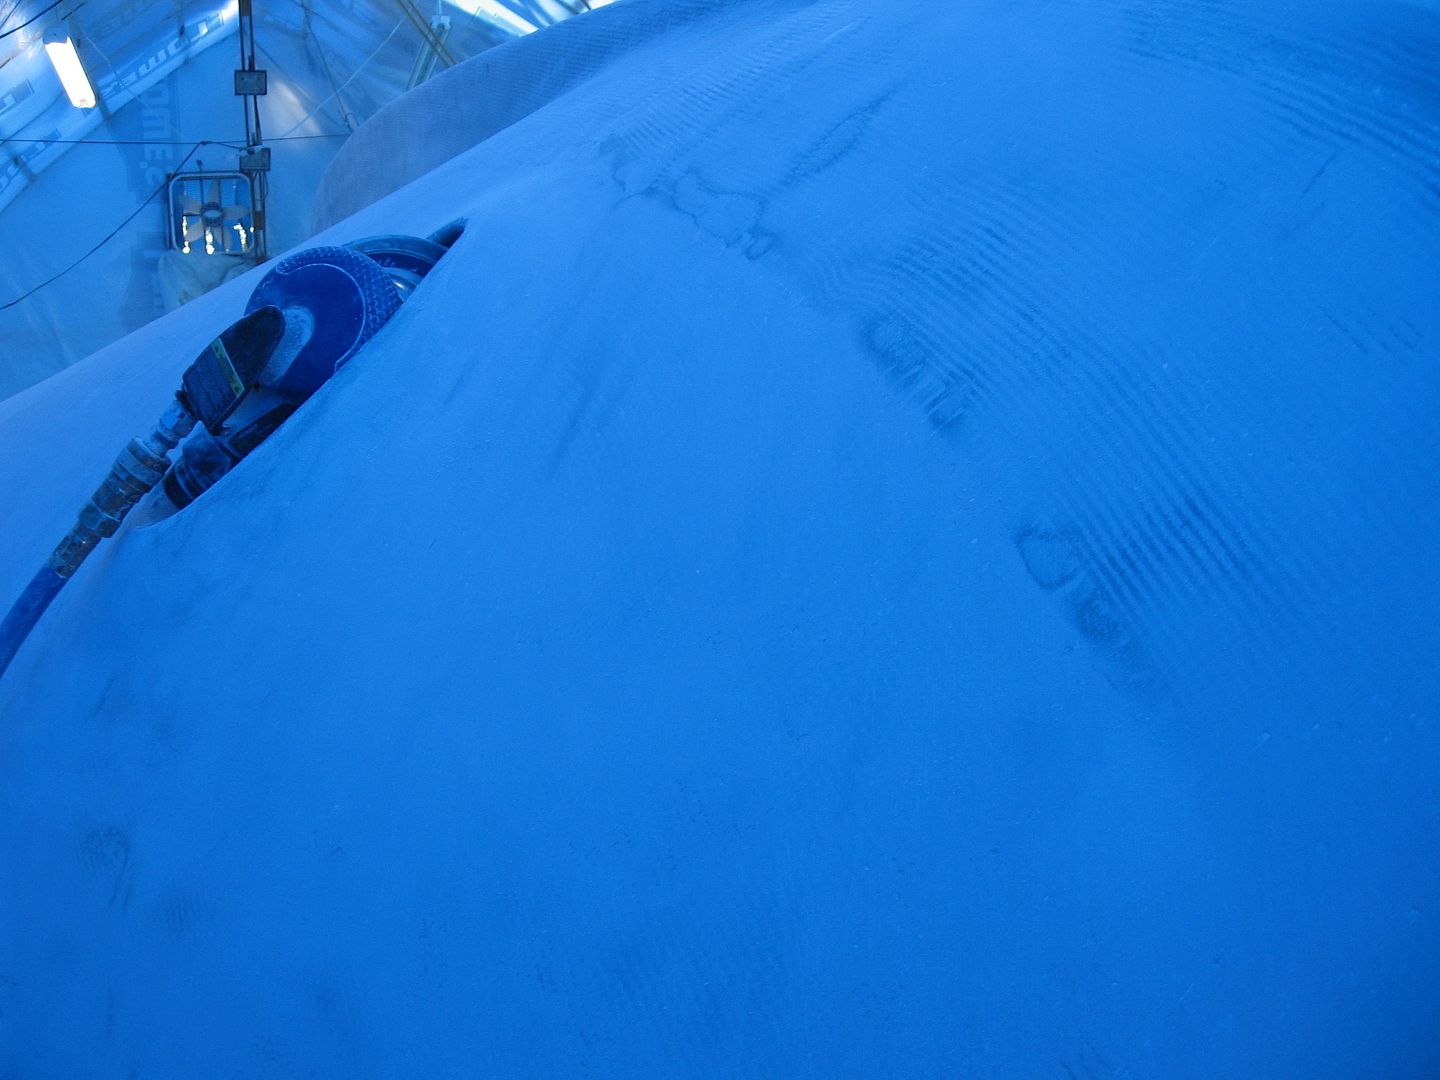
The more things change, the more they stay the same. Nuttin' but sanding, sanding and more sanding. I strapped the GoPro on my head again and made you a video clip. I know how anxious you were to see another "all sanding video". I do apologize, it's not the best composition. I used the GoPro head mount again and probably could have tilted the camera down a little bit more. At least you get to see some different angles of the boat!
Blogometer turned over 60,000 page views yesterday! I guess that's a bit of an accomplishment! :-)
Thank you folks
Blogometer turned over 60,000 page views yesterday! I guess that's a bit of an accomplishment! :-)
Thank you folks
Tuesday, May 27, 2014
Fill/Fair, Fill/Fair, Fill/Fair
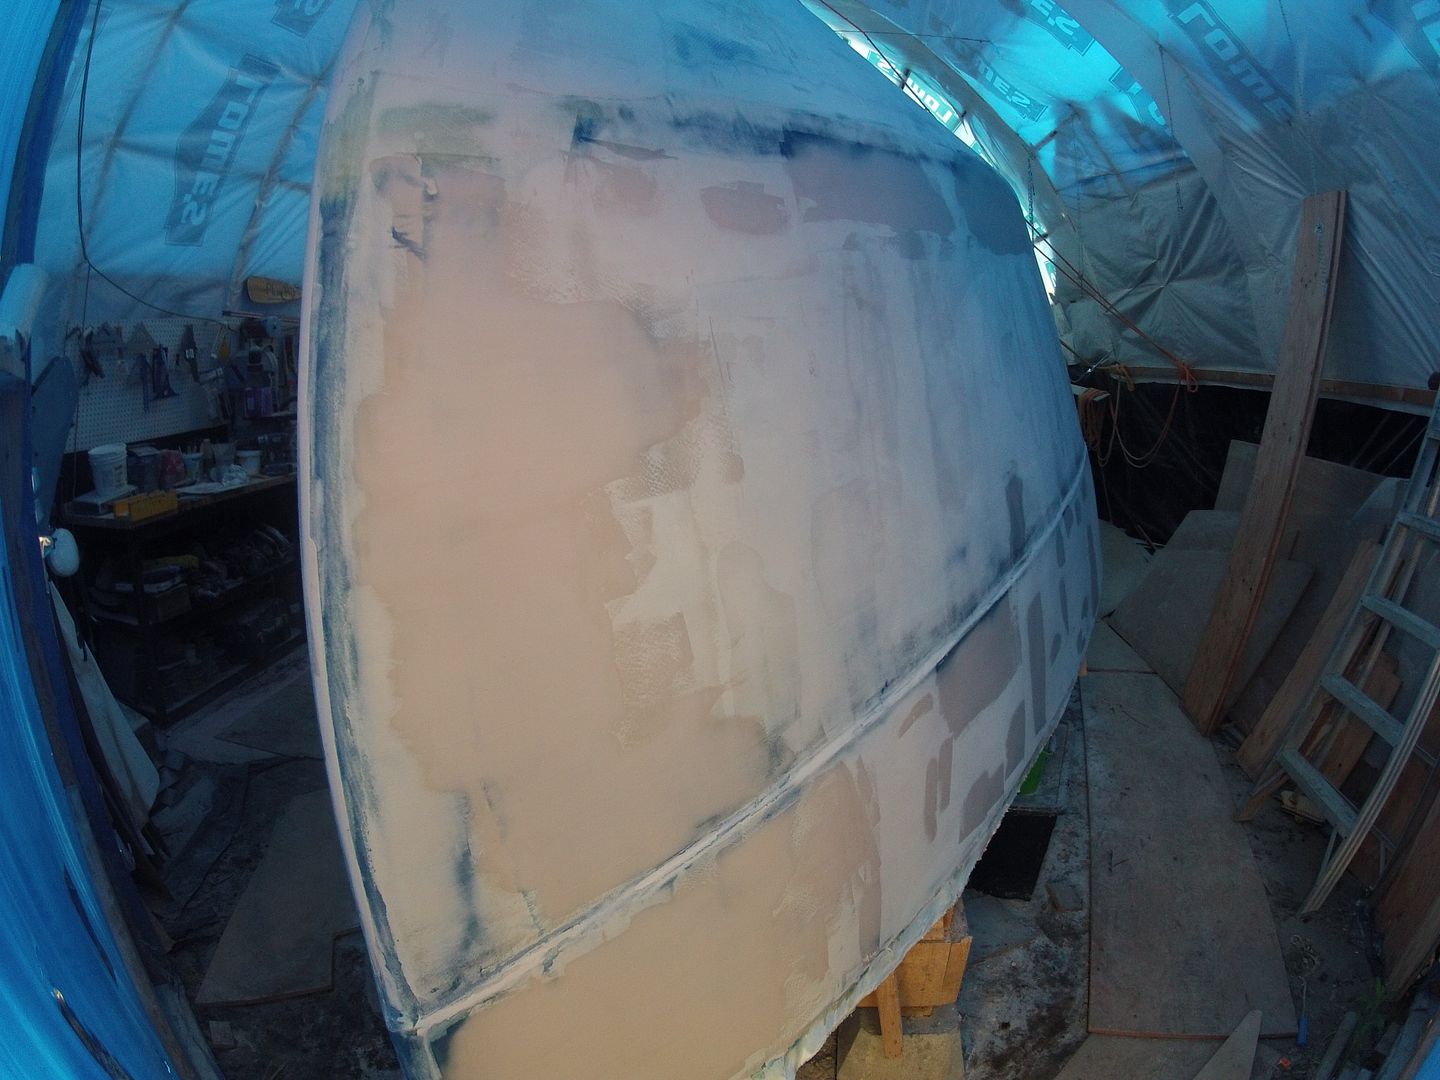
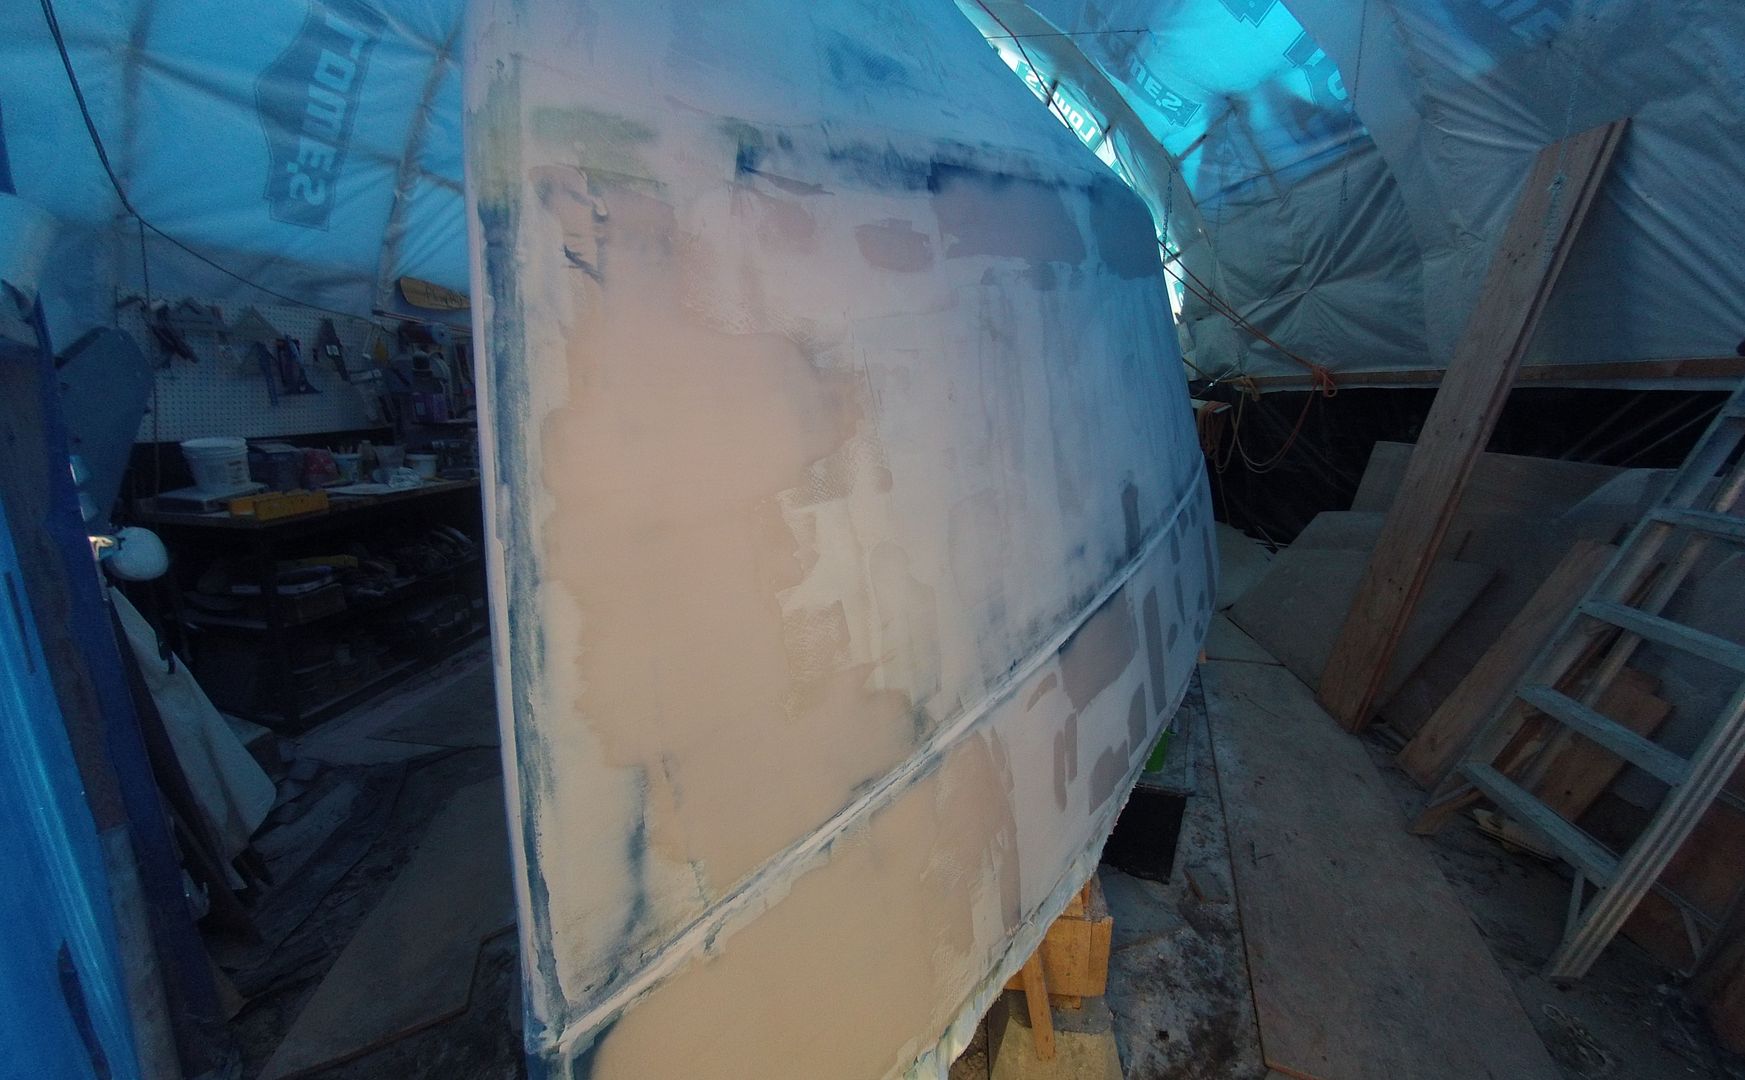
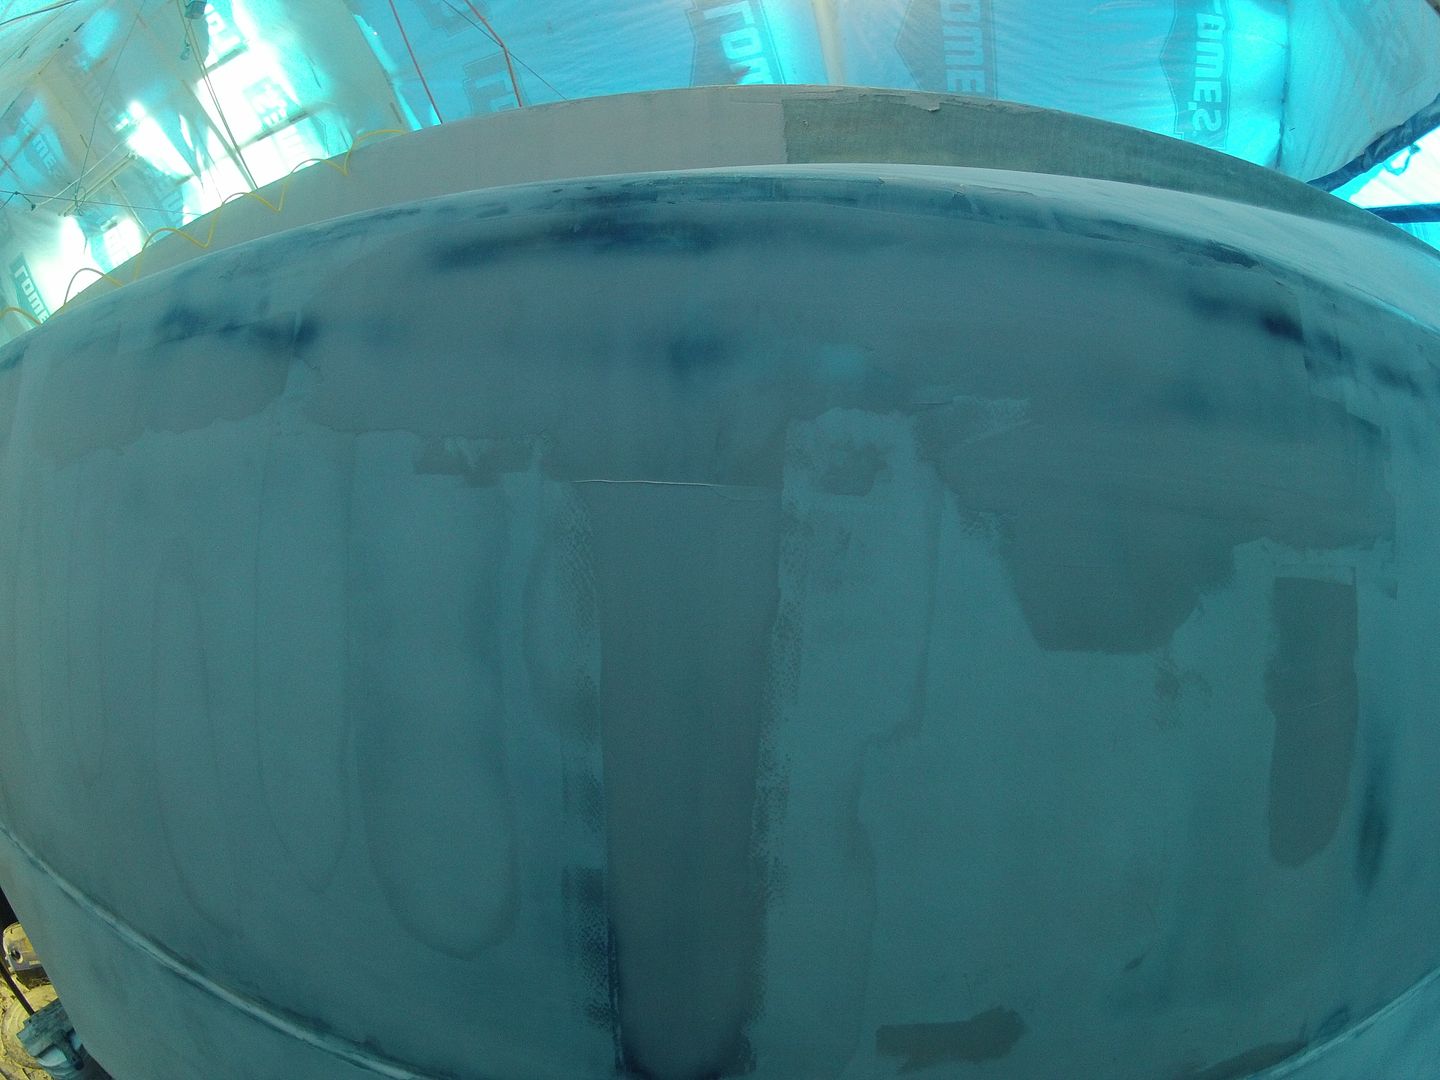
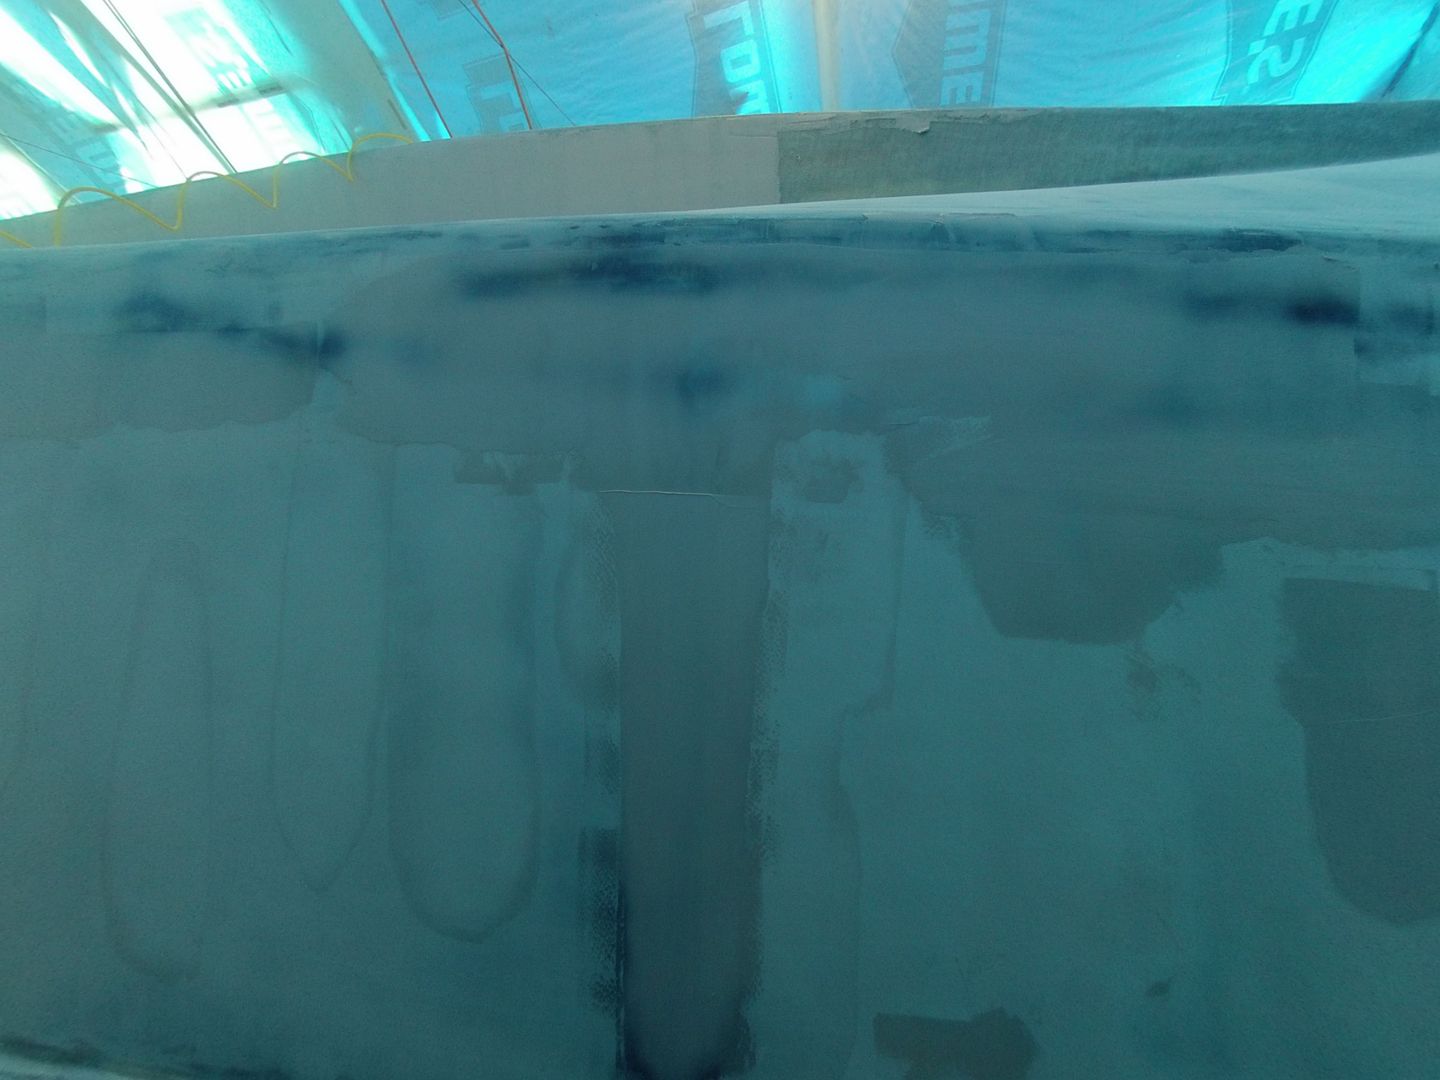
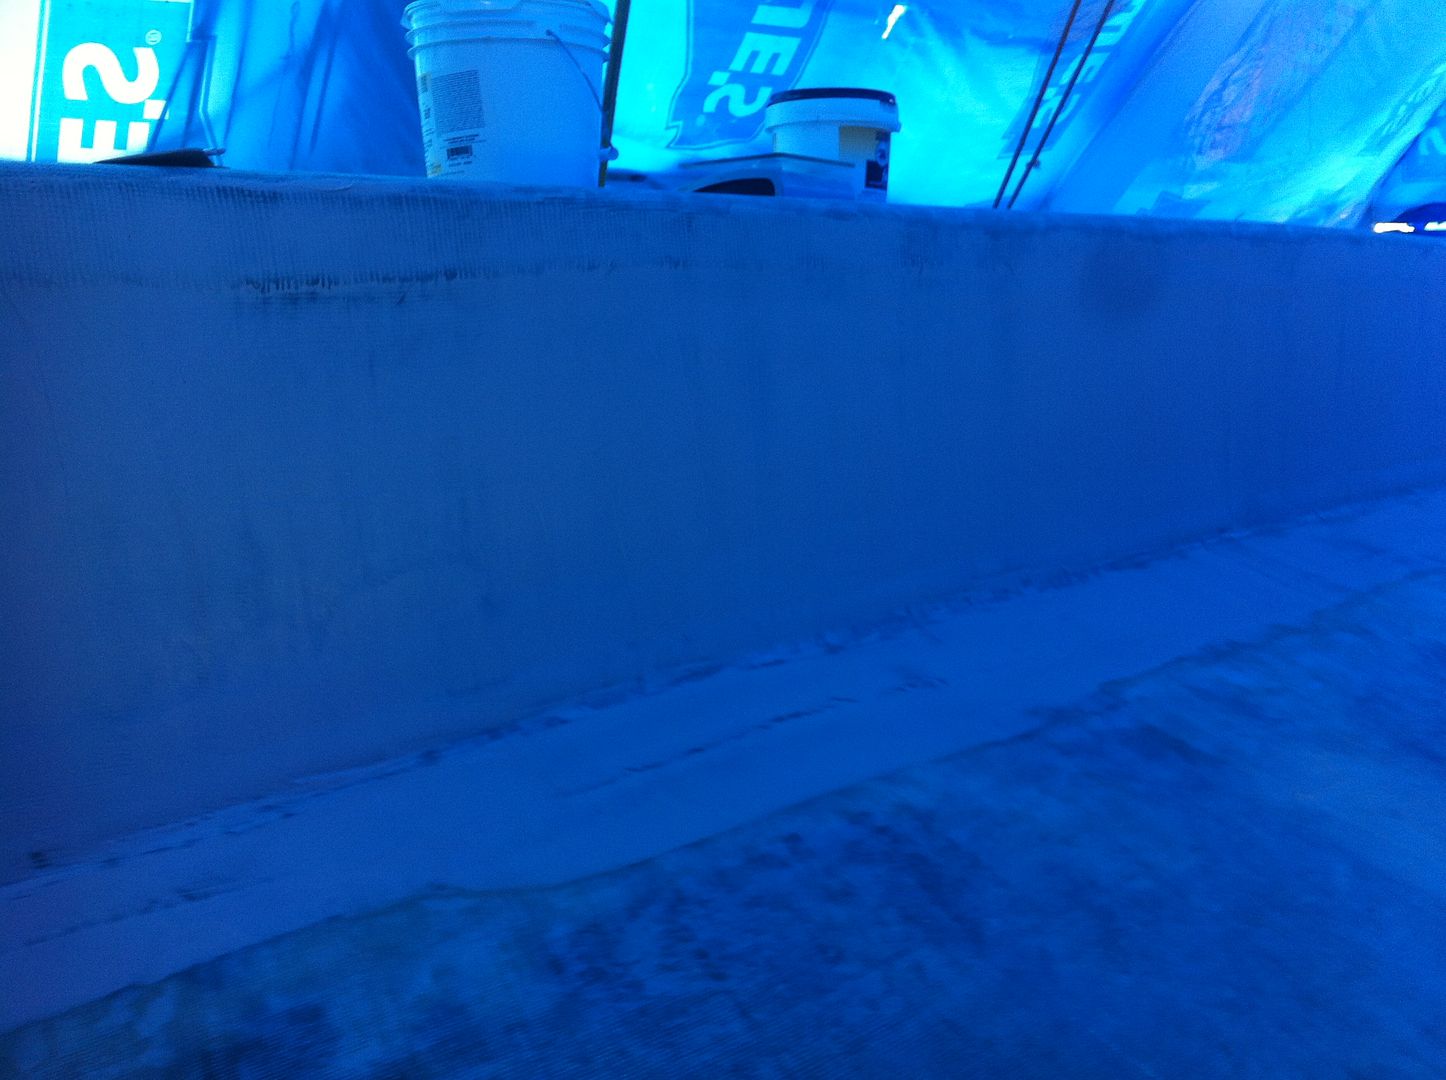
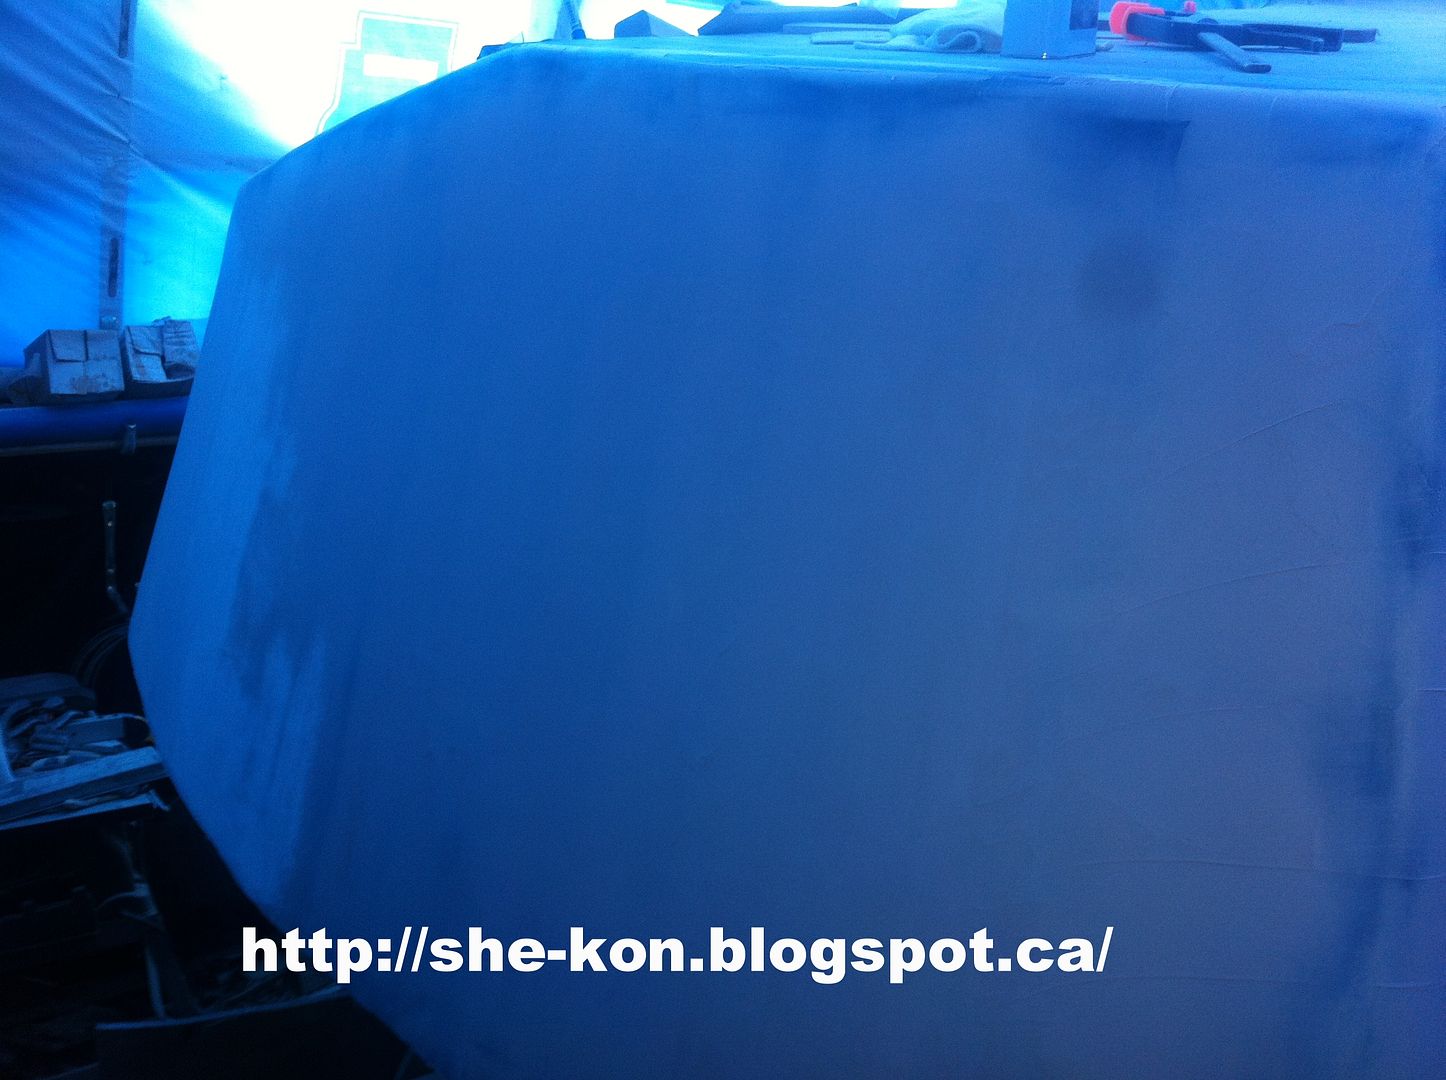
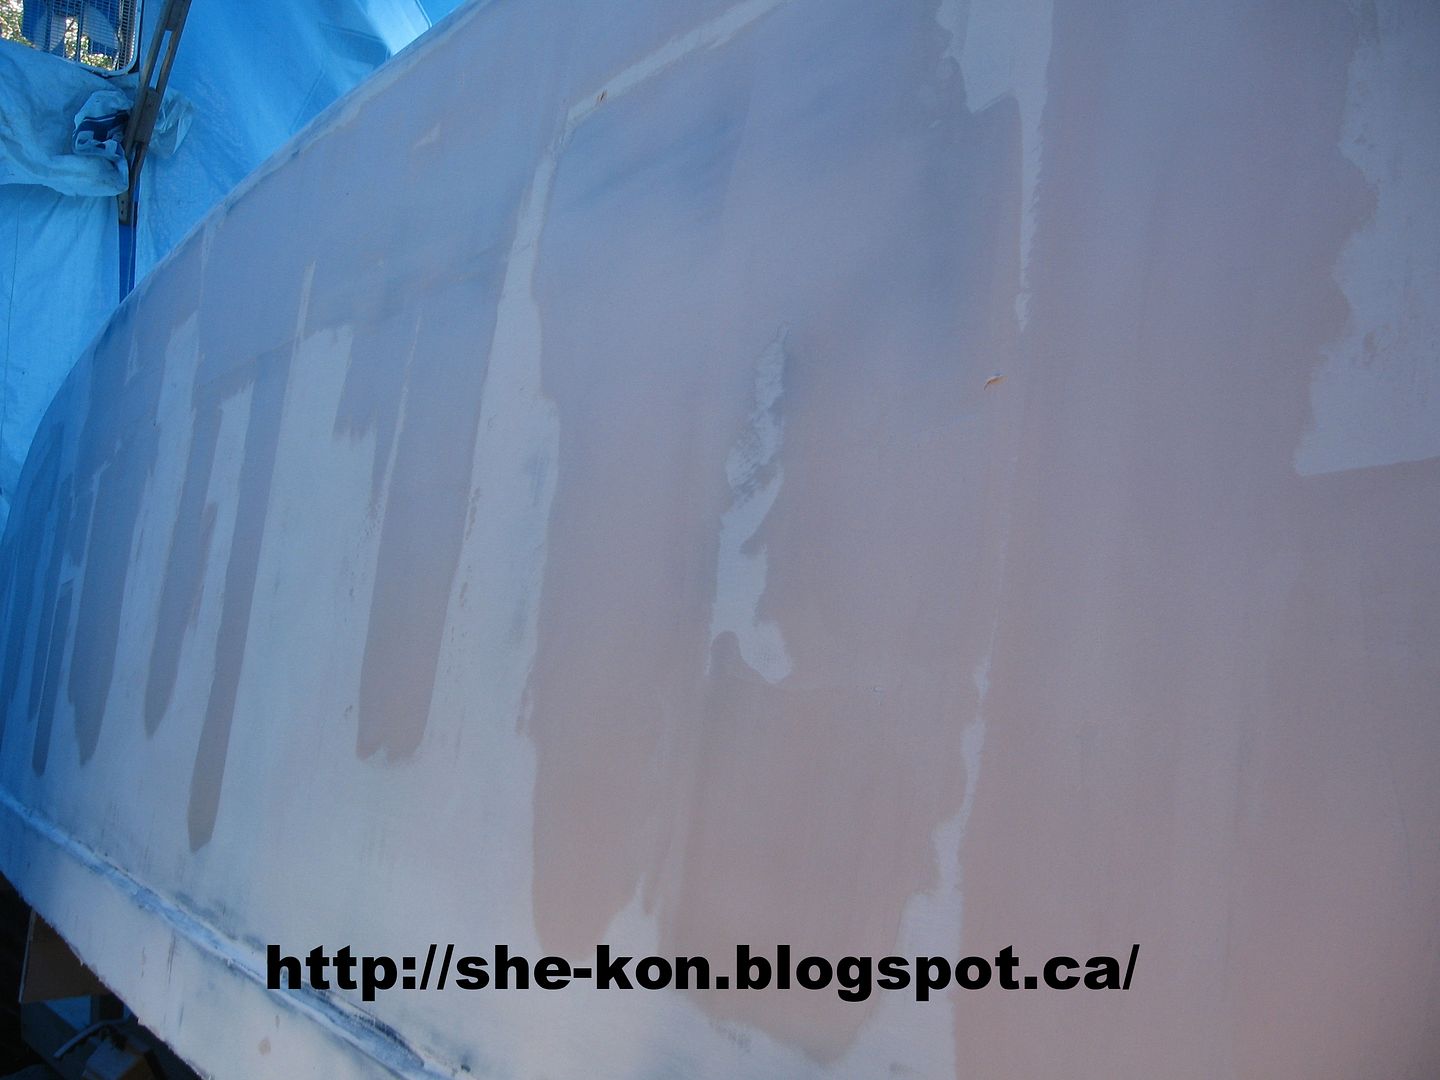
Are we starting to see a pattern here? I am! With each go-round of filling/fairing I'm seeing the defects getting smaller and fewer. (I hope). Spent the morning filling some low spots along the sides then took an extended lunch break while the fairing compound hardened enough to be able to sand. As in my previous post today I've figured out how to correct the 'Fish Eye' effect from the GoPro's wide angle lens. Here's a few more I fixed up this afternoon.
Uncorrected:
 Corrected:
 Uncorrected:
 Corrected:
 Uncorrected:
 Corrected:

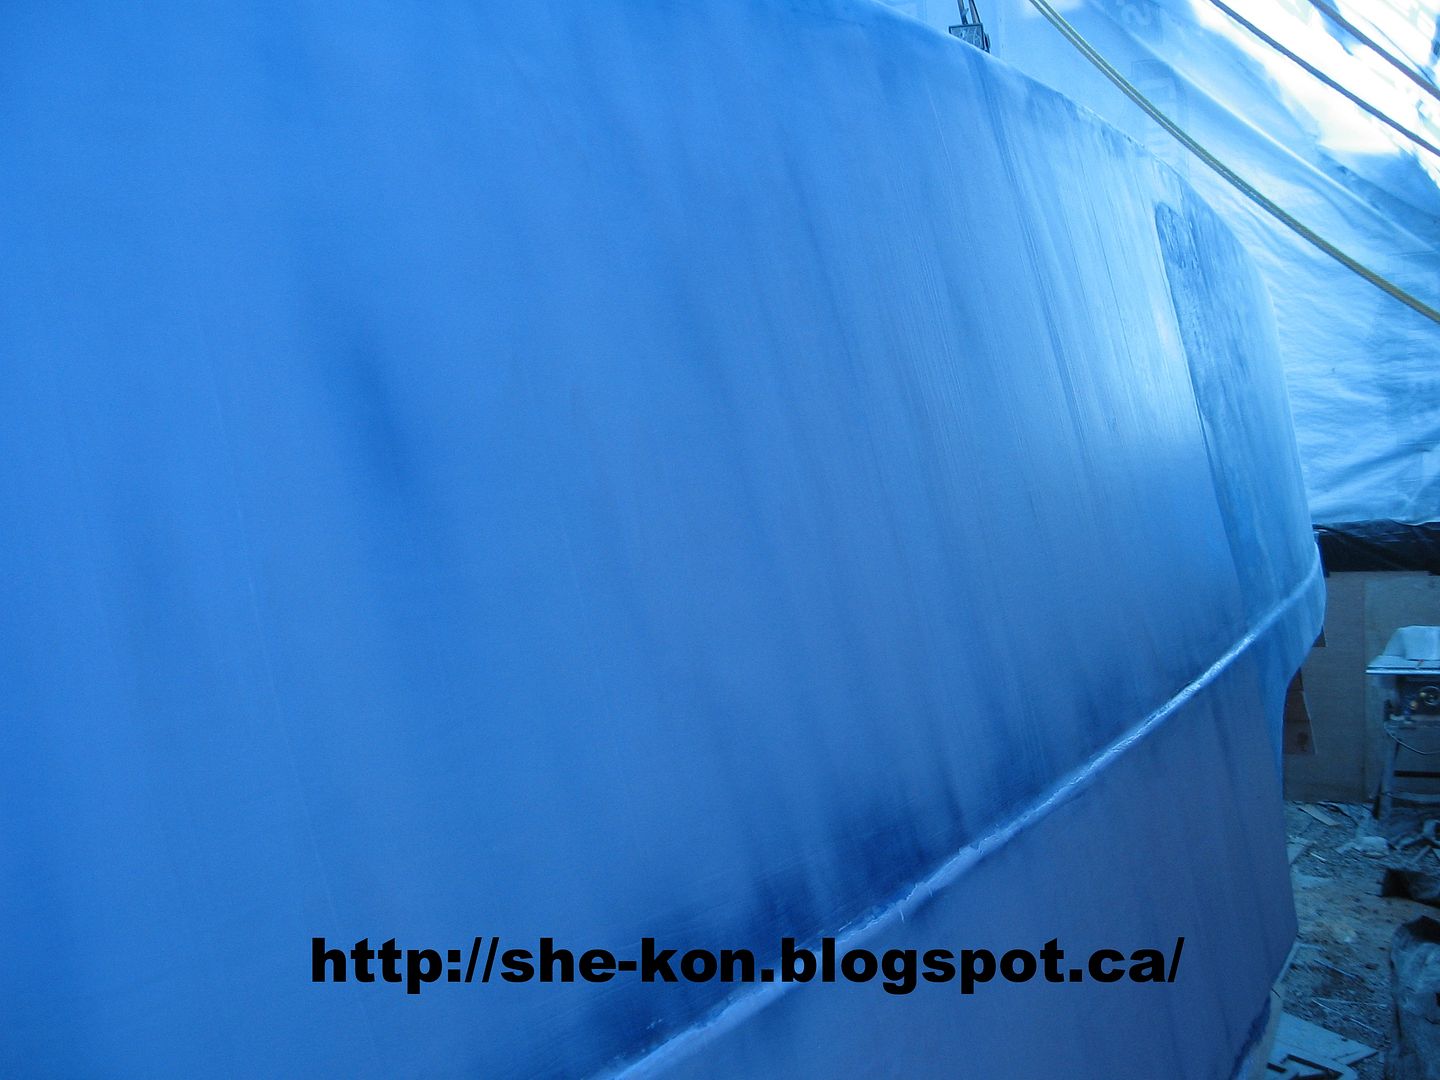
I hope that's better. I think they're much more true to what my eyes see now. I'll try to get better pics as we go. I know you're just sitting on the edge of your seats & tapping your keyboards waiting for the next sanding video too! :-) Will be covering the roof of the shed in the next couple of weeks with clear greenhouse plastic so that'll also remove a lot of the blue tint to all the pics.
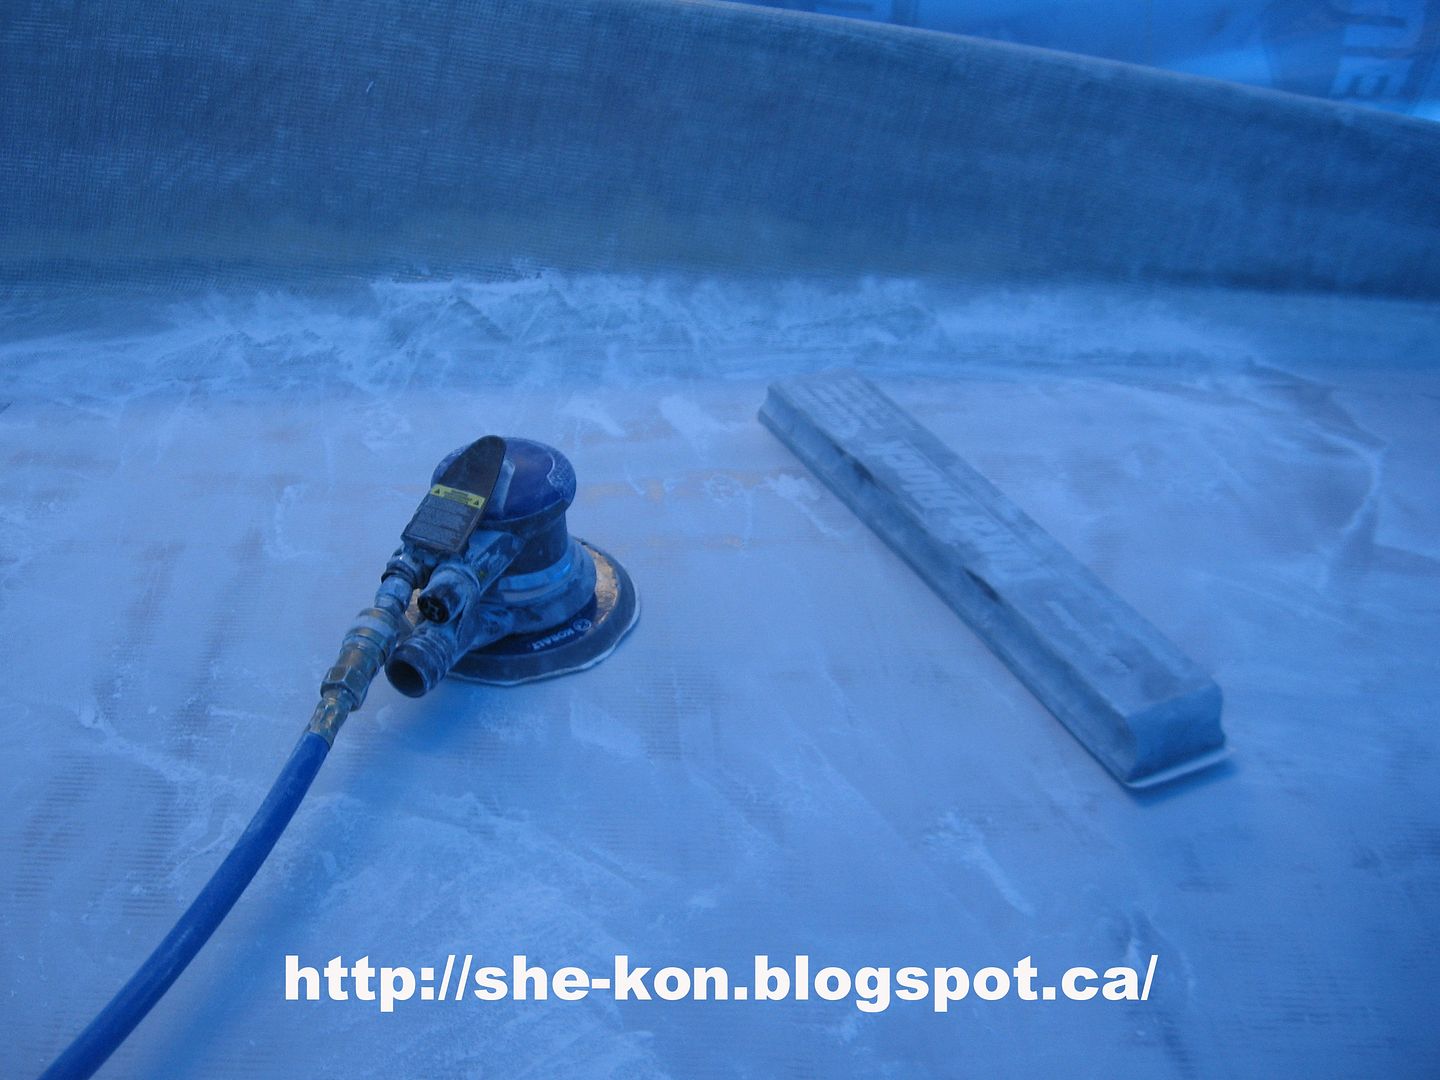
The Flexicat's are working well. I thought it was getting easier as my muscles got used to them but noooooooooooo I changed out the sand paper and ohhhhhhhhhhh right back to the pain! ;-) My buddy Andrew is going to try to get down next week to do some sanding for me on the keel. That'll help spare my back & aching knees.
Standby.....
Uncorrected:

I hope that's better. I think they're much more true to what my eyes see now. I'll try to get better pics as we go. I know you're just sitting on the edge of your seats & tapping your keyboards waiting for the next sanding video too! :-) Will be covering the roof of the shed in the next couple of weeks with clear greenhouse plastic so that'll also remove a lot of the blue tint to all the pics.
The Flexicat's are working well. I thought it was getting easier as my muscles got used to them but noooooooooooo I changed out the sand paper and ohhhhhhhhhhh right back to the pain! ;-) My buddy Andrew is going to try to get down next week to do some sanding for me on the keel. That'll help spare my back & aching knees.
Standby.....
Extended lunch break
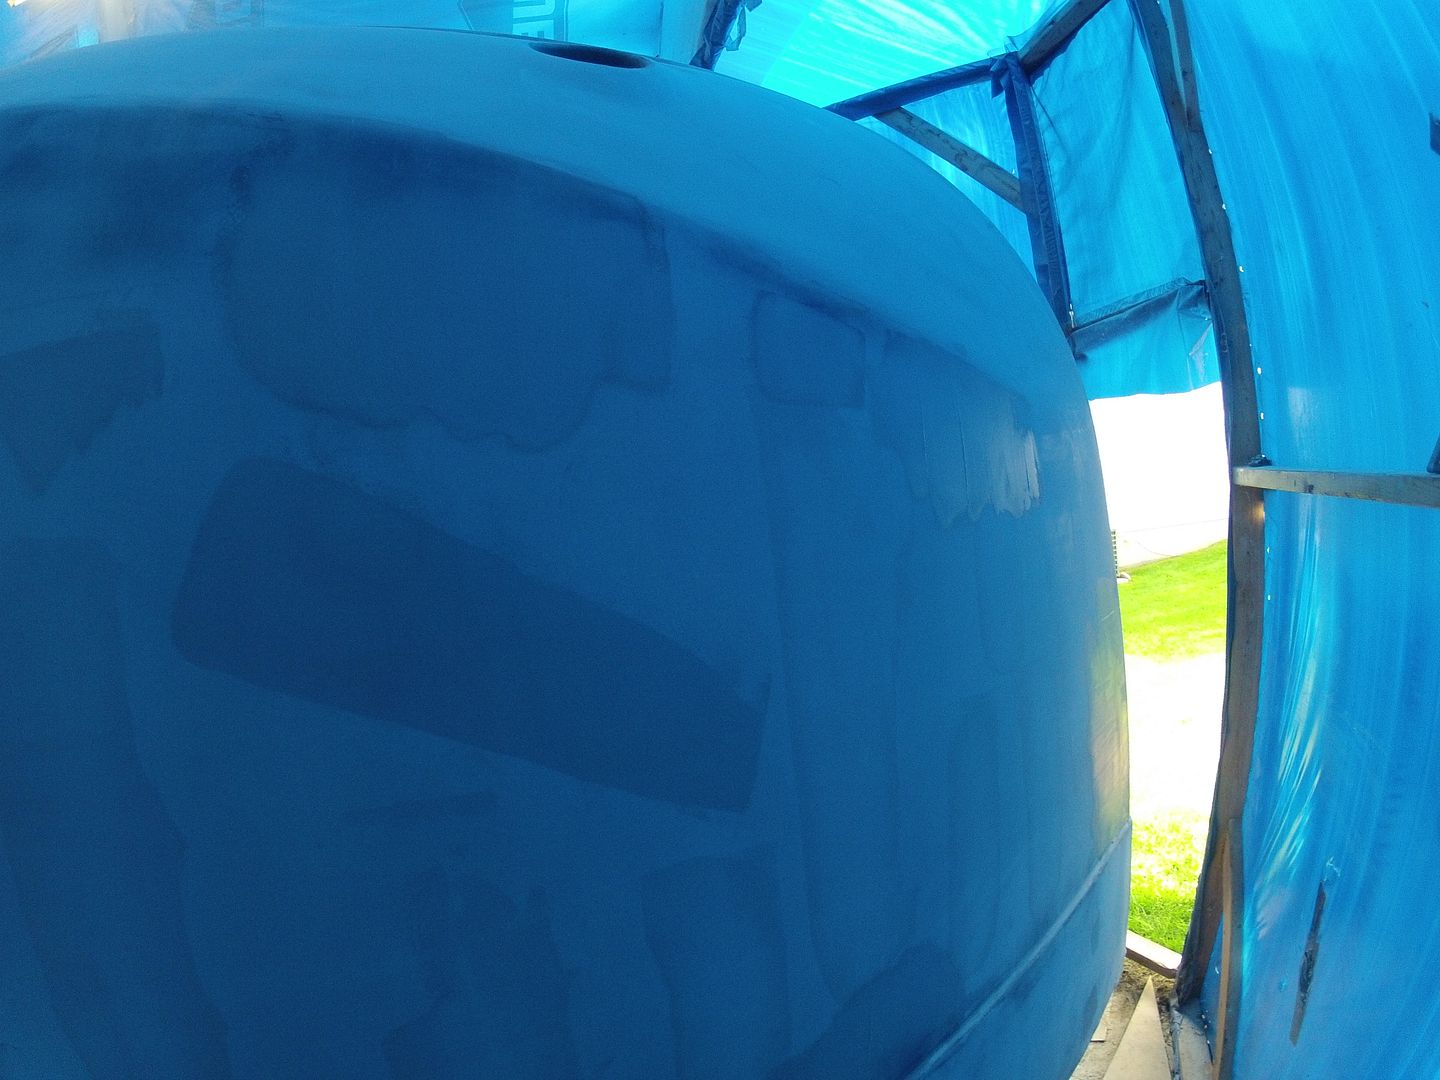
Not even noon yet and I'm taking a break. I spread a lot of fairing compound on the larger defects on the Port & Stbd sides this morning. It'll be 13:00 hrs before I can put a sander to them. In the mean time I was tinkering with correcting the 'fish eye' distortion caused by the GoPro wide angle lens.
Uncorrected photo:
 Corrected photo:

Thought that was pretty cool. A bit labor intensive to do it, took 6 corrections to get it right. It is more akin to what I actually see standing there.
Standby....
Uncorrected photo:
Thought that was pretty cool. A bit labor intensive to do it, took 6 corrections to get it right. It is more akin to what I actually see standing there.
Standby....
Saturday, May 24, 2014
A bit of a diversion
Goofing off yesterday only meant that today it was back into the shed for more sanding. I did put some good mileage on the Flexicats today. I sanded down the entire starboard side, approx. 140 sq. ft. It took me awhile, 2-1/2 hrs with frequent breaks but I got through it. It is getting a little easier if you can believe that! ;-)
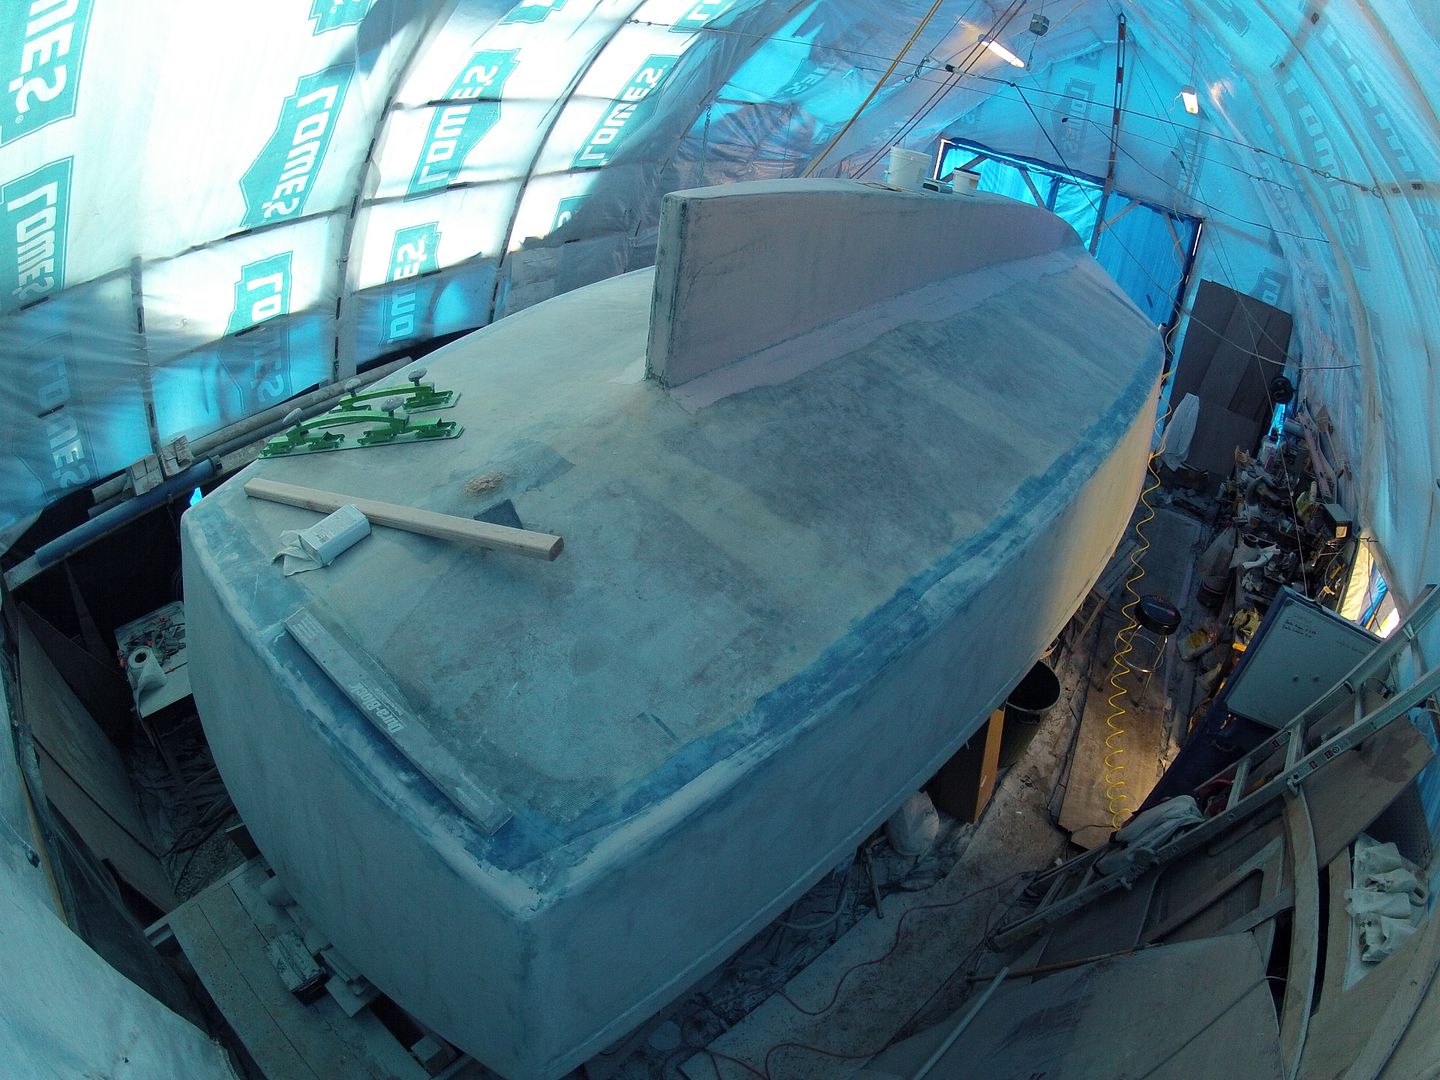
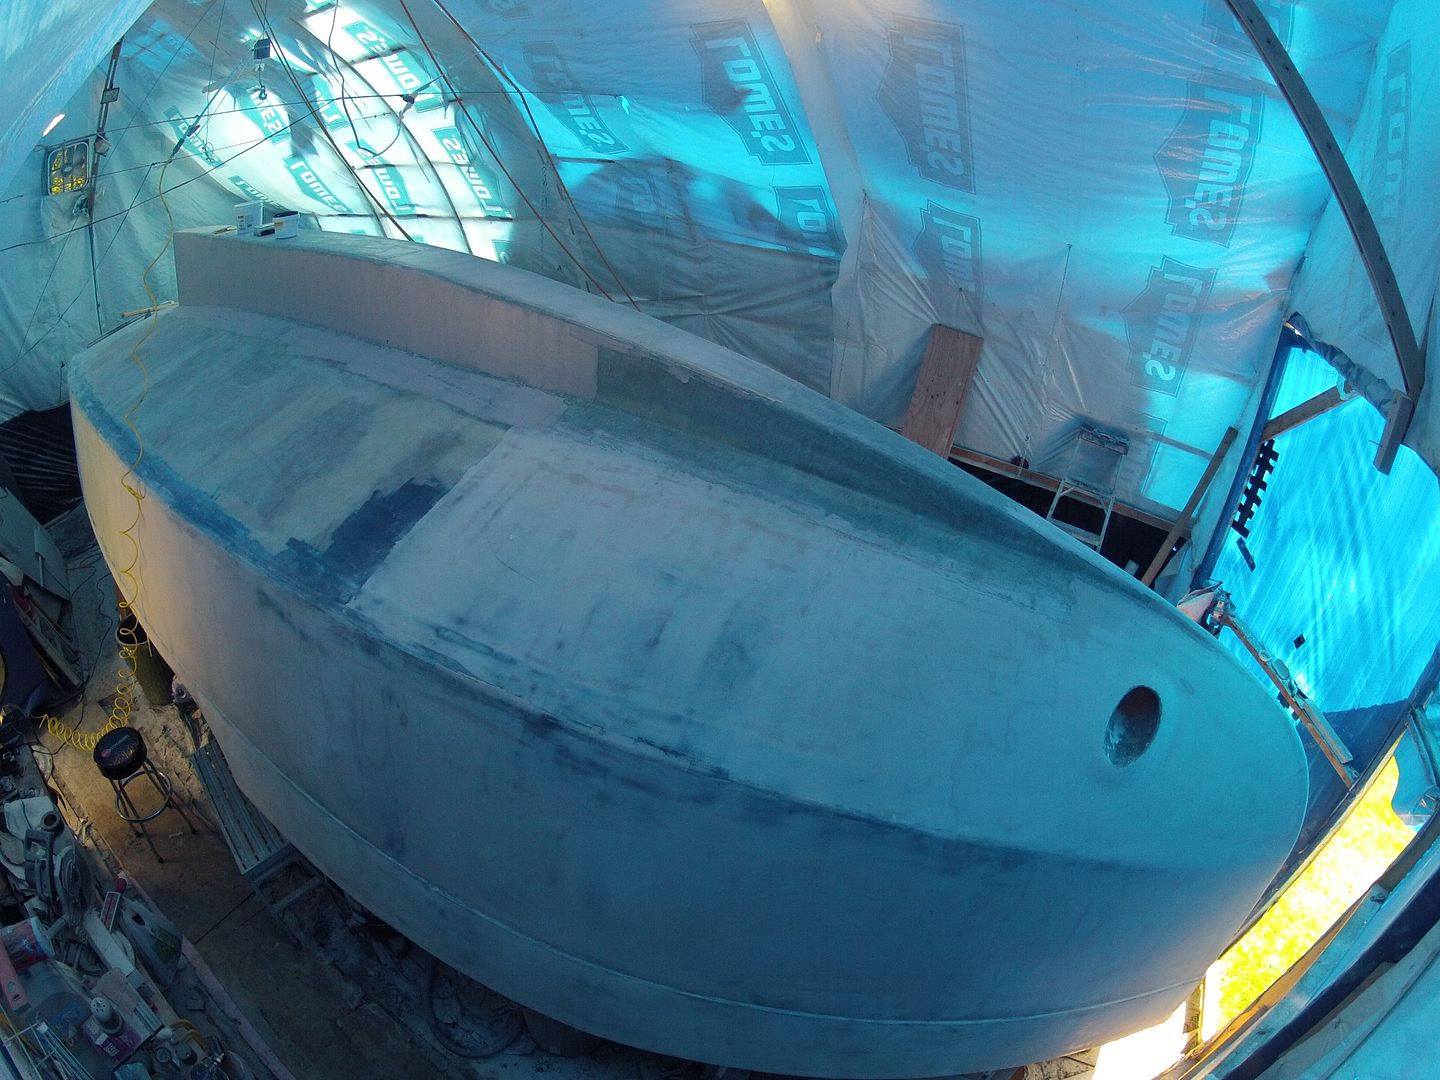
My buddy Peter suggested using the GoPro on the boat hook to get some sky view pics of the 'beached whale'. Dunno why that never occurred to me! Duh!
The wide angle of the GoPro distorts the perspective. It looks shorter than it actually is. The shed itself is 32' long and the bow stick out the front end of the shed about a foot.
You can see the whole length of the boat in this shot but again the distortion makes it look like a fat beached whale (which it is). ;-)
 Anyhow, just thought I'd show you those before I got back to work on the boat. Diversion over. Back at it. Ohhhhhhh the pain!
Standby.
My buddy Peter suggested using the GoPro on the boat hook to get some sky view pics of the 'beached whale'. Dunno why that never occurred to me! Duh!
You can see the whole length of the boat in this shot but again the distortion makes it look like a fat beached whale (which it is). ;-)
Standby.
Friday, May 23, 2014
Took the day off............
.......... and went for a boat ride! :-)
 My buddy Peter invited me to come for the day and enjoy a ride on his boat the M/V Turtle Bay. Today was spring launch day and I arrived just as they were approaching the launch ramp. Stupid me pulled out my camera to take a pic and DOH! I forgot the SD memory card at home. A quick trip to Wally World to get a card was successful but the boat was in the water and secured to the wharf when I got back. :-(
Oh well, we loaded up and headed off. Made it about 50' from the dock when the steering kinda seized up. Looking around and under and behind there wasn't any obvious reason for this to happen. It's a Teleflex cable system designed for large boats and is virtually brand new. After much persuasion it eventually worked its way loose enough for us to get underway towards Turtle Bay's summer home.
I brought the GoPro along to take some pics and get some video of Turtle Bay in action as well as some underwater footage of her 'Bo Truster' Peter designed, engineered and installed last year. Enjoy the short movie. I apologize for the crappy sound I had the camera in the water tight housing.
Thanks again to Peter & Nathalie for the invite, lunch and especially the ride on the boat! I hope to return the favor someday (soon, like Peter said, next summer! Hah, yeah right).
Cheers
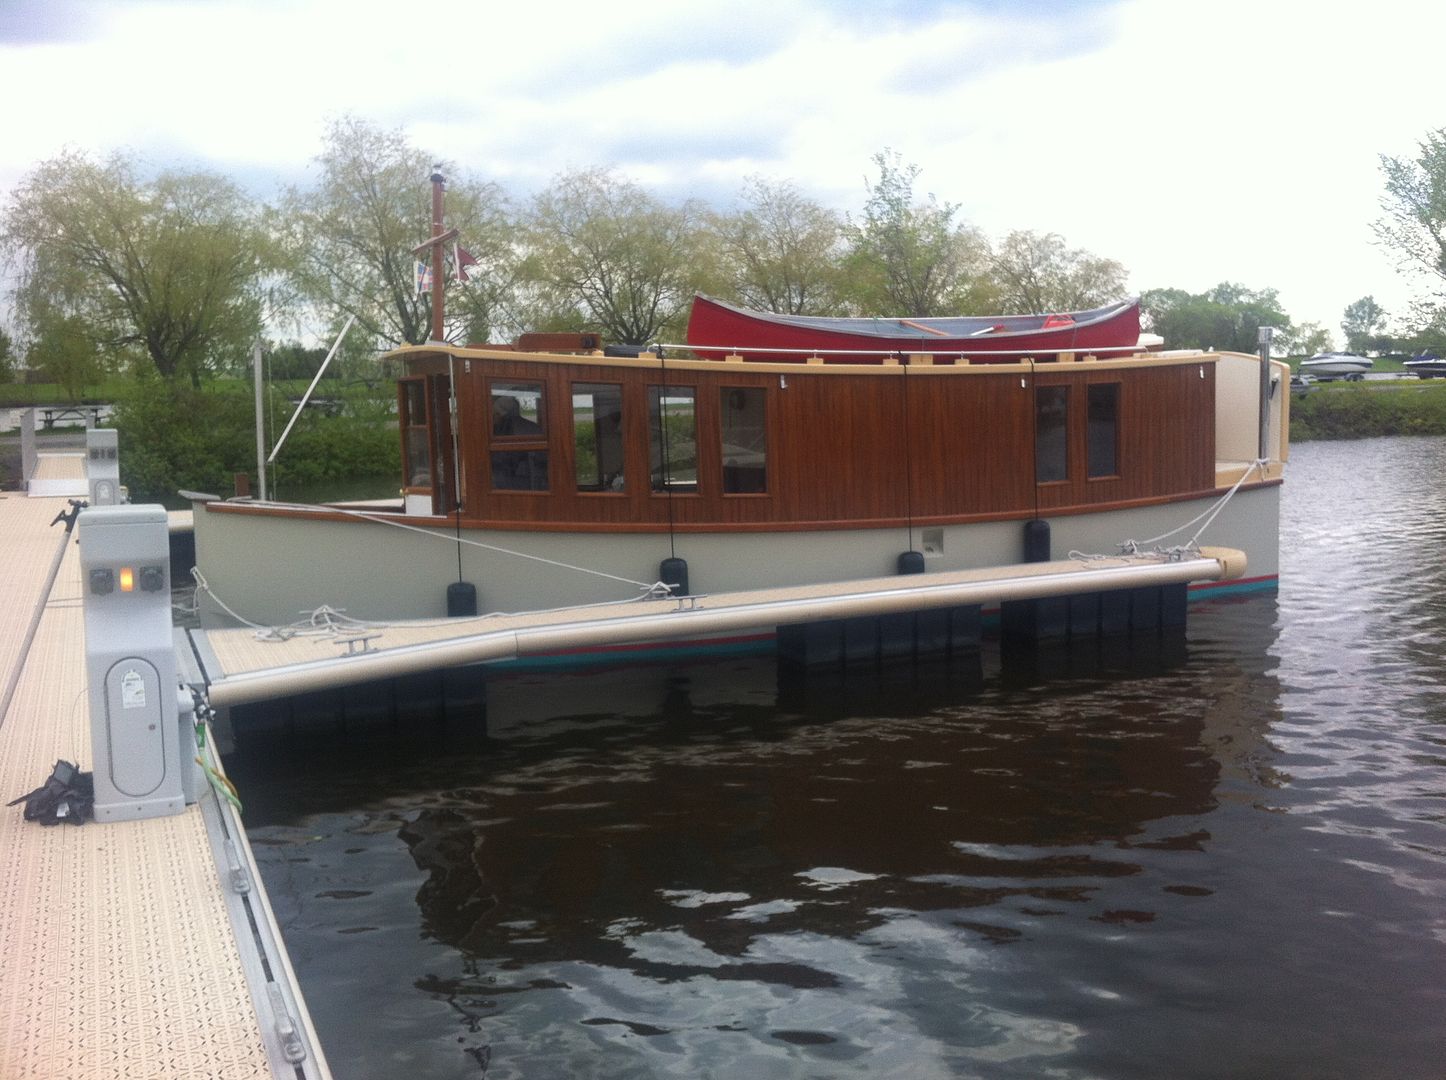
Wednesday, May 21, 2014
Is all the hype true?
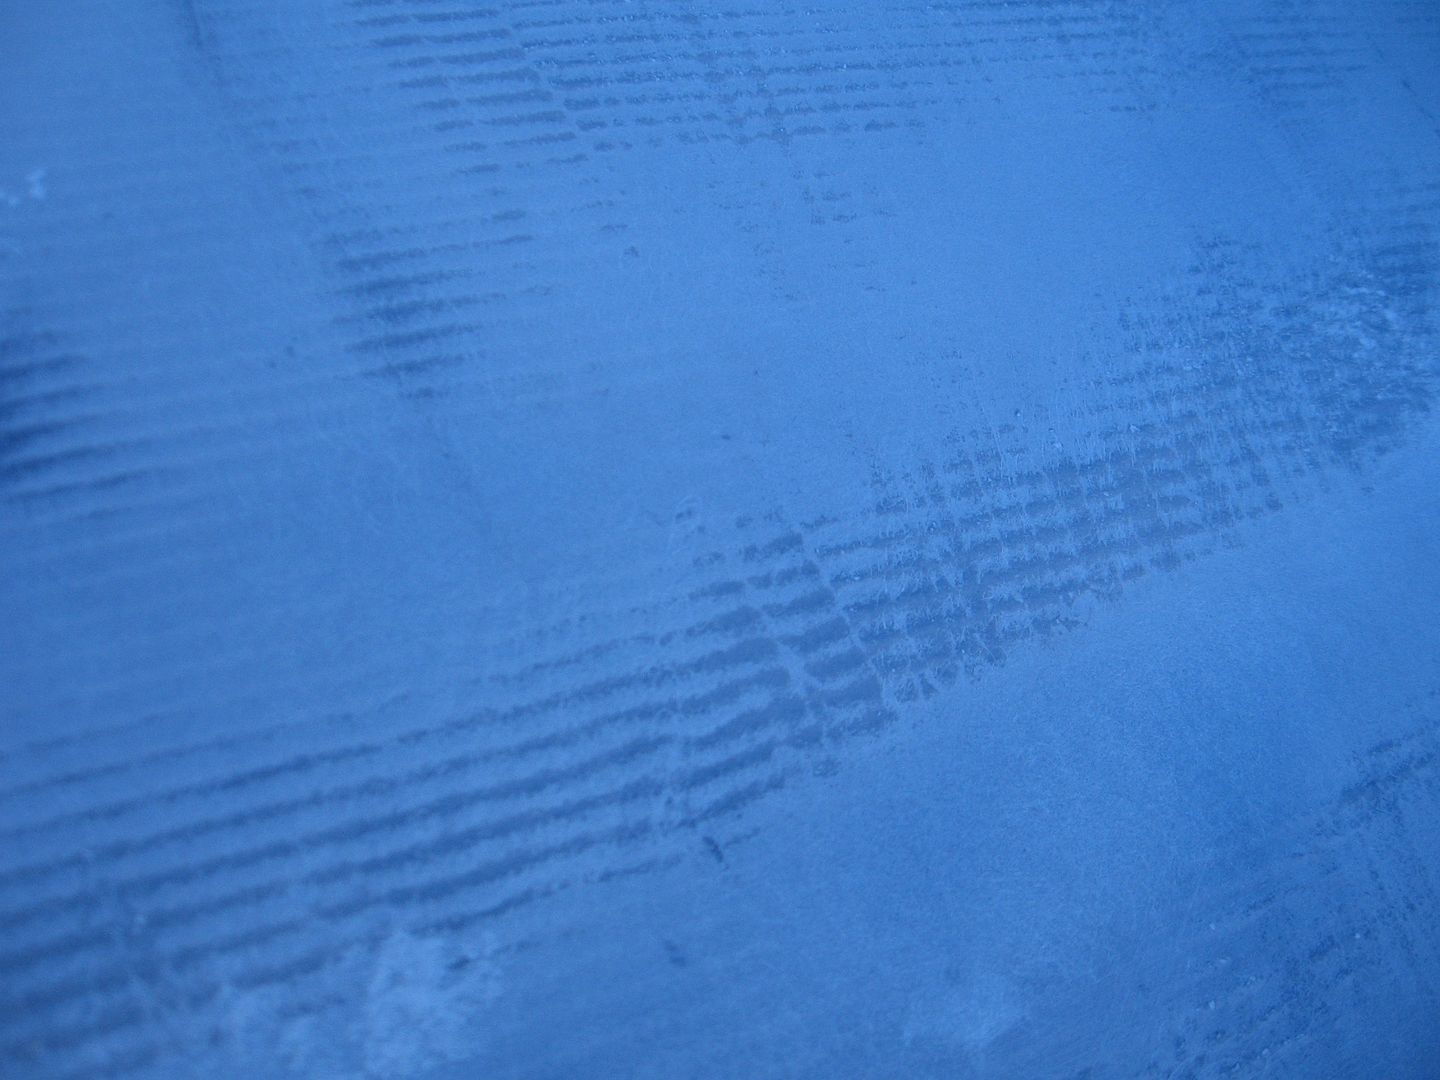
You betcha! First experience with the Flexicat sanding tools today. Oh boy do these things work great! They do live up to their reputation. I'm amazed at how well they work. They take some getting used to and a lot of muscle to move them but they remove material like there's no tomorrow! What once seemed like an insurmountable task is now within reach. It'll take some getting used to and will need to build up some stamina but I'll whip this puppy into shape! It might take me a month but I'll get it done!
I was using the Dura-Blocks with 80 grit paper and they took a fair amount of muscle to get them moving as well but nothing like the Flexicat's. Once you get them moving though you can really lean into them to get the material off quickly. I'm sure there's some real technique to using them which I haven't discovered yet but I'm more than happy with the results I got today.

The 22 x 4-1/2" sander is very nice to use. It's not too big nor too small. I originally ordered a 33" version and will likely still get it when it's available but this little monster can really cut down the fairing compound quite efficiently.
The longer of the two is a 33" as well but only 2-3/4" wide. I found it just a little unwieldy and wanting to tip over the more I leaned into it. It worked just as well as the smaller version at removing the fairing compound. The benefit of the longer tool is a much fairer profile. In fact the longer the better. I think they make a two man (person) 77" model.

I'll still have a need and use for the Durablock blocking pads. There's plenty of smaller areas to sand and areas that'll need shaping from the various profiles available. They'll get a lot more use yet!
 That's about it for today. More sanding tomorrow. Likely no vids though. I think I owe you a rest from all the exciting sanding videos I've done lately! :-)
Cheers!
I was using the Dura-Blocks with 80 grit paper and they took a fair amount of muscle to get them moving as well but nothing like the Flexicat's. Once you get them moving though you can really lean into them to get the material off quickly. I'm sure there's some real technique to using them which I haven't discovered yet but I'm more than happy with the results I got today.

The 22 x 4-1/2" sander is very nice to use. It's not too big nor too small. I originally ordered a 33" version and will likely still get it when it's available but this little monster can really cut down the fairing compound quite efficiently.
The longer of the two is a 33" as well but only 2-3/4" wide. I found it just a little unwieldy and wanting to tip over the more I leaned into it. It worked just as well as the smaller version at removing the fairing compound. The benefit of the longer tool is a much fairer profile. In fact the longer the better. I think they make a two man (person) 77" model.

I'll still have a need and use for the Durablock blocking pads. There's plenty of smaller areas to sand and areas that'll need shaping from the various profiles available. They'll get a lot more use yet!

Cheers!
Flexicat's, not Flexy Cats
The saga of the Flexicat's have been a long and drawn out drama. I originally ordered the 22" fairing compound application tool and a 33" sander in October of last year. Reviews of these tools on the Interwebs rave at their ease of use and effectiveness. I was sold. There being only one North American distributor I placed my order. Weeks and then months went by and the order had not yet been filled. I opened a dialogue via email with the distributor and discovered the problem filling the order originates with the manufacturer in Europe. Long story short the US distributor offered to lend me two of their demo units. Those are what arrived today with deeply deeply discounted rolls of sandpaper!
Today we'll see how they work!
I also picked up a GoPro head strap thingy so I'll have both hands free. We'll try that today too and see if it works.
Standby.....
Today we'll see how they work!
I also picked up a GoPro head strap thingy so I'll have both hands free. We'll try that today too and see if it works.
Standby.....
Sunday, May 18, 2014
Just a quick update
Been tardy at posting to the blog lately. Lots of little stuff getting in the way. I added another layer of fairing compound to the bow section the other day and sanded that this morning. After that I moved onto putting the first layer of compound on the keel.
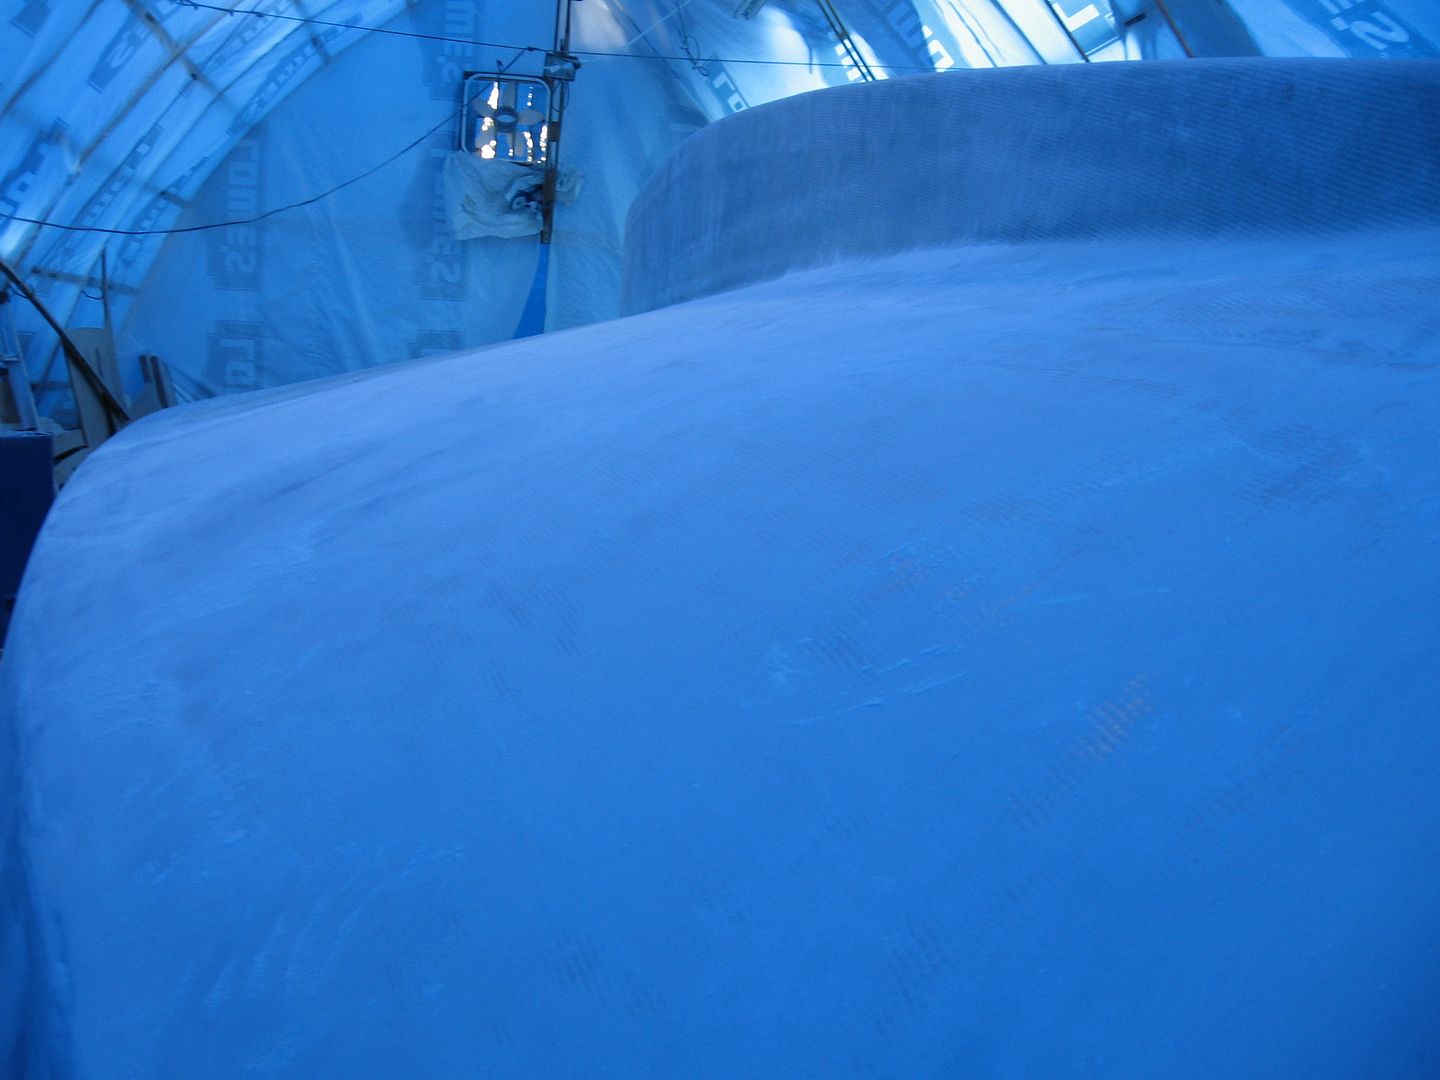
 I apologize for the crappy cell phone pic. I know you guys love the blue tint from the shed cover. That'll change soon. I've ordered enough clear greenhouse plastic to recover the top of the shed. That should brighten things up quite a bit. More on the project when it happens.
As for spreading compound on the keel I hate working on my knees. It's hard on the back. Ouch! Gotta tough trough it though. I'll get it done. The keel will be a 3 o4 4 step process to get fair. I haven't figured out how to do the inside and outside radius edges yet. For now I'm just gooping it on and sanding it off till it looks about right.
There's a real heavy weave texture to the keel and bottom. It's soaking up fairing compound like crazy! I can see at least 3 more gallons being required but that'll have to wait till the ole' pension check comes in in a week or so. :-(
That's all for now. Time for Robaxacet!
Wednesday, May 14, 2014
Around the boat in 6 hours
That's how long it took me to get down the stbd side and across the transom today with the sander.
 That's the last rough sanding I'll do till the Flexicat arrives next week. Then we'll see just how good the thing is! Standby for that, I'll take some videos of it in action.
Of course, the PM wandered through, barked some orders then skroodled off to nap.
 Off to pick up more fairing compound tomorrow. I'm fresh out. That's about 3-1/2 gallons on the hull so far and hardly any of the bottom or keel have been done. I'm thinking I'll end up with about 9 gallons on it before I'm done. Also have some shed repairs coming up soon. The roof took quite a bit of a beating over the winter. One good wind storm and I think it'll blow off.
Of course, the PM wandered through, barked some orders then skroodled off to nap.
Saturday, May 10, 2014
Just another ordinary day
Spent 3 hrs sanding the stbd side in prep for more fairing. Went over the port side that I sanded yesterday and filled the low spots. These will get sanded down tomorrow.
 Standby.......... if you can contain your excitement! :-)
Thursday, May 8, 2014
The Dark Arts
I think fairing a boat is truly a 'Dark Art'! :-) Part science, part art, but mostly torture! I can fully appreciate those who do this for a living, and there are some, and some are really good at it and they can be no less than Wizards in their own rights. I have a pretty good eye for straight and plumb and have been known to straighten up your pictures on the wall when I come for a visit but for this kind of work I haven't got 'The Eye' for it (yet, that'll likely happen the day I'm finished the boat.).
Spent a good portion of yesterday afternoon spreading the better part of a gallon of Quikfair on the starboard side of the boat from the step in the shear to the stern. This stuff has about a 10 minute working window so I have to work in small batches so that I can get it on while it's still workable. Anything left too long and it turns to mush that you'll never get smooth.
 The above pic is looking aft on the stbd side after initial sanding. You can still see the low spots caused by the overlapping glass cloth & tape. On the chine, where the hull bottom turns to the sides, there are no less than 9 layers of fiberglass, 3 cloth on the sides, 2 on the bottom and 4 layers of overlapping tape. This leaves a fairly lumpy edge that has to be filled and faired. I was careful to sand the edges between layers to minimize the amount of final fairing I would have to do. Most of the low spots will require another layer of poo and sanding. I figure I will have sanded the sides no fewer than 5 times before they're ready for primer.
 It took me about 4 hours sanding to get down this side of the boat. I first it it with the RO sander to take the shine off then go back over the area with the 16" long board (blocking tool). The long board cuts really well and gets the highs mowed down quickly. Once that's done I move down a section and repeat. Once I have 5 or 6 feet of hull sanded I go back with the 30" long board. Now this takes a lot more muscle to get moving and keep it moving. It'll remove a tremendous amount of material in a short period of time. I have to go from top to bottom and back 3 or 4 times and it could likely use more. I try not to dwell in one spot for too long for fear of removing too much expensive fairing compound.
I sat on my ass all winter and did pretty much nuttin'! Turned to goo. Sanding is hard work and I've got no stamina for it yet. I guess that'll quickly change now! I can feel a Rum & Coke and a few Aleve coming on for tonight!
[rant]Still no word on whether the Flexicat has shipped from Europe. Getting pretty frustrated with that whole situation. This is the miracle tool that's supposed to make this job a whole lot easier and BETTER. It's been a full six months since I ordered it. I can't blame the distributor for the delay. The problem is with the factory in Europe. I couldn't imagine a company being offline to move facilities for 6 months! Not a good way to keep customers happy. [/rant]

Tomorrow: Sanding Stbd bow & poo it! Standby......
Spent a good portion of yesterday afternoon spreading the better part of a gallon of Quikfair on the starboard side of the boat from the step in the shear to the stern. This stuff has about a 10 minute working window so I have to work in small batches so that I can get it on while it's still workable. Anything left too long and it turns to mush that you'll never get smooth.


I sat on my ass all winter and did pretty much nuttin'! Turned to goo. Sanding is hard work and I've got no stamina for it yet. I guess that'll quickly change now! I can feel a Rum & Coke and a few Aleve coming on for tonight!
[rant]Still no word on whether the Flexicat has shipped from Europe. Getting pretty frustrated with that whole situation. This is the miracle tool that's supposed to make this job a whole lot easier and BETTER. It's been a full six months since I ordered it. I can't blame the distributor for the delay. The problem is with the factory in Europe. I couldn't imagine a company being offline to move facilities for 6 months! Not a good way to keep customers happy. [/rant]

Tomorrow: Sanding Stbd bow & poo it! Standby......
Tuesday, May 6, 2014
Weeskers in my Poo!
Yup, you read that right. I got weeskers in my poo! Winter before last we spent 12 days in Mexico and while walking along 5th Ave in Playa Del Carmen one of the local kids started calling me Senor Weeskers 'cause of the beard & stache I guess. :-) Anywho, it stuck.
So today was a day that started out sanding some fairing compound I threw on the port side the other day. After about 20 mins with the longboard my arms friggin' near fell off so I said 'the hell with that' and moved onto the stbd side to lay on some more poo. Biggest problem doing this, besides bugs landing in it, is my whiskers landing in it too! You pick 'em out and then you gotta go over the area again. *sigh*
 All I've got to put this stuff on is Bondo spreaders. They do a pretty decent job I think. I had originally ordered a Flexicat tool for this purpose but changed the order and got more sandpaper instead. Hopefully that stuff will ship today or tomorrow. I'm getting a lil' frustrated as I need it NOW!
I got about 2/3 rds of the way down the hull before I ran out of gas.
 This side of the boat is really fair (well I think so) or at least I tried to keep it that way so the poo going on here isn't that thick. It's hard to get consistent results on such a large area with the Bondo spreaders and you can over work the stuff making a mess. It'll be at least a two coat process to get it to the point where it's ready for primer.
I'll just keep plugging away at it till I get it in a condition where I think the high build epoxy primer will cover all my sins! :-)
The Project Manager showed up again to deliver his marching orders then skroodled off to have a nibble of kibble and a mid-day siesta. Ah, what a life!

Stay tuned. More Sandinsanity & Poo coming your way soon!
So today was a day that started out sanding some fairing compound I threw on the port side the other day. After about 20 mins with the longboard my arms friggin' near fell off so I said 'the hell with that' and moved onto the stbd side to lay on some more poo. Biggest problem doing this, besides bugs landing in it, is my whiskers landing in it too! You pick 'em out and then you gotta go over the area again. *sigh*

I got about 2/3 rds of the way down the hull before I ran out of gas.
I'll just keep plugging away at it till I get it in a condition where I think the high build epoxy primer will cover all my sins! :-)
The Project Manager showed up again to deliver his marching orders then skroodled off to have a nibble of kibble and a mid-day siesta. Ah, what a life!

Stay tuned. More Sandinsanity & Poo coming your way soon!
Saturday, May 3, 2014
After a brief hiatus
due to an abscess on a wisdom tooth (which gets yanked on Monday) it's back to the Sandinsanity! This time we're sanding fairing compound. Wohoo! I'd guess the patch of fairing compound I laid down earlier in the week was about 40 sq. ft. or so. I've never done anything this big before and wasn't sure what to expect. I knew it would likely be at least a two coat process and from the looks of the results it will be at least that.
 They call this stuff Quickfair but I wish it was Easyfair but it's not. It's hard as a rock and takes quite a bit of muscle to work it down. I start out with the RO sander to get the ridges and shiny stuff off then hit it with the Dura Block long board. (still waiting for my Flexicat which will apparently ship on Monday or Tuesday).
If you look close you can still see some low spots that will require another coat. These are usually along the tape or fabric edges. I tried to get a little extra on them but didn't quite make it.
 You can actually see in the pic above a bit of the splice (joint) in the bottom panels and these were faired before and have 45 oz of fabric over them.
Here's a close up of one of the tape edges where you can see the low spot still showing the weave of the fabric underneath.
 I'll have to sand these down and hit them again with another coat of fairing compound. Oh, and you guessed it, more sanding!
When you get it right and sanded it leaves a pretty nice surface that should almost be ready to take high build epoxy primer and paint.
 You can see my 'Handy Dandy Sander Holder' AKA the bow thruster tunnel! I better patent that before someone else steals my idea! :-)
Below is one of the larger sections and represents about 2-1/2 hours of sanding with the RO and long board.
 I think one more ultra thin coat of Quickfair will finish a section like this off. I'll move onto the keel next now that I have a better idea of how this stuff works.
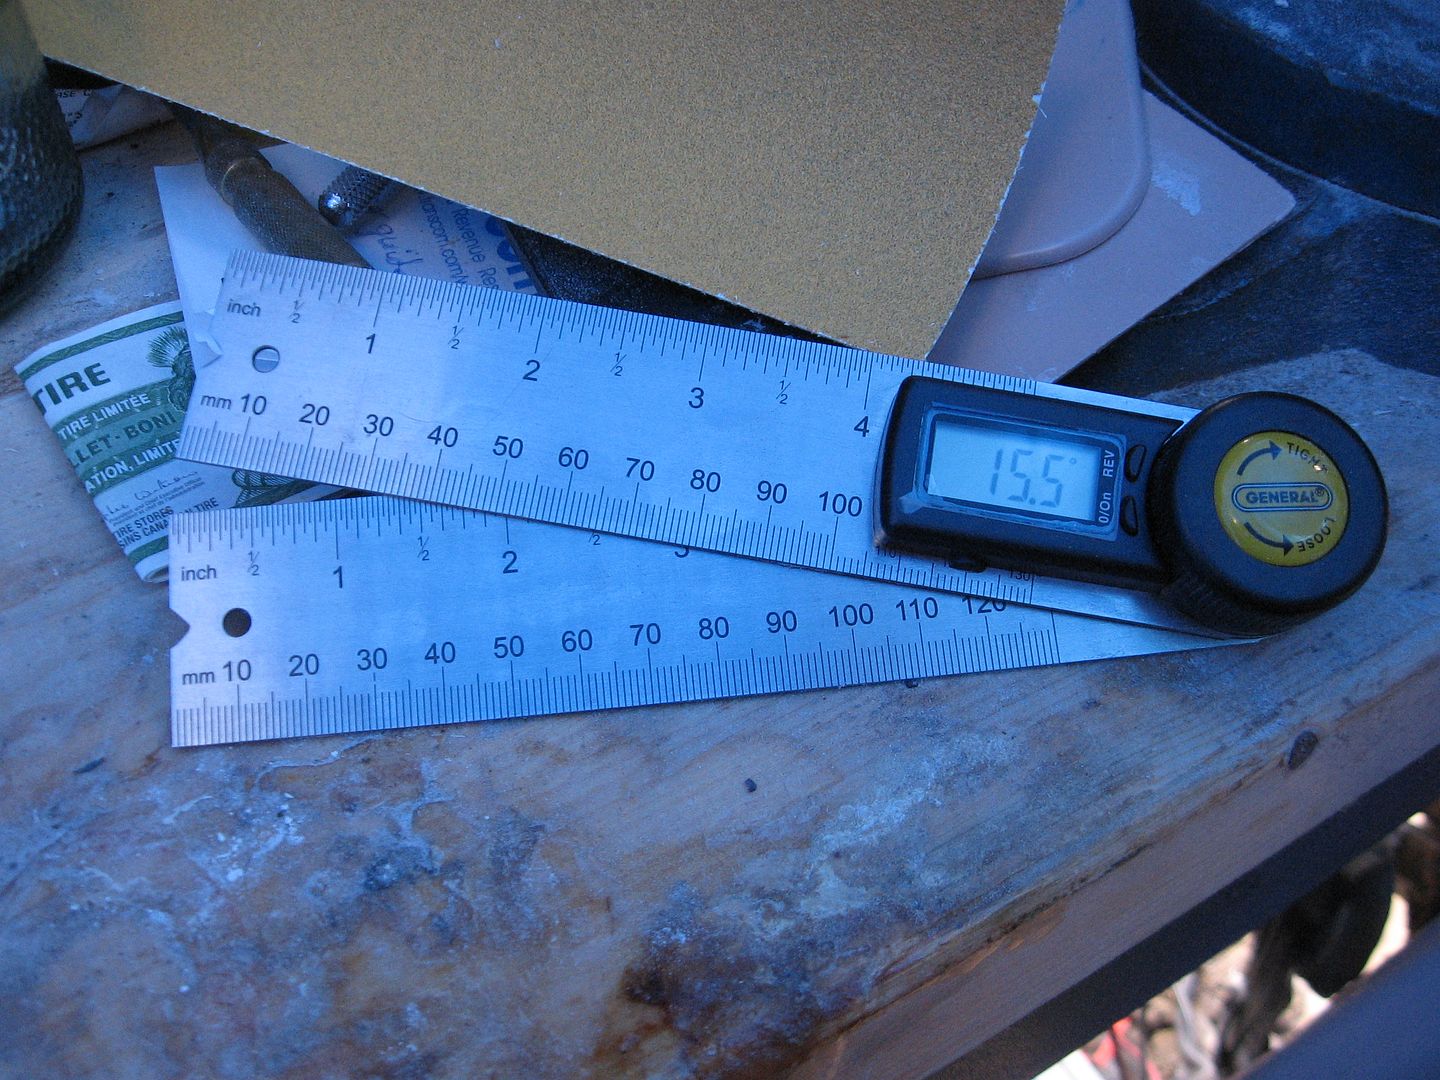
Canadian Tire had a 45 page flyer this week! :-) Have had my eye on this lil' gadget for a long time but wasn't willing to pay the $30 price tag. Low and behold it was in the flyer at $17.99 so I jumped on it! I think it'll come in real handy in the future!

That's about it for now. Heading south of the border for Dirty Gringo Nacho's! I deserve it!
If you look close you can still see some low spots that will require another coat. These are usually along the tape or fabric edges. I tried to get a little extra on them but didn't quite make it.

Here's a close up of one of the tape edges where you can see the low spot still showing the weave of the fabric underneath.
When you get it right and sanded it leaves a pretty nice surface that should almost be ready to take high build epoxy primer and paint.
Below is one of the larger sections and represents about 2-1/2 hours of sanding with the RO and long board.
Canadian Tire had a 45 page flyer this week! :-) Have had my eye on this lil' gadget for a long time but wasn't willing to pay the $30 price tag. Low and behold it was in the flyer at $17.99 so I jumped on it! I think it'll come in real handy in the future!
That's about it for now. Heading south of the border for Dirty Gringo Nacho's! I deserve it!
Subscribe to:
Posts (Atom)