Monday, August 31, 2015

Keel second layer

Took a few days off to rest up the hands & shoulder. Think it did some good. Not hurting quite as much today.

Did a couple hours of sanding this morning on the box keel to get it in shape for the next layer of fiberglass.
Glass laid out in keel
This 12 oz glass is a bit of a bugger to work with. It drapes nicely over the bends etc. but moves around at the slightest touch. There's no way to get it all in position until it's wet then use the squeegee to get it going the way you want it to go. Other than that it's very nice stuff to work with.
I've got Wrinkles!
 You can see how 'floppy' this stuff is in the pic above. The slightest tug to straighten it out here causes another wrinkle elsewhere!
Looking aft towards end of box keel
The 12 oz glass is wide, 60" and it'll go from one side of the keel to the other very easily. If this becomes a PITA I'll just slit it off and overlap the other side in the middle of the bottom of the keel.

Errands to run today. Goop tomorrow!  :-)

Standby...

Thursday, August 27, 2015

Return to Sandinsanity

Now that the inside of the hull has one complete layer of fiberglass on it it's time to sand it all nice and smooth for the next layer. Actually it doesn't have to be perfectly smooth this time, not like the outside did. Most of what you see inside will be covered or in the bilge so cosmetics aren't an issue.
Lil' BJ keeping the dust away!
I always keep the small fan behind me when I'm sanding. Keeps the dust away pretty well. When it's hot it helps keep the operator cool as well! :-) It's a bit of a pain having to reposition it all the time but I think it's worth it.
Midships looking forward towards the bow
Started a little after 9:00 this morning and worked my way aft. I had to sand off all the little 'fiber fangs' before I could really get to work. 'Fiber fangs?' you say. Well they're the nasty little needles that are sticking out from the edge of the fabric and once soaked in epoxy & cured they're just like fangs! They Hurt!
End of box keel looking aft
By 13:30 or so I was all the way down the starboard side and the bottom from front to back. I've got maybe 1-1/2 hours sanding left to finish the box keel. Had to call it quits though my hands are sore.

For you Sandinsadists here's a small (3-1/2 minute) Sandinsanity video to help curb your dark appetites!  ;-)


There's a really cool shot about the 1:30 mark looking up the box keel towards the bow!

Thanks for looking in.

Standby....

Wednesday, August 26, 2015

Milestone - First inside layer Complete!

Dat'z it! First complete inner layer of fiberglass. OMG what a marathon. I can't believe it's taken me months & months to get this done. Oh well, it's done!

The designer was concerned a bit about the small overlaps in the fabrics at certain points so I added another layer of 17 oz tape over the joints.
Extra layer of 17 oz tape on overlaps
The transom got wetted out this morning. A bit longer than I thought it would take. The complex corners & curve of the transom require plenty of squeegeeing, tugging & darts to make it conform.
Transom glassed!
Gotta run to the store for mix. There's a bottle of Cap'n Morgan's to be christened! Wohoo!

Standby.....  Now I gotta do it all over again in 12 oz fiberglass! *Sigh*

Tuesday, August 25, 2015

Son of a Bubble

Got an early start at the boat this morning. Must have crapped my PJ's or something! :-)  Was in the shed by 7:30 sanding the bottom starboard side and the transom.
Bottom panel starboard side forward glass laid out
Transom glass laid up and trimmed
Took me a couple of hours to get the glass measured, laid out and trimmed. The bow section is a beotch 'cause everything wants to slide down the hull into the bilge, including me. :-( 

Took a wee break and then started gooping the bottom panel. After it was done, about an hour & 20 minutes or so I turn around and see 'SON OF A BUBBLE!' Gawd Dammit!
Son of a Bubble
I sat there and watched the stupid thing growing. The pic above it's about 3" across. Five minutes later it's about 6" across. Hell with this, out comes the 'Bubble Buster'!  :-)  I nailed that sucker before it could get any bigger or sprout any offspring! Has to be something off gassing in the plywood. It wasn't overly warm today, 22 C in the shed.
No More Bubbles!
Got it all gooped before 11:30. Hands are sore sore sore! Friggin' carpal tunnel sh*tdrome! I would have liked to do the transom today but it'll have to wait till tomorrow.

Standby....

Monday, August 24, 2015

Starboard side forward

My buddy Tim took me to the stock car races in Cornwall last night. First time I've been to the dirt track races in probably 30 years! It was fun. Didn't get home till midnight which was well past my bedtime. Had a hard time getting up this morning. Oh boy! My head felt like the bump on the track of the last turn! Ohhhhhh!

Anyhow finally made it to the shed about 9'ish. The day's task was to goop the glass I laid out the other day.

Neat coat of epoxy on bare plywood
Temperature was decent, 22 C so I got right to it. My neighbors cousin, Curtis, showed up and kept me company. He kept wanting to help but I don't think he knew exactly what he was asking for!
1 hr 20 mins about 1/3 done. Break Time!
Total time was about 3 hours give or take a few mins. Took one 20 minute break.
Another one bites the dust!
Tomorrow I'll sand the edges and lay out the starboard bottom panel and the transom. I think I can get both done in one day.

Standby...

Sunday, August 23, 2015

Starboard inside & bulwarks

Sanded in prep for more glass on the starboard inside & bulwarks. Didn't take too long but long enough to make it pretty much unbearable to goop it today.

Stbd inside side & bulwark
Should take me about the same time as the port side did. Three hours and 2 gallons of epoxy. I'll only have the bottom section on the starboard side and the transom then it'll be onto the 12 oz fabric which I hope will go a lot faster.

Standby....

Wednesday, August 19, 2015

Heat Wave Continues

It's so hot .......... I forget the rest of the joke. *Sigh*  Third straight day of 100+ F temps with the humidex. Don't want to risk epoxying the glass when it's that warm. Stuff kicks off in the paint tray before I can get it rolled out. Yesterday just puttered around a bit in the boat. Moved the Sticky Stuff dispenser to the port side etc. Rigged up Big BJ on the side of the boat where I can point it anywhere and not have to worry about knocking it over.

Today puttered around with my little welder.
Inverter Welder from Princess Auto
Haven't had much chance to use it so decided to give it a go today before it gets too hot. Managed to get in a few hours of play time.
Pigeon Poop
So as you can see I'm no welder. I've tinkered with them a few times in the past. Had a MIG welder a few years ago but it just sat around so I sold it. Did a bit of welding back on the Griffon but that was 35 yrs ago. Gotta do some study on power settings, various rods, etc. see if I can't get a good bead to lay down.

So the conclusion is the welder seems to be pretty good. The operator? Well he's just Dickered!
Dickered!
Let's hope the heat breaks soon. I want to get this first layer of glass finished. Saturday my buddy Andrew is coming over and we're going to replace the top of the bow shed with greenhouse plastic. Anybody not doing anything that day and can lend a hand it'd be appreciated.

Standby....


Monday, August 17, 2015

Stbd side bottom glass

Been hot around here so been goofing off a bit. Managed a little sanding Saturday and this morning before it got too hot. Had to clean up all the rough fabric edges, drips & spills.
Stbd side aft bottom panel
Only took an hour or so and I was rolling out the fabric.
Stbd side aft fabric rolled out
I'm going to do the bottom & sides the same as the port side in two sections. Much easier to manage by myself. Doesn't look like we're going to get a break in the heat till Thursday. I'll muddle along doing what I can.

It was pretty warm up in the boat this morning. Nice breeze blowing through the shed but you don't get any inside the hull so I dragged Big BJ up to help.
Big BJ
Think I paid $50 for this on sale at Lowes. It's been in constant use ever since. You've seen it up on top of the boat before. Now, when you're working around inside the hull everything wants to head towards the box keel (Bilge).  Big BJ was no different. I tried to catch it as it was falling but had my air nozzle in my hand.
Ooops! Custom blade & custom air nozzle
Close up of the custom blade
A few mins with the vice grips and the blade was back into shape. Can't say the air nozzle will ever be the same again!  ;-)

Standby...

Saturday, August 15, 2015

Little diversion still boat related

Felt like crap yesterday so only relocated stuff in the boat to the port side and a wee bit of sanding then called it a day.

Going to be another hot one today with humidity approaching 100% so I decided I was only going to tinker in the shed. Since the issue with the big bubble in the fiberglass I've come to think that the area was contaminated with moisture or oil from the air compressor. There's a small water filter on the compressor and maybe it's not big enough.

I don't ever bring stuff home from the dump but on one run a few weeks ago I spotted this forlorn lil' air compressor sitting on top of the scrap metal heap. I skooped it up and brought it home with some thought to making it useful again. Thought maybe I could convert it into a large air dryer.
Dump Find! Score!
Anywho, after some deliberation on one of the boat building forums some great ideas got tossed around. Then this morning I was on a run to Canadian Tire to get a headlamp for the Admiral's Speedster. A little voice inside my head said: 'Go Down The Air Tool Isle.' Which I did and Walla! The large MasterCrap air dryer was on sale! I'd eyeballed these before but was unwilling (cheap) to pay the regular $45.95 for it. The sale price? A cool $19.95 so I snatched it up and scurried off to the cash with my prize before anymore voices popped into my head with more bright ideas!
FrankenManifold takes shape!
Two trips to the local hardware store for various pipe adapters & connectors ($13) and FrankenManifold is born!
Alt view of FrankenManifold
Dunno if I've done this right. Haven't read the instructions yet! Who needs instructions anyways. But there are now two filters on the left side outlet. That side has the pressure regulator and I'll use it for spray paint guns etc. The other side only passes through the big filter and has no regulator so it's 120 PSI and I'll use it for all the high speed spinning wheels of death and the impact wrench! I do have another pressure regulator if anyone thinks I need it.

Supposed to be warm again tomorrow and Monday. We'll see how much gets done.

Standby....

Thursday, August 13, 2015

Level & Port Side Aft Fiberglass

Spent a good portion of the morning leveling up the boat. I didn't think it had settled that much but the starboard side was down 3" lower than the port side. Somehow didn't appear to be that much when standing in the boat. It's now within 1/8" of level side to side and fore and aft. I think that's good 'nuff for the girls I go with!  :-)
Baseline at Frame E
Apologize for the crappy pics. I was messing with the camera settings to try to get the laser but the flash kept washing it out. Anywho, this is the baseline at Frame E which is essentially the middle of the boat. I use it for my main reference. All measurements on the plans are taken off the baseline so it's important to have it marked.
Water level
I don't rely solely on the laser level. I checked everything with the ole' water level. You can just make out here how much higher the starboard side is than the port side.
My 'Cylon' Laser Eye Level
Had to fabricate a plate to hold the laser on this tripod arrangement. The laser came with a crappy tripod that couldn't stand up to the rigors of boat building. Anywho, the setup I bodged together works great. Accuracy is high within the limits of the boat hull. Great way to check & recheck levels & plumbs.

Port side aft glass laid up ready for goop
Once all that dickerin' about was finished I got down to the main job, fiberglassing the port side aft.
Starting the wet out
I pre-coated the bare plywood with a neat coat of epoxy before starting to roll on the epoxy.
Moving right along
Picked up some 6" nappy rollers at Lowes the other day. Much nicer than the 4" sausage foam rollers. Made quick work of this section which is 18' 6" long and 38" wide. Made the midway mark in about 40 minutes!  :-)
Finished
In total took me about an hour and 40 minutes and consumed 1-1/2 gallons of epoxy! A wee bit under my original estimate of 3 hrs and 2 gals.  :-)

Tomorrow I'll clean up all the crap that's accumulated on the port side of the boat and start prep on the port side for the bottom & side & transom fiberglass.

Standby....

Tuesday, August 11, 2015

Thrust Plate for Python Drive

Today's plan, 'cause it was so friggin' hot & muggy & rainy was to cut some aluminum again. This time for the thrust plate for the Python Drive.
Raw thrust plate with cutout
This part of the task required a 5" hole saw. I bought one off of e-Bay and picked that up on Sunday. Worked like a charm!
Lining up the mounting holes
I was worried about getting the mounting holes lined up perfectly. Measurements provided were 157 mm. Dunno what that is in inches. Good thing my electronic calipers go that high!
Nailed it!
Anywho, nailed it right on! I amaze even myself every once in awhile! :-)

Needed to make a few more cuts on the skeg plate and remembered I destroyed my jig saw last time. Soooooo it's off to Canadian Tire for the second time today! Luckily the jig saws & drill bits were on sale! :-)
These won't look like this too long!
The Jig Saw is pretty cool. Does pretty much everything 'cept wipe y'er butt! ;-)  I've probably got 50 drill bit kits now. Didn't have one with a half inch bit as it seams. Could have bought the single bit for $7.99 or the entire 29 piece kit for $19.99.

Weather is cloudy with showers and a bit cooler tomorrow. Back in the boat for some sandinsanity and maybe some fiberglassin'!

Standby...

Sunday, August 9, 2015

Port Side Forward Fiberglassing

Thank you everyone who's visited our lil' blog since 2010, all 100,000 of you! :-)

I started out at 9'ish this morning so I wouldn't disturb the neighbors with the Death Metal music I listen to while fiberglassing!  :-)

Rolled on a neat coat of epoxy
Pre-coating the bare plywood helps with wetting out the fabric. The dry wood absorbs a bit of epoxy and can leave you with dry spots if you don't pre-coat the plywood. Anywho, that's the theory.
3/4 done
After about 1 hr 45 mins I made it 3/4's of the way down the panel before I took my first break. The last lil' bit right in the bow is a real PITA so I took a 20 min break instead of 10! :-)
All done
Almost exactly 3 hrs to wet out and squeegee the whole 16' of fiberglass. I only peel plied the end where the sheets of fabric will overlap. I'm going to end up sanding the rest before the next layer of fabric goes on. See how it goes.
Dead Soldiers!
And as I predicted 2 gallons of epoxy to wet out that 16' panel! I'm gettin' pretty good and guestimating the materials eh?

That's 'nuff for now. Shower time.

Standby...

Saturday, August 8, 2015

Port side forward

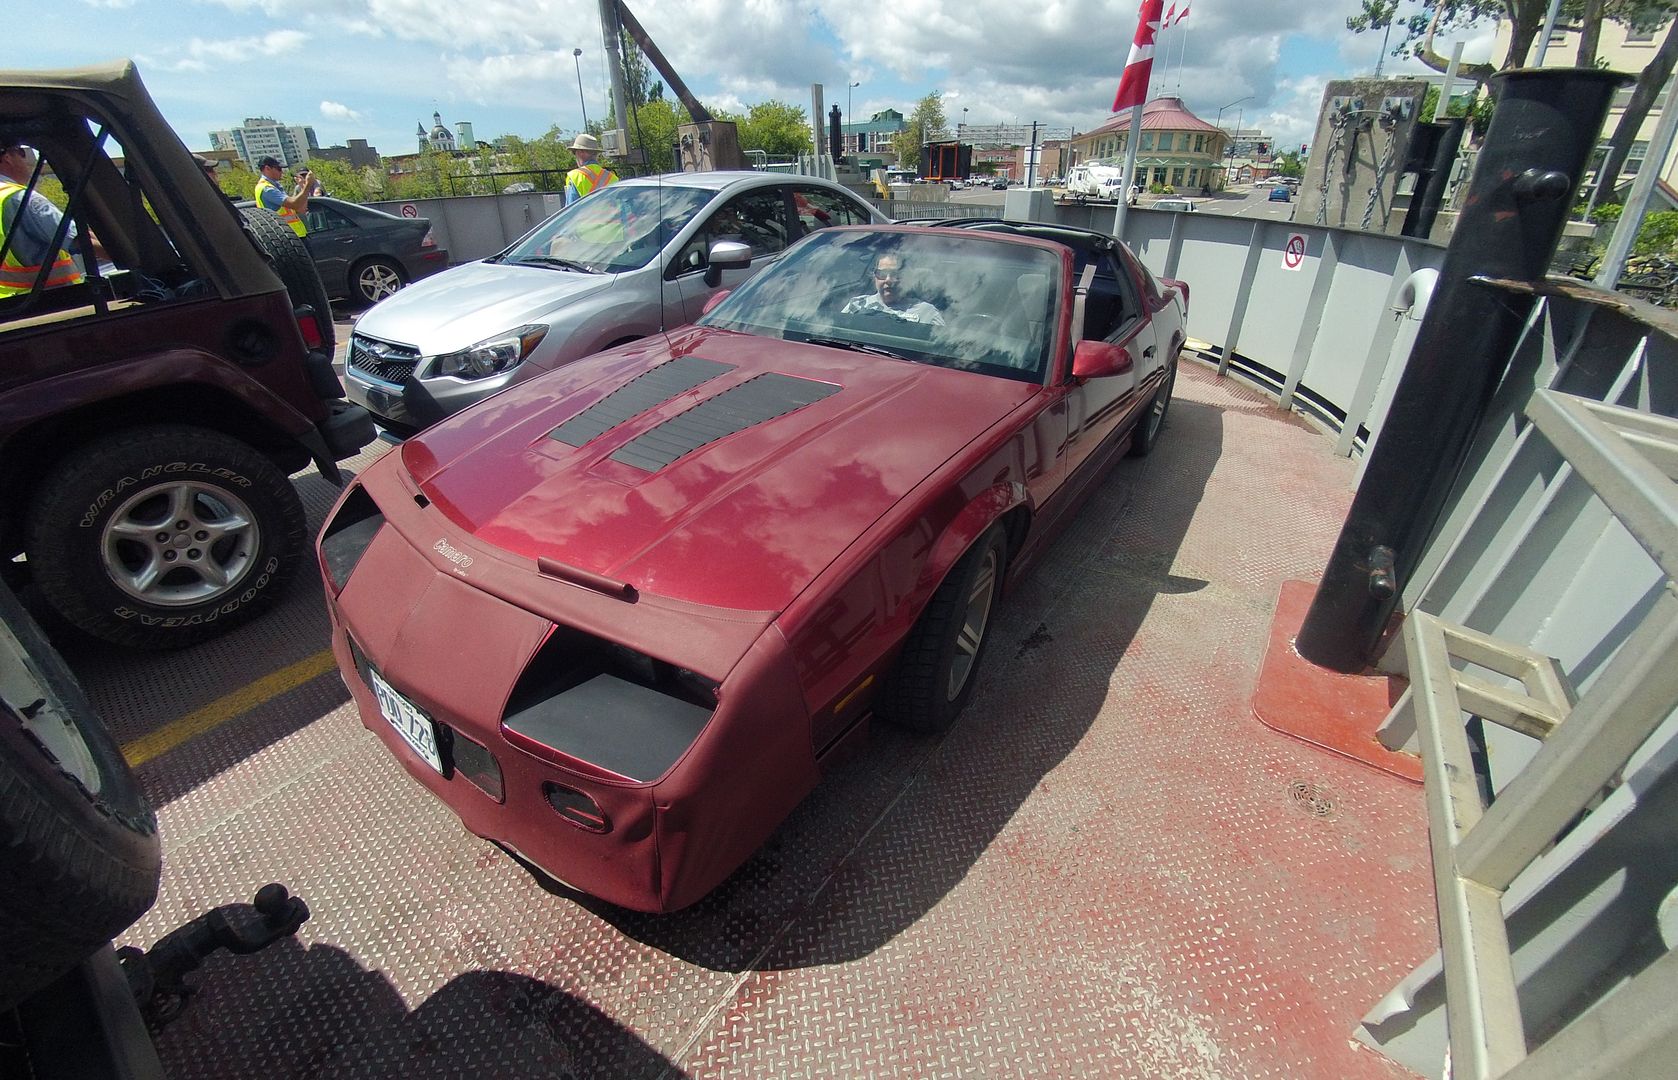
So, slacked off yesterday and the ole' Lady and I took off in the Camaro for a lil' cruise. We had planned to take the ferry over to Wolfe Island and drive around & see what's there then take the Ferry across to Cape Vincent NY. Loading on the ferry we bottomed out and damn near ripped the exhaust off the car. Didn't really notice what exactly happened till we checked out the ramps for the ferry to Cape Vincent. Much too steep for the Camaro! :-(  Turned back and limped our way back onto the ferry to Kingston & home. :-(

The Admiral enjoying her boat ride for the year!
Next time we'll take the Jeep. 11" of ground clearance vs 3" on the Camaro! Duh!

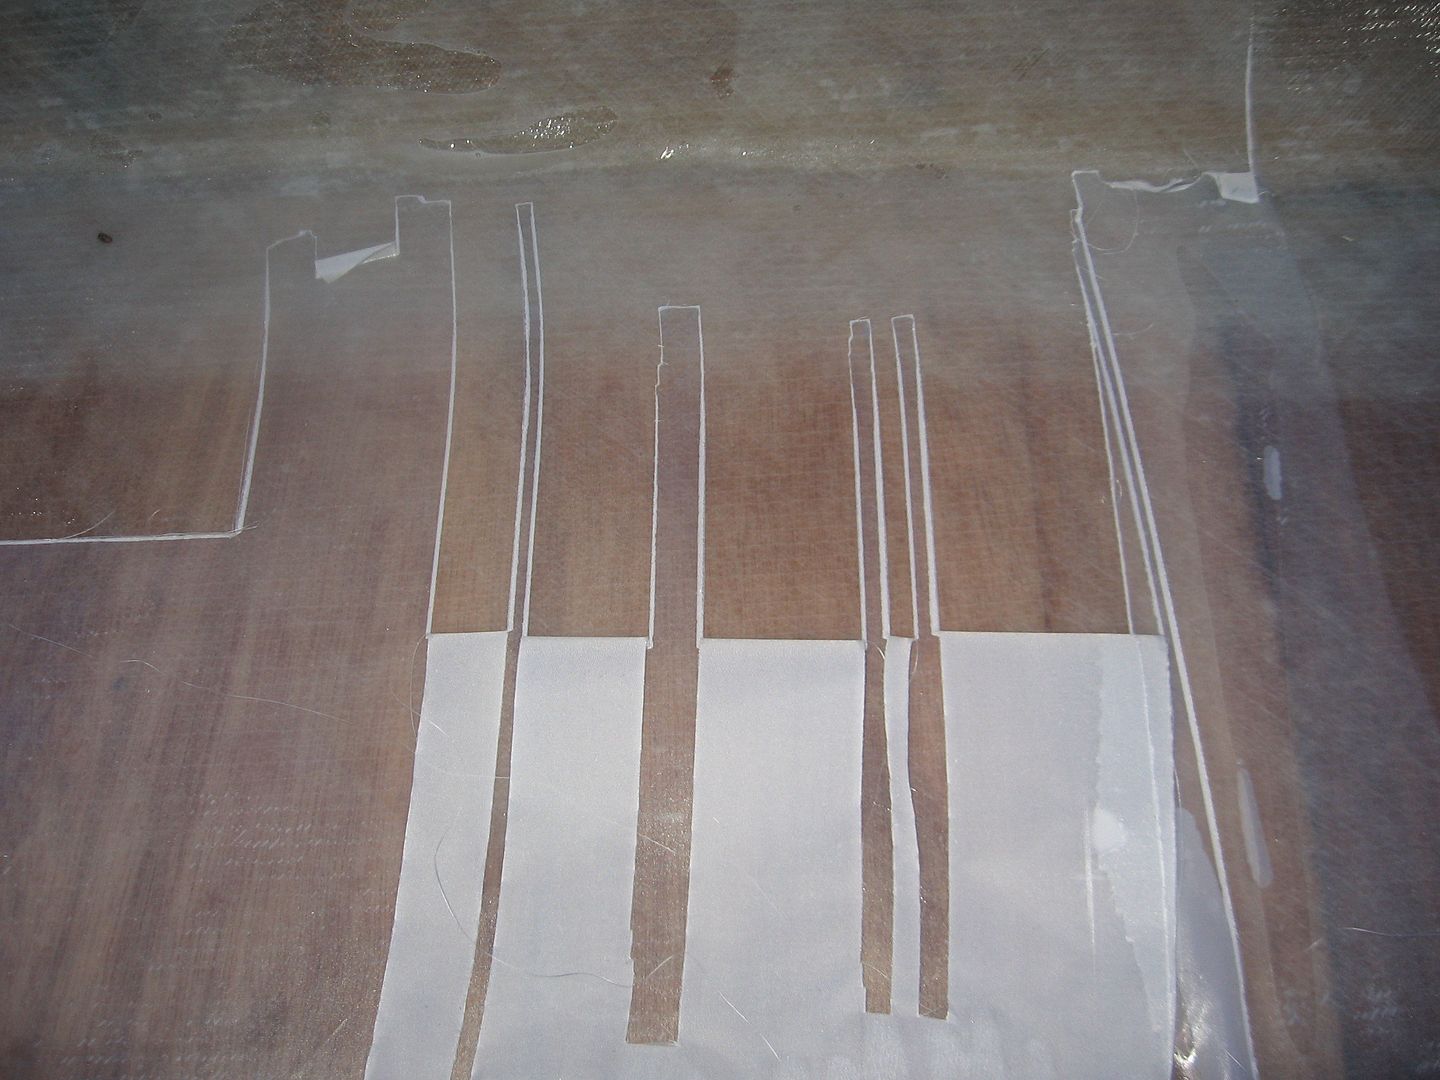
Ok, so to make up for a day away from the BBBBS I hit the shed about 9'ish and started to clean up the port side forward in prep for fiberglass. First it took me over an hour just to rip out the peel ply.
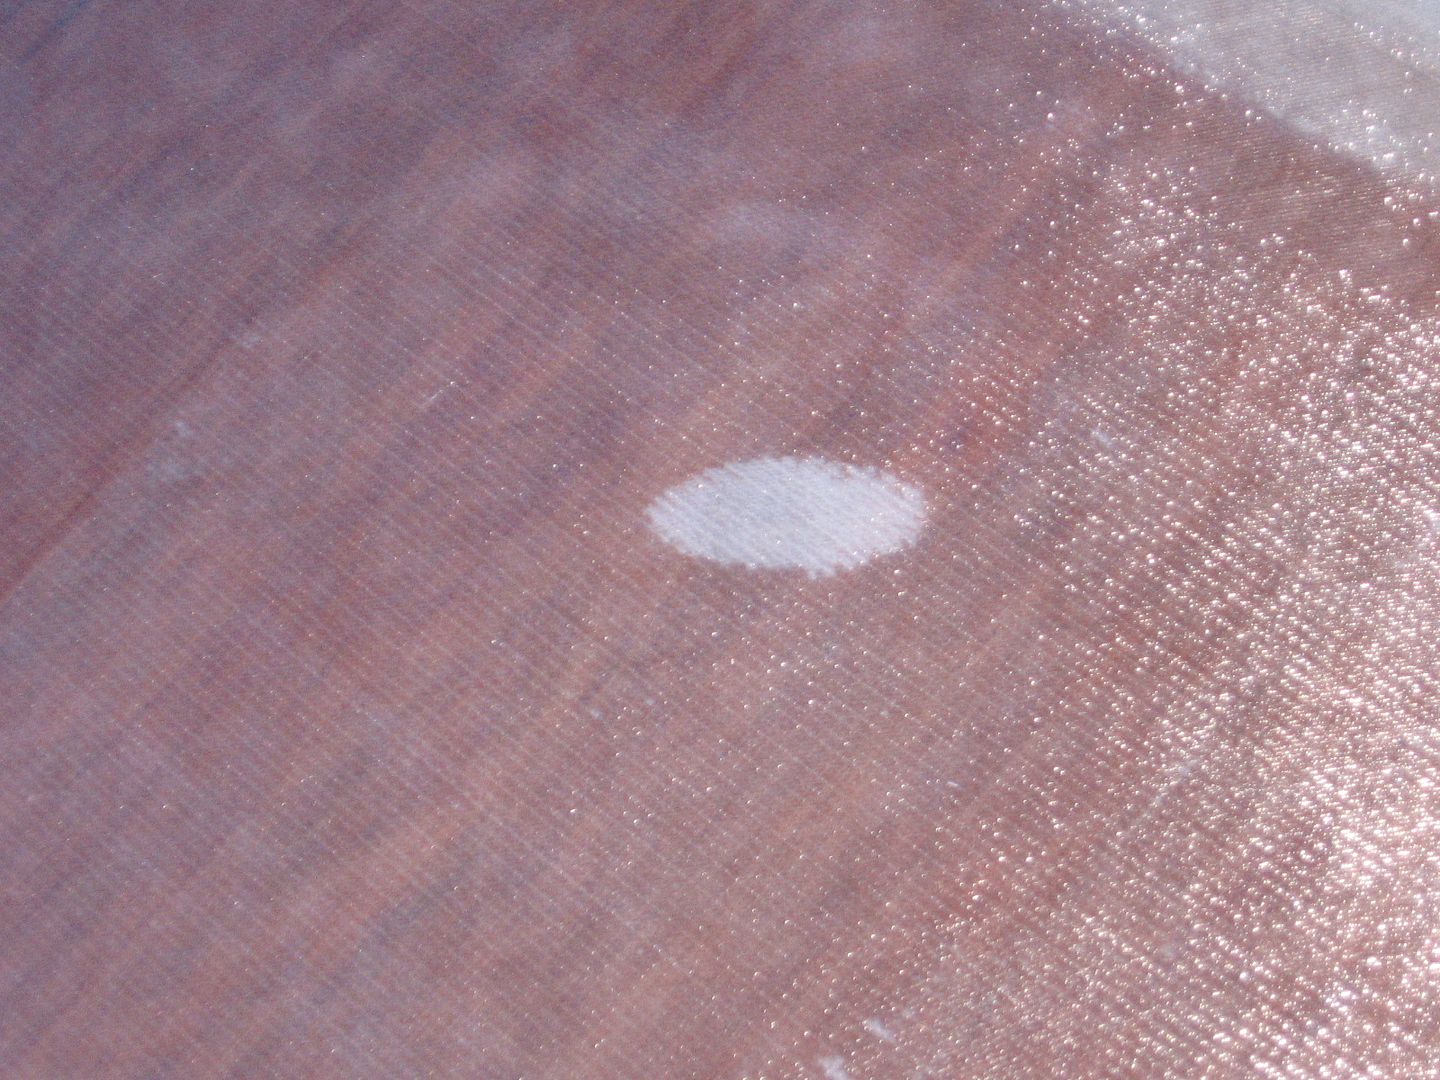
Oh Gawd! This is gonna be a real PITA!
This is what lightweight peel ply does when you try to remove it all in one piece! It just shreds itself into ribbons! :-(  That'll teach me for being frugal (cheap)!
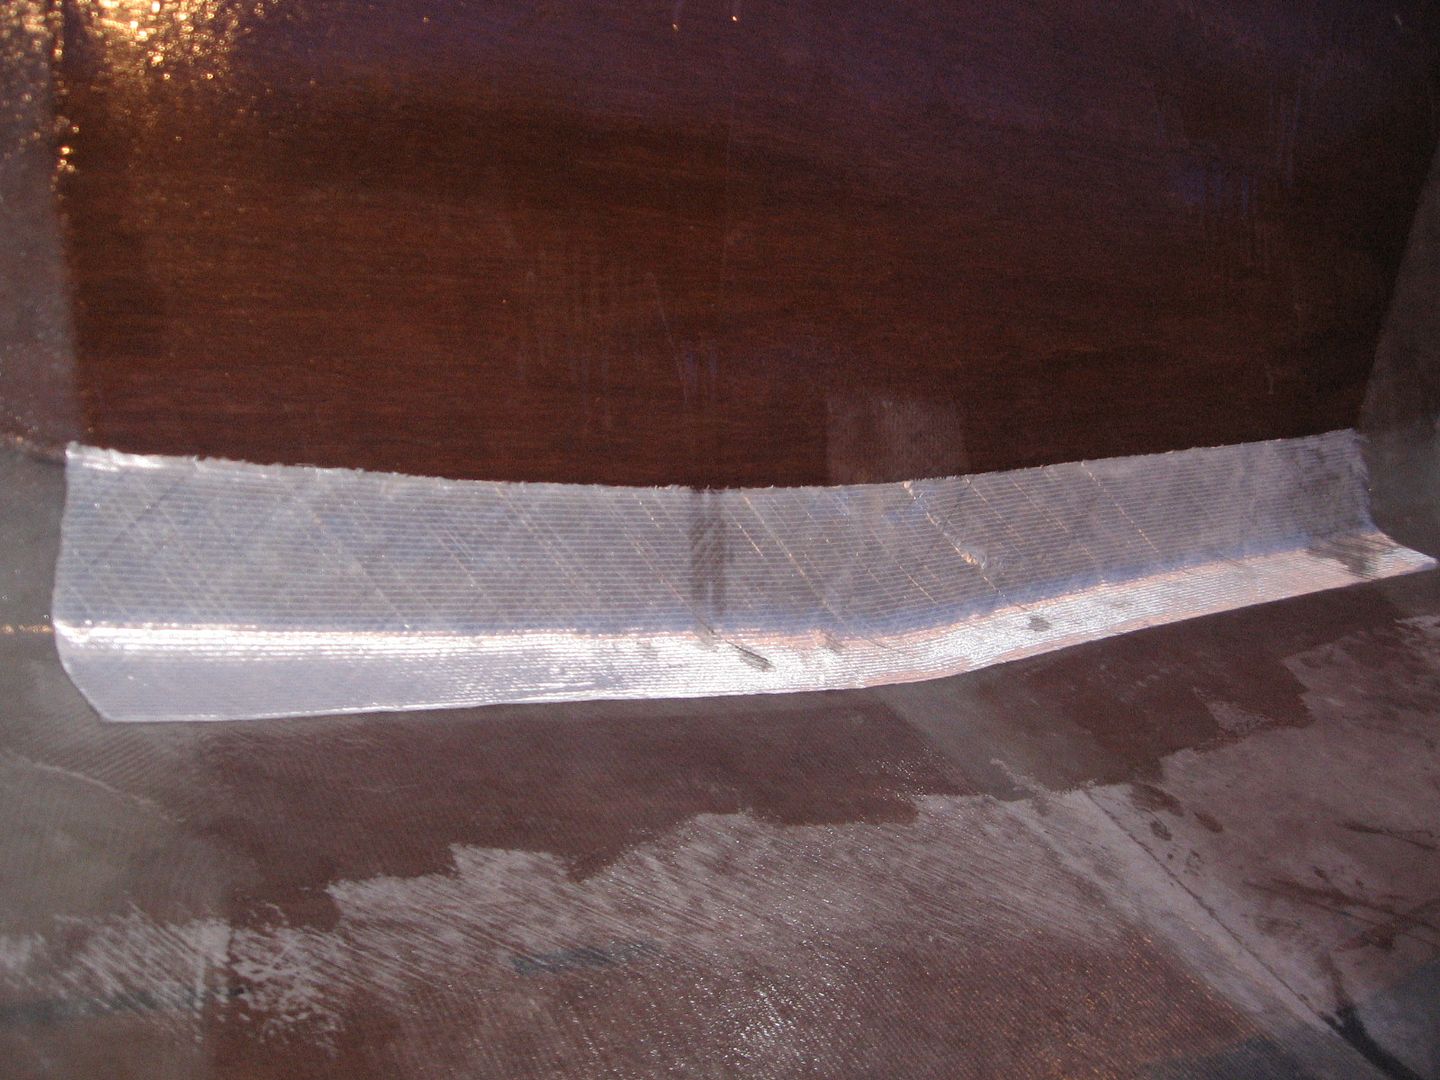
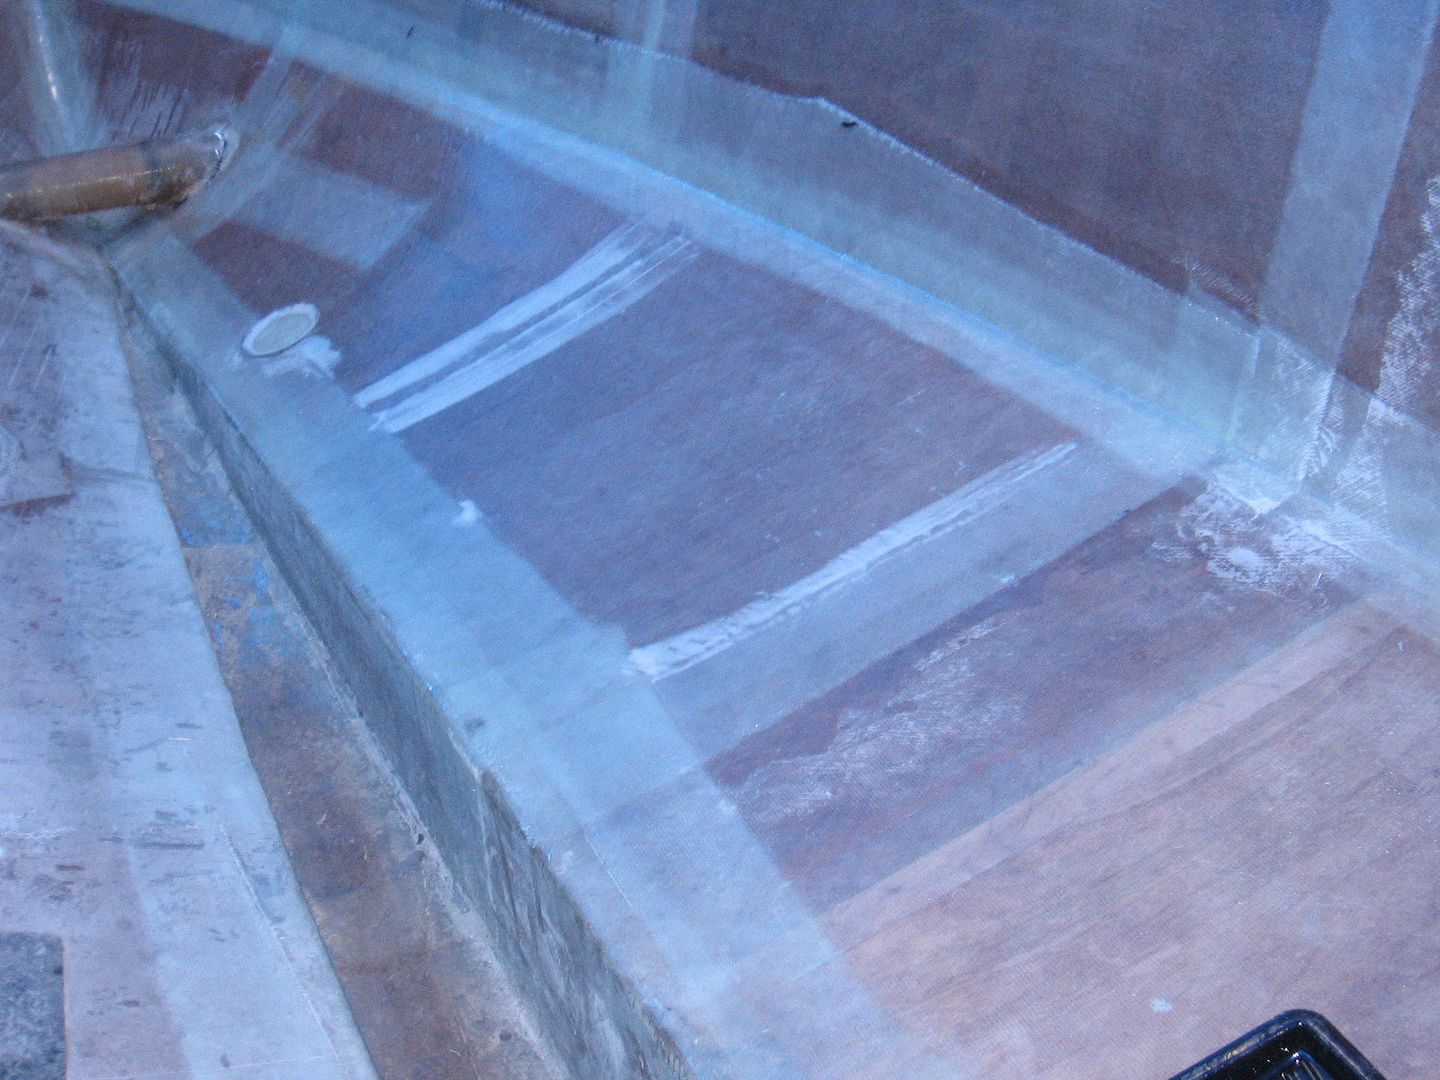
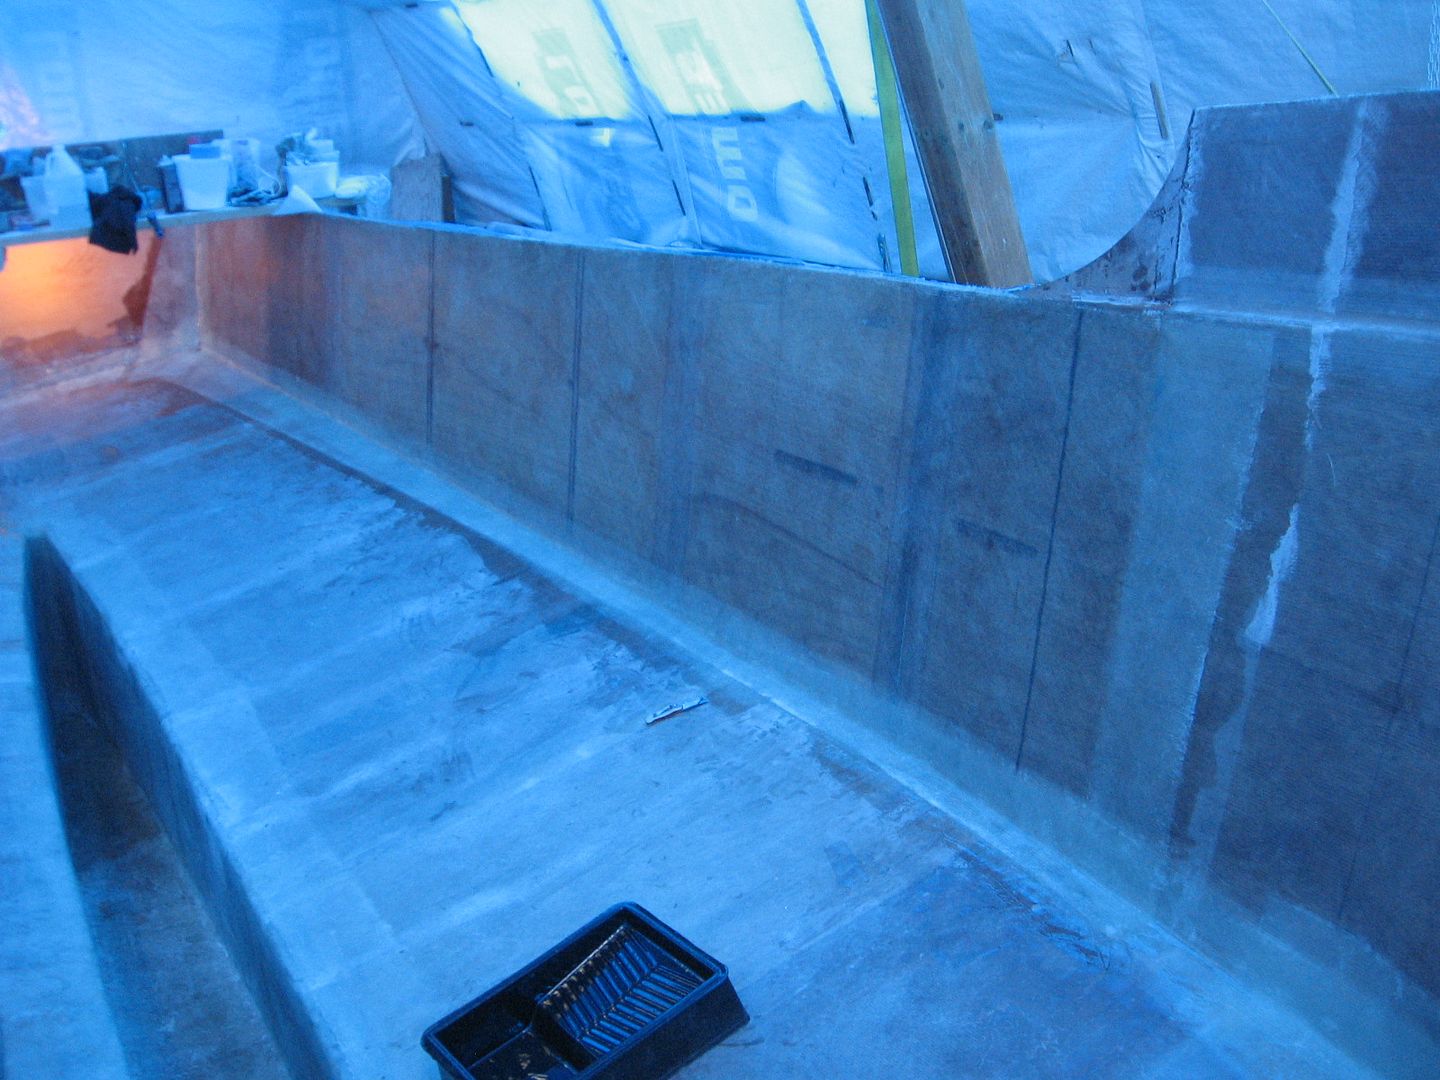
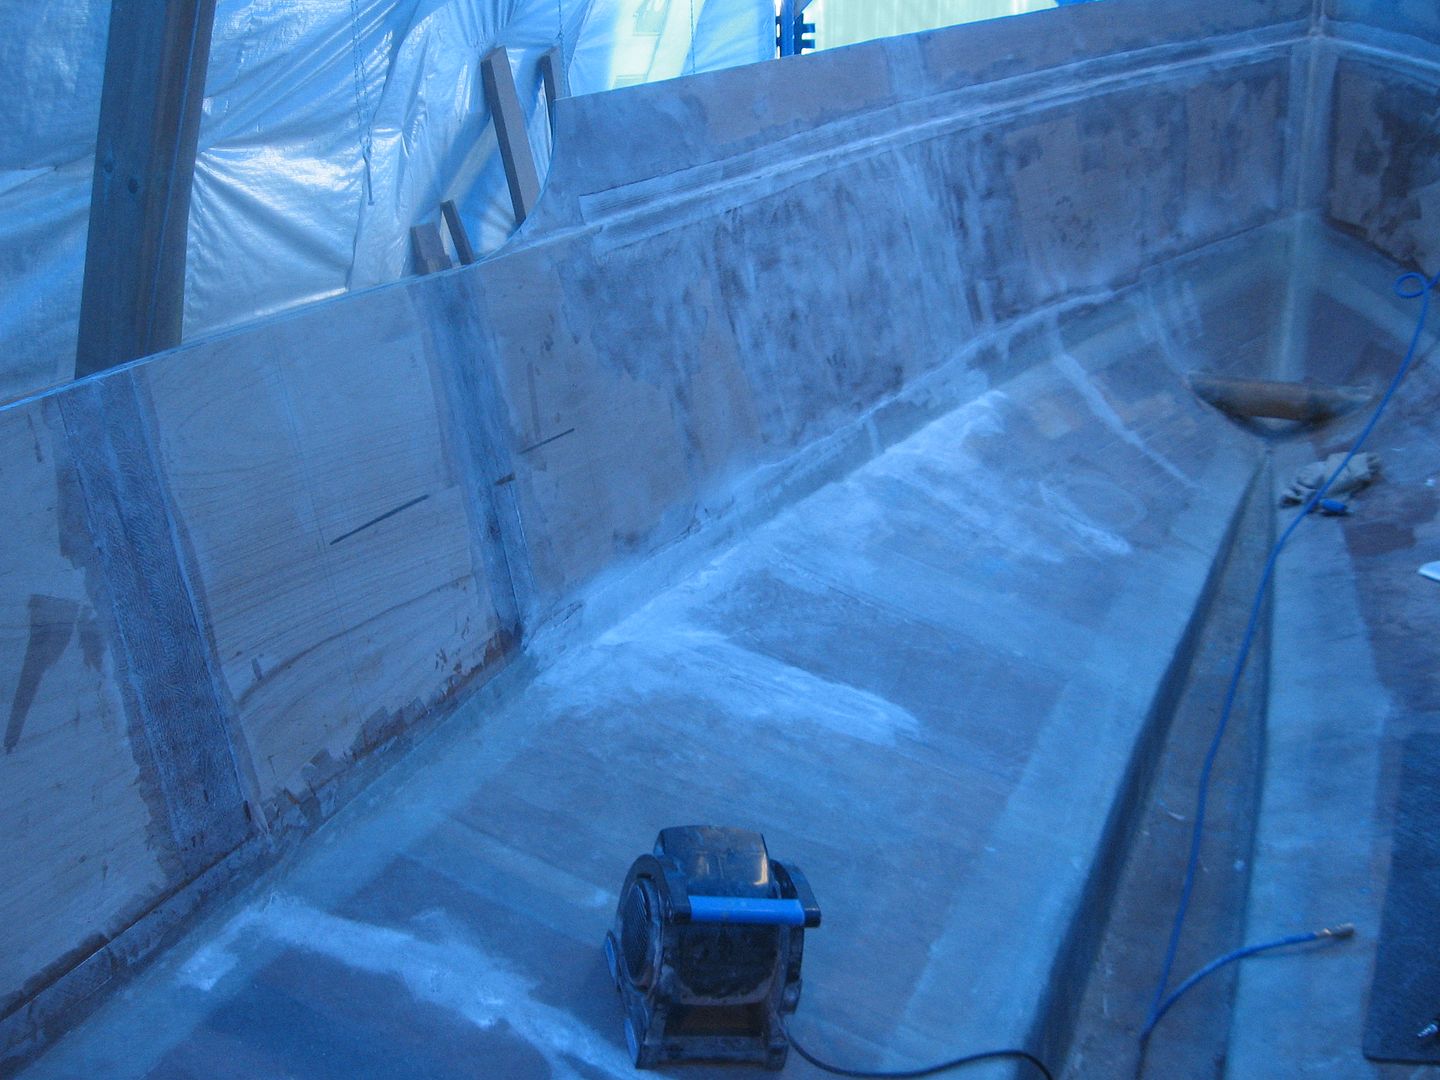
Peel Ply removed.
Just a few minor bubbles where I leaned over and rested my hand on the sections already epoxied. No other way of doing it with short arms like I have.
Used peel ply.
Just a fraction of the peel ply I ripped up this morning. There's nothing I can use it for later in this condition. I have heard of some frugal (cheap) fella's who get it from production boat builders and make it into sails for dingy's.
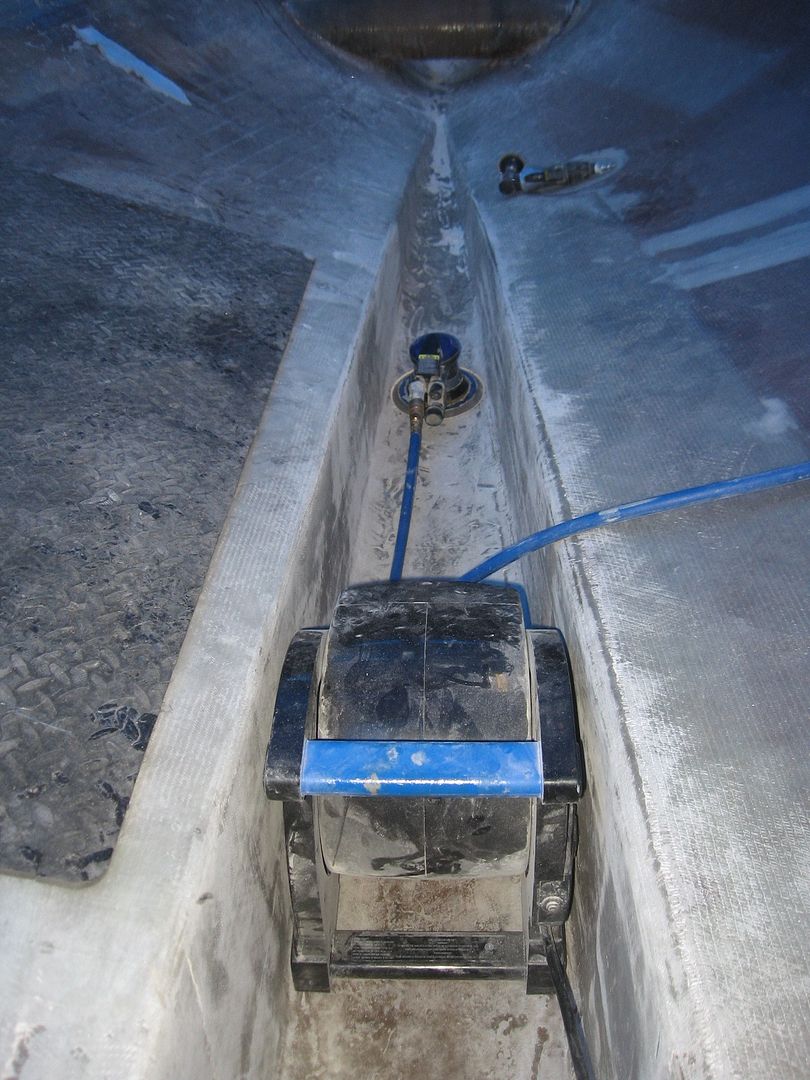
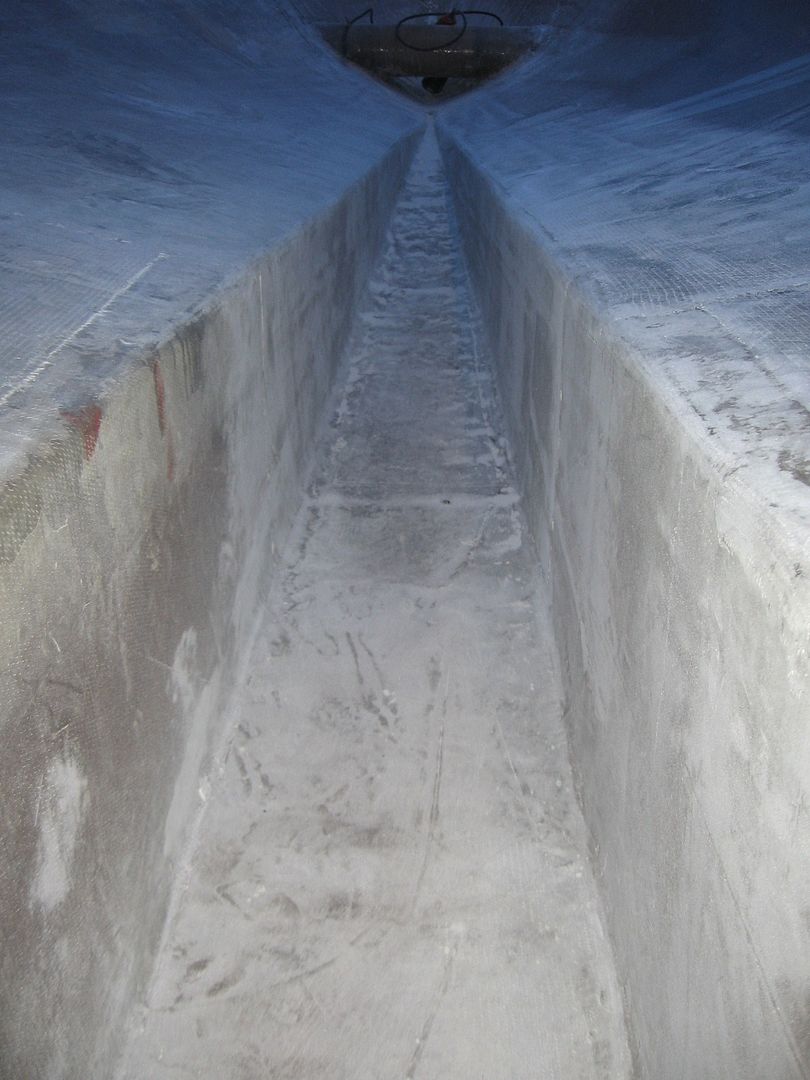
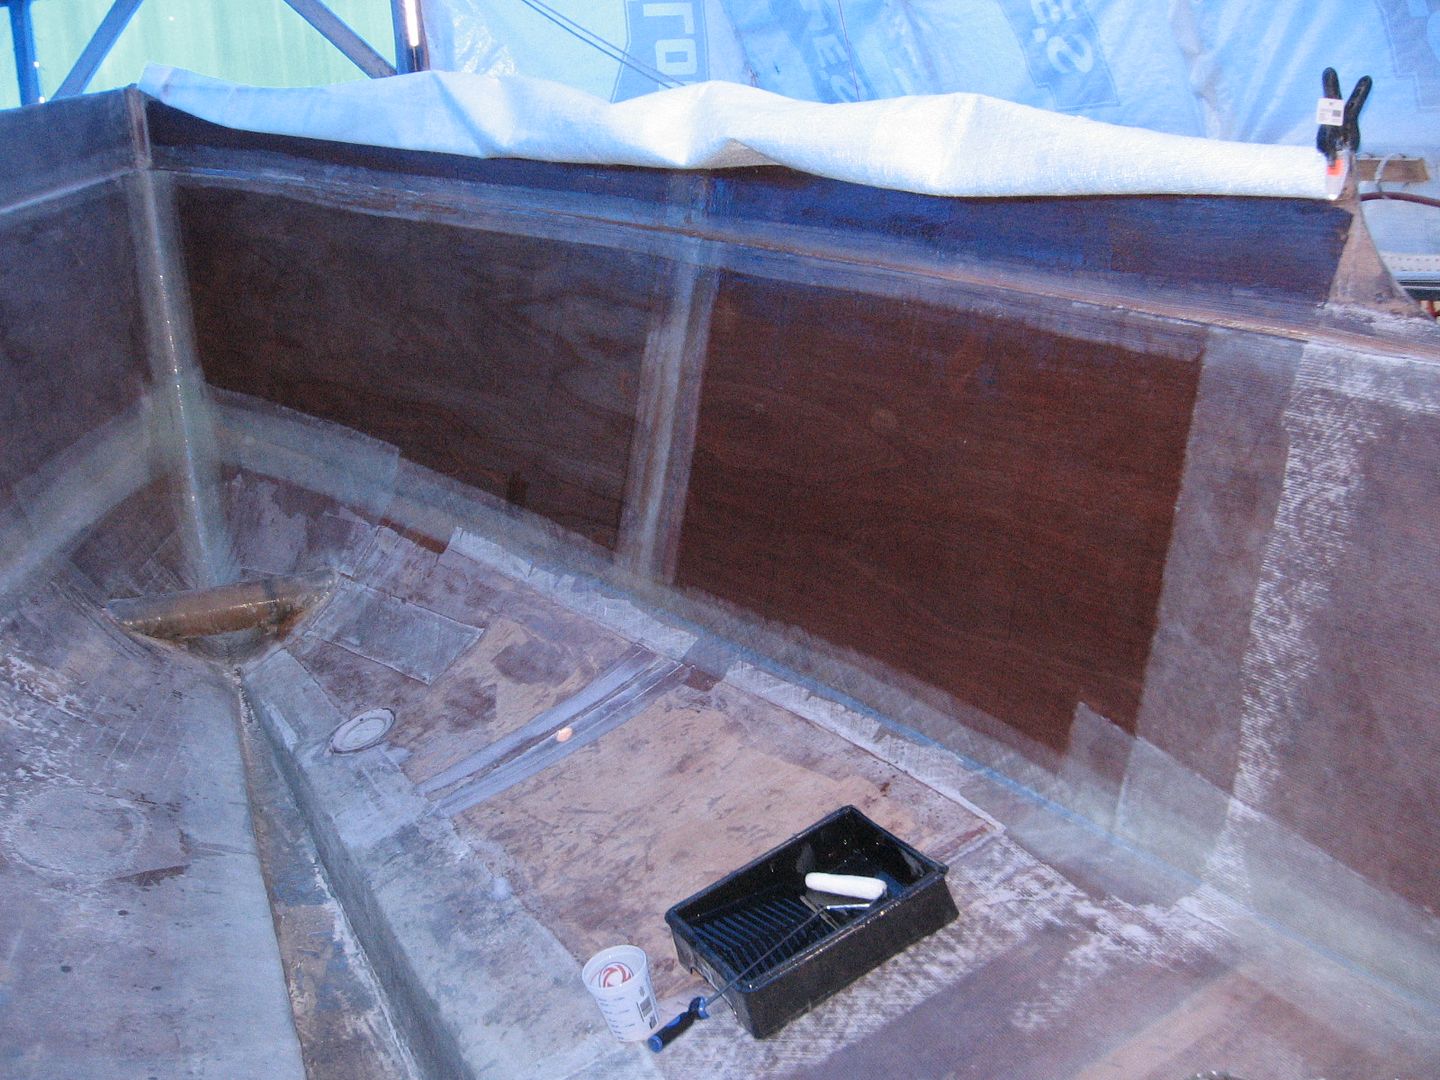
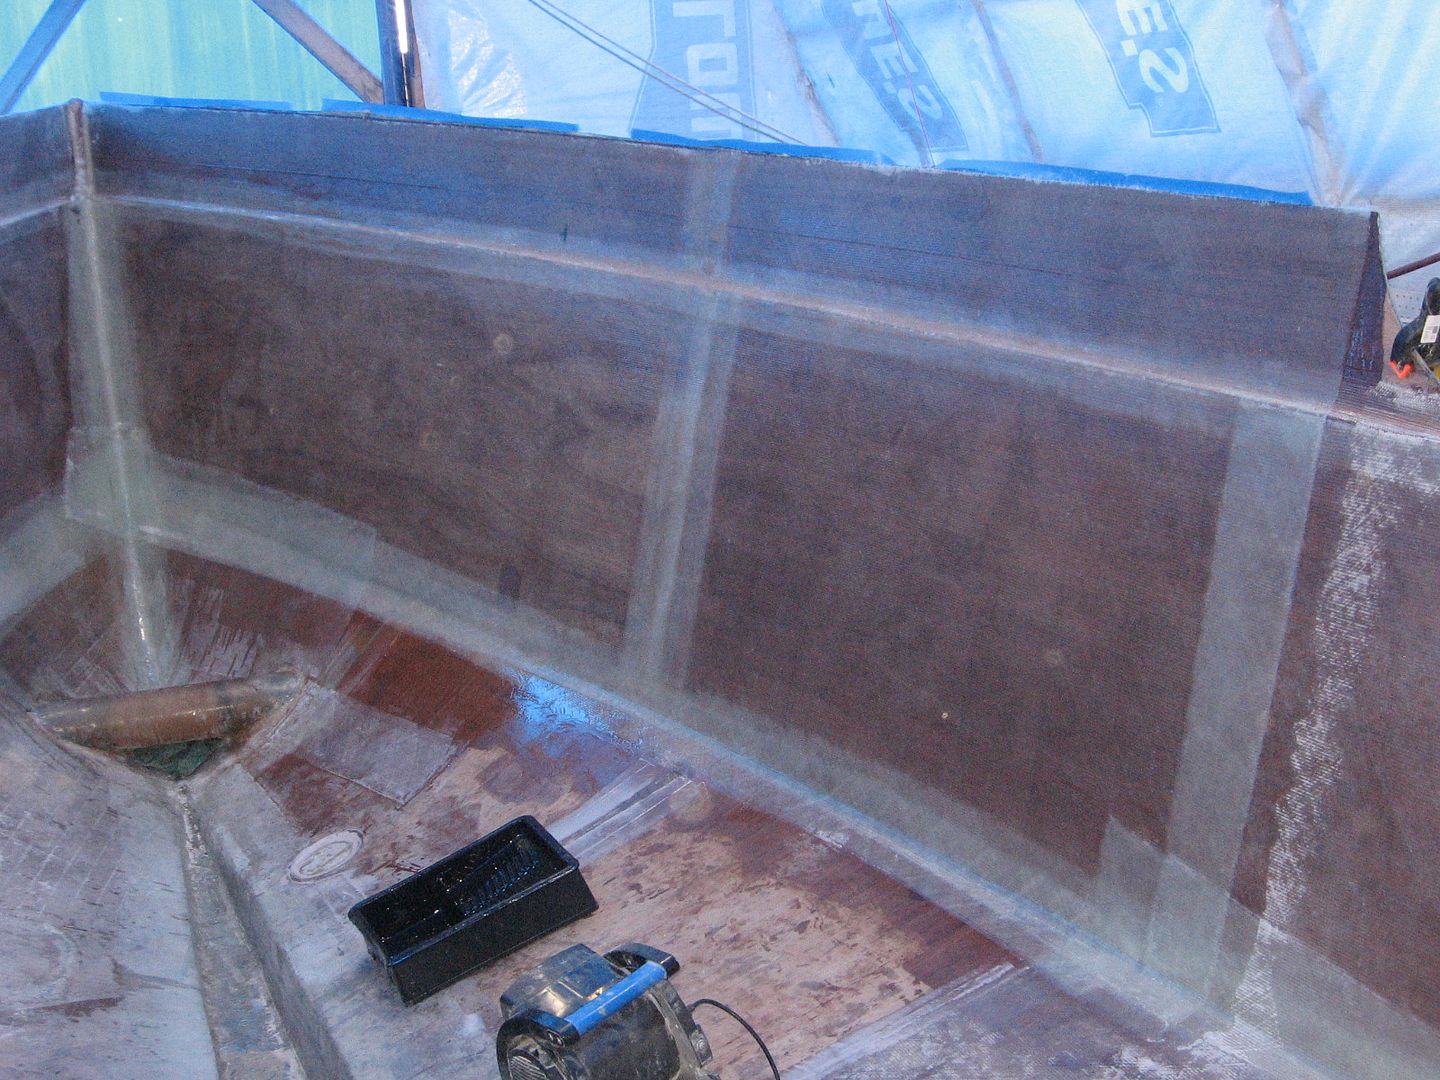
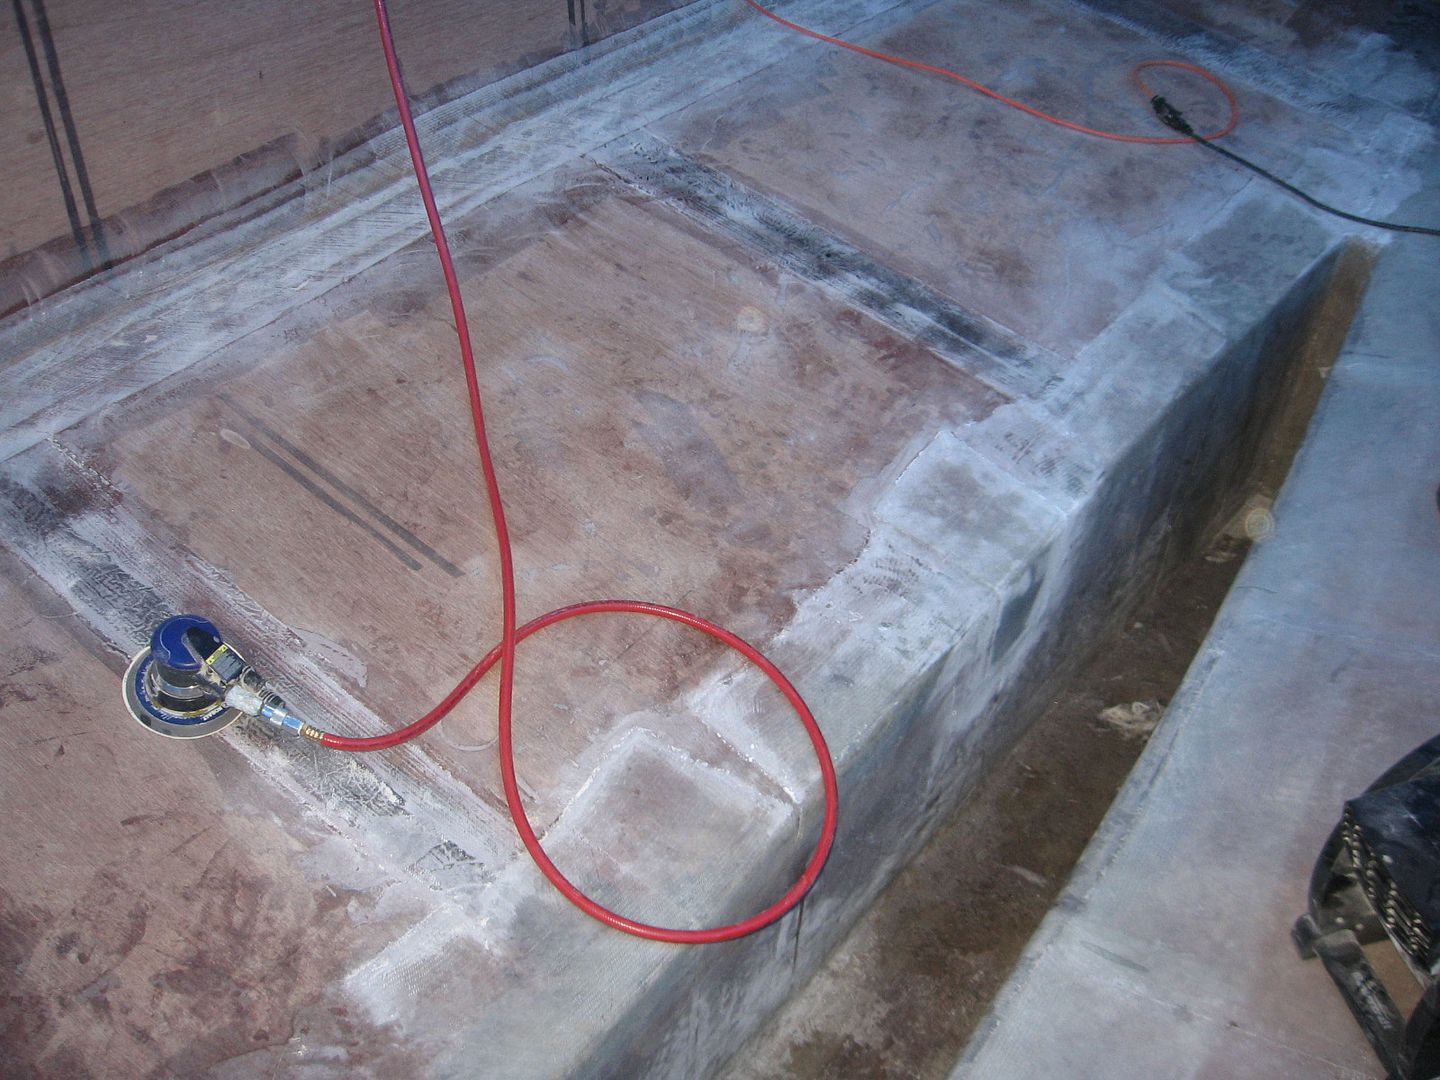
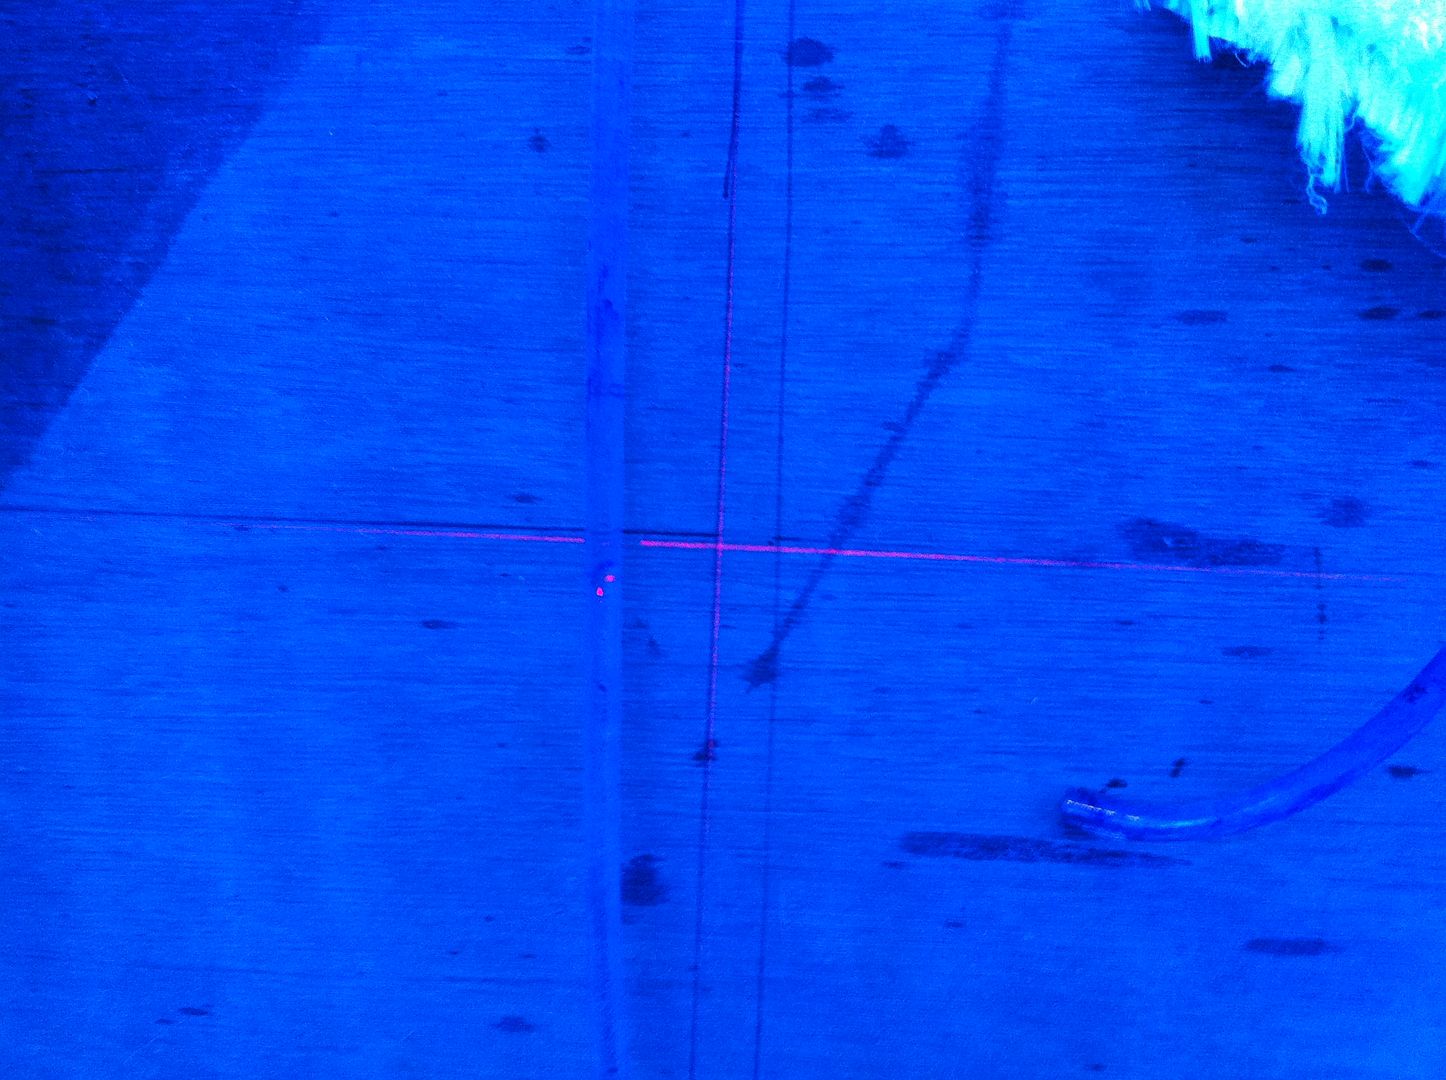
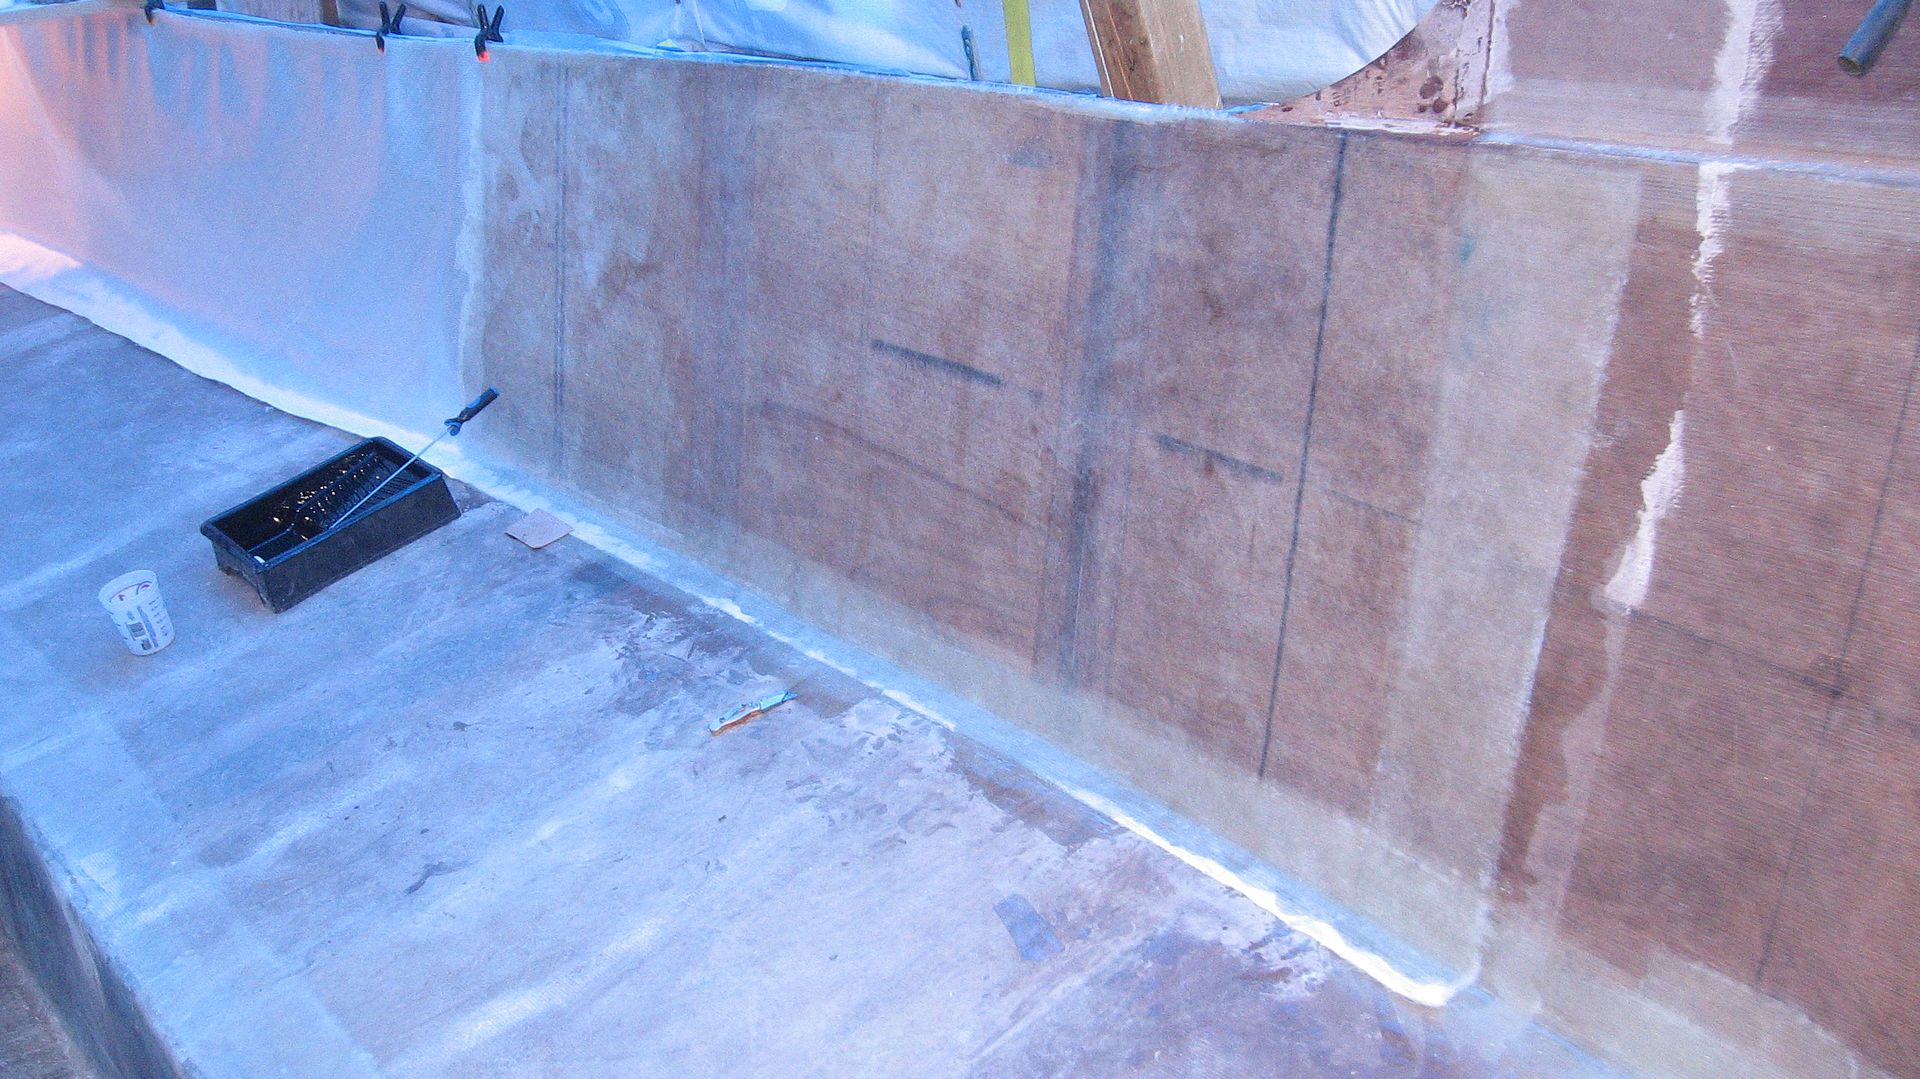
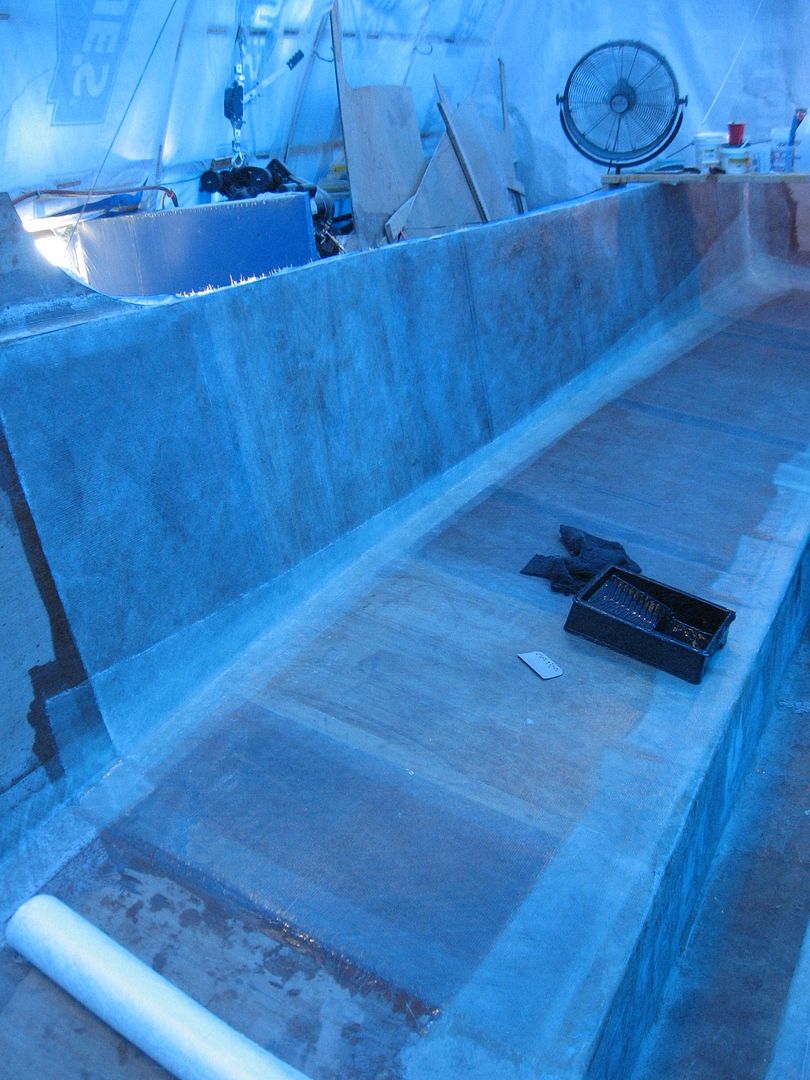
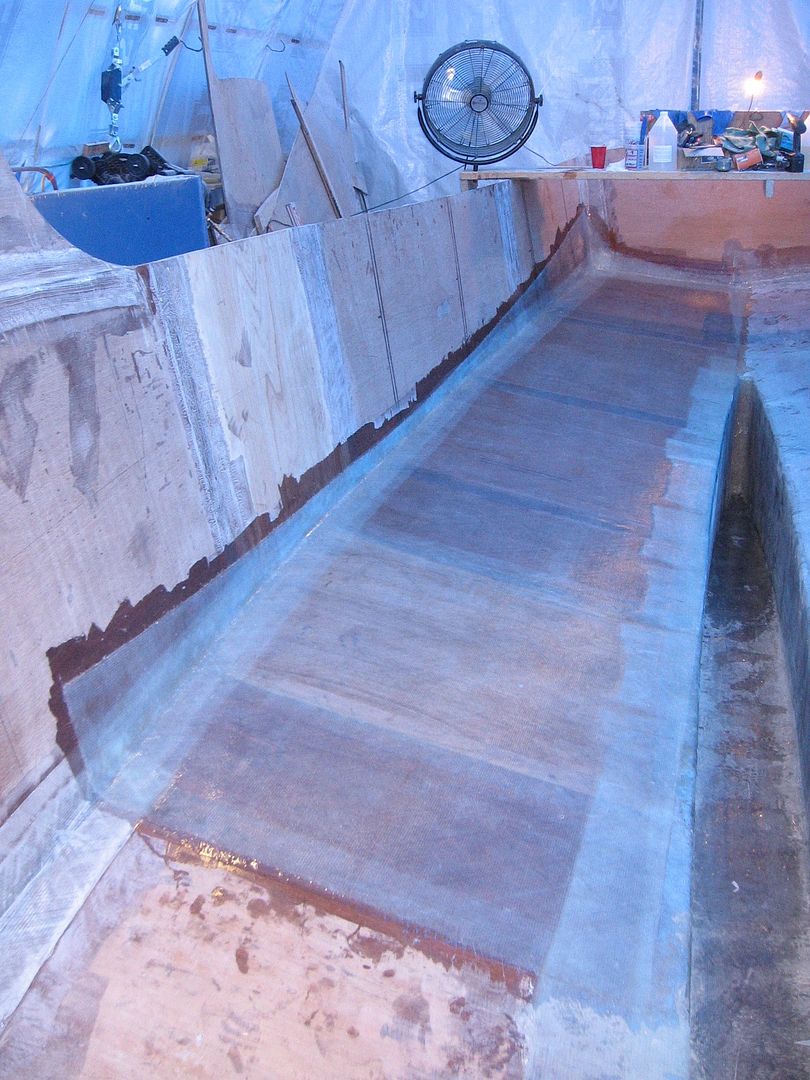
Prepped and ready for glass.
Took me an hour or so to sand down all the fabric edges and lil' bits of peel ply that got stuck. Dust blown out with compressed air and wiped down (degreased) with Acetone.
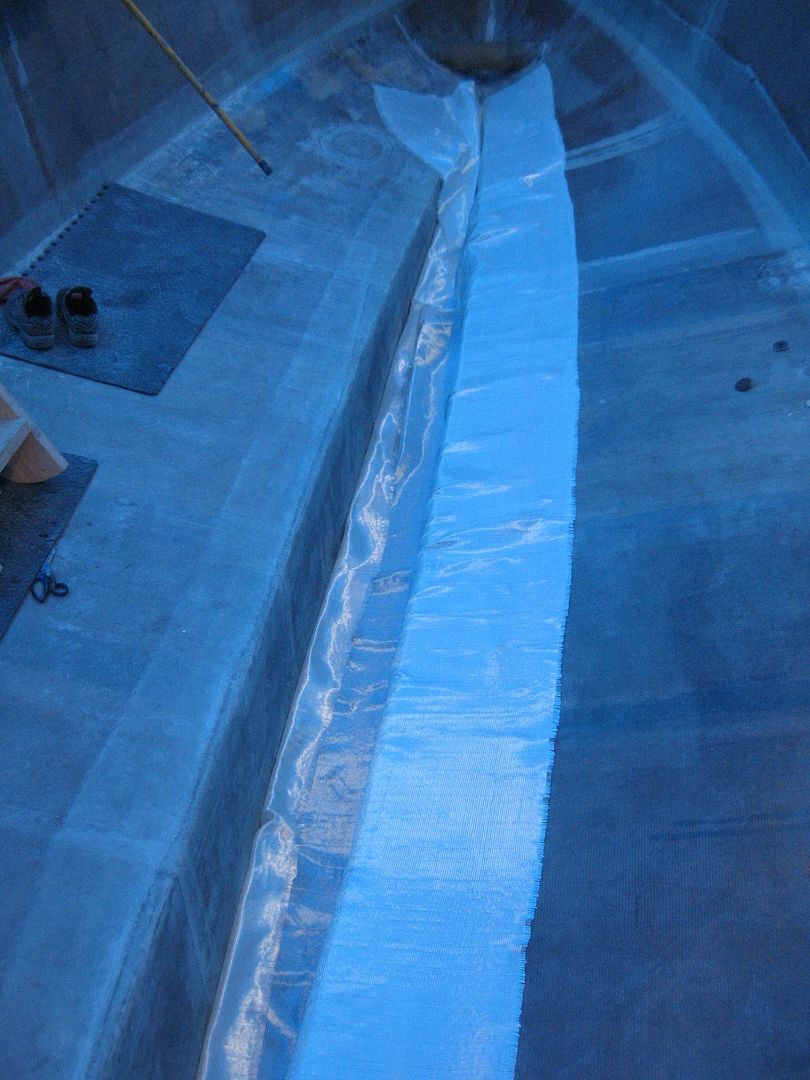
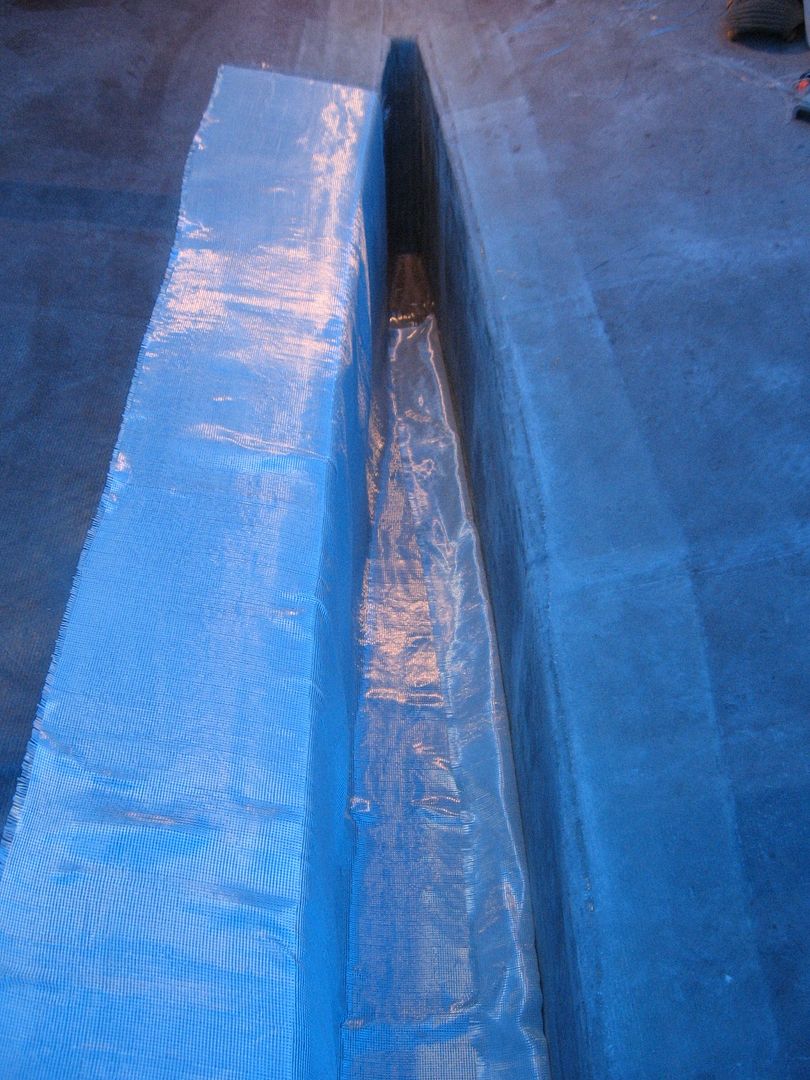
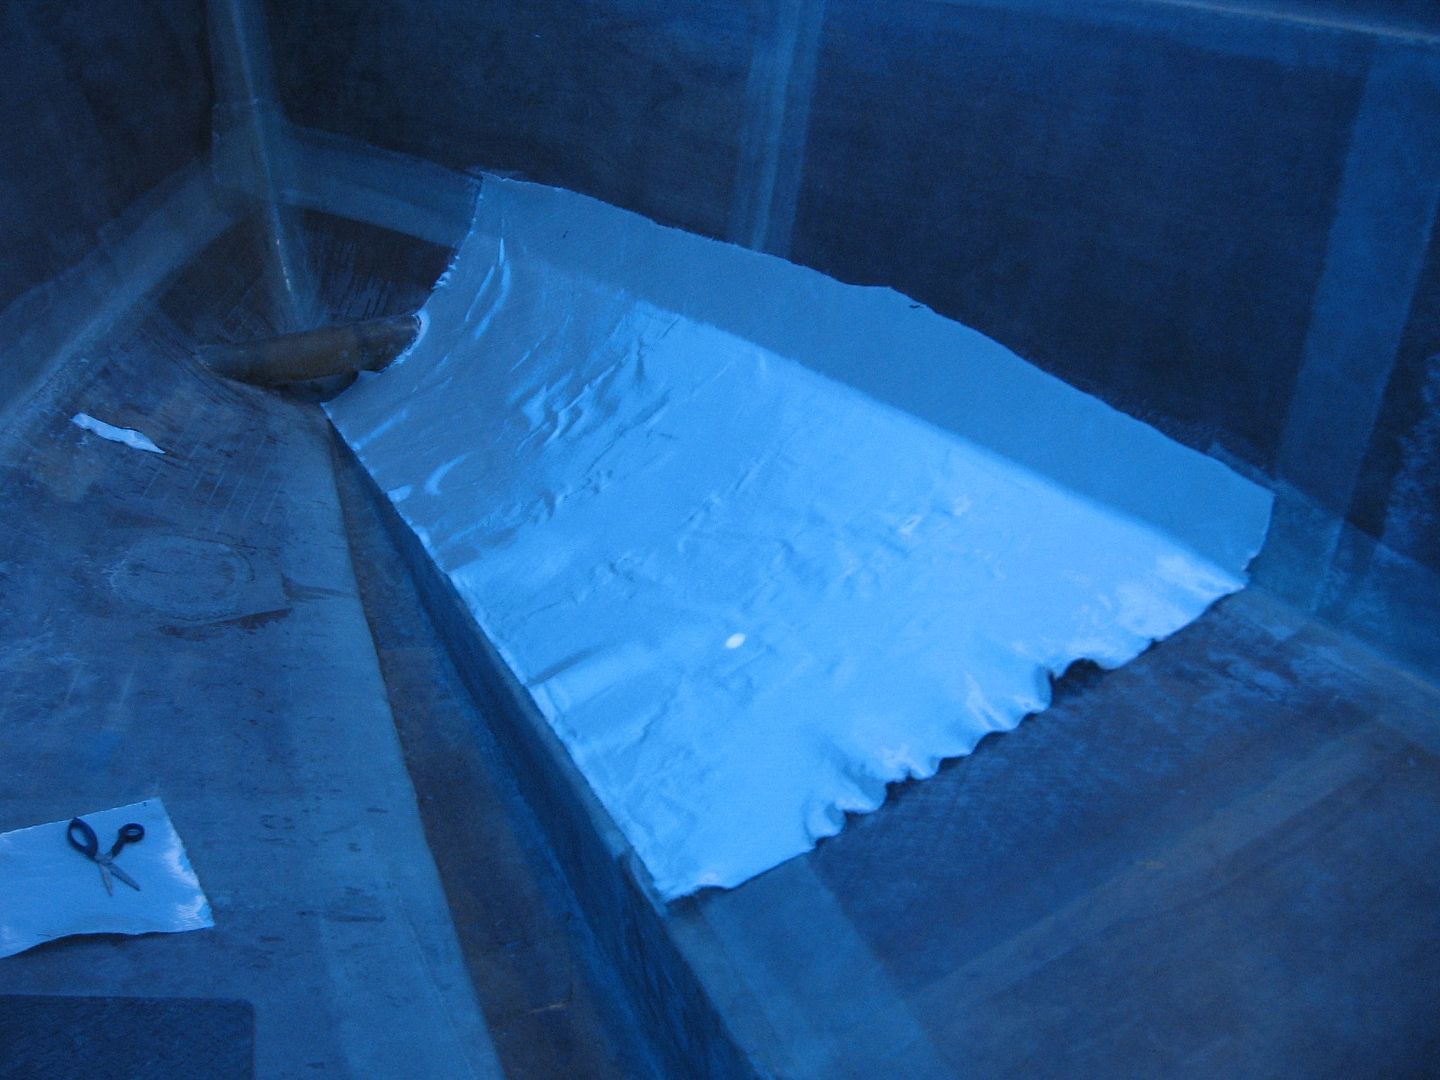
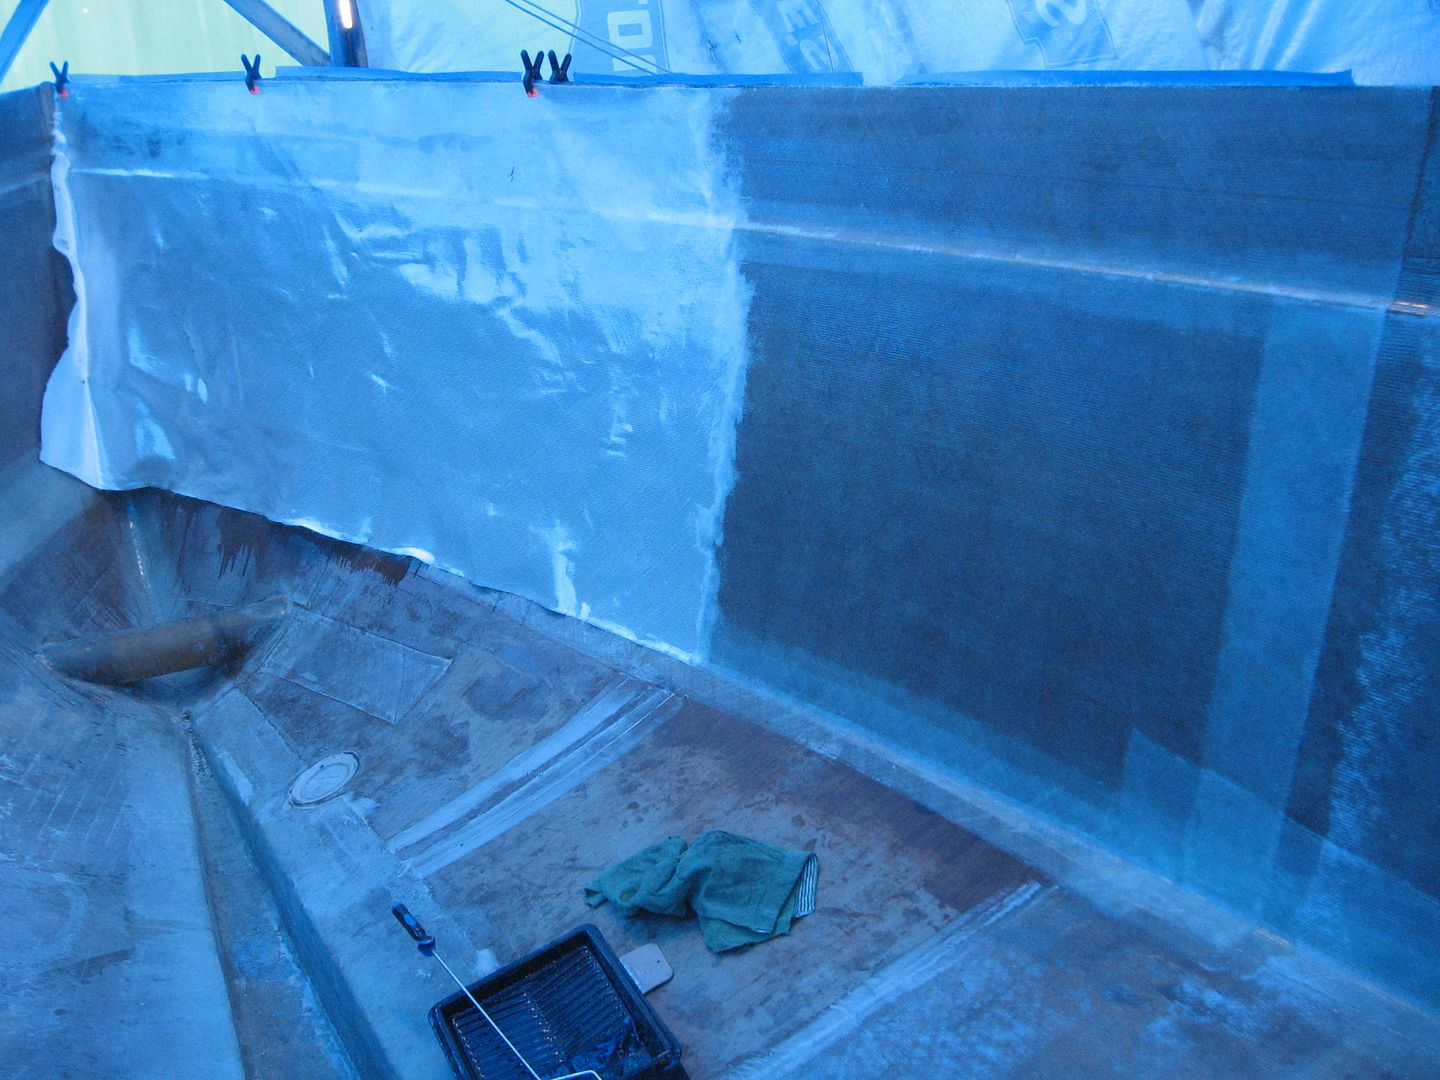
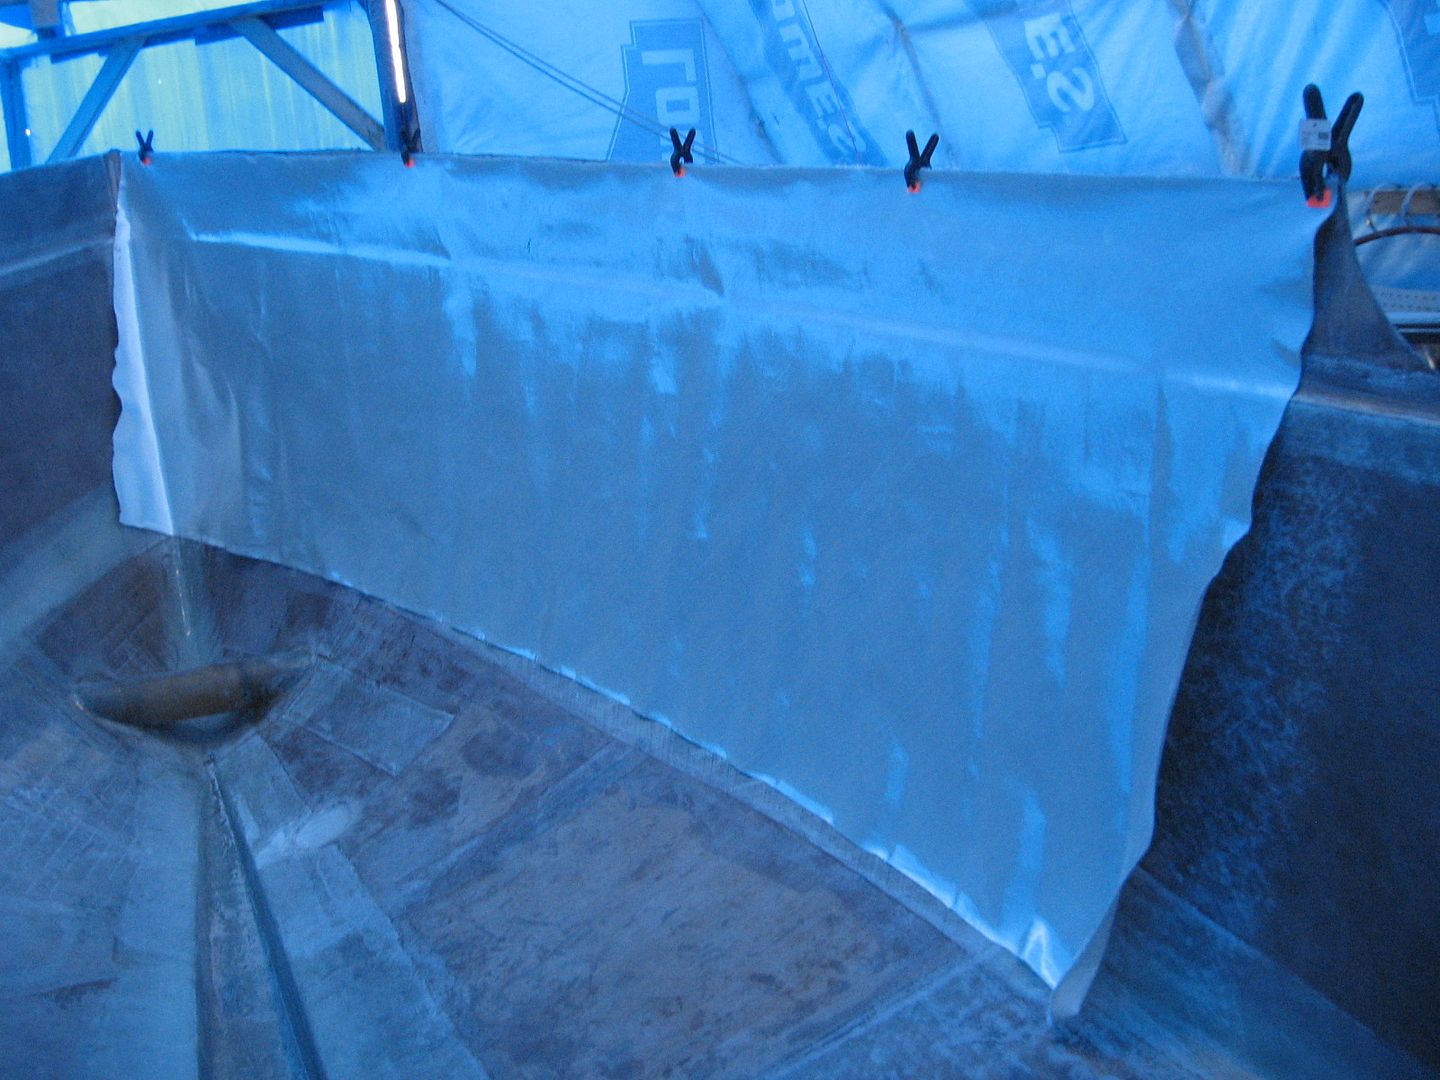
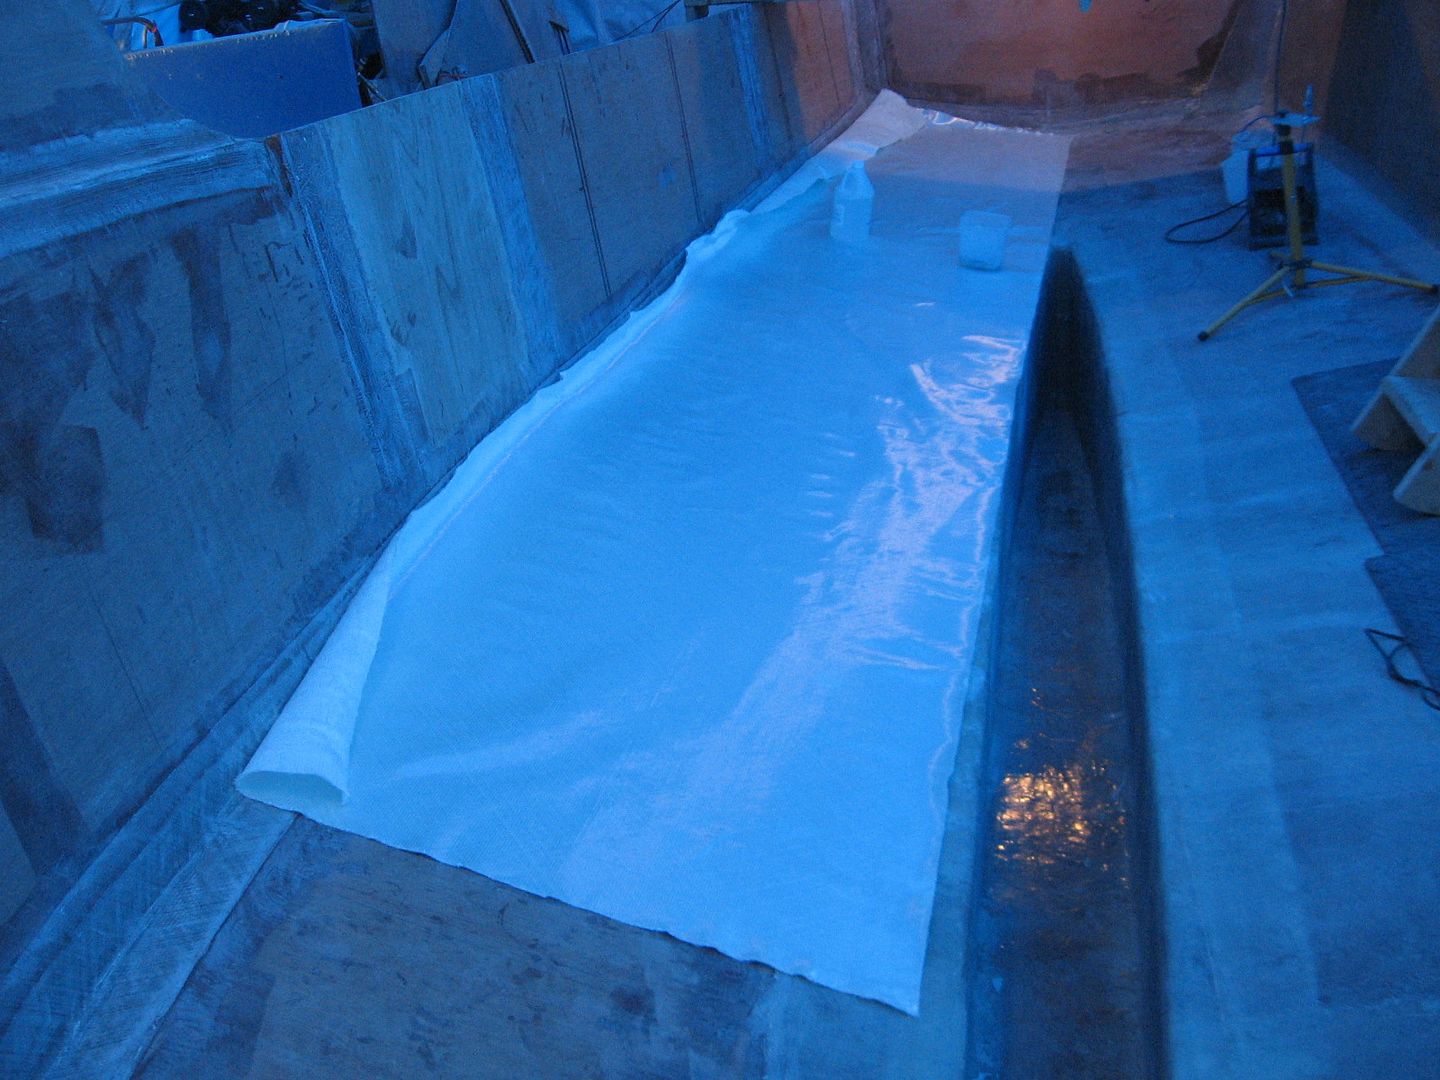
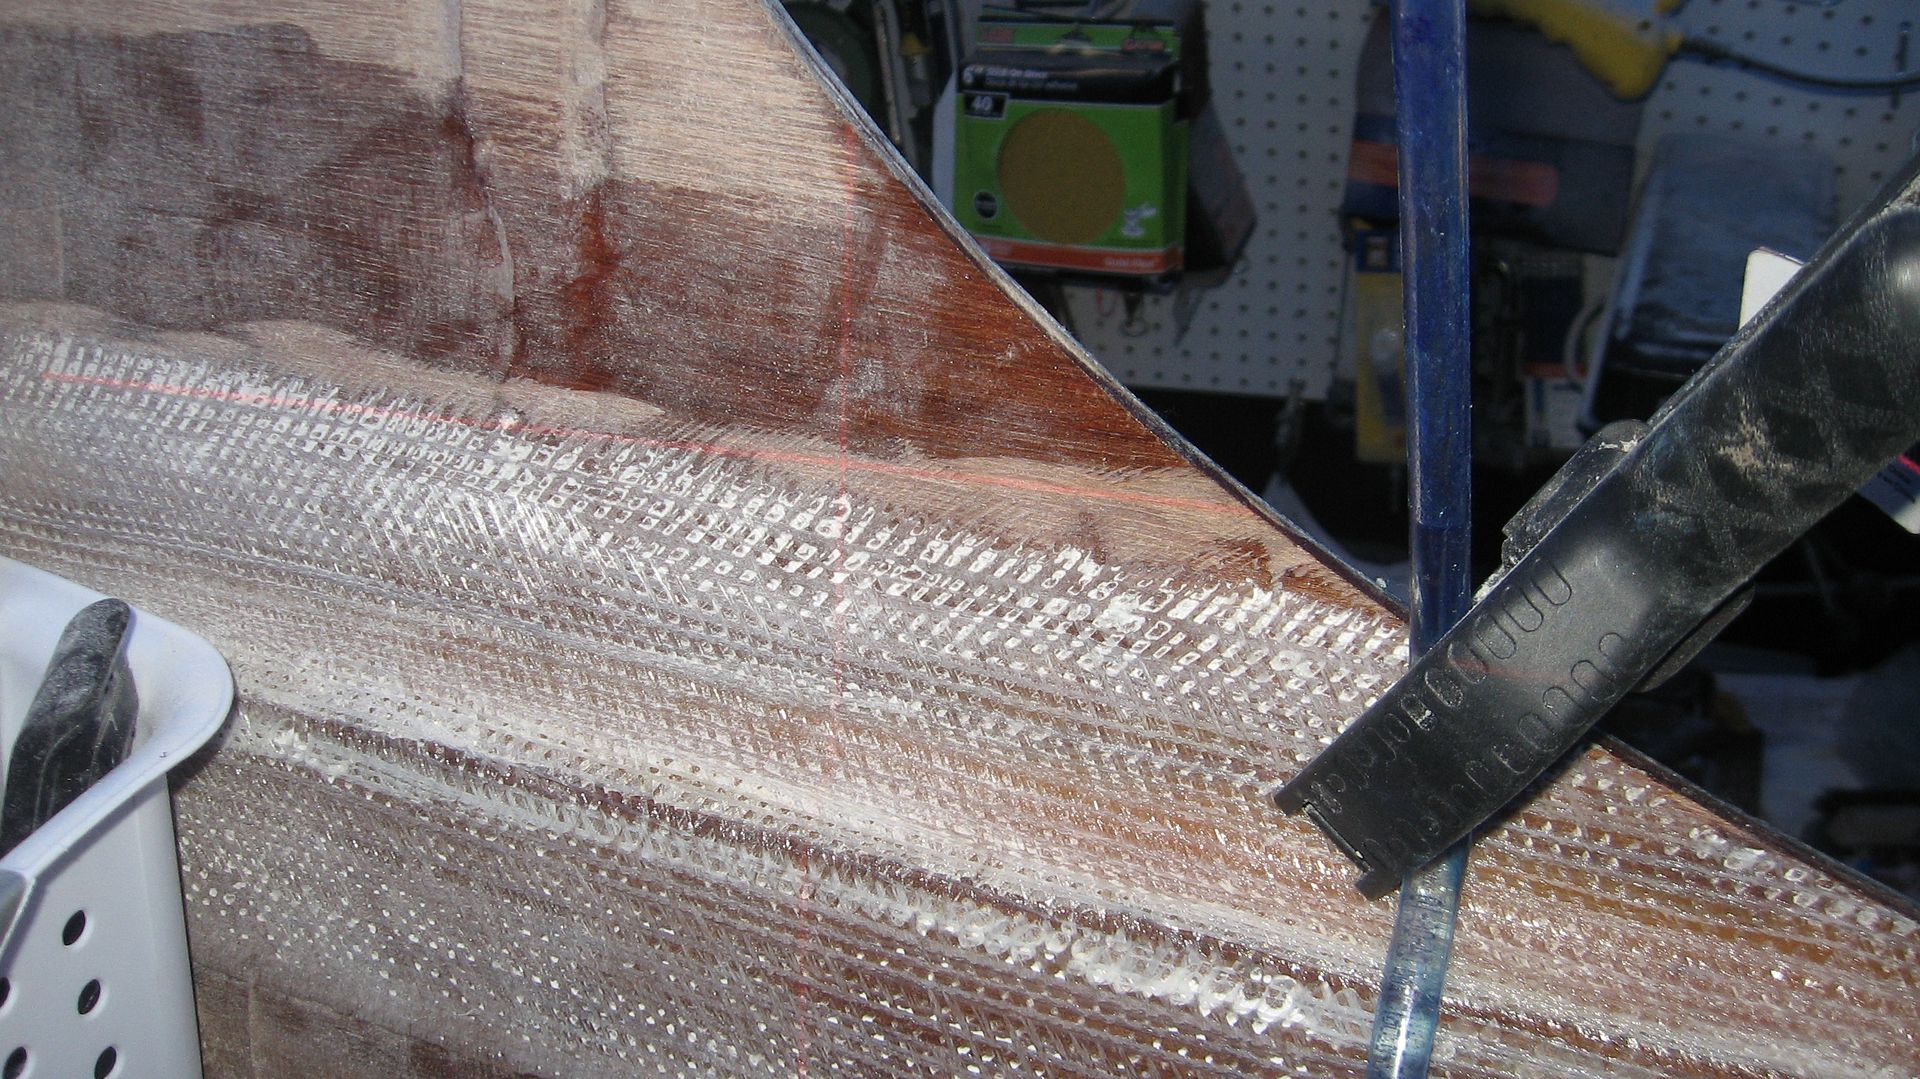
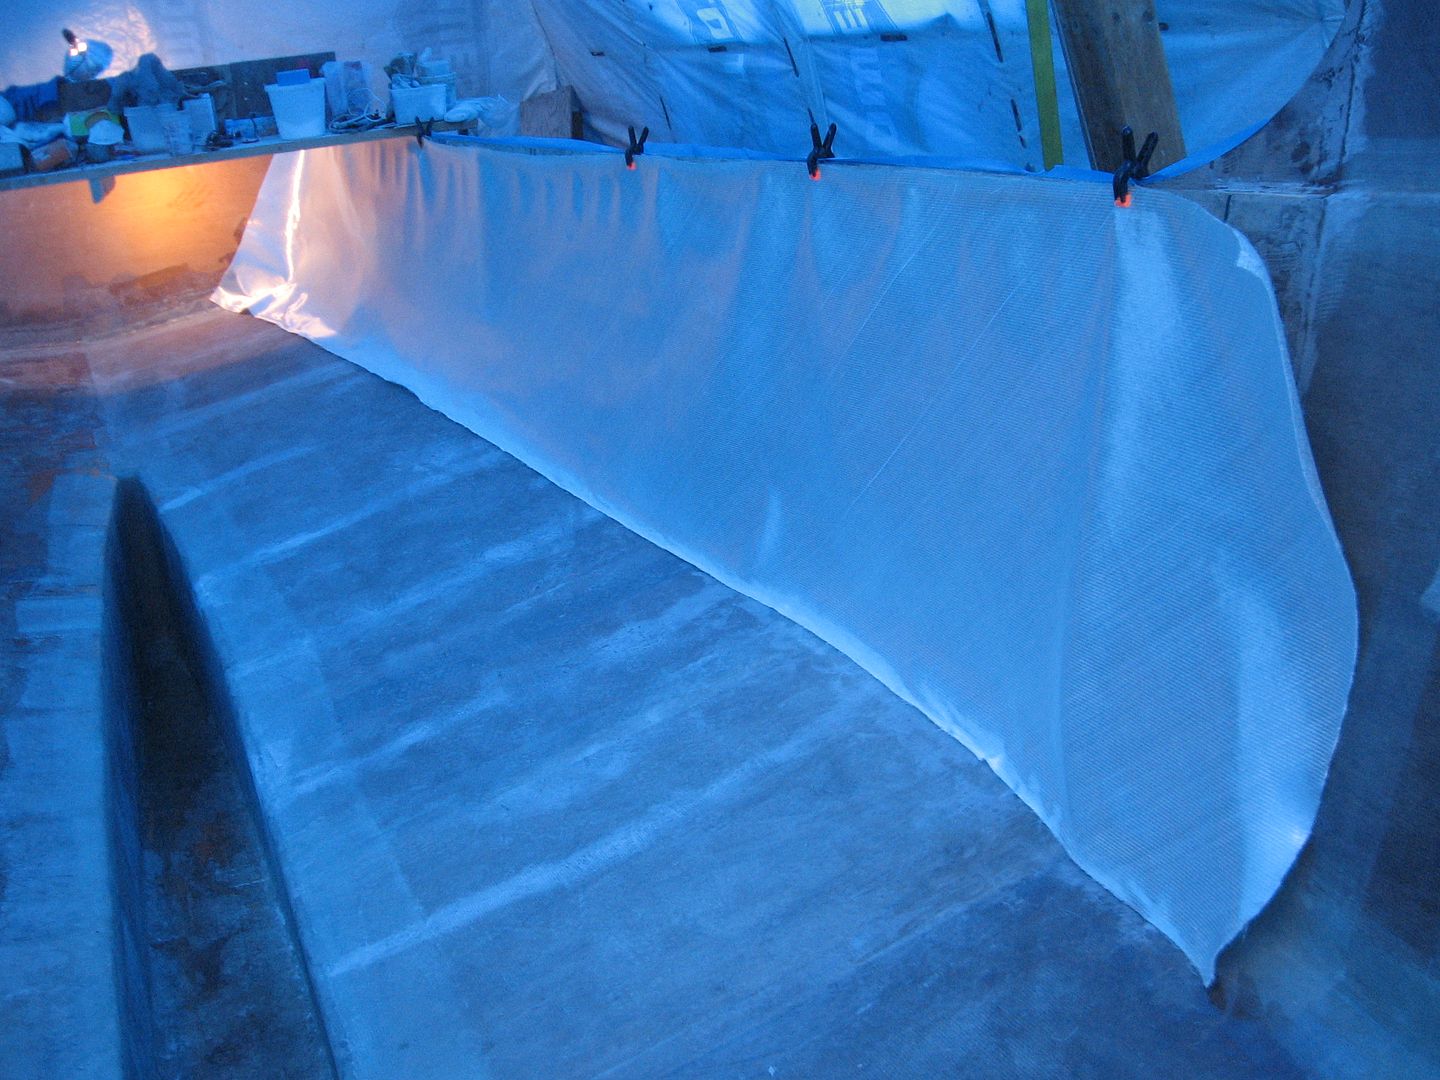
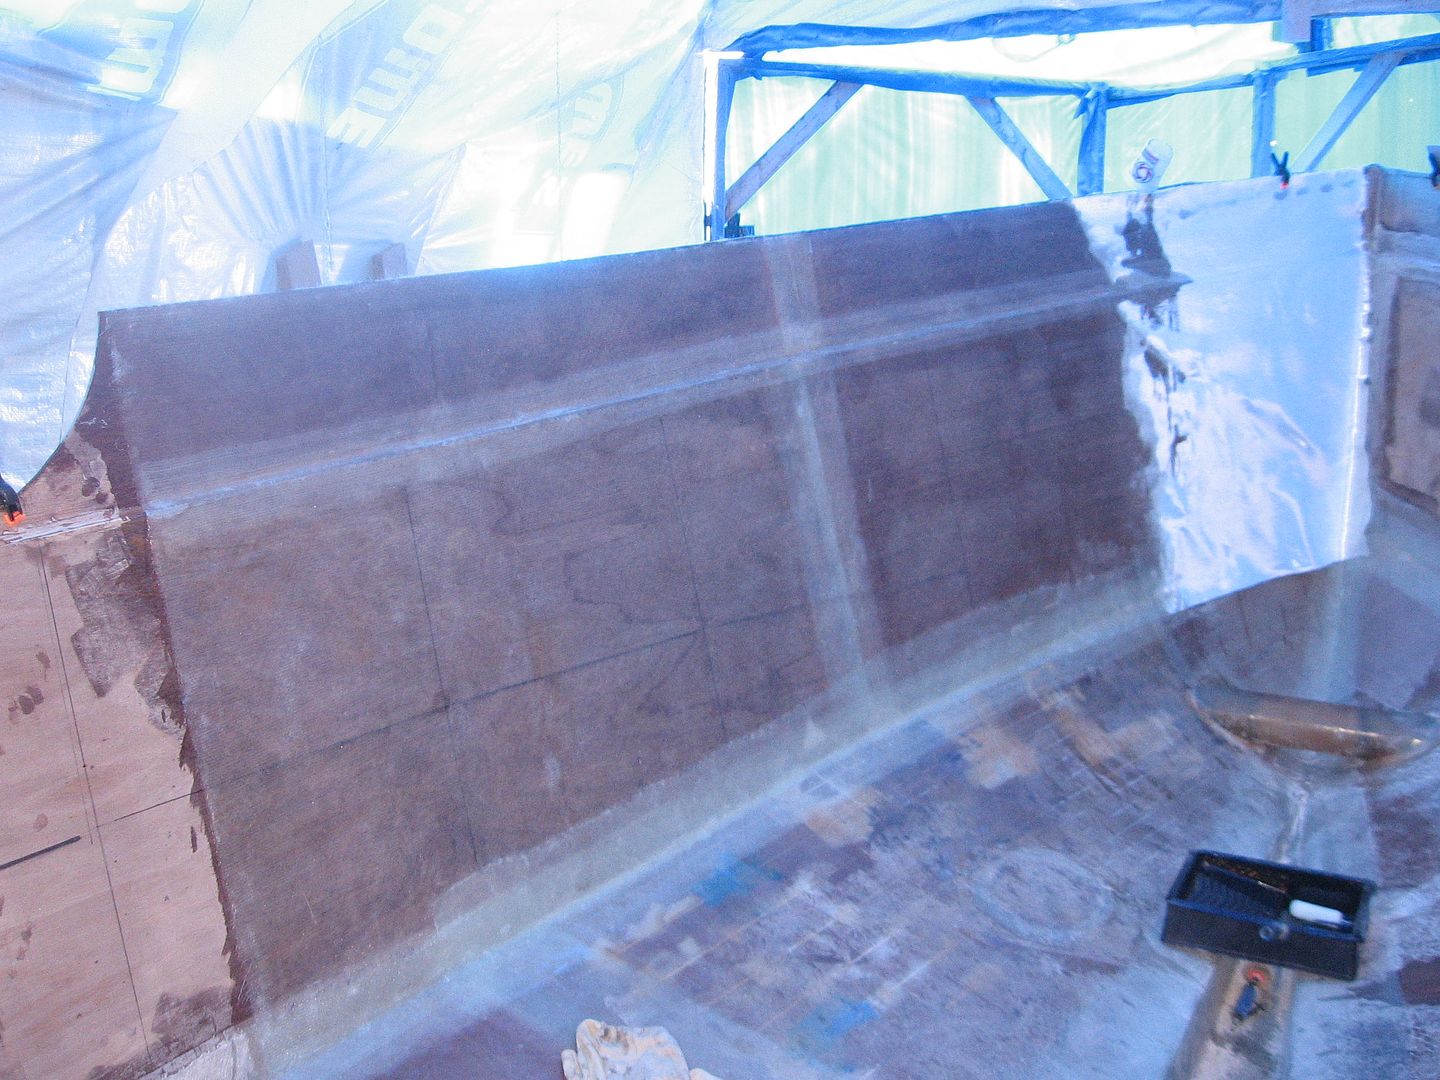
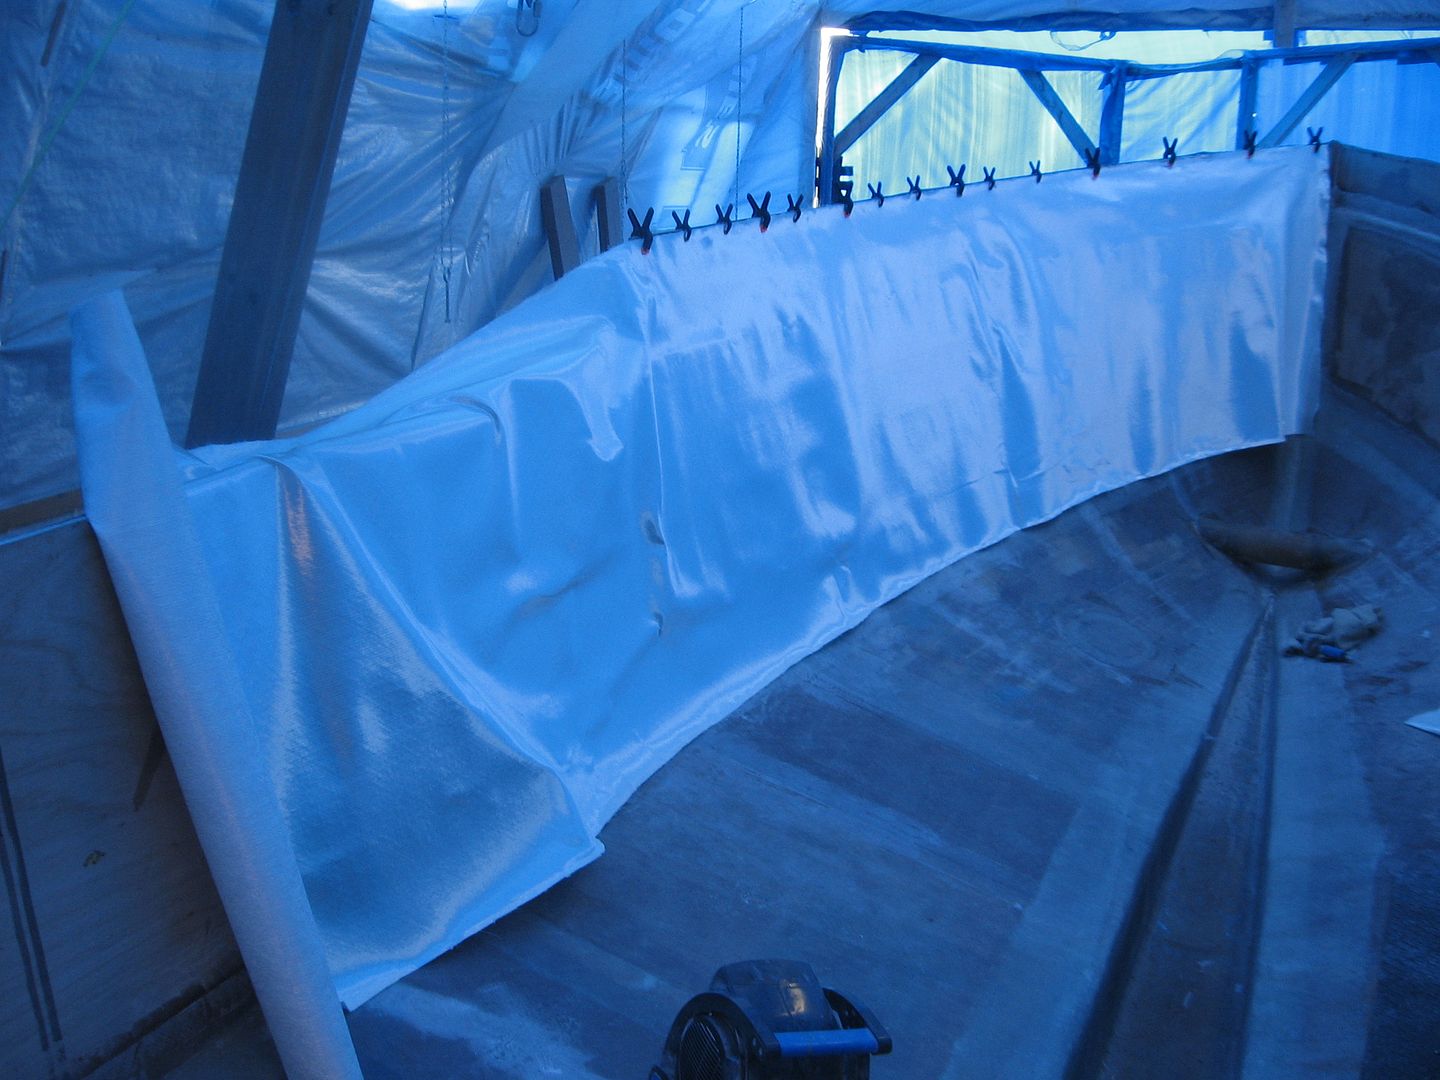
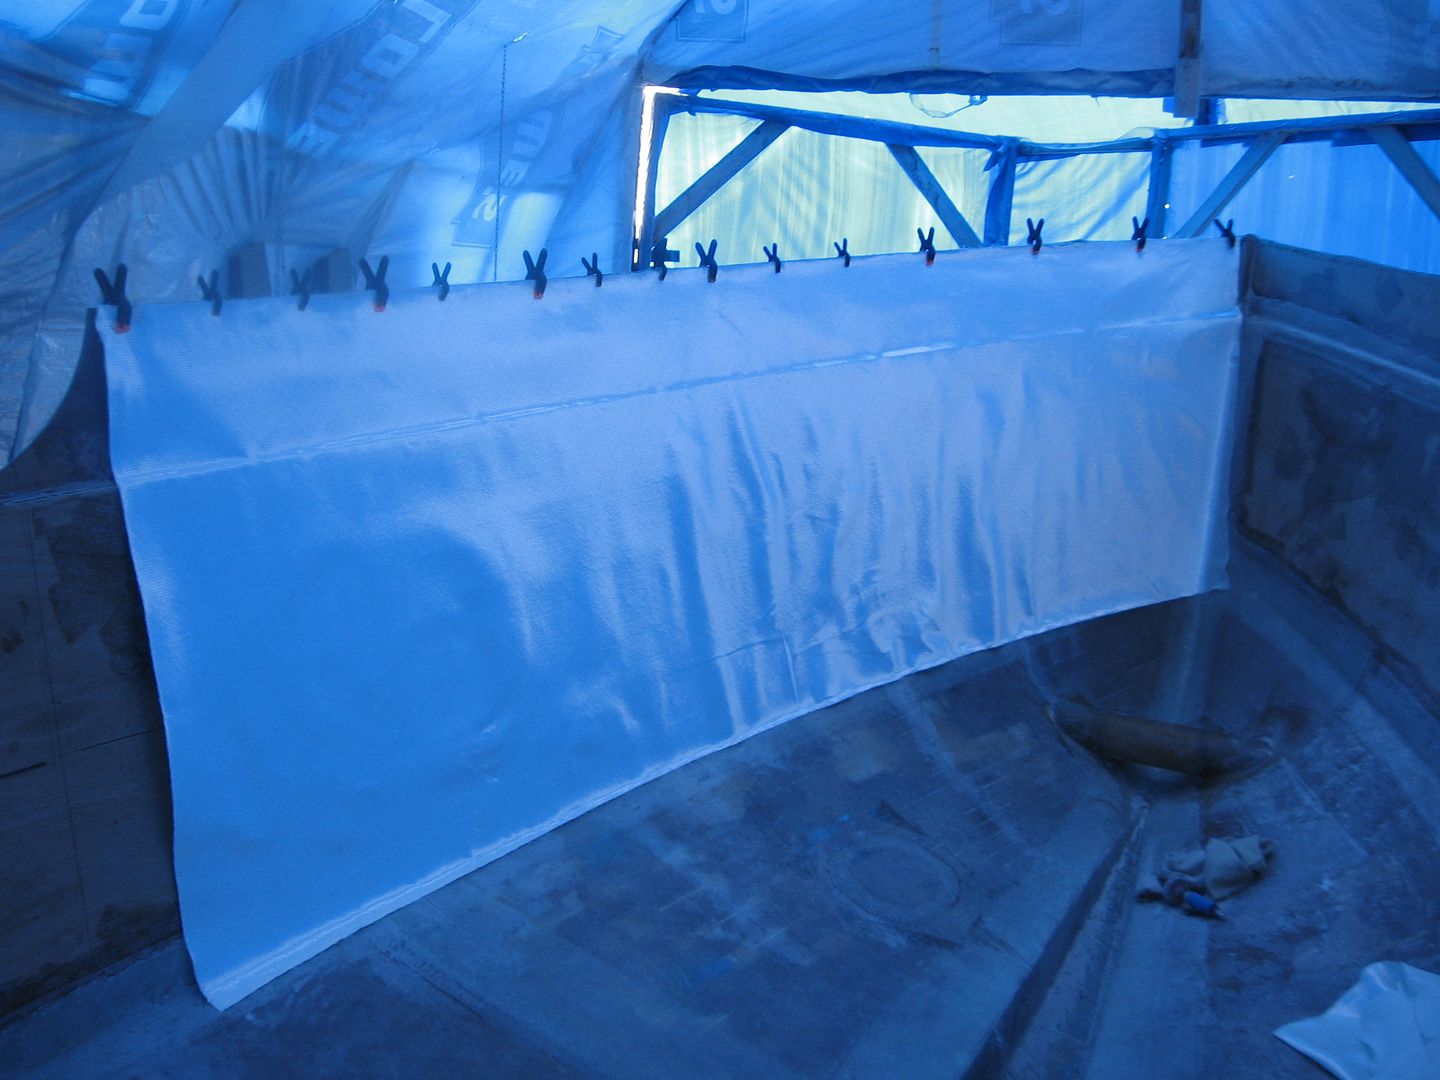
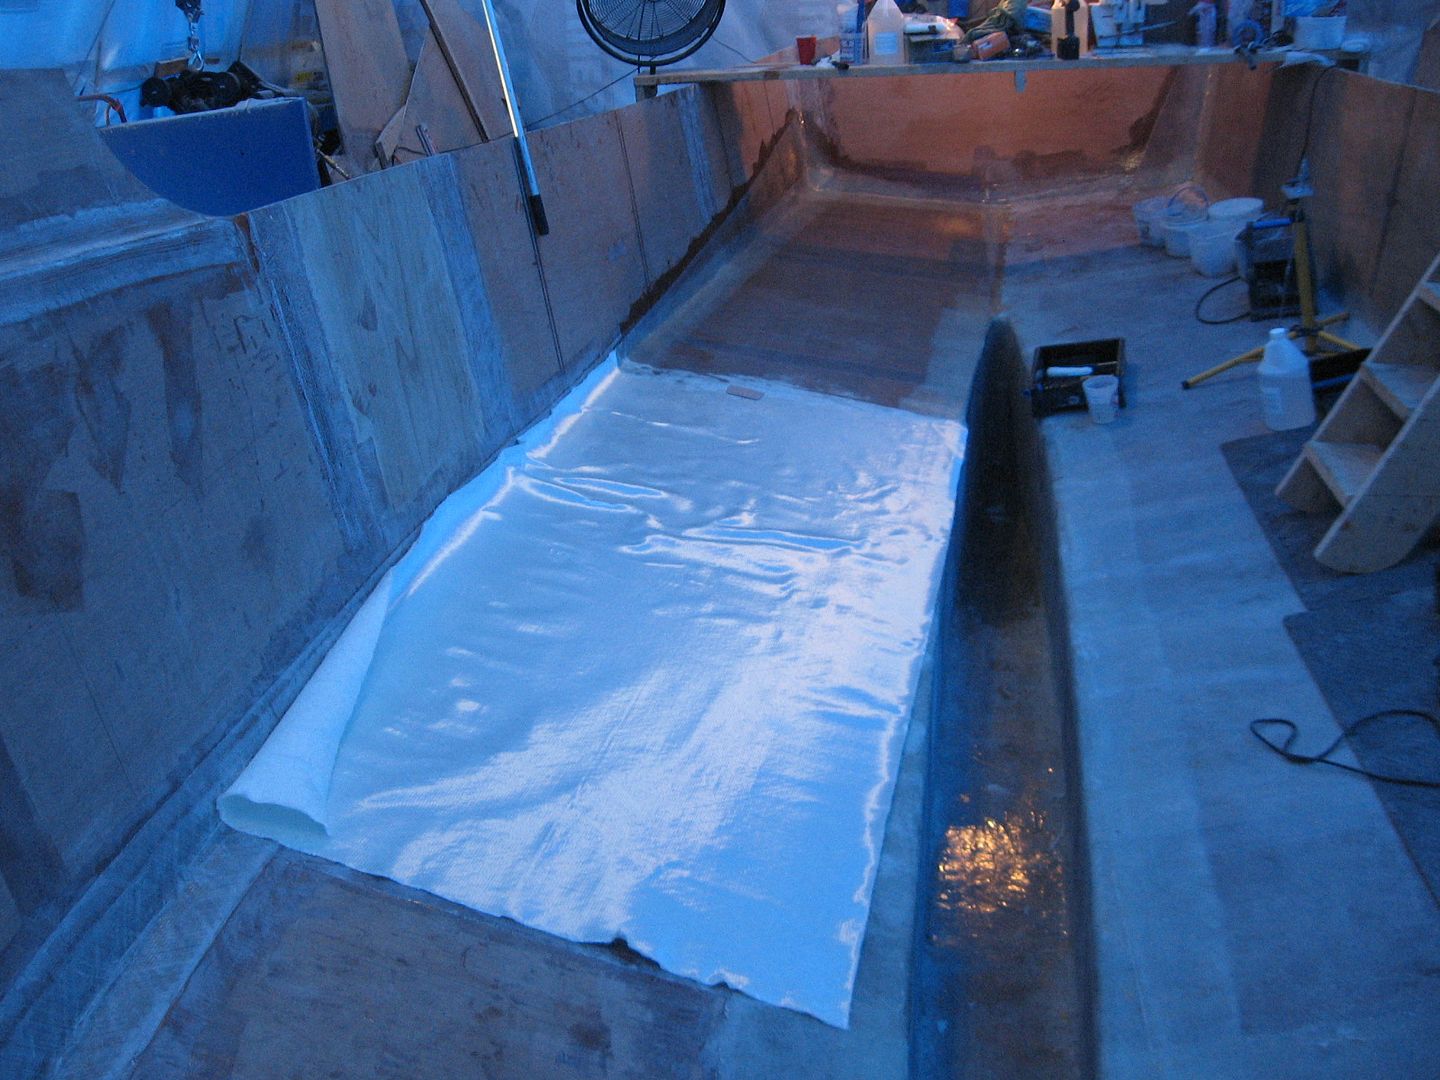
Rolling out the wide fabric.
The plan has always been to do the sides in two sections. The section with the bulwarks requires 50" wide fabric. That's what you see above. The aft sections without bulwarks only requires 38" wide fabric (which I have). It's a little cheaper with less waste that way. There'll be a good overlap where the two join.
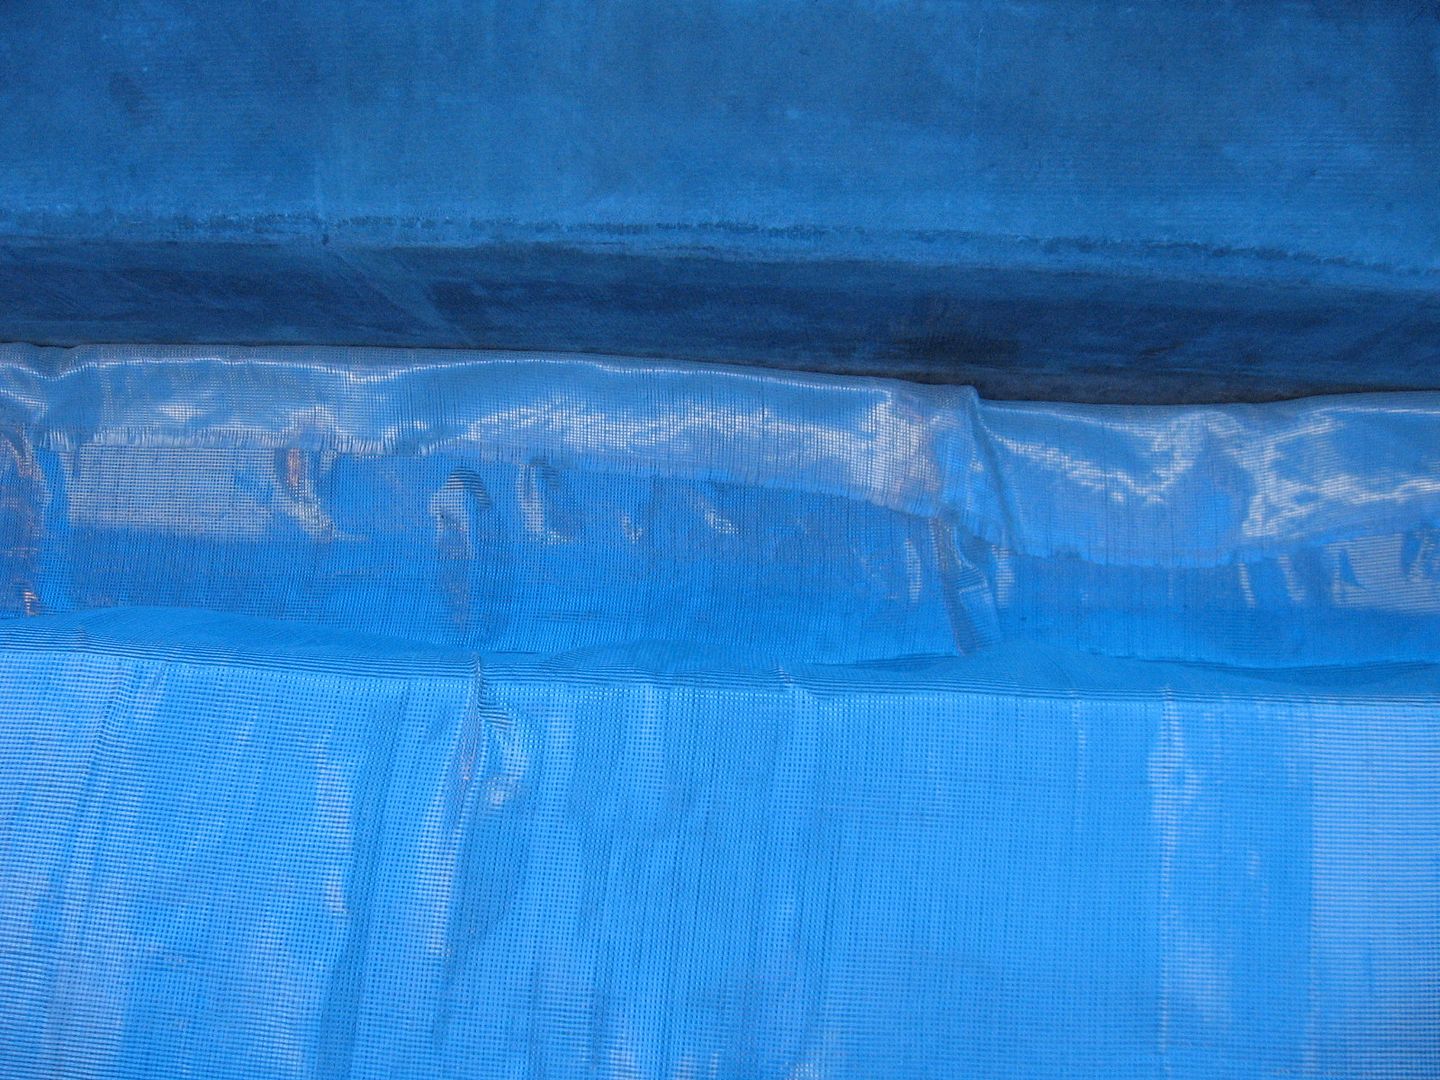
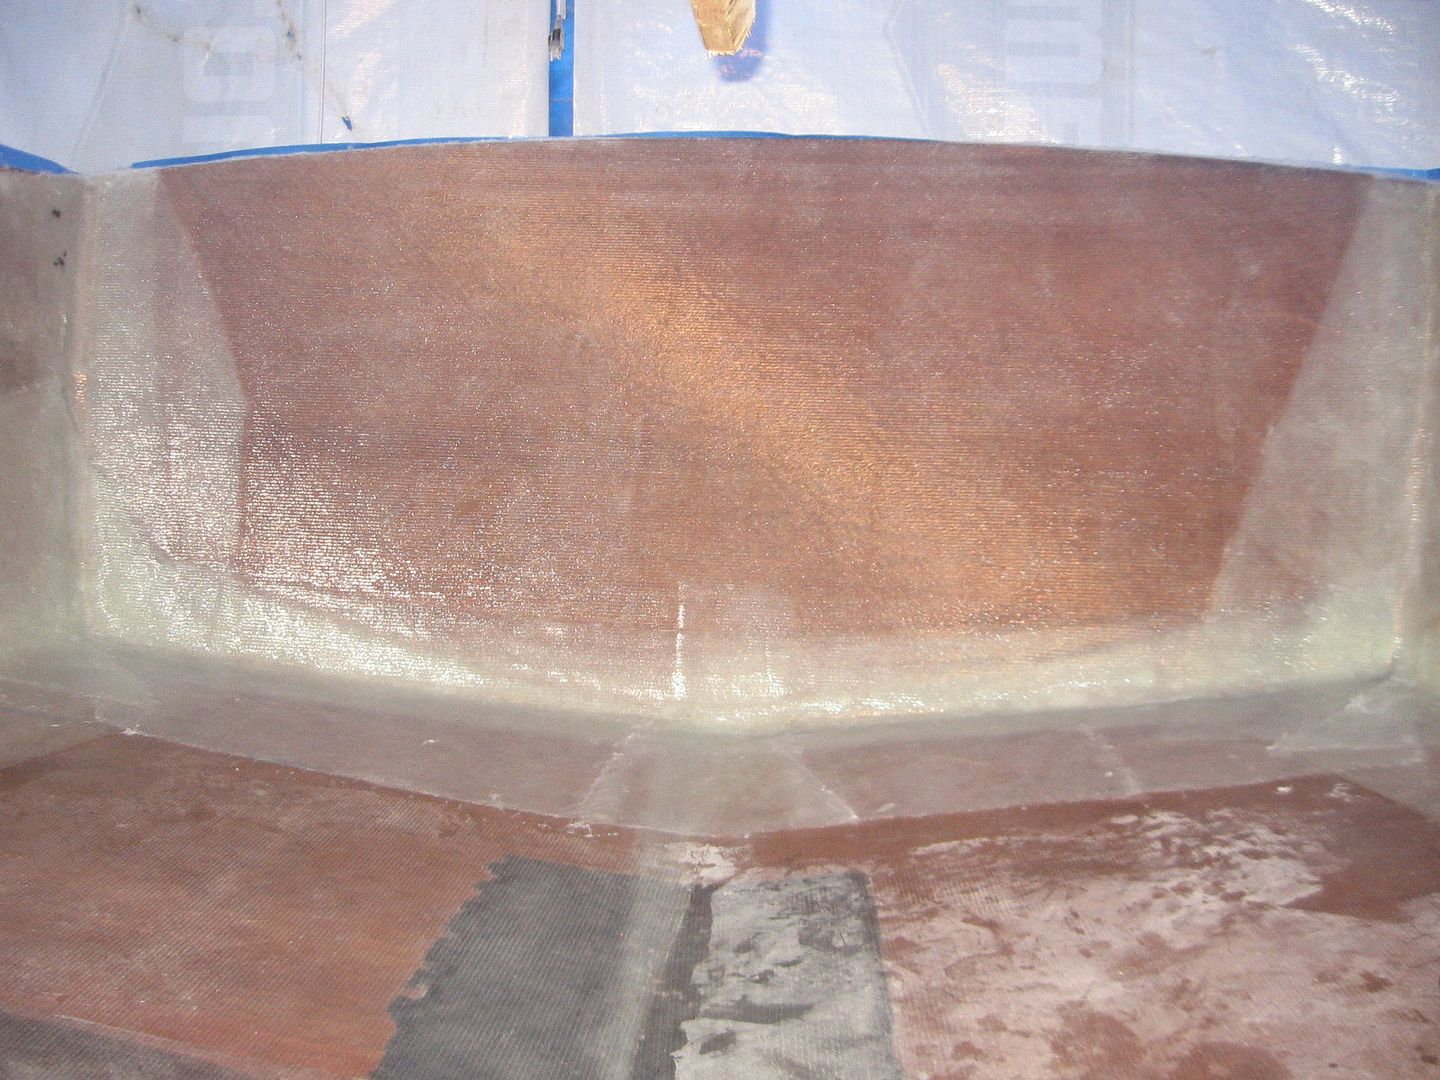
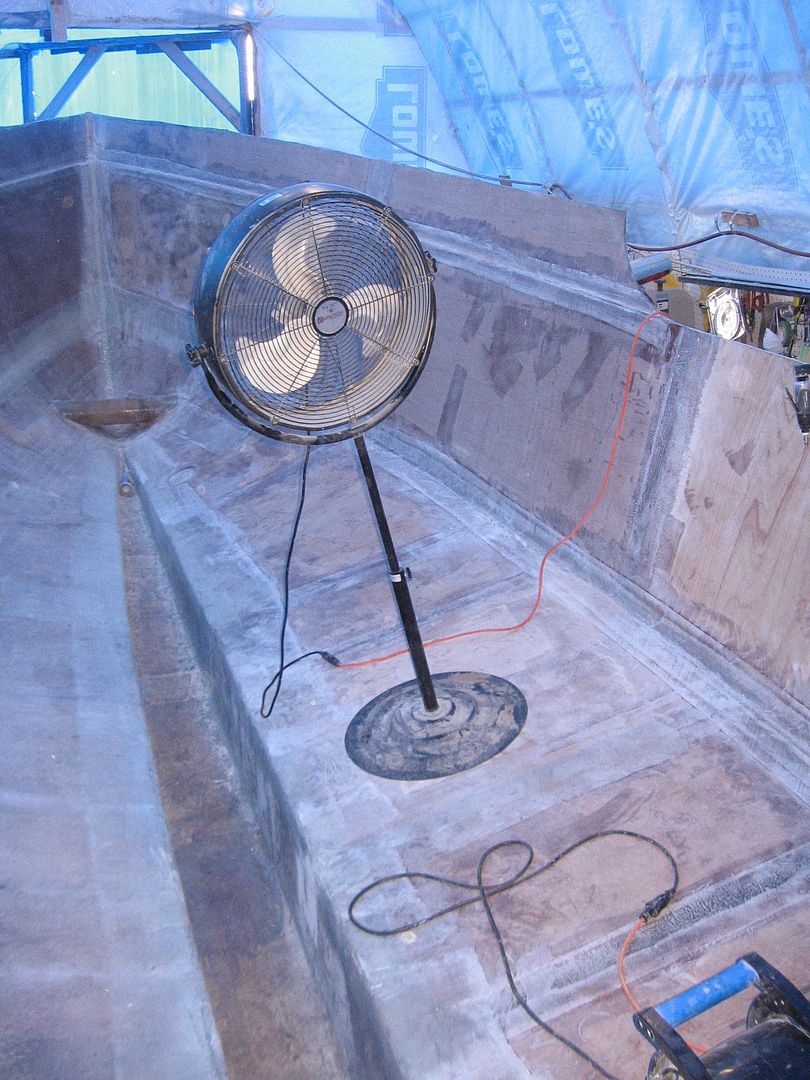
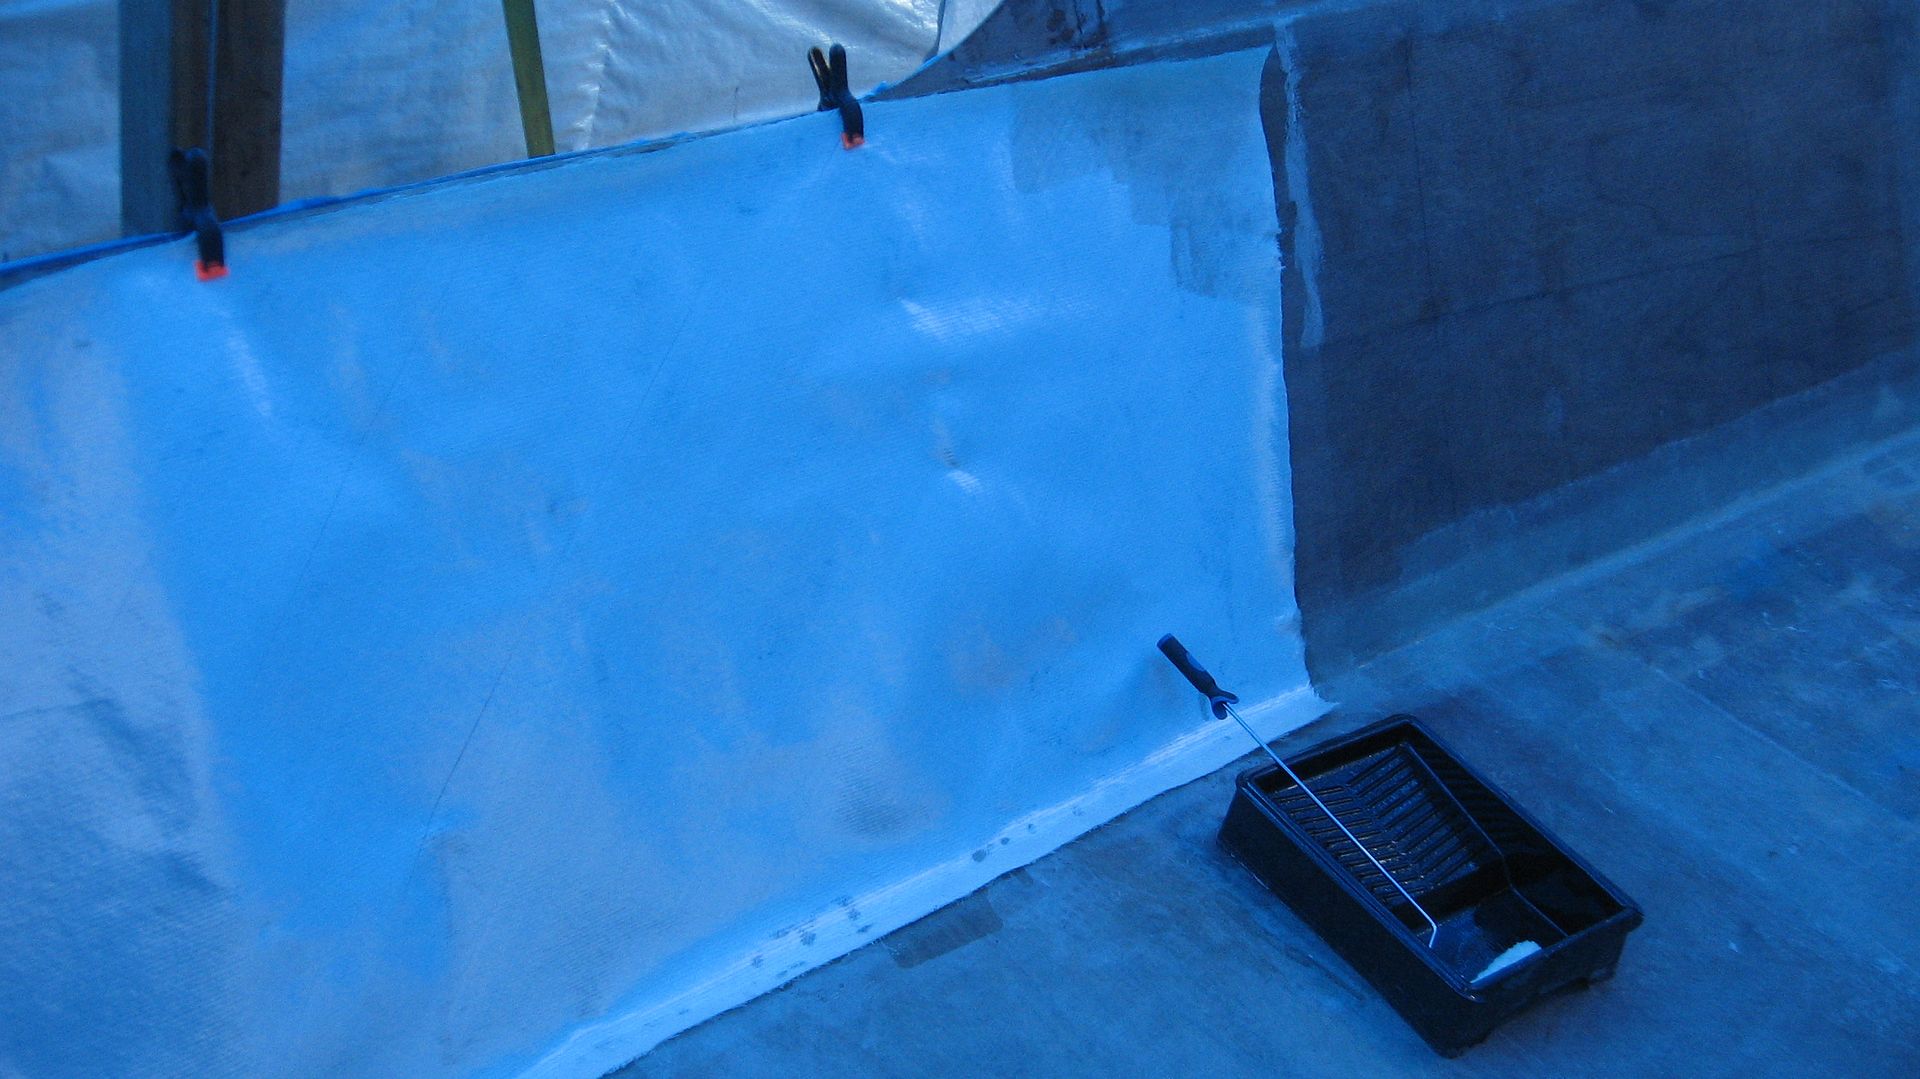
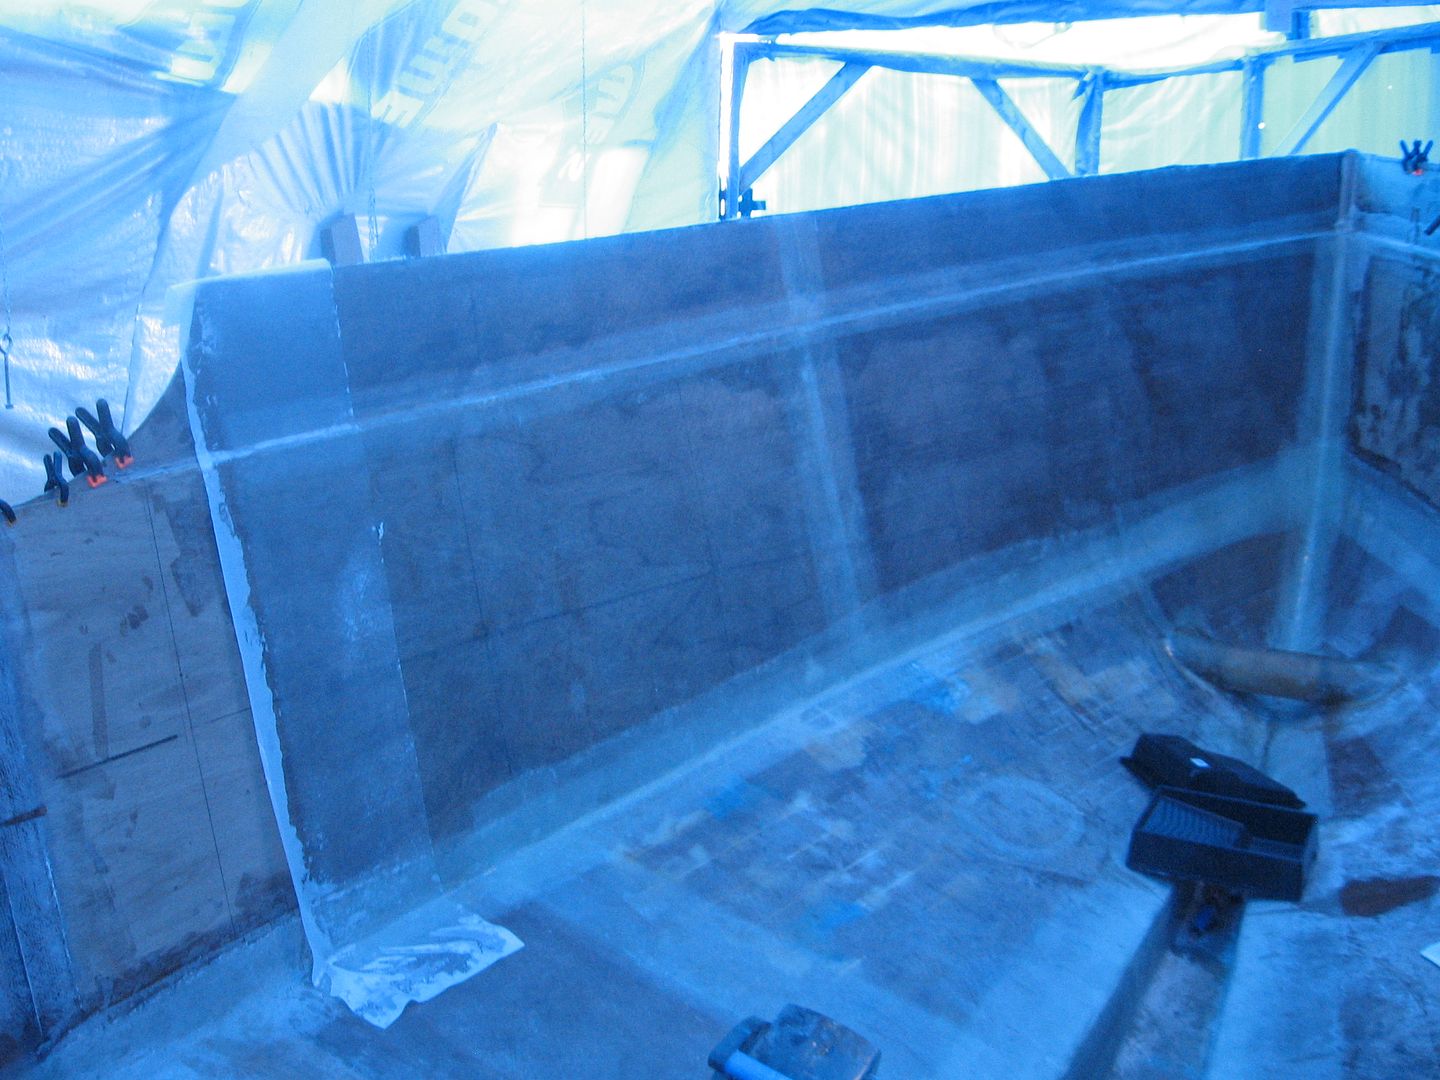
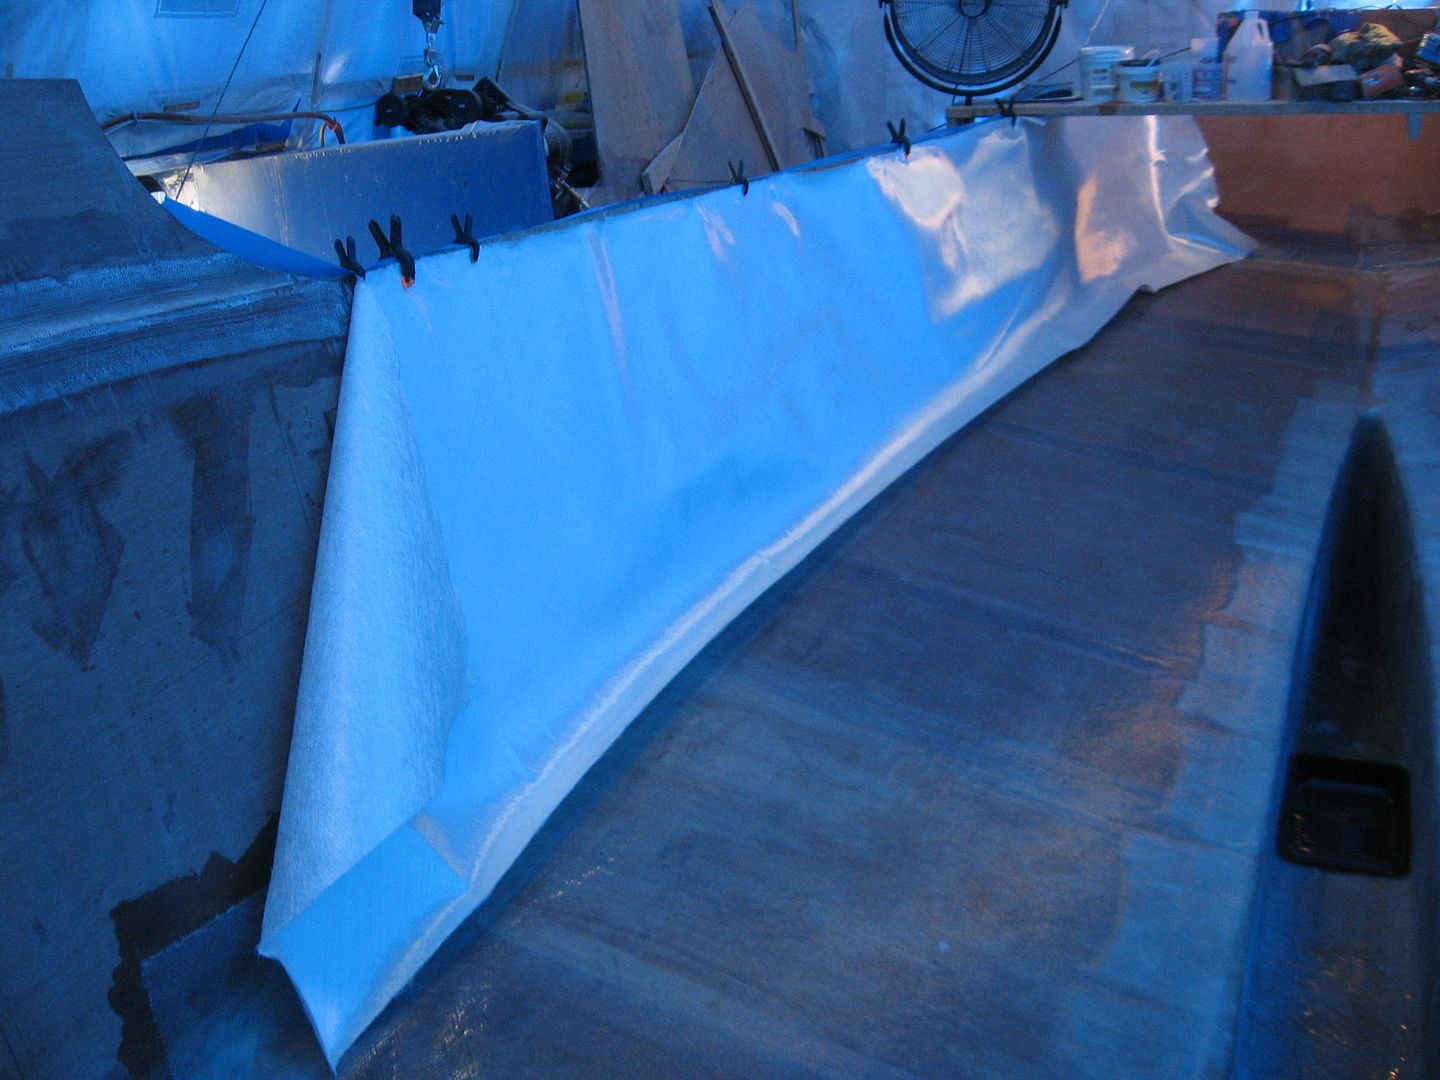
Trimmed up ready for epoxy.
That section of fabric is 16' long by 4' 2" wide. It'll soak up about 2 gallons of epoxy! *sigh* Probably take me 3 hrs to do it by myself.

Five hours in the boat shed today. That's pretty good for this ole' fart. Noticed it getting pretty warm around 2'ish this afternoon so time to quit.

That's 'bout it for now. Shower time!

Standby....