Monday, July 25, 2011

More of the same

fender kickers looking for a free boat ride. *sigh* Oh well, can't dwell on that. We'll likely use the ole' boat this summer.

Yesterday we took a trip to Watertown NY to check out Harbor Freight Tools. I've heard a lot of guys rave about this place, which is much like our own Princess Auto, reasonably priced tools & accessories (albeit a lesser quality too). But for a one-off boat build I'm not investing $1k in an orbital sander I'll use once. So back to Harbor Freight Tools, nice store, crowded. Quality is the same as Princess. Prices are decent for the quality you get. Will I go back? Maybe, there's one thing I need that they carry but that's about it.

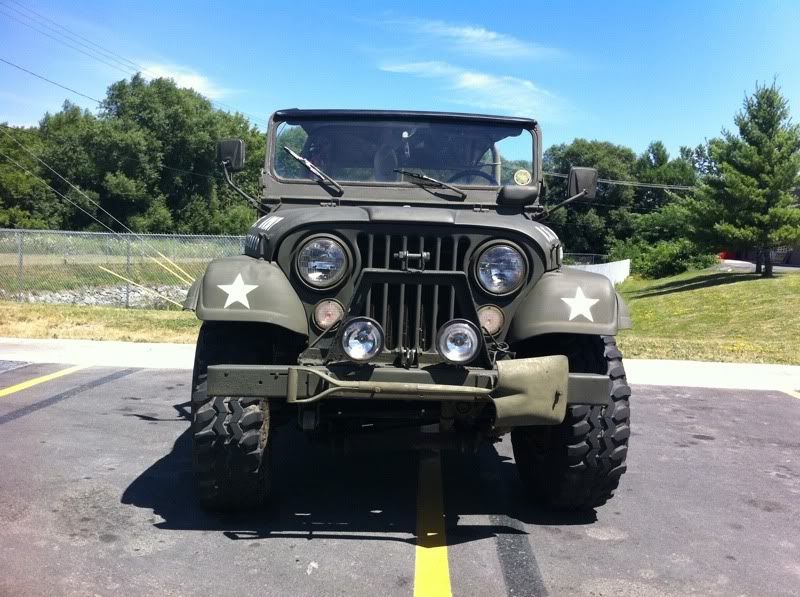
The highlight of the trip, other than the Jack Daniel's Burger at TGI Friday's was this.....

The Real Sarge! ;-)


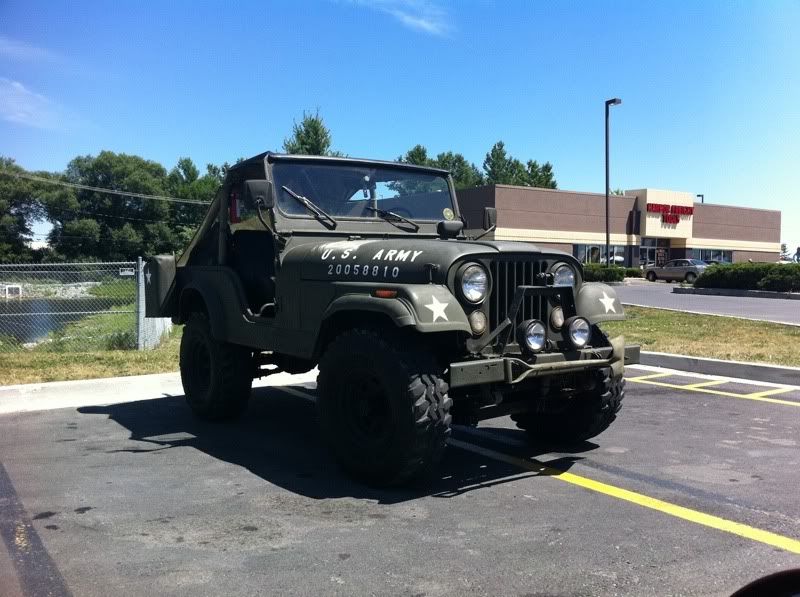
Now that's a real Jeep. The rest, including ours, are just imitations!


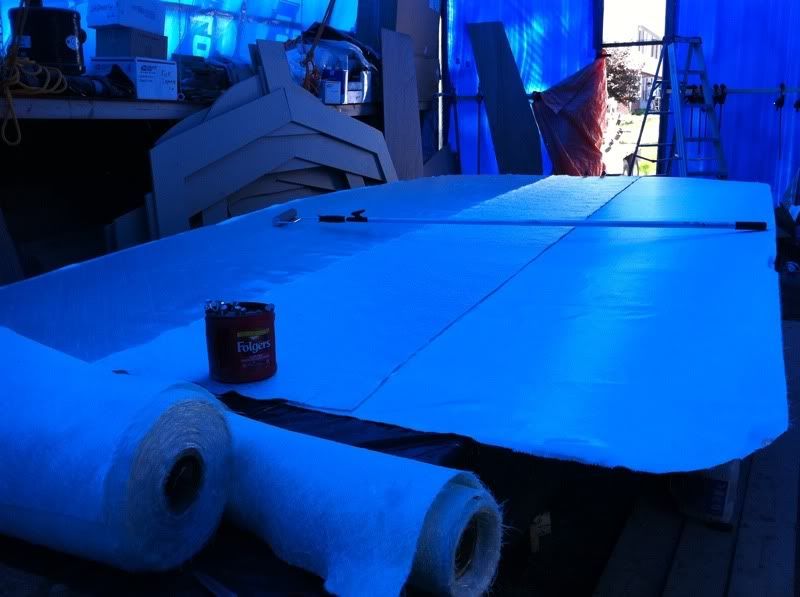
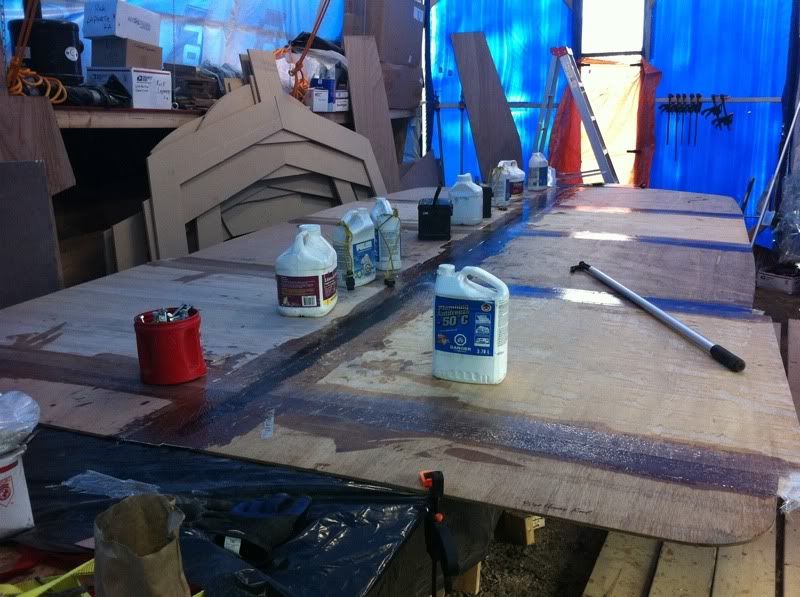
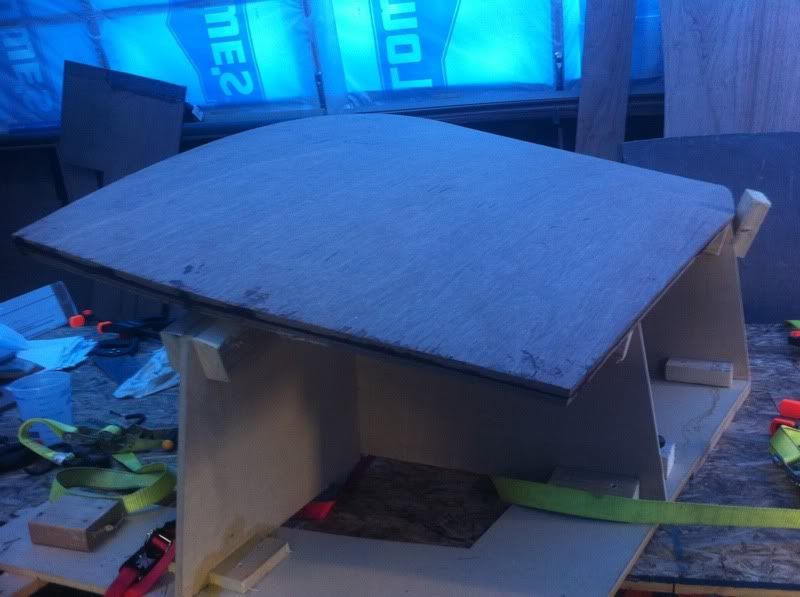
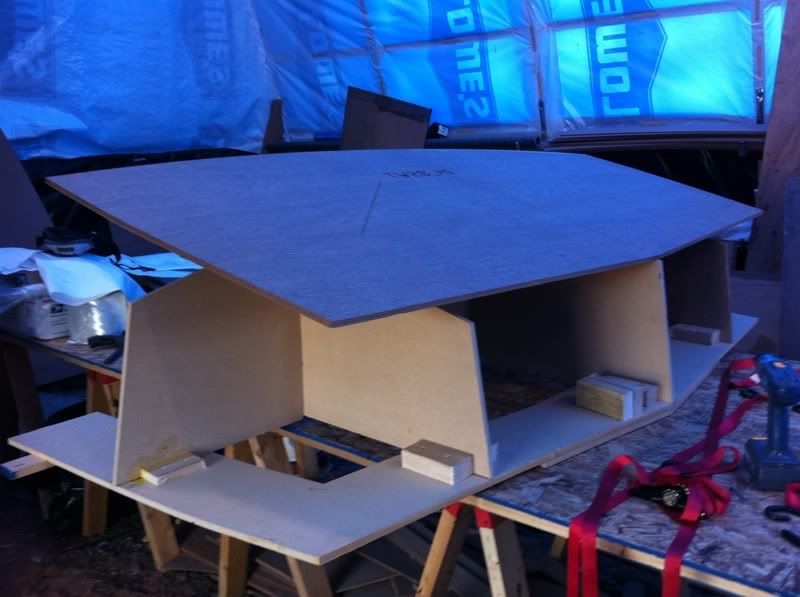
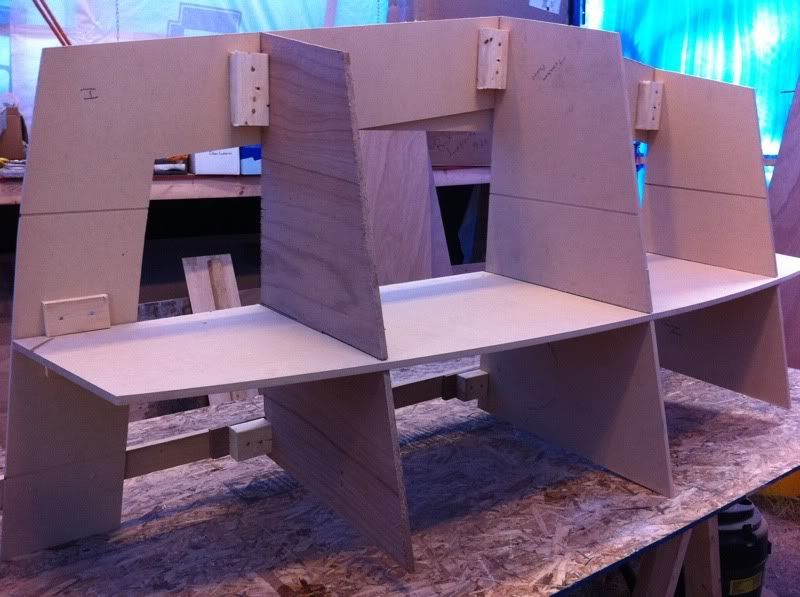
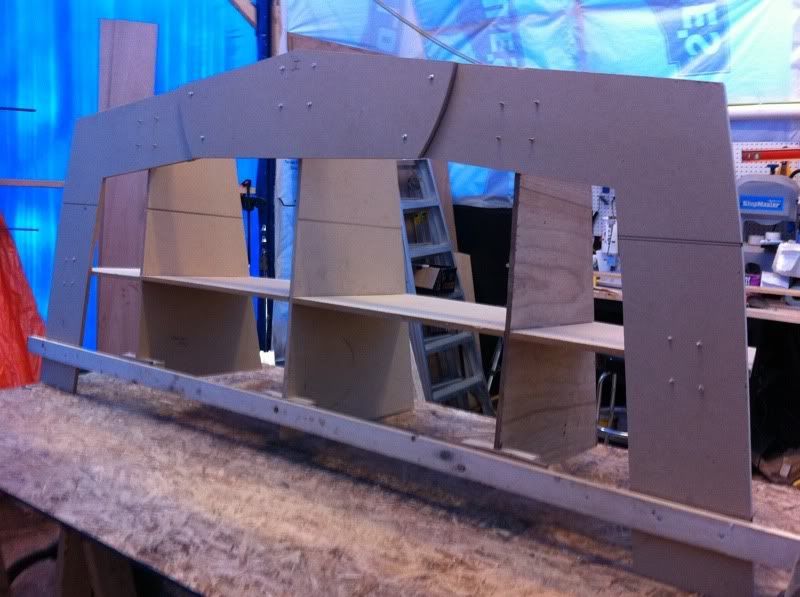
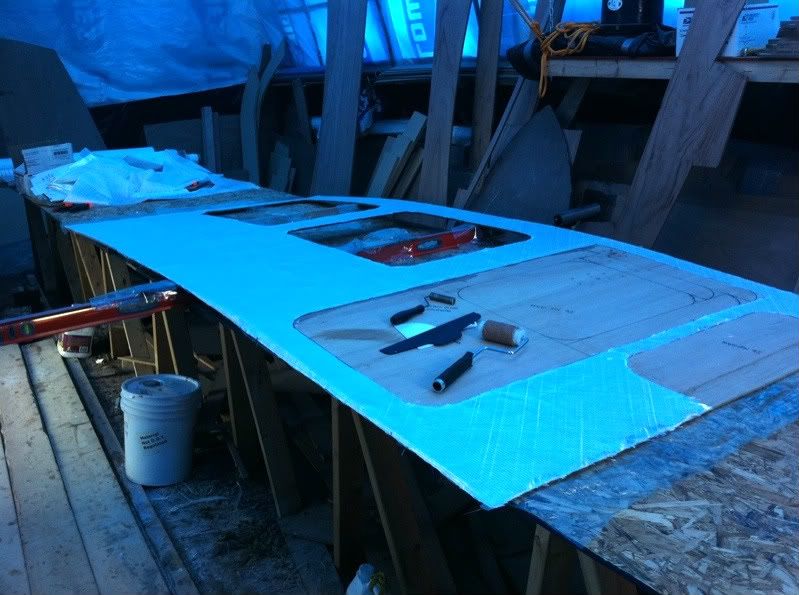
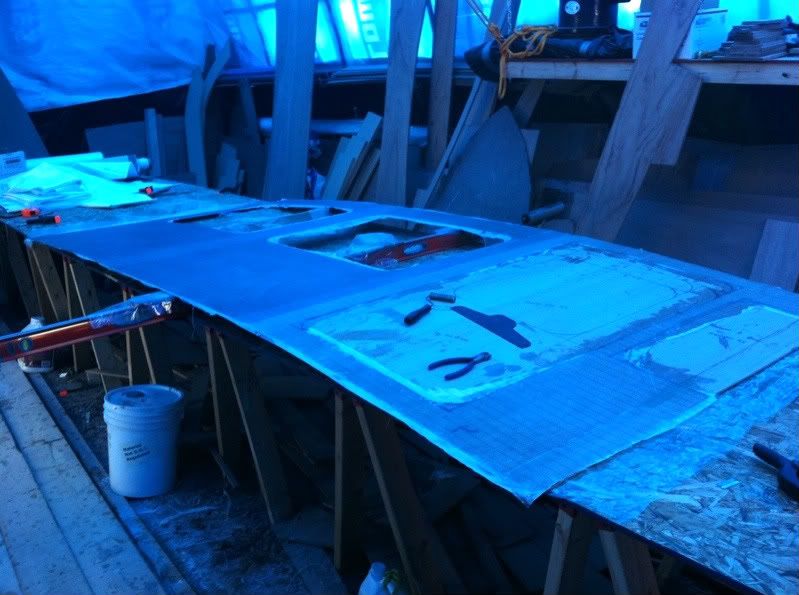
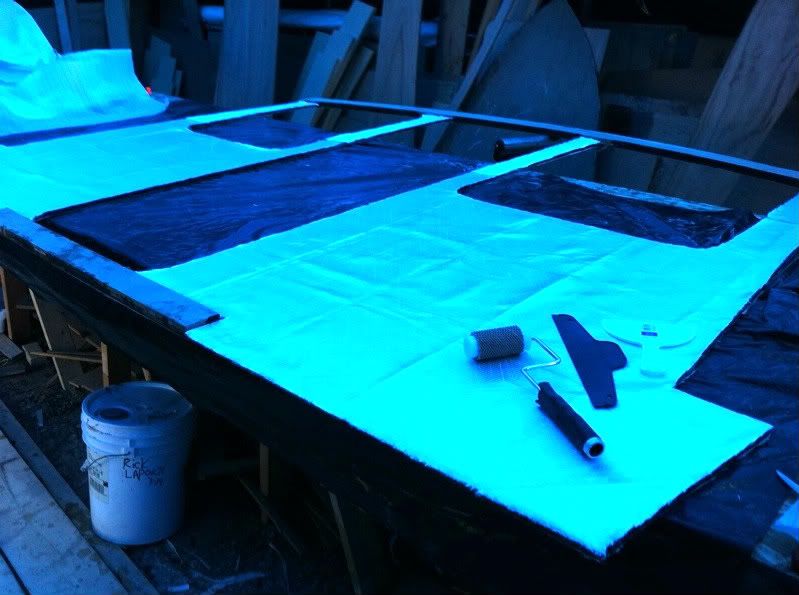
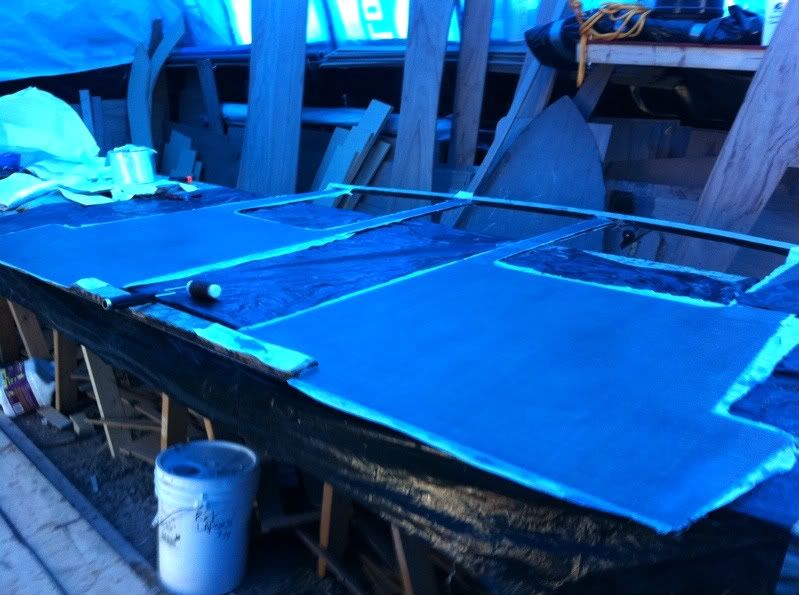
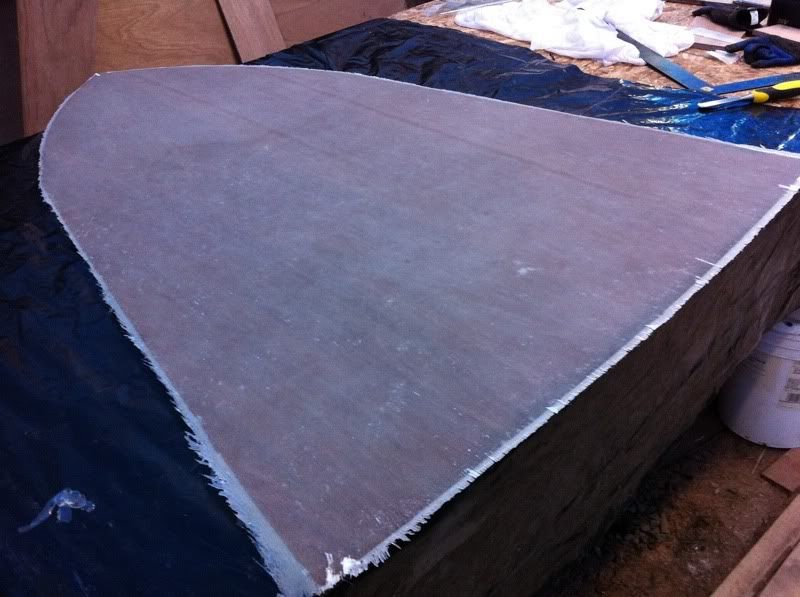
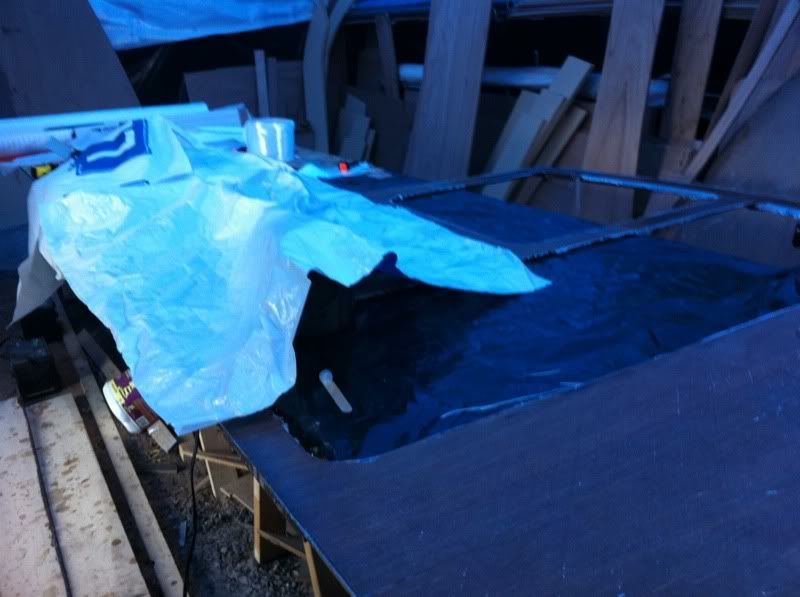
As to boat building, well just watching the US dollar and trying to decide when to buy the next batch of epoxy. Likely 15 gallons this time. We burned through the last six gallon kit I got in under two weeks. I don't want to buy too much and have it sitting around all winter.

Saturday, July 23, 2011

Waiting is the worst part

Almost noon and no call from Ray and Carlos. Oh well, not like they're the first fender kickers to never call back.

Puttered around in the shed this morning before it heated up. I sanded all the taped seams and wiped them down in prep for the fiberglassing that'll eventually happen.

Before I got too far the Project Manager stepped in to have a look. By the look on his puss I gather he wasn't too amused.


I guess I'll just have to step up my game a notch or two meet his usual high standards. Meanwhile the CEO was lounging on the front veranda getting a belly scratchy.


I think you can see now why we call that belly "The Golden Fleece!" ;-) What a life eh?

So back to the boat shed.


This is the underside of the main cabin roof. It's not a cosmetic part so I didn't take much care in prepping the plywood or the glass. The outer sections are 1708 biaxial fiberglass and the center strip is some of the 33 oz Vectorply I have. I needed to get it used up somewhere so I thought a nice strong strip down the center of the roof would be ok. It adds some weight up top but not that much. We don't have 'nuff epoxy on hand to do this piece (about 2 gallons) and almost 15 sq/yds so we're waiting for Ray and Carlos to drop a wad of cash in our mitts soon.

If they don't call soon we're goin' for a boat ride and cool off! Stay tuned.....

Hotter 'n

It's so hot the dairy cows are only giving evaporated milk! ;-)

It's so hot I saw a funeral procession in the Dairy Queen drive through! ;-)

It's so hot I saw two fire hydrants fighting over a dog! ;-)

It's so hot my ice cream cone melted before anybody had a chance to mug me for it! ;-)

So I'm guessin' you're seein' a theme here eh? Yeah it's been hot. Well over 100 on the Queensway coming home on Thursday. Friday wasn't as bad but still warm. We haven't made much progress because of the heat but one job I wanted to get done was splice the main cabin roof panels together. We accomplished that Wednesday when it was only 95 degs in the shed.


I first had to goop the seams to fill some fairly large cracks. This meant mixing up some pecan flour and epoxy. Had to work extremely quickly to get it done before it kicked off in the cup. Just managed to get it on. Next was taping the joint and we (Lori - Professional Epoxy Mixologist) did it in about 5 mins. What a rush but it worked.

On a brighter note Ray and Carlos were here last night looking over the old boat to buy it. I hope they show up today with some cash in hand. That'll help expedite this lil' building project. Standby.....

Monday, July 18, 2011

All that drama and

worry for nuttin'! Pulled the clamps and ratchet straps off the transom tonight and walla! It only sprung back about 3/4" on each side.


I guess that's good 'nuff for the girls I go with! ;-)

Lori, Robert (my good neighbor) and I move the roof panels in and laid them on the long table. The next task is to join the two halves and glass the underside. Then it'll have to be put back outside. All 16' 4" x 8' of it! *shudder*


The whole time we were well supervised by the Project Manager (aka Lazy Lard Butt Ring Tail Tabby Cat!).


Hotter 'n hell so I'm on my last drop of Cap'n Morgan's Private Stock Daniel got me for Father's day. *sob* It normally takes me a couple years to kill a bottle but this is smooooooooooooth stuff! ;-)

It was so hot today my blood test this morning showed high concentrations of Cap'n Morgan's and Coke on ice instead of blood sugar! ;-)

That's it for now.

Sunday, July 17, 2011

Starting to get really

philosophical now!

"Give me a lever long enough and a fulcrum on which to place it, and I shall move the world." - Archimedes, Greek Mathematician, 287 - 212 BC

"Give me enough clamps and ratchet straps which to place on it, and I shall stop the world from moving." - Rick Laporte, Amateur Boat Builder, 1960 -

One of the more interesting challenges to this project is laminating two sheets of 1/2" marine plywood together to form the curved transom. That's the reason for the funky transom mold I showed you earlier.


I tried a few different approaches to getting one sheet to conform to the mold. There's a tremendous amount of energy stored up in a sheet of plywood when you try to torture it into a shape it doesn't want to go into! I found that out when I tried to release the ratchet straps after the first trial! Yikes!

Anyhow, I quickly realized (in my dream last night, yeah exciting I know) that I need more grip to wrangle this part into shape. Adding some cleats in the right places are the ticket.


This gave me the advantage I was looking for. Places to put plenty of clamps.


As you can see the plywood now follows the mold pretty well. A few minor adjustments and it'll be perfect.


That's it for now. Off to clean up the old boat. Got a prospective buyer coming to look at it today. ;-)

Update: Bugger never showed up. Figures. Plenty of fender kickers but everybody wants a nice shiny Sea Ray to impress their friends at the Yacht Club. Yeah, right, like you're gonna do that for 8500 bucks.

Anyhow. After much consternation (not constipation) I weighed my options and selected the brute force method to whip the transom panels into shape.


We'll see how we did tomorrow when I pop the clamps and straps off of it.

Saturday, July 16, 2011

Do you ever find

yourself sitting in your workshop or boat or whatever just admiring your handiwork? I do that occasionally. I think it's just a guy thing. A couple hundred thousand years of evolution has programmed us to get an extreme sense of satisfaction from building things with our own two hands. Reminds me of one of my favorite quotes:

"He who works with his hands is a laborer. He who works with his hands and his head is a craftsman. He who works with his hands and his head and his heart is an artist." - St. Francis of Assis (1181-1226)

Anyhow, 'nuff of that naval gazin' stuff. This morning I got back to assembling the forms that'll go on the strongback. Three more done this morning, A, B & C. Only D and the duplicate F to do and they're done then I can seriously start thinking about setting up the strongback. I do have to decide if we're going to glass the cabin roof while the long table is set up. The only other thing that's standing in my way after that decision is made is to laminate the two transom panels.

Frame A gluing up.


Same goes for frame D.


Picked up one of two rolls of fiberglass (1708 38" at bargain price) that'll be used to cover the bottom and side panels. I'm still looking for some double bias 10 oz. 0/90 in 50" width.


That's 'bout it for now. It's hotter 'n hell outside so I think a boat ride is in order. Have a good weekend.

Thursday, July 14, 2011

Just a brief update

More strongback forms being assembled. E & F on the table gluing up and G & H standing up behind all ready to go.


Still a lot to do yet.

Wednesday, July 13, 2011

I just couldn't leave it alone

for any length of time. There's a few things that were bugging me and I just have to figure them out or it'll drive me nuts. The first is the transom mold. As far as I can tell this is the first TW28 assembled from a first generation CnC kit. There's a few bugs in the kit and the transom mold is one I think.


Frame I supplied, which is defines the shape of the hull, is cut like most of the others as an outline of the hull shape. This doesn't leave anything in the center to attach the other mold parts to it.


It would have been much easier if Frame I had been supplied as a whole piece (or two) so that the mold braces could be easily attached. I know there's plus's and minus's to doing it that way, such as gaining access to the inside when stitching the hull together etc. Anyhow, you just do what you can and move on. If I stopped and dwelled on every lil' hiccup I'd never get anything done.

This is what the assembled strongback will look like.


You can see where the transom mold goes. One down and 8 more to assemble.

Saturday, July 9, 2011

Feeling a little

burned out from all this boat building stuff so we decided to take a lil' break from it. Been getting anxious for a boat ride too so we pulled out the ole' boat (the one we can't seem to give away) and get her rigged for a dunking. This will be her first time in the water in over two years.


This could be fun or a disaster. Don't change that channel! :-)

Update: Got our boat ride in! :D


We had a lil' fire on this boat year before last and that kinda set me back a bit on boating. That and we did a quite a few things with the car club last year. I was a little apprehensive about taking her out but had to do it sooner or later. Boat worked perfectly.


The one thing I'm going to miss going from this to a Trawler is the speed! :?

I apologize for the crappy pics but the Admiral was definitely enjoying herself. ;-)


The CCGS Griffon docked in Prescott Ontario. I worked on her in the fall of '78 as a deckhand then went to College for Marine Engineering. I returned to the Griffon in the fall of 1980 as a Steward and stayed on her till 1985. During my time on her I went from Steward to Storekeeper to Supply Officer.

I think we're going to take a bit more of a break from the boat building, save some money (hopefully) and do a little more boating this summer. Will probably be back to the boat mid August or so.

Sunday, July 3, 2011

Thinking ahead

is probably one of the most enjoyable parts of building your own boat. There's a million decisions to be made and each one can affect a half dozen others. I'm lucky in that I've been able to follow a few ongoing boat builds like this as well as a few finished models.

This morning I popped the troublesome frame off the long table and tucked it away. The next big task is the cabin sides. They curved so I had to lay out with some blocks so the panel would follow that curve.


It took a good while, 30 mins or so to goop up the glass and get the peel ply on. It had started to kick off when I got all the way around so it was scramble time to get the peelply on and smoothed out.


It's a good thing Boots showed up this morning to oversee operations. He immediately pointed out a mistake in my layout of the cabin side sliding door.


I had the top of the door level with the tops of the other two windows. The top of the window in the door should have been level with the tops of the other windows. Nice catch Boots! You've earned your kibble this week! ;-)

Off to see INXS tonight at Riverfest. Hope it's a good show. It's gonna be a late night for these old birds. ;-)

Saturday, July 2, 2011

Just suck it up

and forge ahead. This mornings session in the Big Blue Boat Shed went a little better. I made sure the epoxy & hardener reservoirs were filled and used a mixing nozzle to help speed things along.


I've read some reviews of these rollers and they sounded too good to be true so I just had to find out for myself.


They're Bestt Liebco Tru-Pro Frieze and I got them online. I'd have to say they lived up to their claims and made a significant improvement in getting the fiberglass wetted out quickly and efficiently. Conservatively I'd say I used 1/3 less epoxy than the other side of this panel. Same size and weight of fiberglass. That's nothing to sneer at! ;-) The little nubbies work well at distributing the epoxy efficiently. It was easy to pick up little puddles and move them around where needed. Definitely worth the investment.

So far the panels looks damn near perfect.


We'll see how well we did tomorrow when I take the peel ply off. Standby....

Friday, July 1, 2011

Some times you win

and others you loose.

The last two panels we fiberglassed turned out pretty good!


This was the same heavy fiberglass that caused us problems before. We socked the epoxy to it, which it drank up like a sponge, and all seems find.

Sometimes having the best of tools doesn't guarantee a perfect job.

The Admiral and I were glassing some more panels last night. The aft main bulkhead between the pilot house and the cockpit. It's an exposed part and I wanted it to come out nice. We followed the routine we've done for the others. Her dispensing the epoxy and me spreading it out. Using the Sticky Stuff dispenser this is pretty easy especially when you use one of the static mixing tubes. Just pump and go.


Well last night the hardener reservoir (on the left) ran out. Lori didn't catch it and likely the last batch she pumped out was only resin (reservoir on the right) with no hardener. The hardener reservoir is opaque so there's no way to know how much is in it unless you look every once in awhile or the resin reservoir gets down low. They'd theoretically only be at the same level if you put exactly the 2:1 ratio into them in the first place.

So this morning when I went out to have a look there were horrendous bumps all over and as soon as I ran my hand over the peelply I knew we were in trouble. Sticky uncured epoxy resin everywhere. :cry:

So I did a google search and found a few things to try to salvage this part without having to strip it down (I'd likely cut two new pieces and start over from scratch). Right now I've tried brushing on some hardener and working it in with the bubble buster and left it to bake.


If that works out I'll likely be able to salvage the part. The upper section above the windows and door have to come off. They were epoxied last and have no hardener in them at all.

So I've added a little reminder to anybody who uses Mr. Sticky Stuff to check constantly the levels in the tanks before pumping.

On a brighter note some more shiny stuff arrived today.


I'm going to go fondle the new shiny stuff. Maybe that'll make me feel better!