I started my usual boat work routine on Thursday morning and all went fine till I got a call from an old buddy back at work (Coast Guard). They're looking for someone to work on a special project and he was wondering if I was interested. A few probing questions and the work seemed well within my realm of experience. I left it up to my buddy to broker the deal with the manager and I got a call from him yesterday with more details. So it looks like I'll be back to work on a 45 day contract to do some specialized work for this project Zalinski oil recovery project.
I had thought about going back to work over the last year since I retired but it was probably the farthest thing from my mind as I sanded my big blue whale (yet again). I've seen plenty of my retired colleagues do go back to work on contract (double dipping) and often thought I could use a small infusion of cash (got my eye on a Garmin 12 in MFD & Radar). So my boat building project might slow down a little bit as I juggle time between work and boat again, at least for the next couple of months. I still think it'll be ready to flip in the spring. Standby....

She:Kon, pronounced "Say-go" traditional Iroquois greeting meaning "Do you still have the Great Peace?"
Saturday, August 31, 2013
Thursday, August 29, 2013
So, you guessed it right
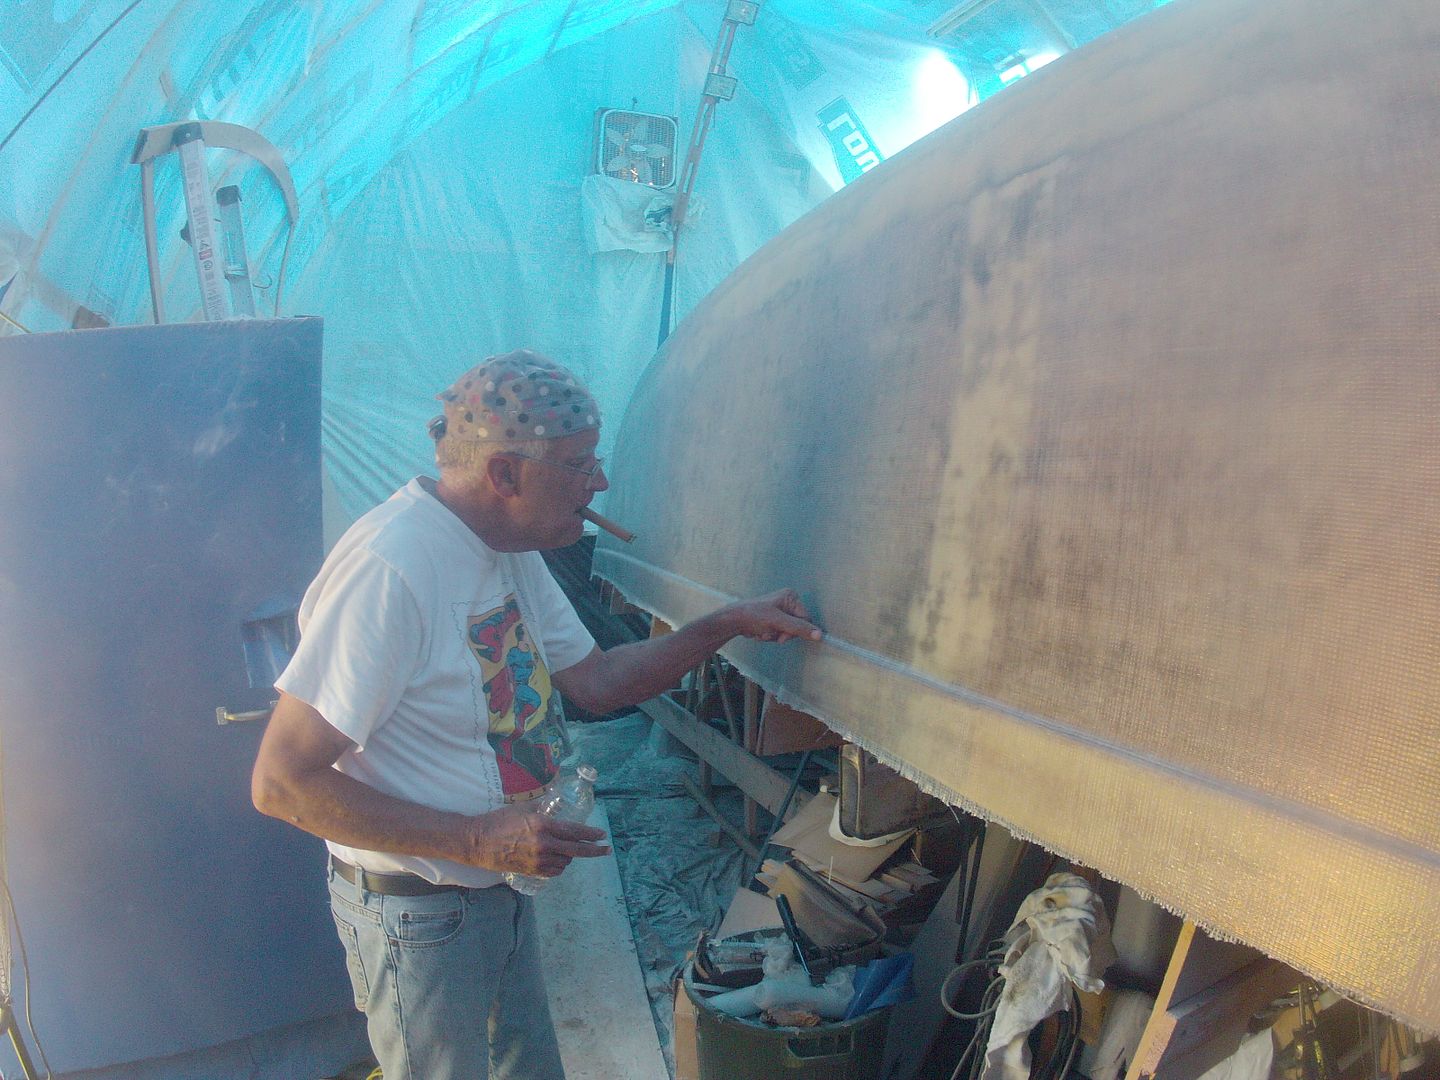
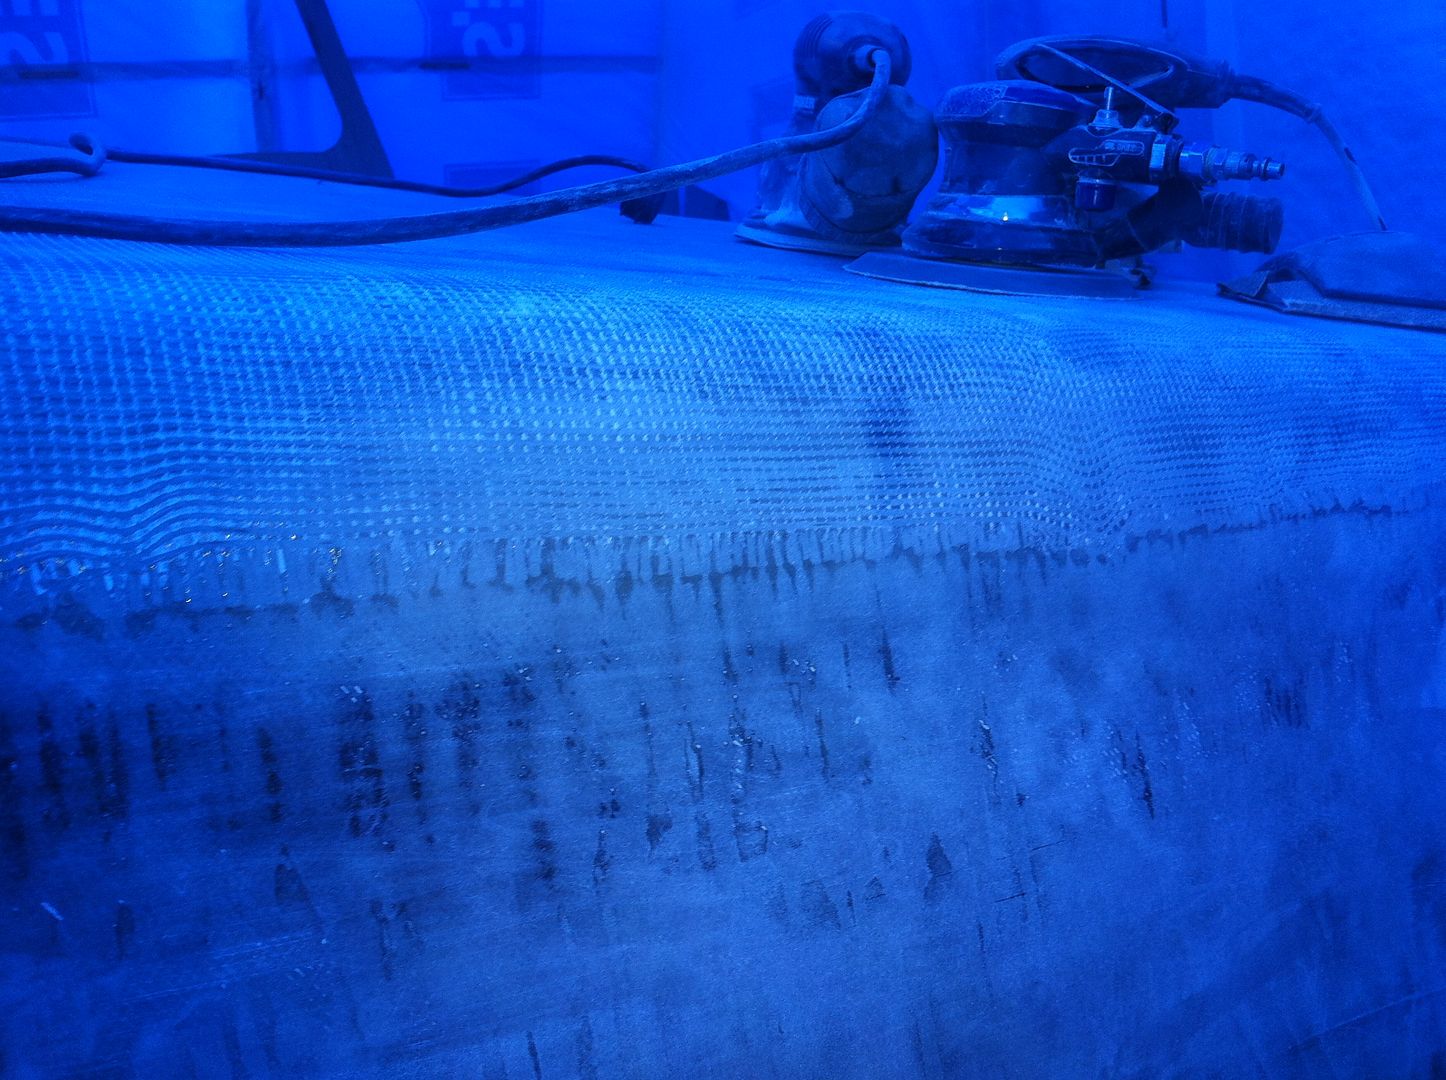
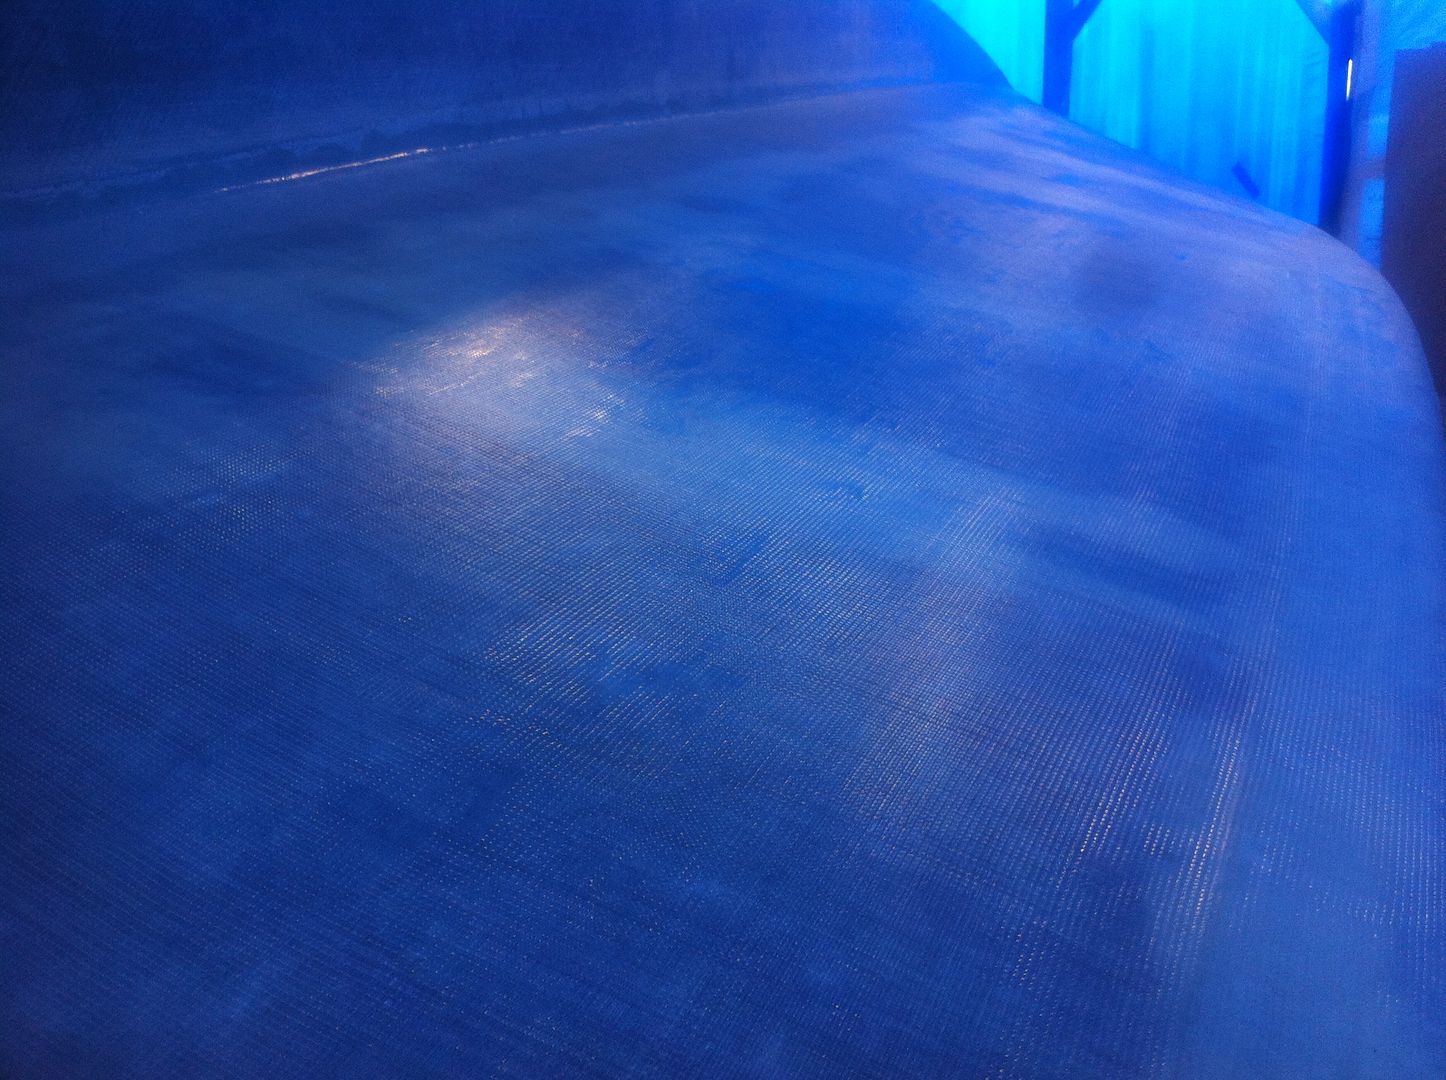
after all that hard work putting on all that nice blue goop it was time to sand most of it off! *lol*
 That's my forearm covered in blue sanding dust! Yes I was wearing a dust mask and checked for blue goo boogers so I'm sure I wasn't breathing the stuff.
Got exciting news coming tomorrow. Standby....

Got exciting news coming tomorrow. Standby....
Wednesday, August 28, 2013
Party Balloons and Boat Building
So what do party balloons and boat building have in common? Well it appears balloons can be useful tools!
 So what we have here is a party balloon (or an alien egg) hatching from the bow thruster tube. Actually I was adding some fiberglass reinforcement to the thruster tube prior to final fairing on the bottom panels. I laid peel ply over the fresh epoxy and inflated the balloon to hold it all in place till it cured. I think I picked up this tip on one of the boat building forums.
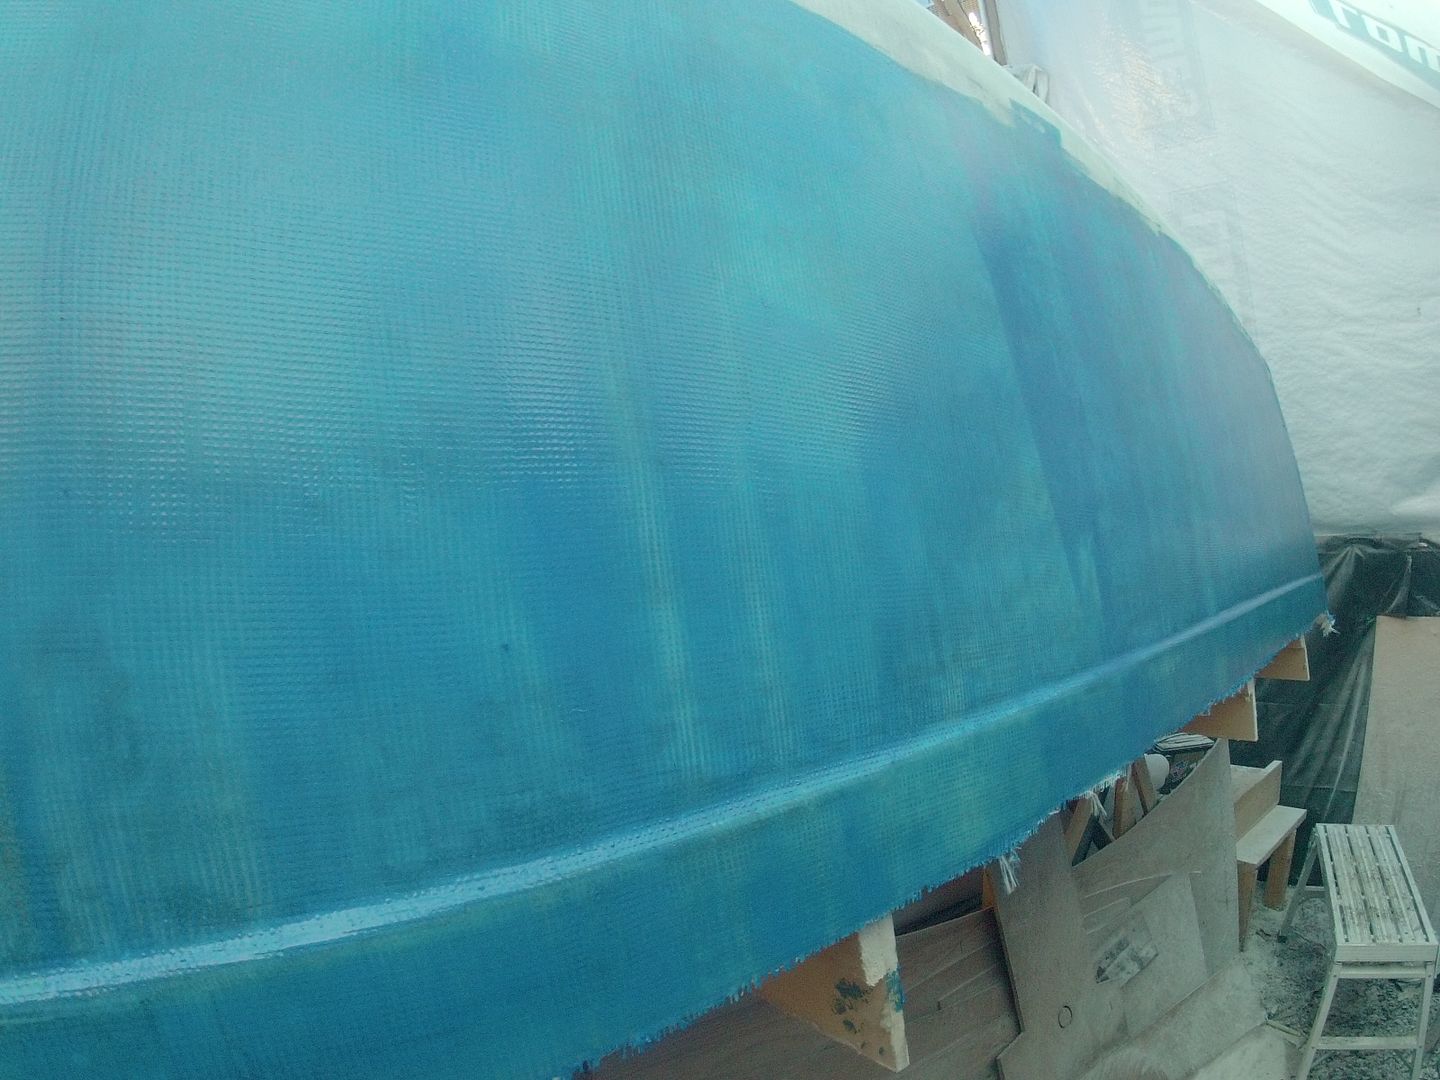
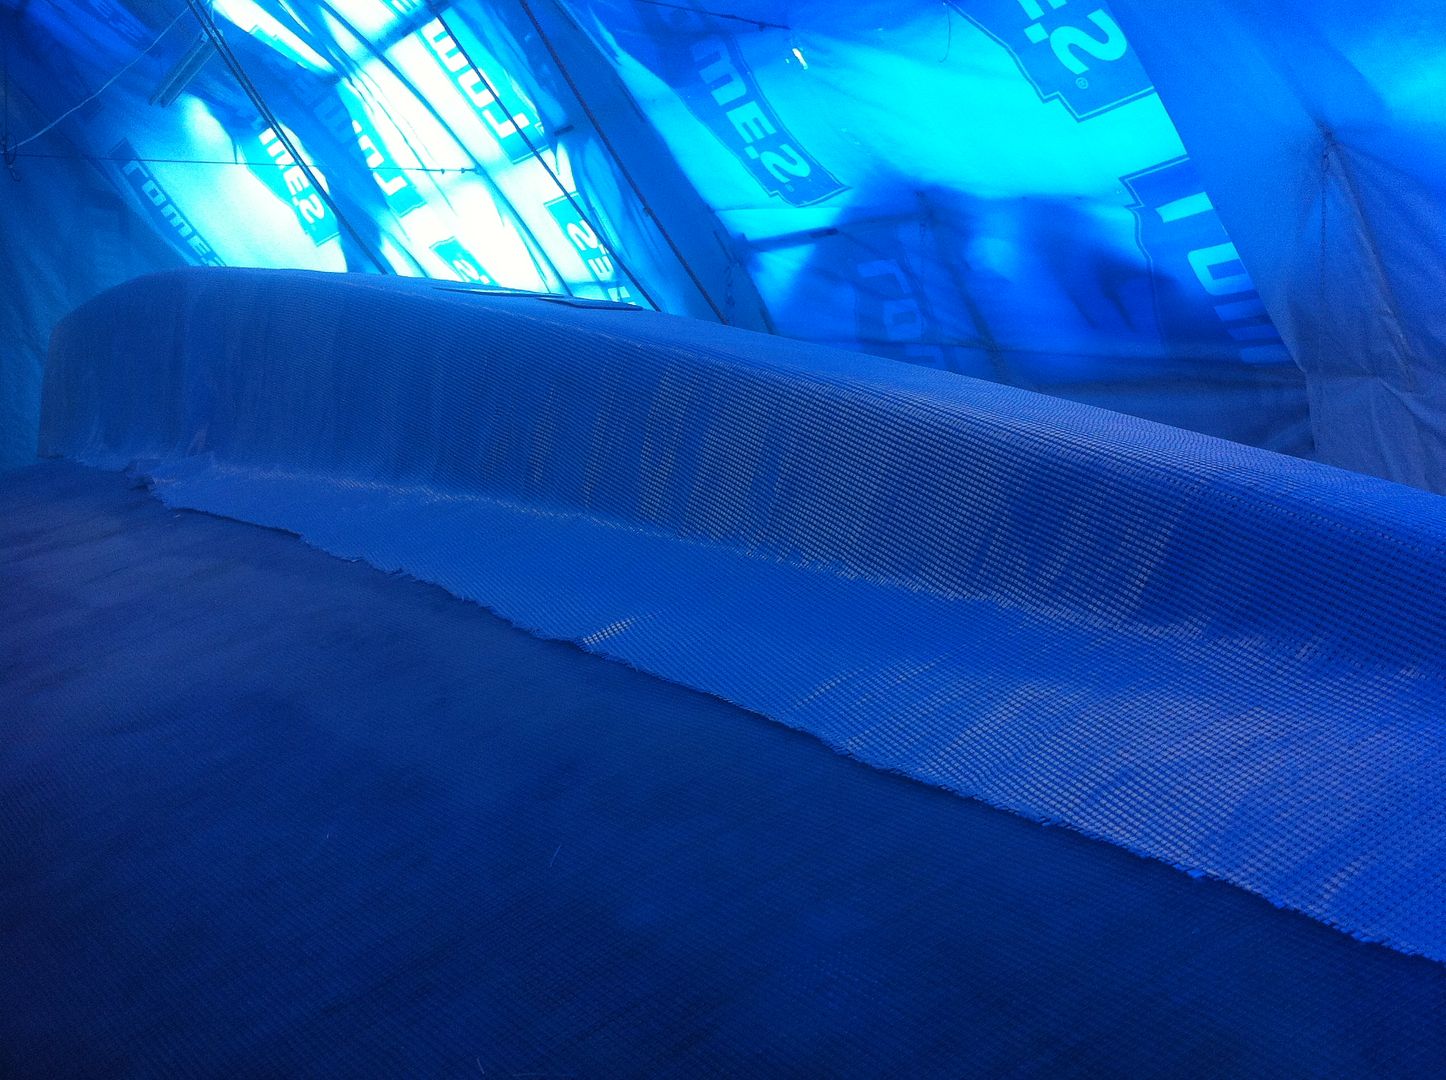
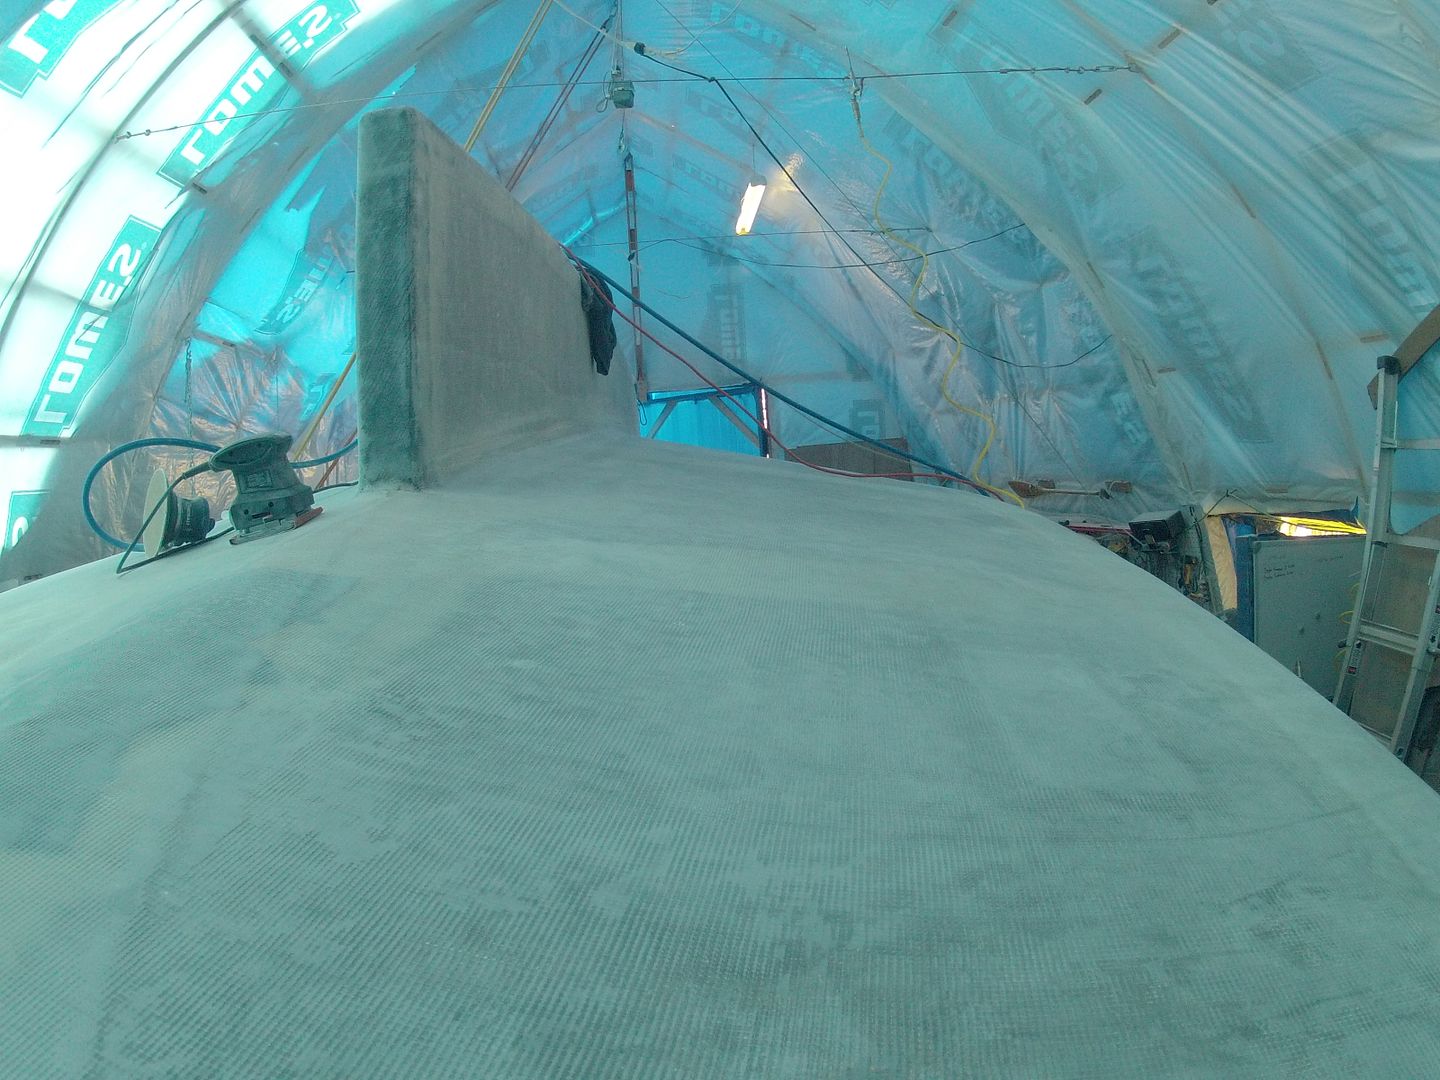
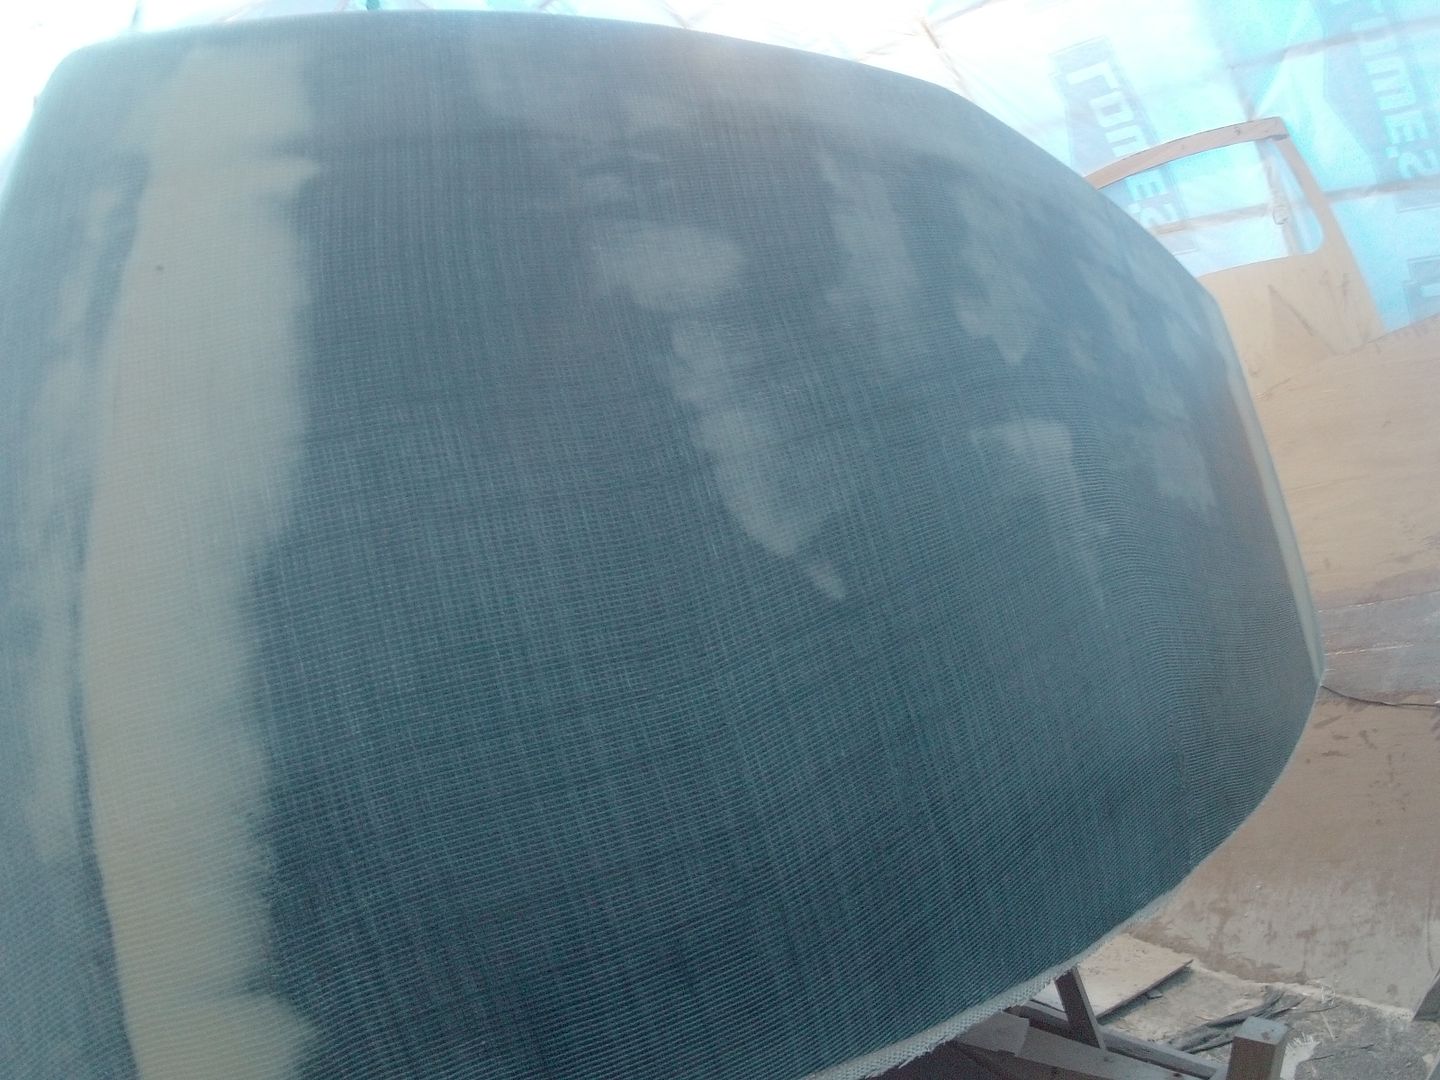
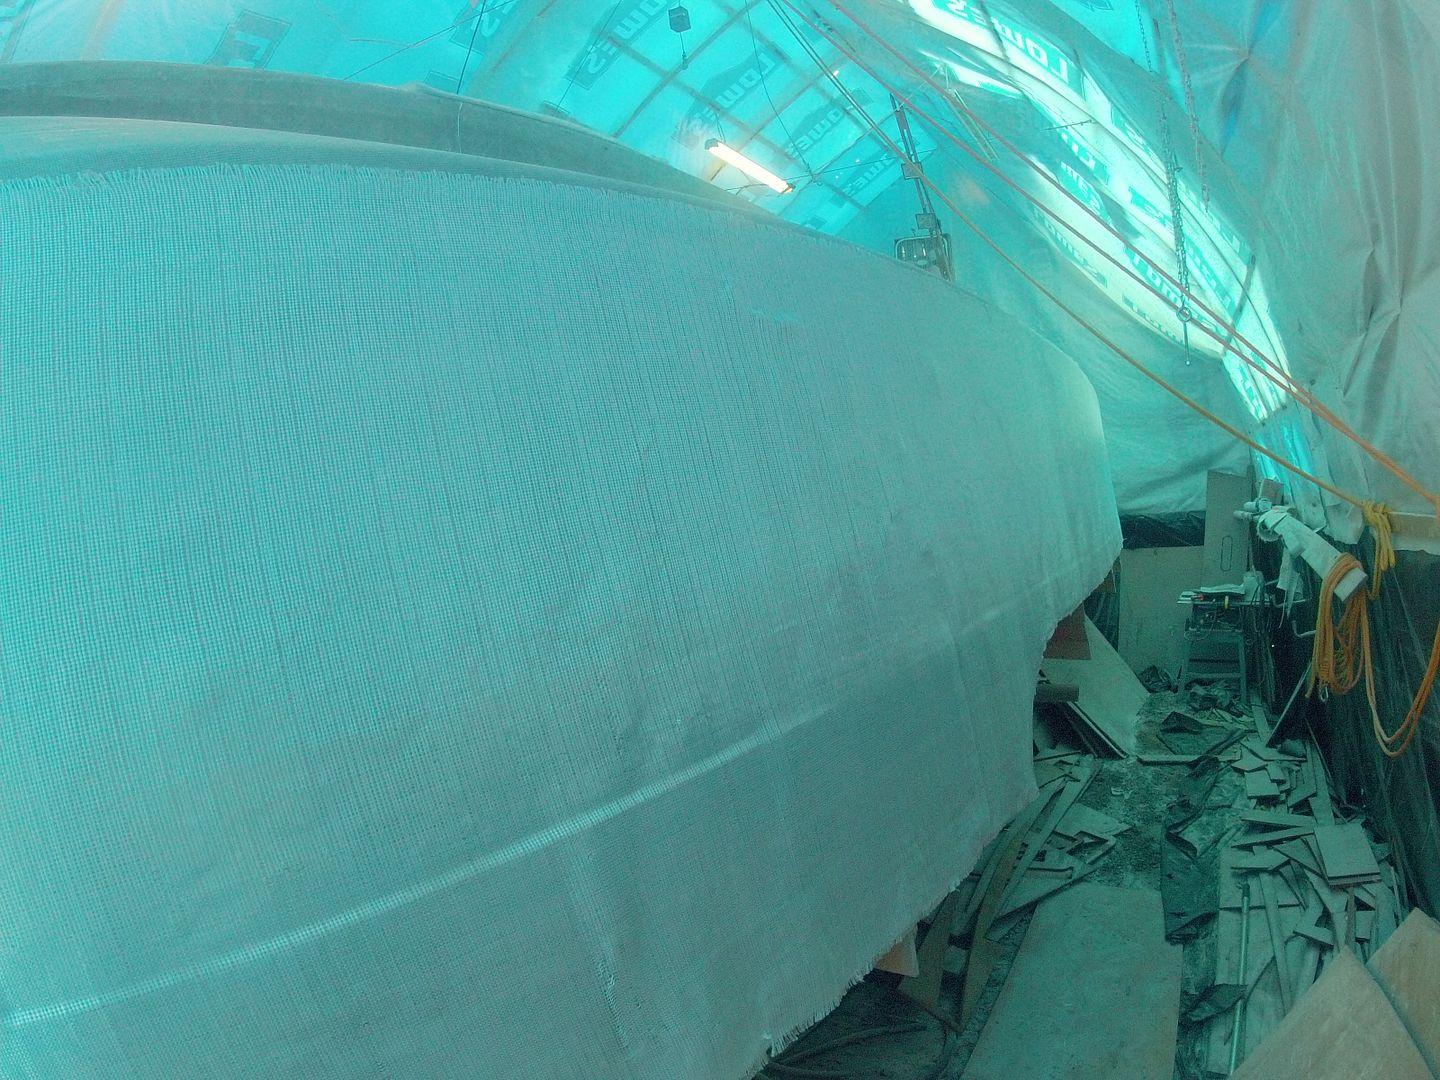
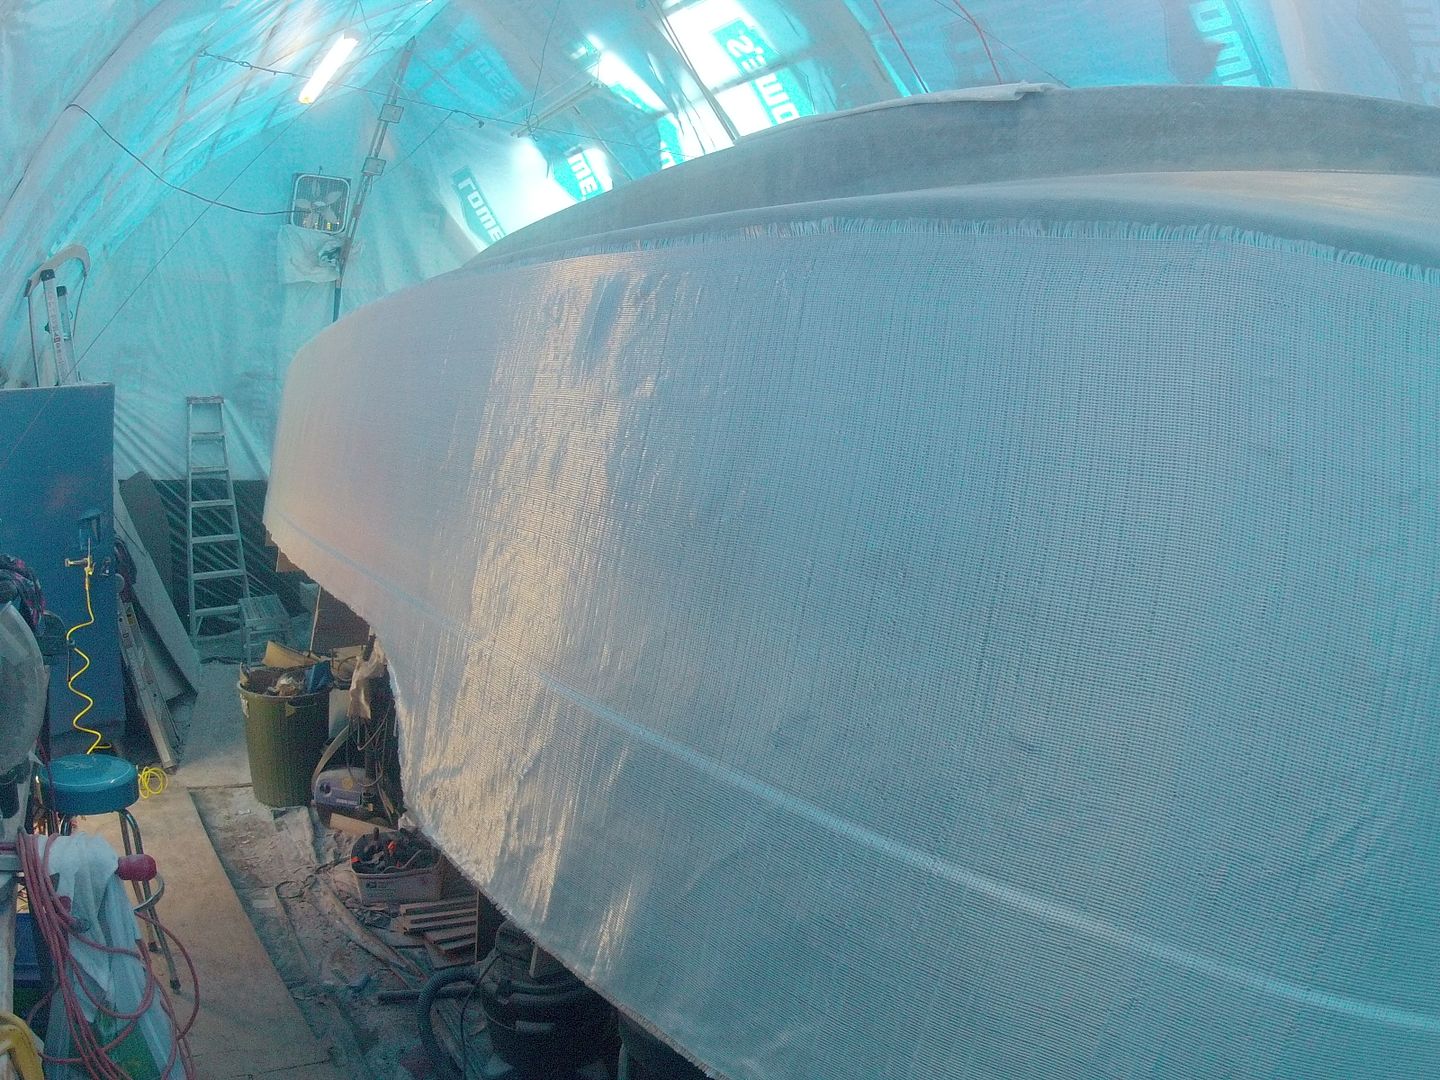
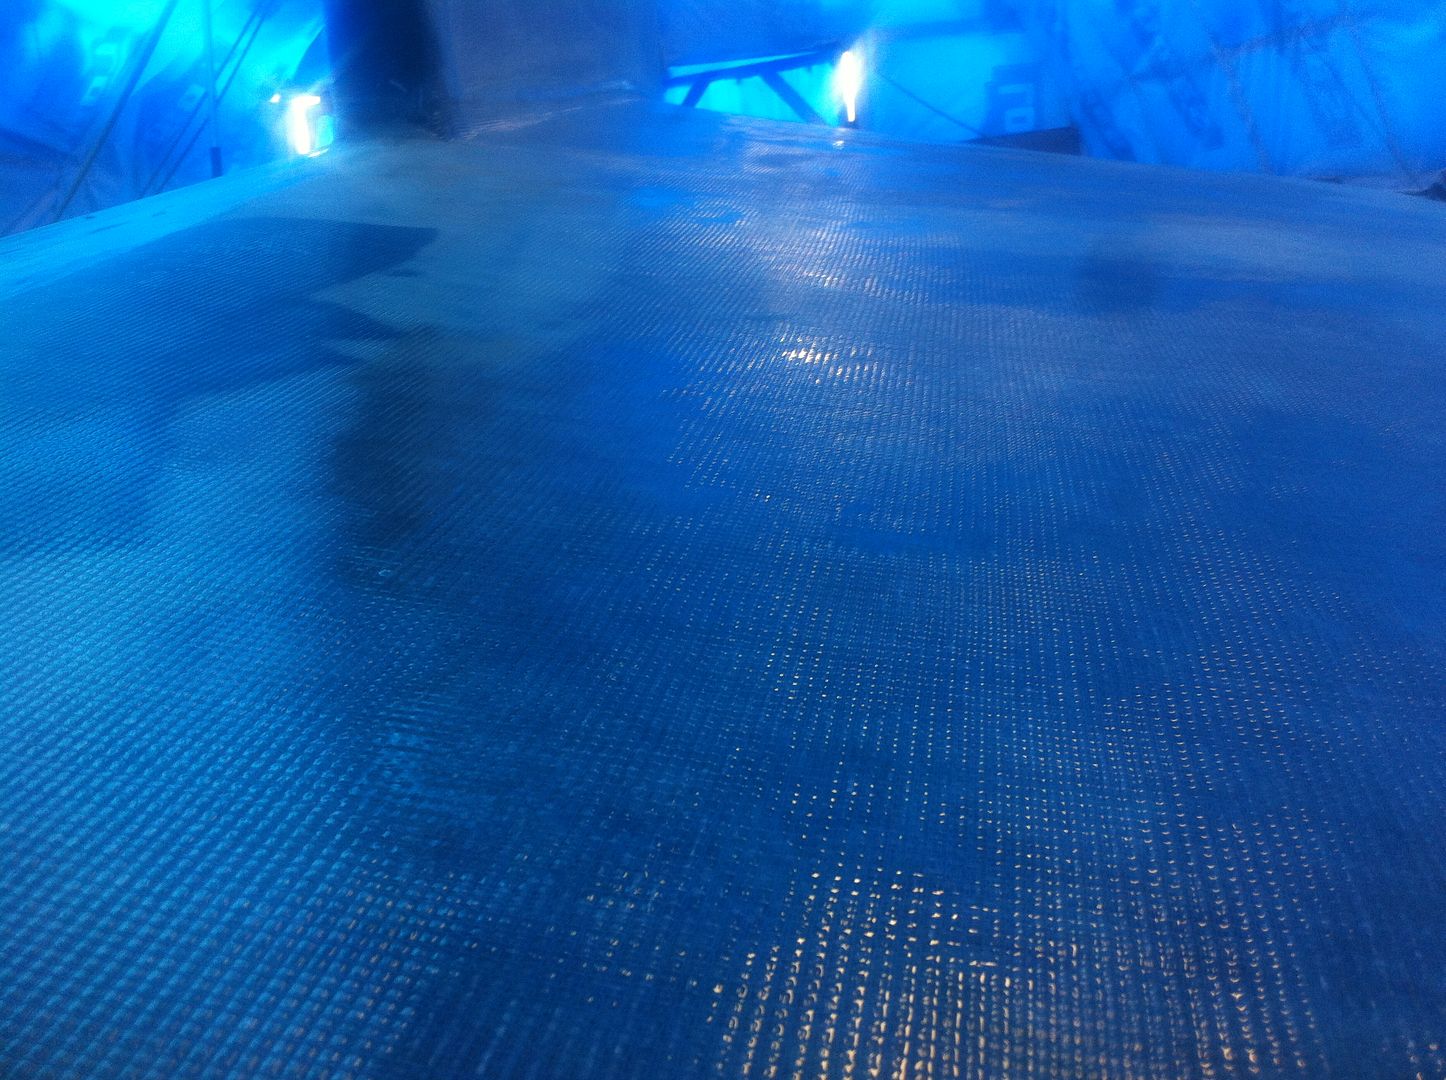
The rest of the day was spent spreading blue goop over the hull to fill the weave on the 12 oz biax fiberglass that was laid on the sides. It left a pretty prominent weave and I experienced some bubbles when I did the transom. Filling the weave should help eliminate any bubbles on the sides.
 The blue color helps me see that the weave has been filled and will act as a marker when I'm final fairing. If I hit blue I know I've sanded too far! The final color of the hull will be Royal Blue so I think it might help prevent some print-through of the weave. Not sure about that but it sure sounds good huh? Just a bit more blue goop to put on today then I'll hang the 10 oz satin weave glass on the sides and wait for a cooler day to epoxy that. Standby.

The rest of the day was spent spreading blue goop over the hull to fill the weave on the 12 oz biax fiberglass that was laid on the sides. It left a pretty prominent weave and I experienced some bubbles when I did the transom. Filling the weave should help eliminate any bubbles on the sides.
Sunday, August 25, 2013
Top Secret no more!
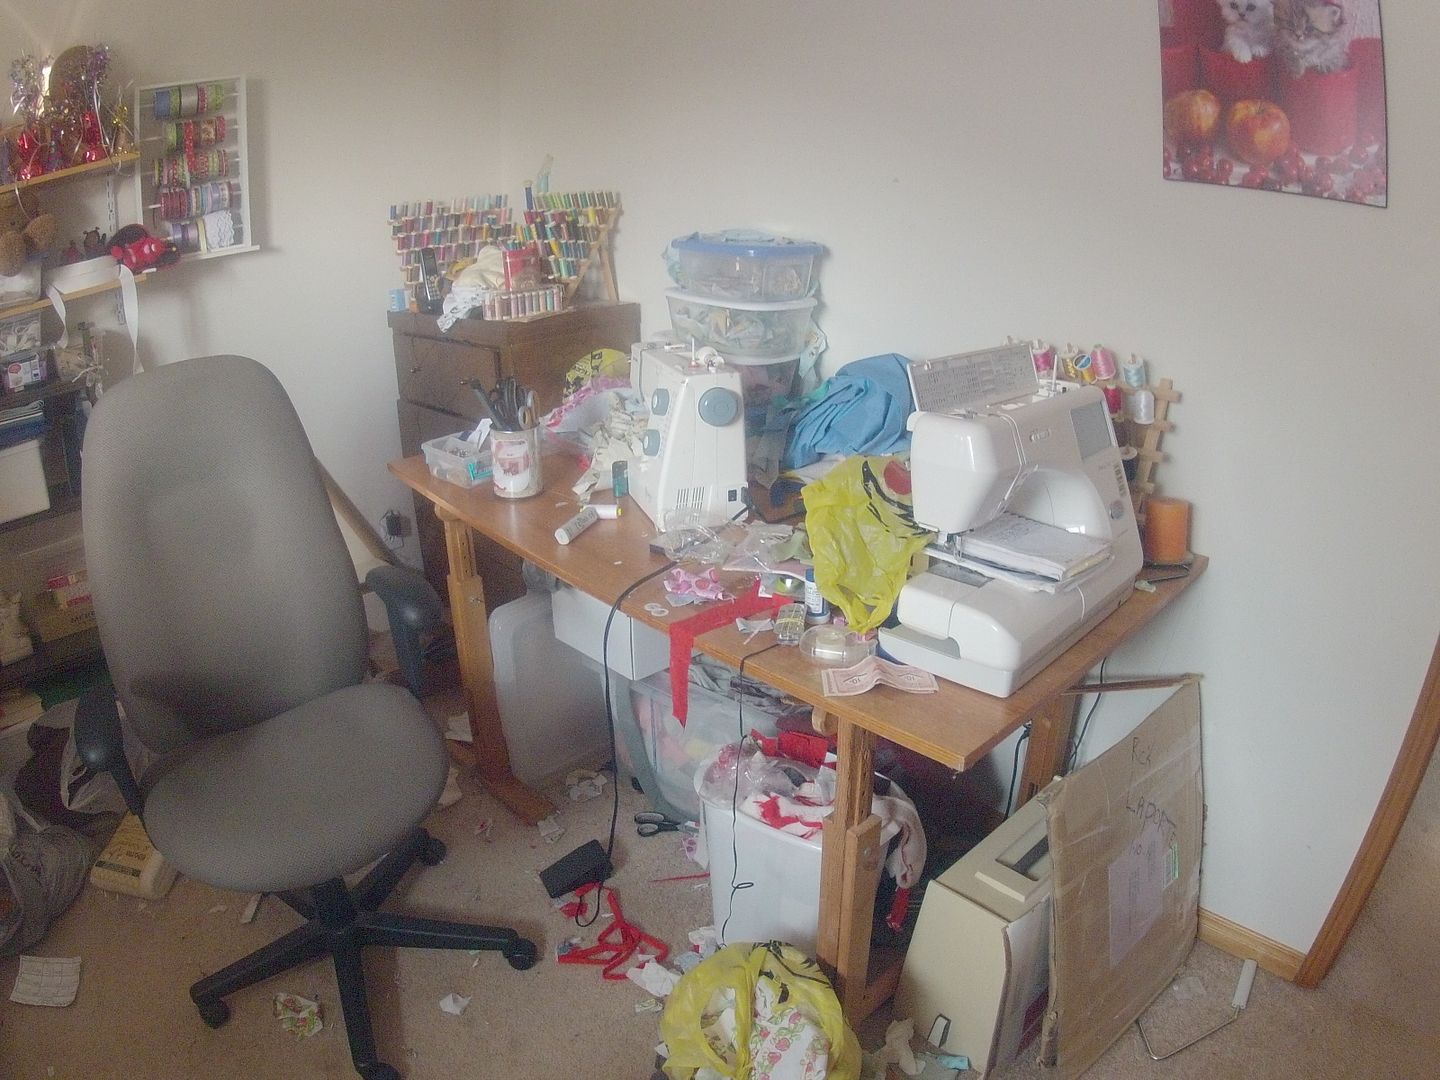
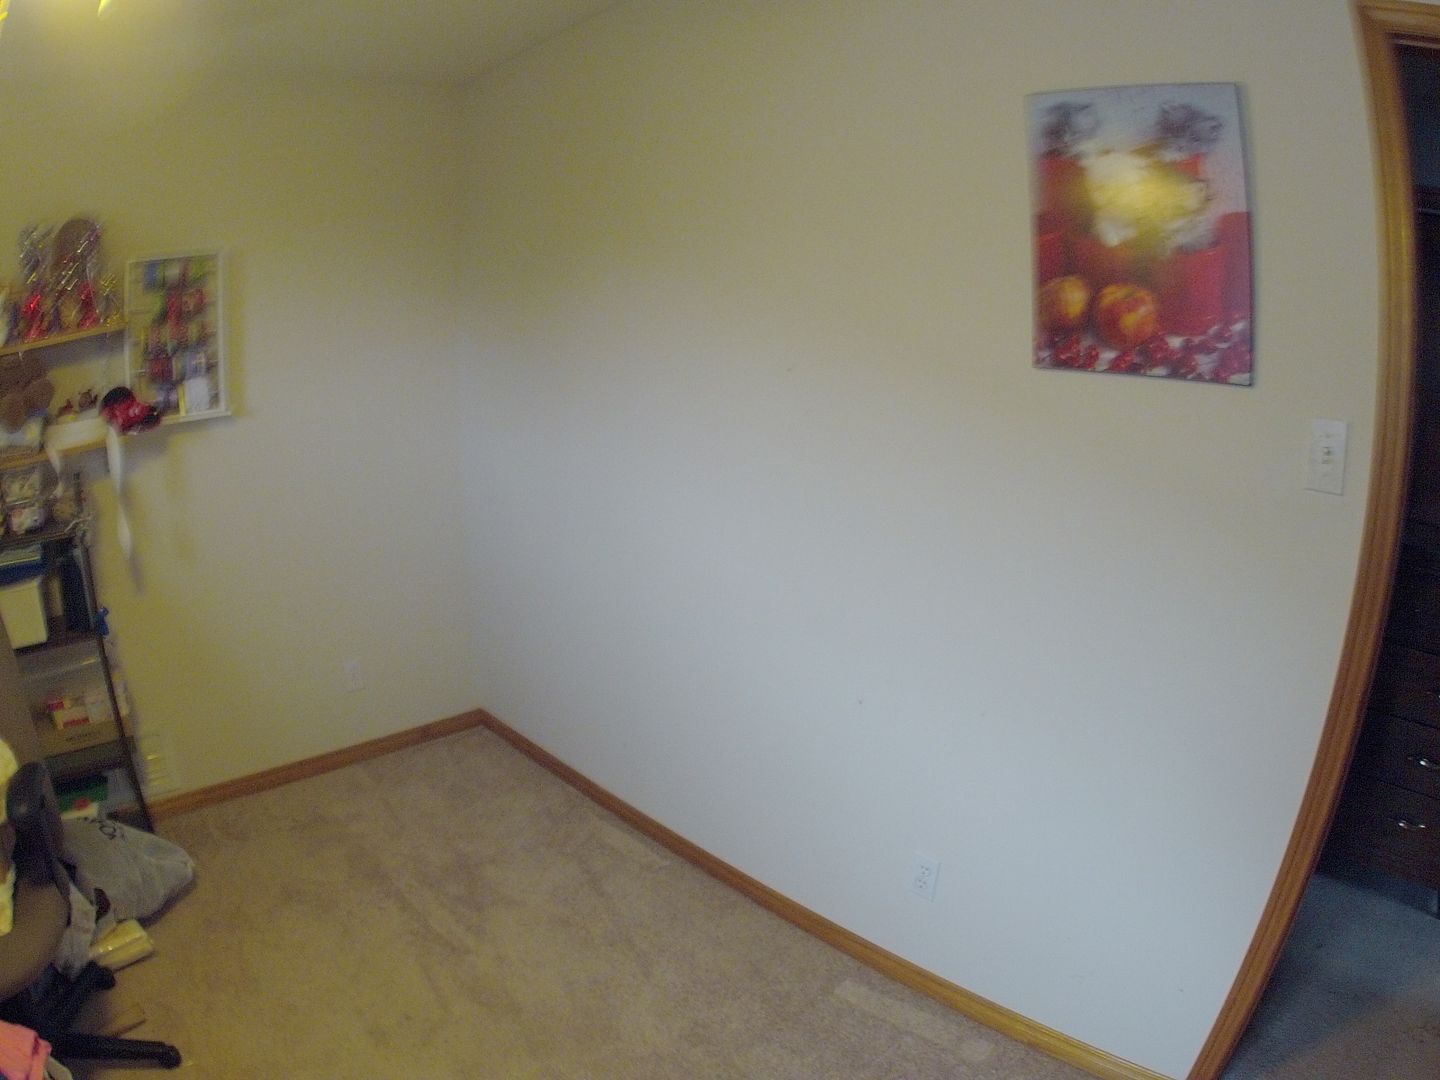
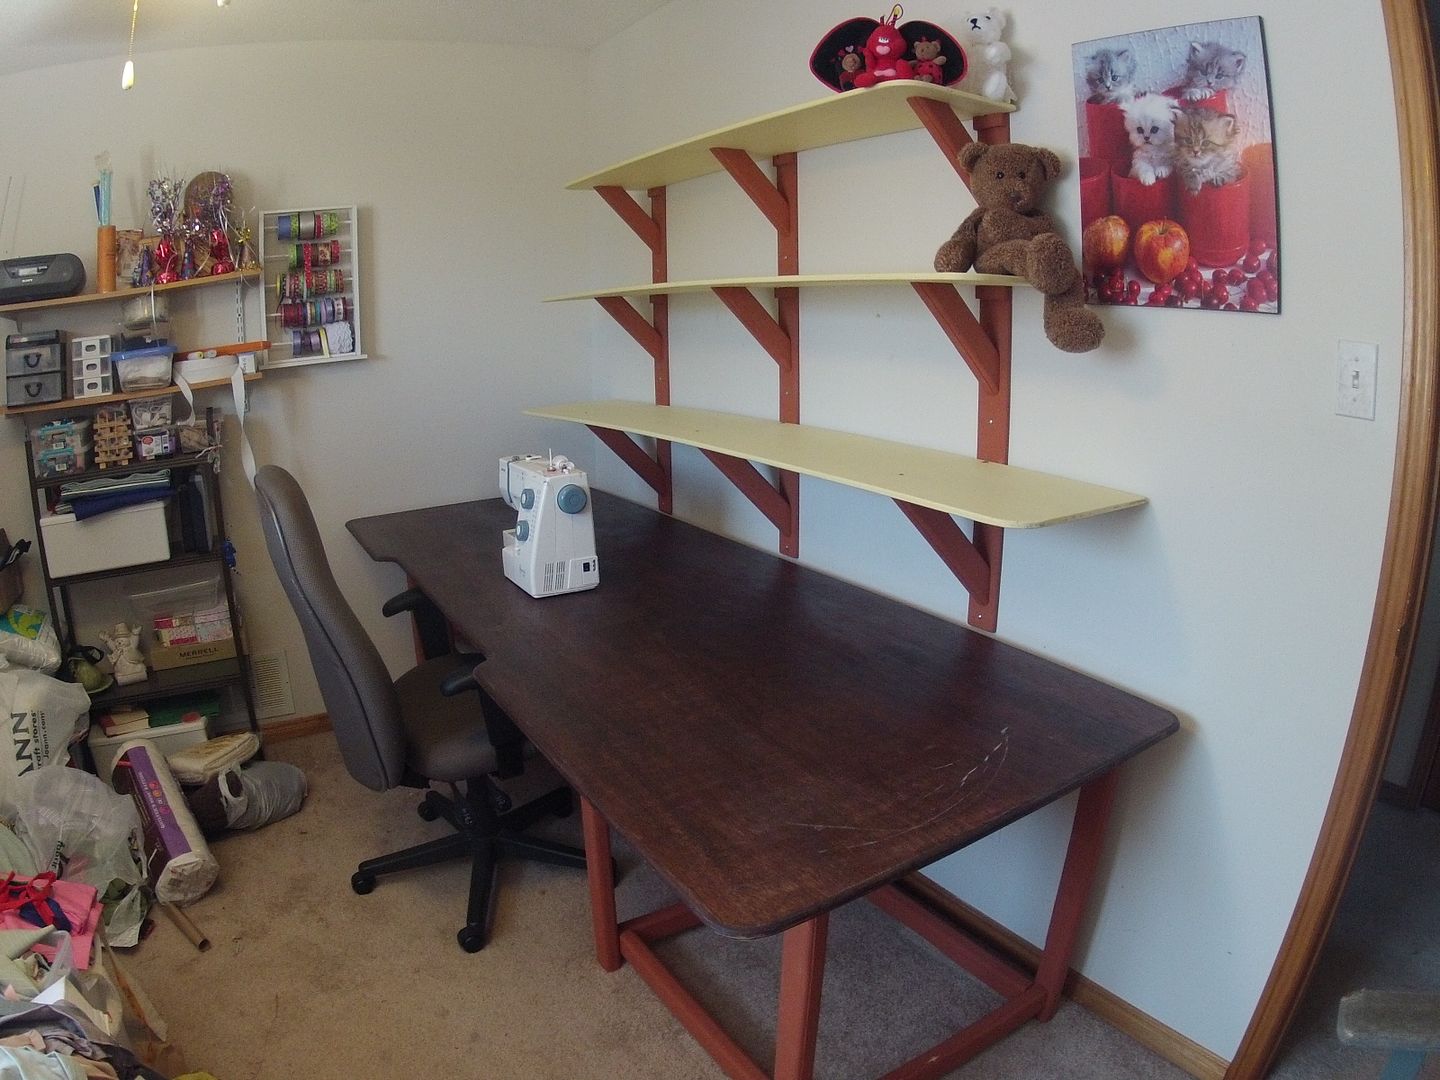
Lori's away working in San Antonio for six weeks so decided to overhaul her sewing room as a surprise. I had watched her work her magic on this double size double sided quilt. She struggled with working space in her cluttered sewing room and that's when I decided to put boat building on hold for awhile and do something about it.
 Double sided she figures she had over 80 hrs into it. So thinking what can I do to help her out. Here's her workspace before.
 I think it was Einstein said; "Only the greatest minds have the messiest desks!" :-) Well cramped workspace seems a slight under exaggeration! I have no idea how she managed to turn out a double size two sided quilt in this space.
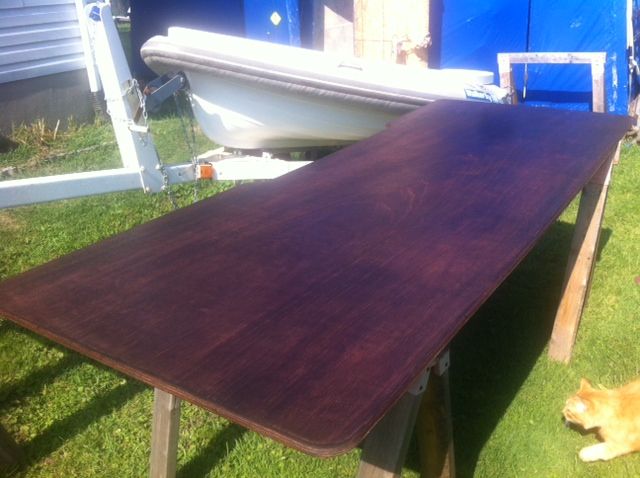
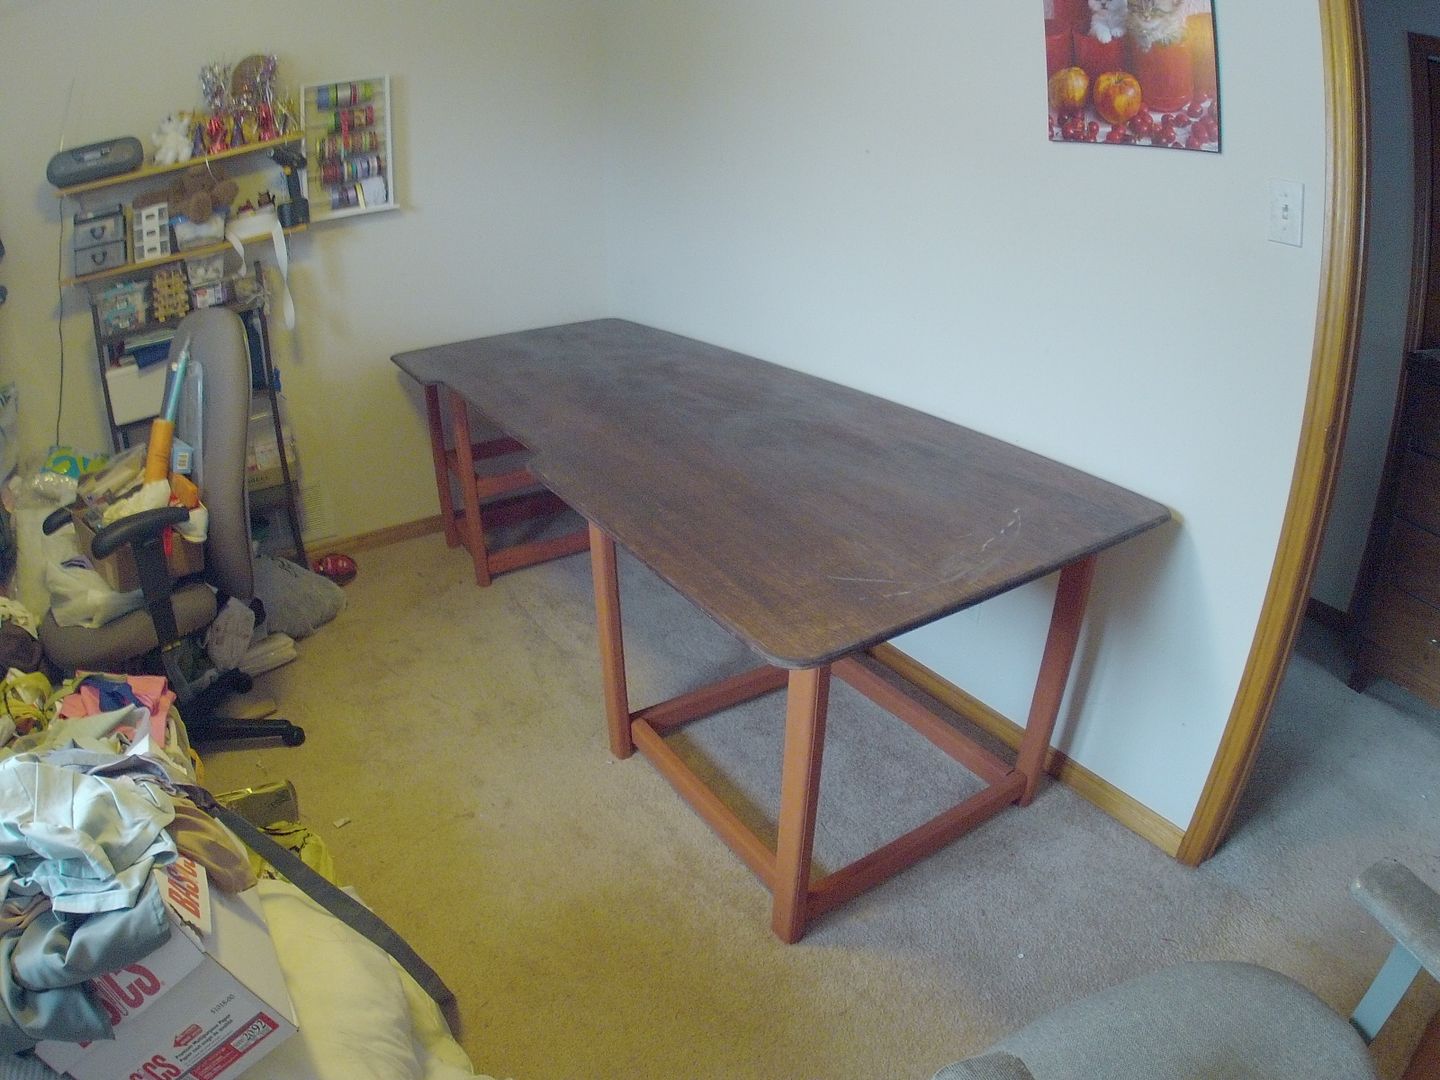
When we bought the boat kit it came with 18 extra sheets of 1/2 Meranti marine plywood. I sacrificed one piece for a table top. ( 8' x 3' ) Red mahogany stain and 4 coats of polyurathane.
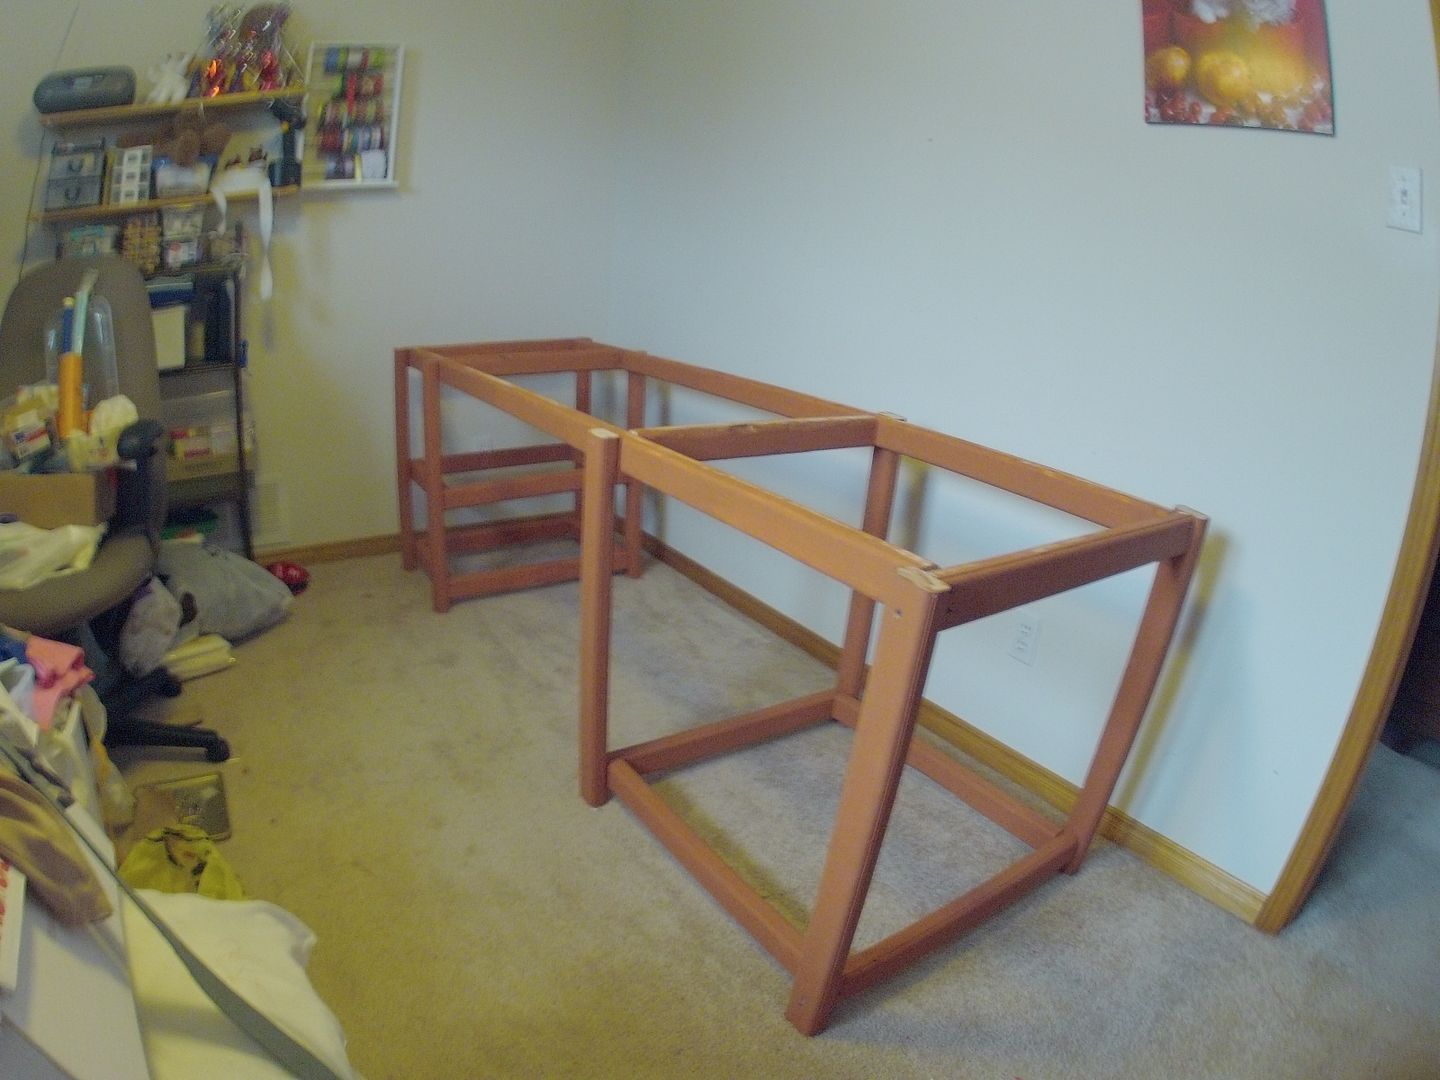
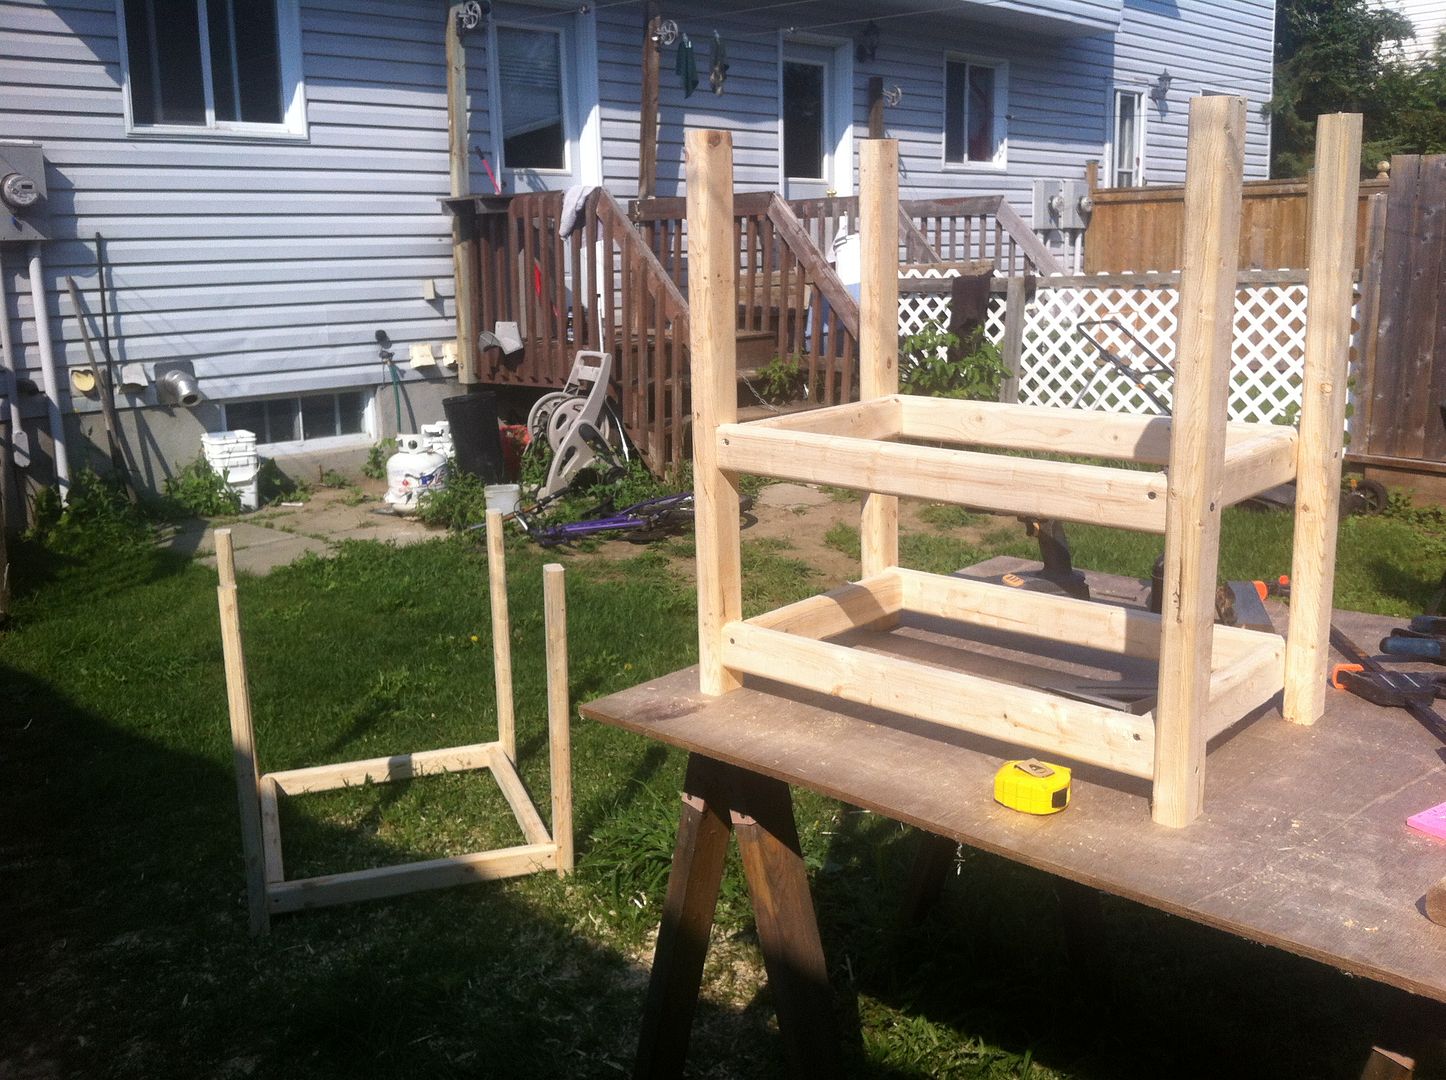
 The plan was to just build her a good & solid work bench with plenty of space to spread out. All the edges were radius'd over smooth so she can lap fabric over the edge without it catching. The frame is standard 2 X 3 construction grade lumber. I radius'd the edges with the router and sanded them smooth as well.
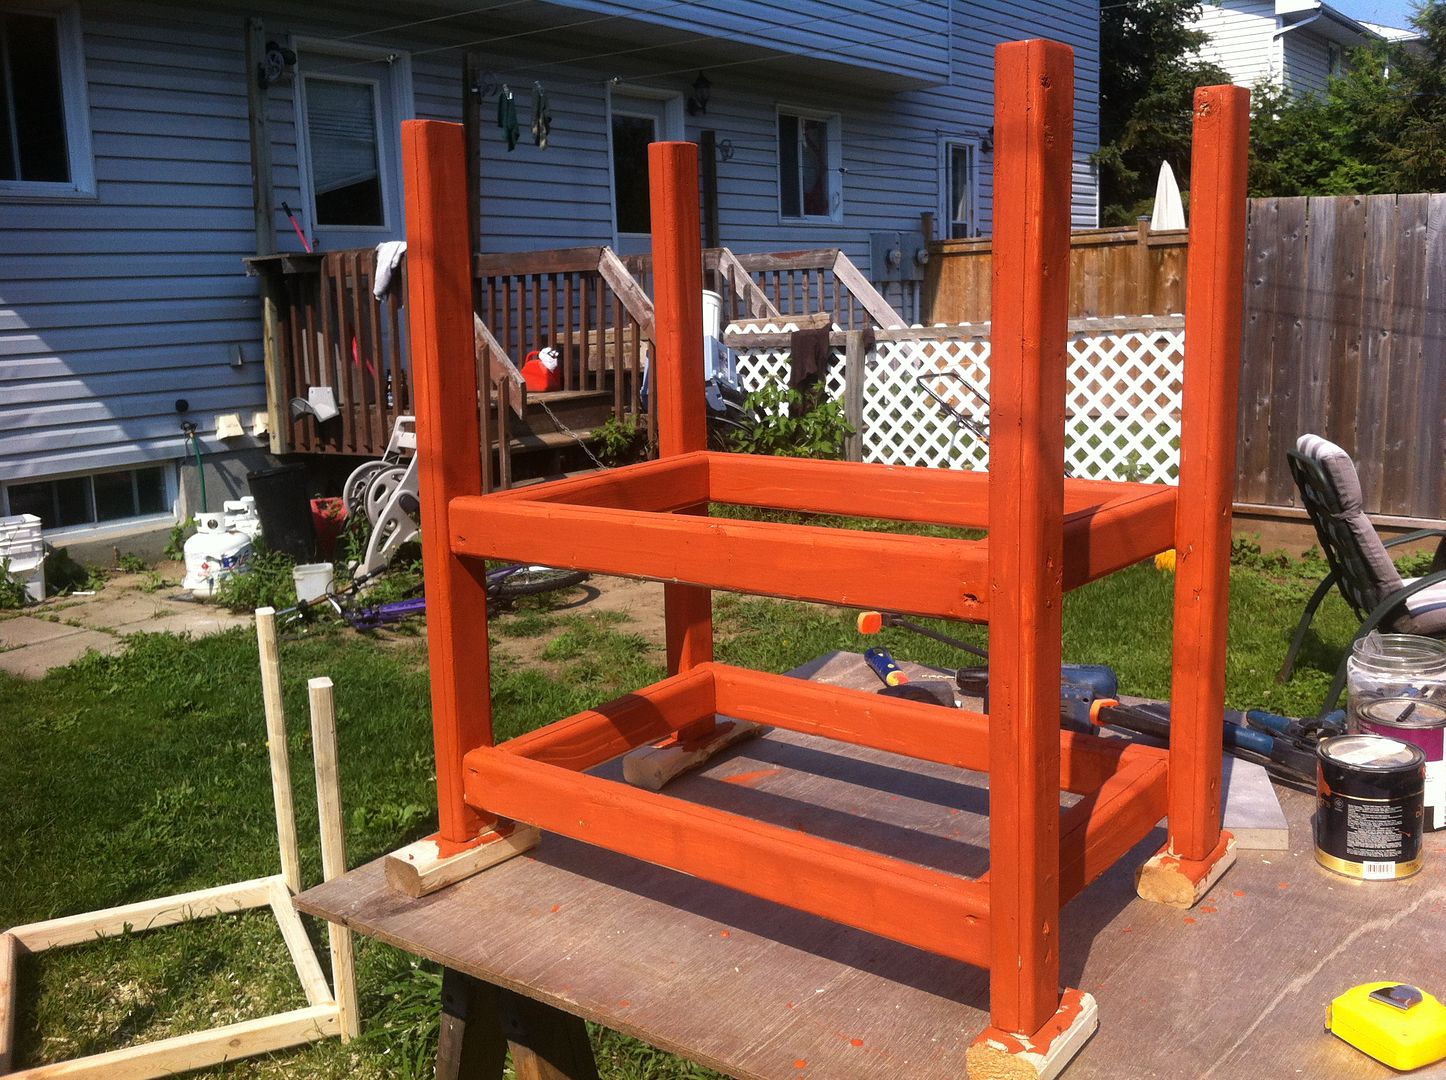
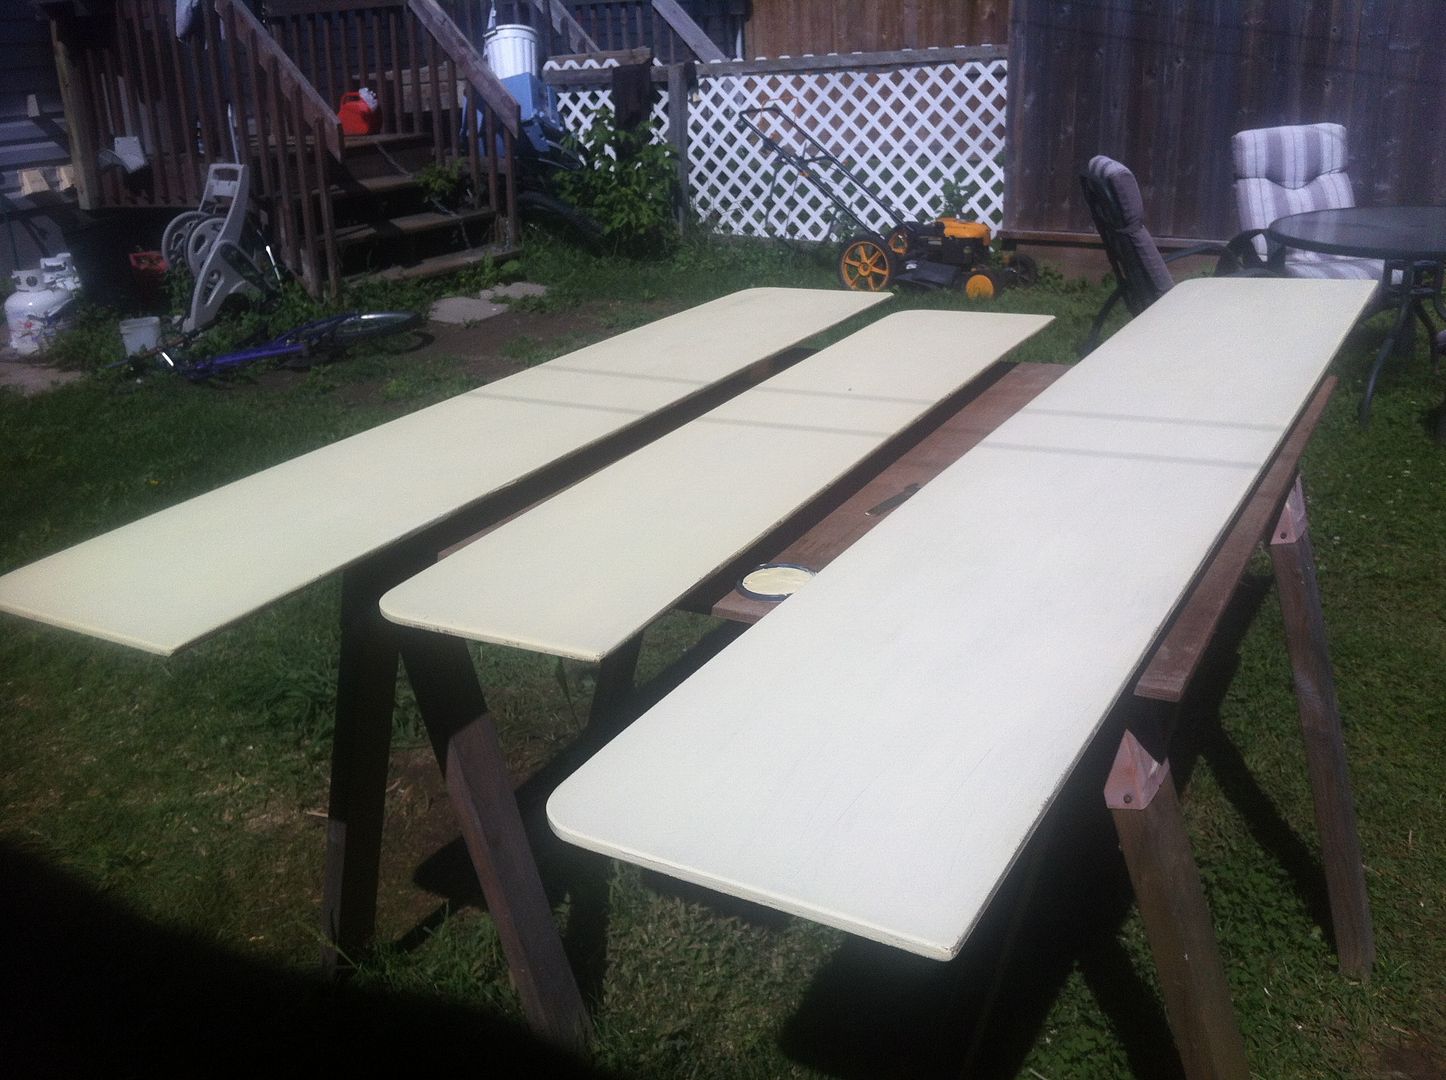
 The color came from 'found paint' from some previous unknown project! It was one of the few cans in the basement that hadn't turned into a solid lump! :-) It took me the better part of an hour to clear out the space (see before picture above). I probably picked up over 200 pins & needles from the carpet as I went!
 Assembling the base only took a few minutes. The frame is just a tad under 7' long by 32" wide.
 I brought the table top up the stairs easy enough but had a heck of a time getting it into this small room. Had to back it up into the bathroom and bend it a bit to get it through the door. Had a little run in with the ceiling fan and marked up the top. Blew one blade off the ceiling fan! *lol* Fixed that and can fix the table top easy 'nuff later.
 The next task was to make some shelves to go on the wall behind the work table. Again I used some leftover marine plywood, radius'd the corners and painted them with a different color 'found paint' from the basement. This time a yellowish buff color!
 I painted the shelf brackets the same color as the table base for a little visual variety. This isn't 'fine furniture' so it's all a bit rustic but it's functional.
 When everything was installed it looked pretty good. I was trying to keep this a secret till she gets home from San Antonio but I just couldn't. I'm horrible at keeping secrets so I let the cat out of the bag and showed her what I did. I was a little afraid she'd be pee oh'd at me for messing with 'her inventory system' but she's Ok with it. I'm sure it'll help increase productivity! :-)
 I have to cut a slot in the table top for all her power cords & foot pedals and install a power bar where it's easy to reach without having to climb under the table. I do plan to put plywood shelves under the table to keep stuff off the floor. The next task is to work on the other side of the room. I plan to build floor to ceiling shelves in the same style as the shelves above the sewing table.
Everything I used I had except the poly, stain and 2 x 3's. Total cost was about $50 and 3 days of puttering around.
I know it wasn't a huge project but I enjoyed it all the same. Thanks for looking in and standby....

When we bought the boat kit it came with 18 extra sheets of 1/2 Meranti marine plywood. I sacrificed one piece for a table top. ( 8' x 3' ) Red mahogany stain and 4 coats of polyurathane.

Everything I used I had except the poly, stain and 2 x 3's. Total cost was about $50 and 3 days of puttering around.
I know it wasn't a huge project but I enjoyed it all the same. Thanks for looking in and standby....
Saturday, August 17, 2013
What's Bluer than Blue?
Super Blue!
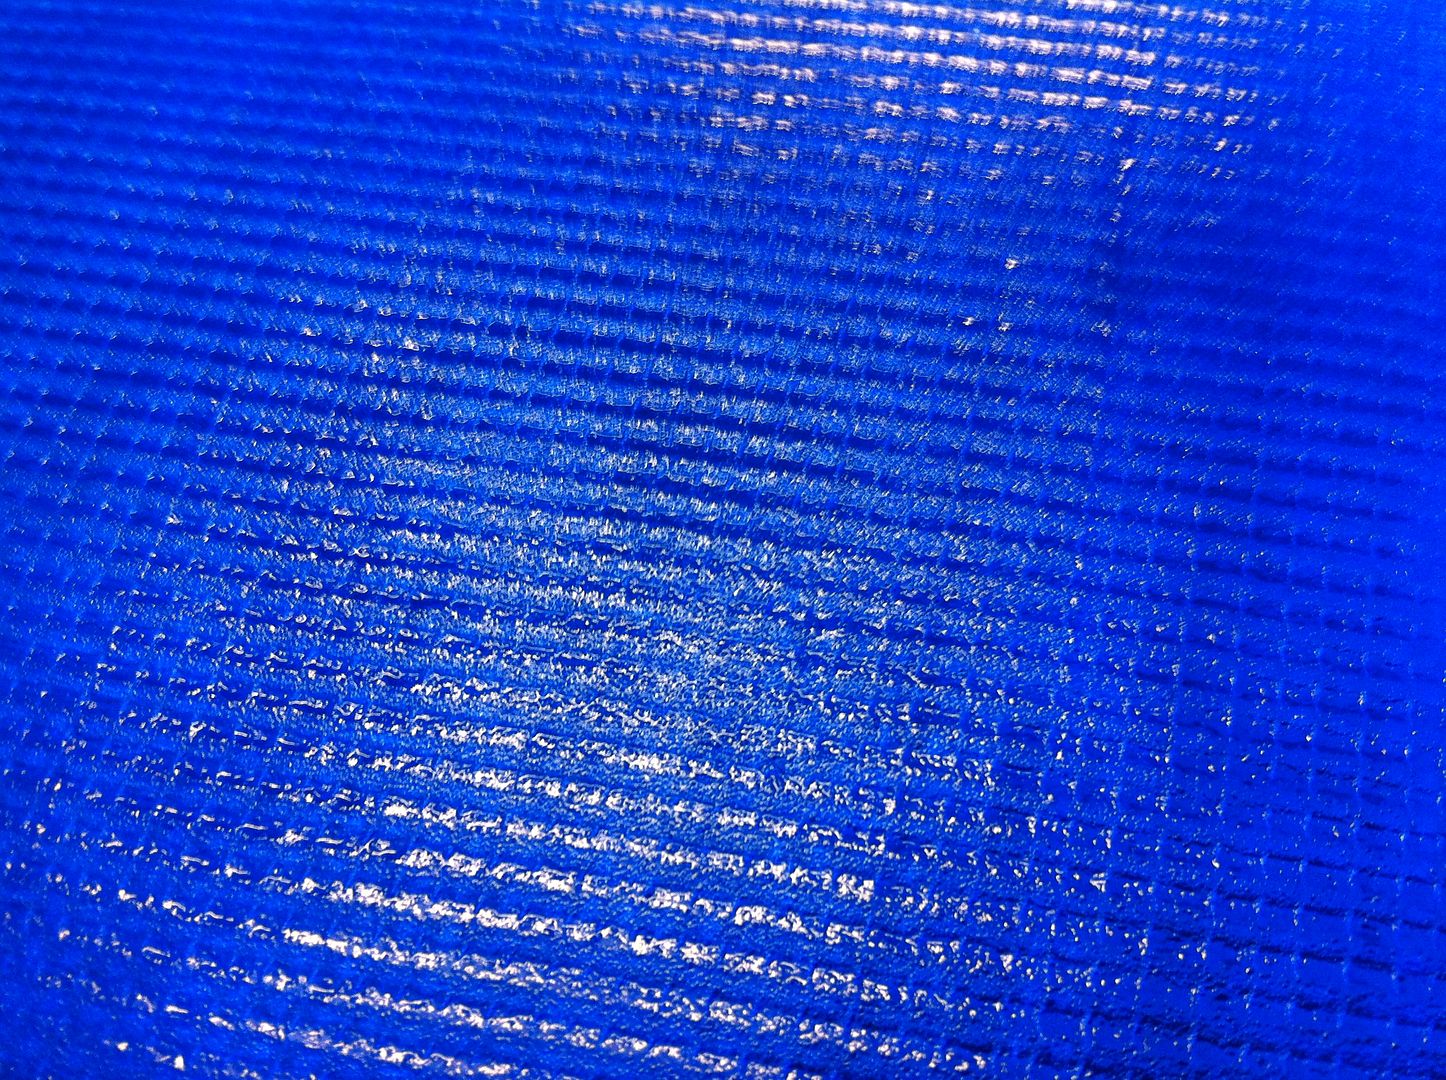
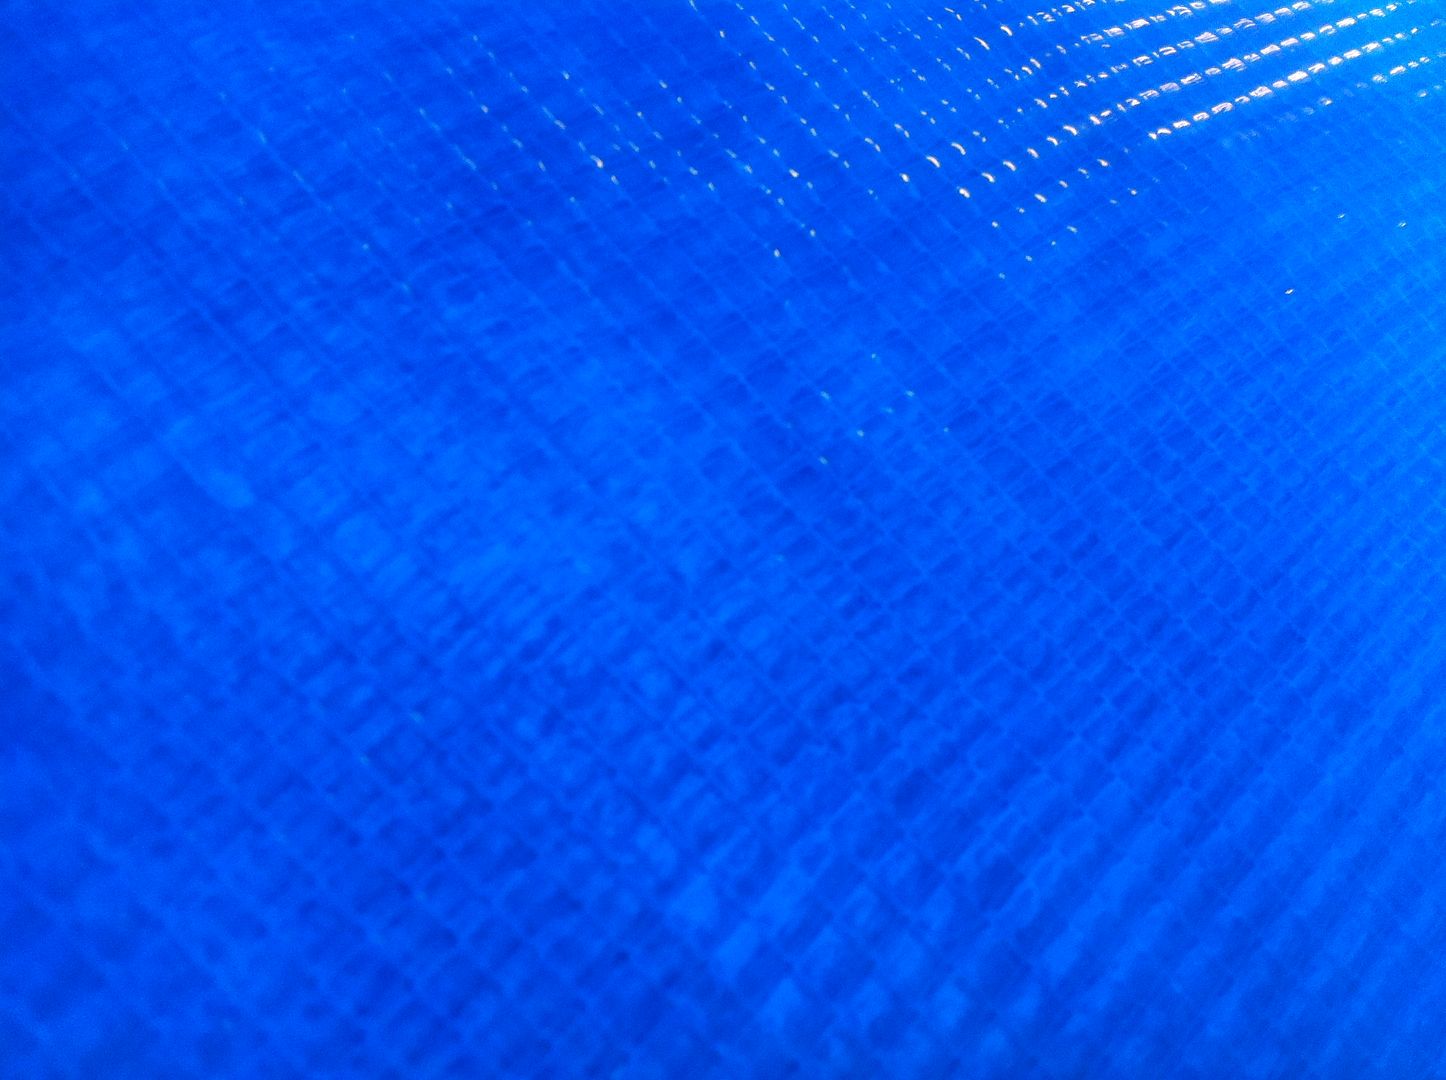
 Ok, these pics aren't blue because I used my iPhone. They're blue because I tinted the epoxy blue!
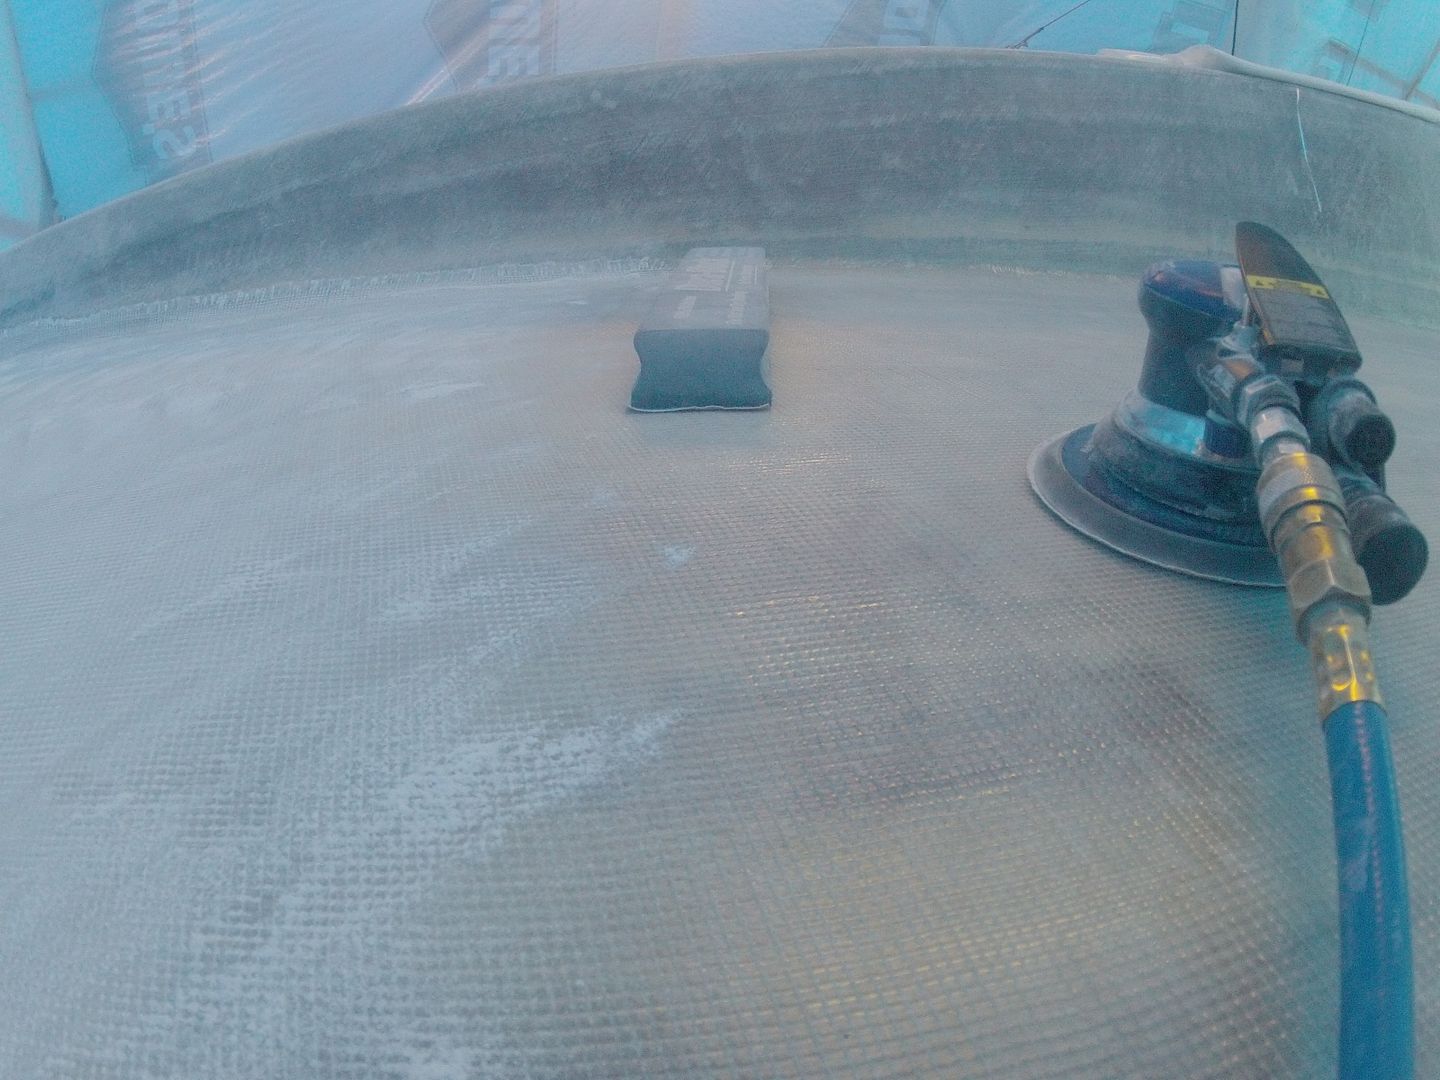
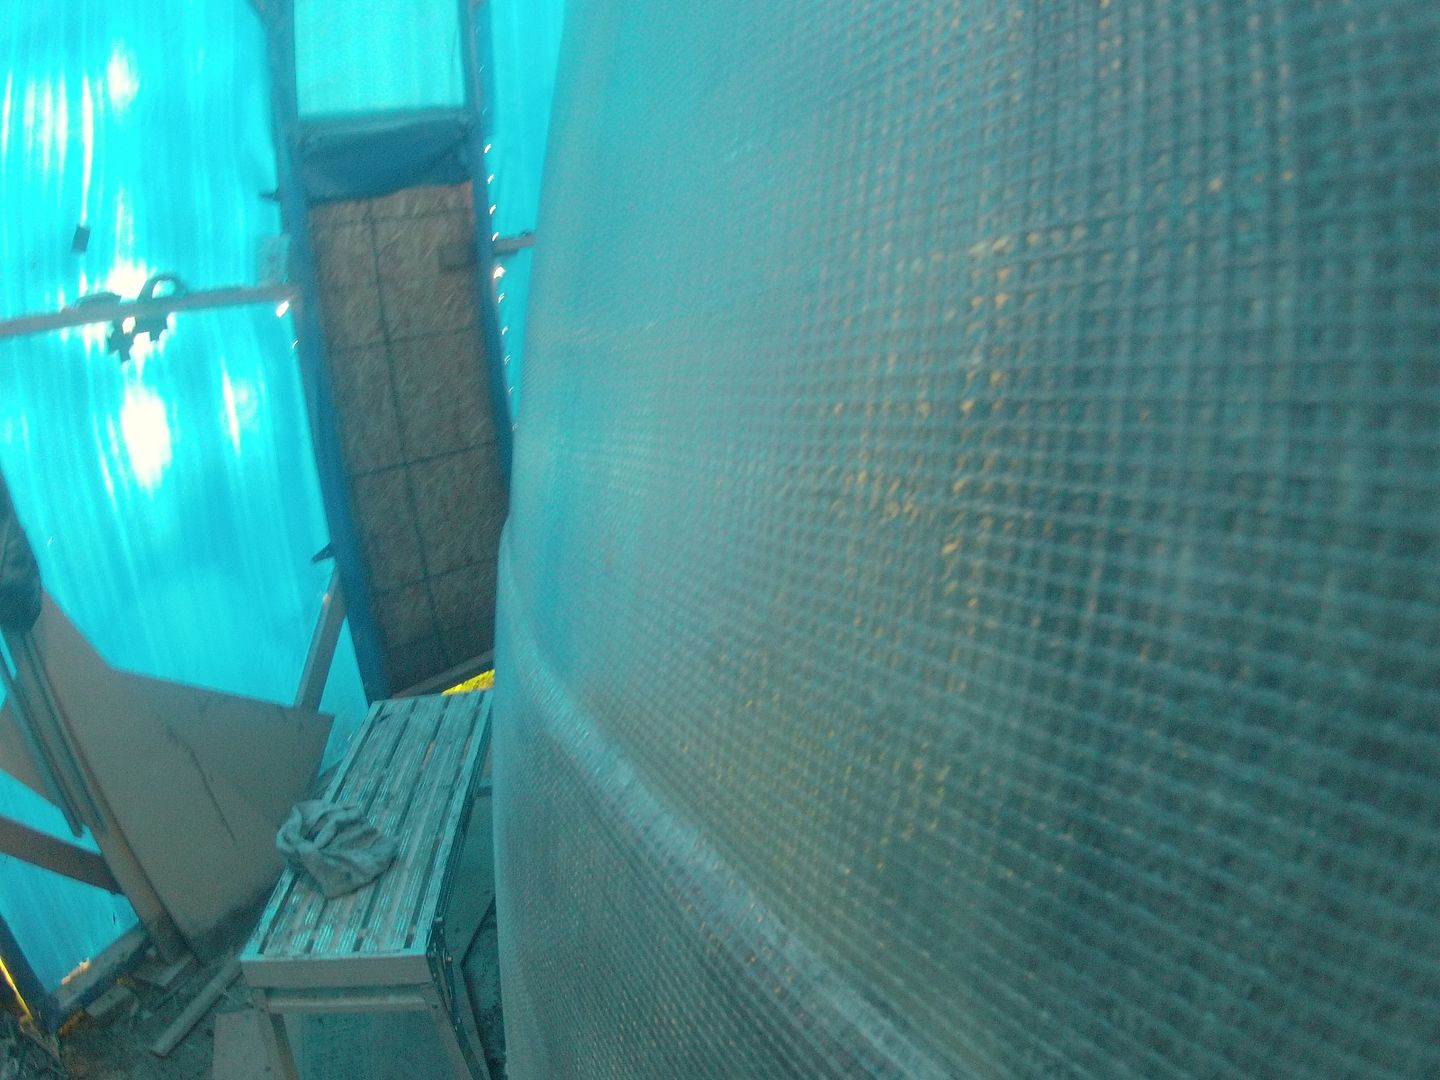
Why would I do that you may ask? Well I was working on a recipe for a light filler to pre-coat the hull before I lay on the next layer of fiberglass. The underlying glass, 12 oz biax, leaves a pretty deep void in the weave. I believe this is what caused the bubbles on the transom. I don't want any bubbles on the sides so I decided to try to fill the weave first. I mixed up two batches w/o tint and couldn't really see if it was working. The light in the shed is really low contrast. So the next batch I tinted it blue and could see that my third recipe works well.
 This will get a light sanding prior to applying the next layer of 10 oz satin weave fiberglass. Likely sometime next week. Temps are on the rise again and I only have medium hardener so not taking any chances. Till then there'll be some sanding and fairing going on. Standby.....

Why would I do that you may ask? Well I was working on a recipe for a light filler to pre-coat the hull before I lay on the next layer of fiberglass. The underlying glass, 12 oz biax, leaves a pretty deep void in the weave. I believe this is what caused the bubbles on the transom. I don't want any bubbles on the sides so I decided to try to fill the weave first. I mixed up two batches w/o tint and couldn't really see if it was working. The light in the shed is really low contrast. So the next batch I tinted it blue and could see that my third recipe works well.
Friday, August 16, 2013
I apologize....
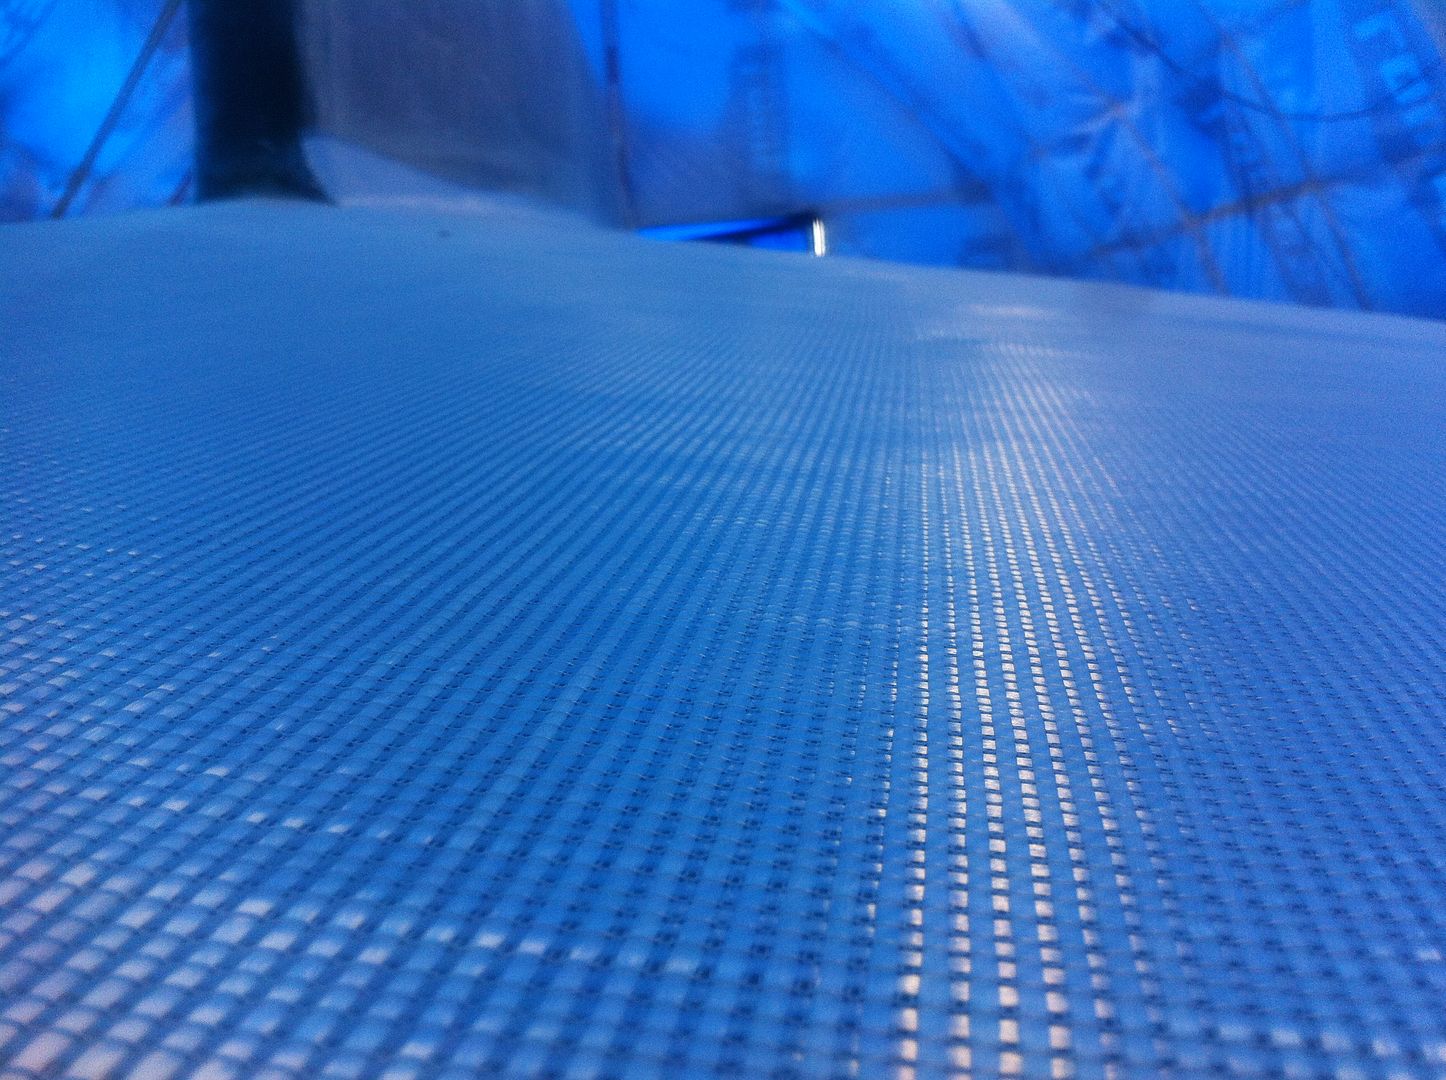
for the blue tinted pictures. I forgot to take my GoPro out to the shed today so relied on the iPhone for pics. Anywho, it was a short morning in the shed so all I got done was the first layer of fabric laid out on the keel and trimmed.
 This is the 12 oz biax 0/90, second last layer on the keel. Another layer of 10 oz satin weave will go over top of that. I hope to do both layers at the same time. We'll see how it goes.
 I'm just keeping my eye on the weather for slightly cooler temps. The medium hardener I have works pretty quick and I'm just a little uncomfortable using it when I have to climb up and down from the top of the boat to mix it up. If I can find an extra set of hands I'd do it no problemo. Tomorrow I'll lay out the last layer and get it trimmed up. Standby...

Thursday, August 15, 2013
I hope I never have to do that again
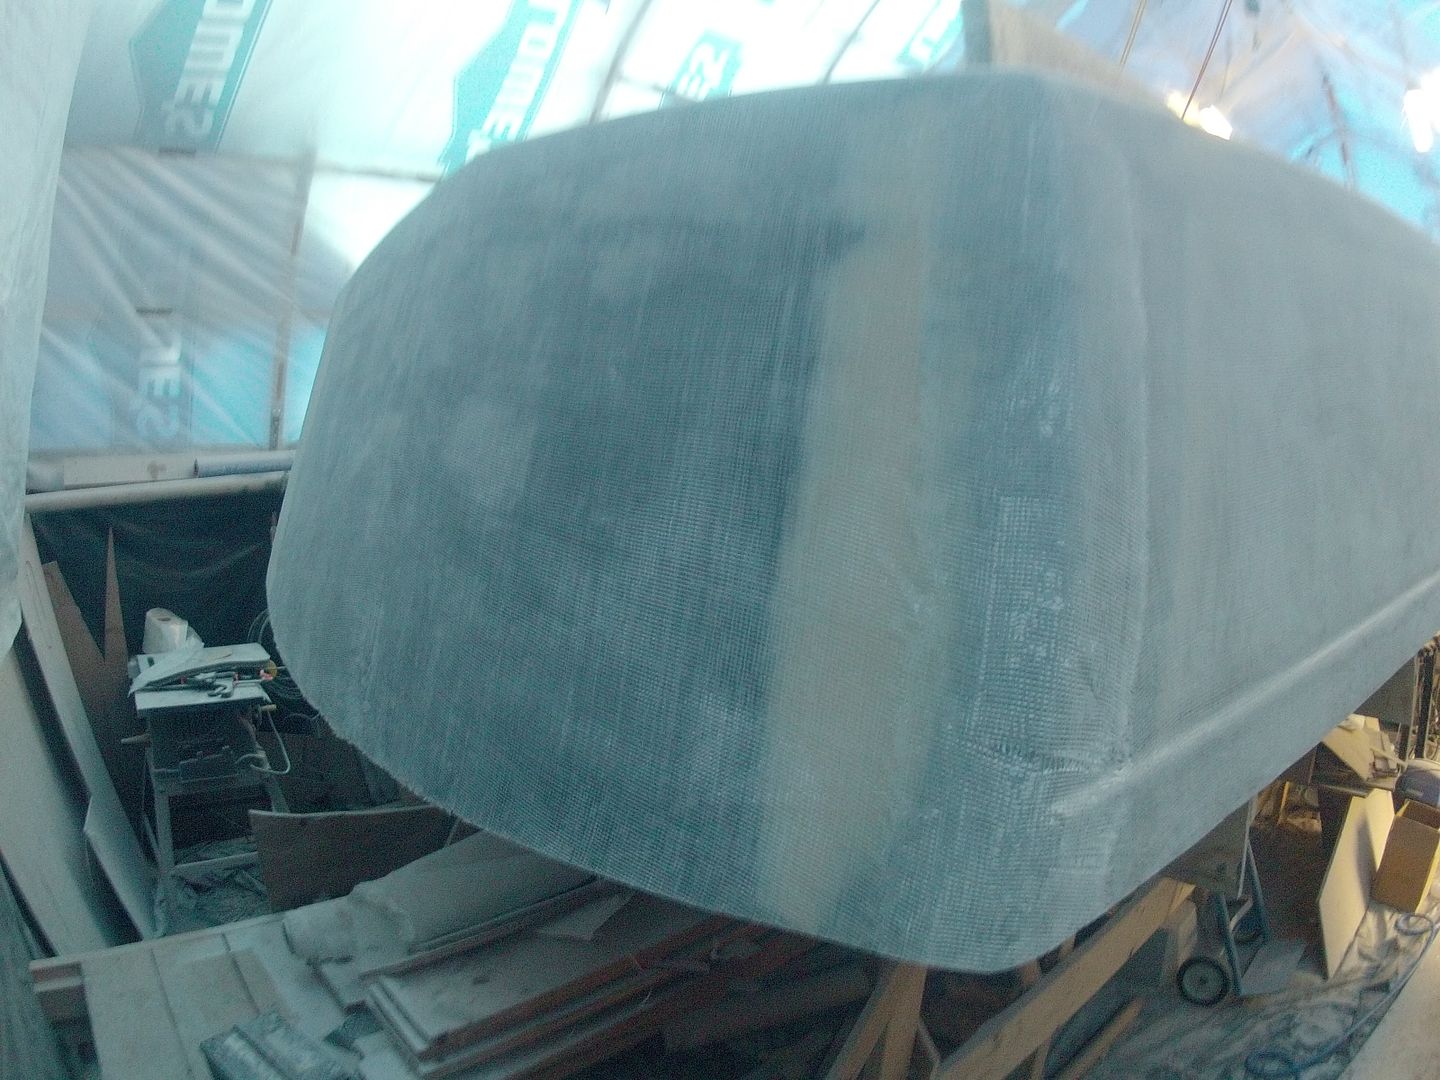
Pretty much four complete days of sanding to do the sides, transom and bottom panels! Almost 300 sq ft of fiberglass. I hope for my sake I never have to do that again! But.......... you know? it's likely I will but not hard sanding like this was. Once the last layer of fiberglass is on and the fairing done a light sanding will be required prior to primer.
 Port side (aka The Bowling Lane) sanded ready for fairing. Starboard side (aka The Landing Strip) is done as well. Finished that up just a few minutes ago. All in all it was a hard slog with pretty much every sander I have except the 4" grinder with the 36 grit flapper thingy! That thing scares me! ;-)
Tomorrow might be a few adjustments with the sander before I wipe it down and lay out the fabric for the keel. I think I'm going to try to do both layers at the same time. We'll see how that goes. Shower time... Standby.....
Tomorrow might be a few adjustments with the sander before I wipe it down and lay out the fabric for the keel. I think I'm going to try to do both layers at the same time. We'll see how that goes. Shower time... Standby.....
Tuesday, August 13, 2013
There's a lot I don't know
There's a lot I don't know about building this boat and the Internet is a wealth of information. There's also quite a few fella's out there that kindly contribute their time and expertise to help us ijjits get past the lil' learning hurdles that we have to jump in order to 'not make too big a mess' of our projects. To them I tip my hat and send huge thanks!
Anywho that being said today's task was to clean up the transom and lay on the last layer of fiberglass. I decided to do the transom in case I mess it up. I'll be putting on a layer of 10 oz satin weave fiberglass. I've never worked with this fabric before and if I totally mess it up it'll be in a less conspicuous place (I hope).
 939 grams (33oz) of 10 oz fiberglass (so just a tad over 3 sq yds) weighted out prior to putting it on the transom. This will give me an idea of how much epoxy I'll need. Update: I used just a tad over a litre of epoxy (1000 grams).
The rest of the morning's activities were recorded as another epic home movie! Enjoy!
I'm not totally enthused with the results. As much as I rolled and squeegeed I still ended up with a few small bubbles likely caused by the deep weave of the fabric.


I'm hoping this won't be too much of an issue. I'm glad I started on the transom and learned a bit about this fabric and how it reacts before I start on the sides. I'm thinking two coats of epoxy with some cabosil before I lay on the fabric might fill the weave and help eliminate some of these bubbles.
Today's tune from the Boat Shed is Mötley Crüe - Same Old Situation (which kind of applies to my current situation!)
Standby....
Anywho that being said today's task was to clean up the transom and lay on the last layer of fiberglass. I decided to do the transom in case I mess it up. I'll be putting on a layer of 10 oz satin weave fiberglass. I've never worked with this fabric before and if I totally mess it up it'll be in a less conspicuous place (I hope).

The rest of the morning's activities were recorded as another epic home movie! Enjoy!
I'm not totally enthused with the results. As much as I rolled and squeegeed I still ended up with a few small bubbles likely caused by the deep weave of the fabric.

I'm hoping this won't be too much of an issue. I'm glad I started on the transom and learned a bit about this fabric and how it reacts before I start on the sides. I'm thinking two coats of epoxy with some cabosil before I lay on the fabric might fill the weave and help eliminate some of these bubbles.
Today's tune from the Boat Shed is Mötley Crüe - Same Old Situation (which kind of applies to my current situation!)
Standby....
Monday, August 12, 2013
Five Hours
of sandinsanity today. I'm pooched. Sides are done. Working on bottom. Probably another two days of work before more glass goes on the keel.
Shower time!
Standby.
Shower time!
Standby.
Saturday, August 10, 2013
More long chain epoxy molecules
have given up their lives to my dreaded sanders! Sorry no pics or home movies. Just plenty of epoxy dust flying around today. Not as much as yesterday. Just didn't have the umph that I though I had. Something like that. Tomorrow's a day of rest and a cruise in the IROC. Back to the sandinsanity on Monday.
Today's Boat Shed Tune kinda describes my life lately. "Crazy Circles" by Bad Company
Standby....
Today's Boat Shed Tune kinda describes my life lately. "Crazy Circles" by Bad Company
Standby....
Friday, August 9, 2013
I learned a few things today
1. You don't rest an air sander on your knee,
2. You especially don't do it when it's still spinning,
3. You really especially don't do it when you're wearing shorts, and
4. Epoxy sanding dust makes a good blood coagulant! :-(
I think 6 hrs is about my limit for this manual labor crap! *lol* I decided to keep my feet on the ground today and do what I could from there. Gives the ole' legs a chance to rest. I managed to get the transom and 4/5 ths of the port side sanded.
 Thank Gawd the sides were a lot easier to sand than the bottom panels. I don't know why, maybe because the binding threads were standing up more or something. The block sander takes a lot of muscle to make it work effectively and you can really tell when the sandpaper isn't cutting anymore it slips and slides all over the place. I think I used three strips of 80 grit going down the transom and whole side. It's now smooth as a baby's tuckas!
 At the rate I'm going I figure I still have 3 full days of sandinsanity ahead before I can lay out the last two layers on the keel and one on the sides. It's getting there, slowly but it's still progress in the right direction.
Here's the lil' home movie I was working on yesterday. Just trying to illustrate the amount of effort involved in cleaning up 1 sq ft of glass in prep for the next layer to go on top. It's quite a bit of physical effort and my arms feel like lead after 6 hrs of this.
Today's Vid from the Big Blue Boat Shed (BBBS) is a veritable feast for the eyes (Simone Simons is pretty hot!) and the ears! Music in the boat shed is very important, to me anyways. I have a very diverse taste in music and Daniel turned me onto this band. Quite amazing if you ask me! :-) You're definitely not going to here this on BobFM or Chez! Loosers! ;-)
Stay tuned. More sandinsanity tomorrow!
2. You especially don't do it when it's still spinning,
3. You really especially don't do it when you're wearing shorts, and
4. Epoxy sanding dust makes a good blood coagulant! :-(
I think 6 hrs is about my limit for this manual labor crap! *lol* I decided to keep my feet on the ground today and do what I could from there. Gives the ole' legs a chance to rest. I managed to get the transom and 4/5 ths of the port side sanded.

Here's the lil' home movie I was working on yesterday. Just trying to illustrate the amount of effort involved in cleaning up 1 sq ft of glass in prep for the next layer to go on top. It's quite a bit of physical effort and my arms feel like lead after 6 hrs of this.
Today's Vid from the Big Blue Boat Shed (BBBS) is a veritable feast for the eyes (Simone Simons is pretty hot!) and the ears! Music in the boat shed is very important, to me anyways. I have a very diverse taste in music and Daniel turned me onto this band. Quite amazing if you ask me! :-) You're definitely not going to here this on BobFM or Chez! Loosers! ;-)
Stay tuned. More sandinsanity tomorrow!
Thursday, August 8, 2013
My Own Private Hell
I knew after the success of the previous days epoxy job would come more sandinsanity. The fabric edges would have to be feathered out and the bottom/sides would have to be roughed up for the next and last layer of fiberglass.

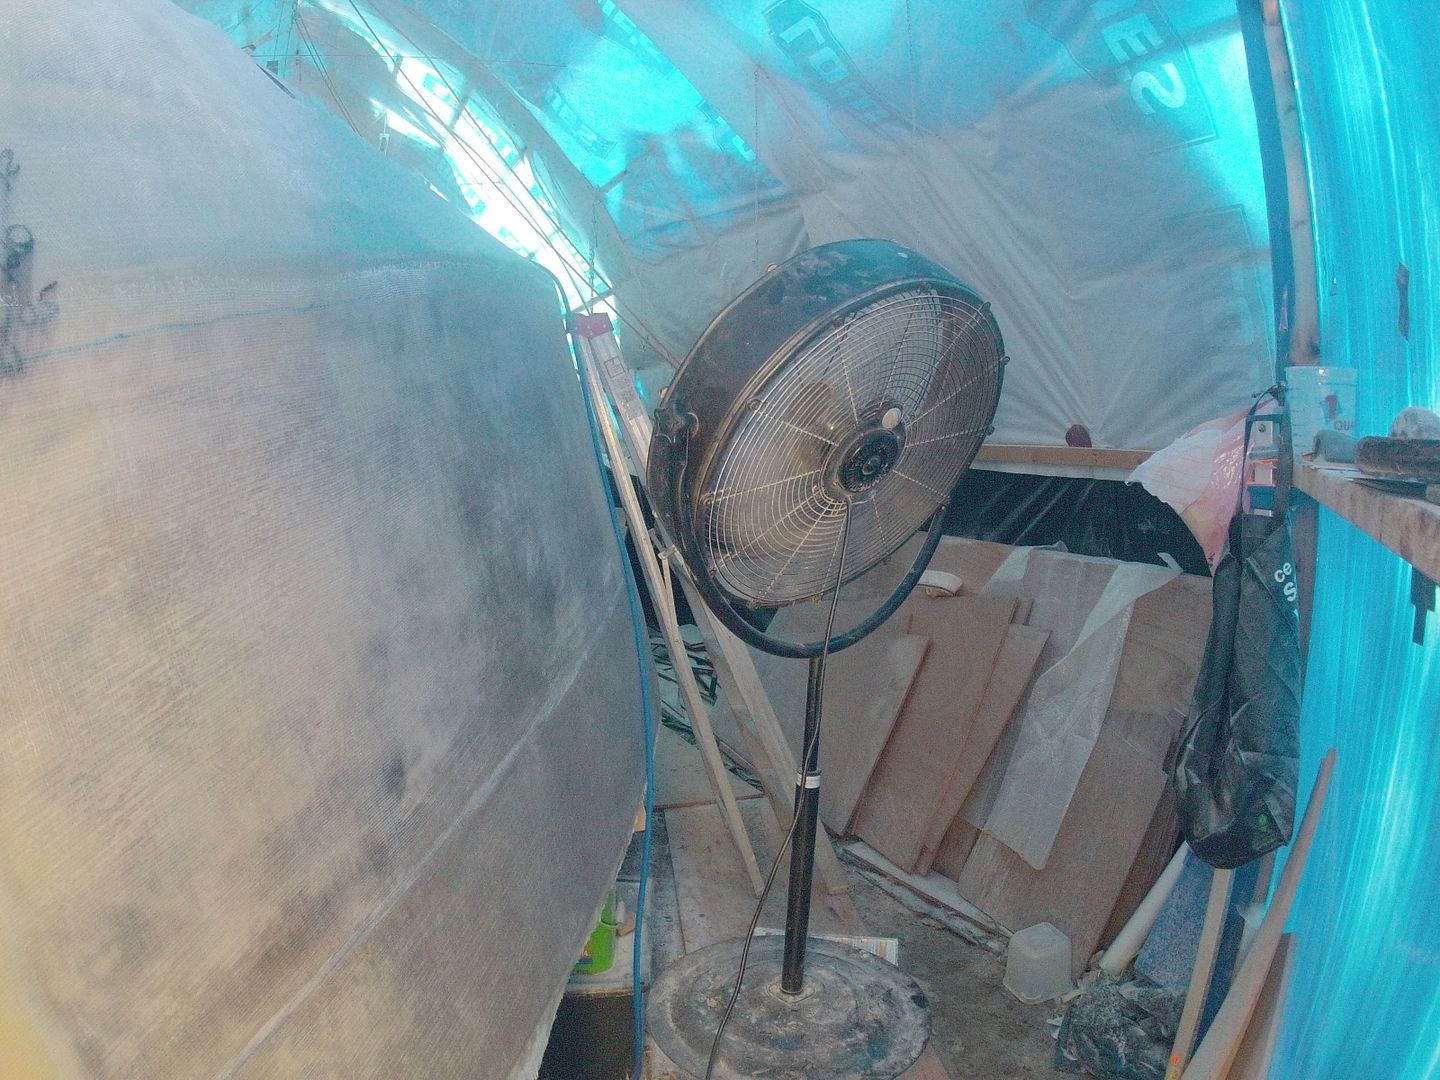
I started out going gangbusters at 08:00 and clipped along for a couple of hours getting about 1/3 of the way down one side. After the first break things kinda slowed down as the temperature shot up in the shed. At one point it was 85 F and climbing. I scrambled the fans to get some air moving.
Probably the best $40 I've ever spent at Lowes. "Big BJ" can move a lot of air. I'm half contemplating getting another next time I cross the river.

My new air sander hasn't quite got the guts the old one had. That and having to use 60 grit instead of 40 slows the process down quite a bit. I've got to get the binder threads down flat and it takes a bit of doing with both the air sander and the block sander. The block sander is very efficient and removes a lot of material.

So after 6 hours of sandinsanity I made it all the way down one side about 2/3's of the way up the bottom panel. I'll have to climb on top to do the rest. Putting that off for a cooler day. It's at least 5 to 10 degs warmer up there!

One of my friends on Facebook asked me why I sand so much. Well that's pretty simple. This thing is too big for one person to be able to work wet on wet (chemical bond before 24 hrs) and I have to let the epoxy cure between layers. The fabric leaves a hard edge that has to be feathered out so I don't end up with voids when the new layer bridges the hard edge and the fiberglass has to be sanded after 24 hrs to give the new epoxy something to grab onto (mechanical bond). It also helps to eliminate any small imperfections that might print through.
The downside is you end up sanding off a lot of expensive material you just put on. Most of it ends up like this.

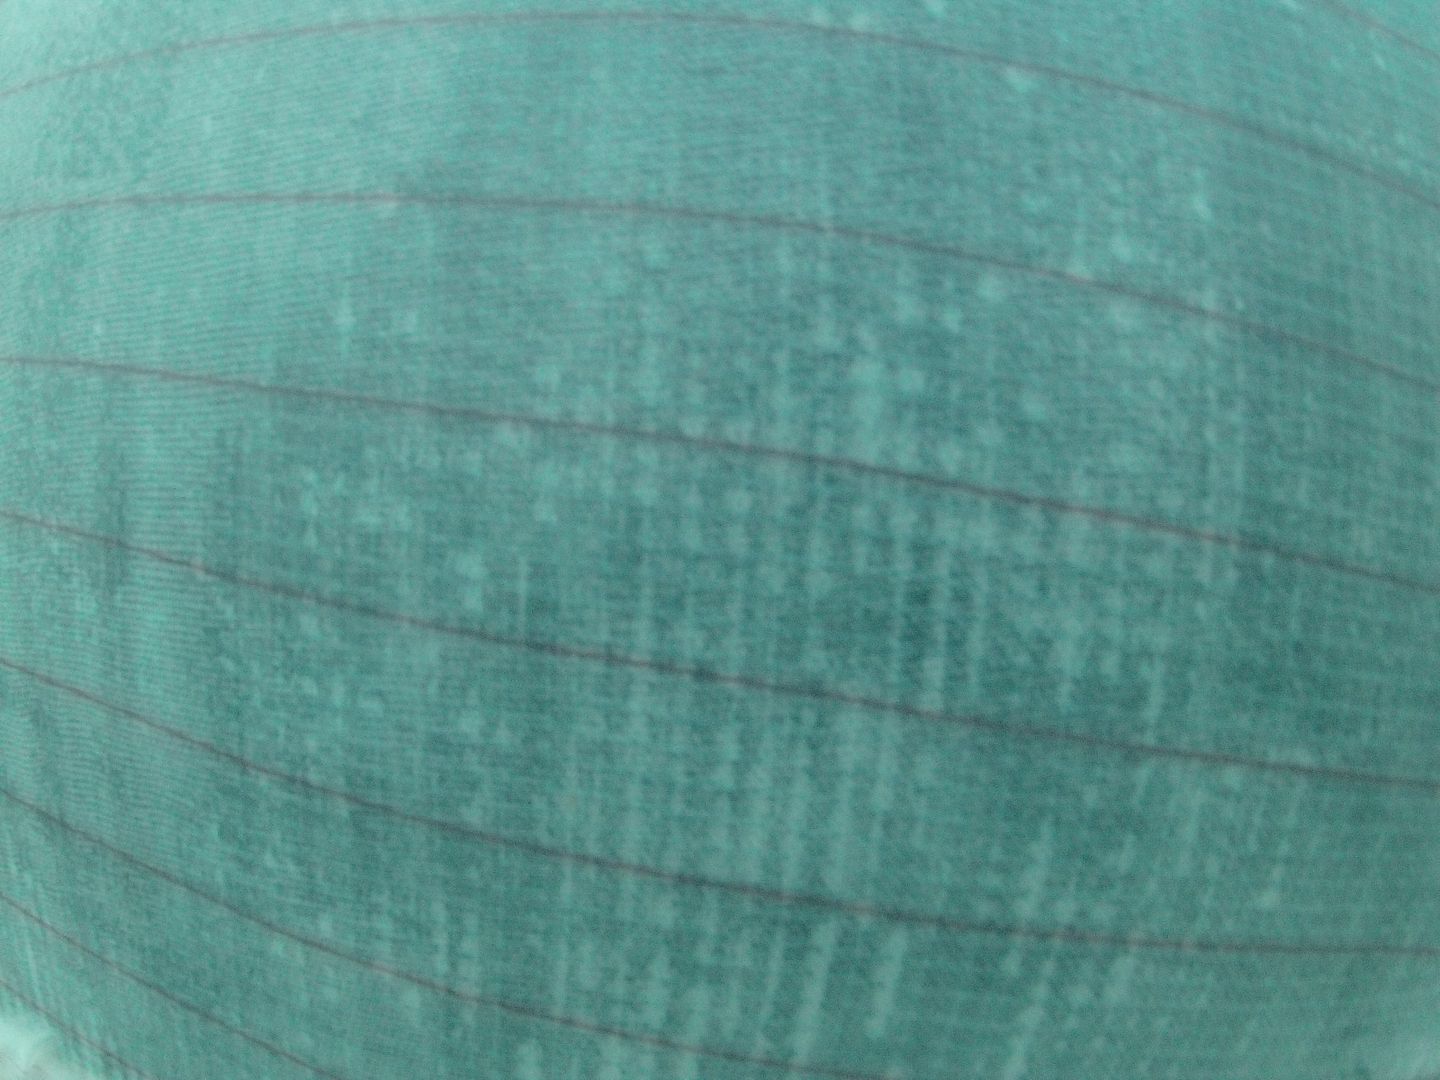
If you look closely you can see the binder threads holding the warp and weft (tows) of fiberglass together. This fabric is not knitted like a conventional fabric. The bundles of fiberglass (tows) are laid in a straight line and cross at 90 degs to one another. The binder thread holds all the bundles in place. These binder threads don't add anything to the structure of the fiberglass and stand up (proud) of the surface. Sanding them down allows the next layer to get in closer contact with the previous layer which is important for structural reasons. It also avoids small bubbles that can develop within the cells left by the binder threads.
I did take a few video's with the GoPro camera. I'll see if there's anything there worthy of publishing on here later.
Today's Boat Shed Tune: My Own Private Hell by Alice in Chains
*Sigh* So endeth the lesson for today. I'm pooched and in desperate need of a shower.
I started out going gangbusters at 08:00 and clipped along for a couple of hours getting about 1/3 of the way down one side. After the first break things kinda slowed down as the temperature shot up in the shed. At one point it was 85 F and climbing. I scrambled the fans to get some air moving.
Probably the best $40 I've ever spent at Lowes. "Big BJ" can move a lot of air. I'm half contemplating getting another next time I cross the river.
My new air sander hasn't quite got the guts the old one had. That and having to use 60 grit instead of 40 slows the process down quite a bit. I've got to get the binder threads down flat and it takes a bit of doing with both the air sander and the block sander. The block sander is very efficient and removes a lot of material.

So after 6 hours of sandinsanity I made it all the way down one side about 2/3's of the way up the bottom panel. I'll have to climb on top to do the rest. Putting that off for a cooler day. It's at least 5 to 10 degs warmer up there!

One of my friends on Facebook asked me why I sand so much. Well that's pretty simple. This thing is too big for one person to be able to work wet on wet (chemical bond before 24 hrs) and I have to let the epoxy cure between layers. The fabric leaves a hard edge that has to be feathered out so I don't end up with voids when the new layer bridges the hard edge and the fiberglass has to be sanded after 24 hrs to give the new epoxy something to grab onto (mechanical bond). It also helps to eliminate any small imperfections that might print through.
The downside is you end up sanding off a lot of expensive material you just put on. Most of it ends up like this.
If you look closely you can see the binder threads holding the warp and weft (tows) of fiberglass together. This fabric is not knitted like a conventional fabric. The bundles of fiberglass (tows) are laid in a straight line and cross at 90 degs to one another. The binder thread holds all the bundles in place. These binder threads don't add anything to the structure of the fiberglass and stand up (proud) of the surface. Sanding them down allows the next layer to get in closer contact with the previous layer which is important for structural reasons. It also avoids small bubbles that can develop within the cells left by the binder threads.
I did take a few video's with the GoPro camera. I'll see if there's anything there worthy of publishing on here later.
Today's Boat Shed Tune: My Own Private Hell by Alice in Chains
*Sigh* So endeth the lesson for today. I'm pooched and in desperate need of a shower.
Wednesday, August 7, 2013
Boot's approved!
I'm so happy with the results of yesterday's epoxy session. No voids, bubbles, drips or dinkleberries to sand off for a change! :-)

I think this is the best work I've done so far and despite Jimmy (Sticky Fingers) poking at it the results are near perfect! :-)
This is the one area that I was concerned about. It's where I had a hump develop when the joint between the panels deformed when it was bent over the forms. I probably spent 10+ hours sanding and filling it to get it to fair out to the point where you can't see it with the naked eye.

You can see the filler areas. Below a straight on shot of the area showing the filler used to fair out the hump. I think I had to build it up layer by layer, maybe 4 layers total.

Reverse view looking forward. no more hump! :-)

Fiber Fangs! Watchout! They have a BIG BITE!

The transom was the last part done after lunch. Boy the medium hardener kicks fast! Poor ole' Jimmy couldn't hang onto the tub of goo after it started to kick! :-)

The faster hardener cost me a roller frame but given the results I can live with that. All in all I think we used about 5 gallons of epoxy, a dozen pairs of nitril gloves, three roller sleeves and one roller frame.
I really think all the extra work I put into fairing the underlying layer really paid off big time. I feel that when we're investing this much (approx. $65K) in a boat we don't want it to look like a POS.
Next step, fair out the keel to bottom join for the last two layers of fabric. Taking a day off today to rest my hands. Standby....

I think this is the best work I've done so far and despite Jimmy (Sticky Fingers) poking at it the results are near perfect! :-)
This is the one area that I was concerned about. It's where I had a hump develop when the joint between the panels deformed when it was bent over the forms. I probably spent 10+ hours sanding and filling it to get it to fair out to the point where you can't see it with the naked eye.
You can see the filler areas. Below a straight on shot of the area showing the filler used to fair out the hump. I think I had to build it up layer by layer, maybe 4 layers total.
Reverse view looking forward. no more hump! :-)
Fiber Fangs! Watchout! They have a BIG BITE!
The transom was the last part done after lunch. Boy the medium hardener kicks fast! Poor ole' Jimmy couldn't hang onto the tub of goo after it started to kick! :-)
The faster hardener cost me a roller frame but given the results I can live with that. All in all I think we used about 5 gallons of epoxy, a dozen pairs of nitril gloves, three roller sleeves and one roller frame.
I really think all the extra work I put into fairing the underlying layer really paid off big time. I feel that when we're investing this much (approx. $65K) in a boat we don't want it to look like a POS.
Next step, fair out the keel to bottom join for the last two layers of fabric. Taking a day off today to rest my hands. Standby....
Tuesday, August 6, 2013
7 1/2 hours to do 4 hours work
but that's Ok! It was nice having company in the shed today. My buddy Jim (Sticky Fingers) Campbell came over to help out with the epoxy job.

Jimmy's the curious type of guy who's gotta see if sticky epoxy is still sticky! :-) That's Ok too! I'm sure we've all stuck our fingers in places we shouldn't! The day's task was to wet out the fabric I hung yesterday. I figured it'd take two of us about 4 or 5 hours.
Another cinematographic feast for your eyes! Go get two toothpics to hold your eyes open for this one!
I started an hour before Jimmy got there and was 3/4's of the way down the first side when he showed up. After a ritual offering of tobacco to The Great Peacemaker we got down to business. We finished both sides by lunch time and took a break. During that time the roller sleeve permanently glued itself to the roller frame so that got tossed. Another hour and we had the transom done completely encircling the boat wrapping it all up by 14:00 hrs! It was a good day. Results tomorrow. Standby....
Monday, August 5, 2013
Mission Sandinsanity Continues
This mornings task was to continue the sanding from where I left off yesterday. The 12 oz fiberglass leaves a pretty prominent and hard edge that has to be sanded smooth for a couple of reasons. First is to prevent voids appearing when the new glass bridges over the edge of the older glass and second is to prevent tearing up the new glass on sharp 'fiber fangs' that stick up everywhere. Besides catching the glass and pulling it apart the 'fiber fangs' will draw blood at every chance they get!

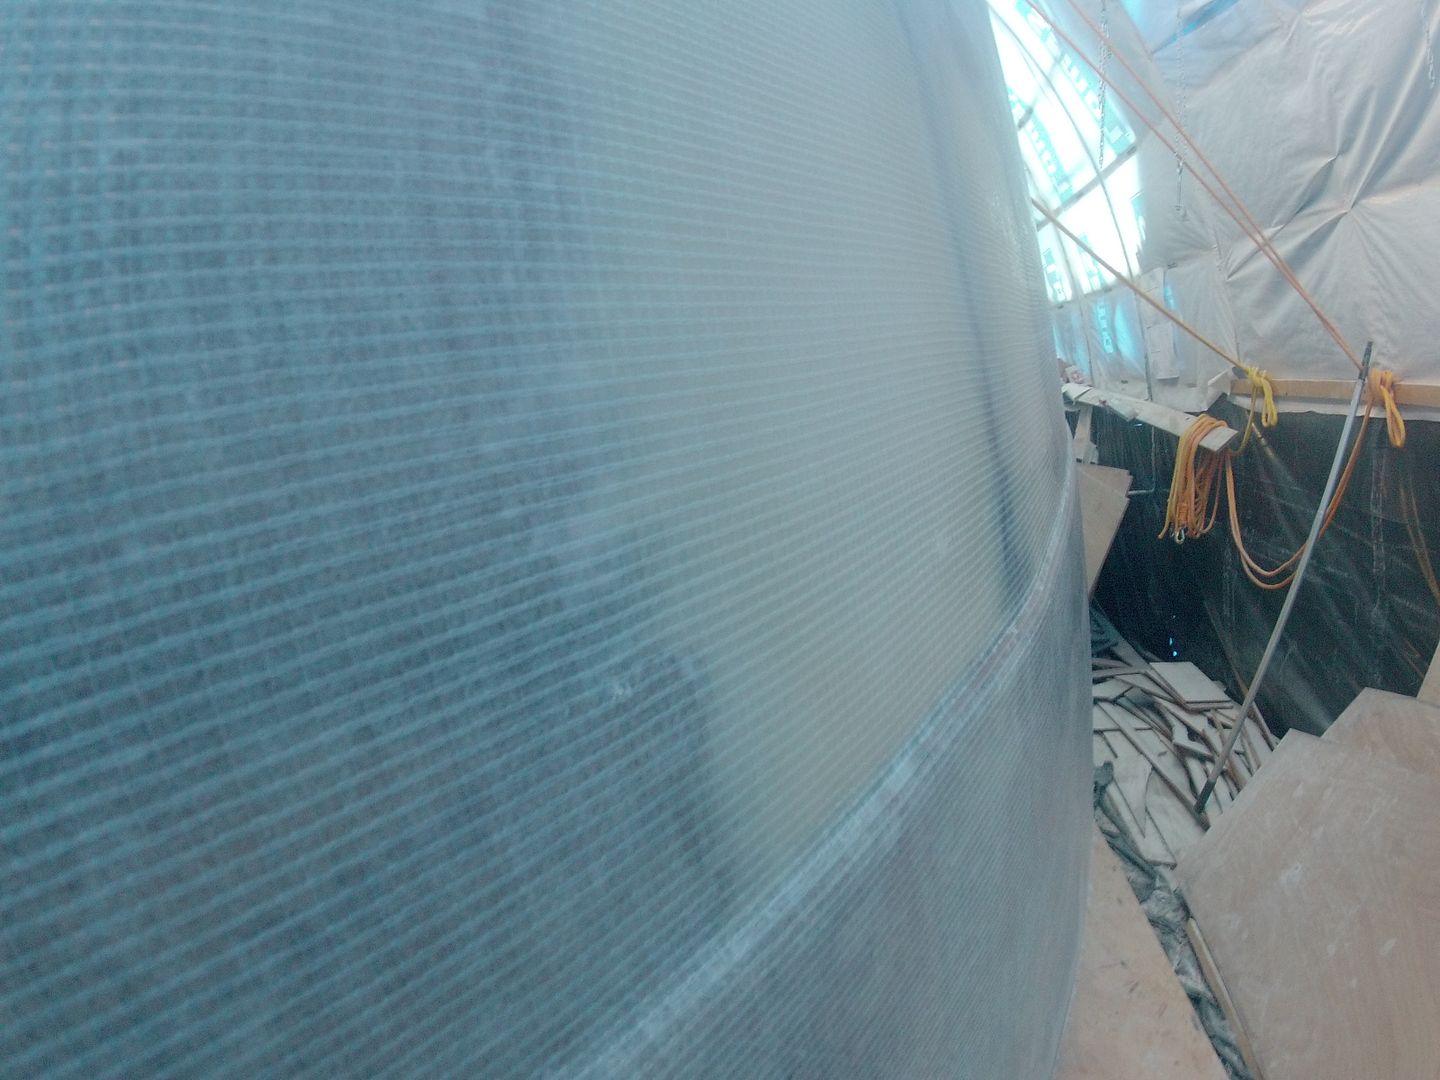
It took me almost 3 hrs to work my way down the port side form where I left off. It was tough slogging again but I stuck to it and got it done. Here I am just a little over half way down the side. You get a sense of how big this pig is!

I tried my hand at making another boat shed video. It's all about Sandinsanity and should illustrate exactly what I meant when I made up that word! ;-) Don't worry, it's not 3 hrs long! I condensed it into 7 1/2 minutes!
Once the sandinsanity had ended I took a lil' lunch break and then hung the 12 oz 0/90 fiberglass on the sides.

 It took one whole roll, 25 yards, to completely encircle the boat sides! :-) I forgot to weigh it but it'll likely take 4 gallons of epoxy to completely wet it out. I'll be out trying to rally some troops to help out with that lil' task tomorrow. Standby.....

It took me almost 3 hrs to work my way down the port side form where I left off. It was tough slogging again but I stuck to it and got it done. Here I am just a little over half way down the side. You get a sense of how big this pig is!

I tried my hand at making another boat shed video. It's all about Sandinsanity and should illustrate exactly what I meant when I made up that word! ;-) Don't worry, it's not 3 hrs long! I condensed it into 7 1/2 minutes!
Once the sandinsanity had ended I took a lil' lunch break and then hung the 12 oz 0/90 fiberglass on the sides.
Saturday, August 3, 2013
My Get UP and GO.....
Got Up and Went! ;-)
Four hours of sanding and I couldn't do it anymore. This new epoxy is hard as rock in 48 hrs. That's the hardest stuff I've had to sand so far! I guess that's a good thing though.
 The plan was to feather the fabric edges from the bottom to the sides so I could hang the glass for the sides. I only got one side and the transom done today before I ran out of gas. I tried almost every sander in my inventory and the one that worked best was the little 1/4 sheet Random Orbital sander. The others I had to lean on to the point my carpal tunnel kicked up and my hands went numb. :-(
The SandInsanity will continue again tomorrow. Standby.
Four hours of sanding and I couldn't do it anymore. This new epoxy is hard as rock in 48 hrs. That's the hardest stuff I've had to sand so far! I guess that's a good thing though.
The SandInsanity will continue again tomorrow. Standby.
Friday, August 2, 2013
Results are in and...........
it looks like my work yesterday turned out Ok!

There are a few spots where I could have squeegeed a bit more but they were hard to reach from the step ladder. As it was I managed to epoxy glue my t-shirt to my belly hairs! ;-)
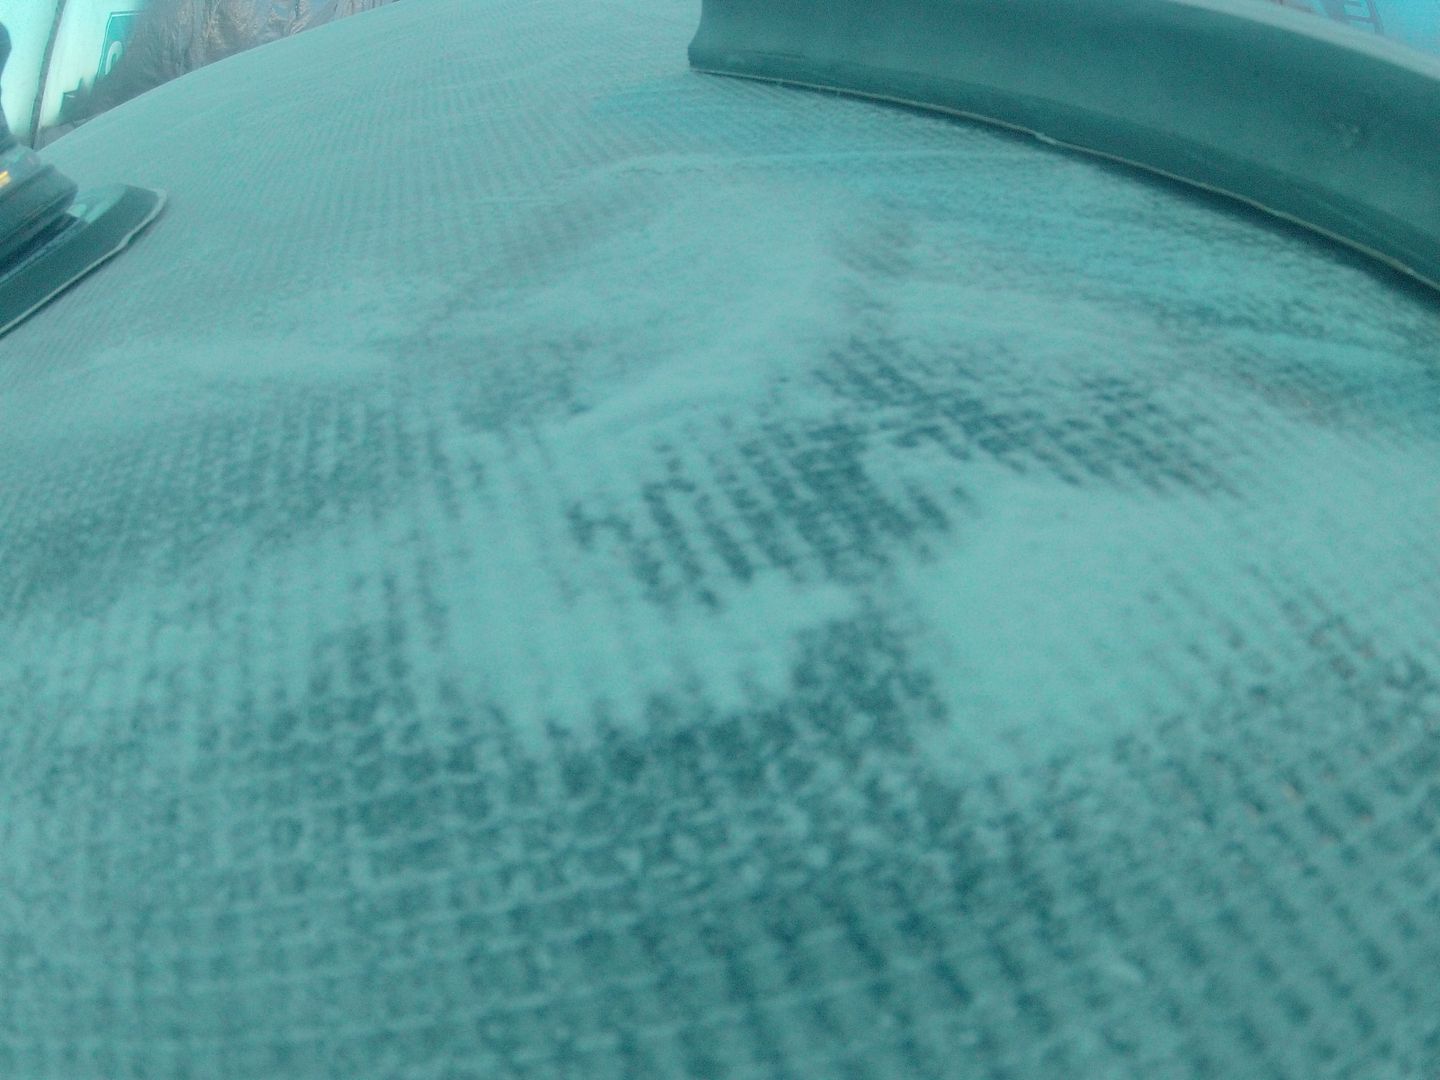
It looks like all of the weave has filled in nicely with only a very few dry spots near the end when I was running out of gas!

Extreme close up of the weave. Looks good. I'm happy with the results.

The downside is I spent half the night up in agony. I think the energy drinks were masking the fact I was pushing it a little too much. Major leg & shoulder pain enough to wake me up in the middle of the night. :-(
It was cool last night and the epoxy is still a little soft so I won't sand it today. Likely tomorrow then prep the keel for it's last layer of structural fiberglass. Once the keel is done it'll be onto the sides. I'm hoping for as good or a better result on the sides. That's the part you'll see the most.
One small step closer to flipping this pig over! Standby.....
There are a few spots where I could have squeegeed a bit more but they were hard to reach from the step ladder. As it was I managed to epoxy glue my t-shirt to my belly hairs! ;-)
It looks like all of the weave has filled in nicely with only a very few dry spots near the end when I was running out of gas!
Extreme close up of the weave. Looks good. I'm happy with the results.
The downside is I spent half the night up in agony. I think the energy drinks were masking the fact I was pushing it a little too much. Major leg & shoulder pain enough to wake me up in the middle of the night. :-(
It was cool last night and the epoxy is still a little soft so I won't sand it today. Likely tomorrow then prep the keel for it's last layer of structural fiberglass. Once the keel is done it'll be onto the sides. I'm hoping for as good or a better result on the sides. That's the part you'll see the most.
One small step closer to flipping this pig over! Standby.....
Thursday, August 1, 2013
Another marathon session
with epoxy & fiberglass. 8 Hours, 3 1/2 gallons of epoxy, 24 yds of 12 oz 0/90 biaxial fiberglass, two roller sleeves, 6 pairs of nitril gloves and a few energy drinks!
I laid out the fiberglass yesterday but knew I'd need more time than I had left to get it done so I put it off till today. Had a helper lined up but he didn't show so I had to go ahead on my own.
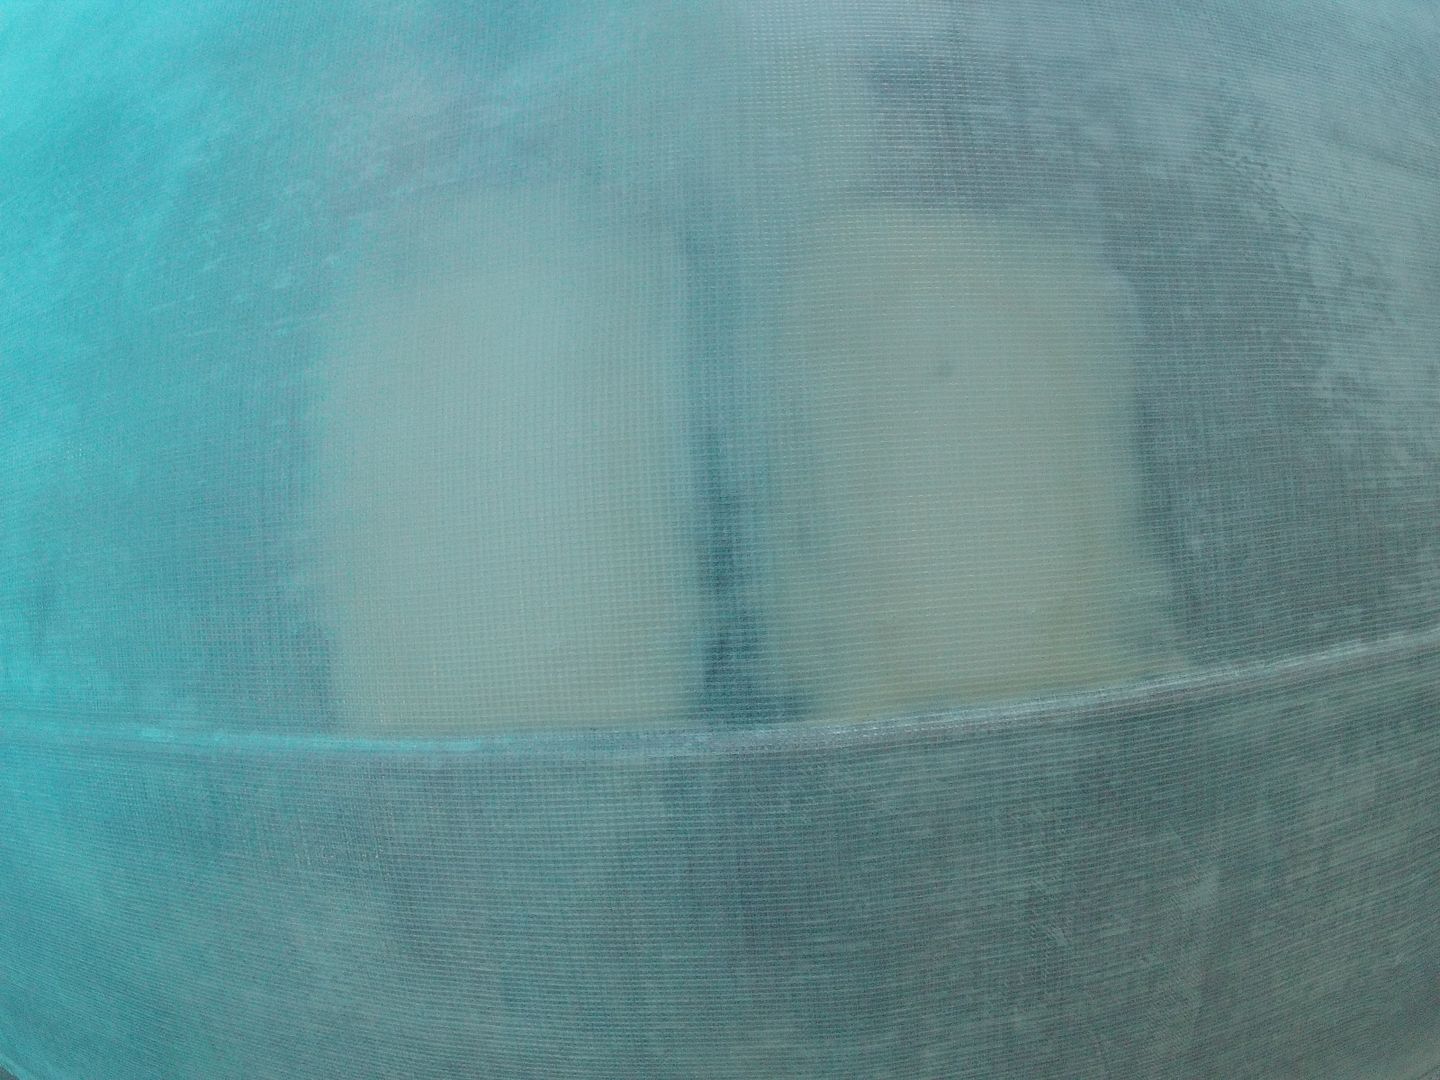
 Just a cool close up! You can see the orientation of the fiberglass.
 I started from the bow and worked my way back. Using the step ladder instead of going up on top. Switching from side to side to keep two fronts as I worked my way aft. It's pretty easy to keep the fiberglass oriented properly as you go. I took my time and worked at a steady pace, rolling and squeegeeing as I went. Moving the step ladder from one side to the other was a PITA! ;-)
 I'll cut out the bow thruster holes later. The final layer will get laid into the thruster tunnel and there's some work that needs to be done before I can do that. There's still two more layers to go on the keel, one on the bottom and two on the sides. I think I'll jump to the keel next followed by the sides. The final layer is only 10 oz satin weave fiberglass and that's the layer that needs the most care & attention.
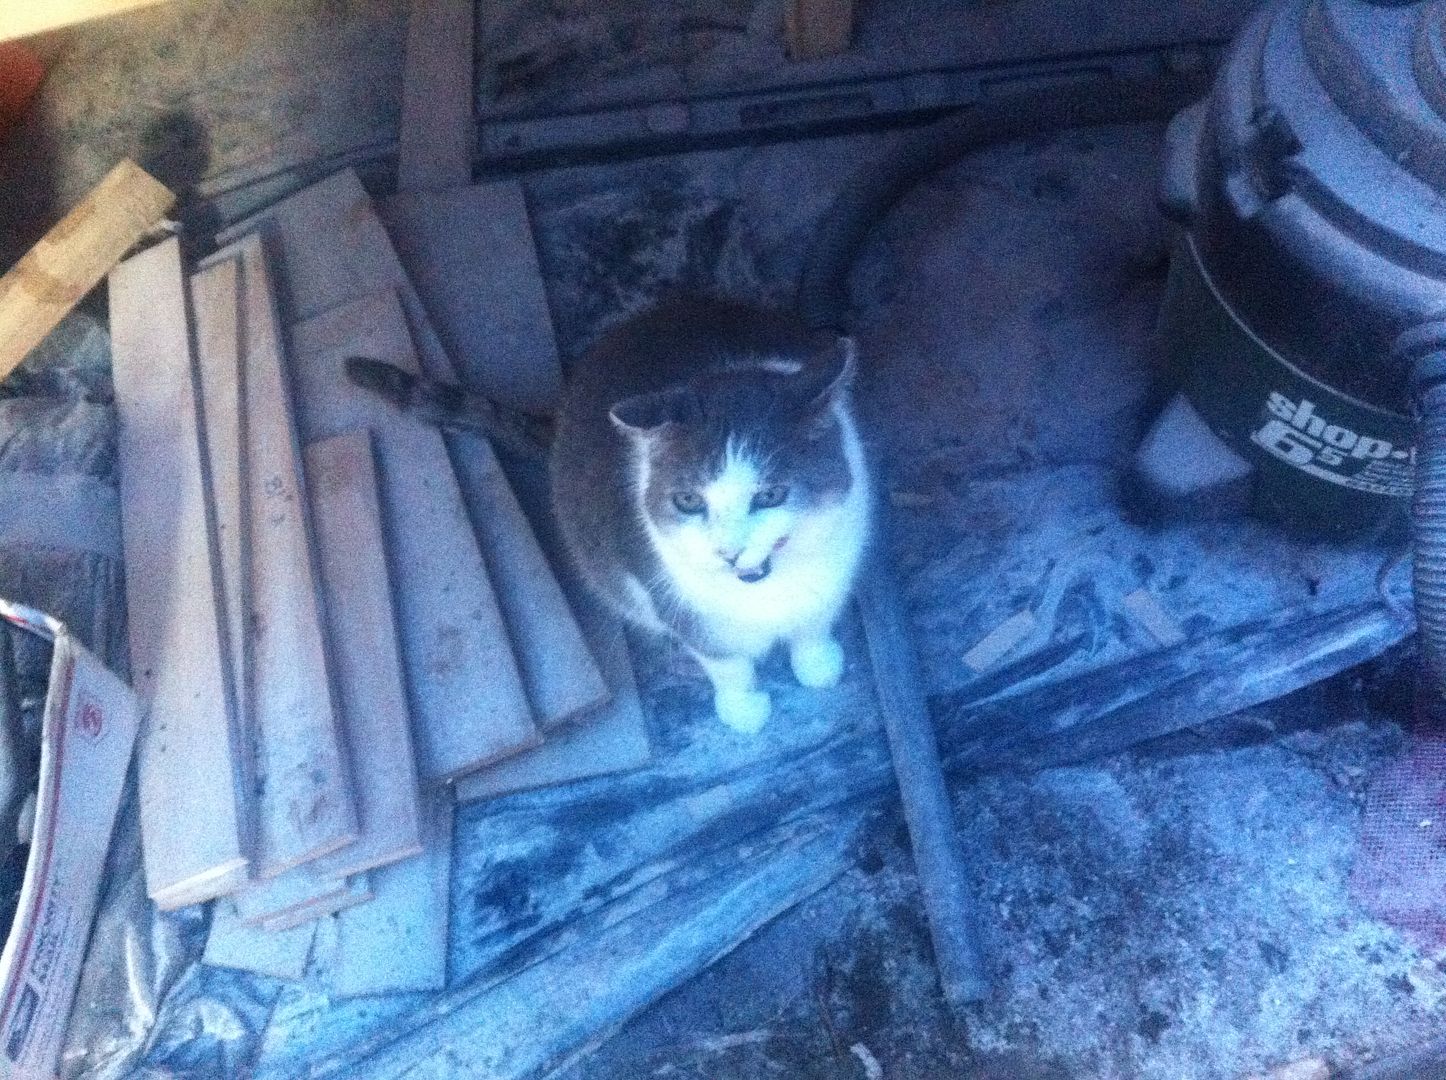
The Project Manager was in barking orders. I think he was sayin' somethin' about 'Hurry The Hell Up and Get It Done!" or something to that affect.
 Tomorrow more sanding, if it's cured hard, kinda cool and raining out. Likely lay out the last structural layer for the keel.
I epoxied my t-shirt to my belly and had to use Lori's white vinegar to get it off. If she wants french fries she'll have to go out to the shed to get her vinegar! :-) I really need a shower I smell like french fries and it's making me hungry! *lol*
Standby.....
I laid out the fiberglass yesterday but knew I'd need more time than I had left to get it done so I put it off till today. Had a helper lined up but he didn't show so I had to go ahead on my own.


The Project Manager was in barking orders. I think he was sayin' somethin' about 'Hurry The Hell Up and Get It Done!" or something to that affect.
I epoxied my t-shirt to my belly and had to use Lori's white vinegar to get it off. If she wants french fries she'll have to go out to the shed to get her vinegar! :-) I really need a shower I smell like french fries and it's making me hungry! *lol*
Standby.....
Subscribe to:
Posts (Atom)