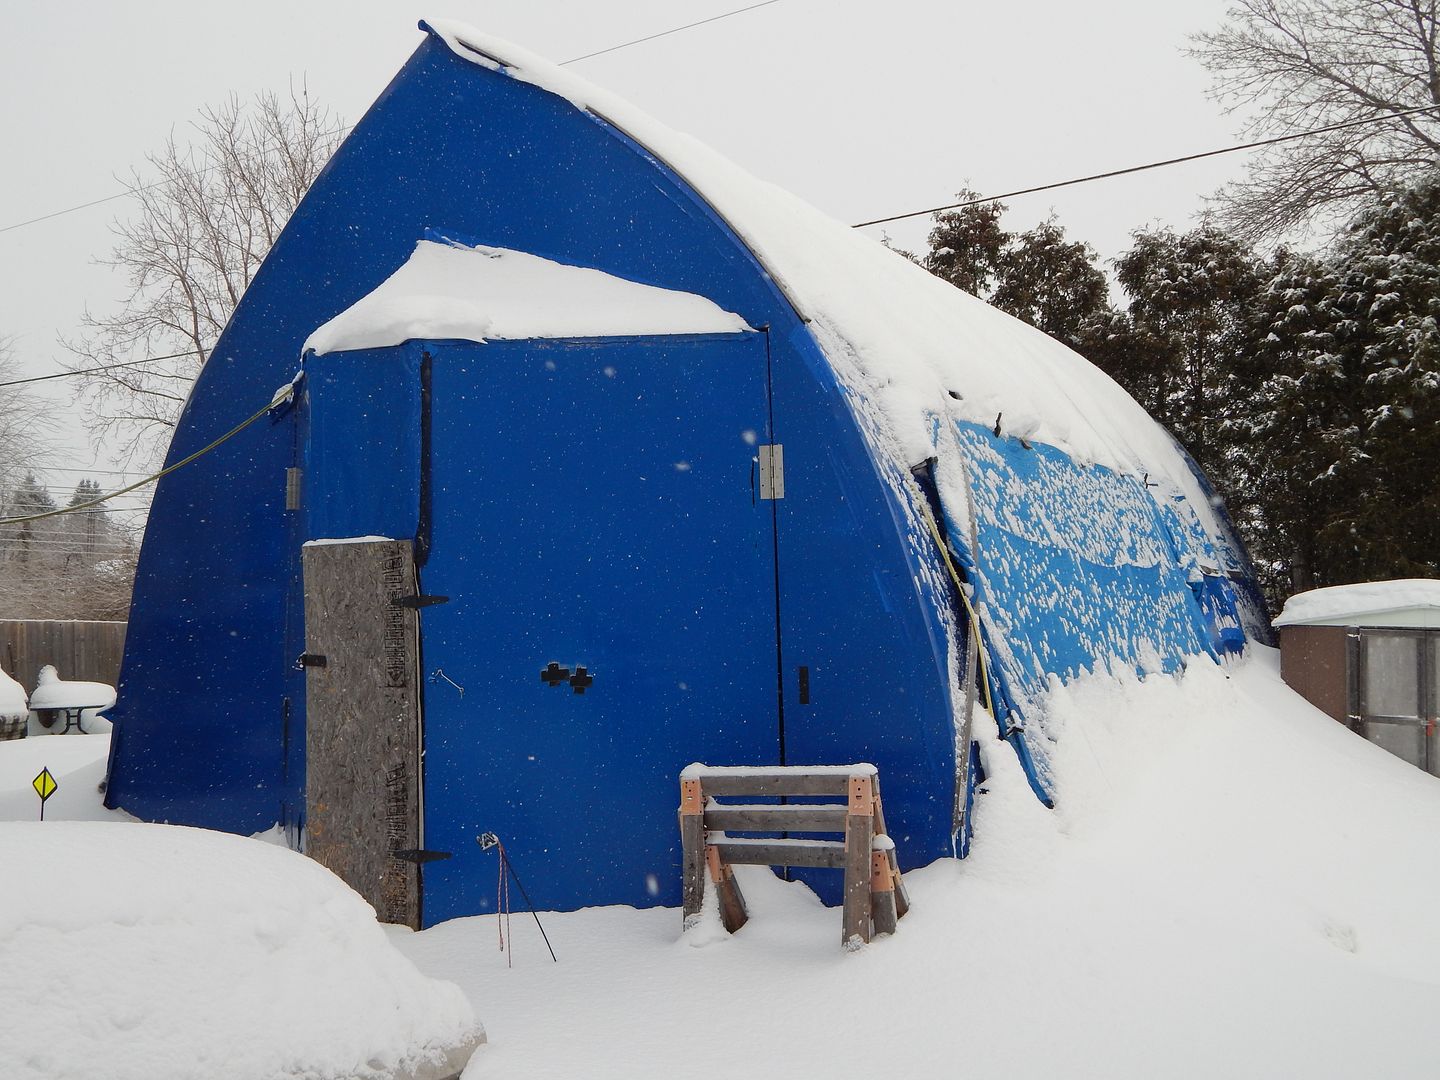
Thursday, December 26, 2013

Boxing Day Blues

Boxing Day Big Blue Boat Building shed I should say.

I hope everyone had a safe, comfortable and relaxing Christmas. Things were quiet around here. My Dad and Brother came down for Turkey dinner so that was nice. Couldn't get into the shed to show them the progress on the boat though. Froze up solid!

We had a nice storm last week that's left 1000's without power over the Christmas holidays. Luckily for us we missed the worst of it (this time). The Ice Storm of '98 hit this area really hard. We were out of power back then for 5 days and some in the outlying areas were without power for over a month. We do have a small generator, batteries, inverter & solar panels that I could rig up if necessary.

The shed seems to be holding up ok with all the repairs we had to do this year.

It is holding a lot more snow on top than years before. Likely do to the plastic aging and the mix match of tarp and shrink wrap that's been used to patch it all up. The roof panel on this side holds a lot of snow back. Last year a 'shed a lanch' popped the roof right off! *lol* Oh well, it's only got to get us to the spring and I'll replace the whole top.

That's it folks. Hope you're all well and happy. Hoping you all have a fruitful and prosperous new year.

Cheers


Saturday, November 30, 2013

Feeling a little lost

Feeling a little lost & lonely up here in the Great Frozen White North. :-(

The Admiral's down in Orlando soaking up the sunshine while I'm here babysitting 5 deadbeat fur balls (cats) and trying to stay warm. Woke up this morning to this from TheWeatherNetwork.

How ironic is that? The ad server showing us an ad for the animated movie 'Frozen' when it's -20C (-4F) outside! *sigh*

I guess the highlight of my day will be scooping the kitty walnuks out of the litter box! *groan*

Ok, 'nuff moaning. Nine days and I'll bein sun shiny FLA shopping for boat parts. The big item on my shopping list is some 5/16 galvanized anchor chain. I think I'll get about 175'. This is for our primary anchor which is a Lewmar plow.

Our secondary anchor is a Fortress style anchor and it'll have a rope/chain rode.

Pretty isn't it? ;-)

Stay warm and stay tuned.....


Saturday, November 9, 2013

All she needs is engines and a paint job!

Were the words that came from the broker's mouth. This set in motion an odyssey that's lasted over 6 years and gawd knows how many thousands of boat bucks. I spent the better part of 4 hours today reading about one man's journey to refit a 1969 Chris Craft Roamer.

http://1969chriscraftroamer46.wordpress.com/2013/01/28/1969-chris-craft-roamer-refit/

I laughed and I cried and I sympathized with what he was doing. I cheered him on and reveled at his victories!

Ten years ago or so when we were tossing around the ideas of buying or building we discussed some of the big Chris's and how nice some of them were with great classic lines. When they're well cared for they're majestic. When they're not so well cared for they die a sad horrible death. In reading the blog linked above, this time one gets saved from the junk heap.

One of the nice examples of a well kept Chris Craft Commander we've encountered on our Rideau Canal trips.

Well done Q!  :-)

Friday, November 1, 2013

That's a wrap

That's all folks!


For this season anyways.

I did get a lot done this year. Not as much as I would have liked but this project is proving to be one heck of a lot more work than I thought it would be. Working along most of the time doesn't help. Even when I had help, and I was glad to have the company, they often slowed me down.

When the building weather arrived in April I only had 1 layer of glass on the keel. I rushed this particular layer of glass and had to sand away a lot of sins to get it in shape for the next layers to go on.

Within the next week or so I was ready to lay down the first of the very heavy fabric on the bottom panels. This stuff is 33 oz per sq yd and that's pretty stiff material to work with and it sucks up epoxy like a sponge!

Using it did save me having to prep one more layer of fabric and the associated sanding that goes along with it.

One thing I noticed on a boat this big is you learn a lot on one side and apply those lessons to the other. Both sides of the boat couldn't be more different in how they look and how I actually did them. There's a ton of advice out there on the interwebs and I try to assimilate that info that I think will help. If I remember correctly it took me 11 1/2 hrs to do bottom panel 1 by myself and used about 5 gallons of epoxy. The second bottom panel took me 4 hrs with a helper and 3 1/2 gallons of epoxy!

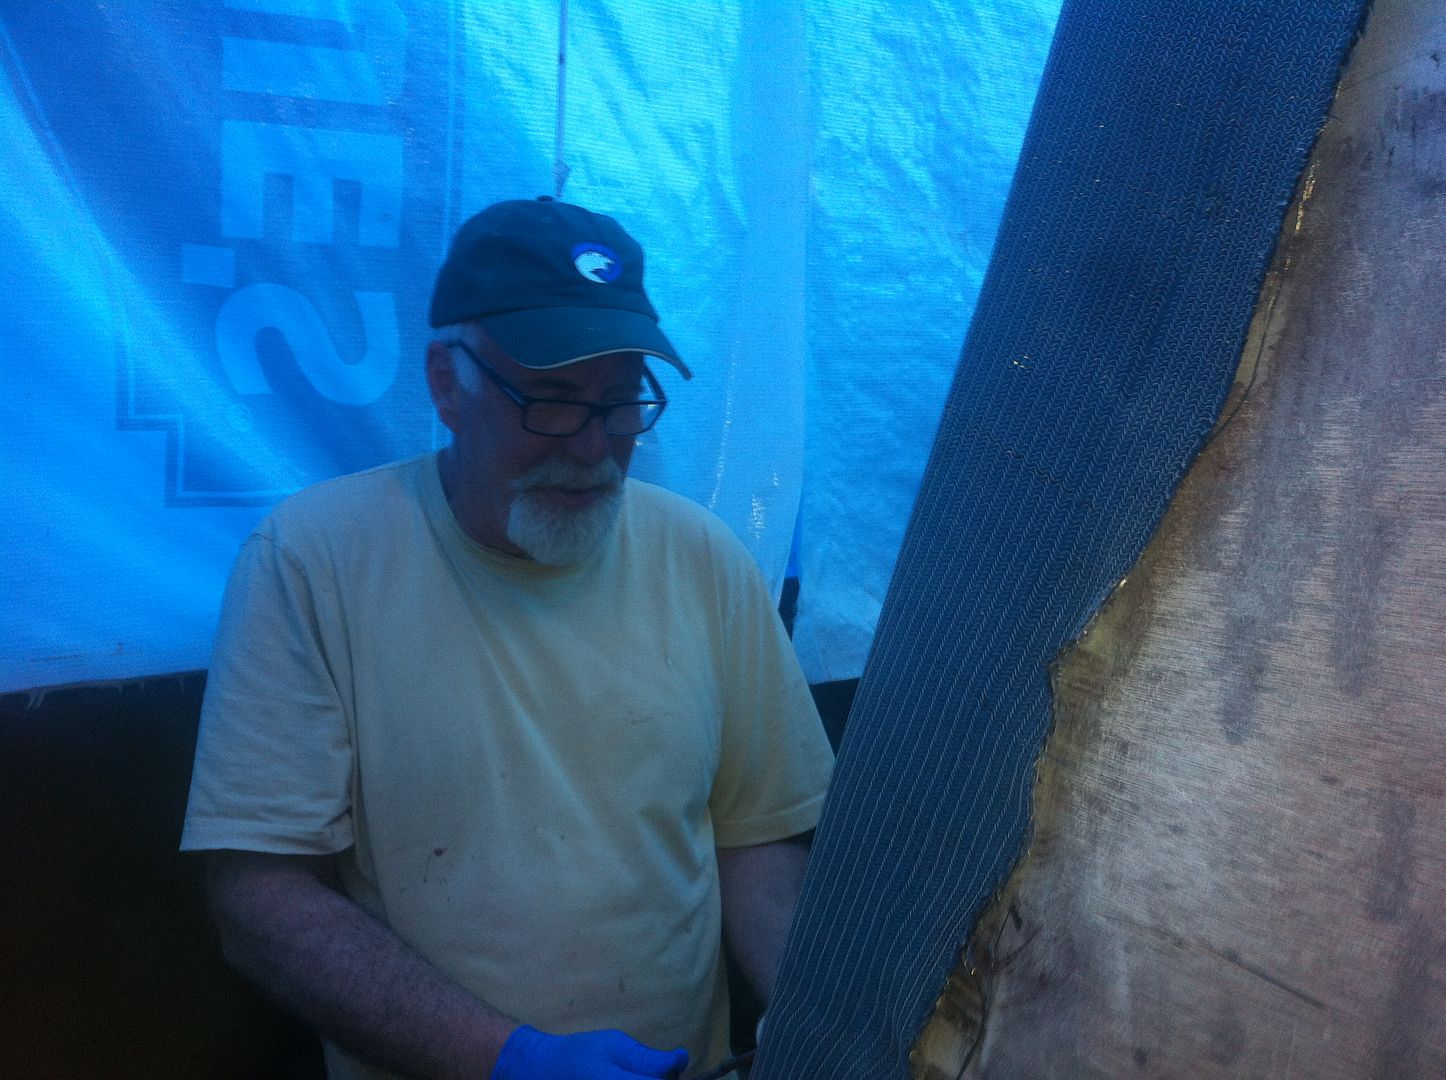
Fellow boat builder Peter Lenihan came all the way form Montreal to spend some quality time in the boat shed. Peter launched his boat two years ago and was missing his boat shed terribly so I invited him down for a day of fun sanding and fiberglassing.

After he got finished correcting a lot of my mistakes we laid out some basalt fabric for the transom. He hadn't seen it before but I assured him it worked just like fiberglass!

I use air tools a lot in the shed. Earlier in the spring I upgraded my compressor which helped a lot. The workhorse of my tool stable was the 6" RO air sander. This was a cheapie I got at a flea market but it worked very well. Unfortunately it couldn't hold up to the rigors of the heavy fiberglass and kicked the bucket. I tried to take it apart and fix it but it was hopeless.

Good by old friend.

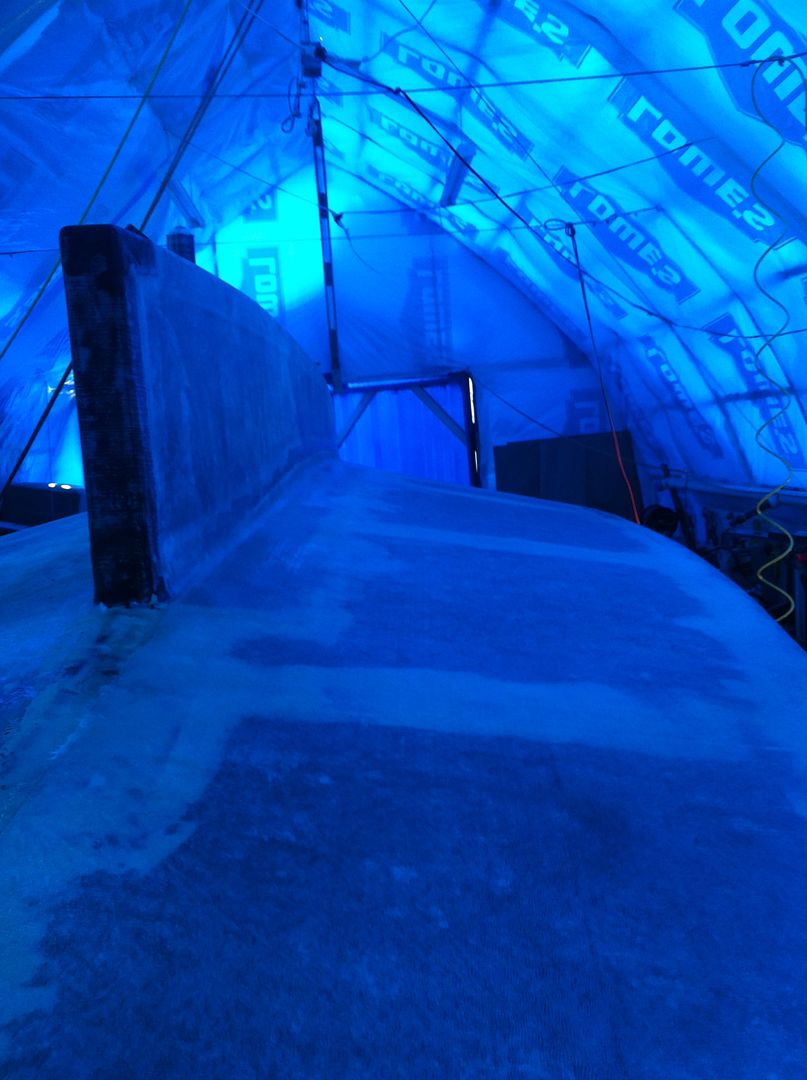
Laying out the fabric for the side panels was a big milestone for me. I looked forward to this with a bit of trepidation but in the long run no one else was gonna do it for me so headlong I went doing both sides over the course of three days.

Once again I tried differing techniques on each side. One was done with peel ply and the other without. High temps and high humidity caused a few problems but nothing that couldn't be corrected with a sander.

The bubbles you see in the pic above were sliced open, filled with epoxy and clamped shut. Bubbles in the glass are problematic. I had to do many such repairs. Eventually I figured out what I was doing wrong and moved on.

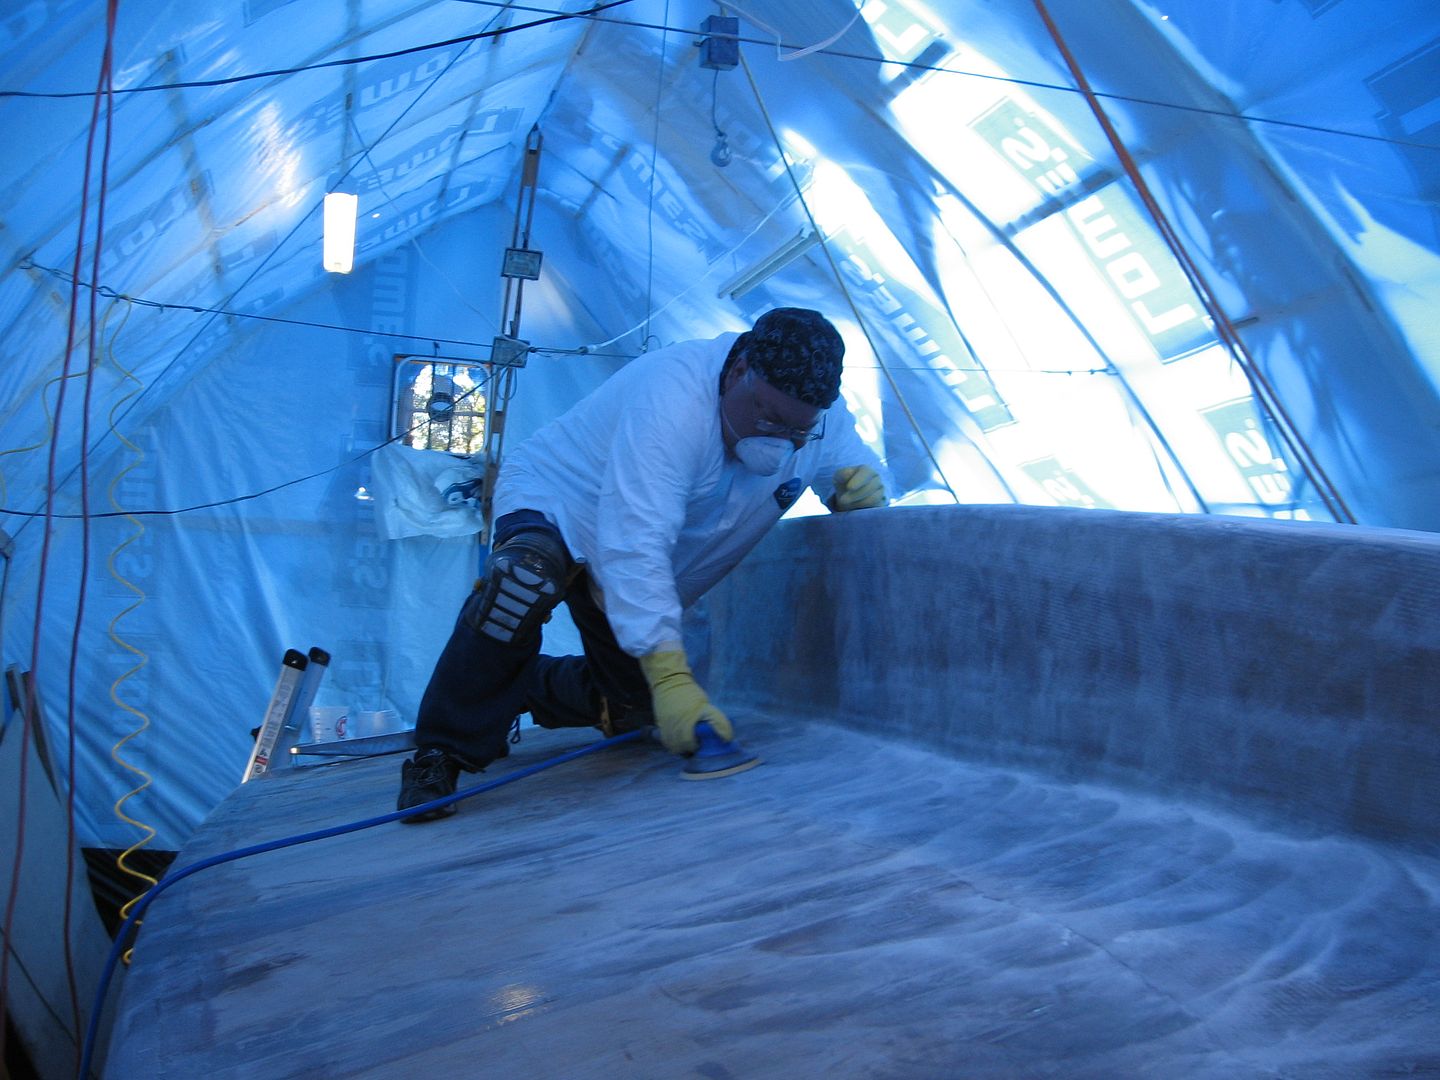
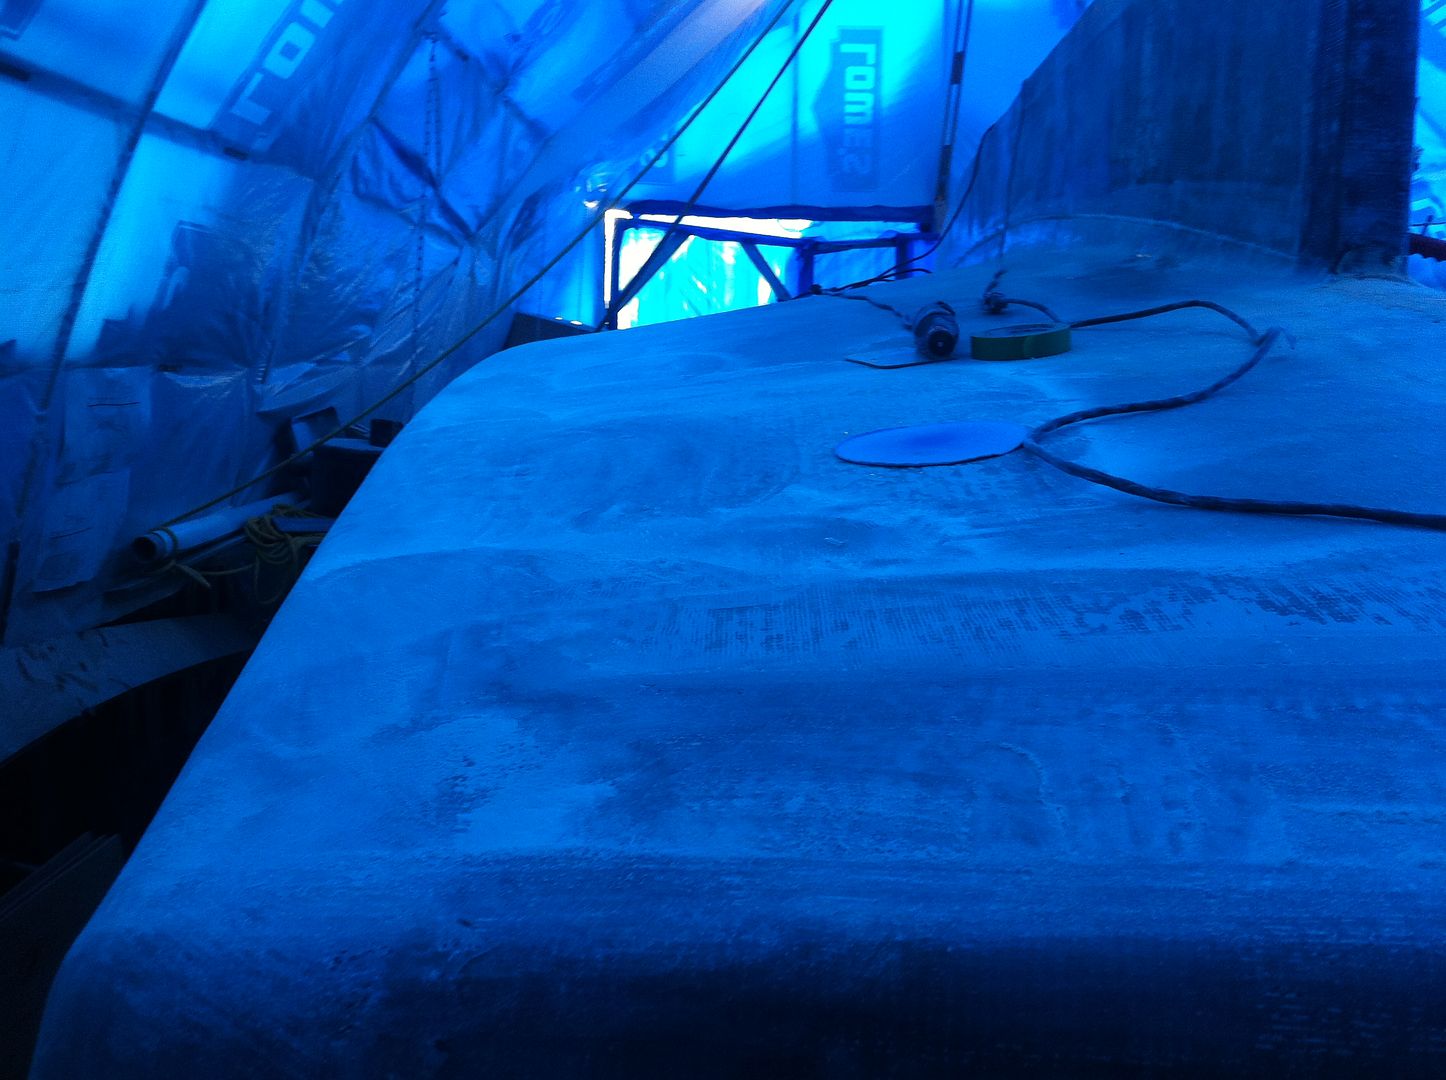
I put a goodly amount of effort into keeping the hull as fair as I could as I went. Hoping this would pay off down the road with a better finish to the boat. What it actually meant was hours and hours of quality time spend with my sanders! ;-)

There were some days I spent 10 or 12 hrs sanding. Major grunt work but well worth it in the end I hope.

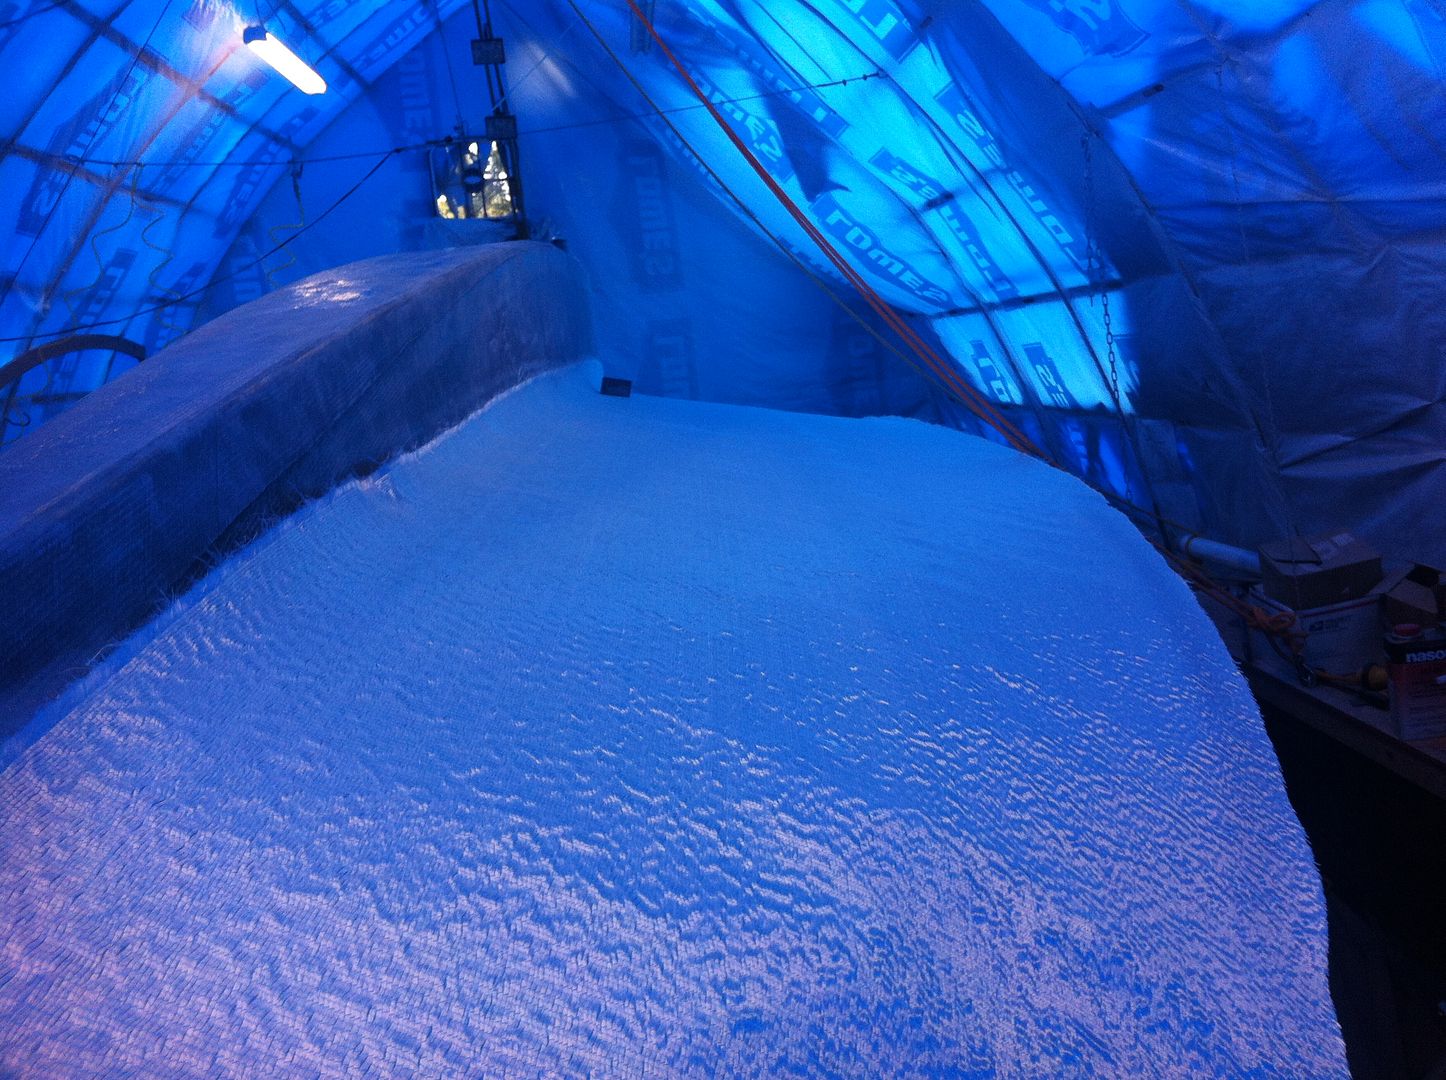
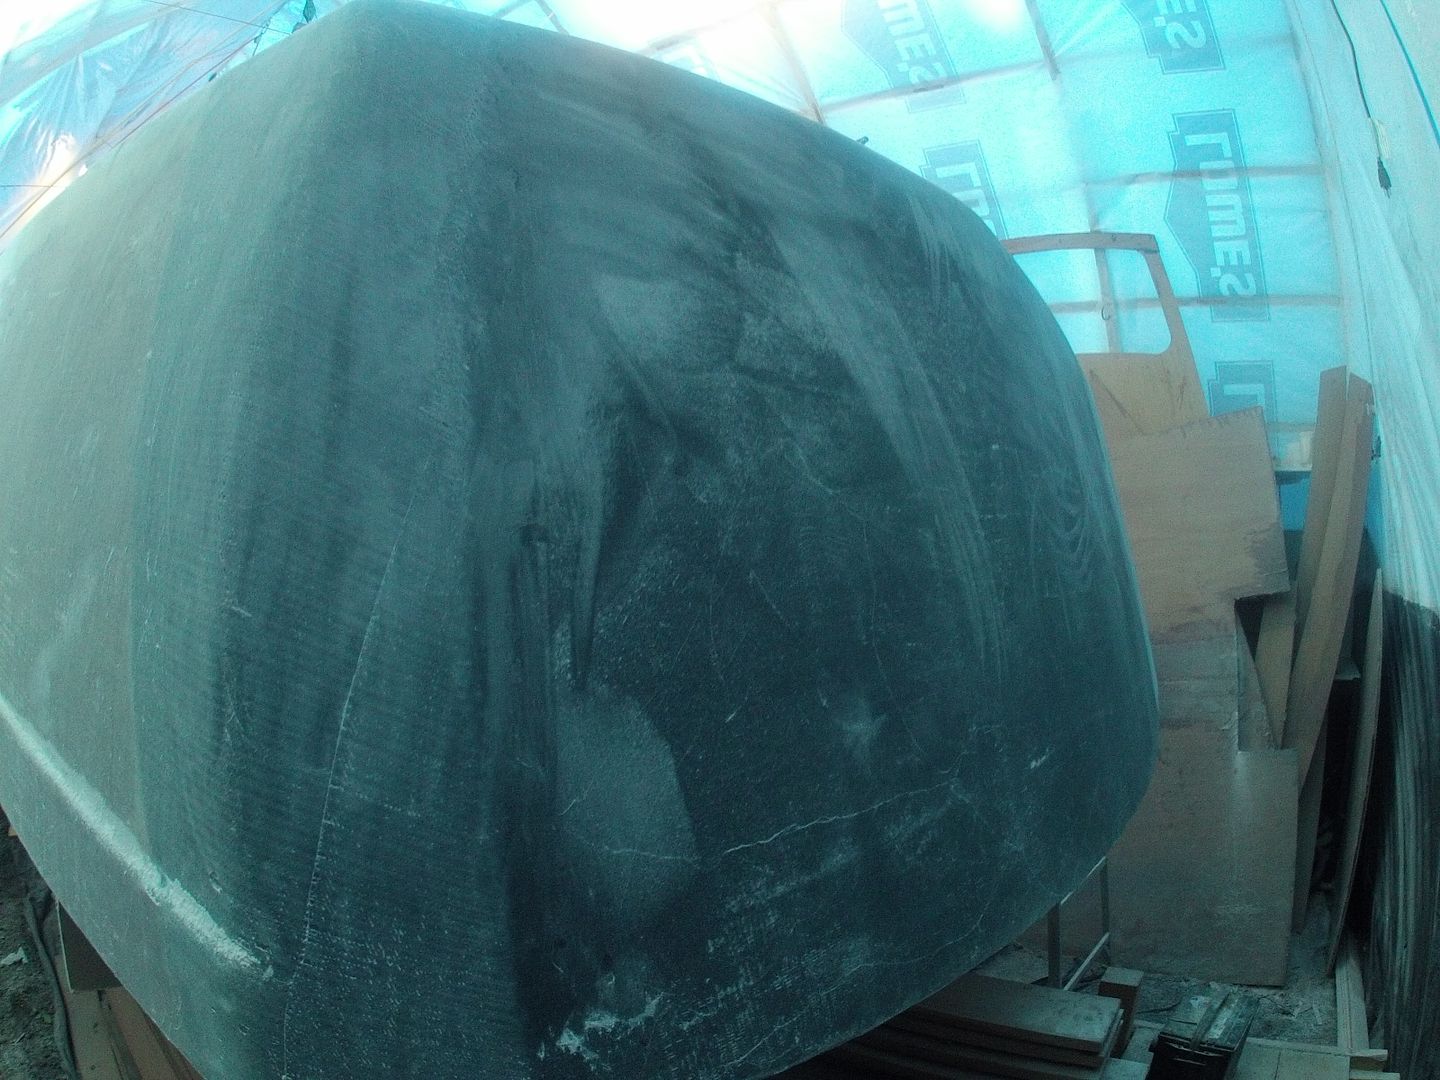
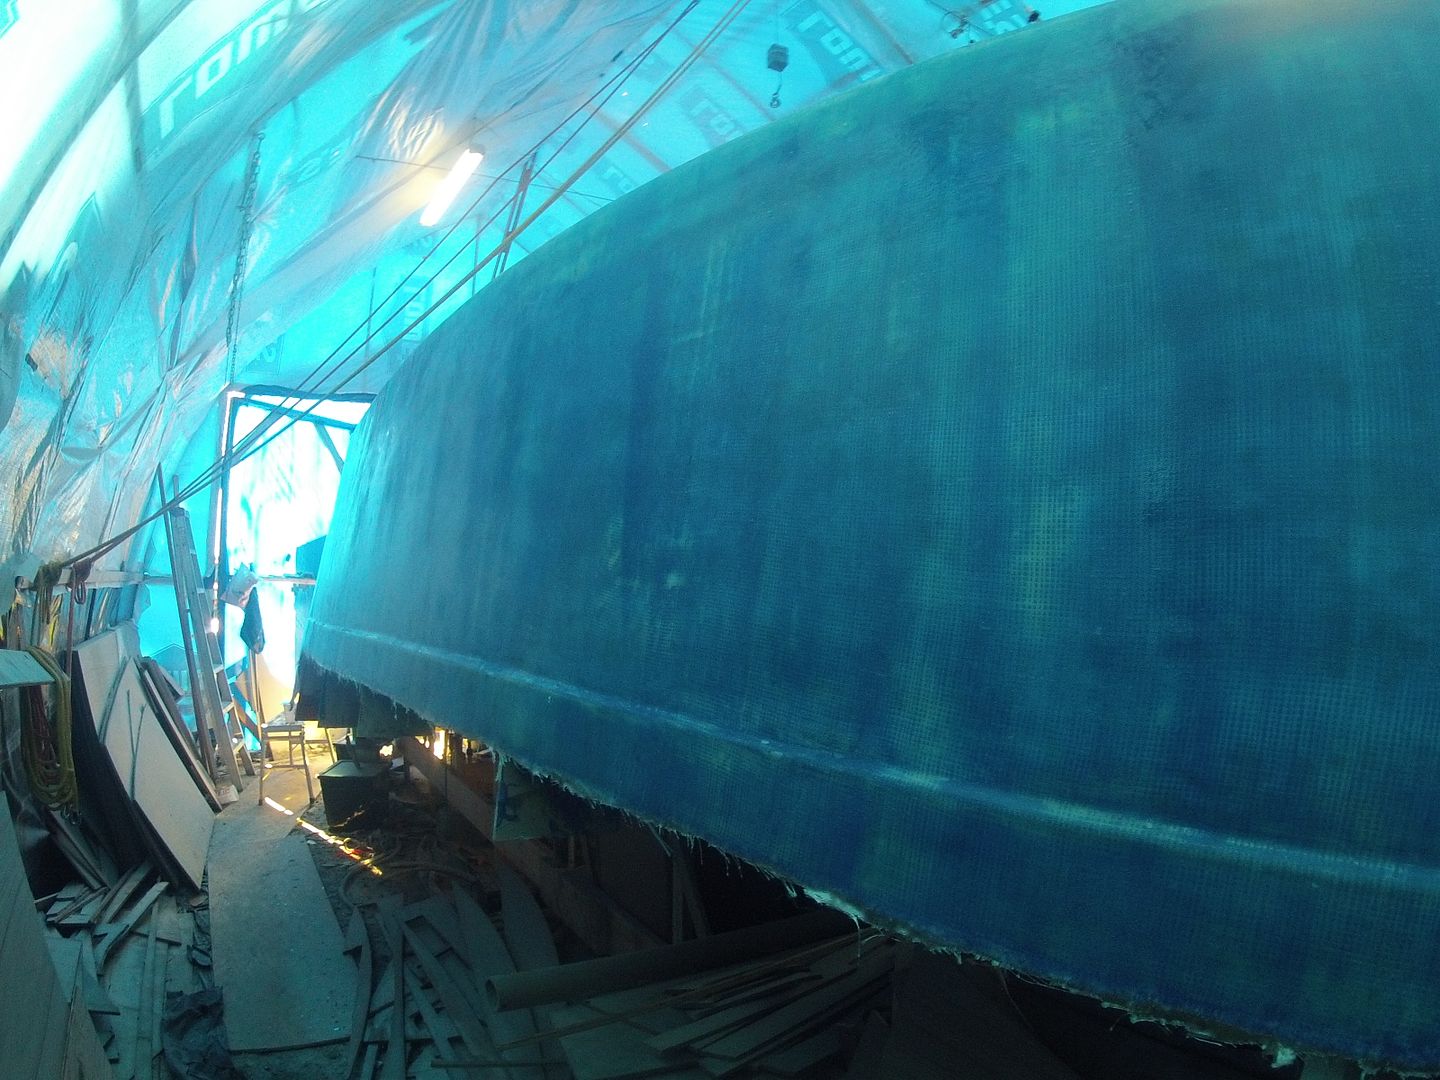
The second layer of reinforcing fiberglass to go on the hull was the 0/90 biaxial fabric. This is a different animal than the other stitched fabrics I've used. It moves around a lot and it's harder to keep the fibers oriented as the fabric stretches over the compound curves of the hull.

The same fabric goes on over the side panels with the help of my friend 'Jimmy "Sticky Fingers" Campbell'. :-) The results were pretty good which boded well for the final cosmetic layer that would come later.

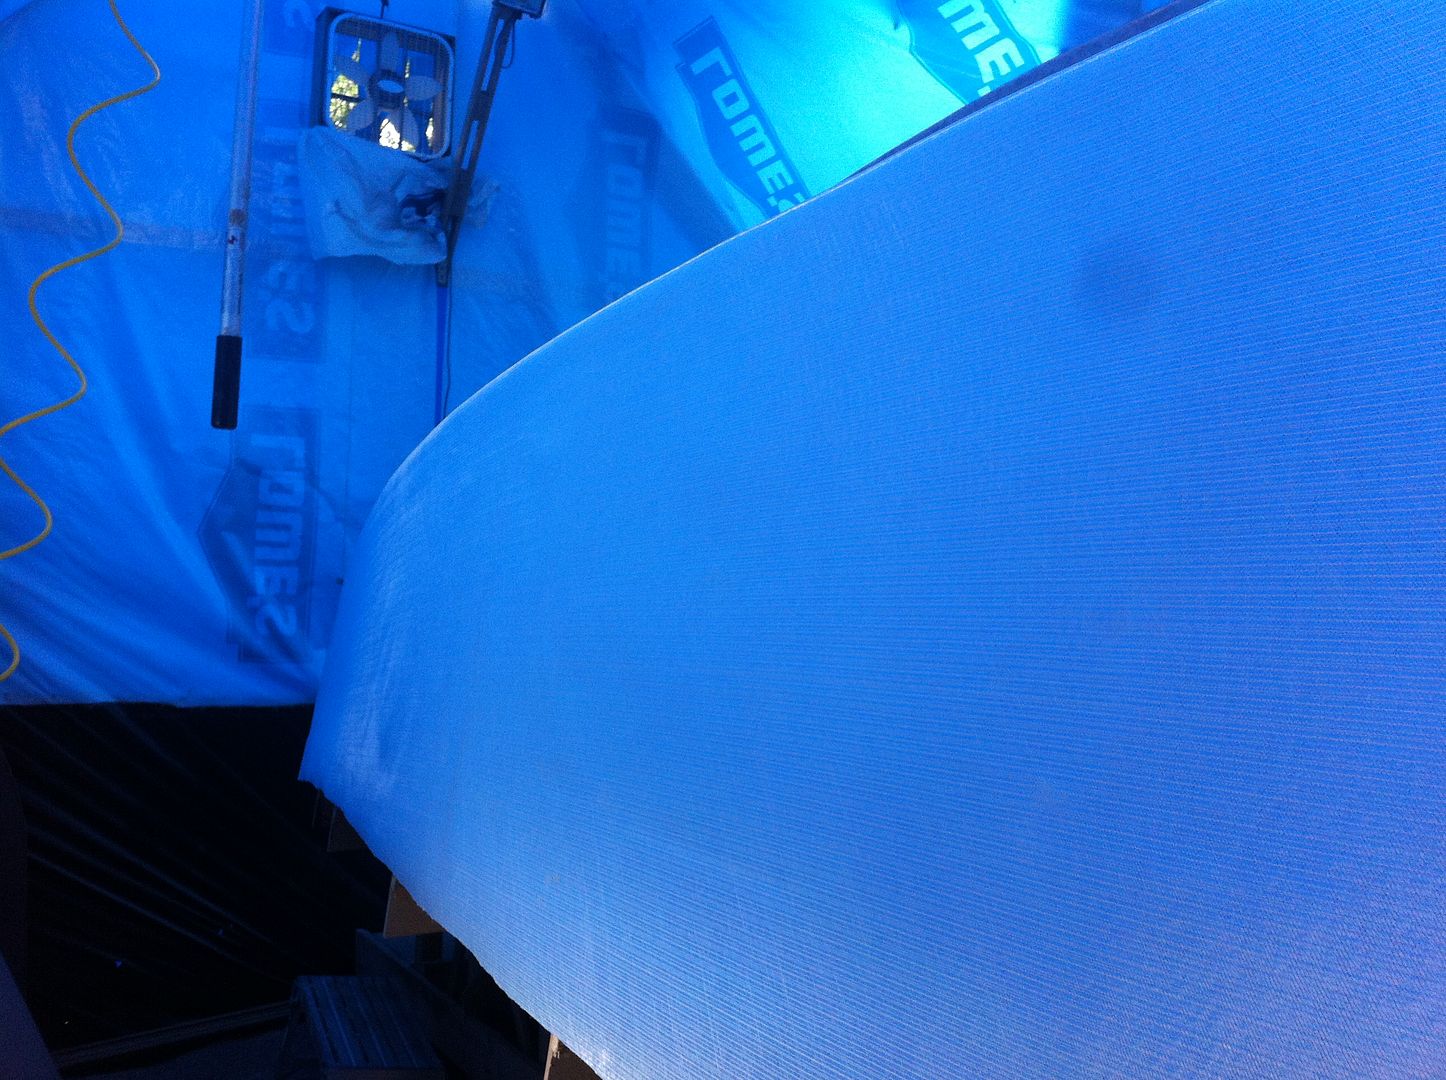
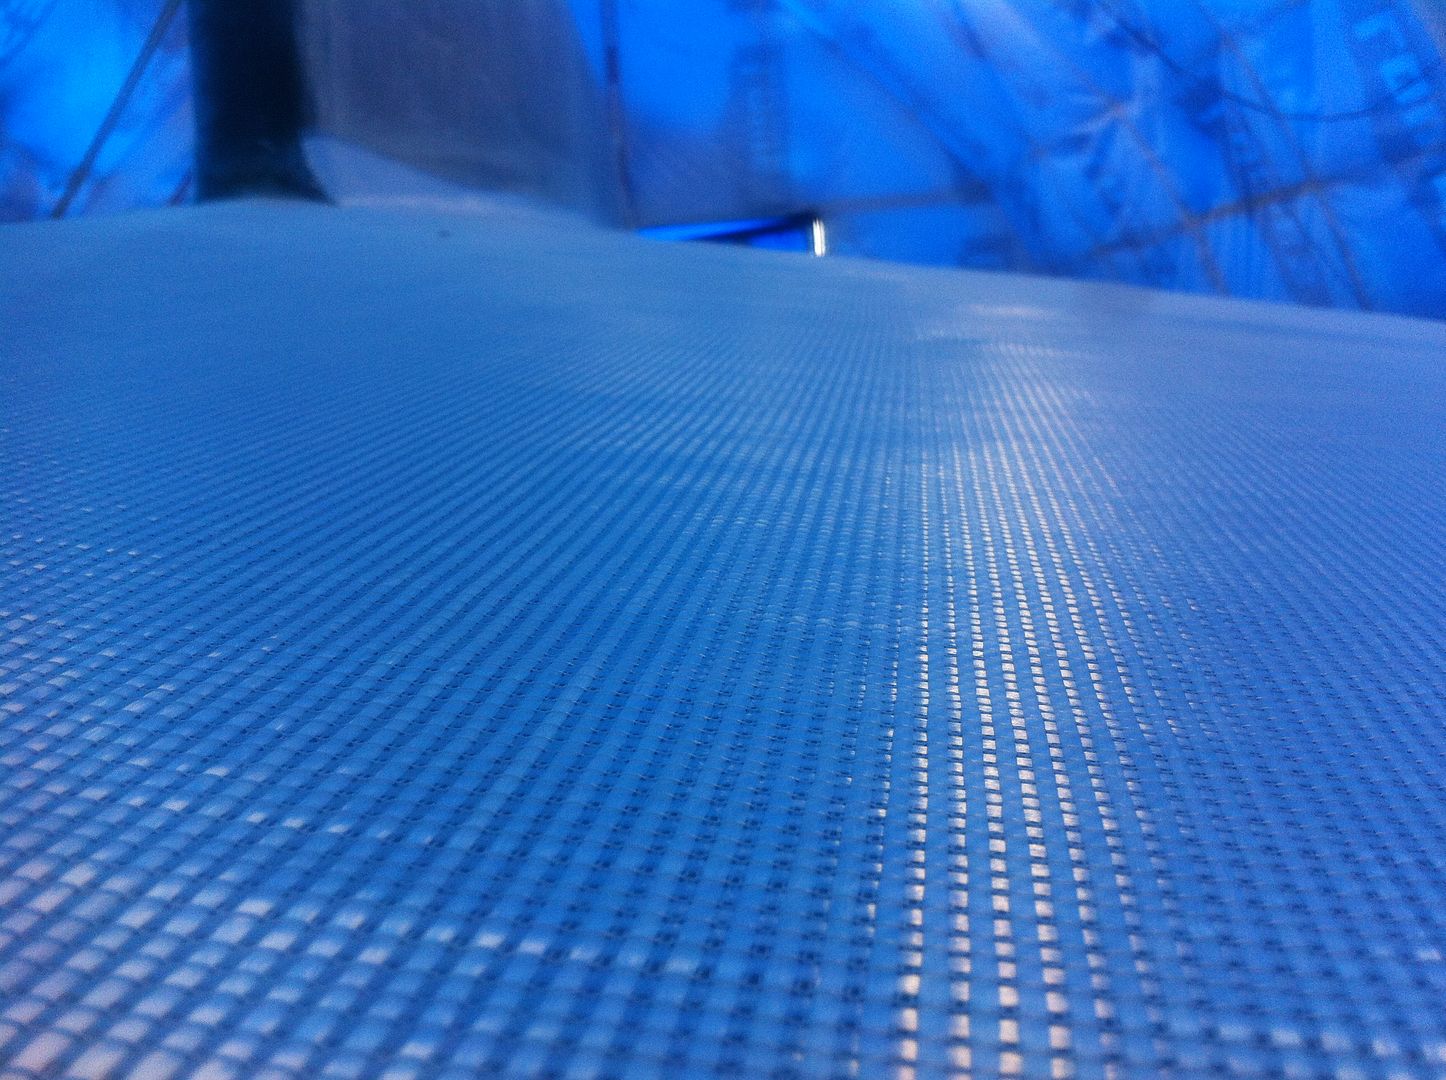
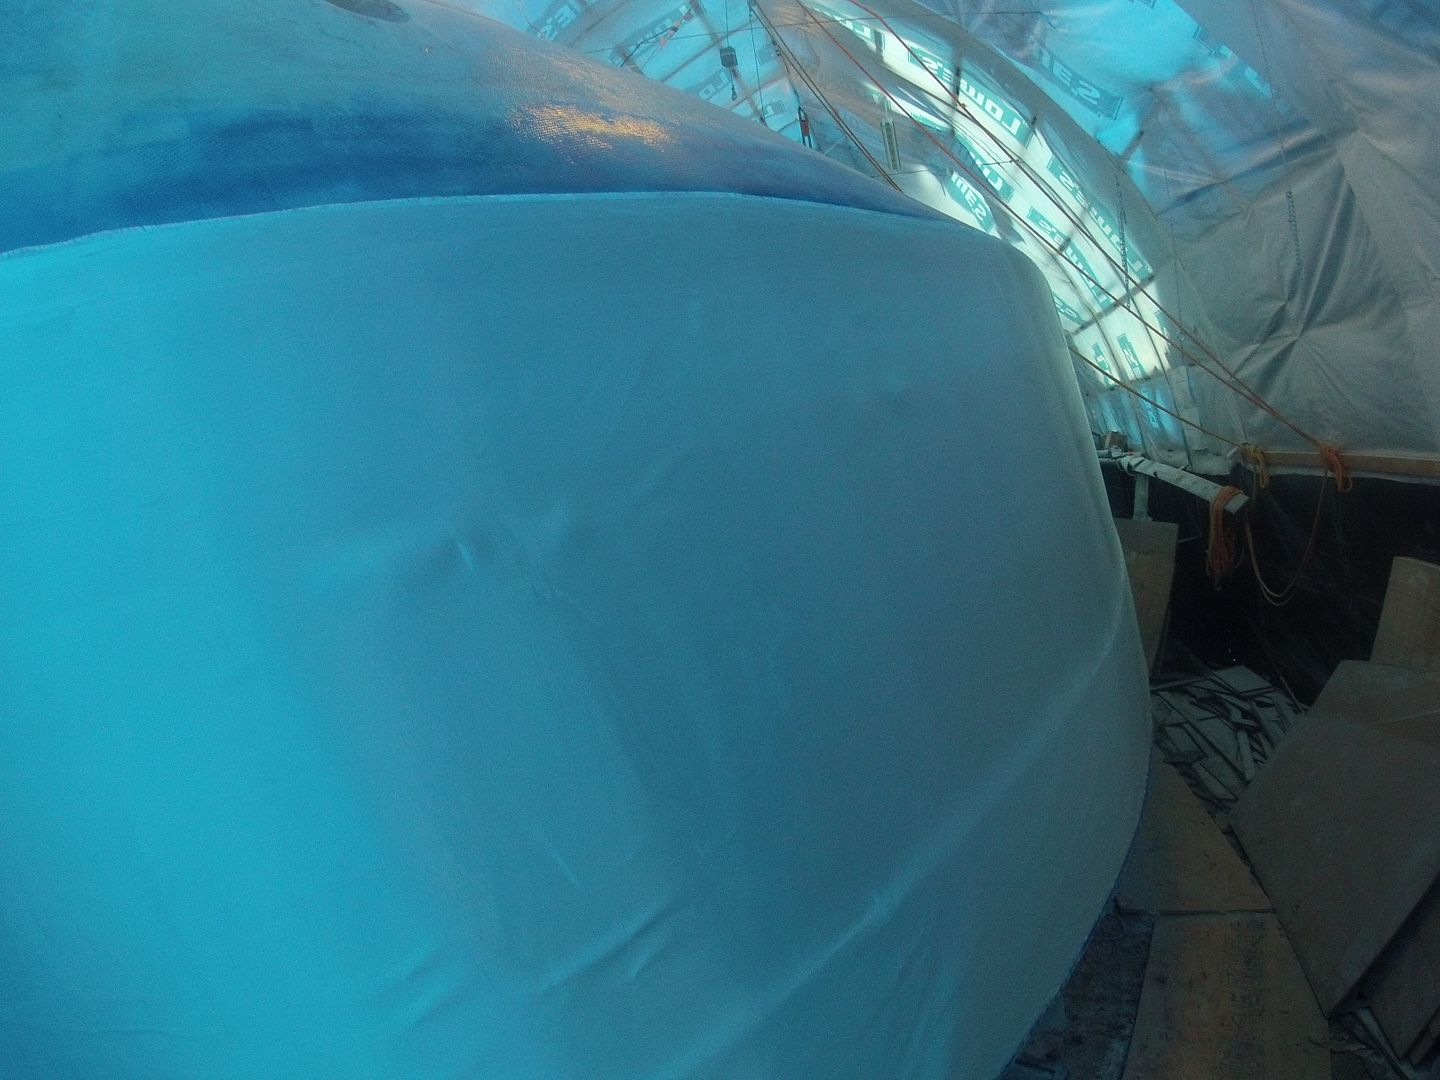
The final layer of fabric to go on the outer hull was the 10 oz satin weave fabric. This is a much lighter weight material that is pretty easy to work with compared to the structural layers.

I was able to get both sides done quickly and efficiently. Again one side I did with peel ply and the other without. The side without peelply requires sanding before anything else goes on but that wasn't a big deal.

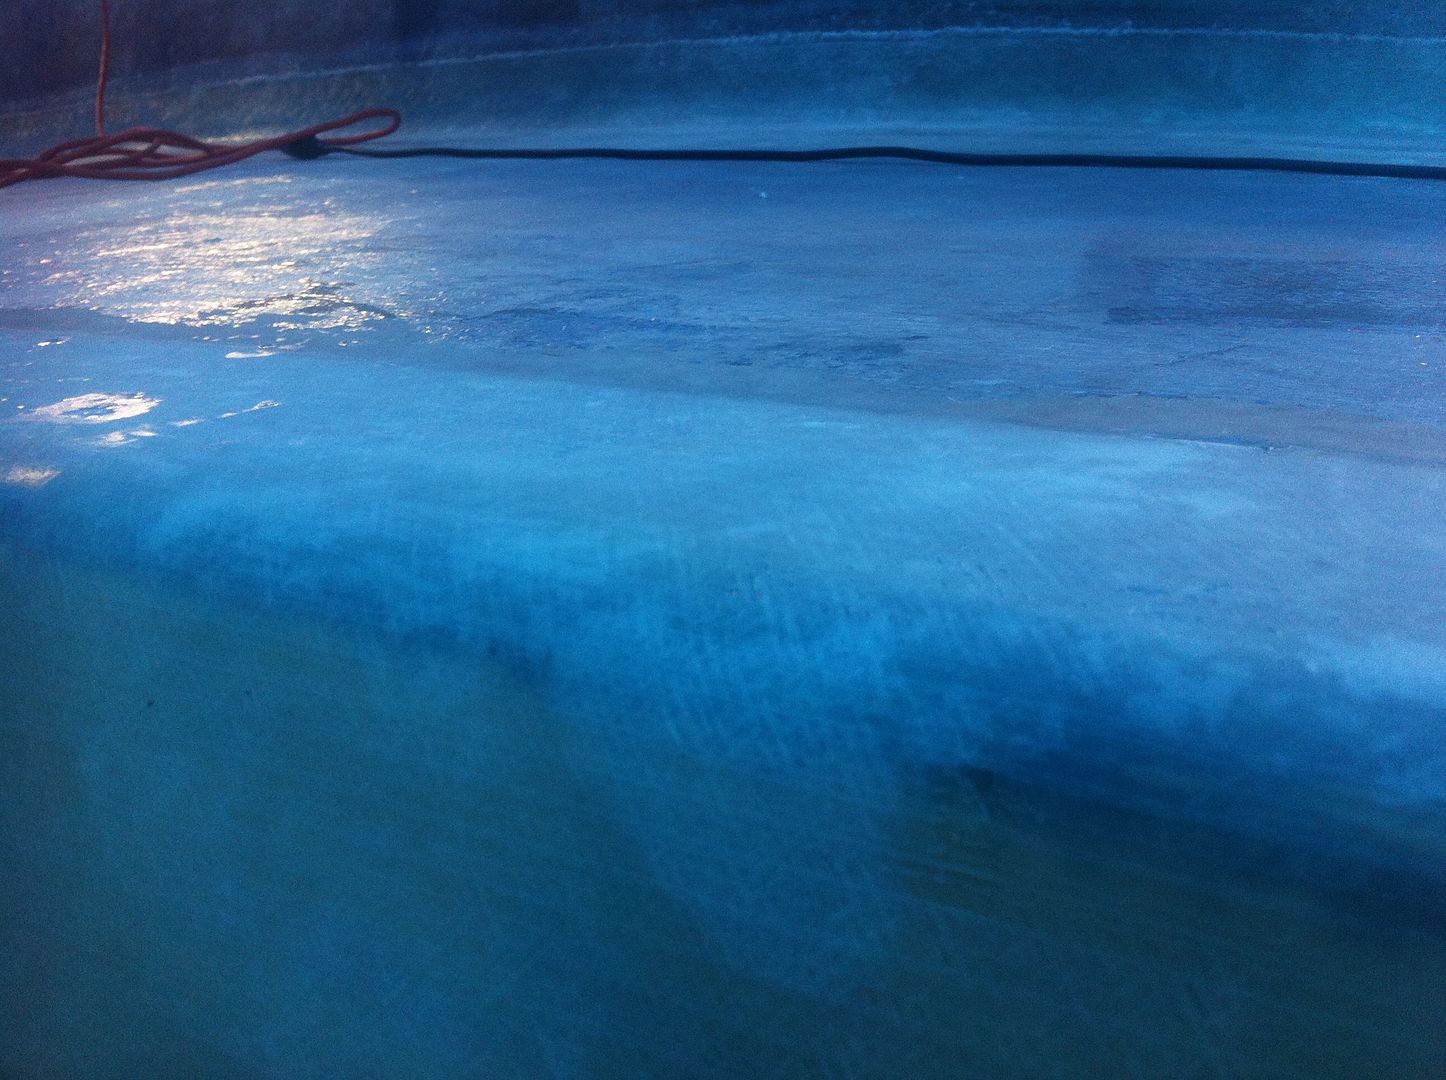
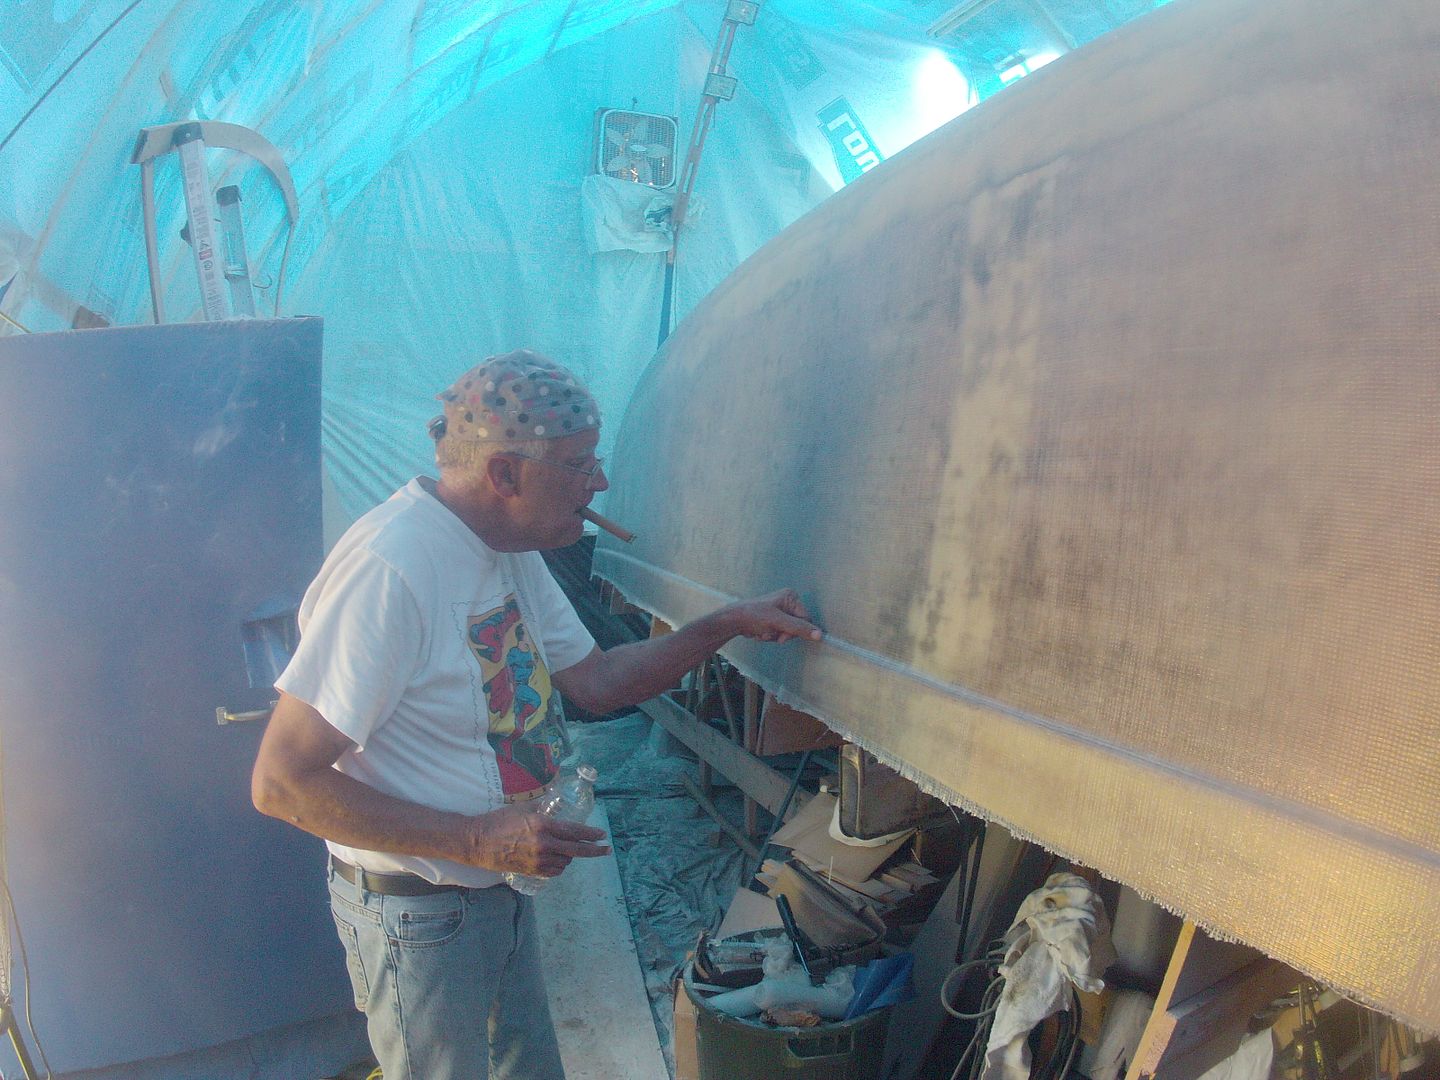
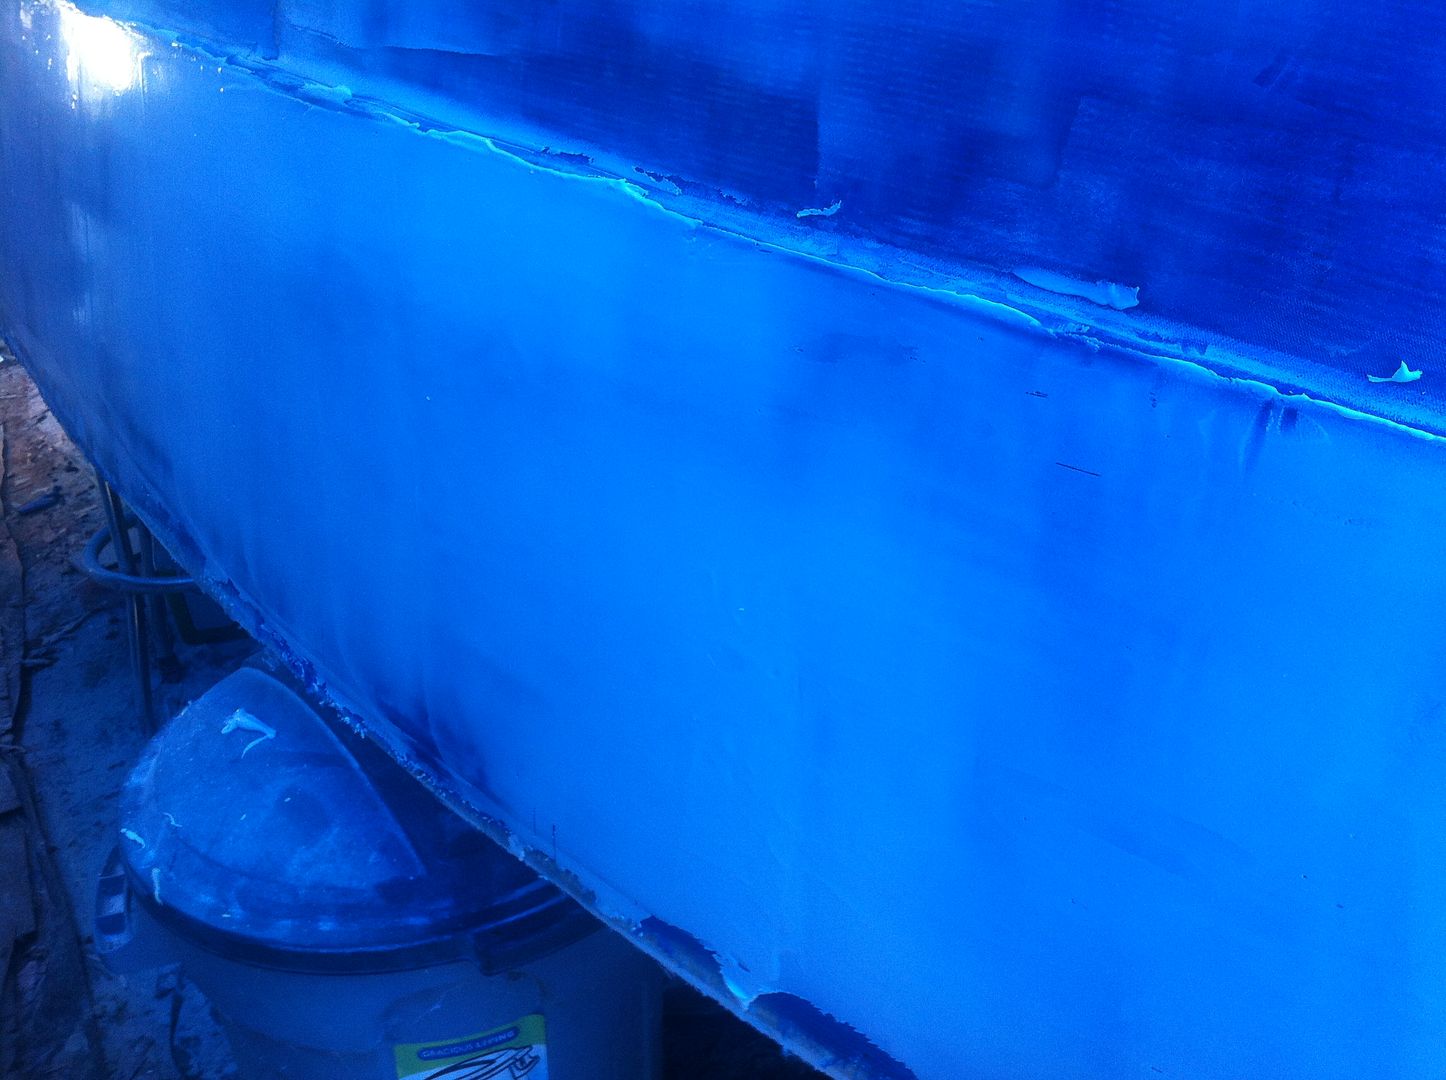
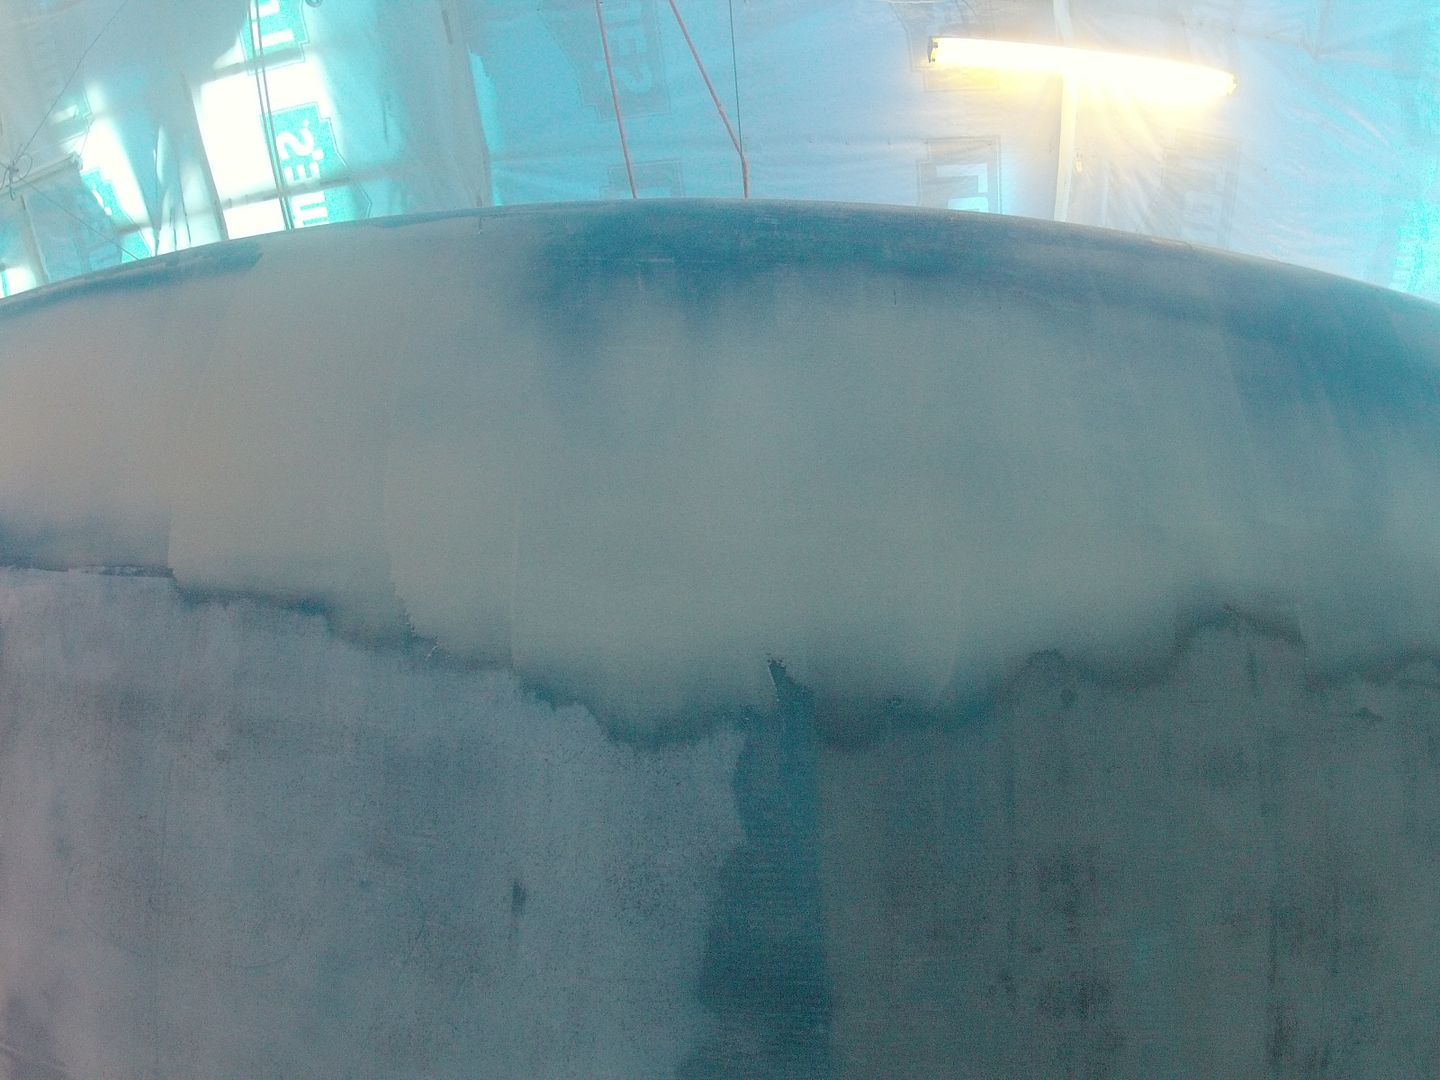
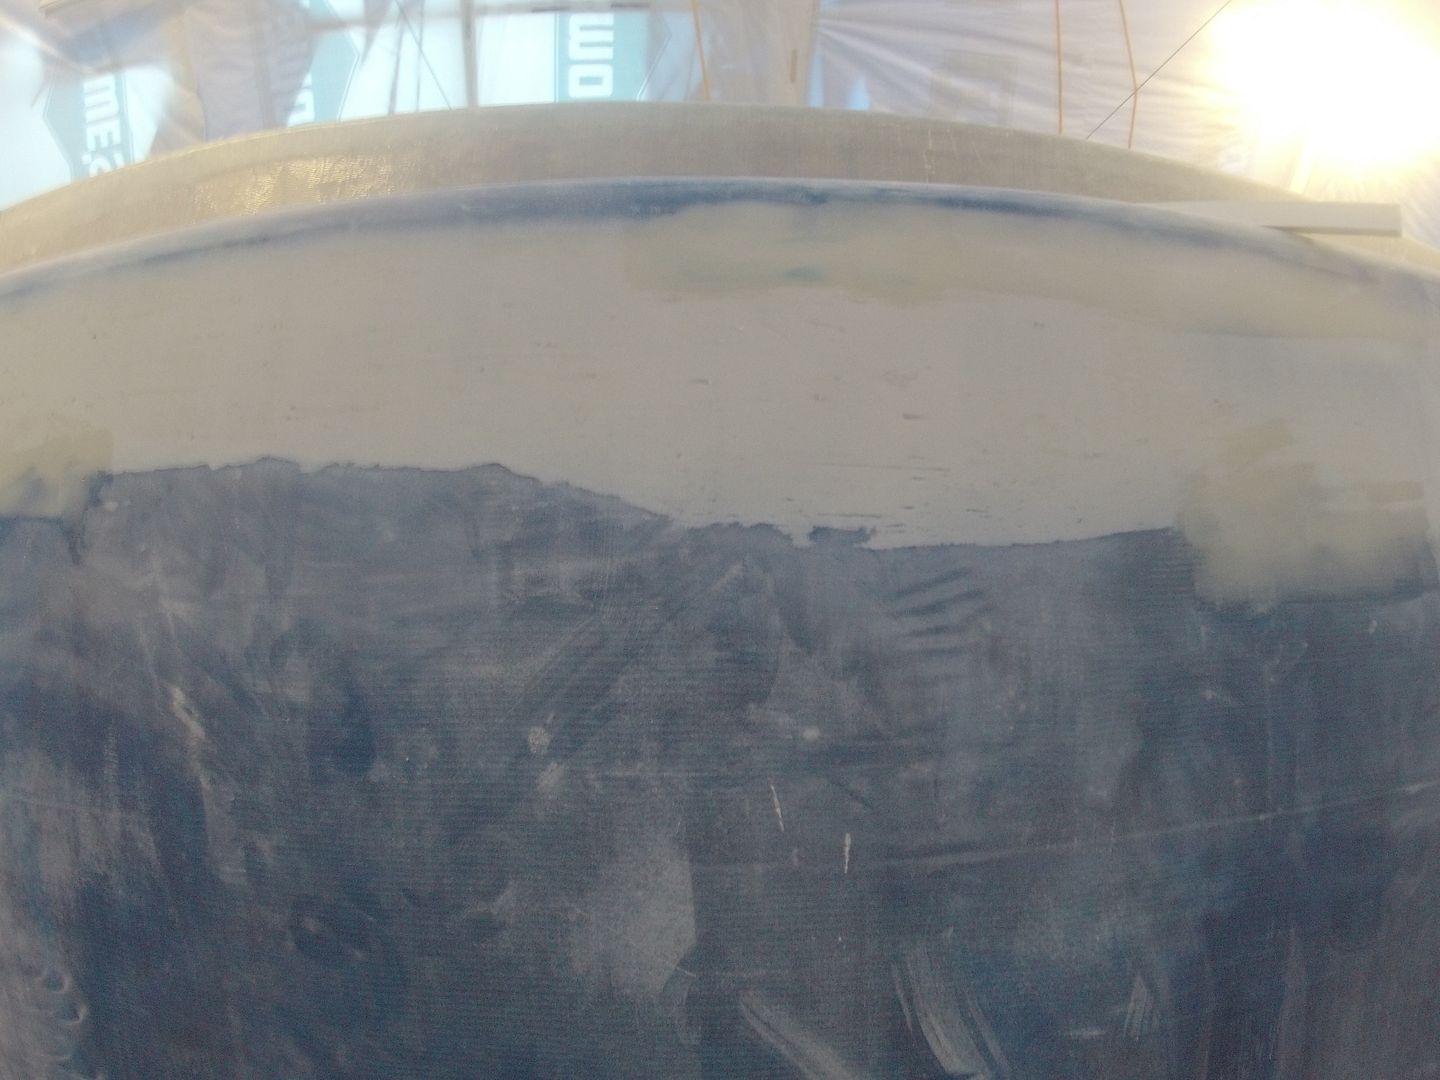
The blue tinge is from a filler I concocted to fill the weave of the 12 oz fiberglass. It just serves as a guide coat when sanding. It also made it easier to see in the low contrast light of the boat shed.

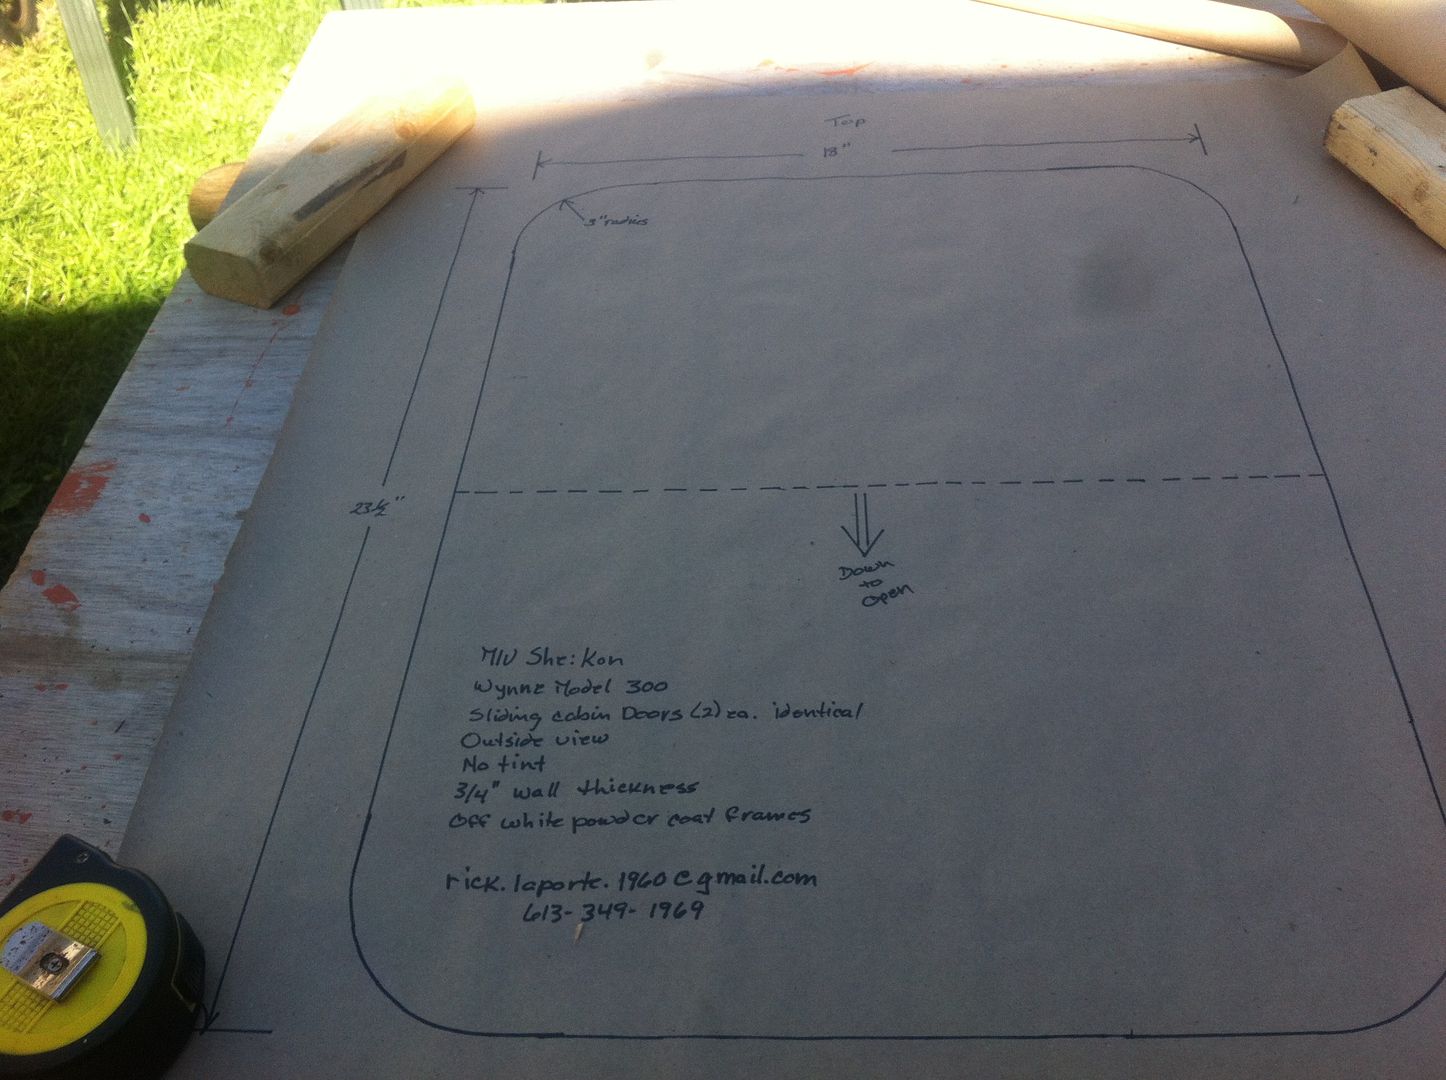
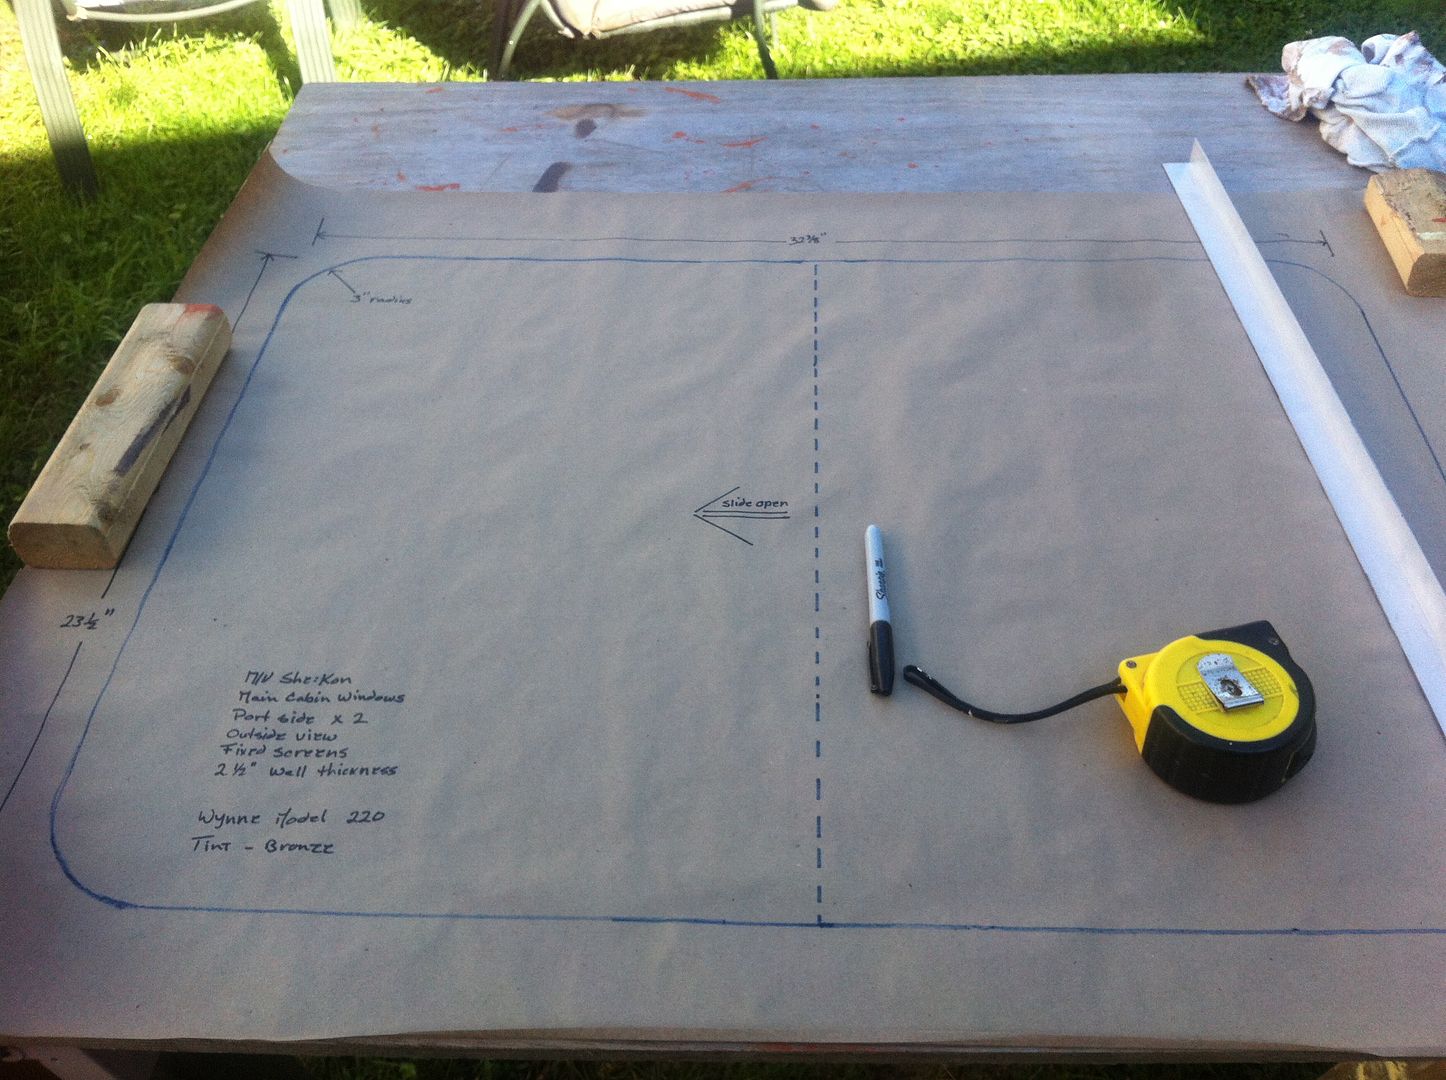
I traced out the cutouts for the windows in the main cabin so that I could get some quotes on the windows. Just about what I figured they'd cost, $2900 for all of them.

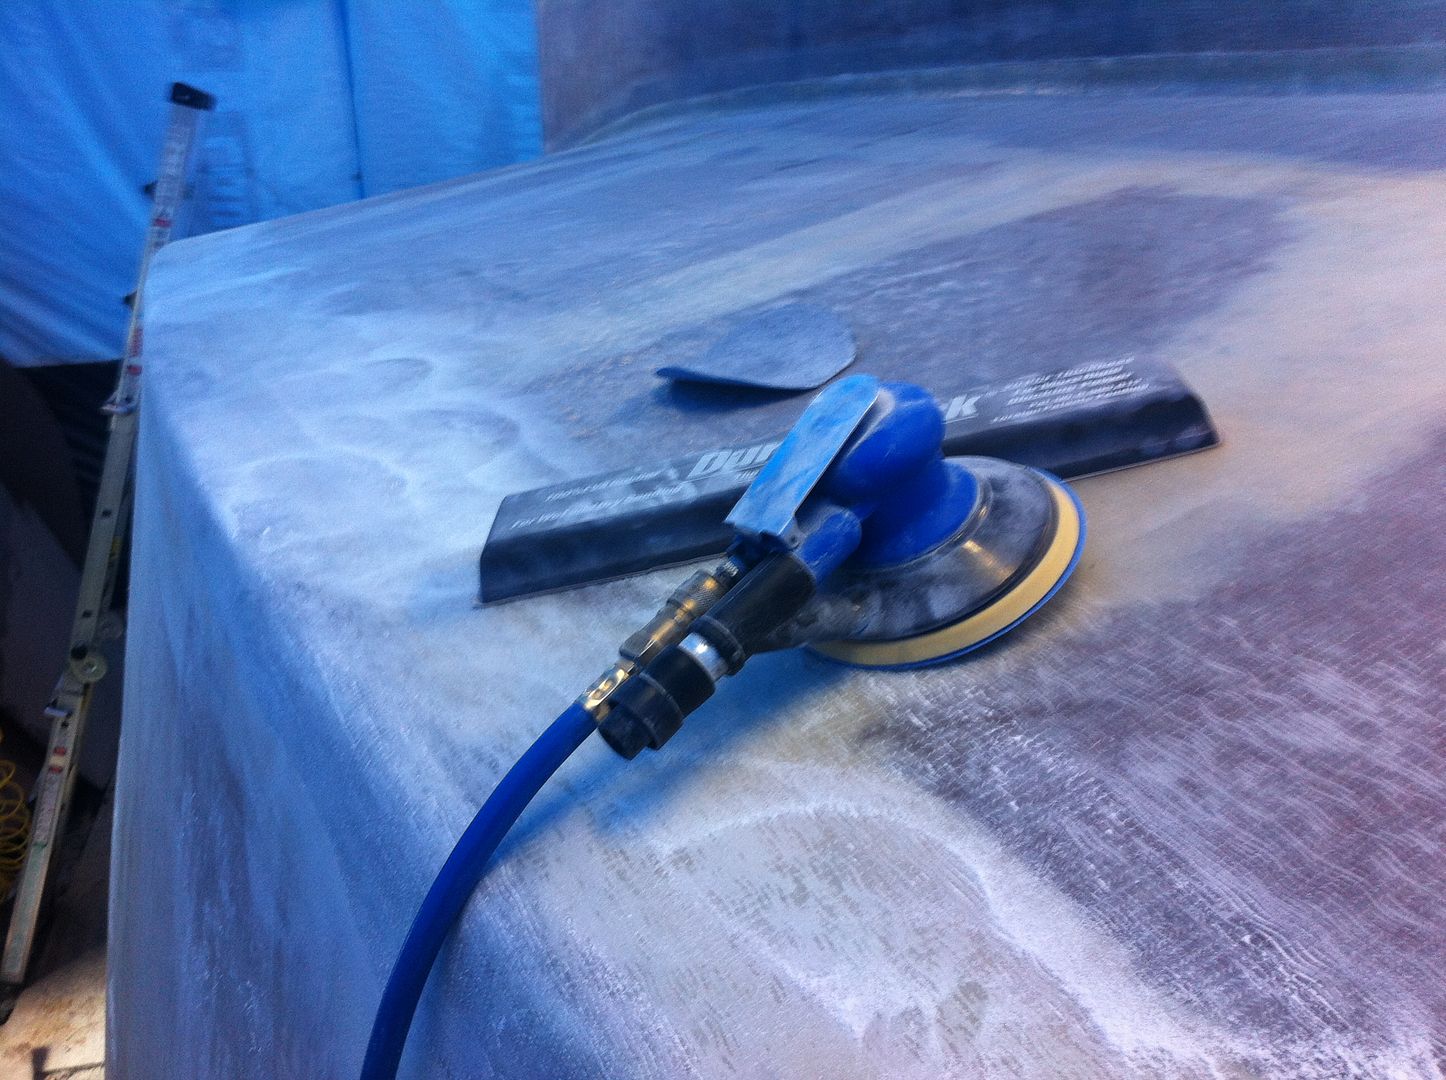
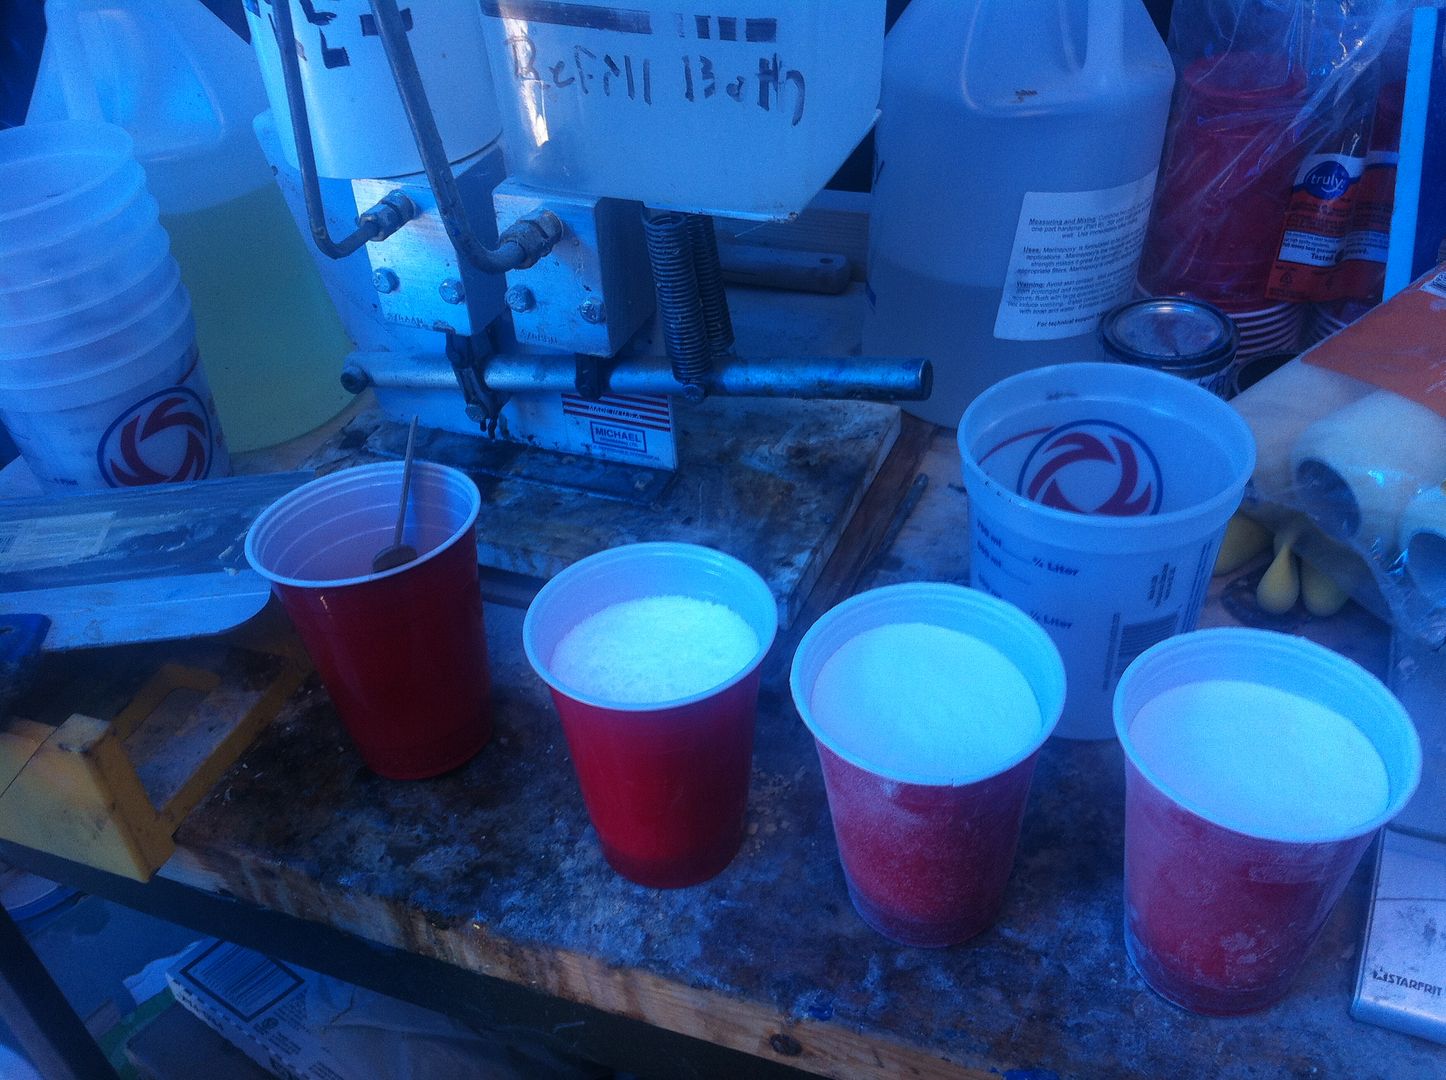
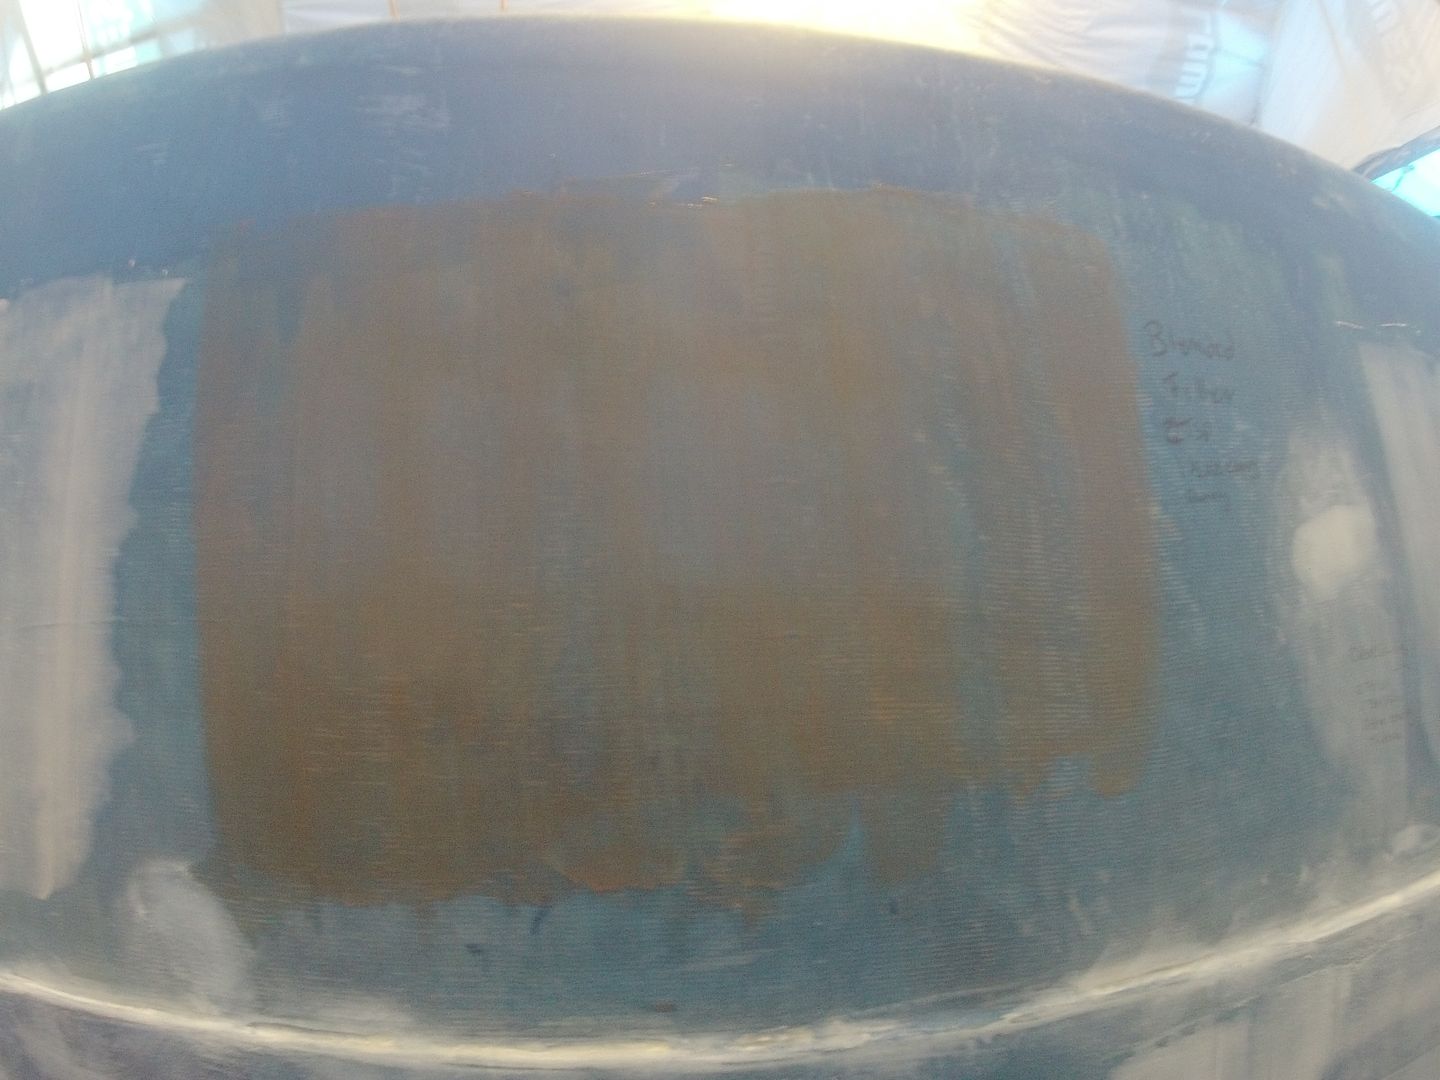
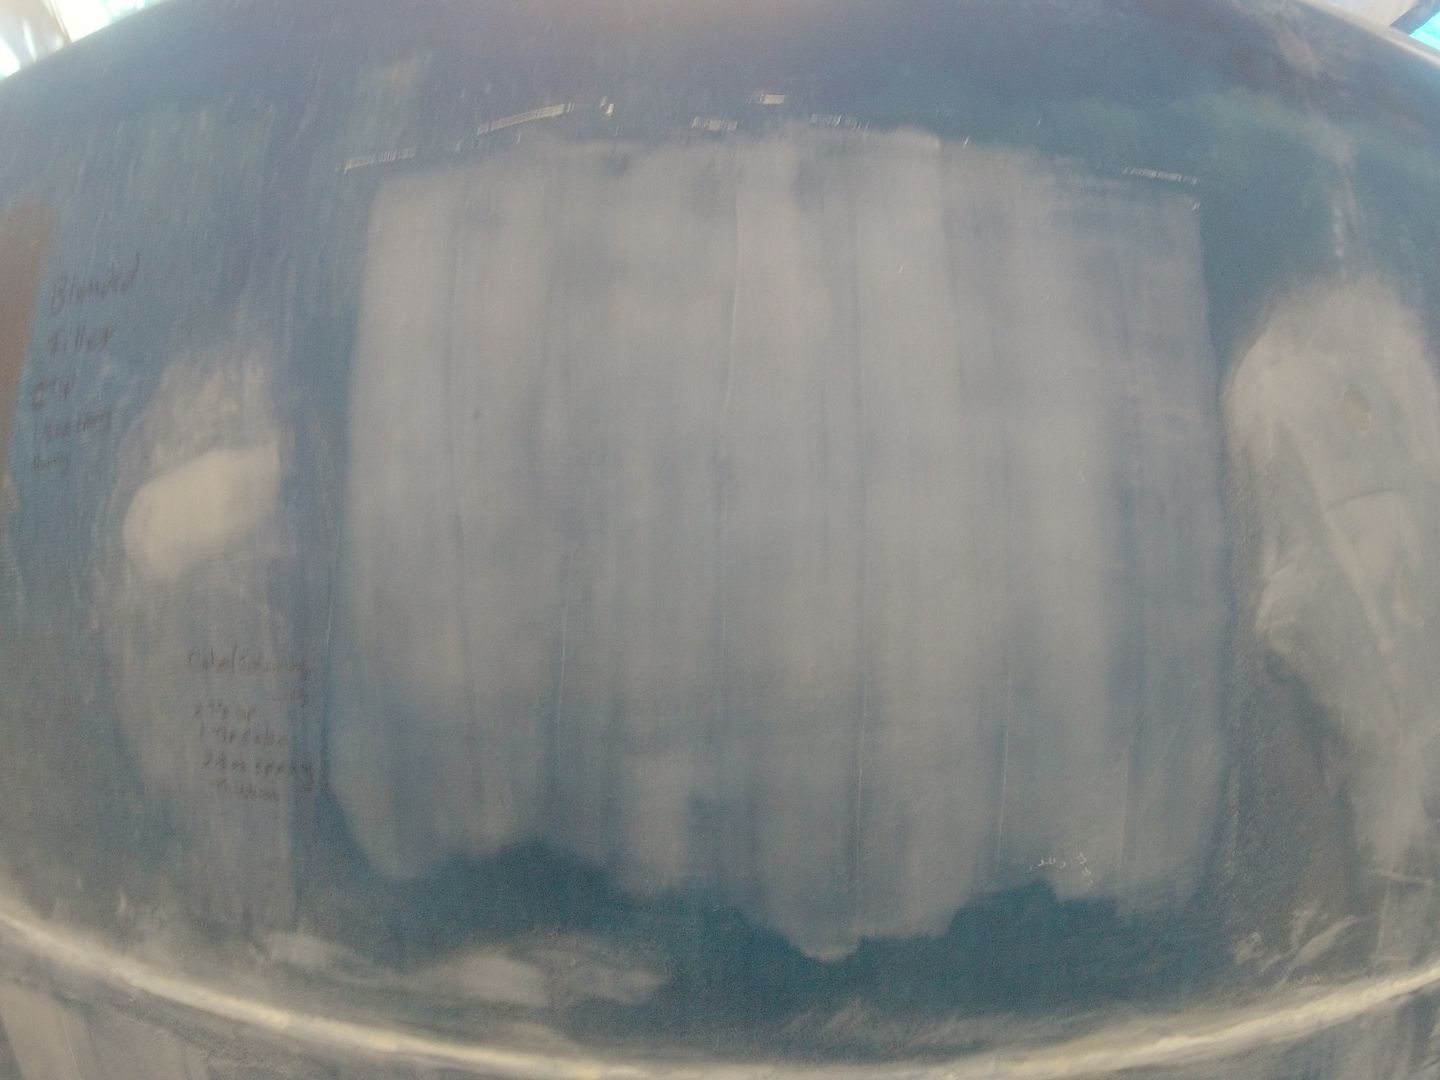
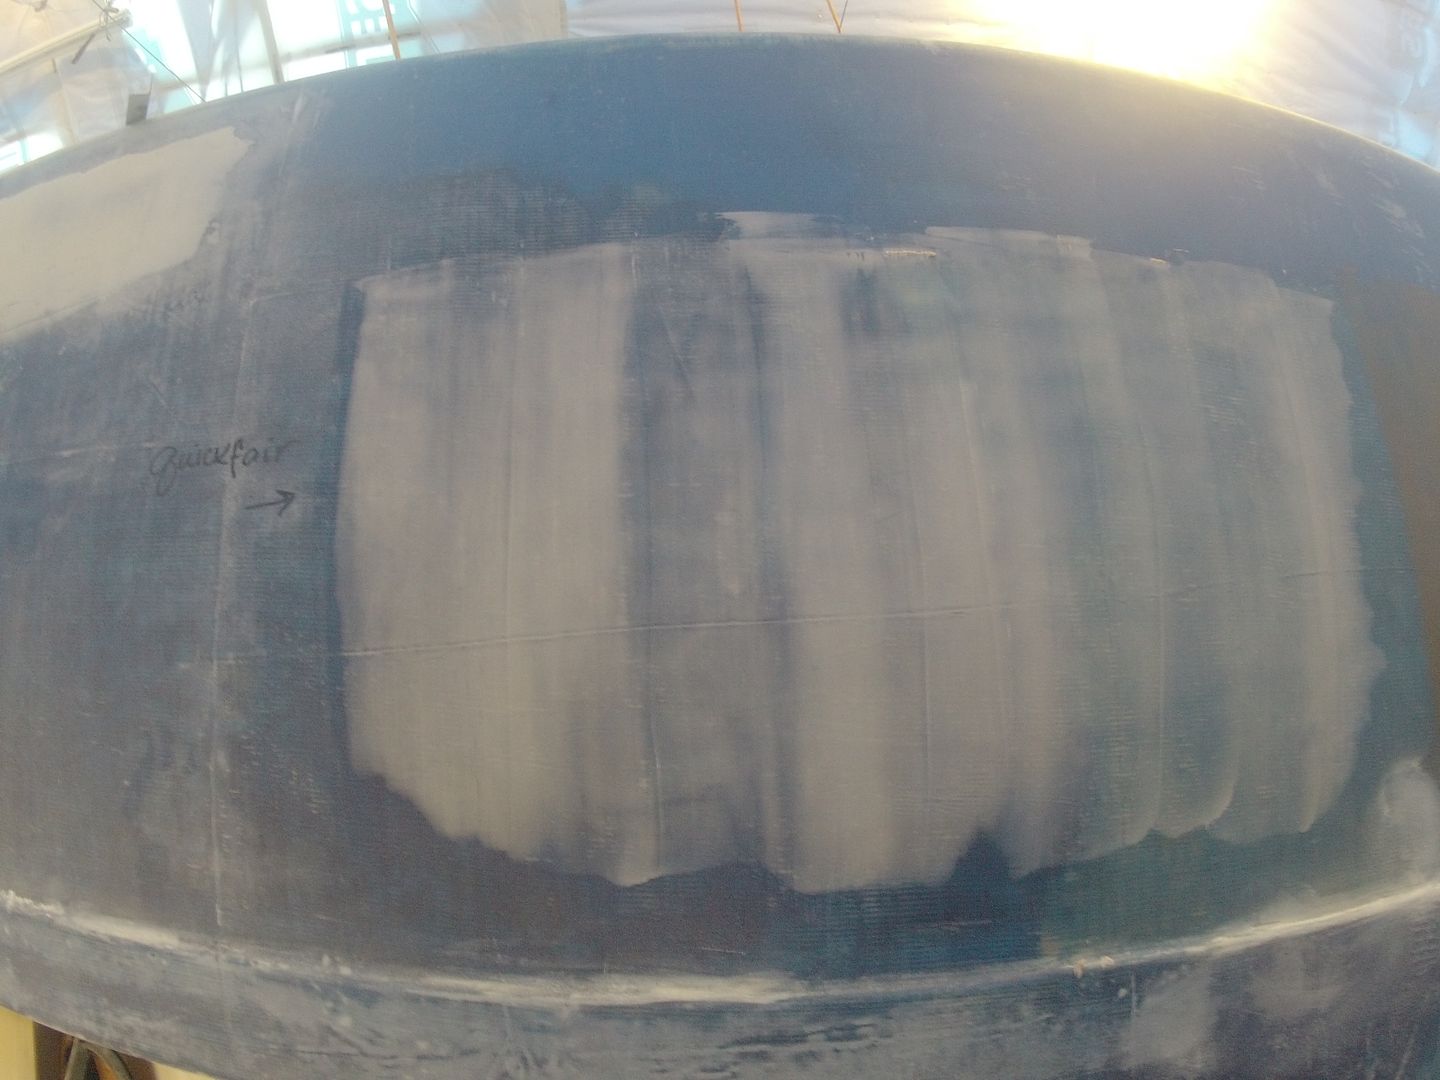
The next step in the preparation of the hull is fairing. This is a process of using light weight fillers to get a nice even surface that's ready for primer and paint. I tried  a few recipes shared by other boat builders as well as some commercially available products.

I was a bit frustrated getting constant results but think I have one recipe worked out that'll get the job done. It uses one part coloidal silica, two parts microspheres (glass beads) and 1 part epoxy. This creates a nice smooth spreadable filler.

The blocking tools (torture boards) or fairing boards I have are commercial automotive tools called 'Dura Blocks'. They high density foam sanding blocks that work pretty well. One of them I have is 30" long and is supposed to do a better job at larger flatter surfaces. I wasn't getting the results I wanted so I'm thinking of buying a tool called 'Flexicat' sanding tool.

This tool comes highly recommended by those that have used it. I think it'll be a good investment on a project of this size. I can always sell it afterwards recovering most of my investment.

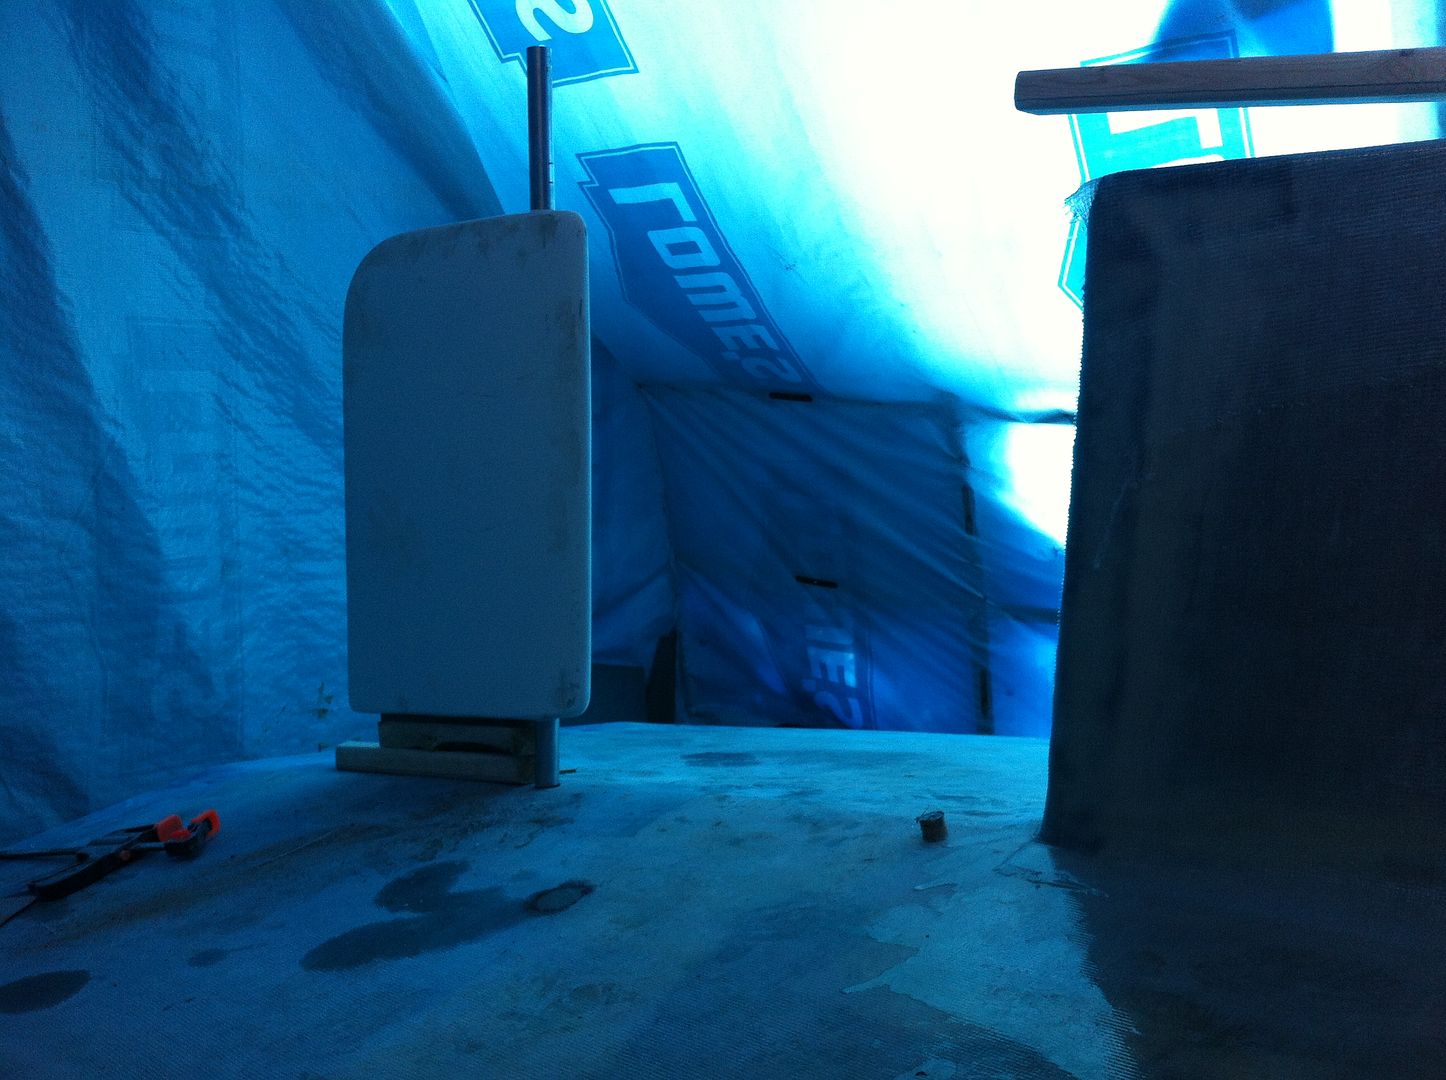
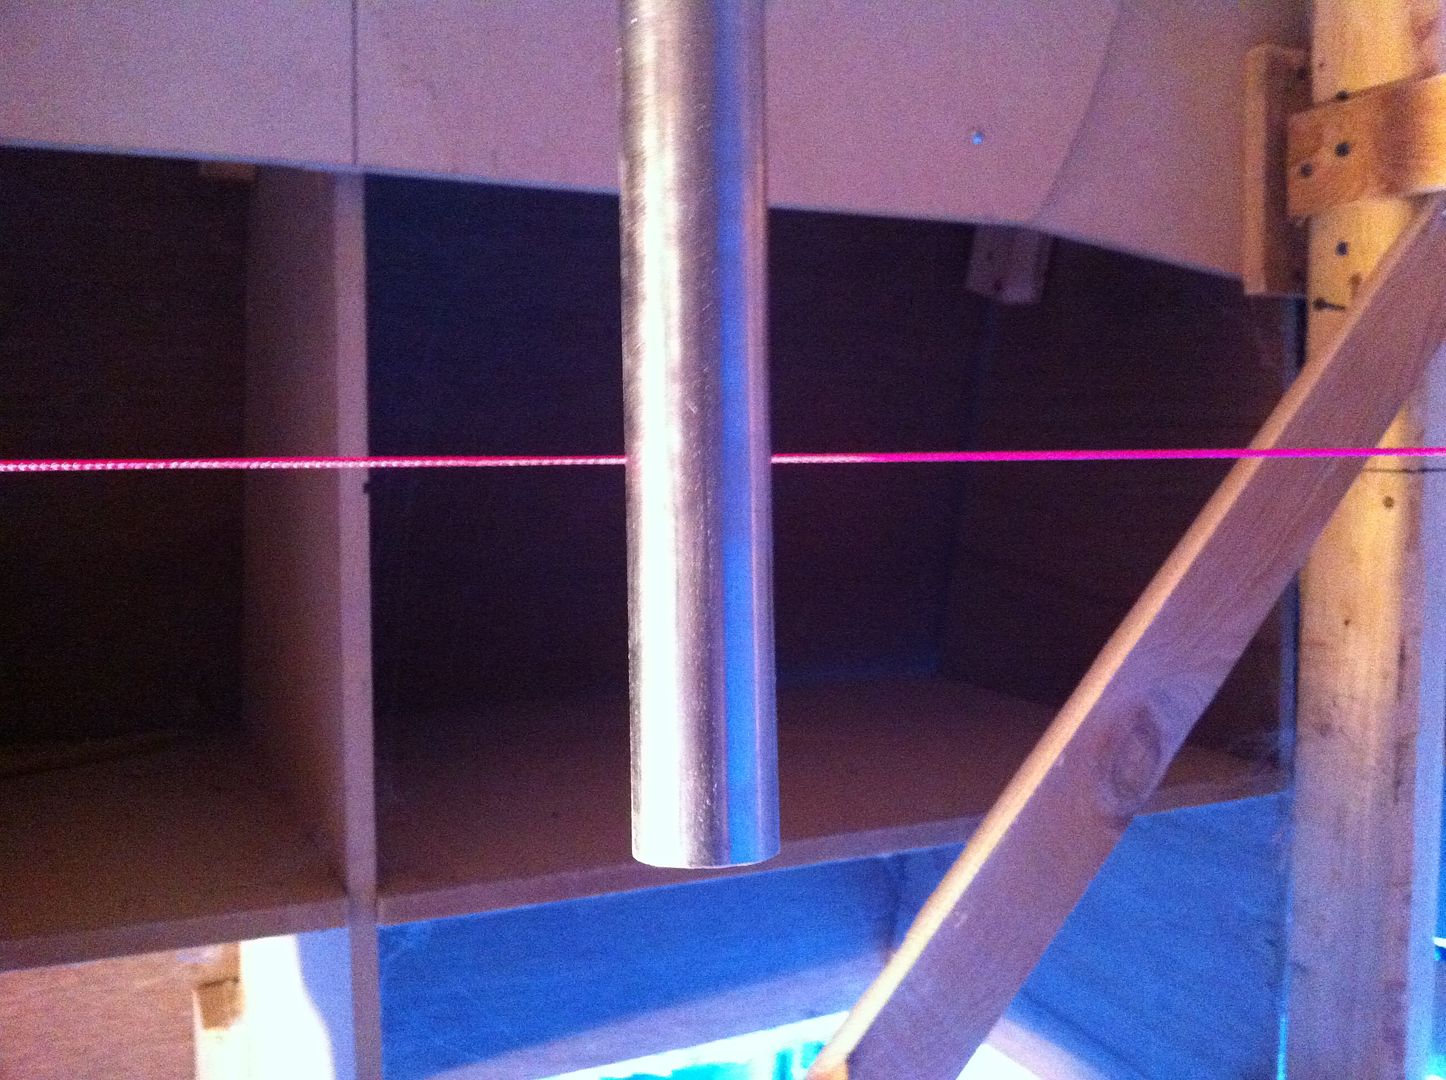
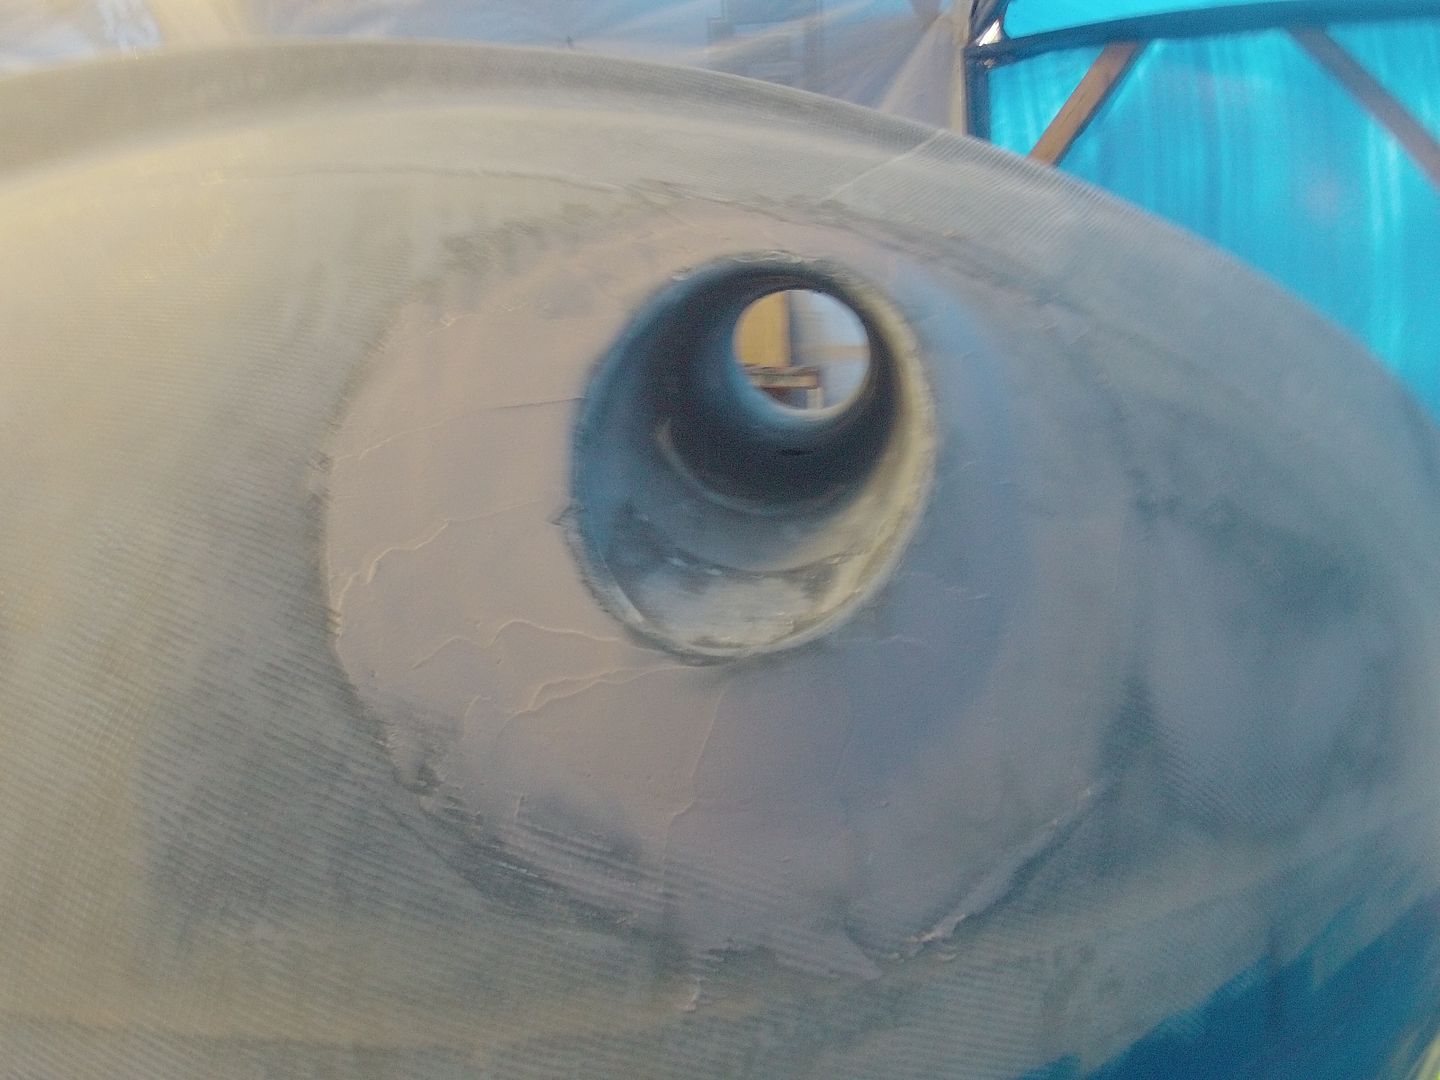
The last thing I did this year was fit up the rudder. I knew there'd be modifications required for it to fit and work properly so I needed to stick it up there and get it measured up.

The shaft ends will have to be shortened and the shaft split just above the bottom panel here. Two SS flanges will be welded on so that the two parts can be bolted (and unbolted) together for removal/repair without having to dig a hole to get the rudder out. The rudder shaft will also have to be cut at the top and a hex cut into it for an emergency tiller attachment.

That's pretty much where I left off for the season. Too cold to do any fairing and besides I was just making a big mess that I'd have to sand off anyways! :-)

So thanks for looking in and putting up with our nonsense. I'll try to make better video's next year.

Stay warm this winter. Standby.


Thursday, October 17, 2013

Changing things up a bit

I've decided to put the hull fairing on hold till the spring. I can see the benefits of getting a nice even layer of goop over the hull before sanding to make it fair. I've tried with a number of recipes and have settled on one that I like but the method I'm using doesn't seem to work all that well. I've had to result to multiple layers of good with lots and lots of sanding inbetween to get it even close to fair. No where good enough yet to even thing of priming this surface.


I stuck to a smaller area on the bulwarks to test out my recipes and techniques figuring if I really messed it up it wouldn't be that much of a boo boo to correct later. Well it's big enough and took quite a bit of sanding and three coats of goop to get it near fair. I started up the hull a bit and the larger surface area only compounded the problems I'm having getting a nice even layer of goop on with just a Bondo squeegee and a 10" drywall knife.


Today I mixed things up a bit. I'm thinking ahead of things that I can do or get done this winter. One thing on the checklist is having the rudder shaft modified. When we bought the kit it came with a rudder. I don't think it was actually made for this boat. The measurements don't seem to fit so I drilled yet another hole in a perfectly good hull! Zoinks!


In an attempt to get dimensions for the modifications I used a 2x3 as a stand in for the skeg. It worked ok. I used a Handyman level app on my iPhone to get this (at least this part) level.


I checked it with a small bubble level and it appears to be spot on. You can see in the first pic that there's a lot of the rudder shaft sticking up. This has to go. I'll need as much room between the top of the rudder blade and the hull for two flanges that have to be put on the shaft. These two flanges will allow the rudder and shaft to come out without having to dig a hole under the boat.

Here's the rudder as we got it.


Just above the rudder blad two stainless steel flanges will be welded on so the shaft can be separated. The bottom of the shaft has to be shortened 140 mm and the top of the shaft also has to be shortened.


The bright purple line represents the bottom of the sole in the cockpit. The shaft has to be shortened 105 mm. This end of the shaft will be squared off for an emergency tiller handle should the hydraulics fail. There'll be a small hatch in the sole to access the rudder shaft with a tiller handle.

I'm going to save up some money this winter to buy myself a 'Flexi-Cat' fairing tools. They're specifically made for doing the fairing work. They're a bit spendy but I think they'll be a good investment. If they can save me some time & materials the'll be worth it and I'll be able to sell them when I'm done to recover some of their cost.

http://www.flexicat-tools.com/en/index.php

That's all for now folks. Standby.....


Sunday, October 13, 2013

Back to it!

Looks like my second career in the Coast Guard is now over. It was fun while it lasted. So it's back to the boat shed. :-)

This morning's session consisted of some Sandinsanity touching up some of the fairing I did two weeks ago.

Feathering out the edges.


Some touch around and inside the thruster tunnel. When I glassed over the tunnel epoxy pooled on the bottom and that had to come out by hand. The only sanding block I had that would do it is the tear drop shape Dura Block.


Once I got that done I mixed up some fairing compound from a recipe given me by a fellow boat builder on Cruisersforum.com.  Thanks Paul.

I had to cut his recipe to a third to try out. It consists of one 16 oz cup of cabosil, two 16 oz cups of microspheres and 1/2 litre of epoxy. My epoxy is a little stiffer than his so I had to add an extra 100 ml of epoxy to get it to a very nice smooth consistency.


This is the biggest batch of fairing compound I've ever mixed up. I didn't want to go to the full recipe in case it was too much to get on the boat before it started to kick. As it was, at 70 degs in the shed, I still had to work pretty quick.

The only tool I had to spred this goop out were the Bondo squeegees and the large drywall knife. I see now how a much larger fairing compound board would help. I might try to fashion one of those myself this week.


As it was it seemed to work out Ok. I'll hit it with the RO then go over it with the sanding block tomorrow. I think this will (supposed to) sand much easier than the recipe's I've tried so far. If that's true then this is pretty close to the mix I'll use for the rest of the hull.

I got paid a visit by the Project Director today. He's not usually in the shed when I'm working. His food dish must be empty again! *lol*

The Project Manager was lounging in his chair on the front porch all day! Ahhhhhh the retired life of an ole' Tom Cat!

Stay Tuned. More Sandinsanity tomorrow!  :-)


Saturday, September 28, 2013

The Marine Installers Rant & A few other things


The Marine Installer's Rant is one of my favorite blogs to follow. It has a virtual treasure trove of knowledge buried in its pages on many things electrical and electronic on boats. It's author, Bill Bishop - Parmain , is a very experienced marine electronics installer who's taken it upon himself to share is experiences, good and bad. I asked him a week or so ago if he could put together a list of his top 10 tips or tricks that a boat builder could use to help make his (and others like him) life easier. Definitely a 'must read' for anyone building or refitting a boat. Here's what he's come up with:

http://themarineinstallersrant.blogspot.ca/2013/09/the-top-ten-things-that-make-my-life.html

A more modern rendition of an old Floyd tune, this one's for you Bill. Thanks.


The fall ritual begins. First the ole' Camaro got an oil change prior to being stored away for the winter then it was time to look over the boat shed for repairs. Just like other years there's a few issues to be dealt with.

You can see the rip just near the ridge. This one has opened up in the last few days. I think it's a case of the shrink wrap plastic breaking down from UV exposure. This side has been pretty good since it gets little direct sunlight. The plastic has been up there almost 4 years now so I guess it was due for a failure or two. Most of the other patches are just small holes.

I spent the rest of the afternoon sanding and testing out my fairing skills (which I obviously don't have). I find it hard to get consistent results with the materials I'm using. I think I'll have to invest in more Quickfair.

The hardest part to fair right now is the ridge left from all the overlapping fiberglass on the chine (where the bottom panels meet the side panels). By my count there's 4 layers of tape and 6 layers of fiberglass cloth all overlapped there. I'd say at the deepest there's a 1/8" gap to be filled and faired.

The side of the boat I last fiberglassed got a light sanding today in prep for fairing. Using a lighter grit (80) sandpaper made pretty light work of it. About an hour and a half and I was done the entire side. I was so happy I decided to do another home movie for your watching pleasure!  ;-)


My buddy Andrew came over this morning and helped fix up a few holes in the shed. I'm glad I got a buddy who's part monkey!  ;-)  Thank you Andrew!


Sunday, September 22, 2013

Sunday Sandinsanity

Today was a sanding test of the test patches I put on the hull yesterday. I put it all together in a video for your watching enjoyment!  :-)

I learned a few things too. If you have extra goop, don't just slather it on somewhere random. You're just gonna have to sand most of it off! Doh! I think fairing the entire hull is going to be a big job, much bigger than I thought. But that's nothing new with this project.

The Quickfair is specifically made for this process and is the easiest to work with. It's a bit spendy but so is using epoxy and your own fillers. I'll do as much as I can with what I have then buy some more Quickfair for the final fairing before primer.

That's about it till next weekend. Back to work tomorrow. Standby...

Saturday, September 21, 2013

I'm absolutely sure

I know nothing about fairing a boat hull. So with that in mind I tried a few fairing recipes with the materials I have on hand. The first one I tried is called 'blended filler' from Bateau.com. This is a lightweight filler sold by the designer specifically for this purpose. I had a small sample I got with a test kit many moons ago.

This section of the hull is very fair already so a skim coat should give me some idea of what it's like to work with and sand.

The second I tried is a combination of microspheres (tiny glass bubbles) and cabosil (colloidal silica). It makes a very light weight filler and should be easier to sand.

The third fairing compound I tried is a readily available filler called "Quickfair" from System 3. It comes as a two part product you mix just like bondo. It's easy to work with and I've dabbled with it before. Very nice to work with.

You can see from the picture it's a bit thicker than the others. Certainly overkill for this section of the hull. I used what was left over around the bow thruster hole.

There's one particular section of the hull where the sides join the bottom where there's a pretty significant gap that needs to be faired. This was caused by the multiple layers of fiberglass all overlapping at this point. There's 4 layers of tape and six layers of fiberglass all overlapped there. At the worst I'd say there's about a 1/16" gap.

I mixed up a much heavier filler for this area. A combination of microspheres, cabosil and wood flower for bulk. Even mixing it rather soupy it's hard to spread out evenly. I used a large drywall knife and followed the curve of the chine as a guide. It'll be a bit harder to sand simply because of the bulk of it. It looks messy and it is!  :-)  That's part of the fun of building a boat I guess!

Tomorrow I should be able to block sand the test patches and see how they turned out. Standby....


Thursday, September 19, 2013

Video processed and ready to go

Here's another video delight to waste some more of your time!  :-)

Still working at improving the videos. It's hard to condense 3 hrs of raw video into 6 1/2 minutes. Thanks for looking in.

Update: This mornings task was to make templates for the windows.

All the windows were CnC cut in the kit so it was easy to use the cutouts to make the templates. I had to specify styles & materials. This one above is one of 4 side windows. They'll be polycarbonate sliding windows with fixed screens, tinted Solar Bronze.

This one was a little more difficult. It's for the sliding doors that were not CnC cut in the kit. It's part of the modifications we made to the design so some of it is pure guesswork at this point. I'll ask the company for a quote and see what these will set me back.

We've decided to open up the aft bulkhead of the main cabin and make it more like a 'picnic' boat. It'll look something like this.

Well maybe not exactly like that but you get the idea. We'll enclose the aft cockpit with a canvas enclosure and a canvas wall for privacy. I think it'll open up the boat immensely and make it much nicer for socializing while underway. The near total removal of the aft bulkhead will make it a bit challenging to replace the structure that's removed. I have a few ideas on how to do that.

Yesterdays fiberglass turned out fantastic. Hardly a bubble in sight and those are long the hull side/bulwark where they won't be seen. I intend to put a large rub rail, likely a rope rub rail along that line. Something like this.

Maybe not that big of a rope but you get the idea. Going back to work tomorrow so things will slow down a bit again. Standby.....


Wednesday, September 18, 2013

I do try to learn

from my mistakes or previous attempts at this boat building stuff. As you saw earlier I hauled the peel ply off the other day's work on the starboard side and the results were just Ok. Today I decided to forego the peel ply and relied on some aggressive squeegeeing to get eliminate the bubbles and dry spots.

Starboard side looking forward.

Starboard side looking aft.

I know the pics don't look like much other than the 'big blue blog' but there's a discernible difference between this side and the one I did the other day. I used half the epoxy in about an hour less time and there's no bubbles or dry spots. The downside is when this cures the entire surface will have to be sanded before I begin the fairing process. The other side won't require much sanding at all. Just a few spots where I had to fill some bubbles.

Today's tally was 2 3/4 litres of epoxy, one roller sleeve (a new one I tried and liked very much), 8 pairs of latex gloves (I changed often handling the GoPro camera) and under 3 hours to complete.

Today's work represents sort of a milestone. This is the last fiberglass that'll go on the outside of the hull! :-)  That's it. It's onto fairing from here. So the steps are, fairing, barrier coat, primer, paint the bottom and flip this whale (in the spring)!  :-)

I'm working on another video so I'll post that later. Standby.