

I stuck to a smaller area on the bulwarks to test out my recipes and techniques figuring if I really messed it up it wouldn't be that much of a boo boo to correct later. Well it's big enough and took quite a bit of sanding and three coats of goop to get it near fair. I started up the hull a bit and the larger surface area only compounded the problems I'm having getting a nice even layer of goop on with just a Bondo squeegee and a 10" drywall knife.
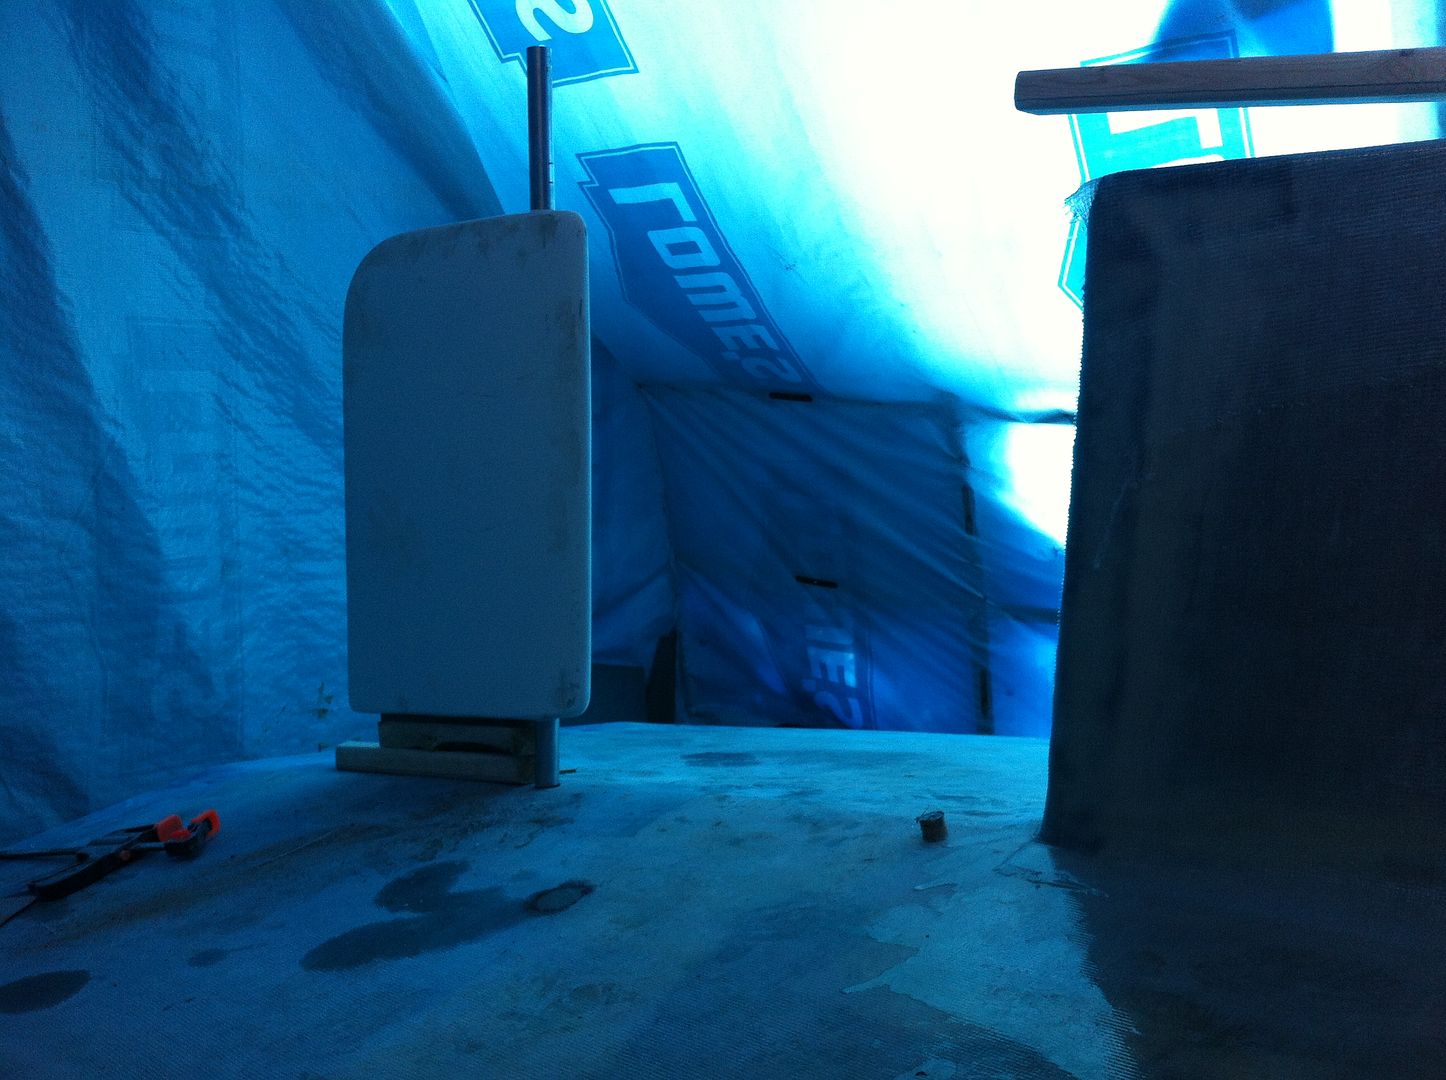
Today I mixed things up a bit. I'm thinking ahead of things that I can do or get done this winter. One thing on the checklist is having the rudder shaft modified. When we bought the kit it came with a rudder. I don't think it was actually made for this boat. The measurements don't seem to fit so I drilled yet another hole in a perfectly good hull! Zoinks!
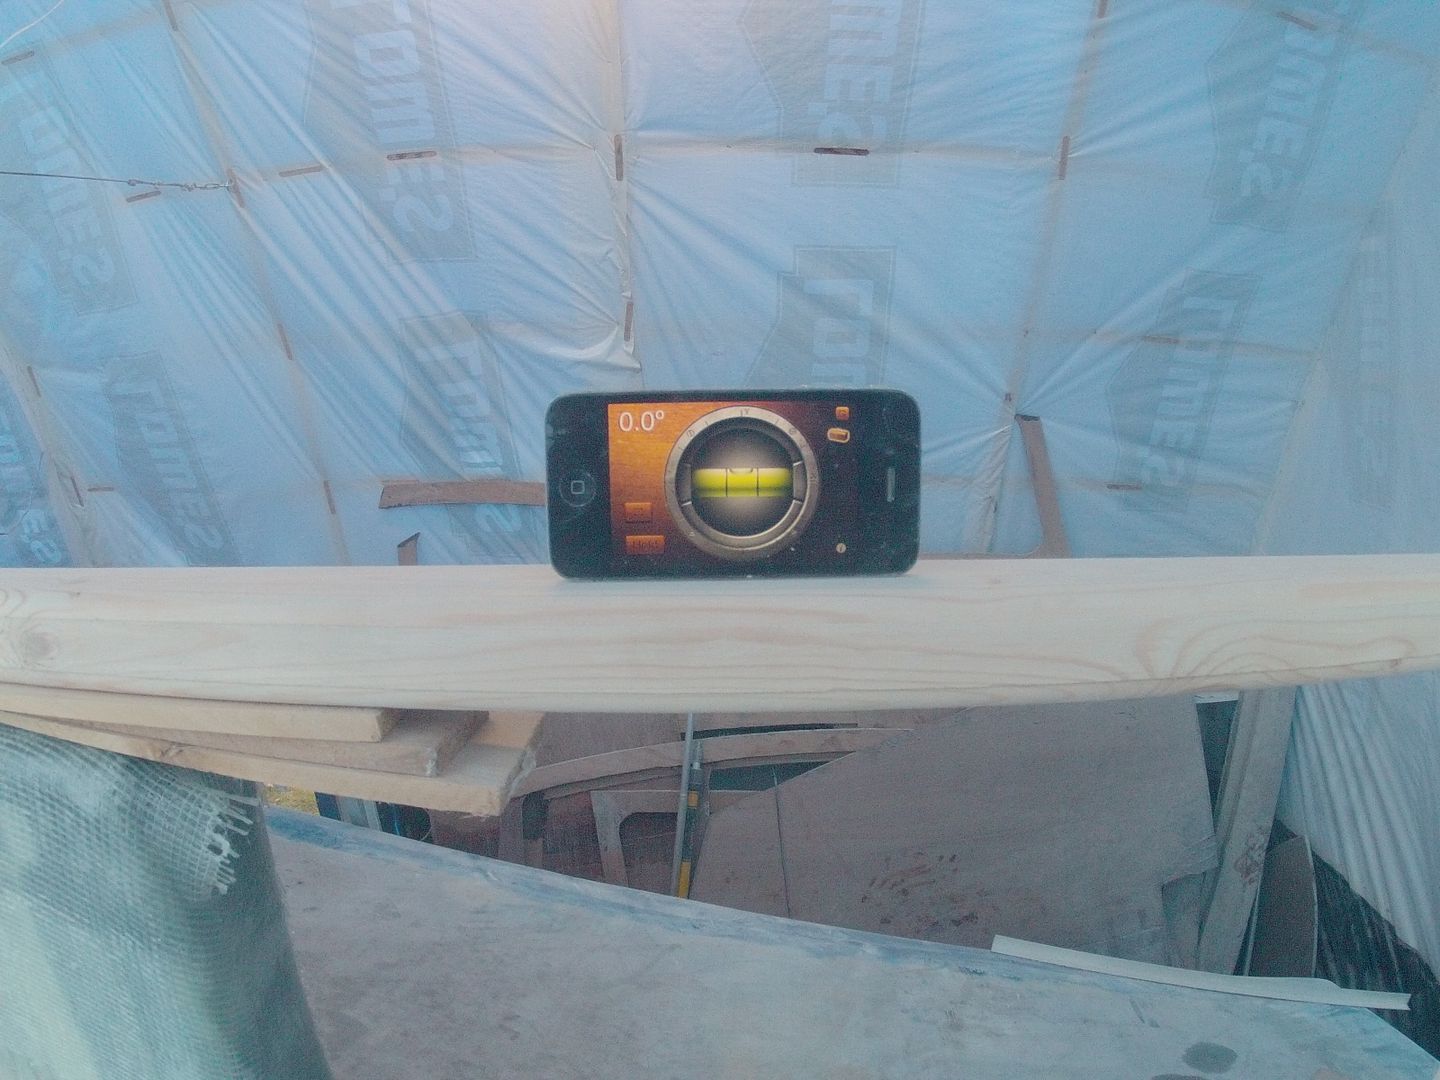
In an attempt to get dimensions for the modifications I used a 2x3 as a stand in for the skeg. It worked ok. I used a Handyman level app on my iPhone to get this (at least this part) level.
I checked it with a small bubble level and it appears to be spot on. You can see in the first pic that there's a lot of the rudder shaft sticking up. This has to go. I'll need as much room between the top of the rudder blade and the hull for two flanges that have to be put on the shaft. These two flanges will allow the rudder and shaft to come out without having to dig a hole under the boat.
Here's the rudder as we got it.

Just above the rudder blad two stainless steel flanges will be welded on so the shaft can be separated. The bottom of the shaft has to be shortened 140 mm and the top of the shaft also has to be shortened.
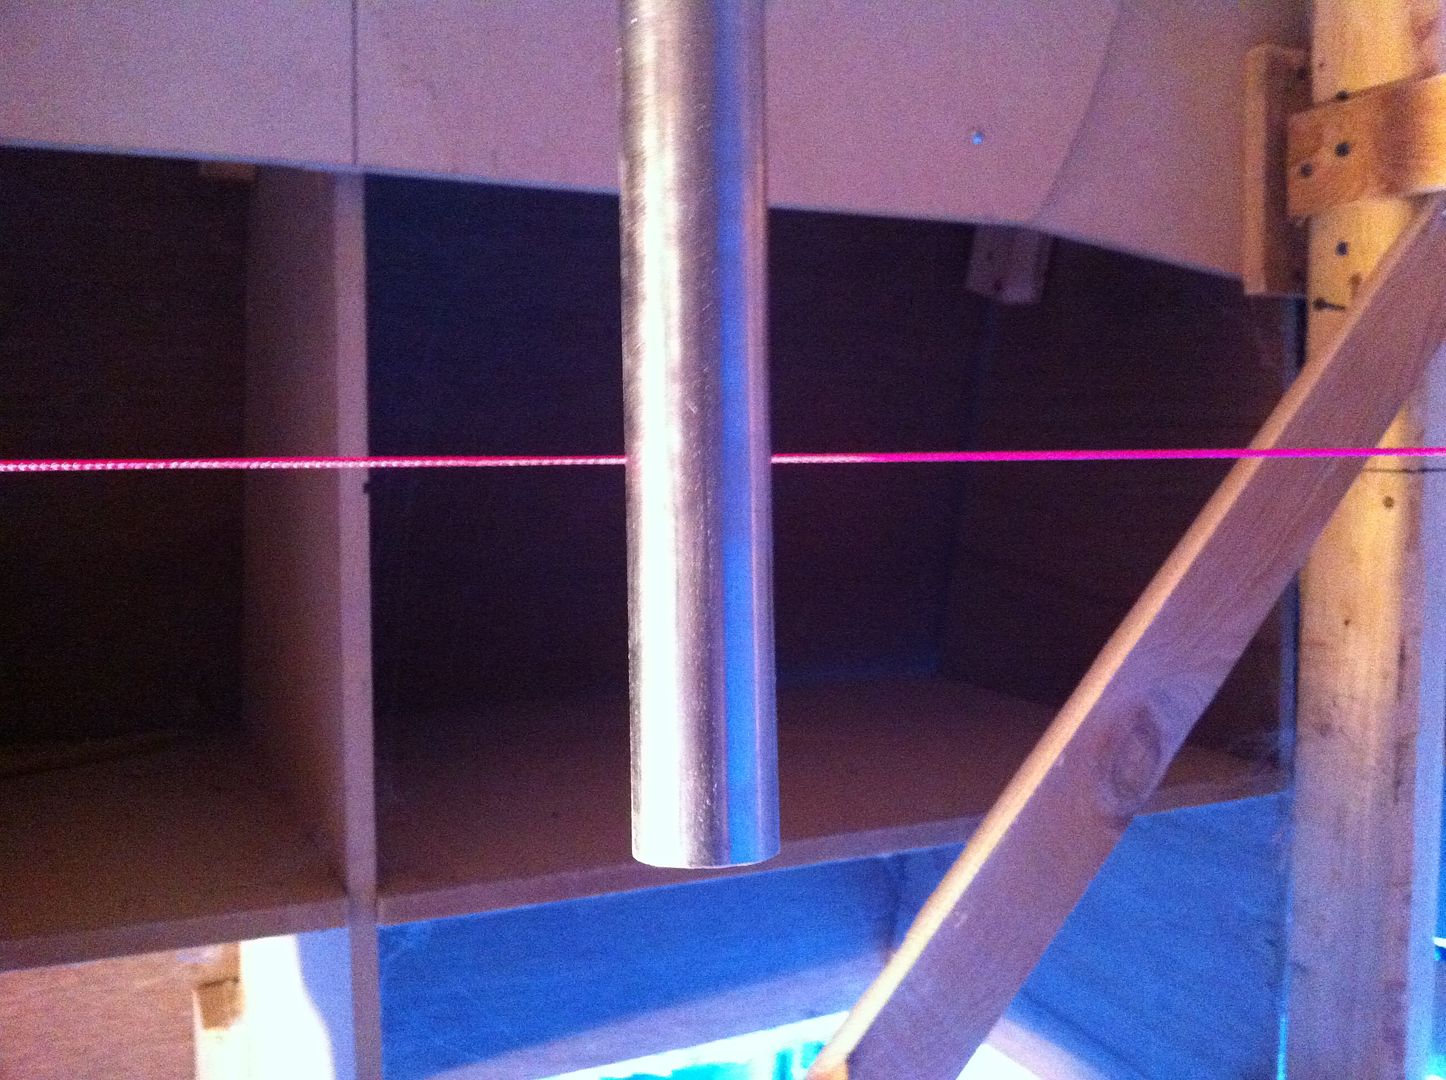
The bright purple line represents the bottom of the sole in the cockpit. The shaft has to be shortened 105 mm. This end of the shaft will be squared off for an emergency tiller handle should the hydraulics fail. There'll be a small hatch in the sole to access the rudder shaft with a tiller handle.
I'm going to save up some money this winter to buy myself a 'Flexi-Cat' fairing tools. They're specifically made for doing the fairing work. They're a bit spendy but I think they'll be a good investment. If they can save me some time & materials the'll be worth it and I'll be able to sell them when I'm done to recover some of their cost.
http://www.flexicat-tools.com/en/index.php
That's all for now folks. Standby.....
No comments:
Post a Comment