Sunday, June 26, 2011

Got some

supplies in (epoxy mostly) so it was back to boat building this morning.

Frames A and B glassed.


Frame A (shield shape) will face into the anchor locker. The reverse side will get a lighter fabric because it'll face into the v-berth.


This is the heavy 33 oz/yd Vectorply that caused us difficulty before. This time I really soaked the ply first and gave it some time to setup a bit. Then we hit it with lots of epoxy and let it soak in. It takes a lot longer to thoroughly wet out this heavy stuff. Patience is definitely required when working with this stuff.

We'll see how it goes tomorrow when the peel ply comes off.

Tuesday, June 21, 2011

Hopefully we learned something

with this last project. What we have here is a failure.


Cause is likely not 'nuff epoxy and/or the plywood sucked up more than I thought it would and left the glass dry. Not exactly sure what we'll do with it, scrape it off or what. We had to move on and will deal with that later.

Flipping the whole panel was a bit of a chore but we got it done. It's almost exactly 10' wide by 10' high at this point.


This time we used a much lighter fiberglass (1708). I precoated the plywood with epoxy and let it sit for a good 10-15 mins. Then we saturated the heck out of it. Laying on the peel ply allowed us to see any dry spots and there weren't many. Squeegeeing the peel ply from the center outwards we had some epoxy dripping off the edges which is good so I'm told.


Here you can see the fiberglassed panel with the peelply over top. Not a bubble in sight.


I apologize for the crappy picture but my iPhone couldn't get in any closer.


It was fairly warm in the shed and this part kicked off and hardened really quick. In the photo above you can see the peelply pulled back exposing the freshly fiberglassed panel. Flawless! ;-)

We're out of epoxy right now so just waiting for supplies to arrive before we jump back in and finish some other frames. Standby....

Thursday, June 16, 2011

Bigger parts need lotsa sticky stuff

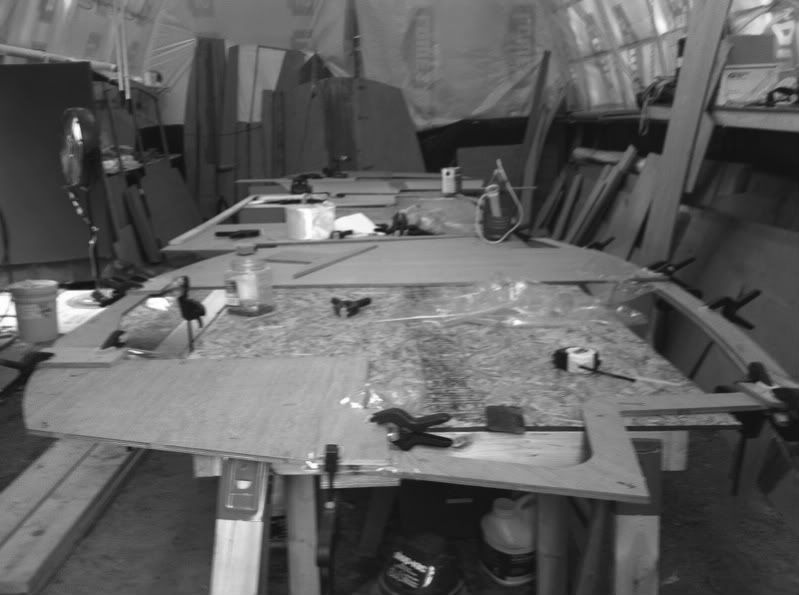
One of the things about building your own boat is you learn things, fast. For instance, epoxy and fiberglassing. So far the largest piece I've done is probably a seam that's 6" wide by 4' long. No big deal, you're mixing up maybe 3 oz of epoxy to do that seam.

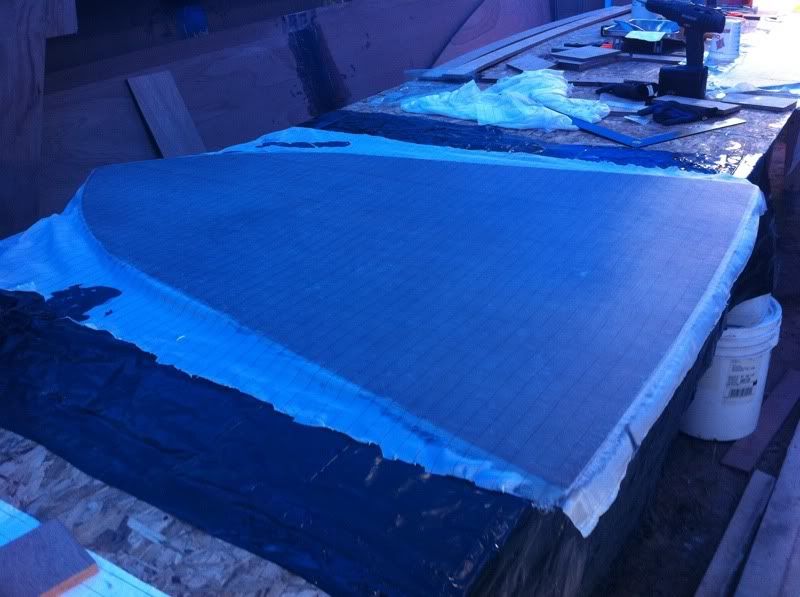
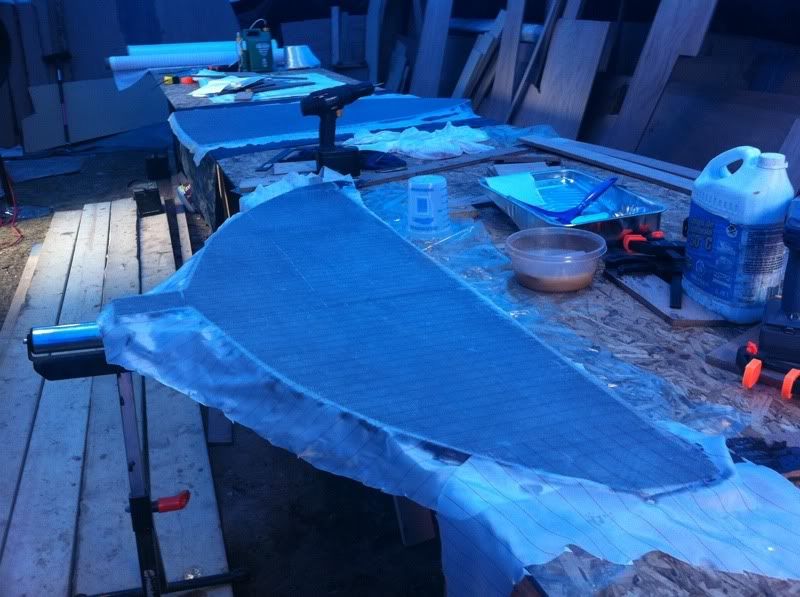
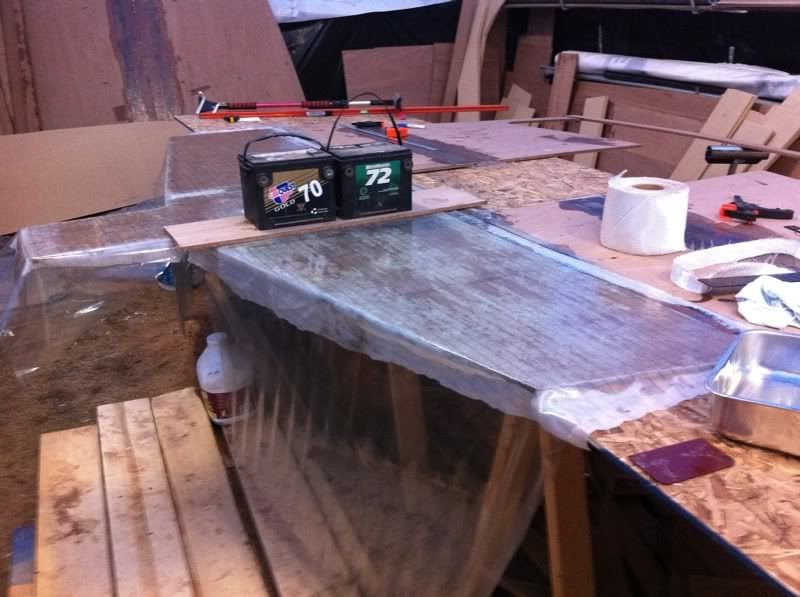
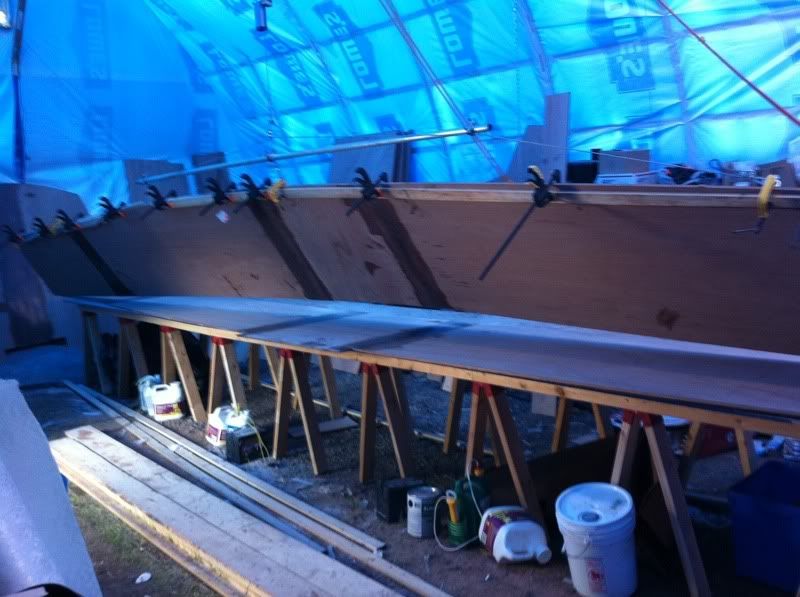
We got to a point last night were we decided to glass the lower part of Frame E. This is the main bulkhead between the engine room and the fwd cabin. We only need to do the lower section for water integrity and structure. It'll be pretty much hidden so we tried some of the really heavy fiberglass I have for the hull. It's a good chance to practice.

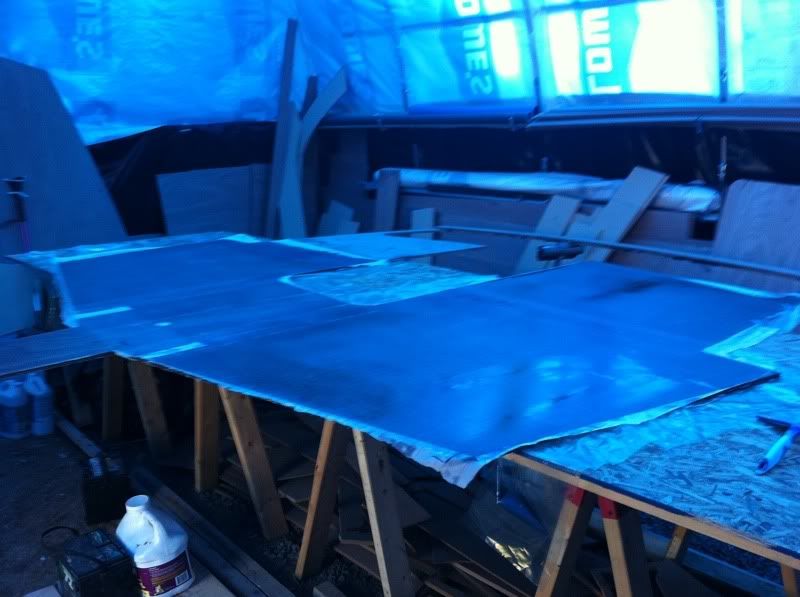
This lesson for us was about the ever increasing size, volume and cost if you screw up rules of epoxy and fiberglass. Although not HUGE it's still a couple of square yards.


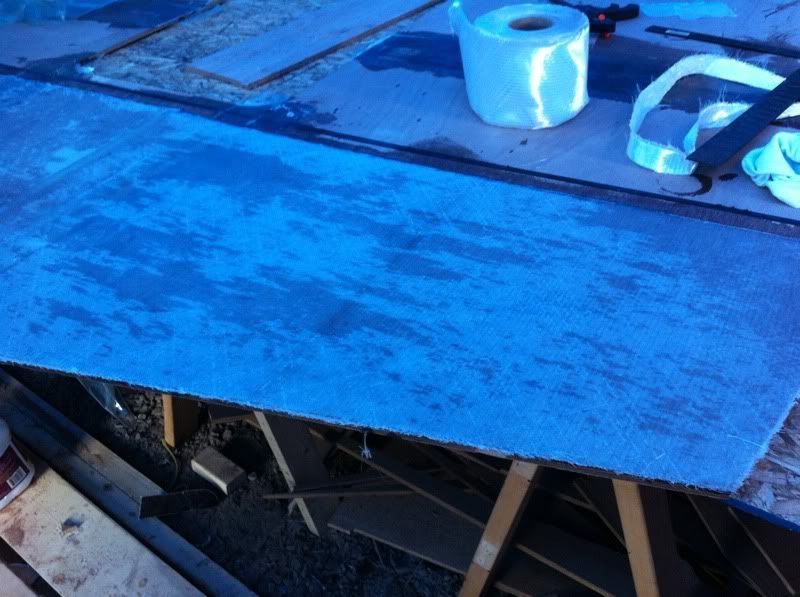
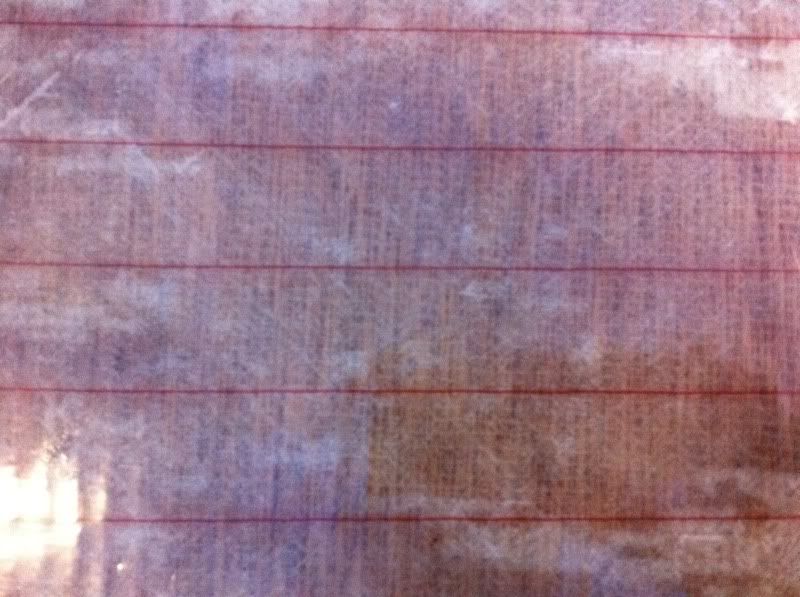
I had to cut the glass from two different supplies. One on a roll I just bought recently and one that was folded in a box I bought a couple years ago. The folded stuff just wouldn't lay down. The newer stuff laid right down and wetted out very easily.


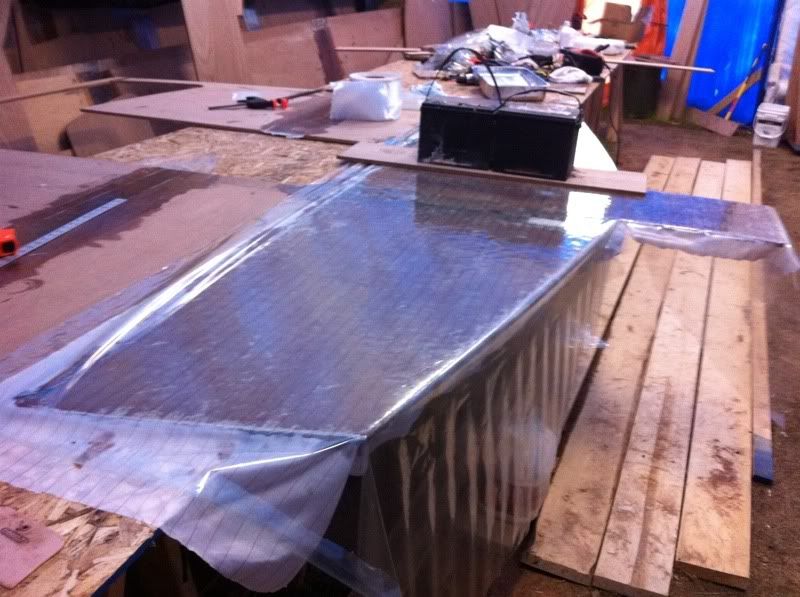
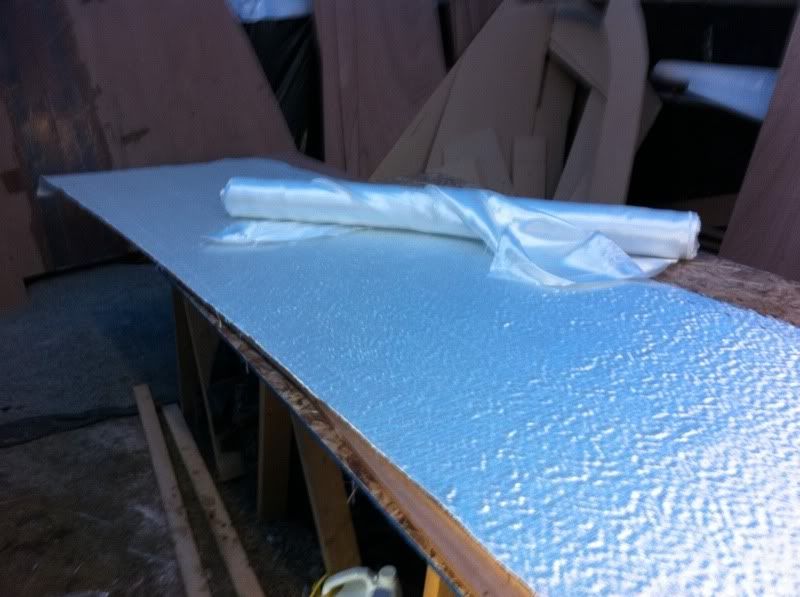
I used the peelply/release film and squeegee technique on this part. It'll save some sanding later on.

Up close both sections appear to be fully wetted out. We used about 1.75 litres of epoxy all together. It was very warm in the shed +30 degs C so we worked in small batches. After measuring and mixing (the Admiral did that part) we poured it into a paint roller pan to increase the area and keep it from kicking off to quickly. The plywood was coated first then the glass laid on top. Once that was thoroughly wetted out with a roller we placed the peelply over top of that and squeegee'd it out. Last step was the release film (in this case I used vacuum bagging plastic but will switch to cheaper plastic from now on). All the bubbles were squeegee'd out and this is the result.


We used our "Sticky Stuff" dispenser last night with the static mixing nozzel and it worked perfectly! ;-) Although not ideally suited to large batches of epoxy it takes a lot of the guesswork out of the whole process. Just push the handle and it comes out correctly measured and fully mixed!


We'll find out how well we did tonight. Standby...

Tuesday, June 14, 2011

Tardiness is next to

being pretty lazy I guess. Haven't had much of a chance to get around to updating this blog so here goes.

It was a pretty productive weekend in the ole' boat shed. I managed to get laid up and glued three of the four large bulkheads.


Here you can see Freame C and F. Frame C goes between the v-berth and the head. Frame F goes directly behind the helm seats. Way in the back is Frame E which forms the main bulkhead between the fwd section and the main cabin directly under the wind screens.


Another view of Frame C getting glued up.


A lil' package arrived on Saturday. Lots of shiny stuff. I like shiny stuff! ;-)


Once I got done fondling the shiny stuff I turned my attention to something else that's been bugging me. Mr. Yanmar makes a pretty fugly control panel. I designed and had cut my own electrical panel last year and I'd like to do the same for the engine control panel.


So I sat down with the ole' drawing tools (from college over 30 yrs ago) and went old school. I then transferred the dimensions into the CAD program supplied by FrontPanelExpress.com

I used FP Express last year to design the electrical panel.


The engine control panel will be a little trickier. The gauges are deep (11mm) so a spacer has to be cut as well as a backing plate to hold the gauges in. They're normally kept in place by a bezel on the front. Most modern gauges mount from the back. We'll see how pricey this lil' project gets.

Tomorrow night we try fiberglassing a fairly large section of Frame E with the Vectorply. The Admiral is mixing the sticky stuff. That aught to be fun! ;-)

Thursday, June 9, 2011

Beaver crap and flying rocks

The Beaver sh!t yesterday (Gov't PayDay) so there was no boat buildin' goin' on. Instead I had to drag the Admiral, through a horrendous storm, to get to a coffee sale at Giant Tiger store. Got my windshield smashed in the process! Well it wasn't that bad, a big stone chip is more like it! ;-(

Tonight I glued up my first bulkhead.


That's it. I know it's not exciting as some posts. It'll get better, I promise. Same thing tomorrow then I'll be able to do a few of the smaller frames.

Monday, June 6, 2011

I guess you could say

I've reached 'nuther milestone. All the long panels are glued and taped. That was a lot of grunt work lemme tell ya! Working in a tight space like that isn't all that pleasurable. It's going to get a lot tighter too!

Keel bottom taped & glued.


Once the long panels were out of the way I could start sorting out the bulkheads. Ahhhhh yet 'nuther puzzle to be solved! *sigh*


There's lots lil' pieces and only one is missing. I checked the nested drawing and it's not there so I'm assuming it didn't get cut. No biggie. I'll get to spend some time with my trusty ole' jig saw!


And my favorite. This is the bulkhead immediately behind the steering position.


I have a bit of a dilemma though. Do I assemble all the bulkheads before assembling the strongback or do I do them after? If I do them now they'll be in the way and I foresee having to move them a half dozen times or so. If I wait till later I won't have the long table and will likely have to work on the driveway again! *sigh*

Standby, gotta figure this one out.......

Friday, June 3, 2011

Had to take a little break

from the boatbuilding stuff and get caught up on some other chores. Three hours later all nice and shiney! ;-)


Glued up the keel bottom this morning. The keel sides will present a difficult problem with the hull extension so I'm thinking they'll be glued and taped once the strongback is assembled.

Wednesday, June 1, 2011

Busy last few days

in the ole' boat shed. It's been warm too! You can tell when the shed gets that "starved pony" look!


The heat shrink plastic sags pretty good when it gets warm but I don't think it'll be a problem. It tightens right back up when the temps drop.

I had to flip one of the 32' side panels. I made myself a trapeze thingy to help spread the load and keep the panel as straight as possible during the flip. It worked OK, just have to fiddle with it a bit to find the CoG.


One of the jobs I knew I had to get out of the way before disassembling the long table was trimming the fiberglass that'll go on the sides of the boat. These side panels will be vertical once they're on the strongback and it'd be a bear to trim them like that.


This is really heavy stuff. Triaxial Vectorply at 32 oz/sq yd. Each side will take about 10 sq yds to cover it.

Last night was spent shifting parts around to make room for the long panels to stand up alongside the shed. It's getting tight in there. I wish I had more room. It would save handling these materials over and over again. I'll tough it out I guess! ;-)

The ventilation system is working well.