The thermometer in the shed showed 32 C (90 F) and add on the humidex & the fact it's about 5-10 degs warmer in the boat I'd venture a guess it was 42 C (107 F). Zoinks!
 |
| 32 C = 90 F |
 |
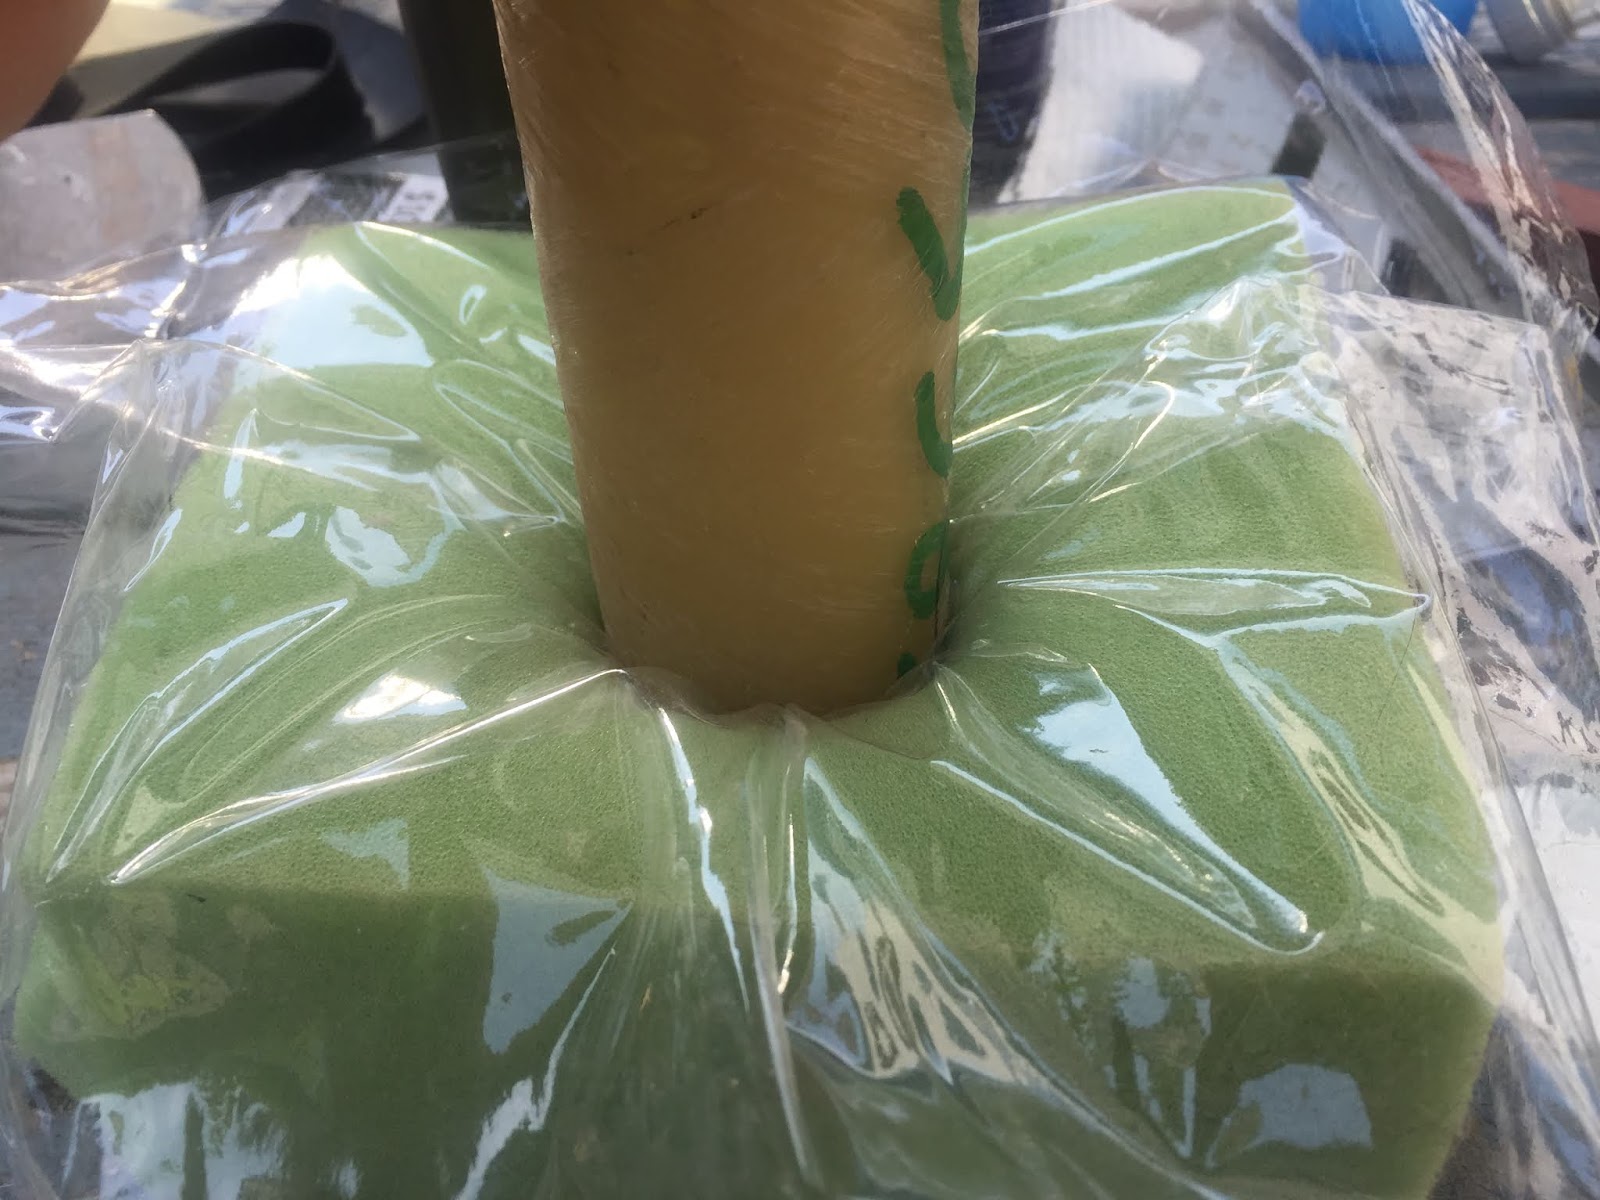
| Prototype fastener |
 |
| A dozen, six for each tank |
 |
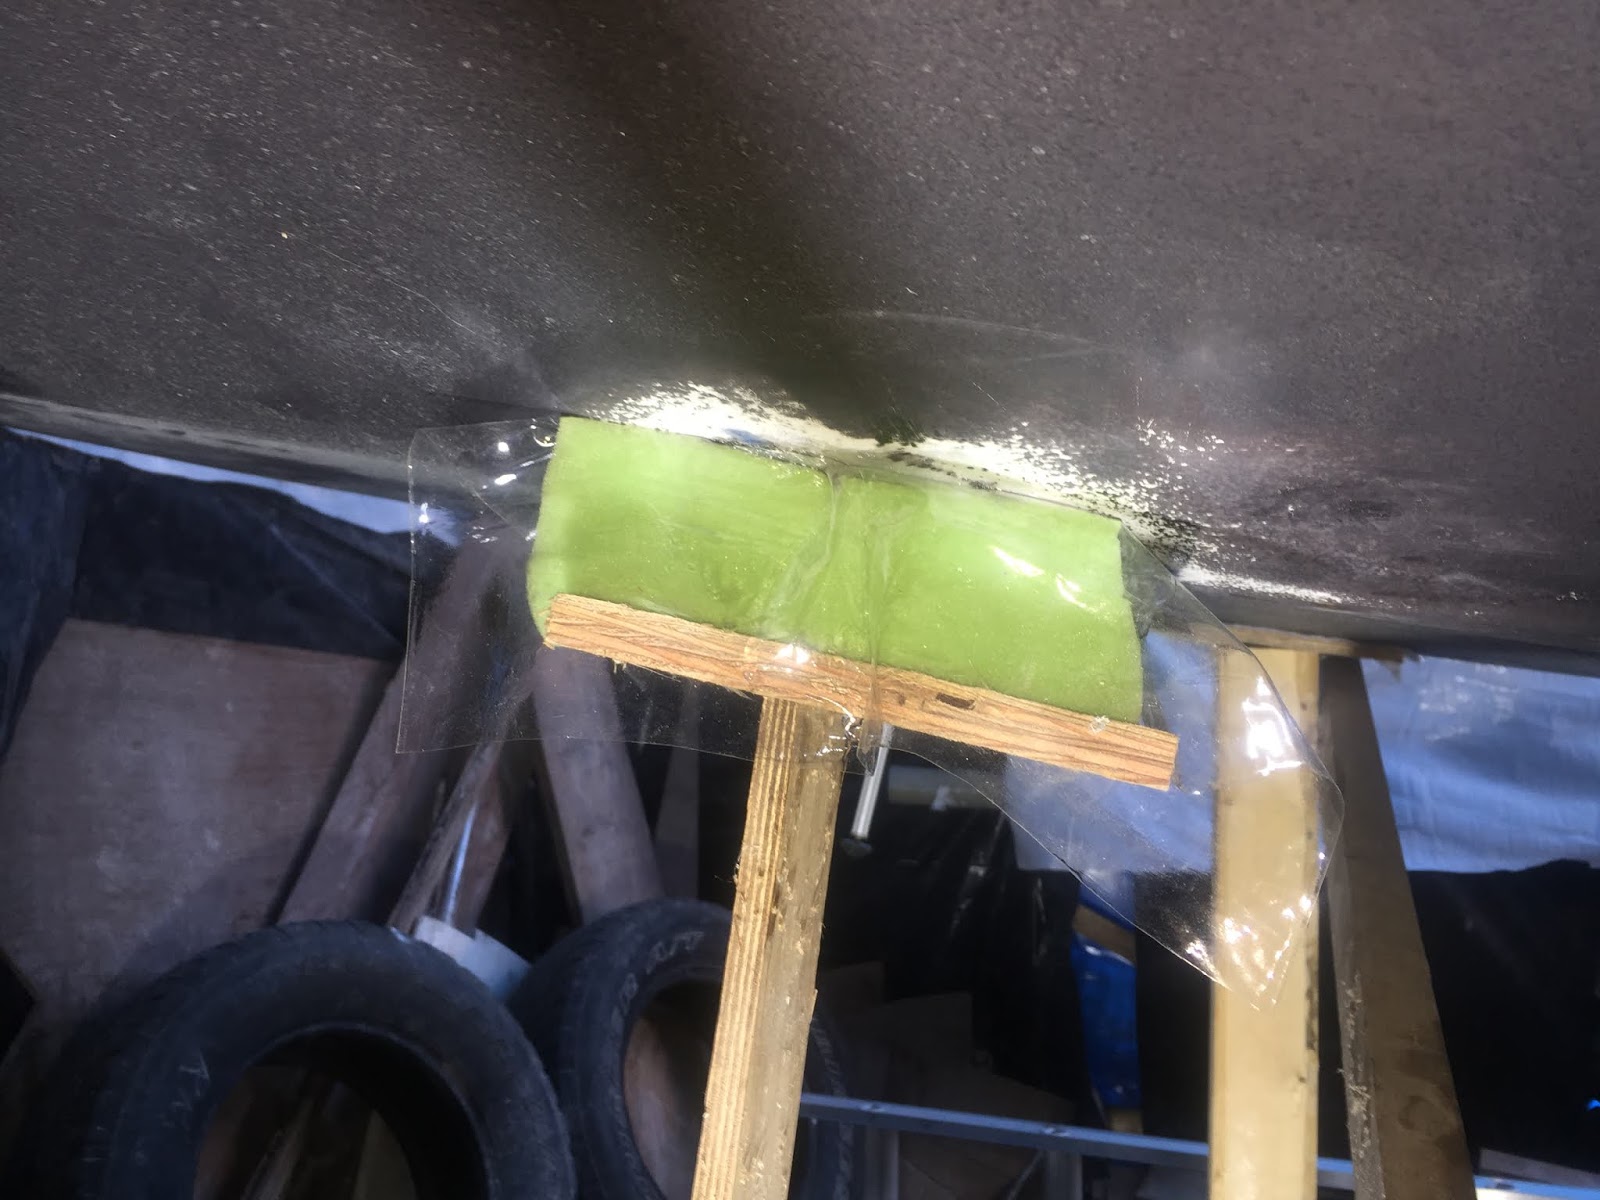
| One of my better efforts |
 |
| The First Six |
I glued the bed decks for the port side fuel & b/w tank down yesterday afternoon so I could go in this morning and sand them up getting ready for fillets & tape. I knew it was going to be warm today so I got an early start till my neighbor showed up to chat! *Sigh* Anyhow I enjoy his distractions.
Had to make a filler piece for the fuel tank deck to hull side and get it glued in. Fillets & tape.
 |
| Port side fuel tank deck |
 |
| Port side b/w tank deck |
I think this will be the last blog entry for this year. Time to switch my attention to getting our RV, Meander (Me and Her) rigged for our trip out to Grande Prairie AB. We'll be travelling mostly through the US this time. Planned stops near Deadwood SD so we can see a few sights, Mount Rushmore, Mastadon graveyard & Devil's Tower etc.
If you feel so inclined to follow us on our road trip here's the URL to the blog site Lori writes.
https://adventuresofmeandher.blogspot.com/
So I didn't get as much done as I would have liked this year. Got a lot done all the same. It was a short building season with work and our road trip coming up. Next year will be better (fingers crossed). The starboard side tank decks should go a lot faster now that I have an idea of how to make them. All the components are in place for the drive train which is good. It's coming along.
Thanks for sticking with us. I know it's slow going sometimes but there is still a heck of a lot of repetitive work and sanding ahead. *Eeesk the 'S' word*
Standby.....