Tuesday, August 30, 2011

Slick as ...........

The second set of bottom panels went up slick as ...... Maybe I'm just getting the hang of it.


Alignment on the stern was perfect. Bow needs a little adjustment which will have to wait till this afternoon.


This girl is starting to show her true size. :-)

The glue and tape job on the bottom panels I did yesterday didn't turn out as well as I had hoped. I see using quite a bit of epoxy filler in this area. :-( I'll try to do a better job on the other side. It's a little more difficult working up in the air, maybe I should have stitched them together when I had the long table. Oh well, hind sight is always 20/20 eh?

More later.....

Monday, August 29, 2011

Ok, the party's over now it's time.....

to get back to work!

Seeing as we didn't actually lay the keel on Saturday, today was the day the first bottom panel went up.

It's actually two pieces because I knew it'd be too big for one person to handle. As it was it was a bit of a struggle to get it up and keep it from sliding off.


Being two parts I had to line them up as best I could then tape and glue them together. Robert came over and gave me the idea to use some C-clamps and ratchet clamps to pull the sheets together. He's a smart ole' fella.


There's not going to be much I can do till this part sets up then it's onto the other side which will be a bit trickier to get glued & taped.


That's 'bout it. Time for a power nap! :-)

Sunday, August 28, 2011

It was very nice to share....

special moments with special friends! Words can't express how grateful we are to everyone that came to celebrate with us.

A good friend, Ray Martin, stopped in to celebrate with us yesterday. Ray is one of the most talented chef's I've ever had the pleasure of working with. He "tossed" this lil' edible arrangement together for us.


Anybody for leftovers? *hehehe*

Saturday, August 27, 2011

Friday, August 19, 2011

Just a half day in the shed.....

My buddy Andrew will be here tomorrow to help me hang the rest of the forms. This morning I got the transom form up. It was too heavy for just one person to wrestle into position so I used my winch. It put a lot of stress on the vertical's so I have to re-plumb them tomorrow.


I also built myself a small bridge over the back end of the strongback. This will be the main thoroughfare to get around the boat. It also gets me at working height for the transom. There's a step on the far side.

More tomorrow... Carry on.

Thursday, August 18, 2011

A lil' slow getting started

but I ended up spending 7 hrs in the shed today. After checking my levels and diagonals on the strongback numerous times I got to setting up the verticals that'll support the forms.


Not being very patient I just had to throw Frame E up to see how it looked!


All that nice open space I created when I cleaned up the shed is now gone! It's going to be tight but I'll have 2' on the south side and 3' on the workbench side as well as 1 1/2' at the bow and 2' at the transom to get around the boat. It would be nice to have more but this will have to do.

All of the forms line up on the baseline (B/L) which are already carved into the forms by the CnC machine. The tricky part is getting the baseline marked on all the verticals. I've got a number of options for doing this, liquid level, spirit level or laser level. I bought this small laser level just for this purpose and decided to use it. I set it up on the centerline at the B/L level. The tripod is too short and it'd just be in the way anyways.


I'll double check with a liquid level but I'm sure this will work fine.

I had a few more "WTF have I gotten Myself into moments today" especially when I was lining up this shot!


Maybe it's the tight space but this is going to be a pretty big boat.

Hope to get the remainder of the forms up on Saturday when my helper buddy is available. Standby....

Wednesday, August 17, 2011

I really wish I knew

what I was doing. I told ya I make most of this up as I go along. This strongback thing isn't any different. It's supposed to be simple ladder frame to hold the uprights that will hold the forms in position. Ok, well there's a picture in the instructions and plenty online but it still baffles me a bit. It's a good thing I don't build houses for a living!

I figured I had better start out plumb with my first post.


Pretty simple. Ok, all 10 of these are at different heights and have to be leveled individually, that's one of the downsides to working directly on the ground. There are times I wish I had poored a concrete pad to work on.

The next step was getting the second post square and plumb at the same time in relation to the first post.


My poor lil' laser level doesn't have 'nuff laserin' power to be visible in the daylight so I'll go out tonight after it gets dark and see how I did with just the long spirit level.


This is as far as I got before the temp climbed to over 34 degs C (about 94 F) and I had to bug out for the afternoon.


Hopefully tomorrow I'll get this thing finished and can start setting up the forms. I did make a few mistakes but I blame them on the supervisor falling down on the job today.


That's it for now. Time to cool down a bit.


Tuesday, August 16, 2011

Today was a good day

even though it was "clean up the shed" day. ;-)

The first task was to trim and stow the panels that you say yesterday. After that it was time to disassemble the long table! Wohoo!!


After a quick trip to the lumber store I've got everything (I think) to assemble the strongback frame. I have to re-read the instructions for this again just to make sure. It's going to be tricky to get it leveled on the ground but I think I know how to do it.

These are the puzzle pieces for the strongback.


Once the strongback is assembled it'll actually start looking like a boat. :-)

Monday, August 15, 2011

The last two

panels that I have to glass will be ready tomorrow morning and then the long table can come apart.

These are the fwd cabin top and foredeck. Doing these now upside down on the long table will avoid having to do them later and working overhead.


Glass laid out. I used up some more of the 33 oz stuff along the center of each. This is where there'll be cutouts for windlass and hatch etc. It'll be plenty strong (fingers crossed).


All glassed and epoxied. It went a lot better this time. Temps in the shed were 20 degs C. which gives plenty of working time to mix and roll out single handed.


I put some exaggerated curve into the panels to help them fit when they go on the forms. They'll spring back likely flat but some of the stress will be out of them when they go on.


Just like the disassembly of the "Tower of Pain & Suffering" I'm really looking forward to taking the long table apart. I've been looking forward to setting up the strongback and forms so I'll at least have something that looks like a boat.

Standby.....

Saturday, August 13, 2011

With a lil' help from some friends....

we got that big honkin' roof panel out of the shed and stowed on the outside of the shed under a tarp! Wow am I glad to get it out of there. Two more smaller panels to glass the underside and the long table can come apart! *big silly grin* 'cause that means it's STRONGBACK assembly time! Oh how I've been waiting for this part. Now things will start to come together and it'll actually start to take the shape of a boat hull! *big silly grin*

Sorry, no pics, was a lil' preoccupied at the time.

Lori made me win this on an e-Bay auction for her....


Now she'll have to figure out where to put it.

Wednesday, August 10, 2011

Back at it in the shed.....

Lori & I glassed up the underside of the main cabin roof. Decided to do this when we have gravity working for us instead of when it's on the boat and having to work over our heads. This job took twice as long and used up double the epoxy I estimated. ;-( It is almost exactly 15 sq yds of fabric. I figured we used about 5 gallons of epoxy. It kinda puts in perspective what we'll be up against when we go to fiberglass the hull.


One of the other things I have to do this week is climb up on the shed and fix some holes and splits in the plastic. Apparently the Dr. Shrink tape is only good for a year.


All the stretching and shrinking from the heating and cooling makes the tape let go. Wind blown dirt, pollen and the crap from Canada Starch gets caught by the tape and it's useless after that. Oh well, I love shaky ladders! *sigh*


Saturday, August 6, 2011

I've gone and done it again....

for what? The third year in a row? Poor ole' Mummy got scroodled out of her summer holiday! ;-( I's sorry dear. But on the brighter side we did get in a helluva road trip! 2300 kms (1430 miles) and 11 States in 4 1/2 days.

The idea popped into my noodle a few days before we were to start our holidays. Originally we were going to just hang out on the ole' boat, cruise up and down the river etc. and then I spotted a very nice, brand new propane stove on e-Bay. It was listed by the same fella we got our Yanmar diesel engine off of three years ago in Rhode Island. So the groundwork was laid for a road trip! Borrowing Grandpa's trailer off we went on yet another grand adventure.


First stop was Portsmouth RI to pick up the stove. Using a different GPS this time we ended up taking a totally different route. Oh boy were our internal compass's messed up! Normally we orient ourselves here with the St. Lawrence River which is south. Around Portsmouth your surrounded by water so when we thought we were driving north we were actually going south! Doh! Anyhow mission objective #1 was accomplished.

The next day we stopped off at Mystic Seaport in Mystic Connecticut. This place is a wonderland for ole' wooden boat types of all ages.


This was our second time here but the last time we were here in the fall and a lot of the exhibits were closed. Not this time. Wow! We wandered for hours.

The restoration of the Charles W. Morgan whaling ship.


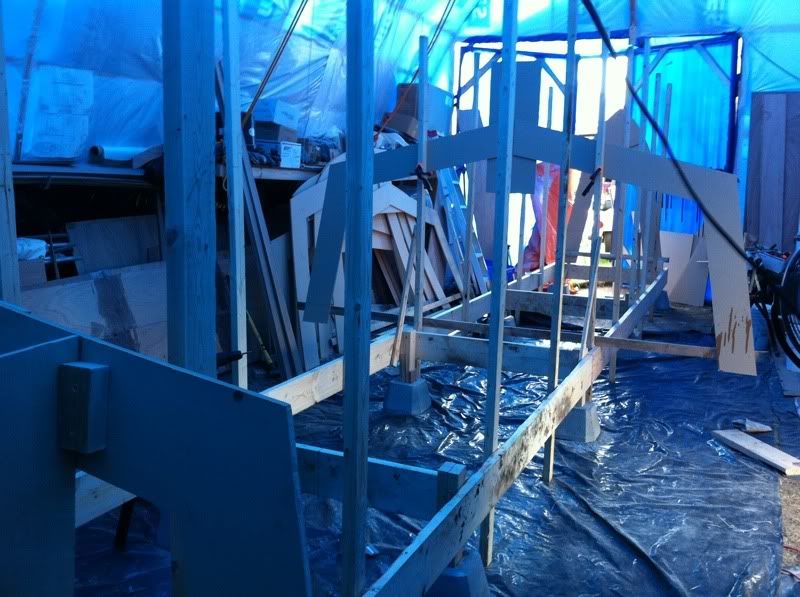
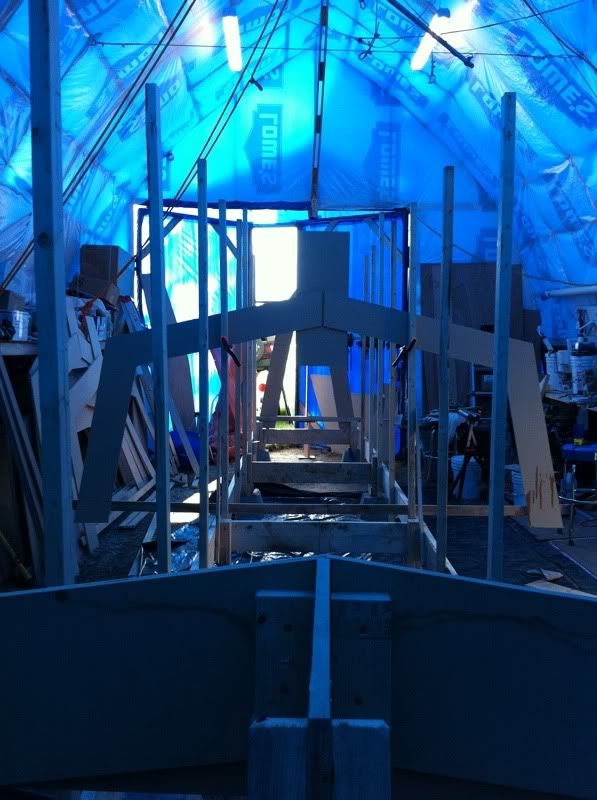
I wish my boat shed was this well organized! ;-)


There's more pics from our trip here....

http://s237.photobucket.com/albums/ff166/KnottyBuoyz/2011/

From Mystic it was onto Newark Delaware to pick up the fuel and water tanks. This took us across Connecticut, New York and New Jersey. I have to say the New Jersey Turnpike was one of the most pleasant and well behaved drives we've had on the trip so far.

We loaded up the tanks in Grandpa's trailer and stopped for a bit to eat before heading to Washington DC where we'll camp out for the night.


After stopping for lunch at a KFC (the beans and mac & cheese sides were nice) we spotted this ole' timer all alone in a parking lot across the street. Just had to do a lil' Jeep Spottin' for my friends on the Jeep Facebook page.


The next day was to be spent (partially) at the National Air & Space Museum in Chantilly VA. Wow again. What a place of wonder.

Autobot or Decepticon? ;-)


They call her "Enterprise"


I was actually moved when I saw this one......


The rest of the pics from the NASM are here....

http://s237.photobucket.com/albums/ff166/KnottyBuoyz/2011/NASM/?start=all

The NASM is definitely a must see if you're in the area. Put aside at least 3-4 hours to go through it all.

After the NASM we skeedaddled up the highway to Hershey PA home of the famous Hershey Chocolate World. Oh my, what a zoo. We had visions of a small factory outlet like Hershey had in the old Smith's Falls plant but noooooooooo it was a full fledged theme park. We felt like the Griswolds on their trip to Wally World! We got in, got some treats and got the hell out!

The next day it was a 600 km (350 mi) trip home. Stopping only for rest breaks and to pick up a few items at the UPS Store in Oggyburg we were home by 1:30 PM.

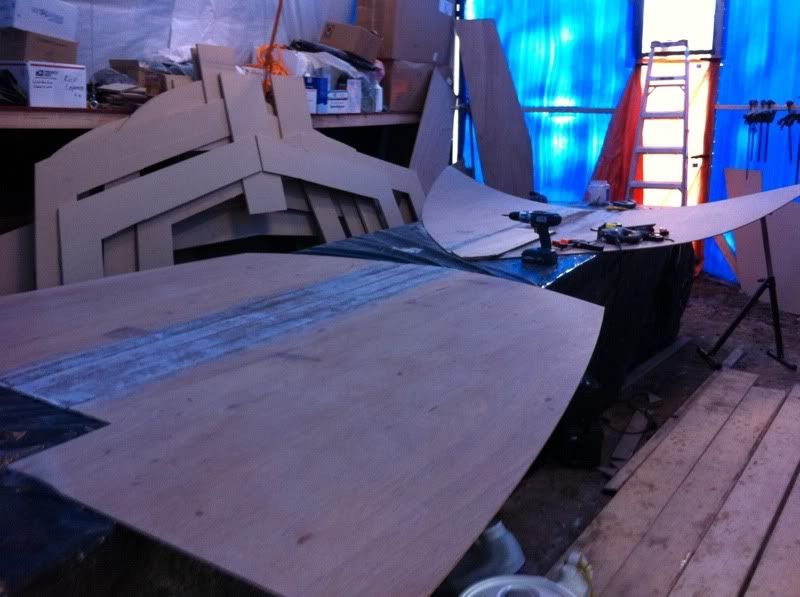
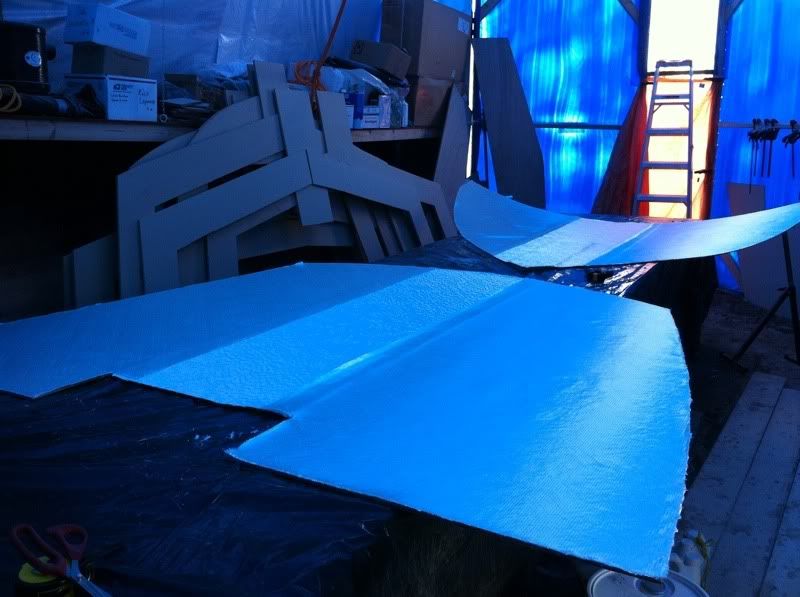
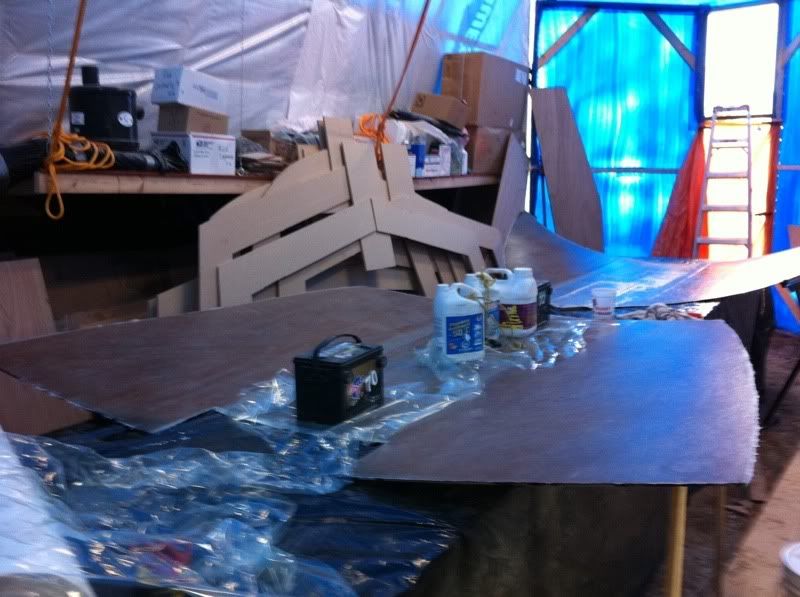
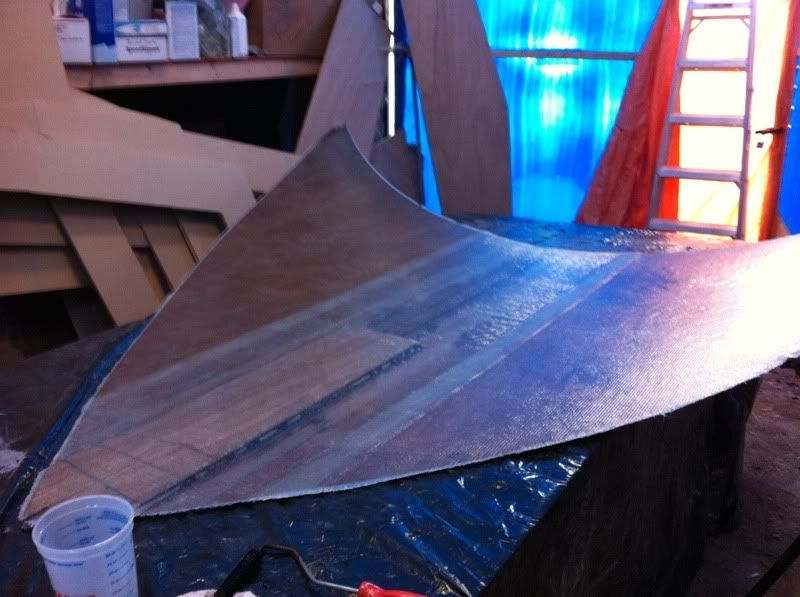
It was a whirlwind trip but fun all the same. Mystic and NASM definitely made it worth while and what we saved on shipping the stove and tanks pretty much paid for the trip (fuel & food). Now the fun is over and it's time to get back working on the boat..... Standby.