Saturday, September 28, 2013

The Marine Installers Rant & A few other things


The Marine Installer's Rant is one of my favorite blogs to follow. It has a virtual treasure trove of knowledge buried in its pages on many things electrical and electronic on boats. It's author, Bill Bishop - Parmain , is a very experienced marine electronics installer who's taken it upon himself to share is experiences, good and bad. I asked him a week or so ago if he could put together a list of his top 10 tips or tricks that a boat builder could use to help make his (and others like him) life easier. Definitely a 'must read' for anyone building or refitting a boat. Here's what he's come up with:

http://themarineinstallersrant.blogspot.ca/2013/09/the-top-ten-things-that-make-my-life.html

A more modern rendition of an old Floyd tune, this one's for you Bill. Thanks.


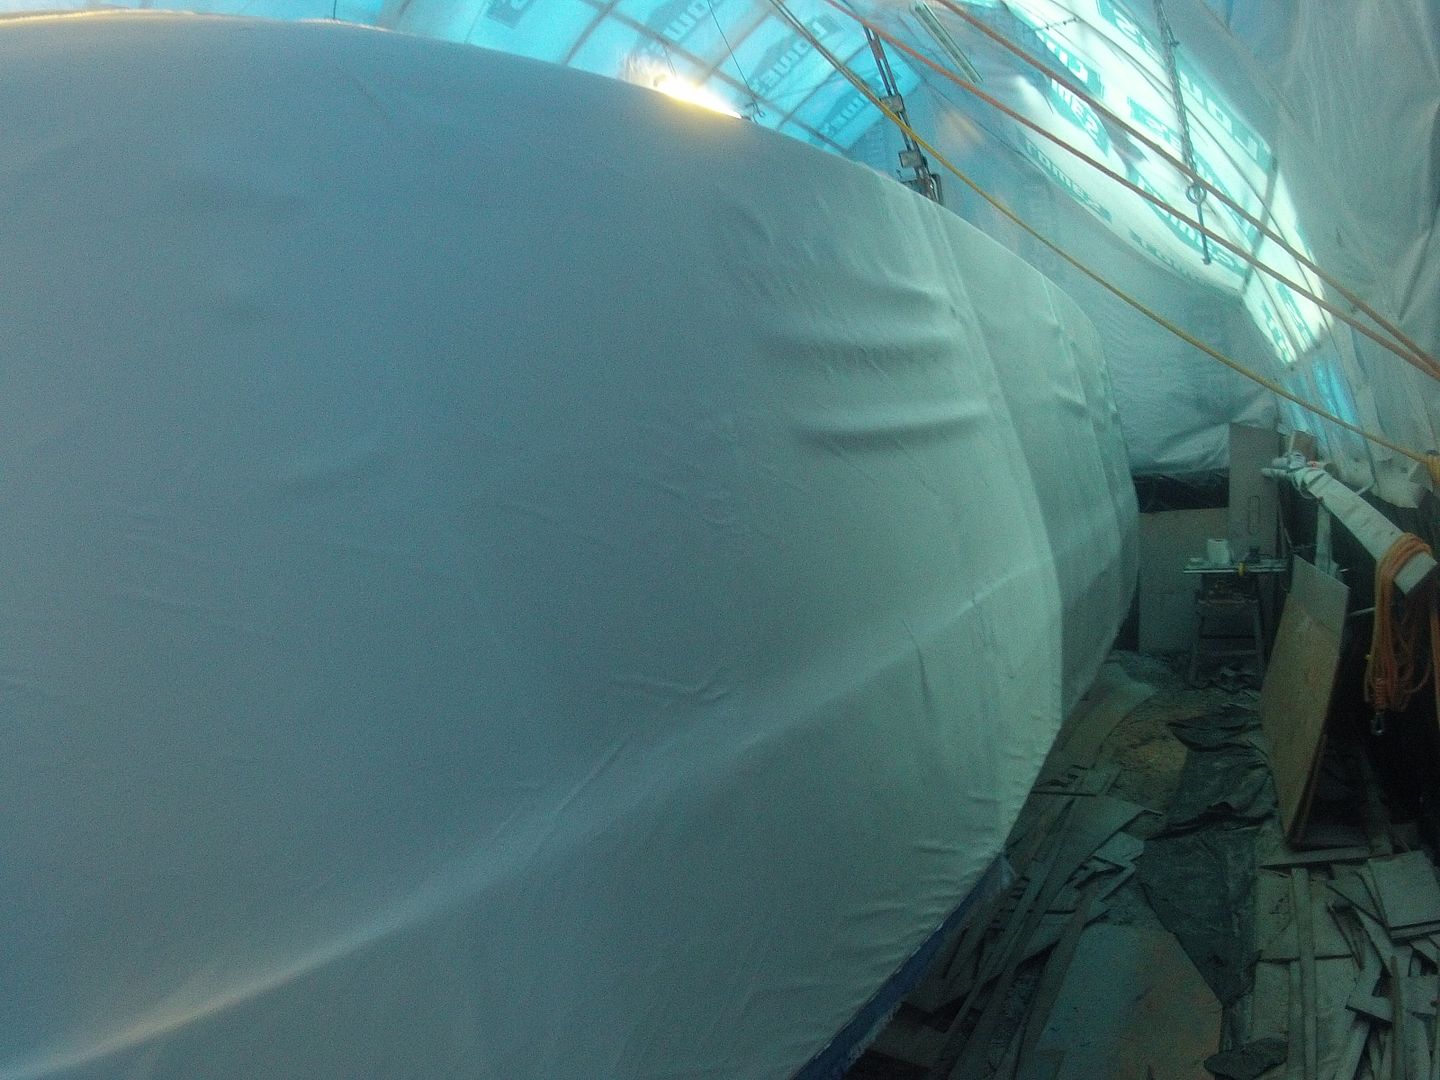
The fall ritual begins. First the ole' Camaro got an oil change prior to being stored away for the winter then it was time to look over the boat shed for repairs. Just like other years there's a few issues to be dealt with.

You can see the rip just near the ridge. This one has opened up in the last few days. I think it's a case of the shrink wrap plastic breaking down from UV exposure. This side has been pretty good since it gets little direct sunlight. The plastic has been up there almost 4 years now so I guess it was due for a failure or two. Most of the other patches are just small holes.

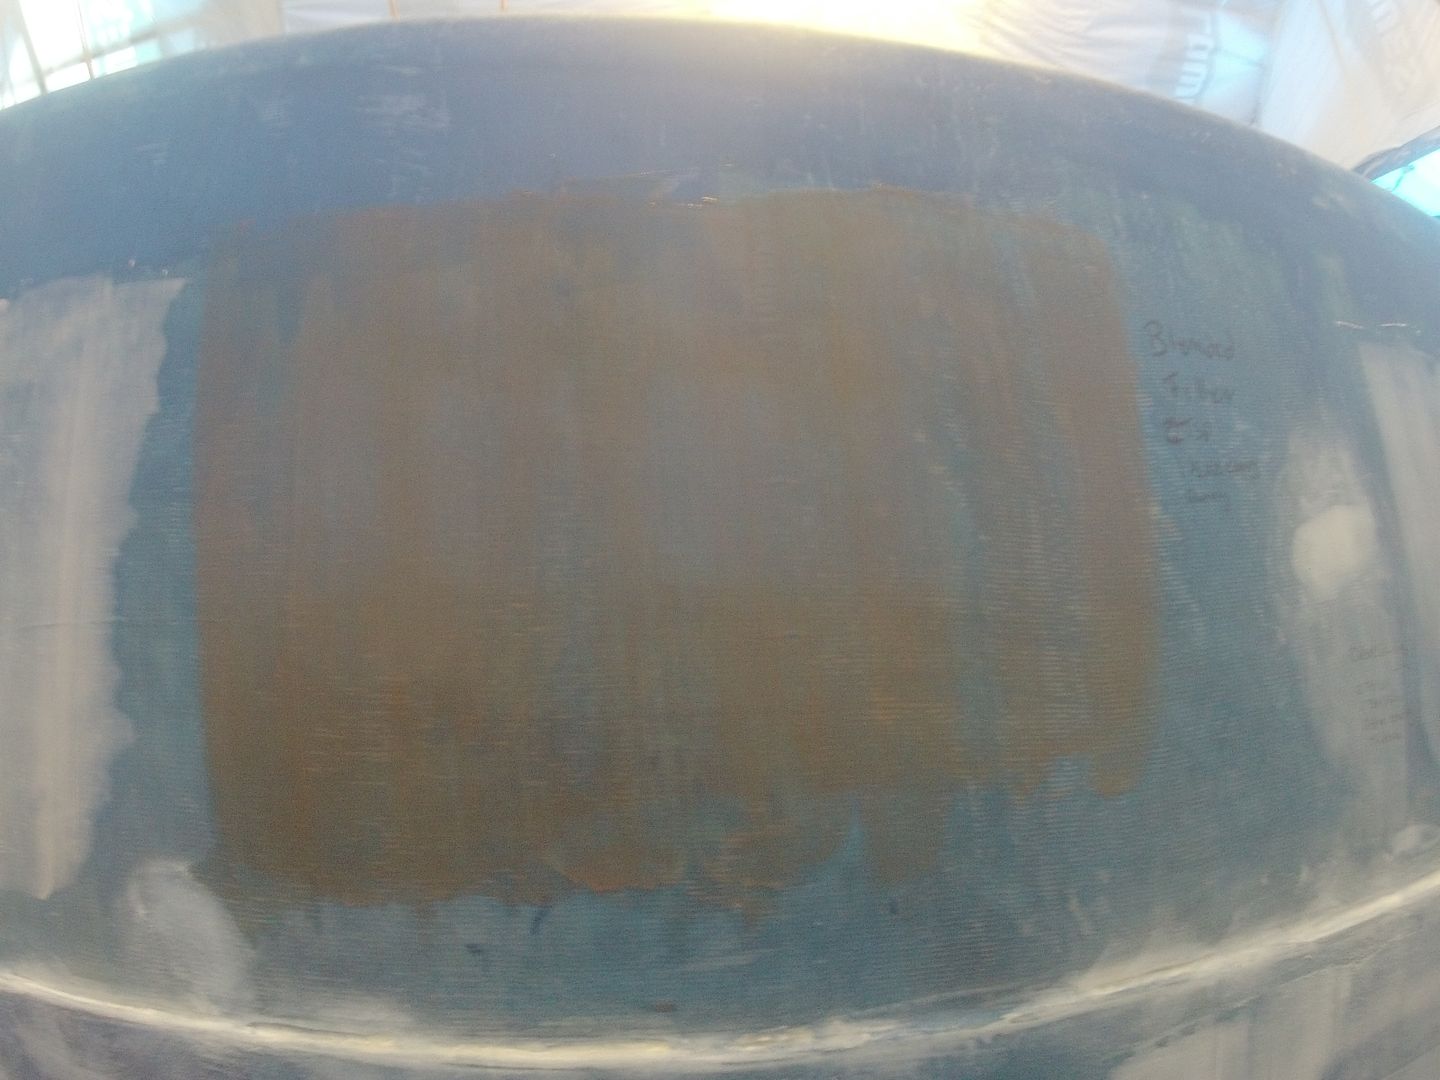
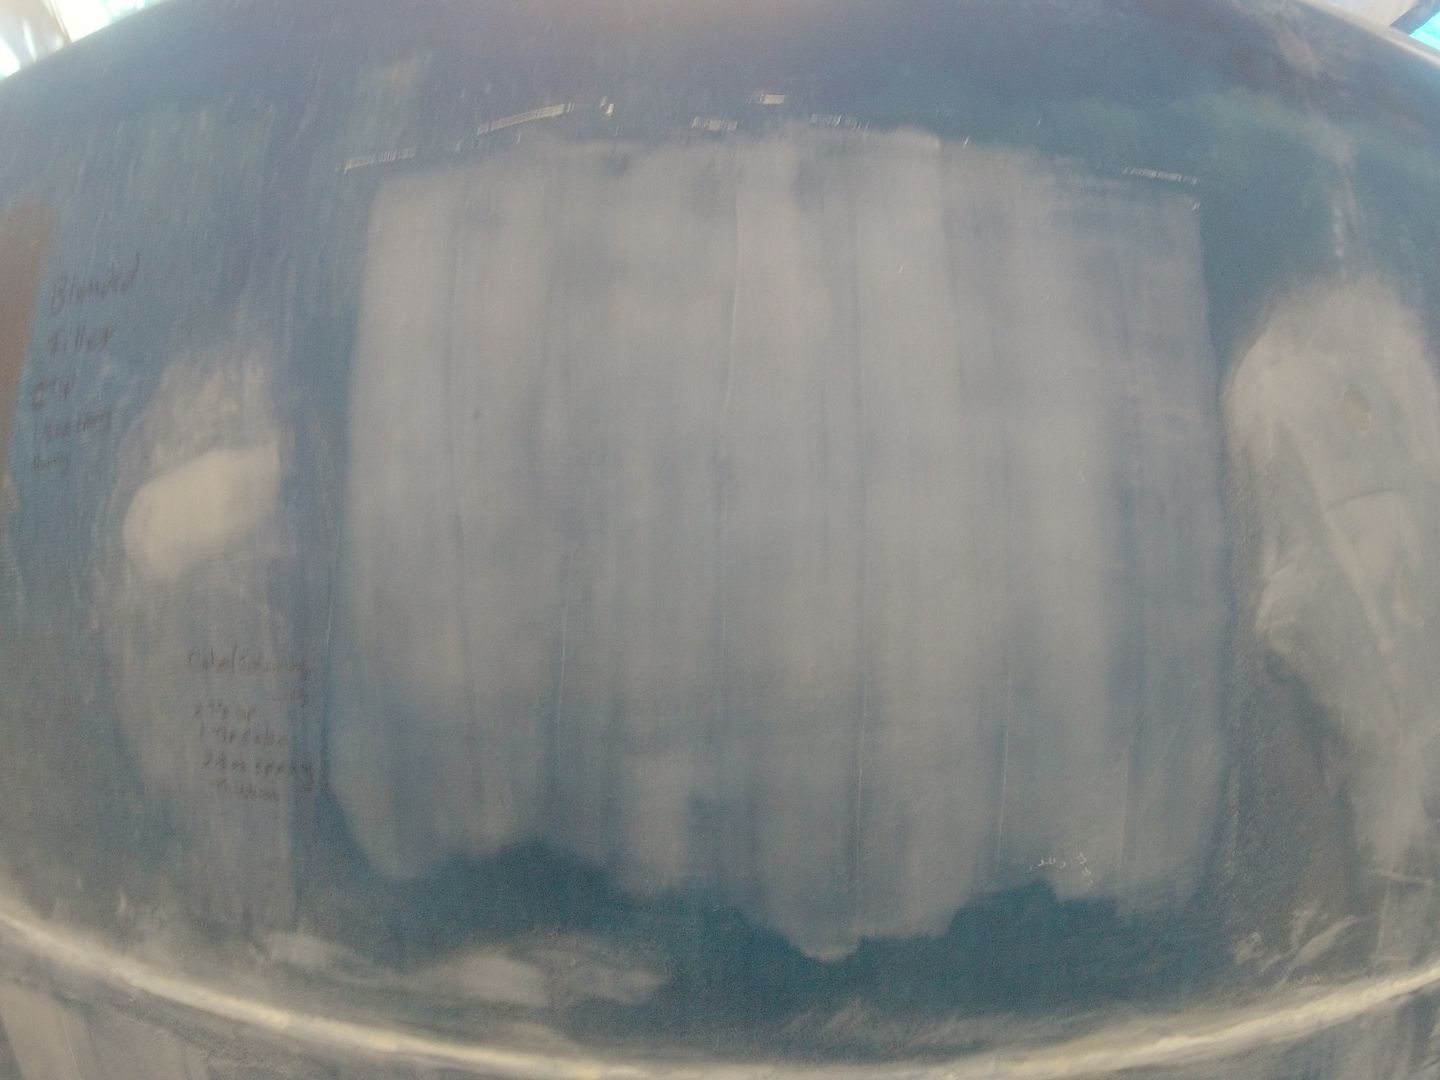
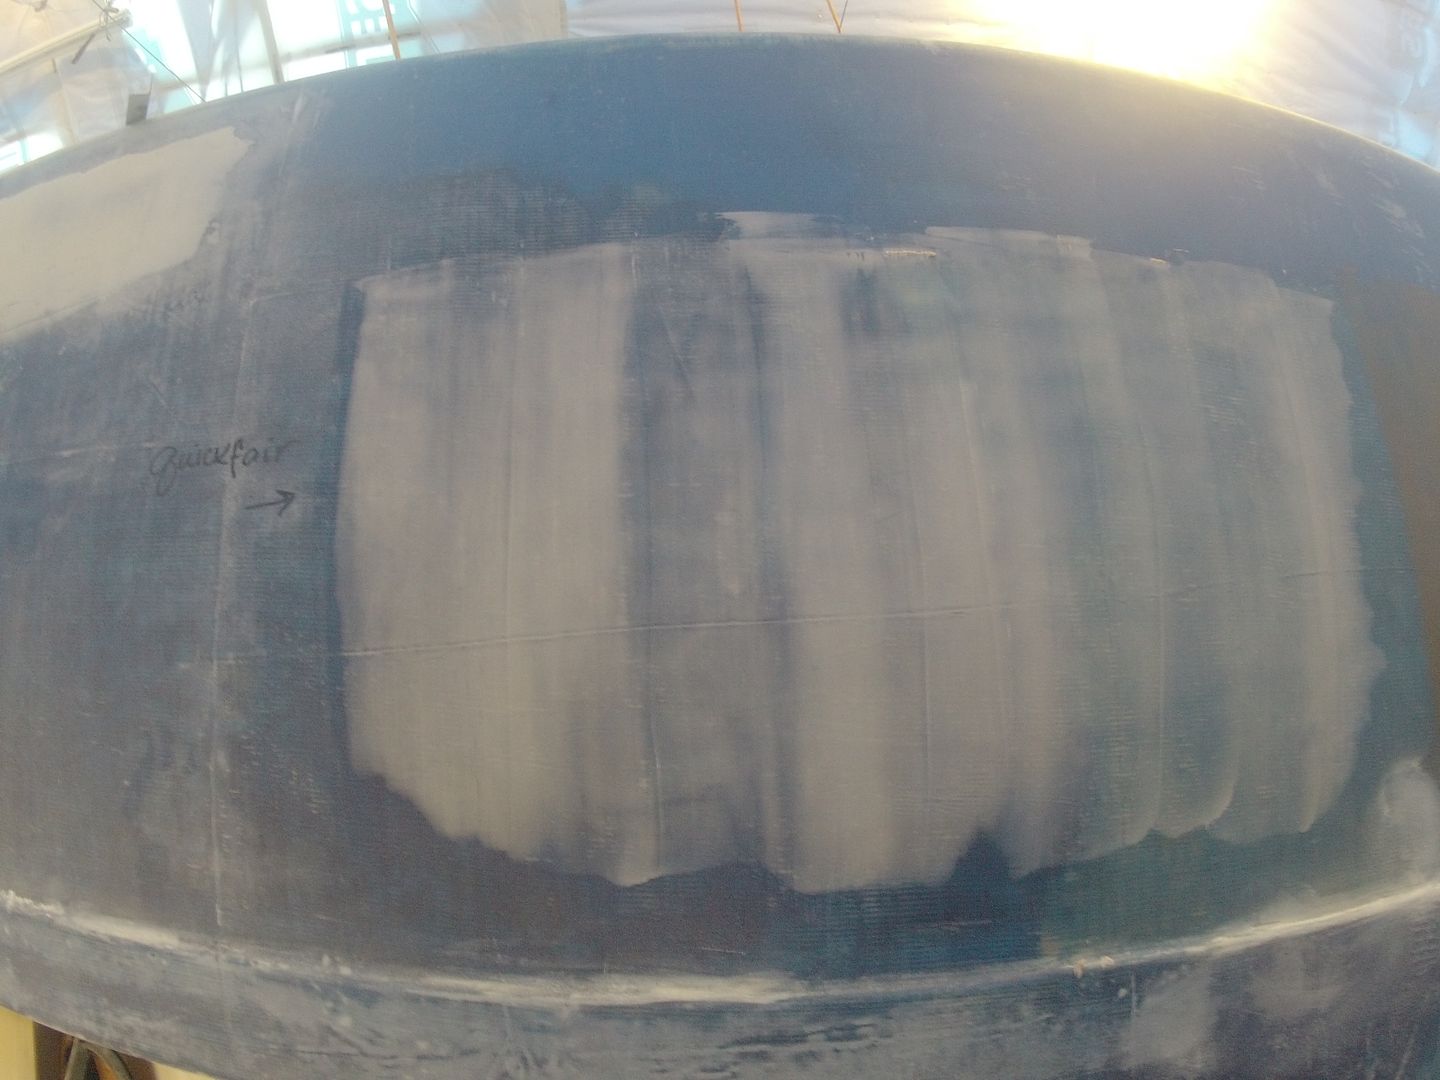
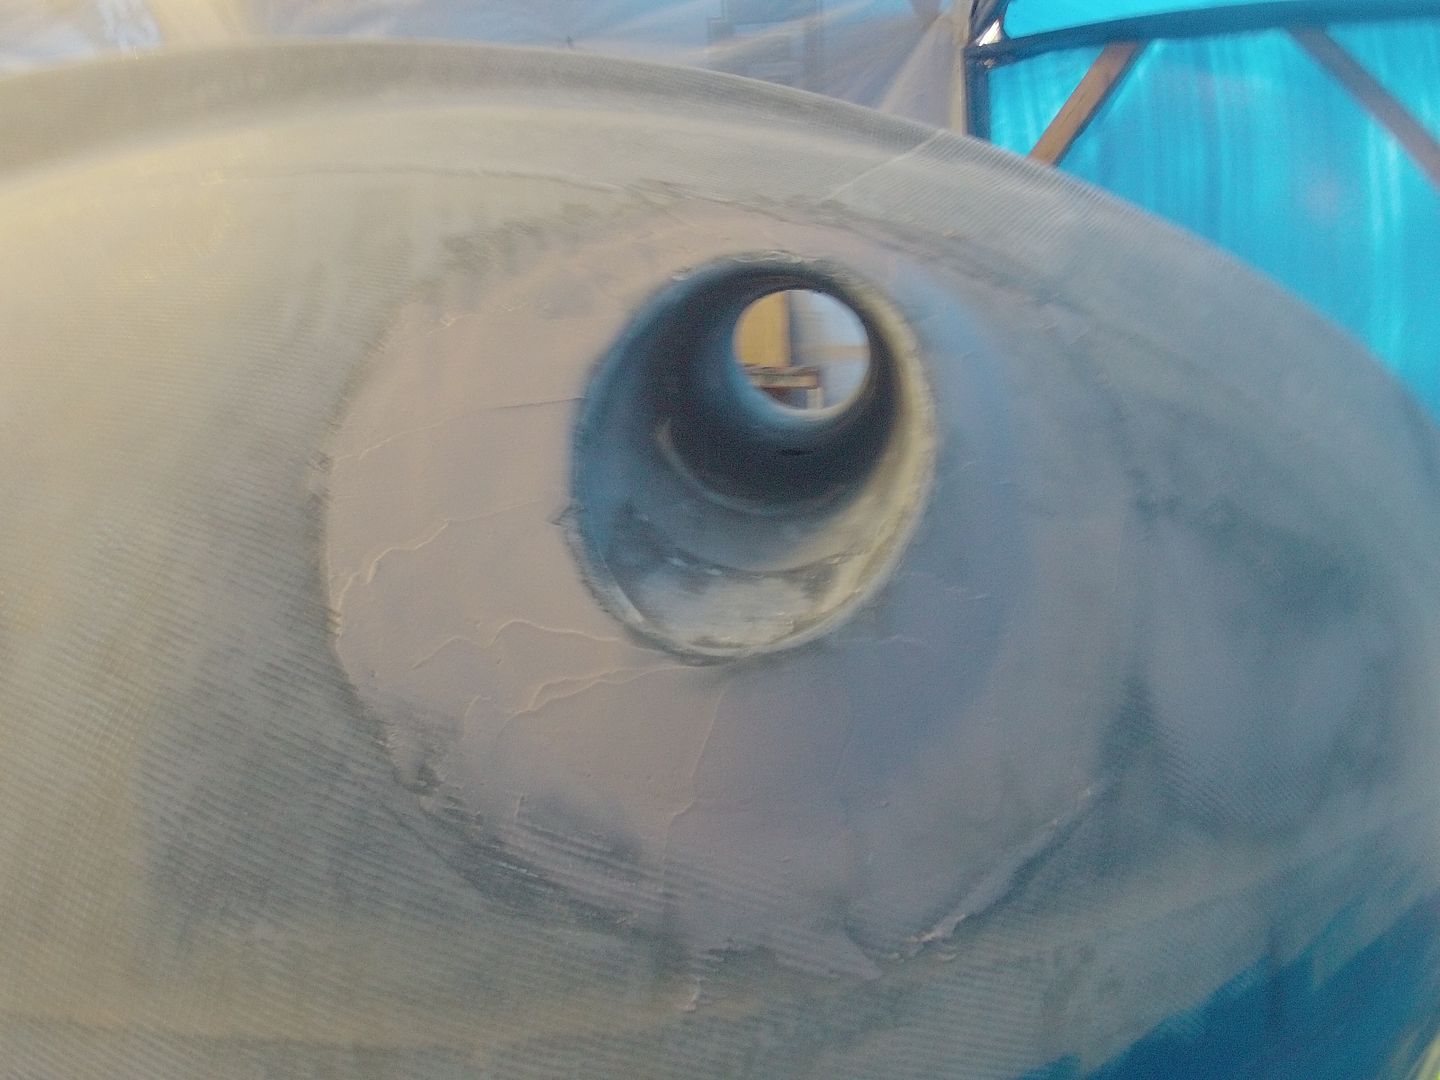
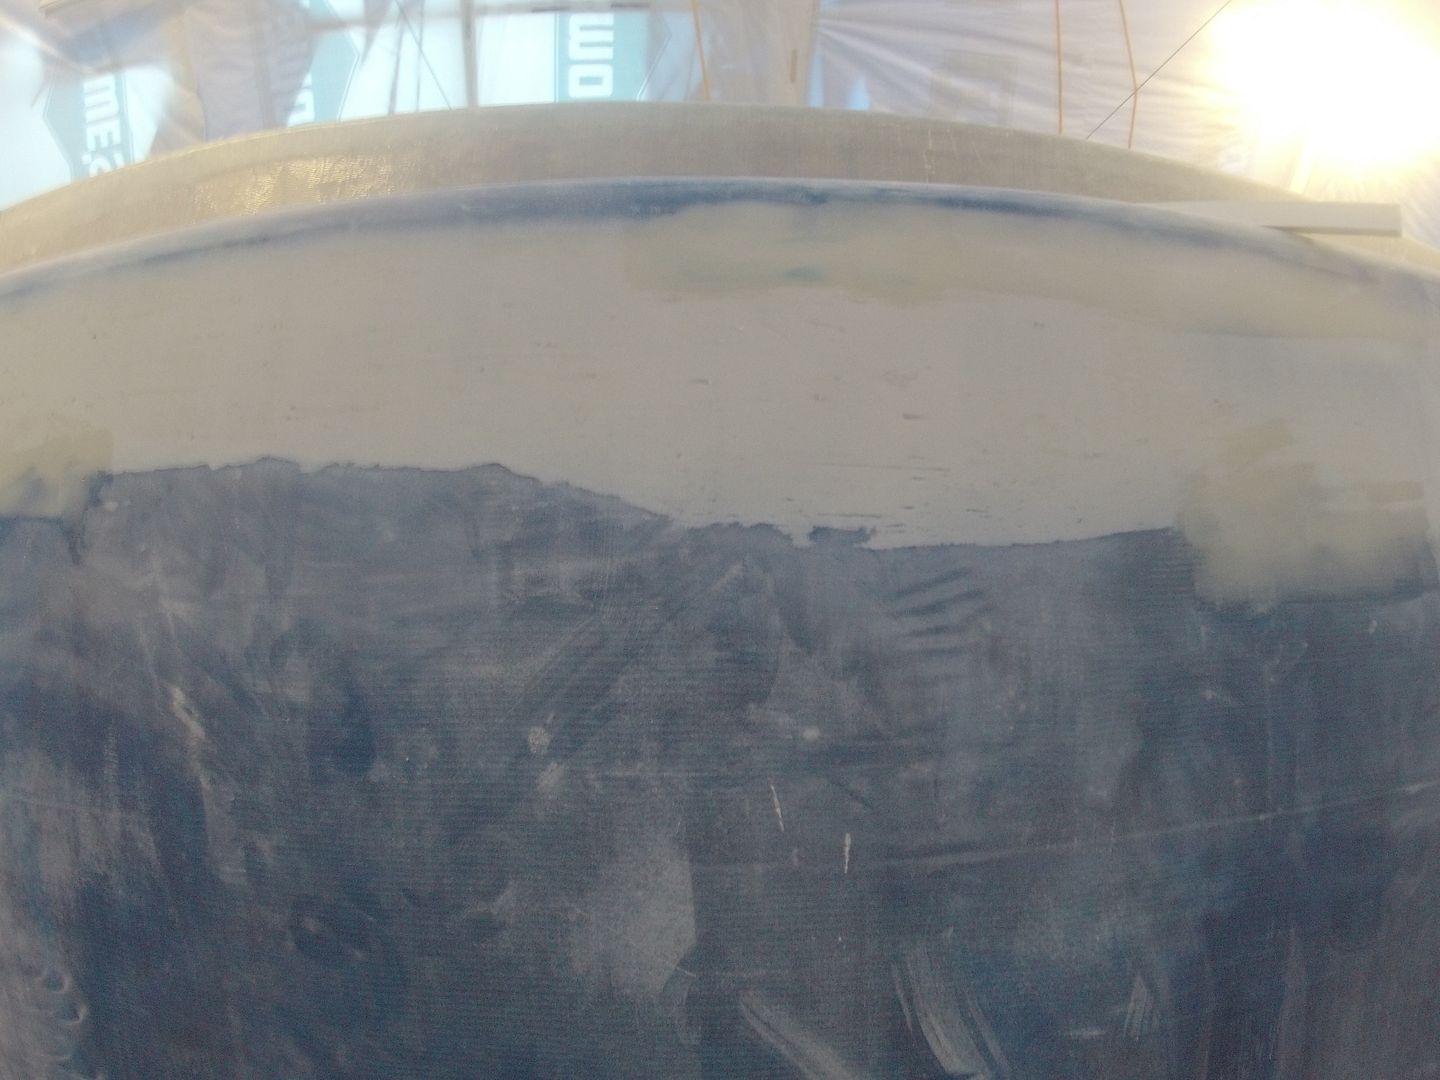
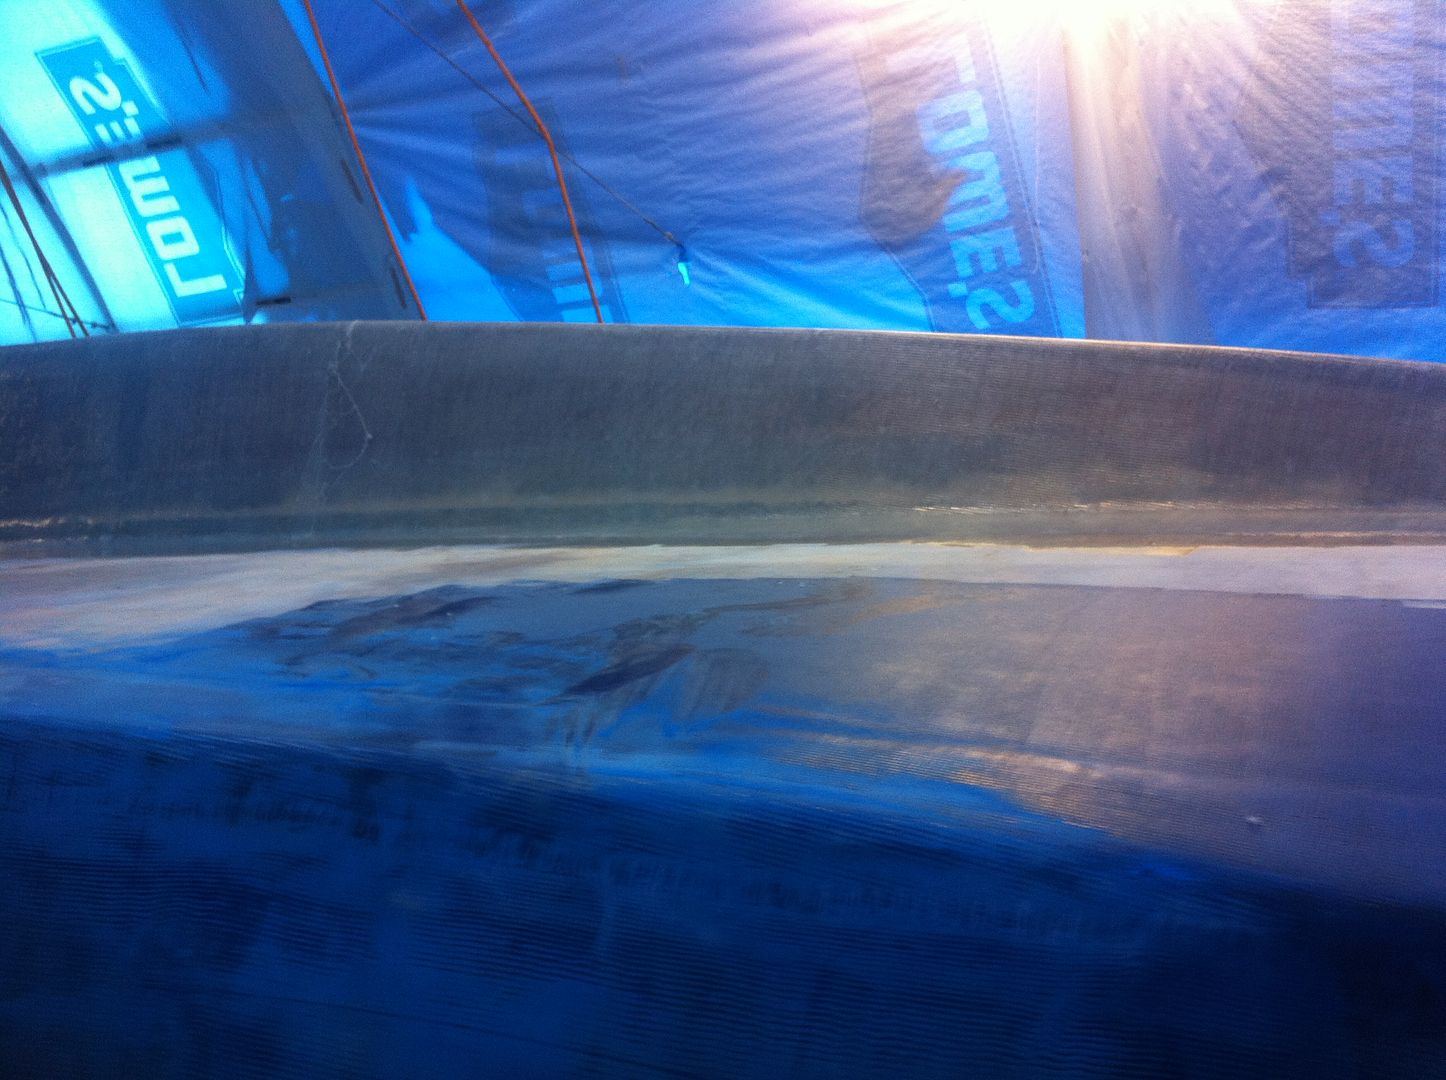
I spent the rest of the afternoon sanding and testing out my fairing skills (which I obviously don't have). I find it hard to get consistent results with the materials I'm using. I think I'll have to invest in more Quickfair.

The hardest part to fair right now is the ridge left from all the overlapping fiberglass on the chine (where the bottom panels meet the side panels). By my count there's 4 layers of tape and 6 layers of fiberglass cloth all overlapped there. I'd say at the deepest there's a 1/8" gap to be filled and faired.

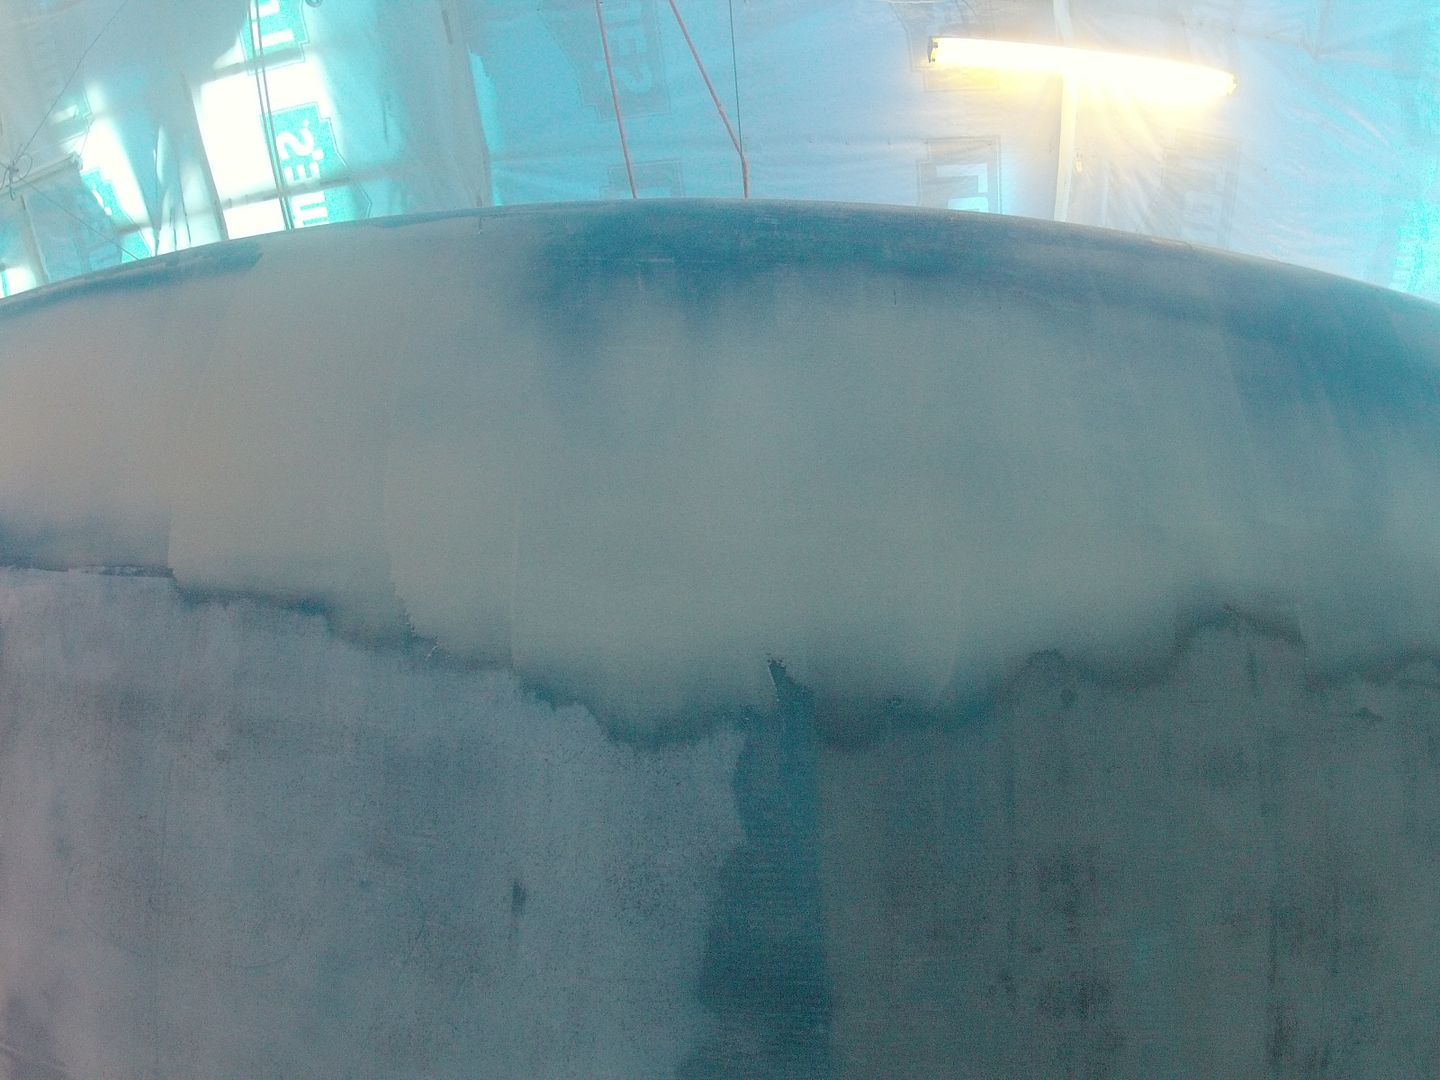
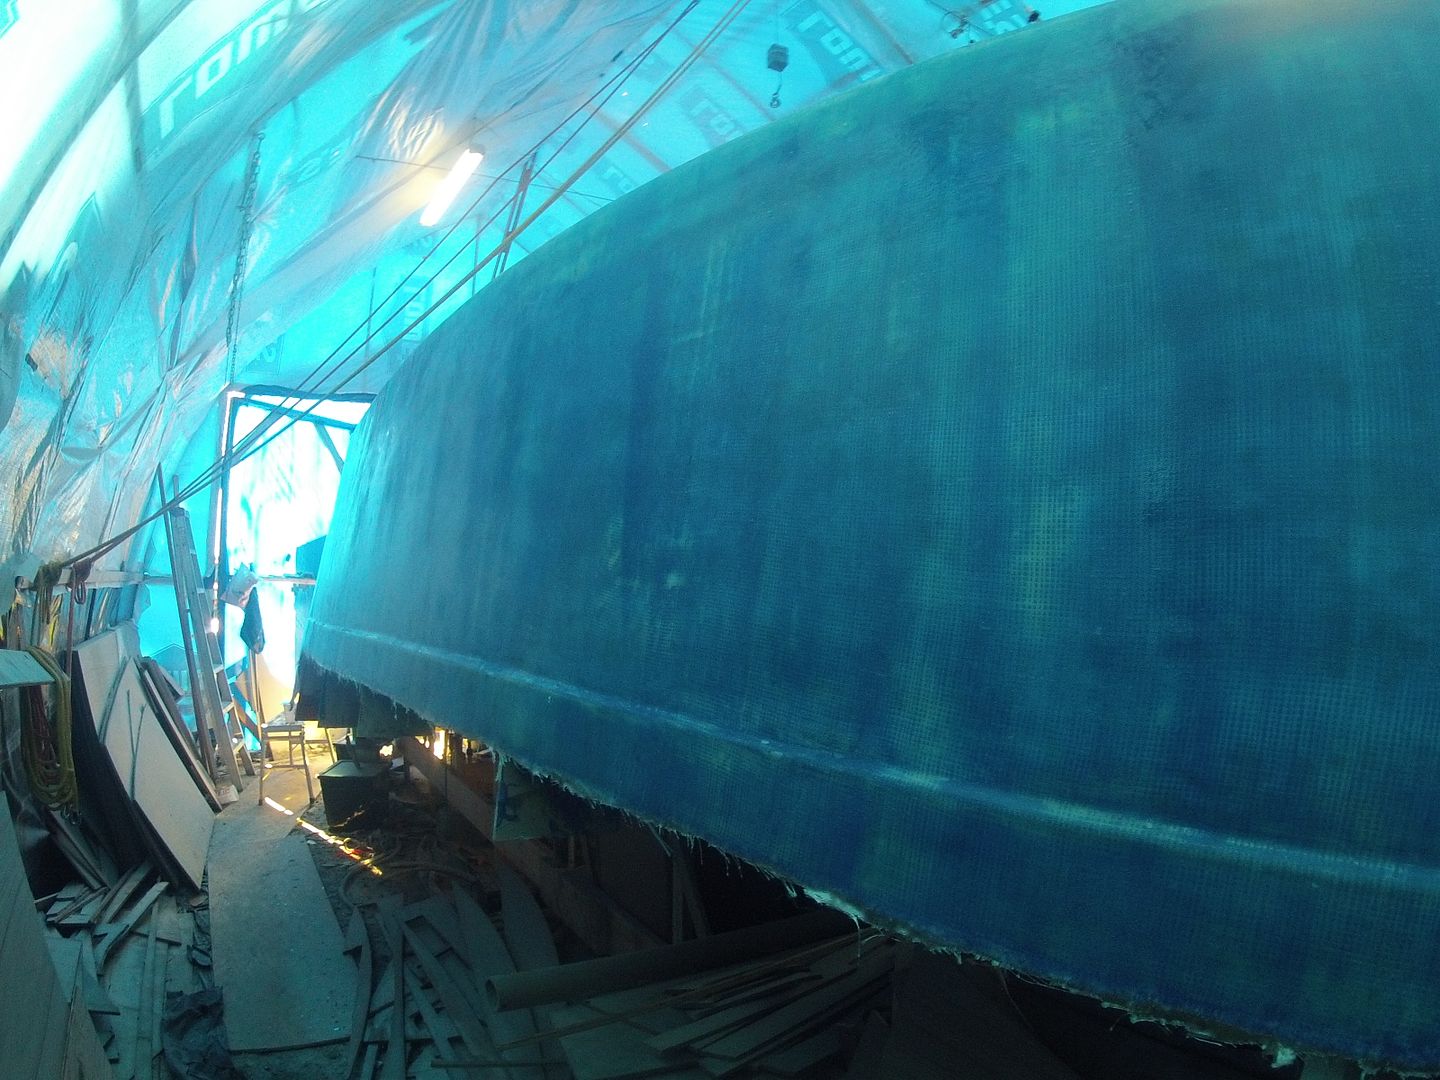
The side of the boat I last fiberglassed got a light sanding today in prep for fairing. Using a lighter grit (80) sandpaper made pretty light work of it. About an hour and a half and I was done the entire side. I was so happy I decided to do another home movie for your watching pleasure!  ;-)


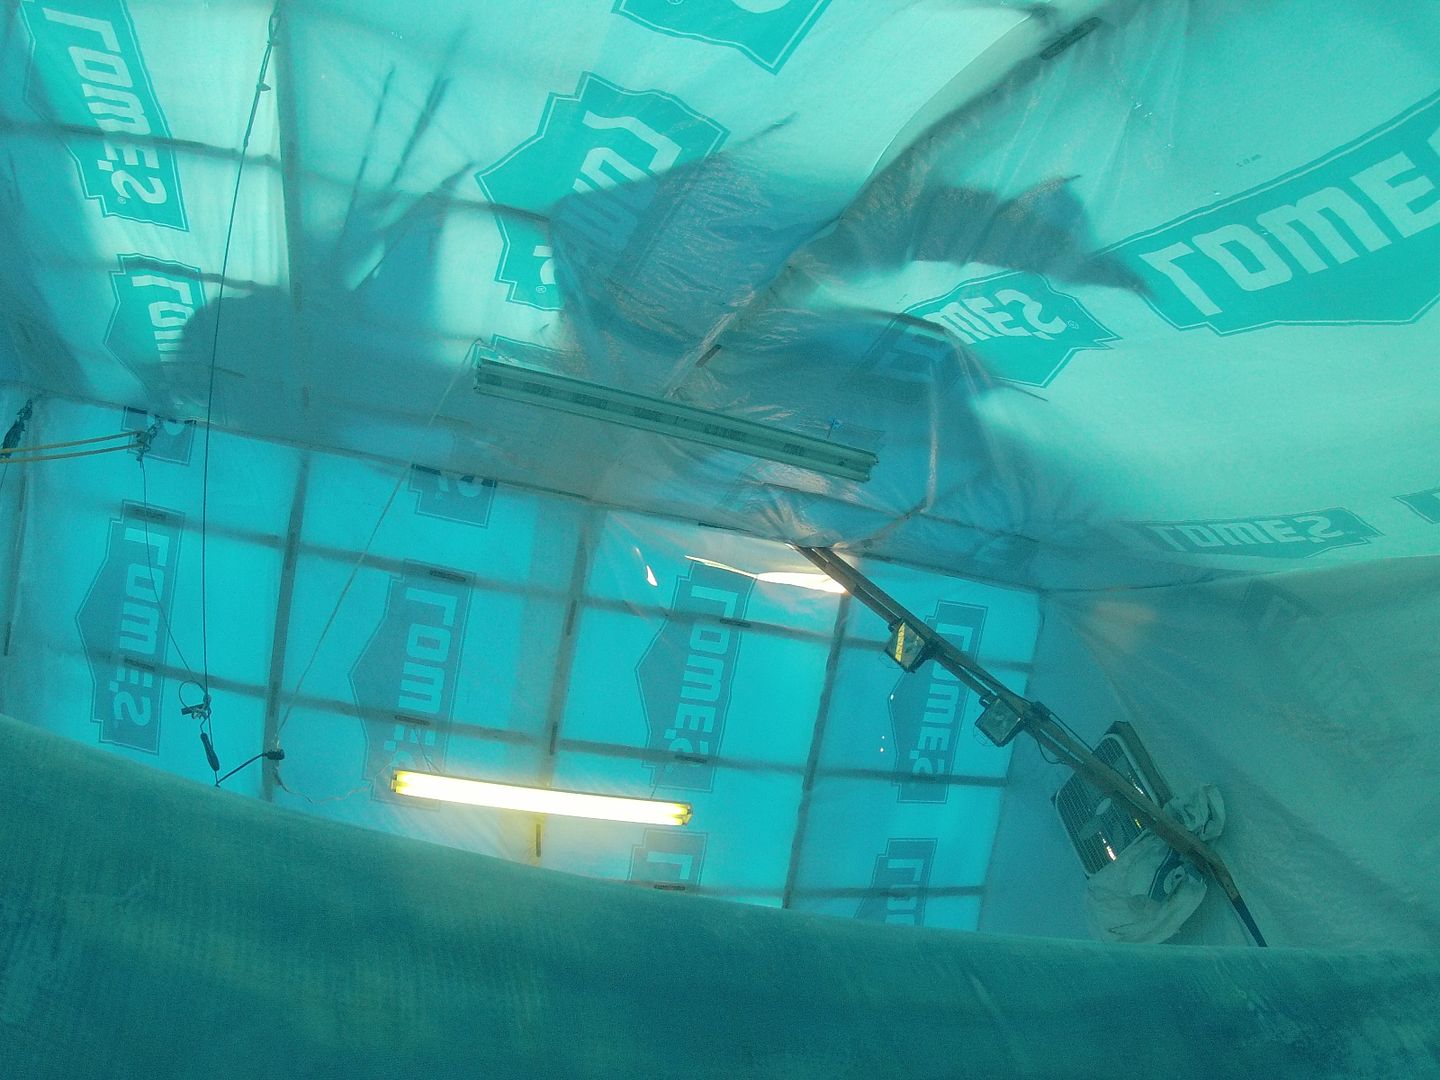
My buddy Andrew came over this morning and helped fix up a few holes in the shed. I'm glad I got a buddy who's part monkey!  ;-)  Thank you Andrew!


Sunday, September 22, 2013

Sunday Sandinsanity

Today was a sanding test of the test patches I put on the hull yesterday. I put it all together in a video for your watching enjoyment!  :-)

I learned a few things too. If you have extra goop, don't just slather it on somewhere random. You're just gonna have to sand most of it off! Doh! I think fairing the entire hull is going to be a big job, much bigger than I thought. But that's nothing new with this project.

The Quickfair is specifically made for this process and is the easiest to work with. It's a bit spendy but so is using epoxy and your own fillers. I'll do as much as I can with what I have then buy some more Quickfair for the final fairing before primer.

That's about it till next weekend. Back to work tomorrow. Standby...

Saturday, September 21, 2013

I'm absolutely sure

I know nothing about fairing a boat hull. So with that in mind I tried a few fairing recipes with the materials I have on hand. The first one I tried is called 'blended filler' from Bateau.com. This is a lightweight filler sold by the designer specifically for this purpose. I had a small sample I got with a test kit many moons ago.

This section of the hull is very fair already so a skim coat should give me some idea of what it's like to work with and sand.

The second I tried is a combination of microspheres (tiny glass bubbles) and cabosil (colloidal silica). It makes a very light weight filler and should be easier to sand.

The third fairing compound I tried is a readily available filler called "Quickfair" from System 3. It comes as a two part product you mix just like bondo. It's easy to work with and I've dabbled with it before. Very nice to work with.

You can see from the picture it's a bit thicker than the others. Certainly overkill for this section of the hull. I used what was left over around the bow thruster hole.

There's one particular section of the hull where the sides join the bottom where there's a pretty significant gap that needs to be faired. This was caused by the multiple layers of fiberglass all overlapping at this point. There's 4 layers of tape and six layers of fiberglass all overlapped there. At the worst I'd say there's about a 1/16" gap.

I mixed up a much heavier filler for this area. A combination of microspheres, cabosil and wood flower for bulk. Even mixing it rather soupy it's hard to spread out evenly. I used a large drywall knife and followed the curve of the chine as a guide. It'll be a bit harder to sand simply because of the bulk of it. It looks messy and it is!  :-)  That's part of the fun of building a boat I guess!

Tomorrow I should be able to block sand the test patches and see how they turned out. Standby....


Thursday, September 19, 2013

Video processed and ready to go

Here's another video delight to waste some more of your time!  :-)

Still working at improving the videos. It's hard to condense 3 hrs of raw video into 6 1/2 minutes. Thanks for looking in.

Update: This mornings task was to make templates for the windows.

All the windows were CnC cut in the kit so it was easy to use the cutouts to make the templates. I had to specify styles & materials. This one above is one of 4 side windows. They'll be polycarbonate sliding windows with fixed screens, tinted Solar Bronze.

This one was a little more difficult. It's for the sliding doors that were not CnC cut in the kit. It's part of the modifications we made to the design so some of it is pure guesswork at this point. I'll ask the company for a quote and see what these will set me back.

We've decided to open up the aft bulkhead of the main cabin and make it more like a 'picnic' boat. It'll look something like this.

Well maybe not exactly like that but you get the idea. We'll enclose the aft cockpit with a canvas enclosure and a canvas wall for privacy. I think it'll open up the boat immensely and make it much nicer for socializing while underway. The near total removal of the aft bulkhead will make it a bit challenging to replace the structure that's removed. I have a few ideas on how to do that.

Yesterdays fiberglass turned out fantastic. Hardly a bubble in sight and those are long the hull side/bulwark where they won't be seen. I intend to put a large rub rail, likely a rope rub rail along that line. Something like this.

Maybe not that big of a rope but you get the idea. Going back to work tomorrow so things will slow down a bit again. Standby.....


Wednesday, September 18, 2013

I do try to learn

from my mistakes or previous attempts at this boat building stuff. As you saw earlier I hauled the peel ply off the other day's work on the starboard side and the results were just Ok. Today I decided to forego the peel ply and relied on some aggressive squeegeeing to get eliminate the bubbles and dry spots.

Starboard side looking forward.

Starboard side looking aft.

I know the pics don't look like much other than the 'big blue blog' but there's a discernible difference between this side and the one I did the other day. I used half the epoxy in about an hour less time and there's no bubbles or dry spots. The downside is when this cures the entire surface will have to be sanded before I begin the fairing process. The other side won't require much sanding at all. Just a few spots where I had to fill some bubbles.

Today's tally was 2 3/4 litres of epoxy, one roller sleeve (a new one I tried and liked very much), 8 pairs of latex gloves (I changed often handling the GoPro camera) and under 3 hours to complete.

Today's work represents sort of a milestone. This is the last fiberglass that'll go on the outside of the hull! :-)  That's it. It's onto fairing from here. So the steps are, fairing, barrier coat, primer, paint the bottom and flip this whale (in the spring)!  :-)

I'm working on another video so I'll post that later. Standby.


Tuesday, September 17, 2013

And the results are

pretty much what I expected. A few dry spots and a couple of bubbles that popped up over night. Nothing I can't fix or work with.

This shows a pretty good section.

I know it looks like a 'blue blob' like something out of an old horro movie! *lol* It's smooth and lump free. Some minor sanding is required where the peel ply overlapped but otherwise it's ready for fairing. Below are the two bubbles that showed up over night.
These occurred where two pieces of peel ply overlapped so I didn't see them. I'll cut the bubbles out and fill when I fair the sides.

It's been cool, 6 C last night, so the epoxy is still a little soft this morning. I'll leave the shed closed up and hopefully it'll get a full cure. It's still way too soft to sand or do anything else with. I'll wait for a little warmer weather later on this week to do the other side. Thanks for looking in.

Monday, September 16, 2013

Once side down

One more to go. 4 hrs, 4.5 litres of epoxy, 24' of peel ply, one roller and about a dozen latex gloves. Sorry no pics. Too sore. Got back spasms right between the shoulder blades about 3/4 of the way through but couldn't quit. I'm gonna be sore tomorrow! :-(  I think it'll turn out just Ok. I still got a lot of tiny bubbles. Will be out there for a few hrs bubble busting! Standby.

Sunday, September 15, 2013

Twas the night before

Twas the night before Epoxy Day, when all through the boat shed,

Not a creature was stirring, not even a lazy ass'd ole' Tom Cat.

The fiberglass was hung on the boat sides with care, 

In hopes that St Epoxy soon would be there.

Oh Gawd someone help me. I think (know) I'm loosing it!  :-)

This is the 10 oz Satin Weave fiberglass I've mentioned so much. It is the layer that'll determine, for the most part, the cosmetic finish for the sides. The only time I've used it is when I did the transom and that didn't work out as easily as I had hoped. The sides are 8 times the size of the transom! There's real potential for a disaster here. I have to stay calm and work methodically in hopes of getting a good finish.

This is the glass hung on the other side. I hadn't smoothed out the wrinkles yet.

It should take about 4 gallons of epoxy and probably 8 hrs to roll this out barring any unforseen issues. This fabric likes to ball up in the roller so I have to take my time while wetting it out. I'll also be using peel ply on this final layer (again in hopes of saving some sanding) so it'll get a good squeegeeing too. 24 hours after that's done I'll know if all the extra effort I put into getting the underlying layers fair will have paid off. Standby...


Saturday, September 14, 2013

Sandinsanity & Acetone

So that whole going to work thing kinda got in the way of my boat building project. I apologize for that. Anywho, the project I was working on at CCG is set back so it doesn't like I'll have to go back into work for awhile (if ever). I'm not heartbroken over that. The extra money would have been nice but I can get along without it.

So today I hit the sander hard to clean up the very very sloppy job I did last week on the keel. I can't believe the drips & runs I left. What a mess. The sander made pretty short work of it though. Once that was cleaned up around the bow I wiped the sides down with acetone. Yes I wore a respirator and had all the fans going. I've have to protect the few remaining functional brain cells I have left ya know. :-)  I've kinda been dreading doing the 10 oz fiberglass, based on my experience on the transom, but I gotta get it done while the weather is cooperating if I'm going to have any chance of flipping this whale over in the spring.

Didn't take any pictures today so here's a random one from the photo album.


I don't know if I posted this one before. Never mind the 'what's this?'. I know what it is now! That's the 'fugly' Yanmar stock engine control panel. I've got it stripped down and am going to make my own control panel this winter. I bought a complete set of 'Faria Chesapeake' guages.

Been looking at other TW28 control panels and there's a few I like and might follow the same path.

This is almost without a doubt the finest I've seen on a TW28. It was done by a gentleman in Belgium. There's a few design changes I'll make. I intend to incorporate a 12" Chartplotter in the dash panel and move all the switches to an overhead console. My engine controller will be tucked up farther forward because we're adding sliding doors to the sides of the main cabin. I think my wheel is a bit bigger than this one so that's an issue I'll have to deal with. Probably a good idea to build a mock-up this winter to see how it'll all come together.

Tomorrow's task to hang the glass on the sides and get ready for some more epoxy work. Weather is looking pretty good to get it done this week. Standby...


Sunday, September 8, 2013

My ole' Grandpa

was a wise ole' fella. Always used to tell me: "Never trust a guy with a clean workshop, he's not busy 'nuff to be any good!" Yeah well that may well be true Grandpa but I just had to clean up my boat shed today. I made a heck of a mess building the sewing table & shelves so out comes R2D2 (Shop Vac) to clean up the sawdust. Working my way along the workbench I also found a few tools I had though long lost. :-)

So I sit there, taking a wee break and looking at my handiwork. Well sorta handiwork and ponder the enormity of the task I still have ahead of me. For one tired old fart, retired simple servant building this boat is a monumental effort. I hit it hard this summer, as much as the weather would allow and got quite a bit done but there's still a lot to do before I can flip this pig over. A thought pops into my head, something I remember from high school English class I think.

So I wrote that on the shed door. It seems a really negative thought but it will constantly remind me to to keep my eye on the prize. Knowing that after it's all said and done we'll have a boat something like this.

It'll be our escape vehicle. It'll have the range, endurance and amenities to take us where ever we want to go (hopefully someplace warm in the winter). It may not be the biggest or fanciest on the water but it will be ours and I will be able to proudly say to anyone that asks "I built it myself!"

Occasionally I look back through all the pictures of this project and for the life of me I can't remember doing half that stuff. It's kinda weird. I know I did that but I don't have any memories of doing it. I think it has to do with the scale & scope of this project and how much you're always thinking ahead of what needs to be done next, what needs to be done our bought for next week or next month or even next year. I see it all coming together in my head but there's no timeline associated with it. People ask me all the time: "When will it be done?" My standard answer is '2 years' but if it takes longer that's Ok. I want to take my time and make it nice. I really don't want to spend all this time, effort & money and have it coming out looking like a POS.

Ok that's 'nuff. I gotta go gather up clothes suitable to wear to work tomorrow. Thanks for looking in and standby....


Saturday, September 7, 2013

So I'm having a little conversation

with Lori via Facebook chat. I happen to mention that she might have some extra shelf space left over. There's a silence. No response. Two minutes pass and I send her another message: "Did you fall off the chair darlin'?" Ok, still no response. I get the distinct feeling she's browsing the 'Joanne's Fabrics' web site for sales. Hmmmm? "You know, just 'cause you have more shelf space there's no need to run out and fill them up. Ya know?" "Dear?" Her response came about 5 mins later and was something like this: *giggle*

Anywho, this morning I finished the installation of the shelves. Sorta turned out the way I had envisioned them.

First step was mounting the shelf brackets I assembled and painted yesterday. Got them all nice & level & plumb with my handy dandy laser level. Sweet little tool.

I know it looks kinda weird. Sorta like half pine tree's with no needles! ;-) These got firmly screwed to the studs behind the drywall. There's no way they're coming off the wall!

Next the shelves went on. Pretty simple stuff. Only took a half hour or so. I remembered to turn the ceiling fan off this time! ;-)

I kinda like how they turned out. Pretty simple. Not fancy woodwork and all construction grade plywood and whatever paint I had left.

So I proceeded to unload everything I had stacked up on her sewing table to the shelves. It didn't take long to figure out there wasn't going to be a whole lot of shelf space left and she's still got tubs & tubs of stuff squirreled away to sort through.

Before:

After:
The cleared off Sewing table.


That's it for this project till the boss gets home and sorts it out. There's still some rearranging to be done in the corner opposite the sewing table. She has a 4 drawer dresser to go in there and I've got to figure out something for all her patterns. A trip to Joanne's or Michael's for storage boxes might be in order! *sigh*

I'd say this project too me roughly 6 days and about $250 in materials.


Thursday, September 5, 2013

Sewing Room Rehab Part Deux

So with the fiberglass put on the keel yesterday, today's task was to start the shelves for Part 2 of the sewing room rehab. I had the lumber store cut the plywood (cheaper construction grade) I ordered to width so all I had to do was round some corners and cut the lengths I wanted before sanding the edges in prep for paint.

There'll be 5 shelves on two walls joining in the corner. The left hand side will be 16" deep shelves and the right side 12" deep shelves. Style is similar to the ones I did above the sewing table but not as fancy.

Before:
Sorta after:

I apologize for the crappy cell phone pics. Forgot to bring my GoPro camera. Hadn't seen that corner of the room in awhile!  ;-)  Found a few petrified surprises left by one of the cats!  ;-(

This afternoon I assembled the shelf brackets. They'll get a sanding before I paint them tomorrow.

Managed to get a coat of battleship grey paint on the underside of the shelves before I called it quits for the day. Tomorrow they'll get a nice color similar to the shelves above the sewing table. Standby....


Wednesday, September 4, 2013

I new it would.........

I knew it would take me 2 1/2 hours and it did, exactly. Approx. 1 1/2 gallons of epoxy, 12 yds of 12 oz fabric, two roller sleeves and the very last layer (Yeah!) of structural fiberglass is on the keel.

It's been awhile since I crawled up on top (well actually the bottom) of the boat and did any fiberglass work. I've got a few sore muscles to show for my labor. You can see the blue patch where I was testing filler recipes. I forgot it was there and almost slipped off the boat! Not a big fall, six feet or so, but it probably would have put an end to my goo session for the day. It wasn't the prettiest or the neatest epoxy job I've done and there's quite a few drips that'll need to be sanded down before I lay out the 10 oz satin weave fabric for the sides. That'll come tomorrow if I don't have to go into Ottawa.

Thanks for looking in and standby.....