of sandinsanity today. I'm pooched. Sides are done. Working on bottom. Probably another two days of work before more glass goes on the keel.
Shower time!
Standby.

She:Kon, pronounced "Say-go" traditional Iroquois greeting meaning "Do you still have the Great Peace?"
Monday, August 12, 2013


Saturday, August 10, 2013
More long chain epoxy molecules
have given up their lives to my dreaded sanders! Sorry no pics or home movies. Just plenty of epoxy dust flying around today. Not as much as yesterday. Just didn't have the umph that I though I had. Something like that. Tomorrow's a day of rest and a cruise in the IROC. Back to the sandinsanity on Monday.
Today's Boat Shed Tune kinda describes my life lately. "Crazy Circles" by Bad Company
Standby....
Today's Boat Shed Tune kinda describes my life lately. "Crazy Circles" by Bad Company
Standby....
Friday, August 9, 2013
I learned a few things today
1. You don't rest an air sander on your knee,
2. You especially don't do it when it's still spinning,
3. You really especially don't do it when you're wearing shorts, and
4. Epoxy sanding dust makes a good blood coagulant! :-(
I think 6 hrs is about my limit for this manual labor crap! *lol* I decided to keep my feet on the ground today and do what I could from there. Gives the ole' legs a chance to rest. I managed to get the transom and 4/5 ths of the port side sanded.
 Thank Gawd the sides were a lot easier to sand than the bottom panels. I don't know why, maybe because the binding threads were standing up more or something. The block sander takes a lot of muscle to make it work effectively and you can really tell when the sandpaper isn't cutting anymore it slips and slides all over the place. I think I used three strips of 80 grit going down the transom and whole side. It's now smooth as a baby's tuckas!
 At the rate I'm going I figure I still have 3 full days of sandinsanity ahead before I can lay out the last two layers on the keel and one on the sides. It's getting there, slowly but it's still progress in the right direction.
Here's the lil' home movie I was working on yesterday. Just trying to illustrate the amount of effort involved in cleaning up 1 sq ft of glass in prep for the next layer to go on top. It's quite a bit of physical effort and my arms feel like lead after 6 hrs of this.
Today's Vid from the Big Blue Boat Shed (BBBS) is a veritable feast for the eyes (Simone Simons is pretty hot!) and the ears! Music in the boat shed is very important, to me anyways. I have a very diverse taste in music and Daniel turned me onto this band. Quite amazing if you ask me! :-) You're definitely not going to here this on BobFM or Chez! Loosers! ;-)
Stay tuned. More sandinsanity tomorrow!
2. You especially don't do it when it's still spinning,
3. You really especially don't do it when you're wearing shorts, and
4. Epoxy sanding dust makes a good blood coagulant! :-(
I think 6 hrs is about my limit for this manual labor crap! *lol* I decided to keep my feet on the ground today and do what I could from there. Gives the ole' legs a chance to rest. I managed to get the transom and 4/5 ths of the port side sanded.

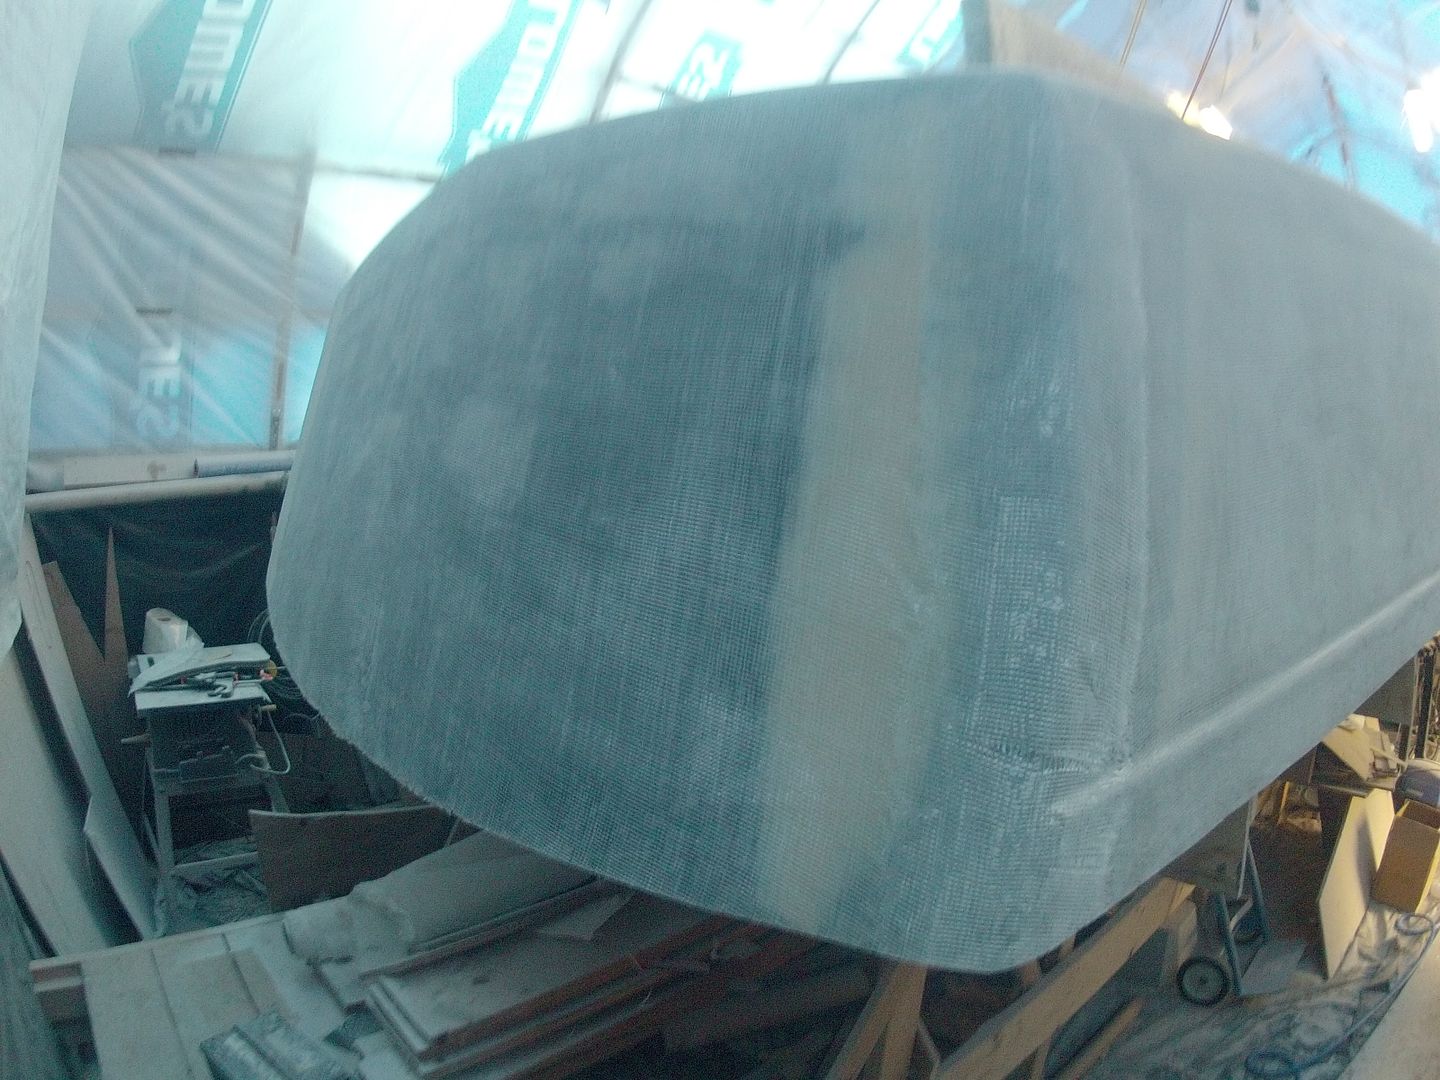
Here's the lil' home movie I was working on yesterday. Just trying to illustrate the amount of effort involved in cleaning up 1 sq ft of glass in prep for the next layer to go on top. It's quite a bit of physical effort and my arms feel like lead after 6 hrs of this.
Today's Vid from the Big Blue Boat Shed (BBBS) is a veritable feast for the eyes (Simone Simons is pretty hot!) and the ears! Music in the boat shed is very important, to me anyways. I have a very diverse taste in music and Daniel turned me onto this band. Quite amazing if you ask me! :-) You're definitely not going to here this on BobFM or Chez! Loosers! ;-)
Stay tuned. More sandinsanity tomorrow!
Thursday, August 8, 2013
My Own Private Hell
I knew after the success of the previous days epoxy job would come more sandinsanity. The fabric edges would have to be feathered out and the bottom/sides would have to be roughed up for the next and last layer of fiberglass.

I started out going gangbusters at 08:00 and clipped along for a couple of hours getting about 1/3 of the way down one side. After the first break things kinda slowed down as the temperature shot up in the shed. At one point it was 85 F and climbing. I scrambled the fans to get some air moving.
Probably the best $40 I've ever spent at Lowes. "Big BJ" can move a lot of air. I'm half contemplating getting another next time I cross the river.

My new air sander hasn't quite got the guts the old one had. That and having to use 60 grit instead of 40 slows the process down quite a bit. I've got to get the binder threads down flat and it takes a bit of doing with both the air sander and the block sander. The block sander is very efficient and removes a lot of material.

So after 6 hours of sandinsanity I made it all the way down one side about 2/3's of the way up the bottom panel. I'll have to climb on top to do the rest. Putting that off for a cooler day. It's at least 5 to 10 degs warmer up there!

One of my friends on Facebook asked me why I sand so much. Well that's pretty simple. This thing is too big for one person to be able to work wet on wet (chemical bond before 24 hrs) and I have to let the epoxy cure between layers. The fabric leaves a hard edge that has to be feathered out so I don't end up with voids when the new layer bridges the hard edge and the fiberglass has to be sanded after 24 hrs to give the new epoxy something to grab onto (mechanical bond). It also helps to eliminate any small imperfections that might print through.
The downside is you end up sanding off a lot of expensive material you just put on. Most of it ends up like this.

If you look closely you can see the binder threads holding the warp and weft (tows) of fiberglass together. This fabric is not knitted like a conventional fabric. The bundles of fiberglass (tows) are laid in a straight line and cross at 90 degs to one another. The binder thread holds all the bundles in place. These binder threads don't add anything to the structure of the fiberglass and stand up (proud) of the surface. Sanding them down allows the next layer to get in closer contact with the previous layer which is important for structural reasons. It also avoids small bubbles that can develop within the cells left by the binder threads.
I did take a few video's with the GoPro camera. I'll see if there's anything there worthy of publishing on here later.
Today's Boat Shed Tune: My Own Private Hell by Alice in Chains
*Sigh* So endeth the lesson for today. I'm pooched and in desperate need of a shower.
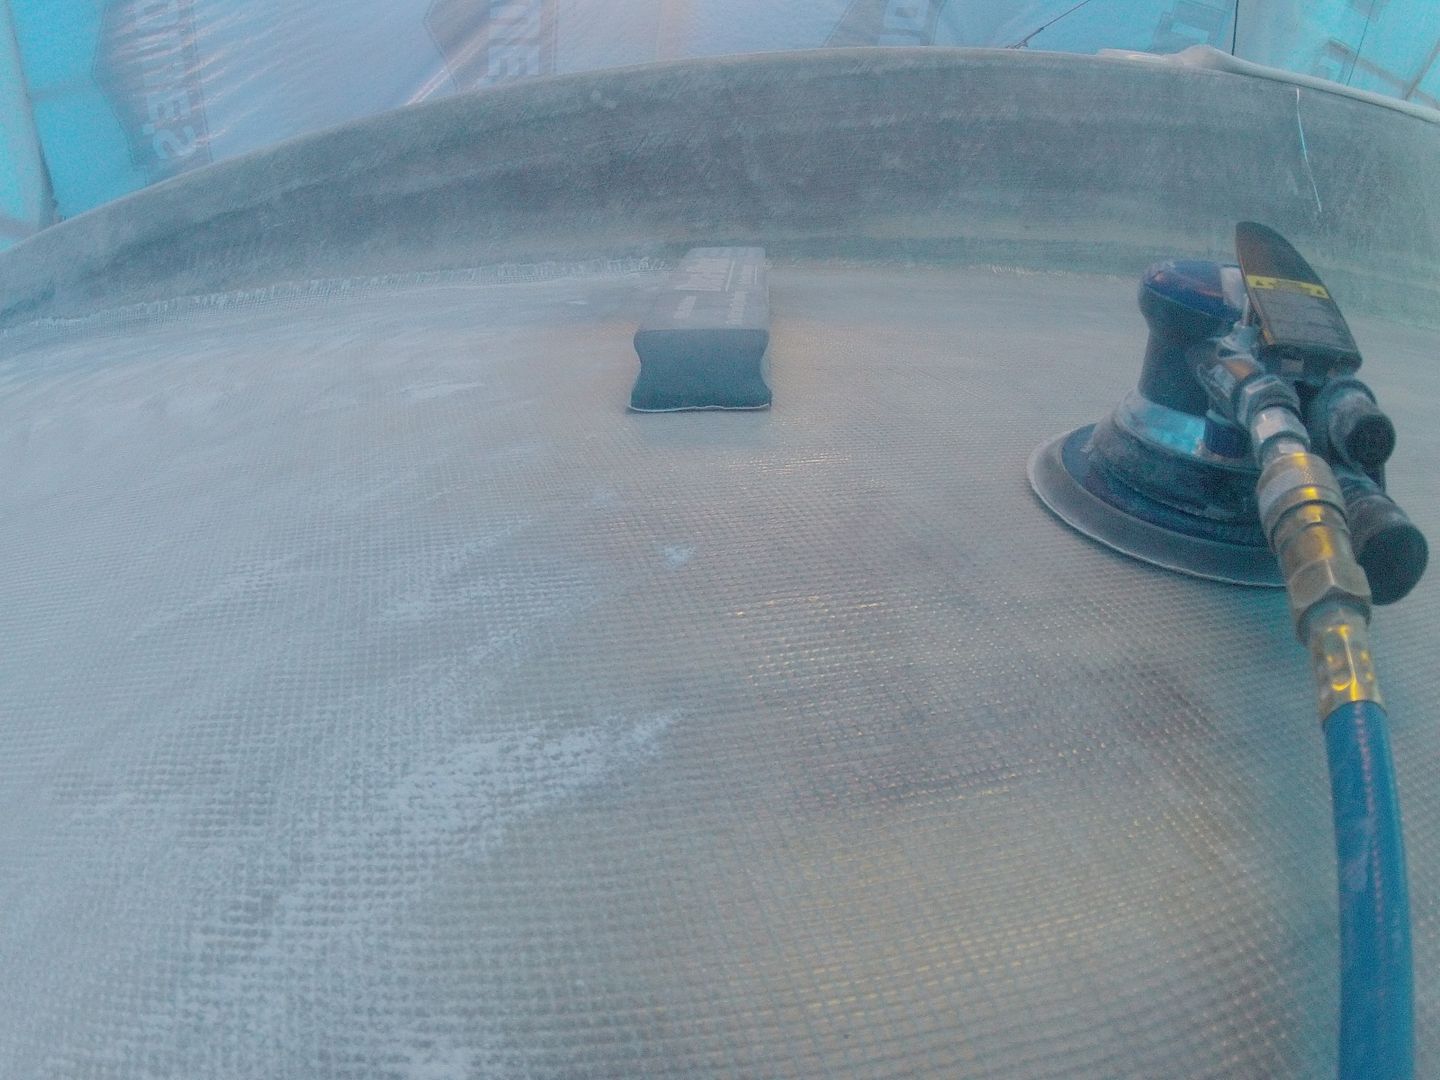
I started out going gangbusters at 08:00 and clipped along for a couple of hours getting about 1/3 of the way down one side. After the first break things kinda slowed down as the temperature shot up in the shed. At one point it was 85 F and climbing. I scrambled the fans to get some air moving.
Probably the best $40 I've ever spent at Lowes. "Big BJ" can move a lot of air. I'm half contemplating getting another next time I cross the river.
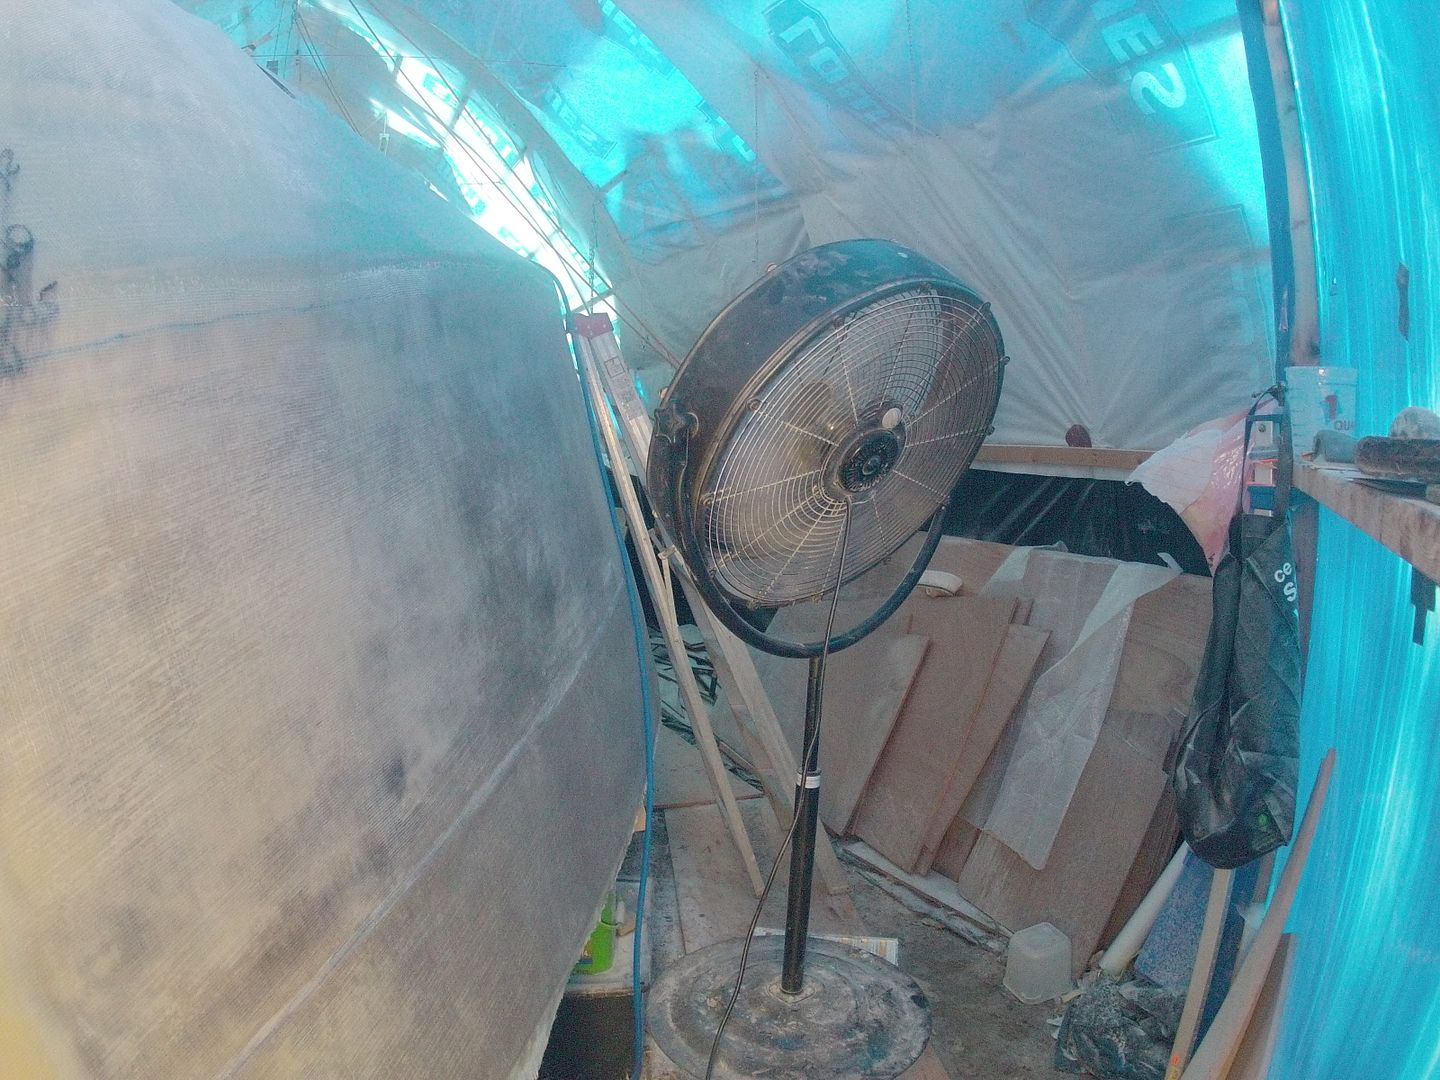
My new air sander hasn't quite got the guts the old one had. That and having to use 60 grit instead of 40 slows the process down quite a bit. I've got to get the binder threads down flat and it takes a bit of doing with both the air sander and the block sander. The block sander is very efficient and removes a lot of material.

So after 6 hours of sandinsanity I made it all the way down one side about 2/3's of the way up the bottom panel. I'll have to climb on top to do the rest. Putting that off for a cooler day. It's at least 5 to 10 degs warmer up there!
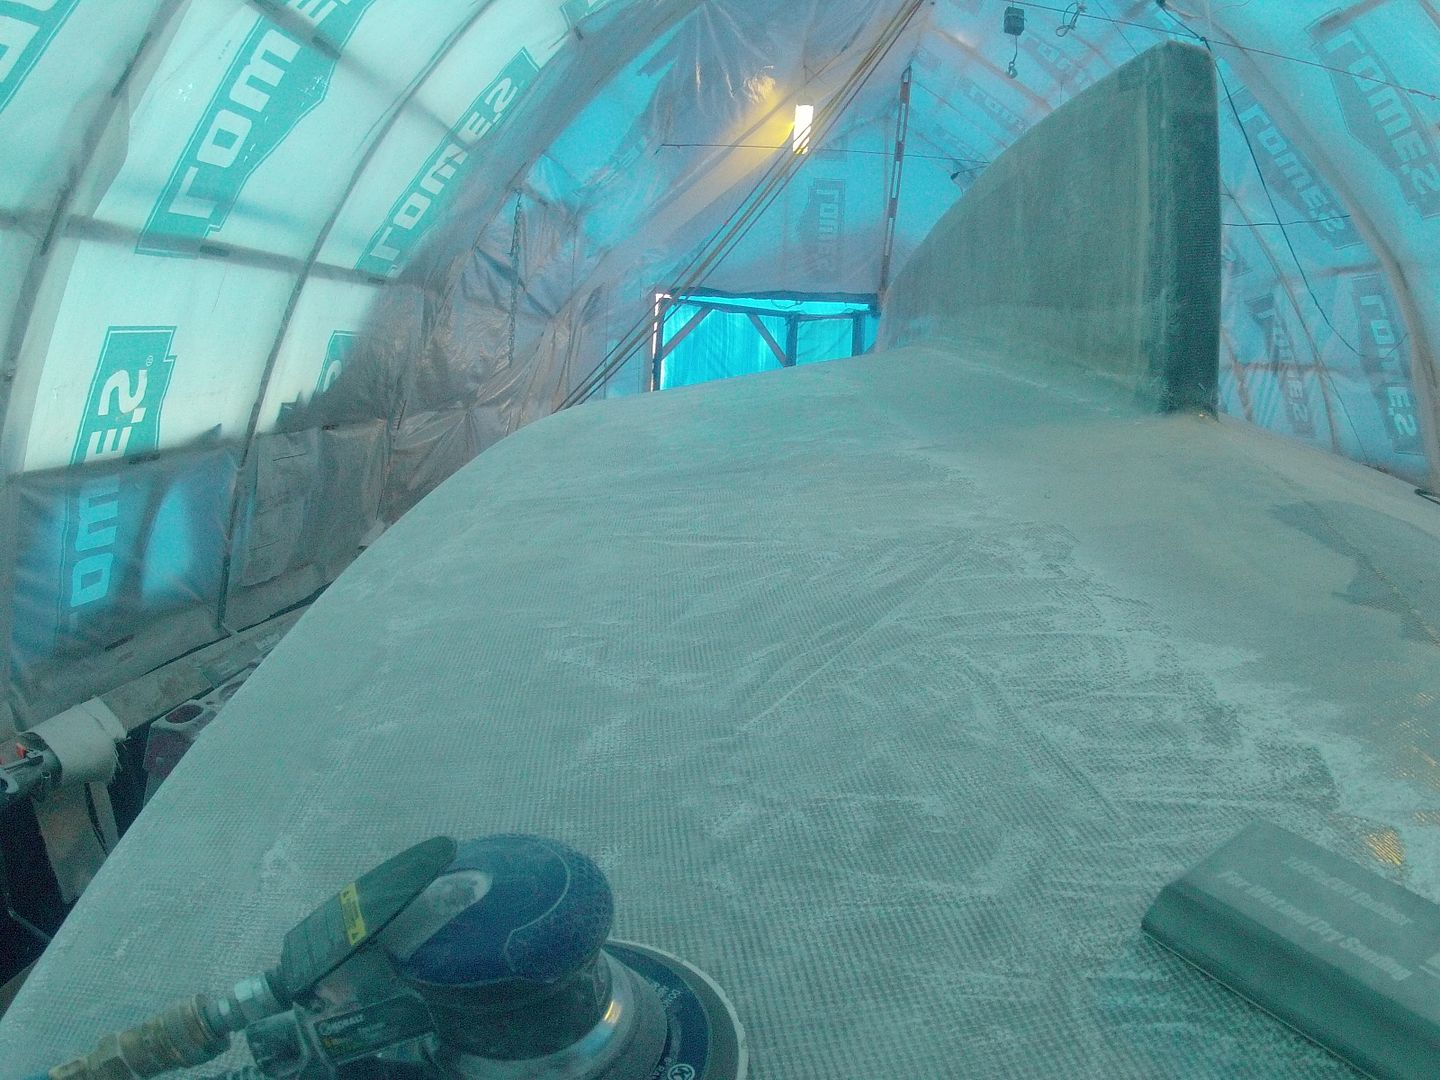
One of my friends on Facebook asked me why I sand so much. Well that's pretty simple. This thing is too big for one person to be able to work wet on wet (chemical bond before 24 hrs) and I have to let the epoxy cure between layers. The fabric leaves a hard edge that has to be feathered out so I don't end up with voids when the new layer bridges the hard edge and the fiberglass has to be sanded after 24 hrs to give the new epoxy something to grab onto (mechanical bond). It also helps to eliminate any small imperfections that might print through.
The downside is you end up sanding off a lot of expensive material you just put on. Most of it ends up like this.
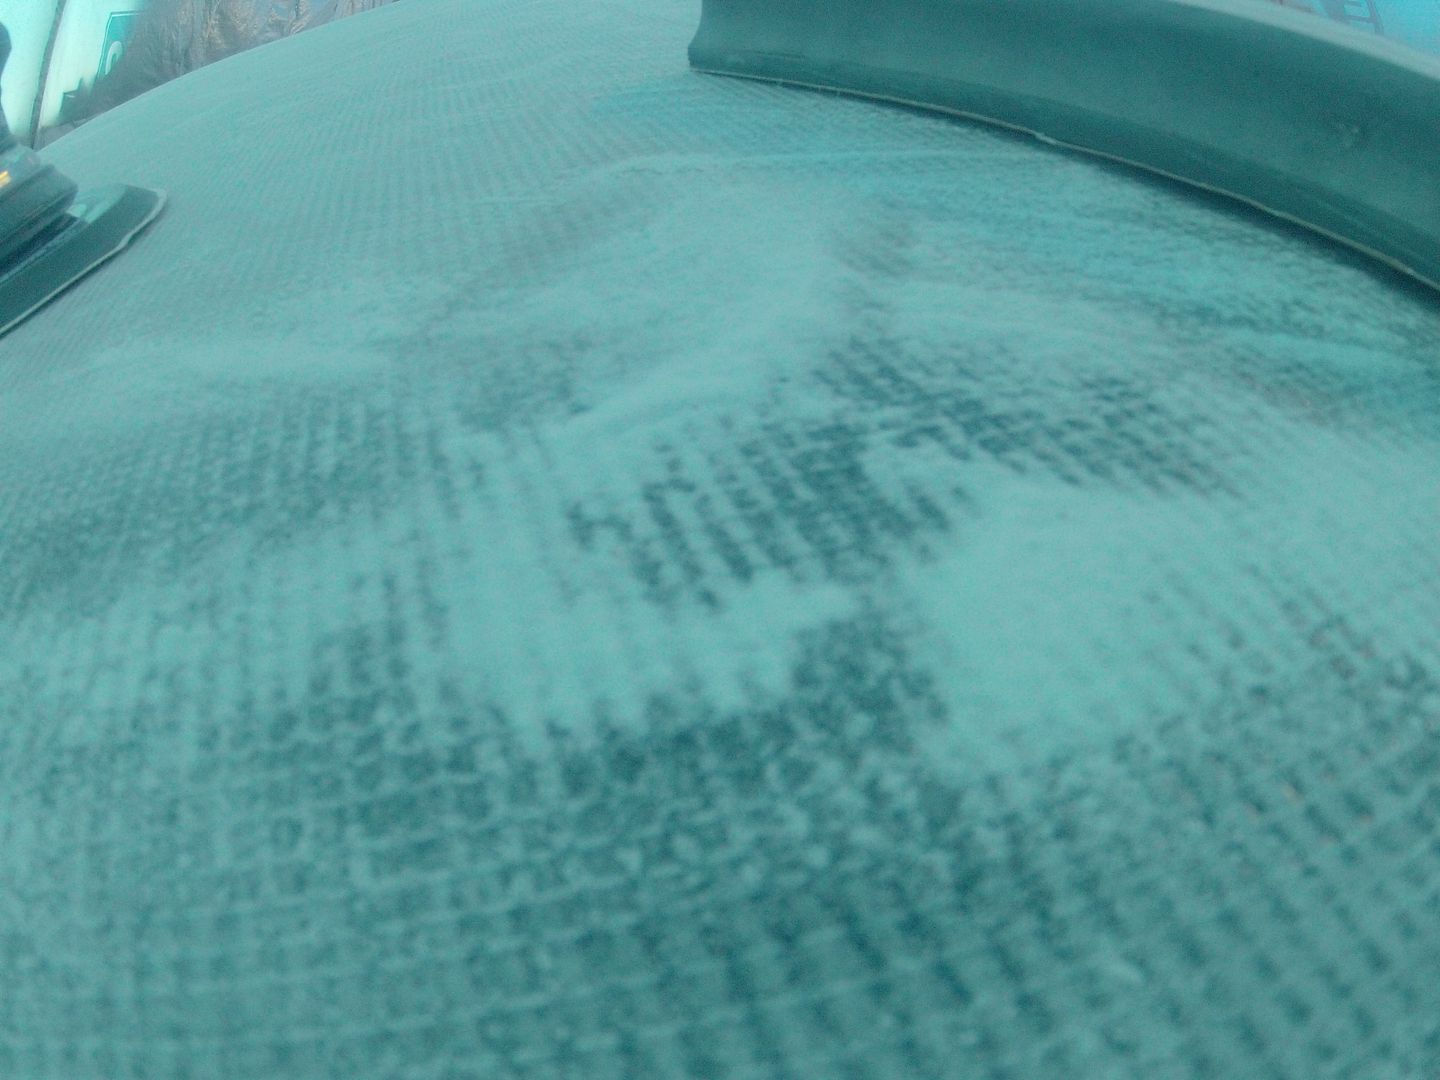
If you look closely you can see the binder threads holding the warp and weft (tows) of fiberglass together. This fabric is not knitted like a conventional fabric. The bundles of fiberglass (tows) are laid in a straight line and cross at 90 degs to one another. The binder thread holds all the bundles in place. These binder threads don't add anything to the structure of the fiberglass and stand up (proud) of the surface. Sanding them down allows the next layer to get in closer contact with the previous layer which is important for structural reasons. It also avoids small bubbles that can develop within the cells left by the binder threads.
I did take a few video's with the GoPro camera. I'll see if there's anything there worthy of publishing on here later.
Today's Boat Shed Tune: My Own Private Hell by Alice in Chains
*Sigh* So endeth the lesson for today. I'm pooched and in desperate need of a shower.
Wednesday, August 7, 2013
Boot's approved!
I'm so happy with the results of yesterday's epoxy session. No voids, bubbles, drips or dinkleberries to sand off for a change! :-)

I think this is the best work I've done so far and despite Jimmy (Sticky Fingers) poking at it the results are near perfect! :-)
This is the one area that I was concerned about. It's where I had a hump develop when the joint between the panels deformed when it was bent over the forms. I probably spent 10+ hours sanding and filling it to get it to fair out to the point where you can't see it with the naked eye.

You can see the filler areas. Below a straight on shot of the area showing the filler used to fair out the hump. I think I had to build it up layer by layer, maybe 4 layers total.

Reverse view looking forward. no more hump! :-)

Fiber Fangs! Watchout! They have a BIG BITE!

The transom was the last part done after lunch. Boy the medium hardener kicks fast! Poor ole' Jimmy couldn't hang onto the tub of goo after it started to kick! :-)

The faster hardener cost me a roller frame but given the results I can live with that. All in all I think we used about 5 gallons of epoxy, a dozen pairs of nitril gloves, three roller sleeves and one roller frame.
I really think all the extra work I put into fairing the underlying layer really paid off big time. I feel that when we're investing this much (approx. $65K) in a boat we don't want it to look like a POS.
Next step, fair out the keel to bottom join for the last two layers of fabric. Taking a day off today to rest my hands. Standby....
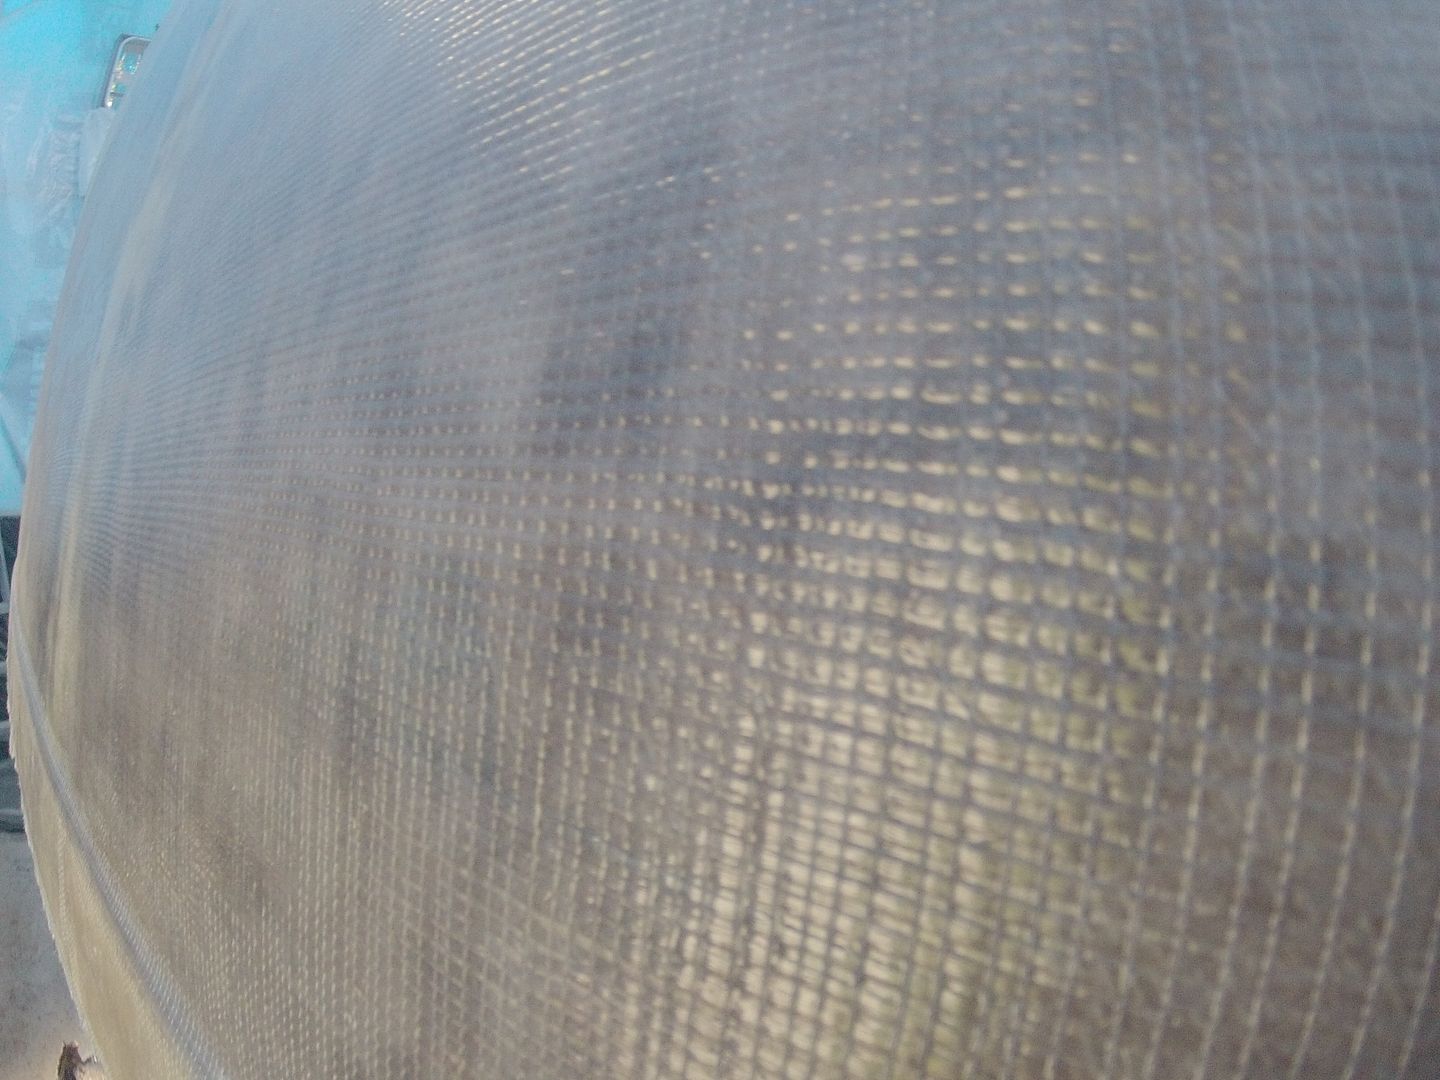
I think this is the best work I've done so far and despite Jimmy (Sticky Fingers) poking at it the results are near perfect! :-)
This is the one area that I was concerned about. It's where I had a hump develop when the joint between the panels deformed when it was bent over the forms. I probably spent 10+ hours sanding and filling it to get it to fair out to the point where you can't see it with the naked eye.
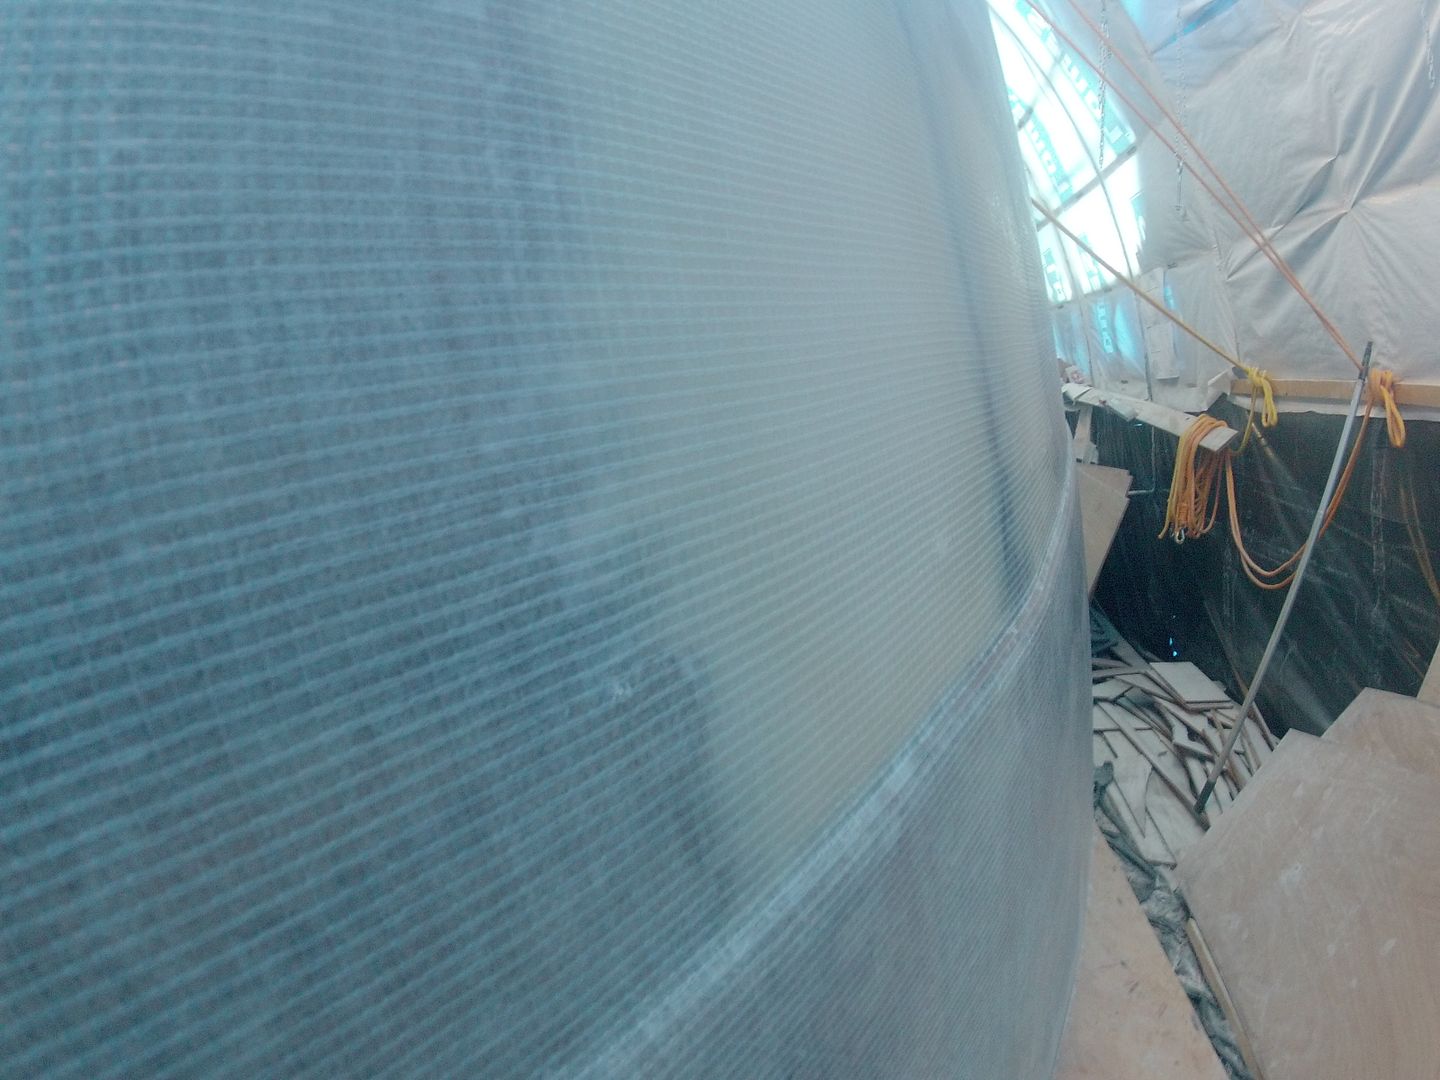
You can see the filler areas. Below a straight on shot of the area showing the filler used to fair out the hump. I think I had to build it up layer by layer, maybe 4 layers total.
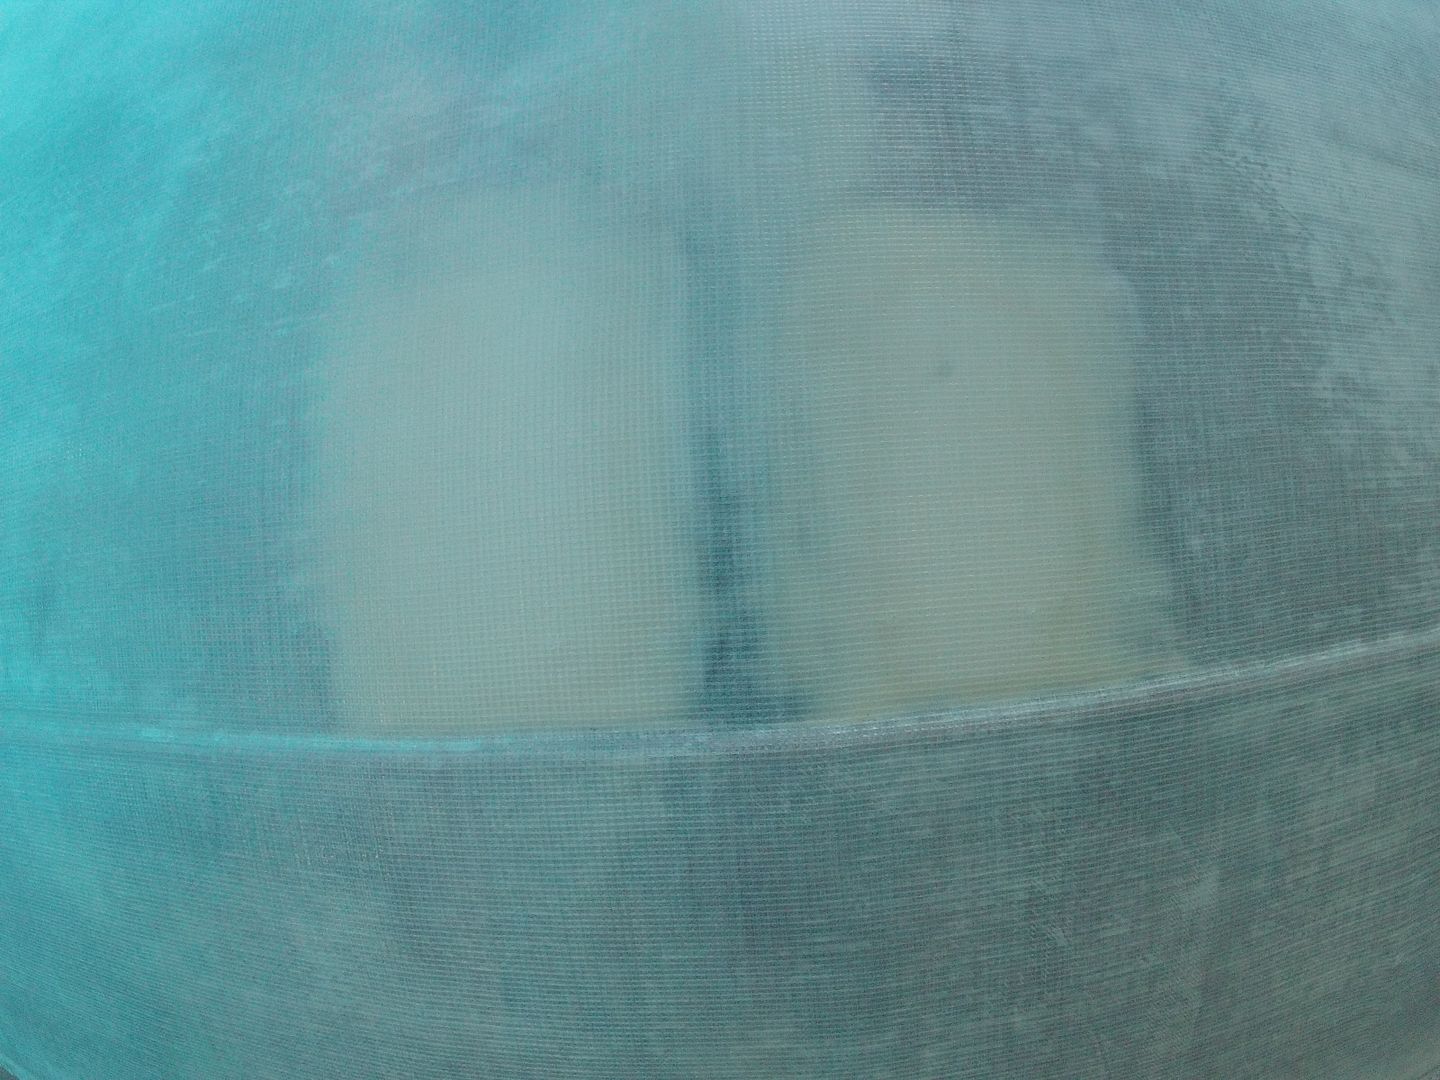
Reverse view looking forward. no more hump! :-)
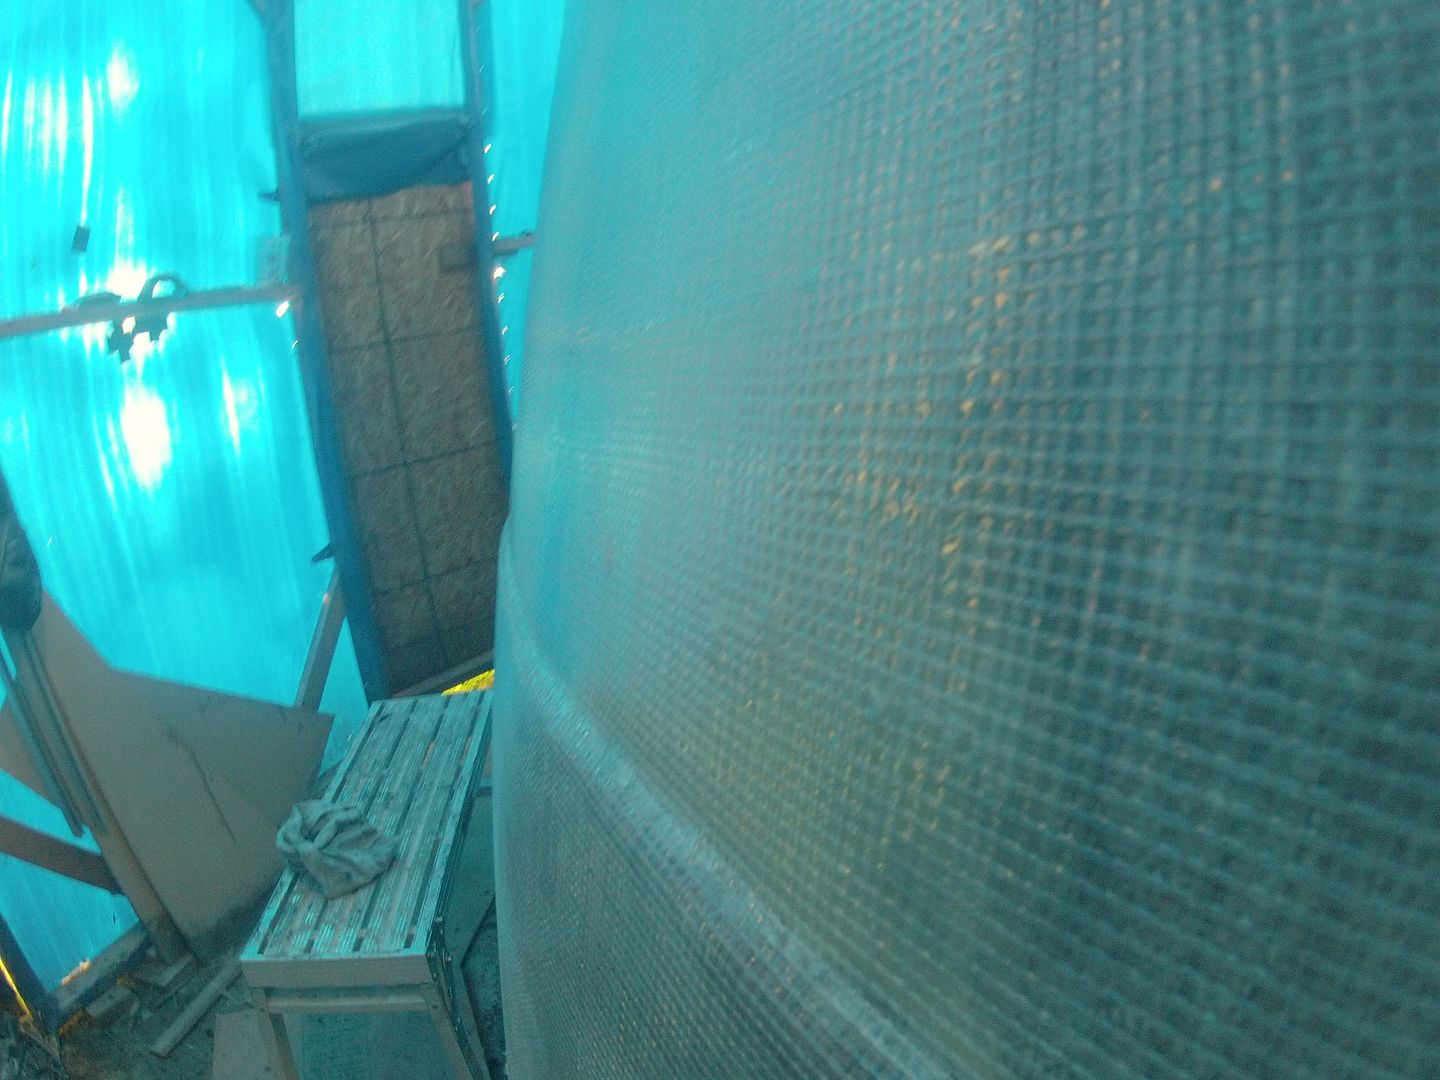
Fiber Fangs! Watchout! They have a BIG BITE!
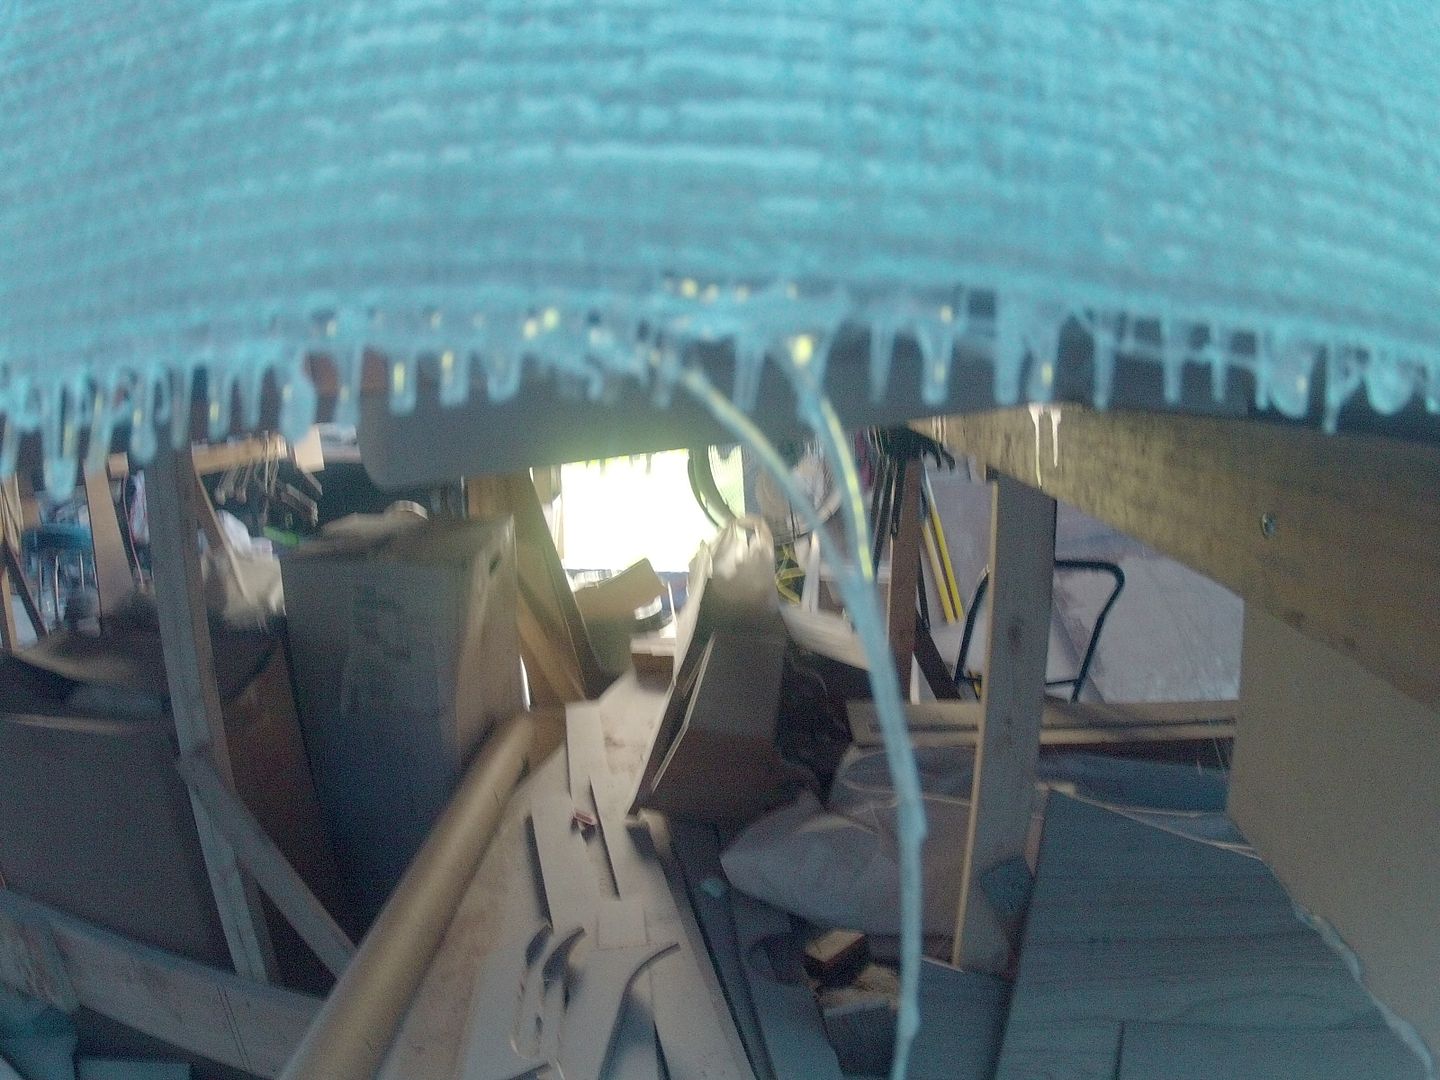
The transom was the last part done after lunch. Boy the medium hardener kicks fast! Poor ole' Jimmy couldn't hang onto the tub of goo after it started to kick! :-)
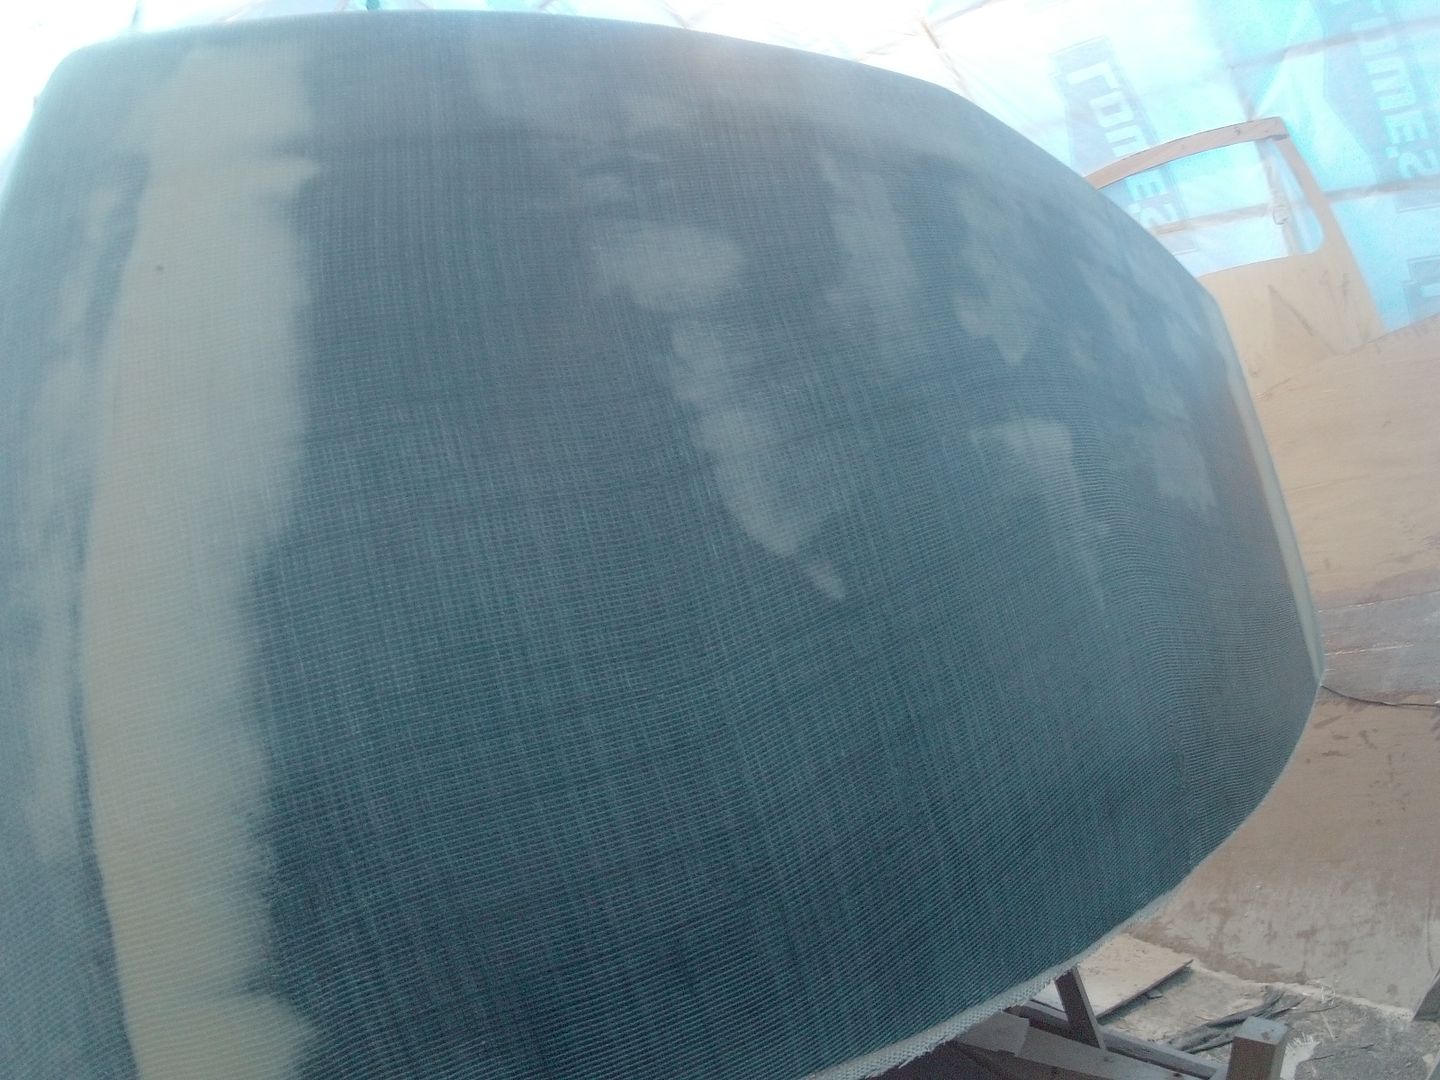
The faster hardener cost me a roller frame but given the results I can live with that. All in all I think we used about 5 gallons of epoxy, a dozen pairs of nitril gloves, three roller sleeves and one roller frame.
I really think all the extra work I put into fairing the underlying layer really paid off big time. I feel that when we're investing this much (approx. $65K) in a boat we don't want it to look like a POS.
Next step, fair out the keel to bottom join for the last two layers of fabric. Taking a day off today to rest my hands. Standby....
Subscribe to:
Posts (Atom)