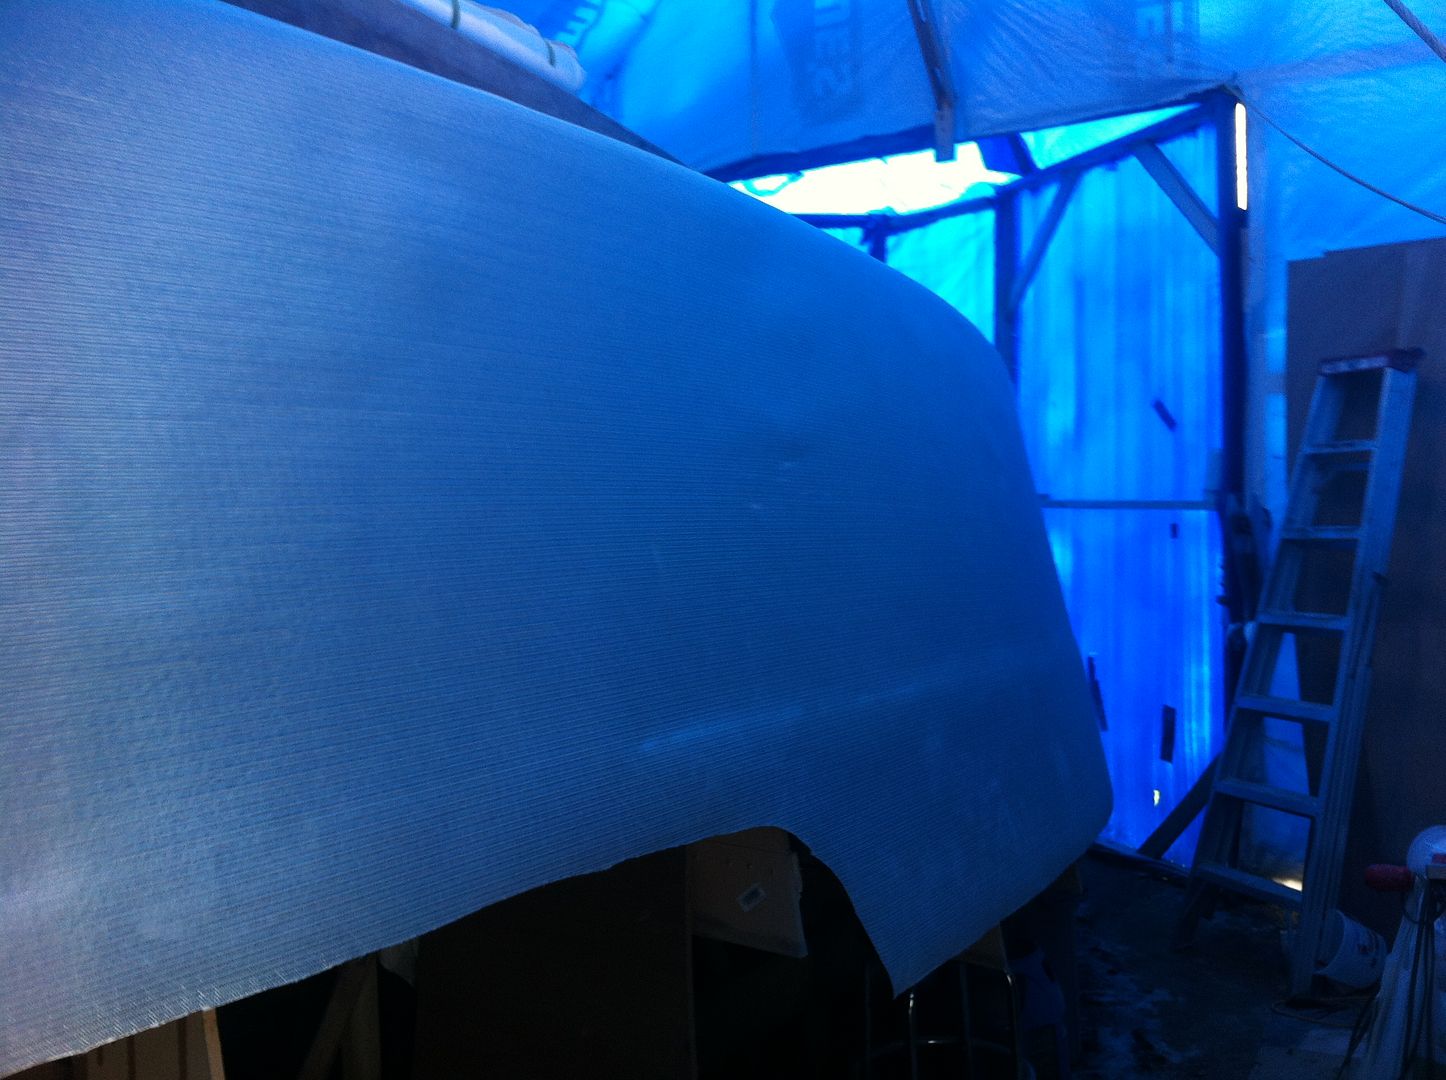
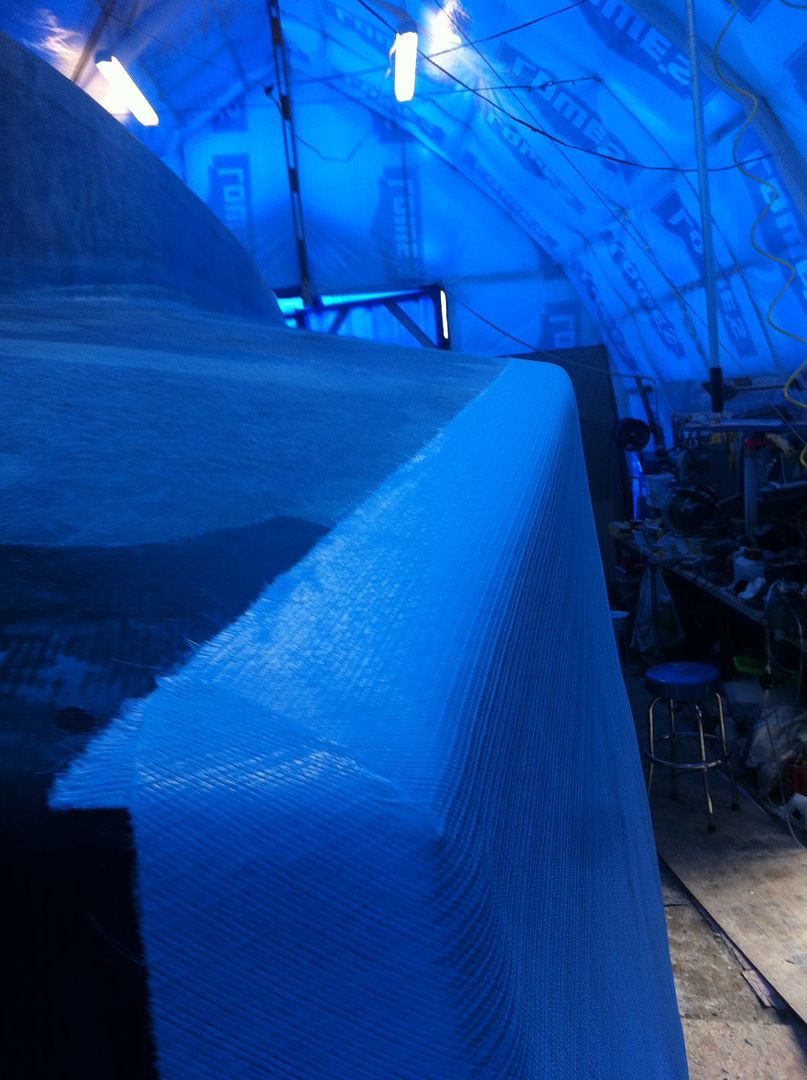
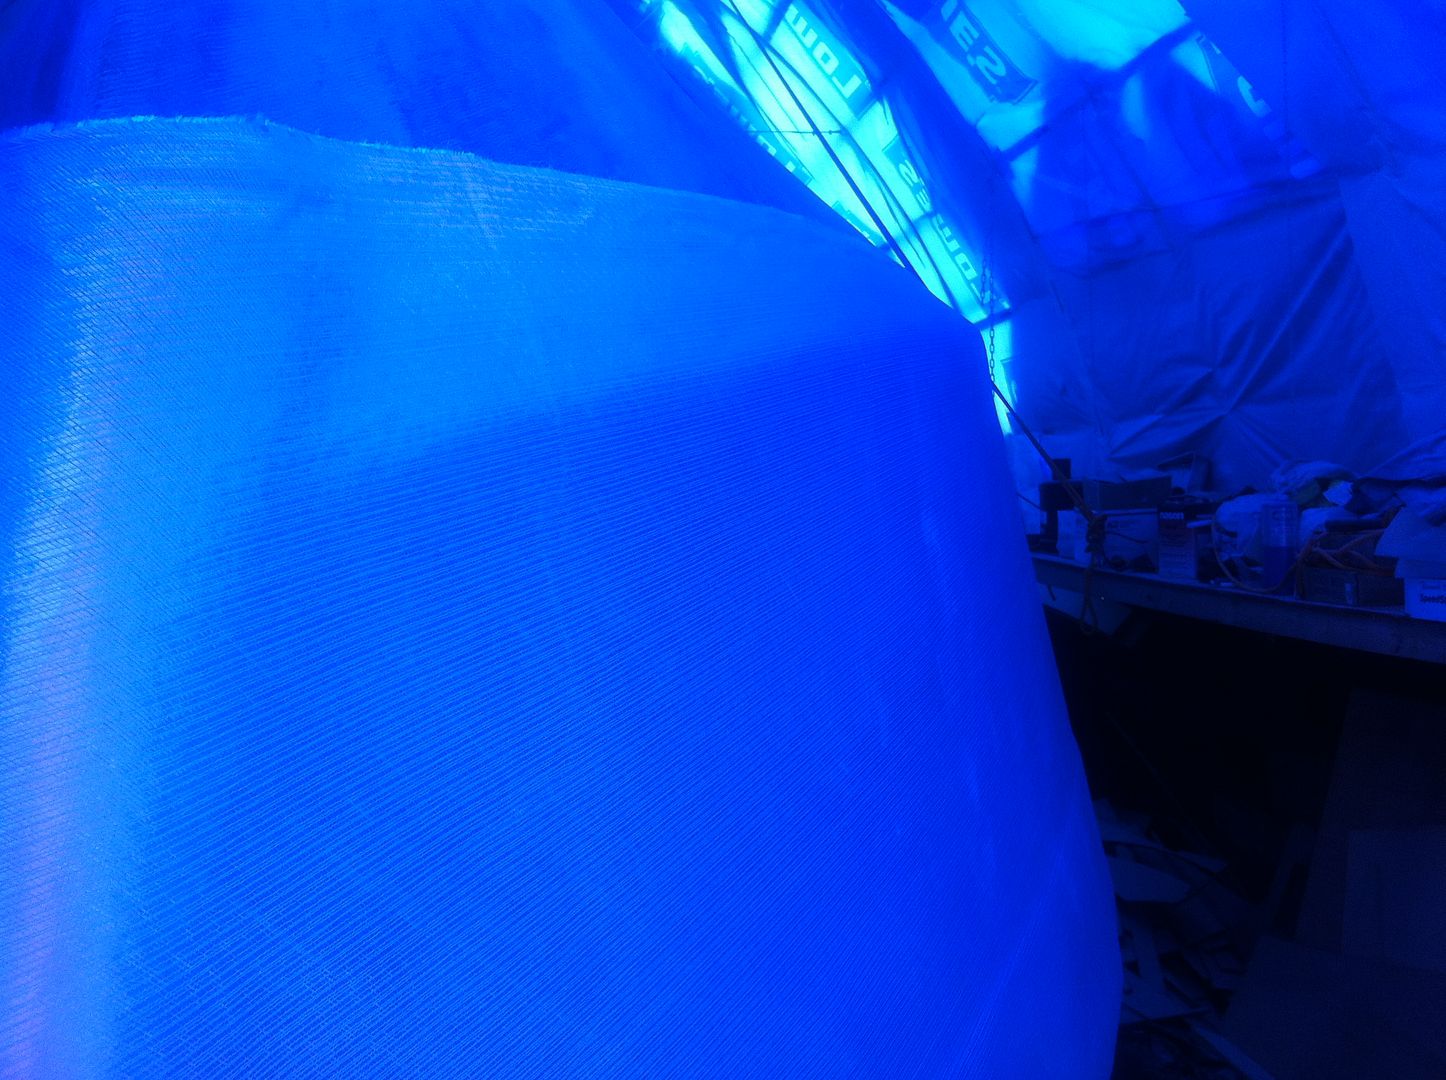
Got the glass laid out on the starboard side. Forward looking aft. It's tight so hard to get a good pic.
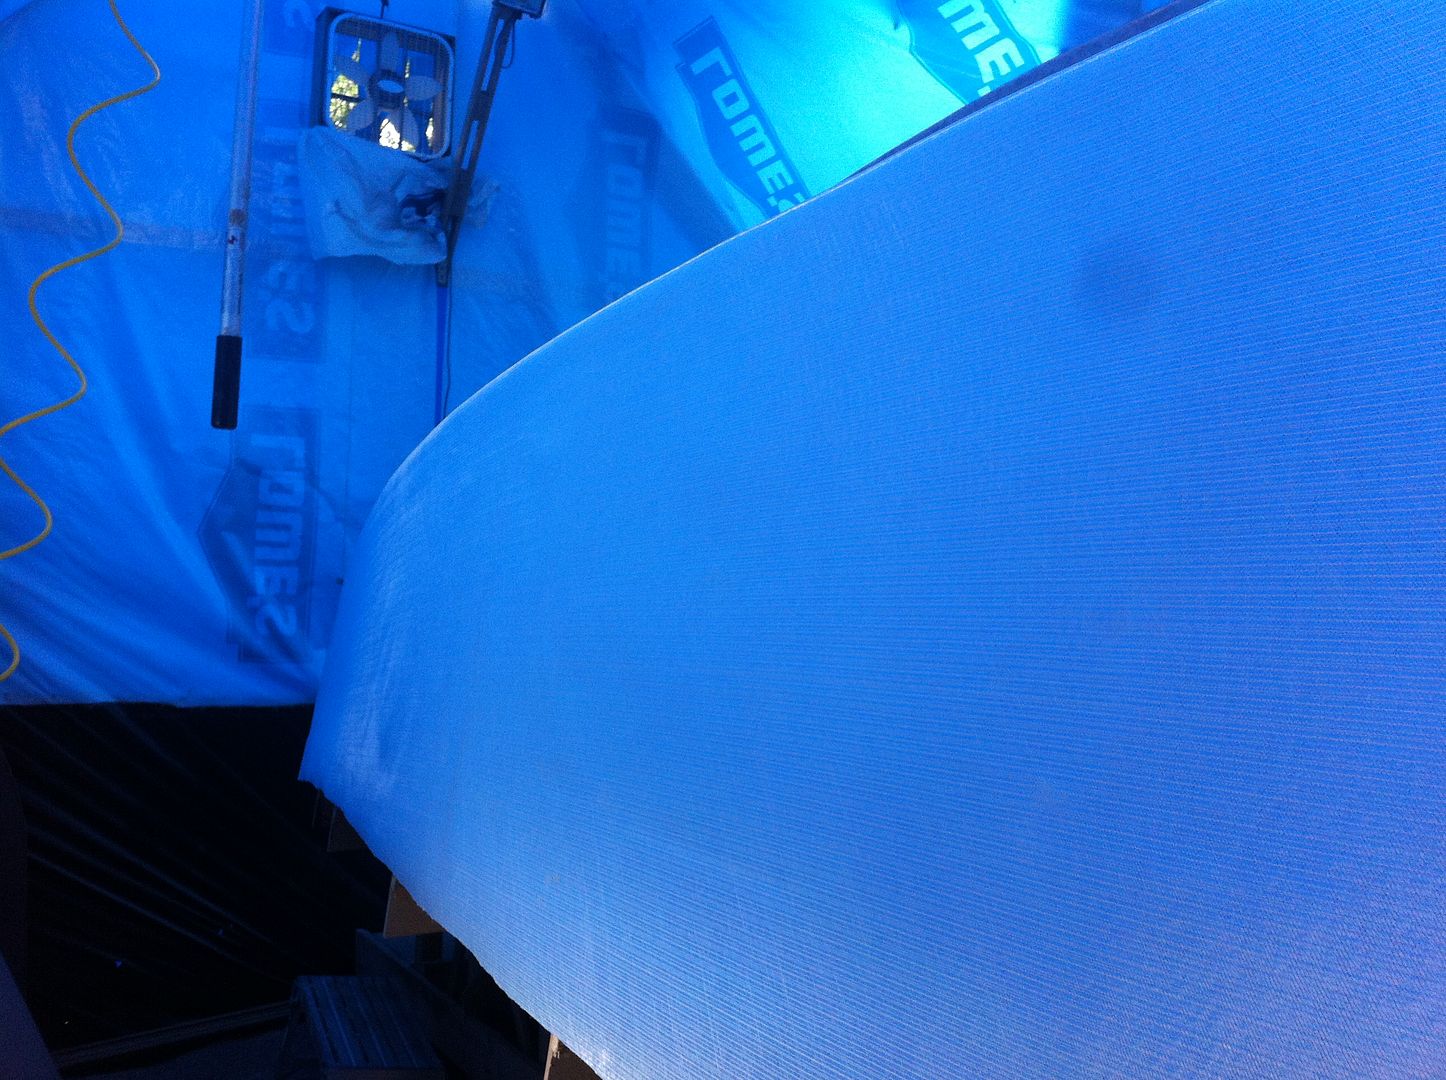
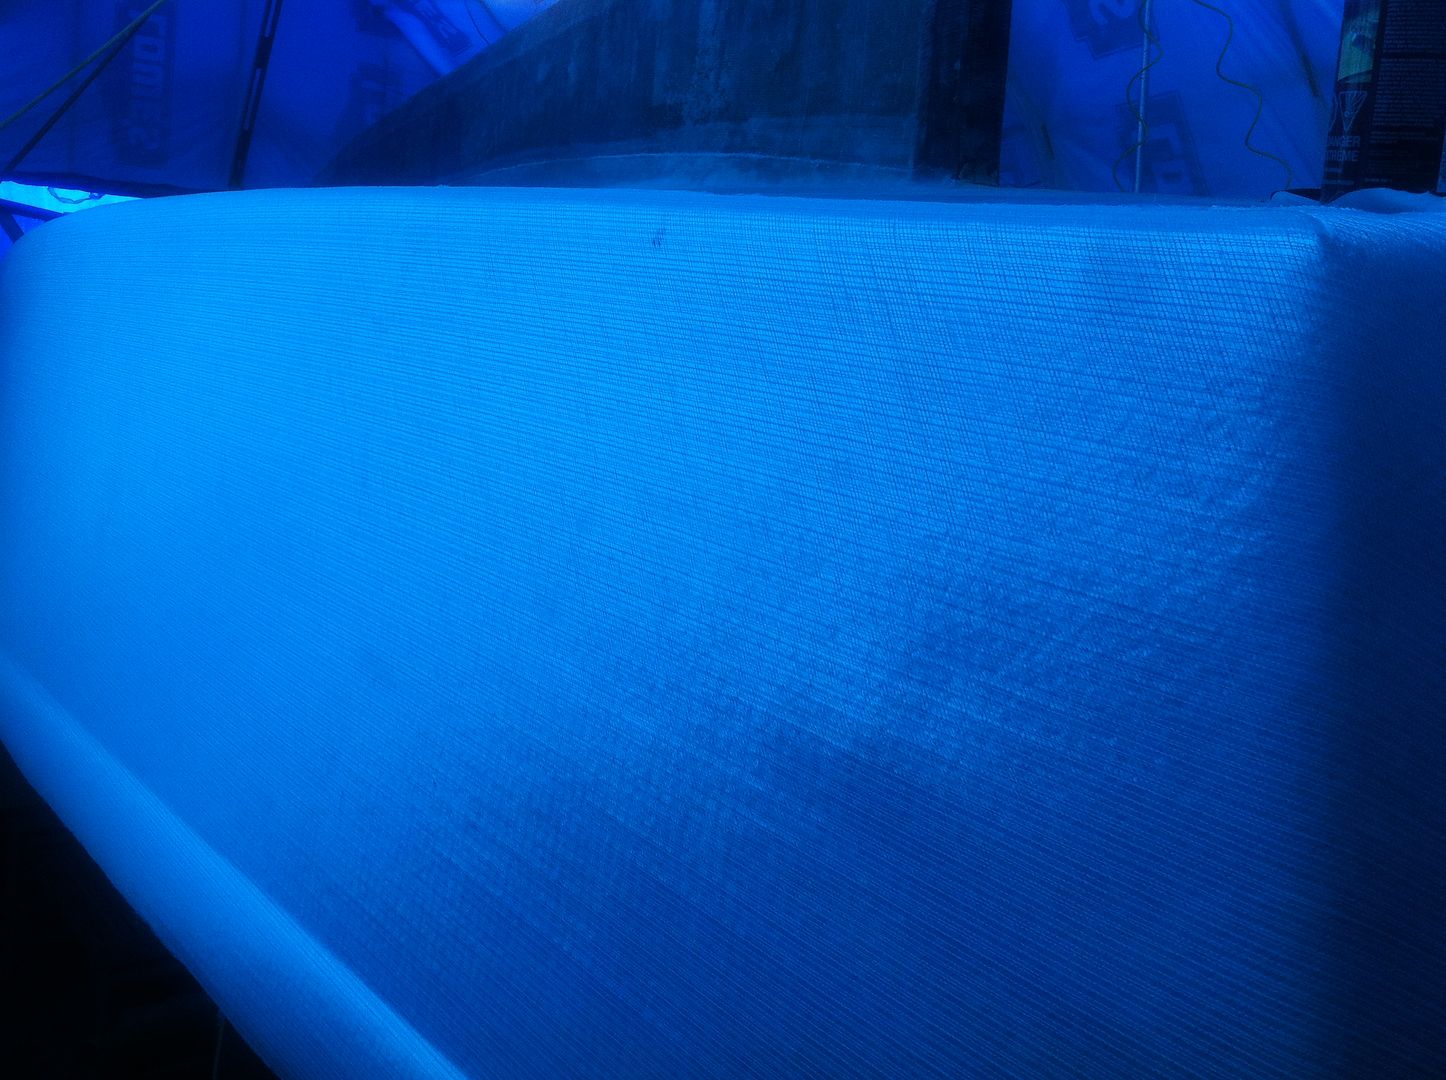
Aft looking forward.
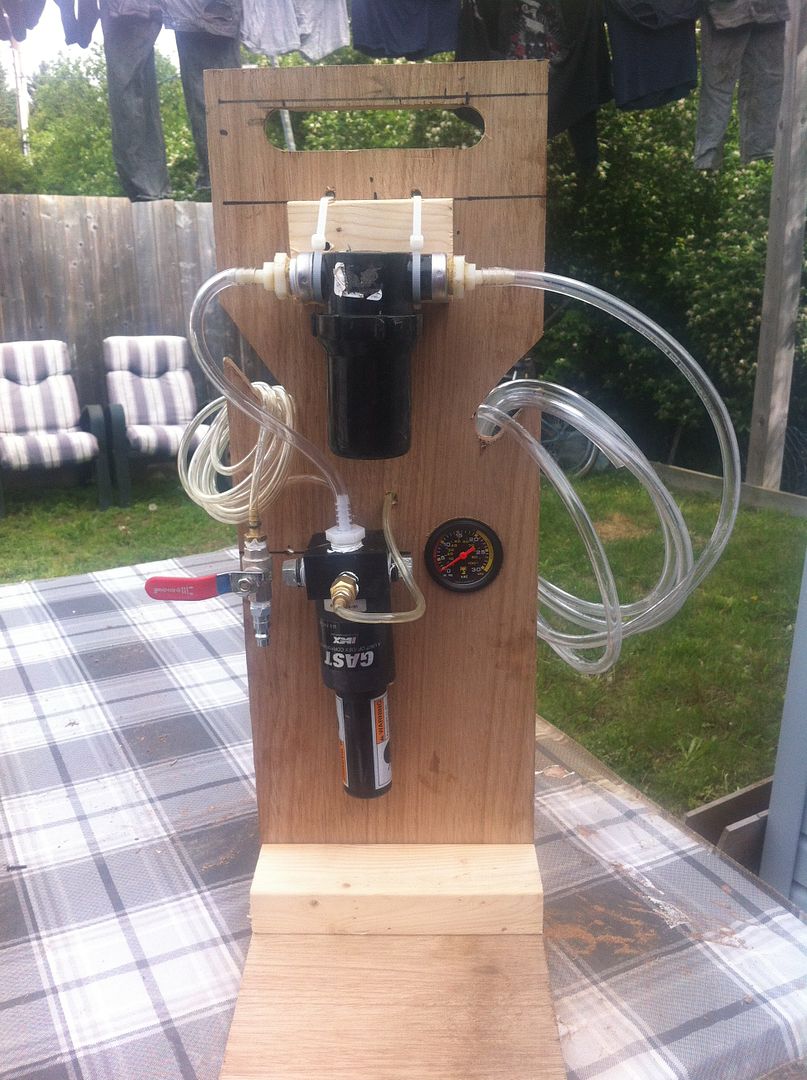
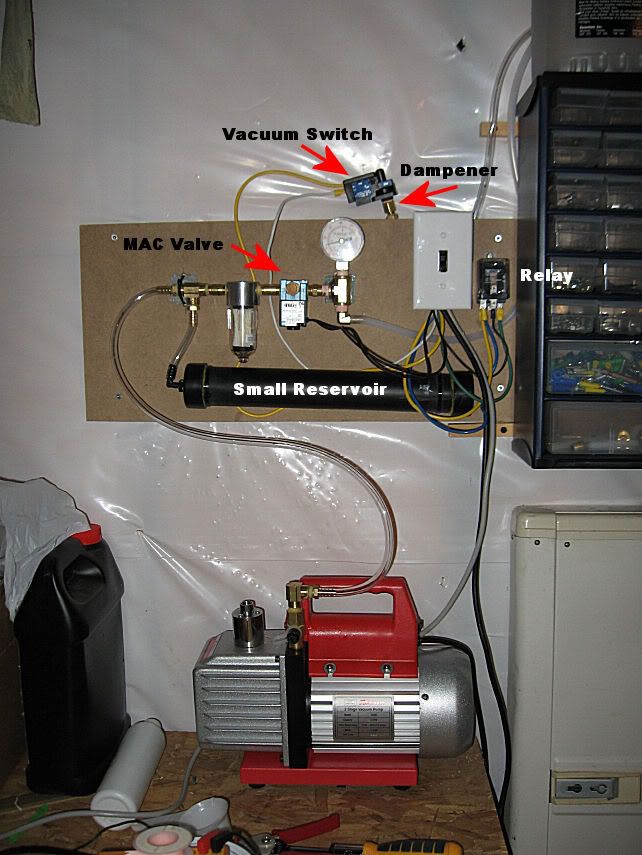
This mornings plan was to build a portable carrier for my vacuum generator.
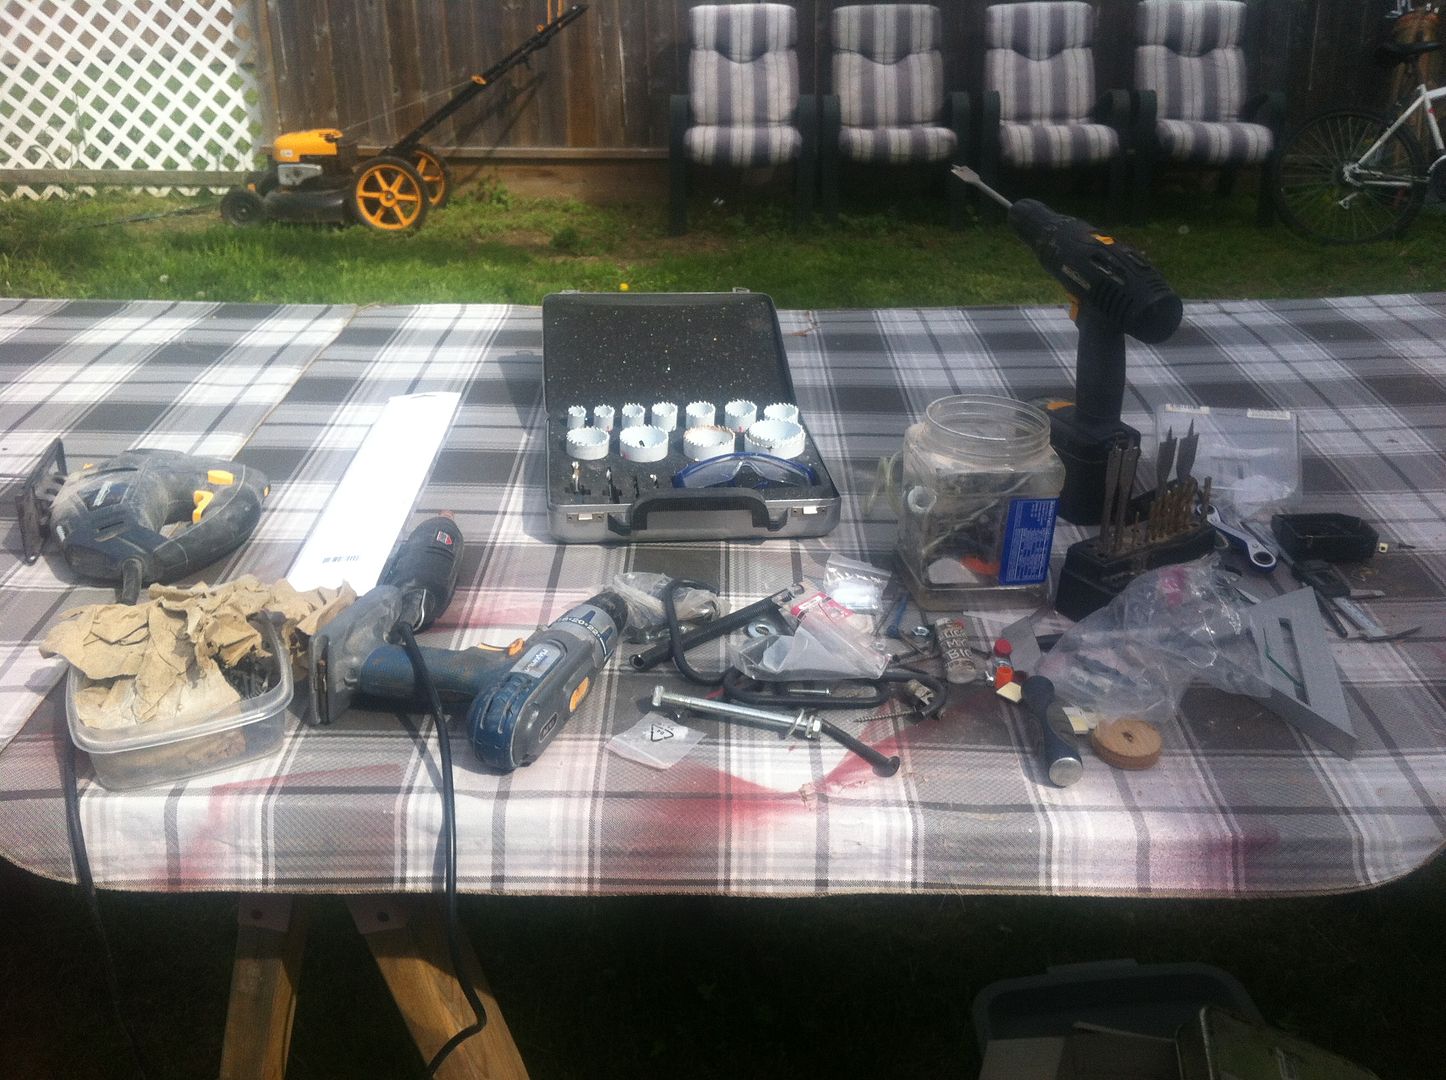
And the mess of tools needed to built it! *lol*
Took about an hour to scrounge up the stuff and put it together. This will allow me to do spot infusions on the bubbles in the laminate. I'll drill two holes in each bubble. On one I'll apply the vacuum and the other I'll pour in some epoxy. The vacuum will draw the epoxy through the bubble filling it up. Well, that's the theory anyway! :-) Will give it a go this afternoon and see how it works. Standby.
Tuesday, May 28, 2013
Sunday, May 26, 2013
That's a lotta glass!
33' 8" long! SO BIG it takes two pics and you still can't see it all!
Looking forward
Looking aft
Looking down the side from the transom
Looks like it's going to be another sticky day in the ole' boat shed tomorrow! :-)
Looking forward
Looking aft
Looking down the side from the transom
Looks like it's going to be another sticky day in the ole' boat shed tomorrow! :-)
Friday, May 24, 2013
Freakin' Brrrrrrrrrr!
Ok Mother Nature. That's 'nuff foolin' around! Warm it up a lil' bit would you please?
I guess I wasn't kidding about the monsoon season having arrived. Cold too. Only 5 Deg C in the shed this morning. A degree or two colder and we could have expected snow! Yikes!
Anywho, too cold and damp for my ole' bones in the shed so I made a run to Canadian Tire for an el Cheapo grinder. I bought one of those flappy grinding discs at Lowes and was going to give it a try today except for two things:
Somewhere along the line I bought from eBay a Gast venturi vacuum generator. I think the original idea was to use it for infusing parts but the Robinair was cheap and likely more reliable. The Gast sat on the shelf gathering dust till today.
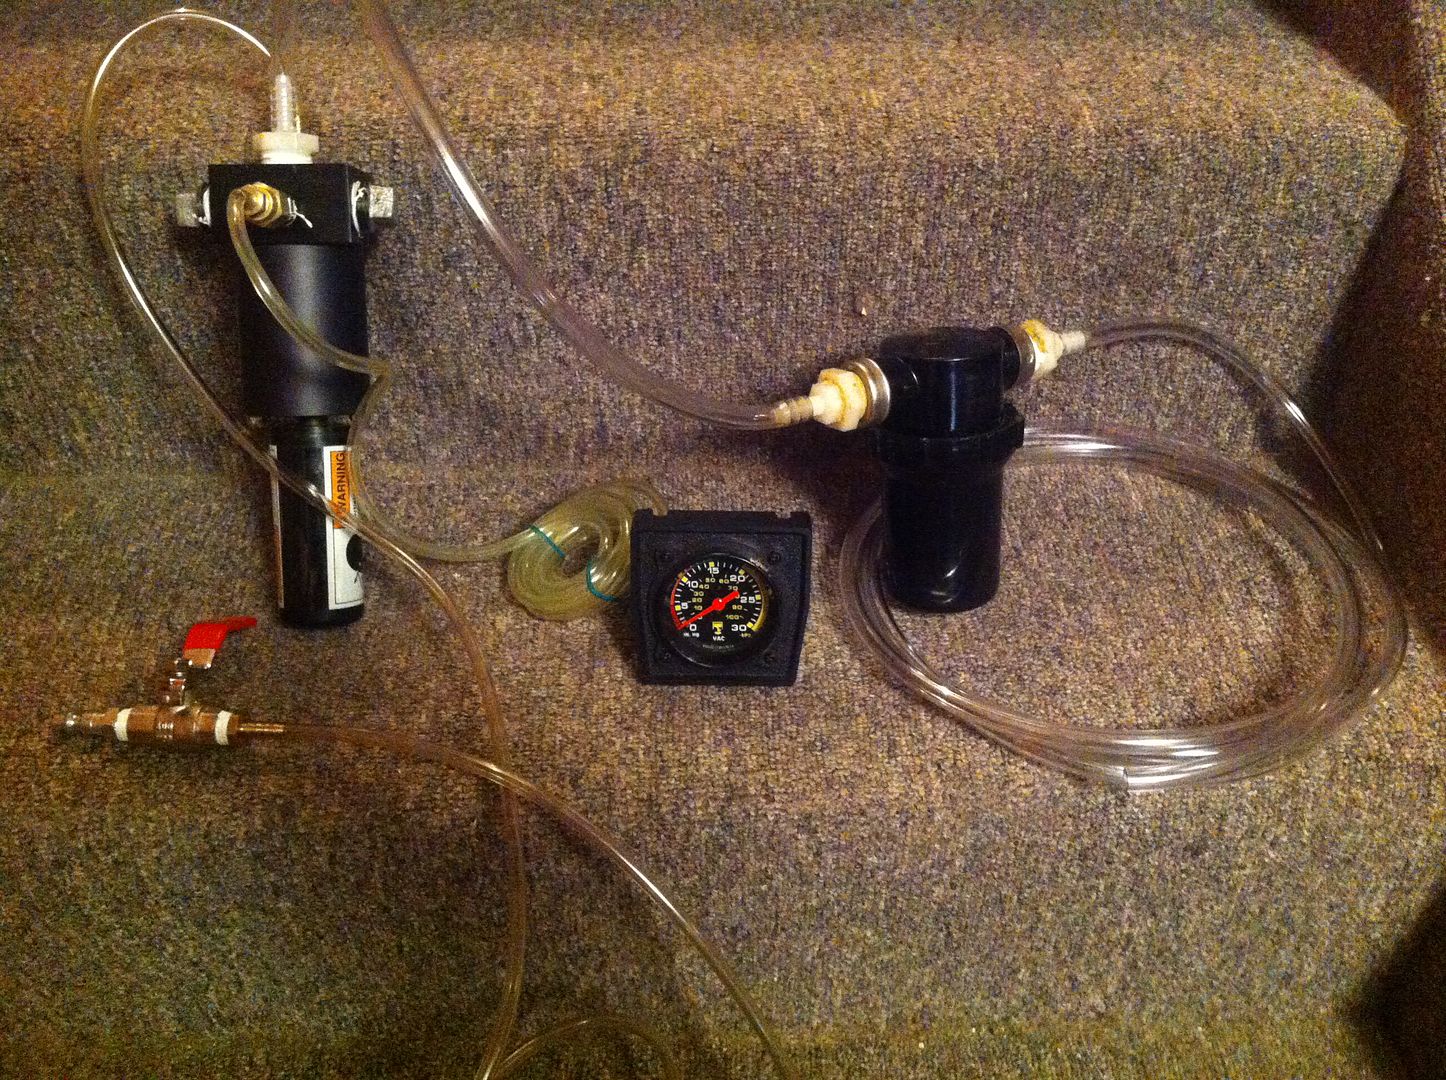
The vacuum generator is on the left. It uses air from the compressor to generate the vacuum. In the middle is a vacuum guage and the black thing on the right is an inline filter that I use as a resin trap. You don't want uncured epoxy getting into the vacuum generator.
"So what's it all for?" you ask. Well awhile back when I was fiberglassing the bottom of the boat I ran into a problem with some bubbles forming under the laminate. This isn't good and they can cause big problems down the road so they have to be fixed. I'm drawing on my experience with resin infusion and will use a vacuum to pull epoxy through the voids and fill them up completely. I'll use this slightly more portable setup in the boat shed. It's really a simple process actually.
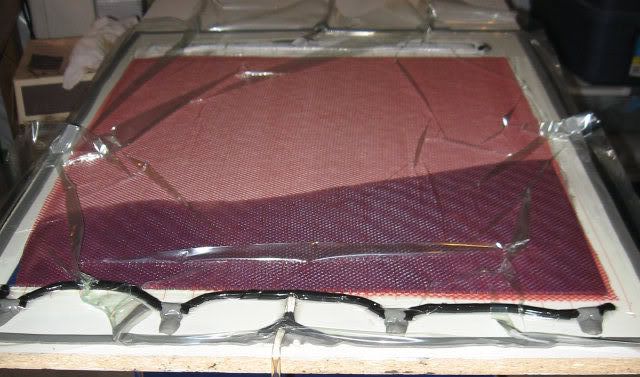
Here's a panel being infused.
The black loopy thing near the bottom is a split wire loom used to keep wires organized. In this application it's being used to deliver epoxy to the laminate which is compressed under a plastic film against a melamine table top. A plastic mesh and plastic film cover the laminate to allow the epoxy to easier flow into the material. At the top of the picture is the vacuum inlet. You can see the epoxy being pulled through the laminate towards the vacuum. When the part is about 3/4 done I stop the epoxy and the vacuum pulls it all the way through.
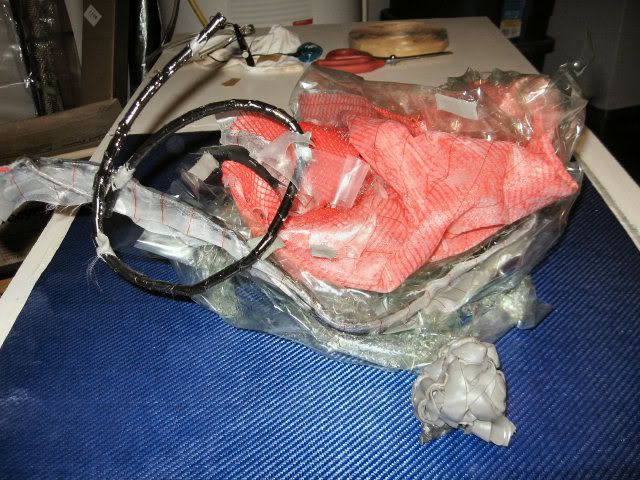
And these are the materials that get gashed when the process is complete! I'm not totally comfortable throwing it all out but it's pretty much useless now.
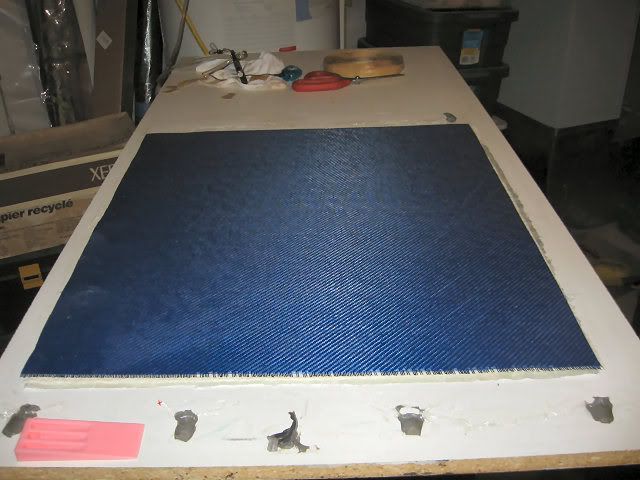
This is the finished part.
With any luck I'll be able to quickly and completely fill all the bubbles. I think just for my own peace of mind I need to do it right.
Standby....
I guess I wasn't kidding about the monsoon season having arrived. Cold too. Only 5 Deg C in the shed this morning. A degree or two colder and we could have expected snow! Yikes!
Anywho, too cold and damp for my ole' bones in the shed so I made a run to Canadian Tire for an el Cheapo grinder. I bought one of those flappy grinding discs at Lowes and was going to give it a try today except for two things:
- My grinder is a POS
- I can't find my grinder!
Somewhere along the line I bought from eBay a Gast venturi vacuum generator. I think the original idea was to use it for infusing parts but the Robinair was cheap and likely more reliable. The Gast sat on the shelf gathering dust till today.
The vacuum generator is on the left. It uses air from the compressor to generate the vacuum. In the middle is a vacuum guage and the black thing on the right is an inline filter that I use as a resin trap. You don't want uncured epoxy getting into the vacuum generator.
"So what's it all for?" you ask. Well awhile back when I was fiberglassing the bottom of the boat I ran into a problem with some bubbles forming under the laminate. This isn't good and they can cause big problems down the road so they have to be fixed. I'm drawing on my experience with resin infusion and will use a vacuum to pull epoxy through the voids and fill them up completely. I'll use this slightly more portable setup in the boat shed. It's really a simple process actually.
Here's a panel being infused.
The black loopy thing near the bottom is a split wire loom used to keep wires organized. In this application it's being used to deliver epoxy to the laminate which is compressed under a plastic film against a melamine table top. A plastic mesh and plastic film cover the laminate to allow the epoxy to easier flow into the material. At the top of the picture is the vacuum inlet. You can see the epoxy being pulled through the laminate towards the vacuum. When the part is about 3/4 done I stop the epoxy and the vacuum pulls it all the way through.
And these are the materials that get gashed when the process is complete! I'm not totally comfortable throwing it all out but it's pretty much useless now.
This is the finished part.
With any luck I'll be able to quickly and completely fill all the bubbles. I think just for my own peace of mind I need to do it right.
Standby....
Wednesday, May 22, 2013
He is the Master
and I am but the Grasshopper!
My friend, Peter Lenihan, came all the way from Montreal to help out in the boat shed today.
Here he is in his native habitat!
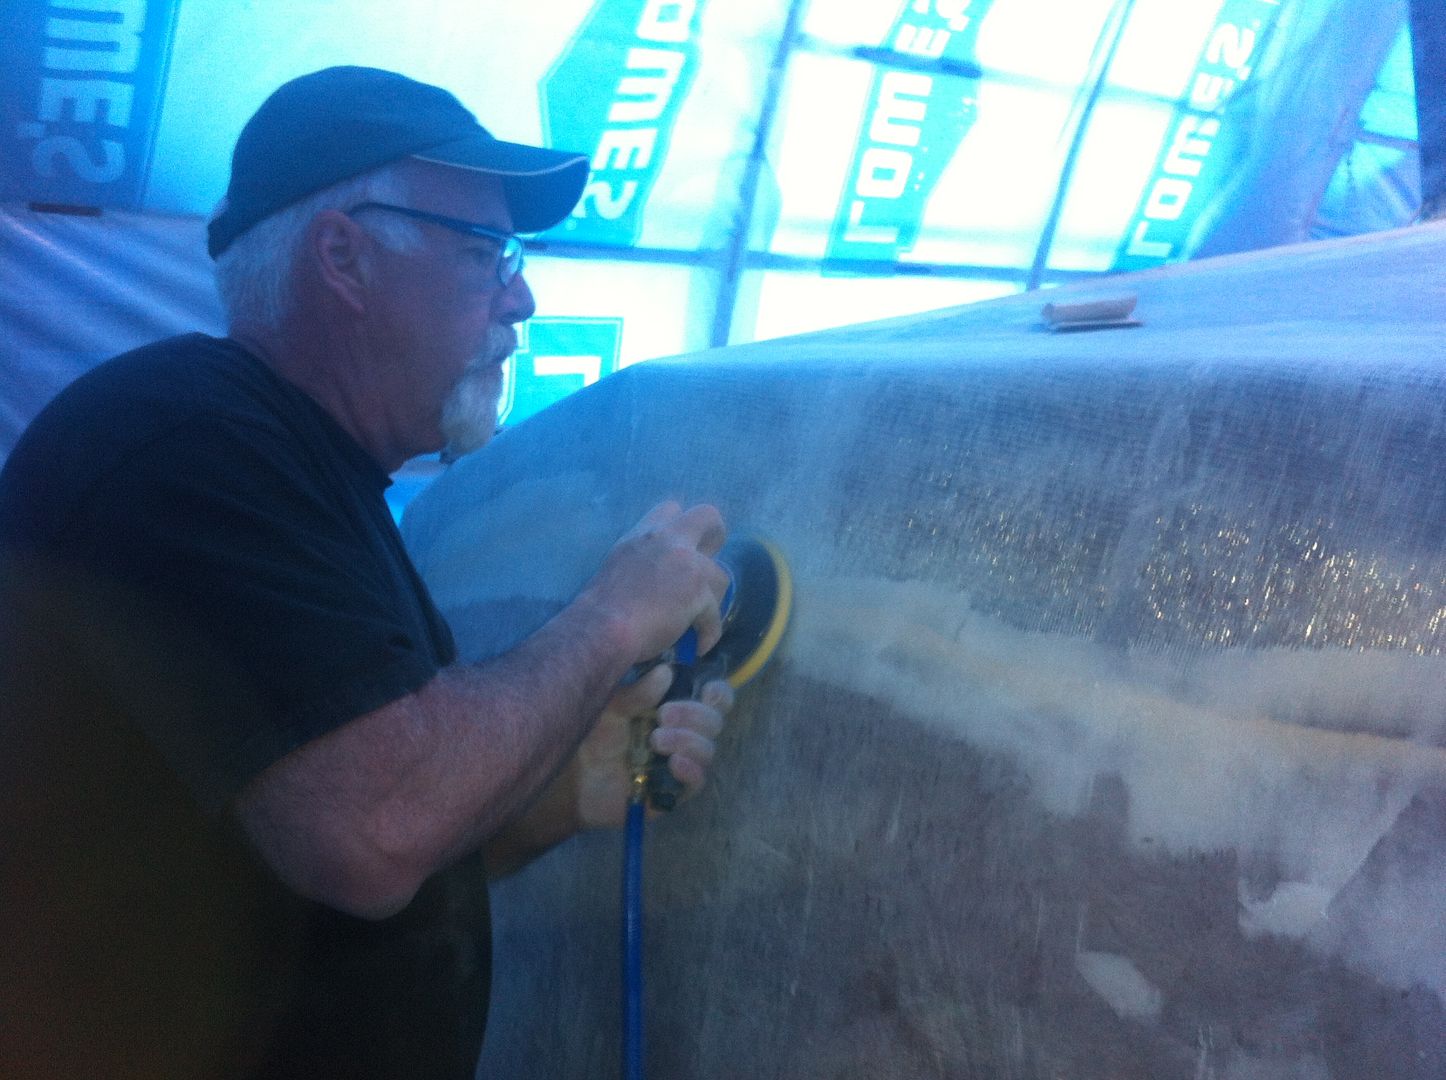
He couldn't even wait to switch into his work clothes before he grabbed hold of a sander and got right to work.
I think he became enamored with my air sander! 30 second video clip.
PeterSanding.mp4.html
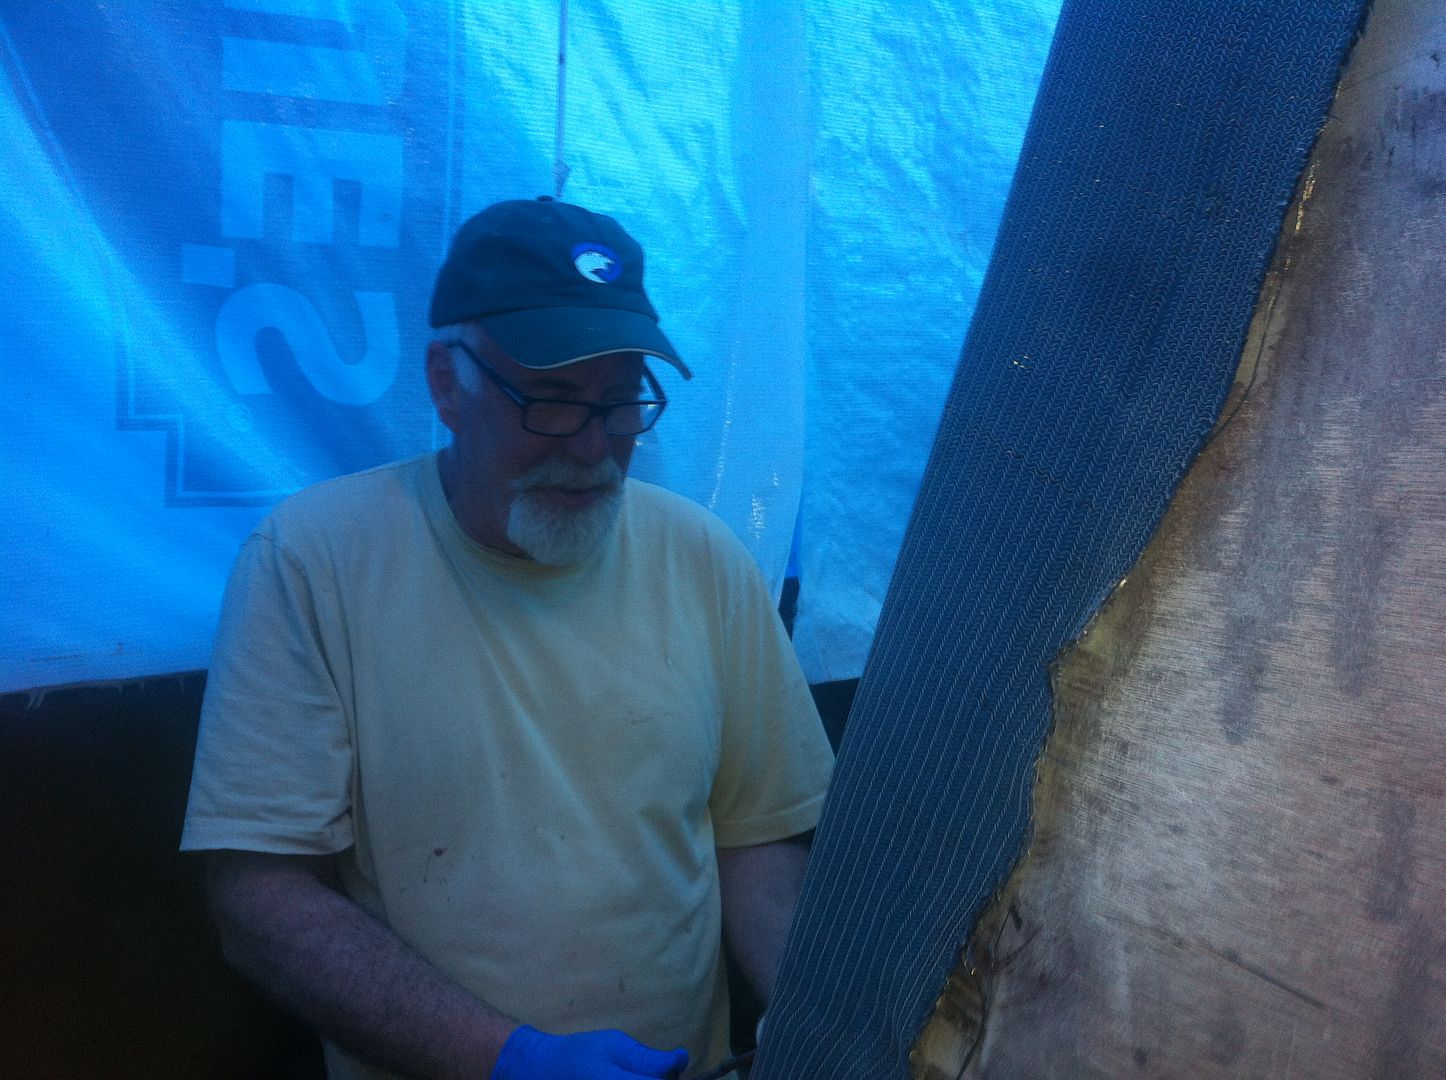
Plan A was to use the tail end of the 25 yard roll of fiberglass I bought to do the sides and transom. The roll was 1 1/2 yards short so we had to resort to Plan B which was to use some of the 22 oz Basalt fabric I've been saving.
Peter had never used a material like this before and was a little skeptical at first. Once we got it wetted out and the peel ply on it he started to think it might actually work! I knew better! *wink*
If it's one thing I learned today it's that preparation is everything. Mistakes that I let go at this stage will print through the cosmetic layer later. More time is needed on the sander to get everything right before we hang the cloth for the sides. We'll do that at a later date.
Again, here's the Master showing me the way to sanding nirvana!
Thank you Peter.
Your humble apprentice!
My friend, Peter Lenihan, came all the way from Montreal to help out in the boat shed today.
Here he is in his native habitat!
He couldn't even wait to switch into his work clothes before he grabbed hold of a sander and got right to work.
I think he became enamored with my air sander! 30 second video clip.
PeterSanding.mp4.html
Plan A was to use the tail end of the 25 yard roll of fiberglass I bought to do the sides and transom. The roll was 1 1/2 yards short so we had to resort to Plan B which was to use some of the 22 oz Basalt fabric I've been saving.
Peter had never used a material like this before and was a little skeptical at first. Once we got it wetted out and the peel ply on it he started to think it might actually work! I knew better! *wink*
If it's one thing I learned today it's that preparation is everything. Mistakes that I let go at this stage will print through the cosmetic layer later. More time is needed on the sander to get everything right before we hang the cloth for the sides. We'll do that at a later date.
Again, here's the Master showing me the way to sanding nirvana!
Thank you Peter.
Your humble apprentice!
Saturday, May 18, 2013
Prepping the sides for fiberglass
Almost 6 continuous hours on the sander today prepping the sides for fiberglass. Called it quits when the temps got to the high 20's C.
Sorry no pics.
Expecting Boat Building Royalty this week. Peter Lenihan (Aka Tenner) is coming from Montreal to help me fiberglass the sides. Peter launched his boat last year.
It's nice making actual progress now instead of just worrying about it. Should be flipping it over in late August or early September. That'll be a chore!
Sorry no pics.
Expecting Boat Building Royalty this week. Peter Lenihan (Aka Tenner) is coming from Montreal to help me fiberglass the sides. Peter launched his boat last year.
It's nice making actual progress now instead of just worrying about it. Should be flipping it over in late August or early September. That'll be a chore!
Subscribe to:
Posts (Atom)