Wednesday, July 13, 2011

I just couldn't leave it alone

for any length of time. There's a few things that were bugging me and I just have to figure them out or it'll drive me nuts. The first is the transom mold. As far as I can tell this is the first TW28 assembled from a first generation CnC kit. There's a few bugs in the kit and the transom mold is one I think.


Frame I supplied, which is defines the shape of the hull, is cut like most of the others as an outline of the hull shape. This doesn't leave anything in the center to attach the other mold parts to it.


It would have been much easier if Frame I had been supplied as a whole piece (or two) so that the mold braces could be easily attached. I know there's plus's and minus's to doing it that way, such as gaining access to the inside when stitching the hull together etc. Anyhow, you just do what you can and move on. If I stopped and dwelled on every lil' hiccup I'd never get anything done.

This is what the assembled strongback will look like.


You can see where the transom mold goes. One down and 8 more to assemble.

Saturday, July 9, 2011

Feeling a little

burned out from all this boat building stuff so we decided to take a lil' break from it. Been getting anxious for a boat ride too so we pulled out the ole' boat (the one we can't seem to give away) and get her rigged for a dunking. This will be her first time in the water in over two years.


This could be fun or a disaster. Don't change that channel! :-)

Update: Got our boat ride in! :D


We had a lil' fire on this boat year before last and that kinda set me back a bit on boating. That and we did a quite a few things with the car club last year. I was a little apprehensive about taking her out but had to do it sooner or later. Boat worked perfectly.


The one thing I'm going to miss going from this to a Trawler is the speed! :?

I apologize for the crappy pics but the Admiral was definitely enjoying herself. ;-)


The CCGS Griffon docked in Prescott Ontario. I worked on her in the fall of '78 as a deckhand then went to College for Marine Engineering. I returned to the Griffon in the fall of 1980 as a Steward and stayed on her till 1985. During my time on her I went from Steward to Storekeeper to Supply Officer.

I think we're going to take a bit more of a break from the boat building, save some money (hopefully) and do a little more boating this summer. Will probably be back to the boat mid August or so.

Sunday, July 3, 2011

Thinking ahead

is probably one of the most enjoyable parts of building your own boat. There's a million decisions to be made and each one can affect a half dozen others. I'm lucky in that I've been able to follow a few ongoing boat builds like this as well as a few finished models.

This morning I popped the troublesome frame off the long table and tucked it away. The next big task is the cabin sides. They curved so I had to lay out with some blocks so the panel would follow that curve.


It took a good while, 30 mins or so to goop up the glass and get the peel ply on. It had started to kick off when I got all the way around so it was scramble time to get the peelply on and smoothed out.


It's a good thing Boots showed up this morning to oversee operations. He immediately pointed out a mistake in my layout of the cabin side sliding door.


I had the top of the door level with the tops of the other two windows. The top of the window in the door should have been level with the tops of the other windows. Nice catch Boots! You've earned your kibble this week! ;-)

Off to see INXS tonight at Riverfest. Hope it's a good show. It's gonna be a late night for these old birds. ;-)

Saturday, July 2, 2011

Just suck it up

and forge ahead. This mornings session in the Big Blue Boat Shed went a little better. I made sure the epoxy & hardener reservoirs were filled and used a mixing nozzle to help speed things along.


I've read some reviews of these rollers and they sounded too good to be true so I just had to find out for myself.


They're Bestt Liebco Tru-Pro Frieze and I got them online. I'd have to say they lived up to their claims and made a significant improvement in getting the fiberglass wetted out quickly and efficiently. Conservatively I'd say I used 1/3 less epoxy than the other side of this panel. Same size and weight of fiberglass. That's nothing to sneer at! ;-) The little nubbies work well at distributing the epoxy efficiently. It was easy to pick up little puddles and move them around where needed. Definitely worth the investment.

So far the panels looks damn near perfect.


We'll see how well we did tomorrow when I take the peel ply off. Standby....

Friday, July 1, 2011

Some times you win

and others you loose.

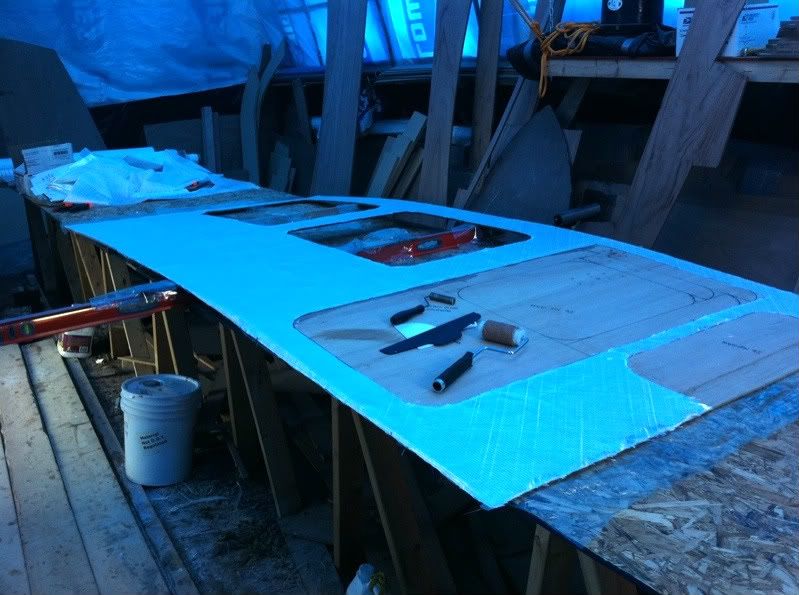
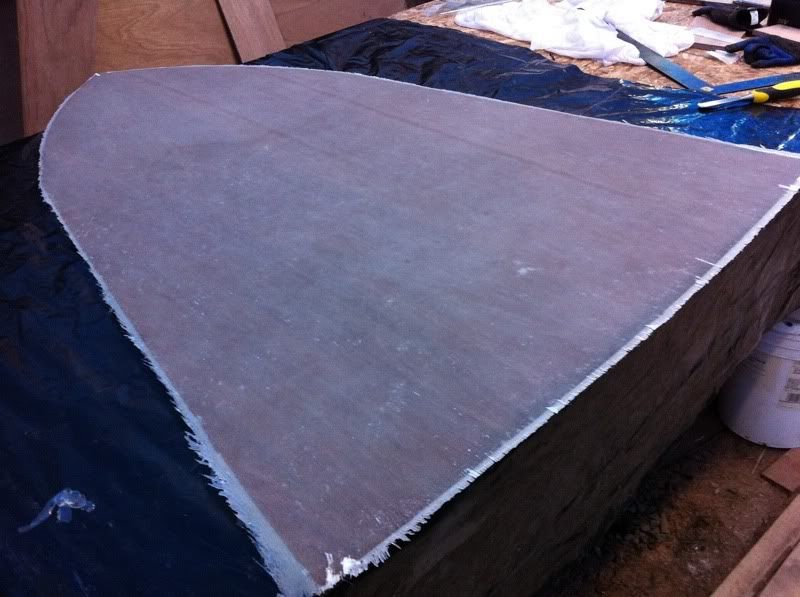
The last two panels we fiberglassed turned out pretty good!


This was the same heavy fiberglass that caused us problems before. We socked the epoxy to it, which it drank up like a sponge, and all seems find.

Sometimes having the best of tools doesn't guarantee a perfect job.

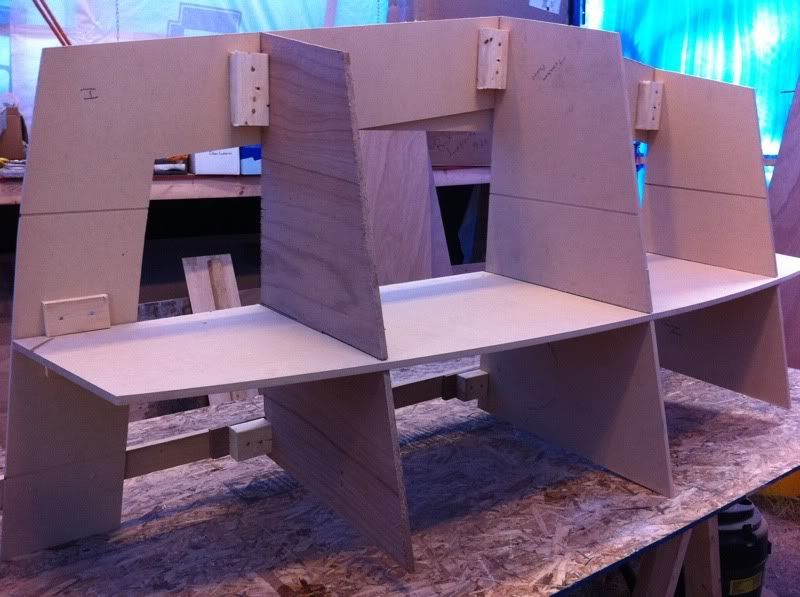
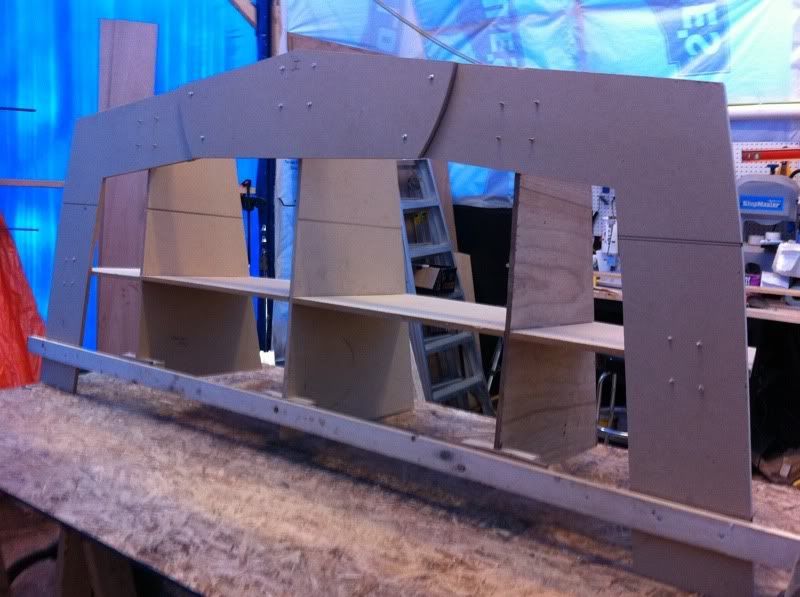
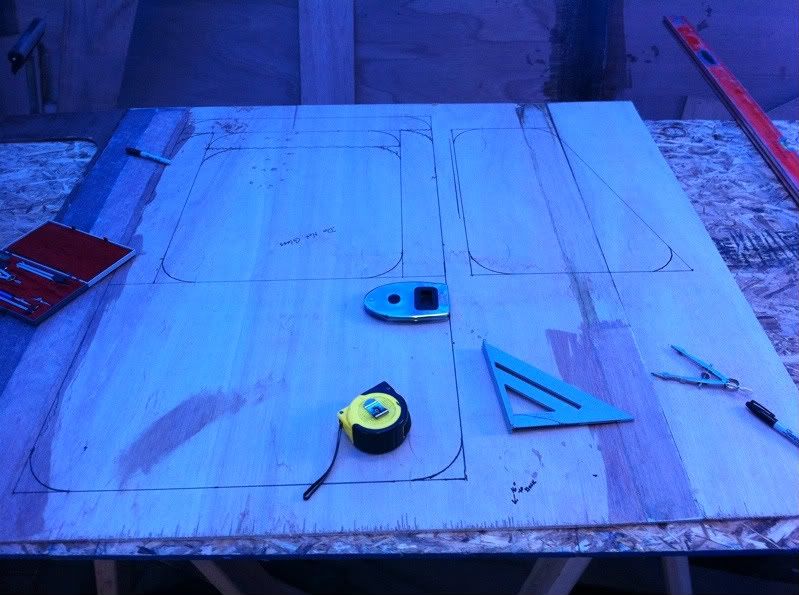
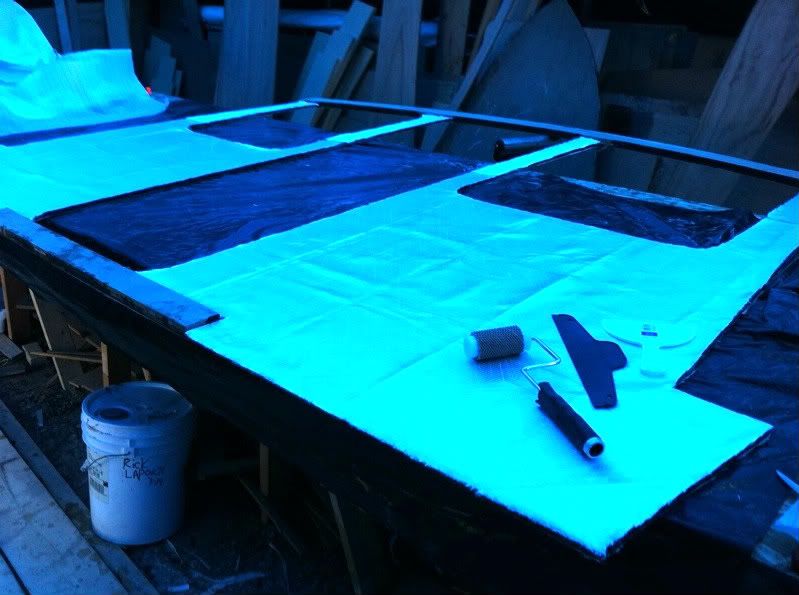
The Admiral and I were glassing some more panels last night. The aft main bulkhead between the pilot house and the cockpit. It's an exposed part and I wanted it to come out nice. We followed the routine we've done for the others. Her dispensing the epoxy and me spreading it out. Using the Sticky Stuff dispenser this is pretty easy especially when you use one of the static mixing tubes. Just pump and go.


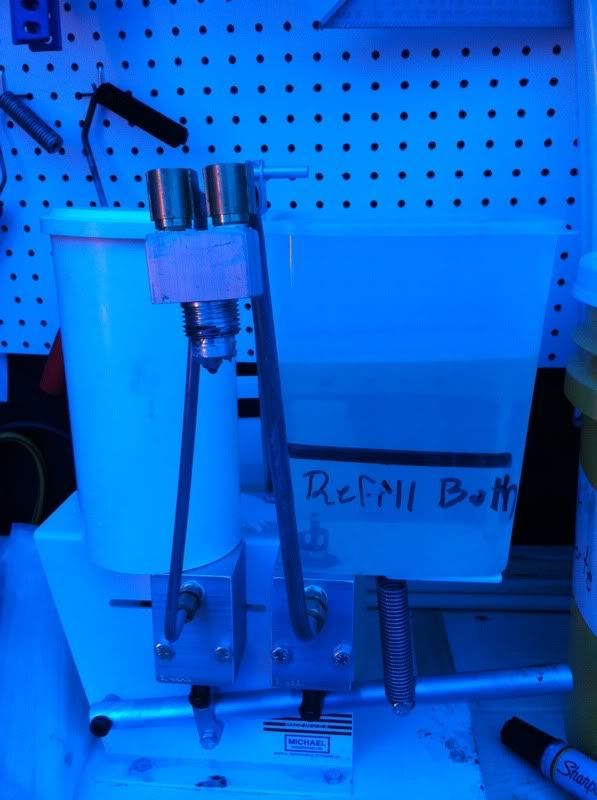
Well last night the hardener reservoir (on the left) ran out. Lori didn't catch it and likely the last batch she pumped out was only resin (reservoir on the right) with no hardener. The hardener reservoir is opaque so there's no way to know how much is in it unless you look every once in awhile or the resin reservoir gets down low. They'd theoretically only be at the same level if you put exactly the 2:1 ratio into them in the first place.

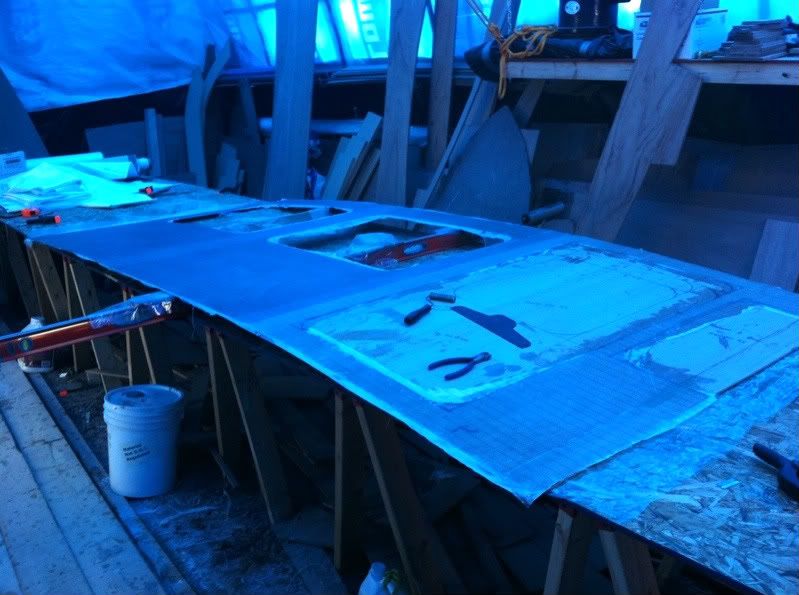
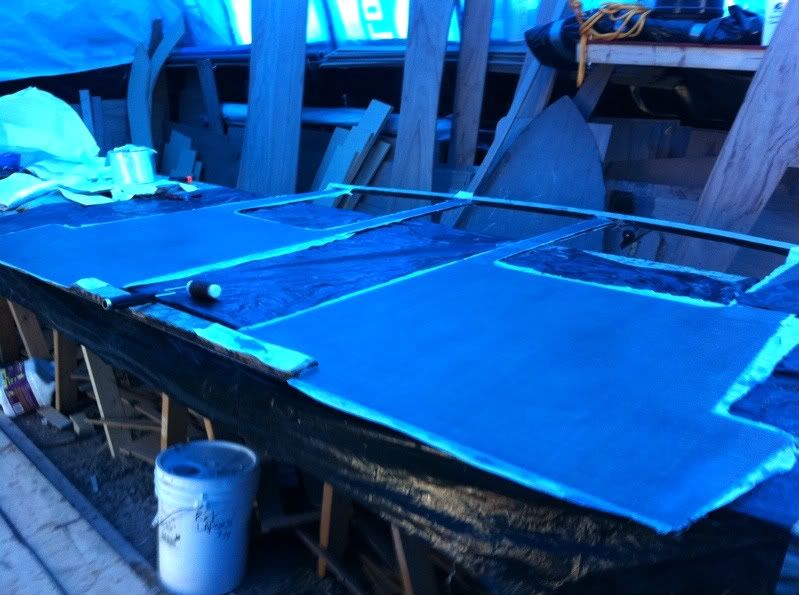
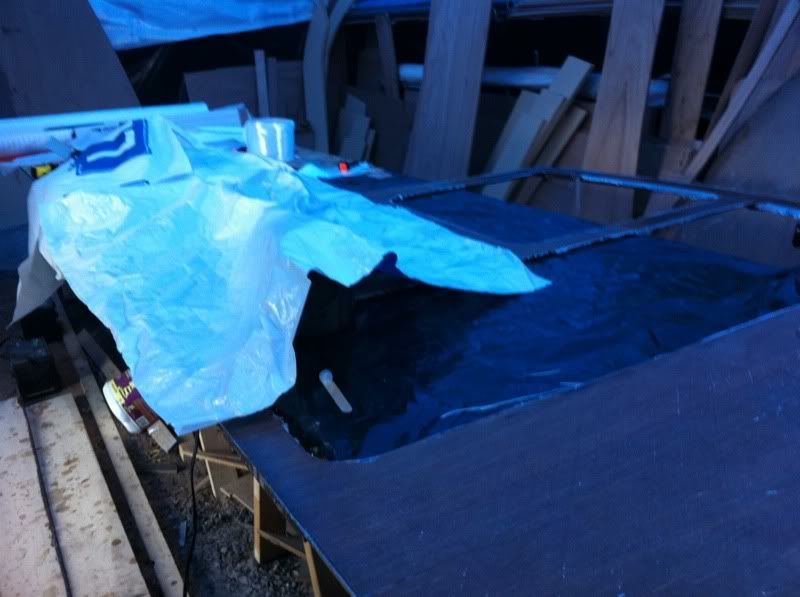
So this morning when I went out to have a look there were horrendous bumps all over and as soon as I ran my hand over the peelply I knew we were in trouble. Sticky uncured epoxy resin everywhere. :cry:

So I did a google search and found a few things to try to salvage this part without having to strip it down (I'd likely cut two new pieces and start over from scratch). Right now I've tried brushing on some hardener and working it in with the bubble buster and left it to bake.


If that works out I'll likely be able to salvage the part. The upper section above the windows and door have to come off. They were epoxied last and have no hardener in them at all.

So I've added a little reminder to anybody who uses Mr. Sticky Stuff to check constantly the levels in the tanks before pumping.

On a brighter note some more shiny stuff arrived today.


I'm going to go fondle the new shiny stuff. Maybe that'll make me feel better!