Here's another video delight to waste some more of your time! :-)
Still working at improving the videos. It's hard to condense 3 hrs of raw video into 6 1/2 minutes. Thanks for looking in.
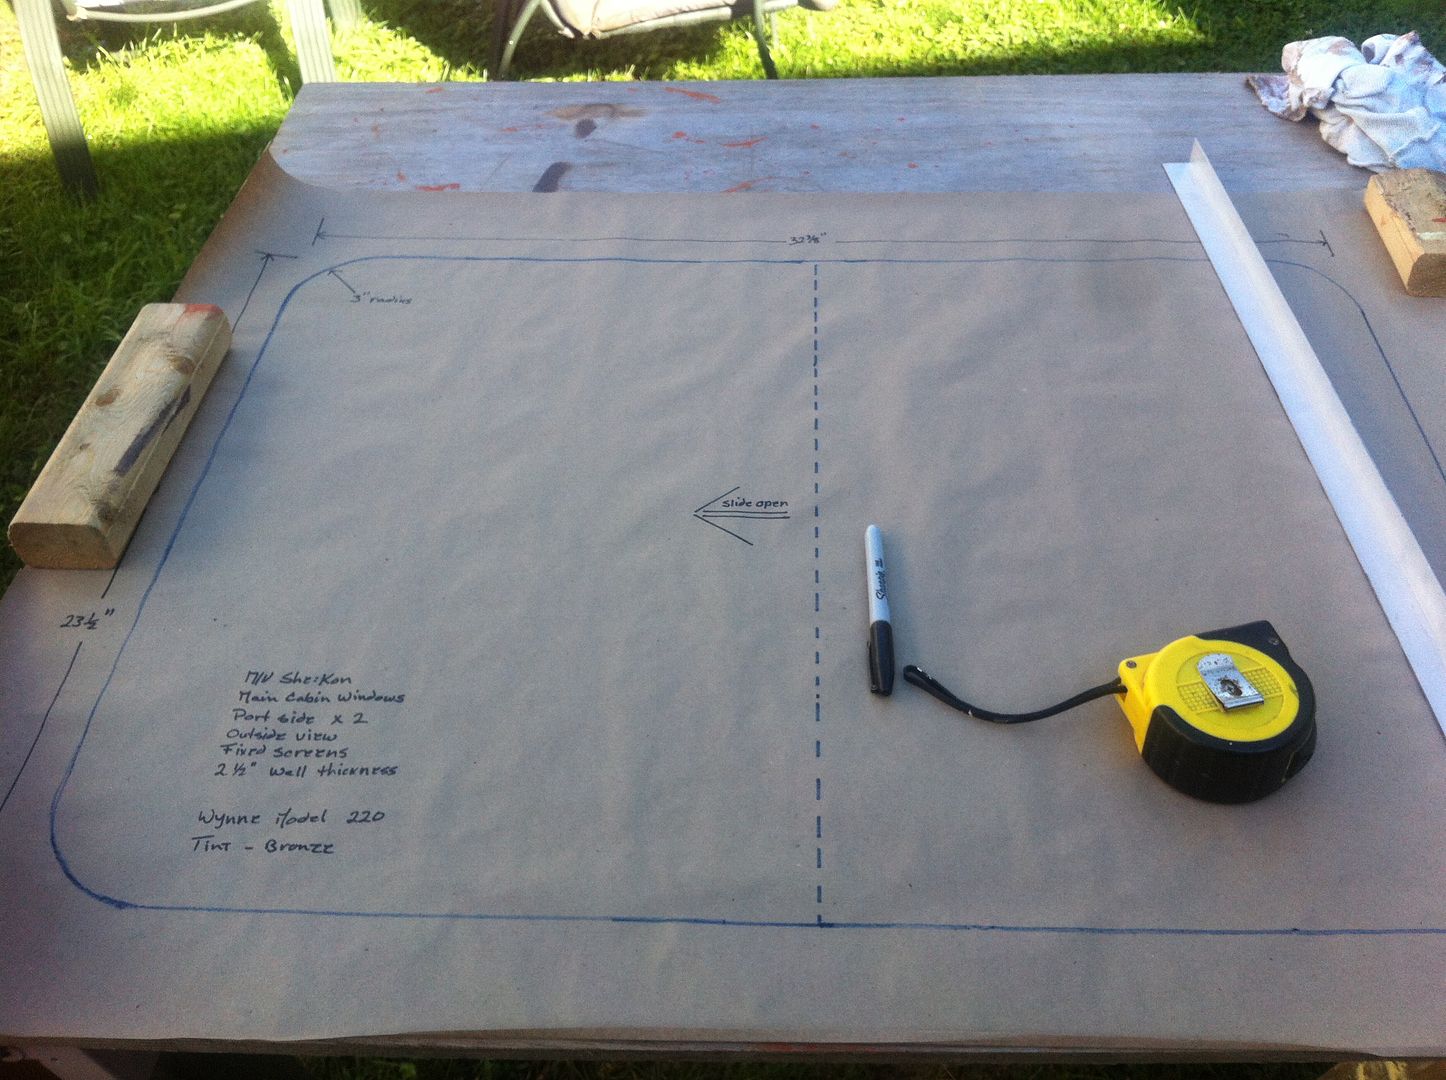
Update: This mornings task was to make templates for the windows.
All the windows were CnC cut in the kit so it was easy to use the cutouts to make the templates. I had to specify styles & materials. This one above is one of 4 side windows. They'll be polycarbonate sliding windows with fixed screens, tinted Solar Bronze.
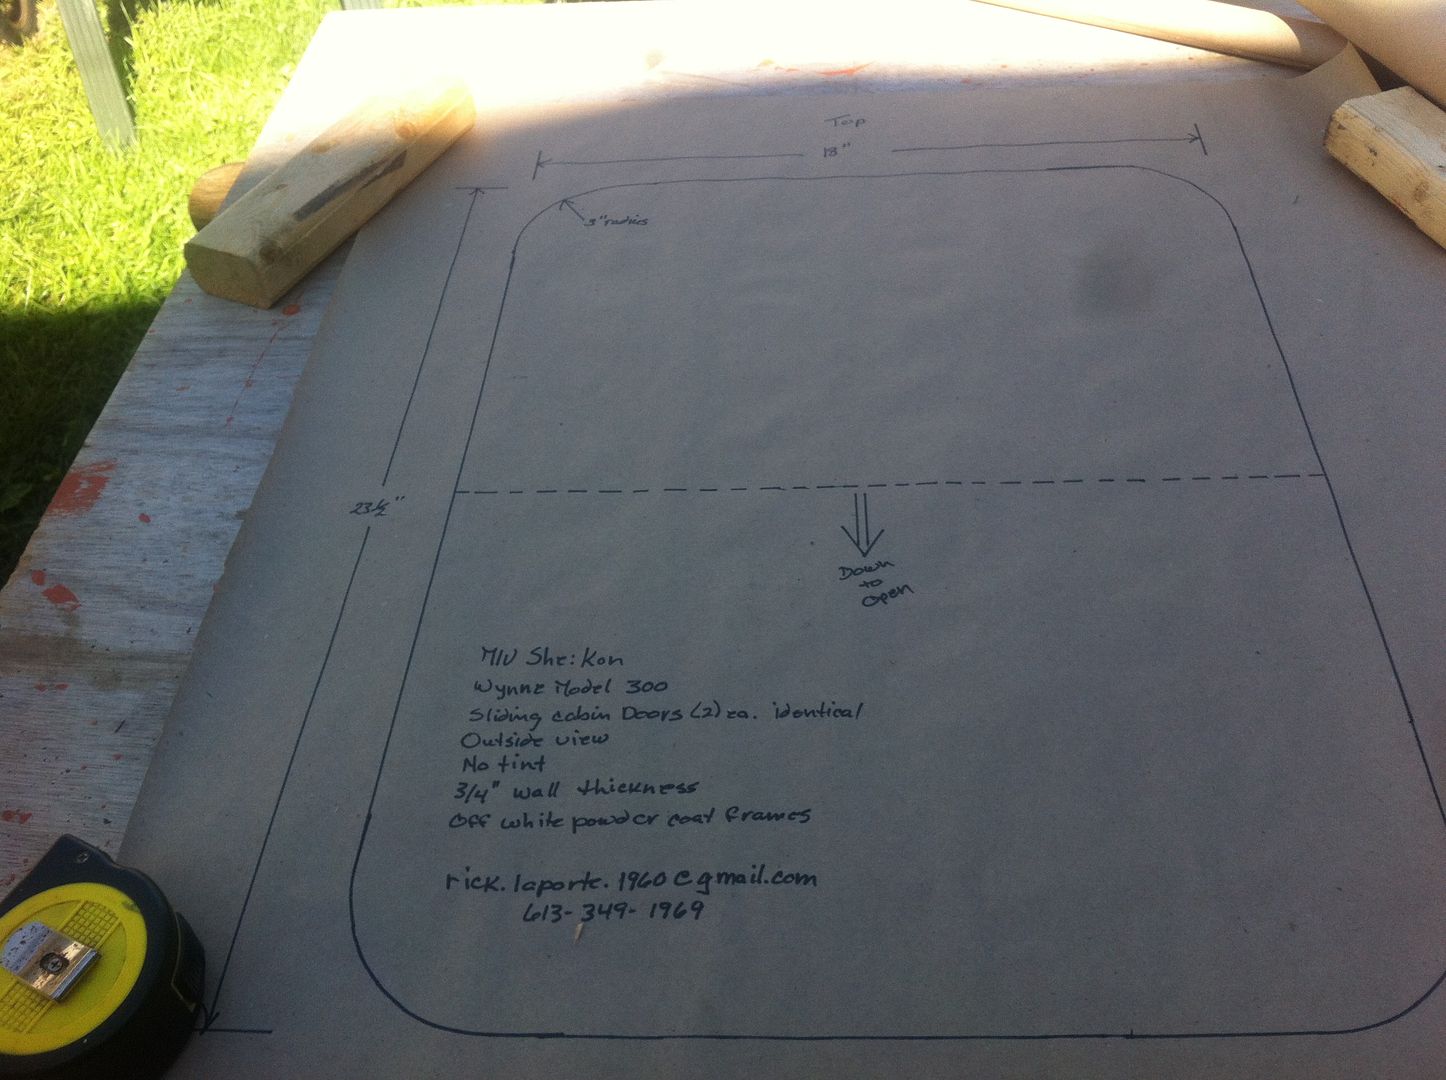
This one was a little more difficult. It's for the sliding doors that were not CnC cut in the kit. It's part of the modifications we made to the design so some of it is pure guesswork at this point. I'll ask the company for a quote and see what these will set me back.
We've decided to open up the aft bulkhead of the main cabin and make it more like a 'picnic' boat. It'll look something like this.
Well maybe not exactly like that but you get the idea. We'll enclose the aft cockpit with a canvas enclosure and a canvas wall for privacy. I think it'll open up the boat immensely and make it much nicer for socializing while underway. The near total removal of the aft bulkhead will make it a bit challenging to replace the structure that's removed. I have a few ideas on how to do that.
Yesterdays fiberglass turned out fantastic. Hardly a bubble in sight and those are long the hull side/bulwark where they won't be seen. I intend to put a large rub rail, likely a rope rub rail along that line. Something like this.
Maybe not that big of a rope but you get the idea. Going back to work tomorrow so things will slow down a bit again. Standby.....
from my mistakes or previous attempts at this boat building stuff. As you saw earlier I hauled the peel ply off the other day's work on the starboard side and the results were just Ok. Today I decided to forego the peel ply and relied on some aggressive squeegeeing to get eliminate the bubbles and dry spots.
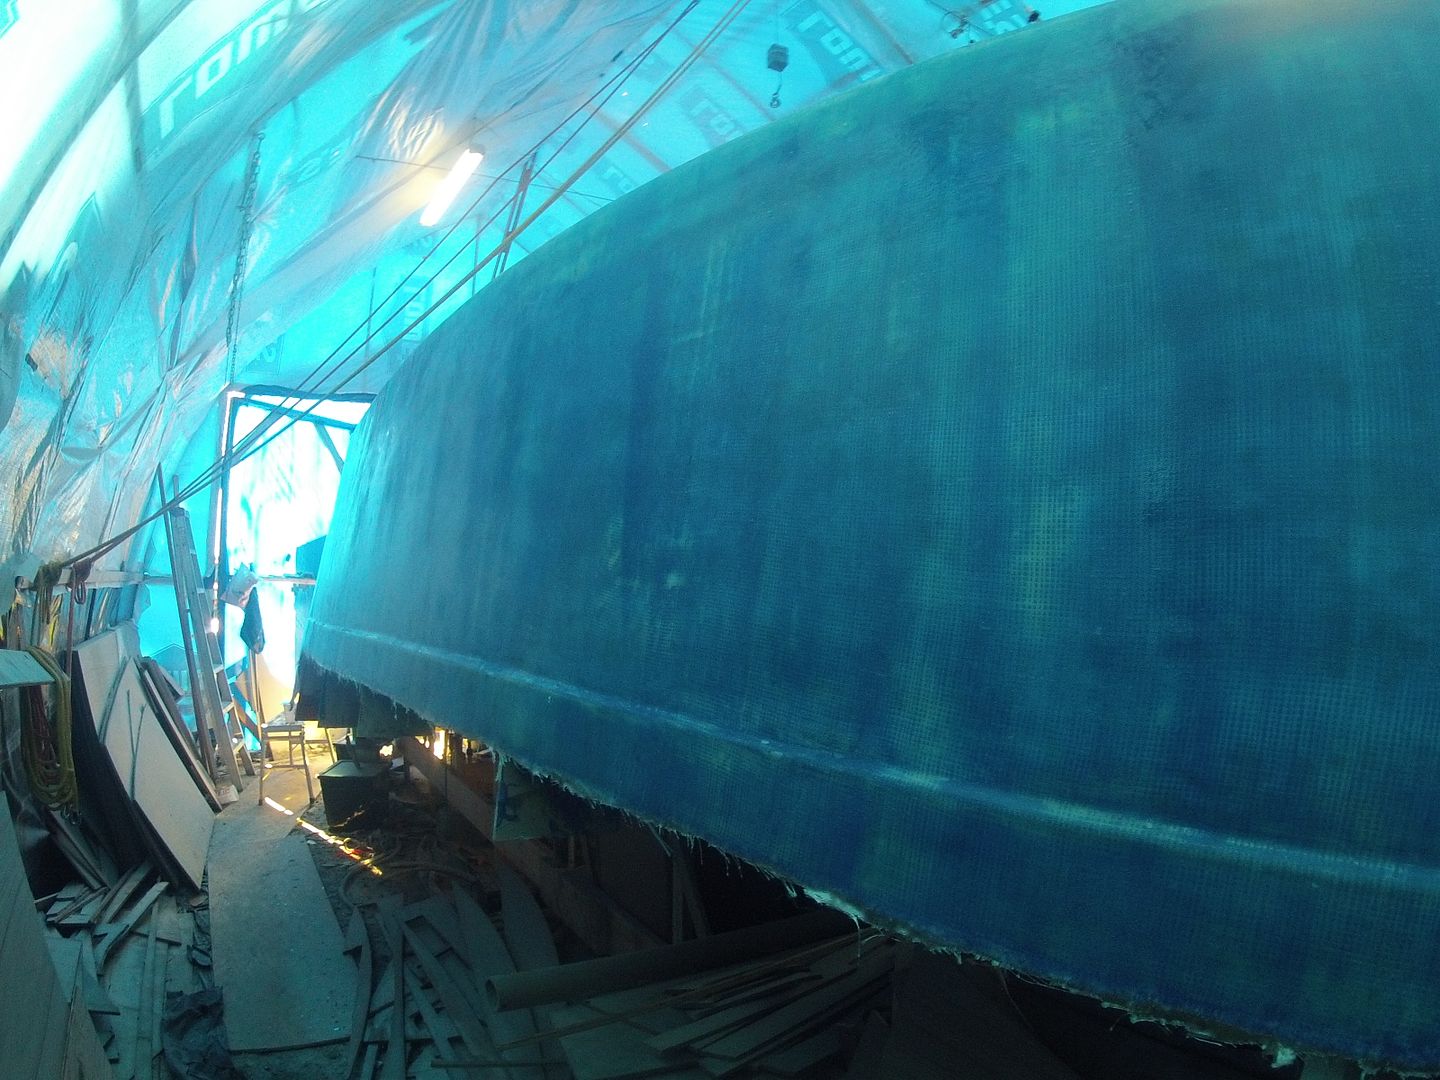
Starboard side looking forward.
Starboard side looking aft.
I know the pics don't look like much other than the 'big blue blog' but there's a discernible difference between this side and the one I did the other day. I used half the epoxy in about an hour less time and there's no bubbles or dry spots. The downside is when this cures the entire surface will have to be sanded before I begin the fairing process. The other side won't require much sanding at all. Just a few spots where I had to fill some bubbles.
Today's tally was 2 3/4 litres of epoxy, one roller sleeve (a new one I tried and liked very much), 8 pairs of latex gloves (I changed often handling the GoPro camera) and under 3 hours to complete.
Today's work represents sort of a milestone. This is the last fiberglass that'll go on the outside of the hull! :-) That's it. It's onto fairing from here. So the steps are, fairing, barrier coat, primer, paint the bottom and flip this whale (in the spring)! :-)
I'm working on another video so I'll post that later. Standby.
pretty much what I expected. A few dry spots and a couple of bubbles that popped up over night. Nothing I can't fix or work with.
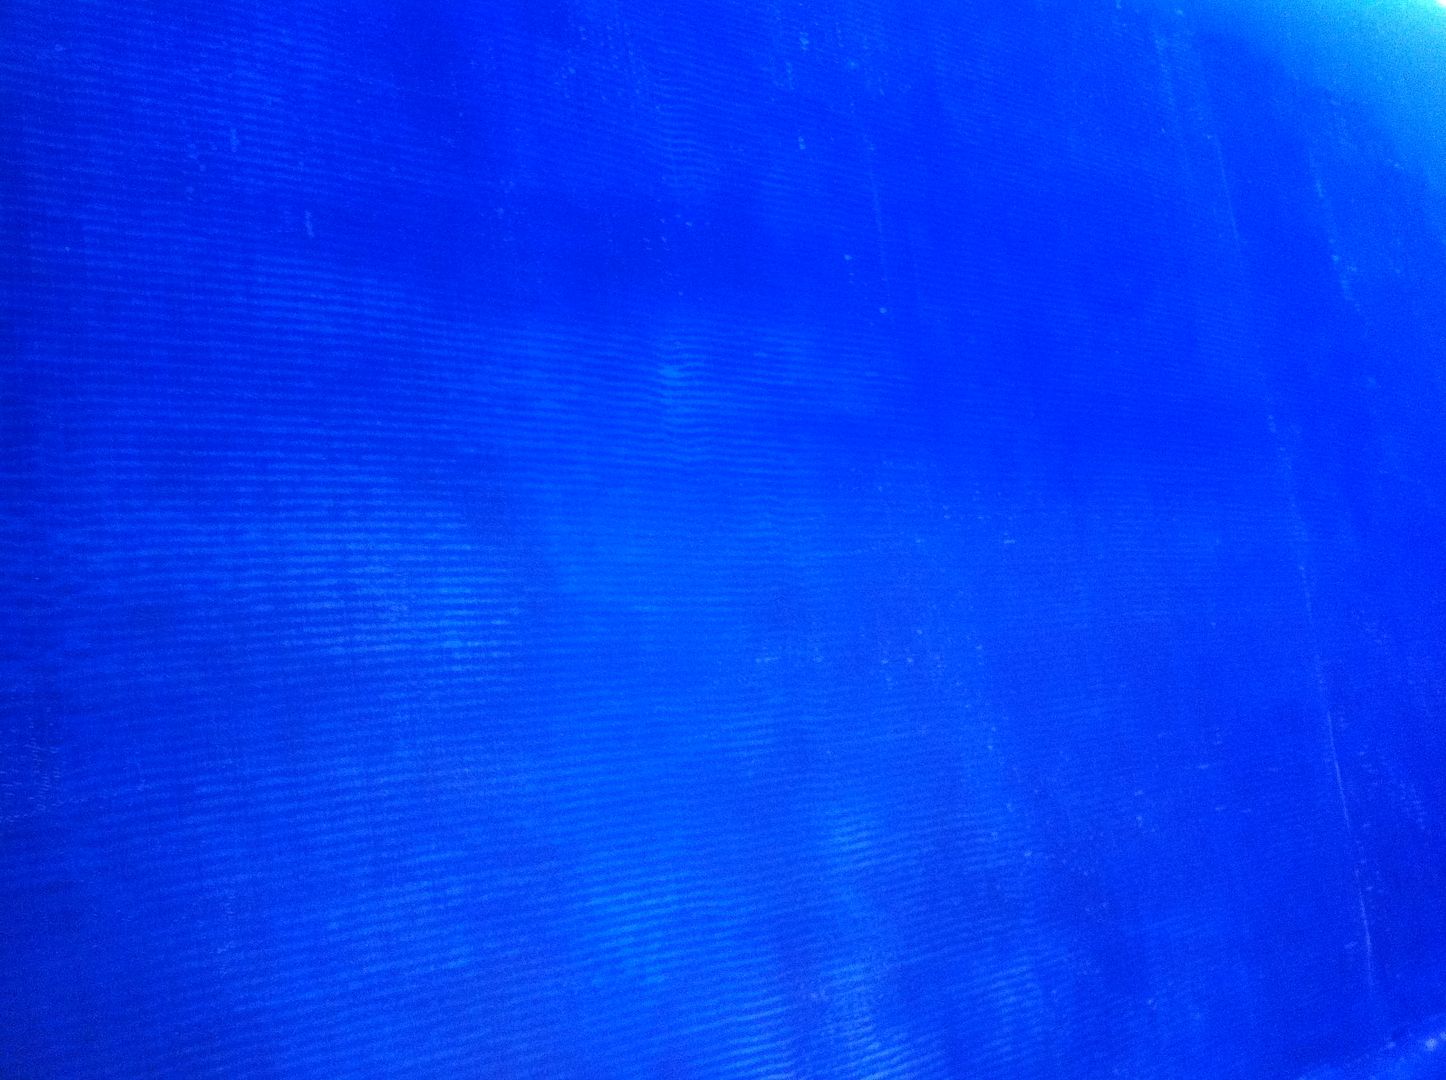
This shows a pretty good section.
I know it looks like a 'blue blob' like something out of an old horro movie! *lol* It's smooth and lump free. Some minor sanding is required where the peel ply overlapped but otherwise it's ready for fairing. Below are the two bubbles that showed up over night.
These occurred where two pieces of peel ply overlapped so I didn't see them. I'll cut the bubbles out and fill when I fair the sides.
It's been cool, 6 C last night, so the epoxy is still a little soft this morning. I'll leave the shed closed up and hopefully it'll get a full cure. It's still way too soft to sand or do anything else with. I'll wait for a little warmer weather later on this week to do the other side. Thanks for looking in.
One more to go. 4 hrs, 4.5 litres of epoxy, 24' of peel ply, one roller and about a dozen latex gloves. Sorry no pics. Too sore. Got back spasms right between the shoulder blades about 3/4 of the way through but couldn't quit. I'm gonna be sore tomorrow! :-( I think it'll turn out just Ok. I still got a lot of tiny bubbles. Will be out there for a few hrs bubble busting! Standby.
Twas the night before Epoxy Day, when all through the boat shed,
Not a creature was stirring, not even a lazy ass'd ole' Tom Cat.
The fiberglass was hung on the boat sides with care,
In hopes that St Epoxy soon would be there.
Oh Gawd someone help me. I think (know) I'm loosing it! :-)
This is the 10 oz Satin Weave fiberglass I've mentioned so much. It is the layer that'll determine, for the most part, the cosmetic finish for the sides. The only time I've used it is when I did the transom and that didn't work out as easily as I had hoped. The sides are 8 times the size of the transom! There's real potential for a disaster here. I have to stay calm and work methodically in hopes of getting a good finish.
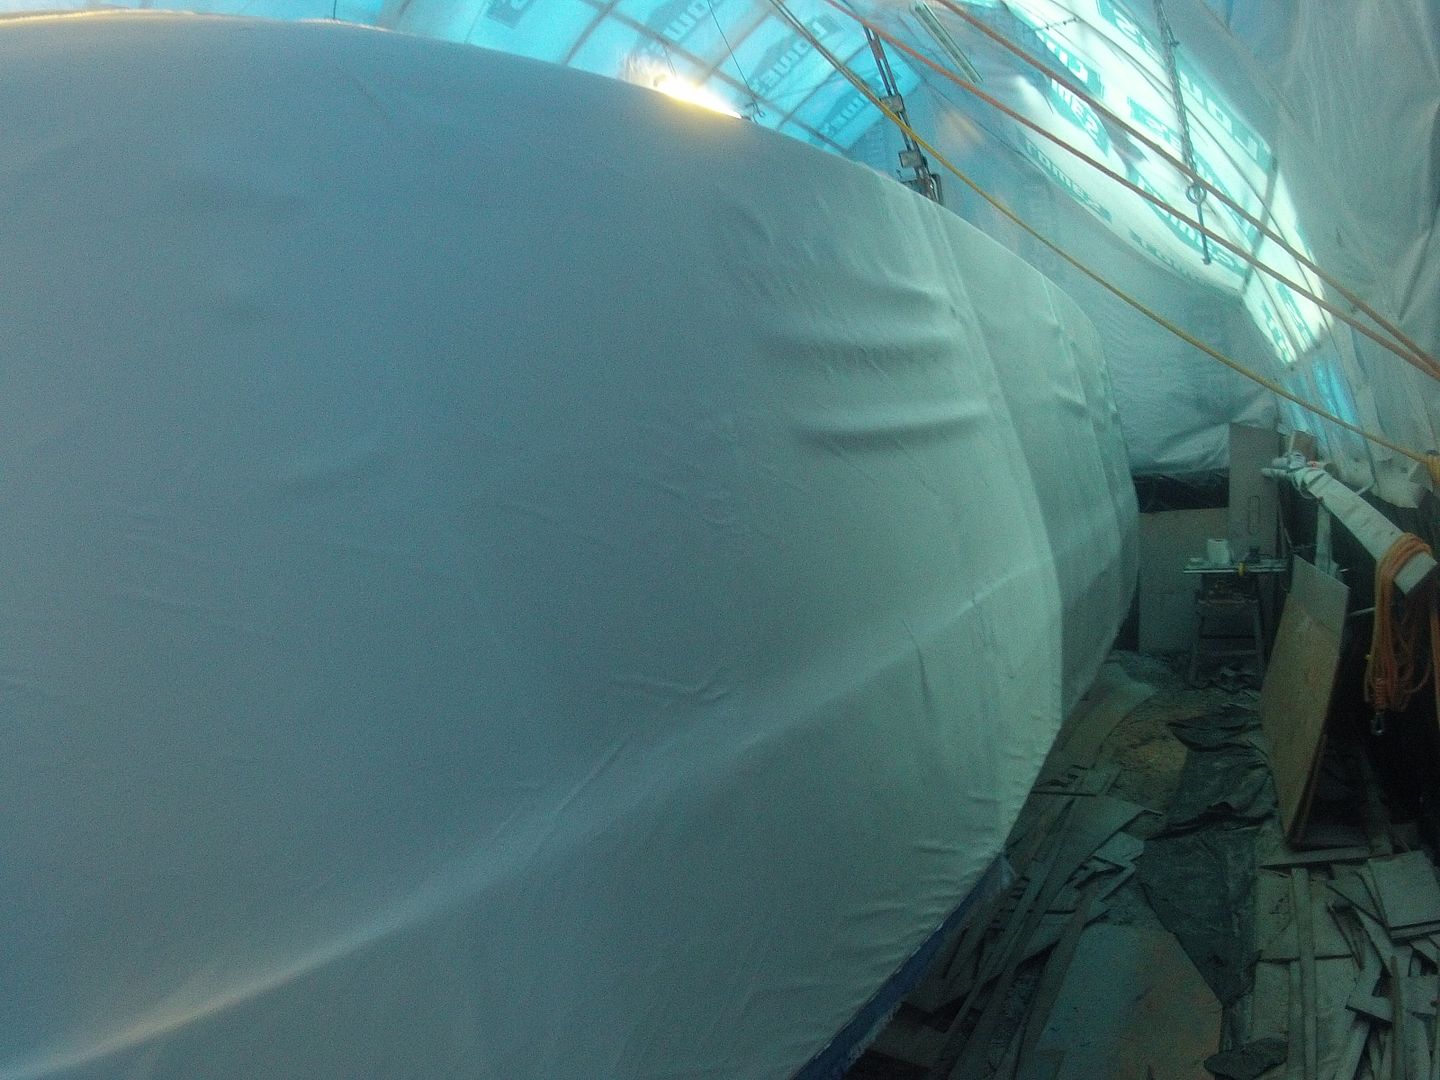
This is the glass hung on the other side. I hadn't smoothed out the wrinkles yet.
It should take about 4 gallons of epoxy and probably 8 hrs to roll this out barring any unforseen issues. This fabric likes to ball up in the roller so I have to take my time while wetting it out. I'll also be using peel ply on this final layer (again in hopes of saving some sanding) so it'll get a good squeegeeing too. 24 hours after that's done I'll know if all the extra effort I put into getting the underlying layers fair will have paid off. Standby...