I started my usual boat work routine on Thursday morning and all went fine till I got a call from an old buddy back at work (Coast Guard). They're looking for someone to work on a special project and he was wondering if I was interested. A few probing questions and the work seemed well within my realm of experience. I left it up to my buddy to broker the deal with the manager and I got a call from him yesterday with more details. So it looks like I'll be back to work on a 45 day contract to do some specialized work for this project Zalinski oil recovery project.
I had thought about going back to work over the last year since I retired but it was probably the farthest thing from my mind as I sanded my big blue whale (yet again). I've seen plenty of my retired colleagues do go back to work on contract (double dipping) and often thought I could use a small infusion of cash (got my eye on a Garmin 12 in MFD & Radar). So my boat building project might slow down a little bit as I juggle time between work and boat again, at least for the next couple of months. I still think it'll be ready to flip in the spring. Standby....

She:Kon, pronounced "Say-go" traditional Iroquois greeting meaning "Do you still have the Great Peace?"
Saturday, August 31, 2013


Thursday, August 29, 2013
So, you guessed it right
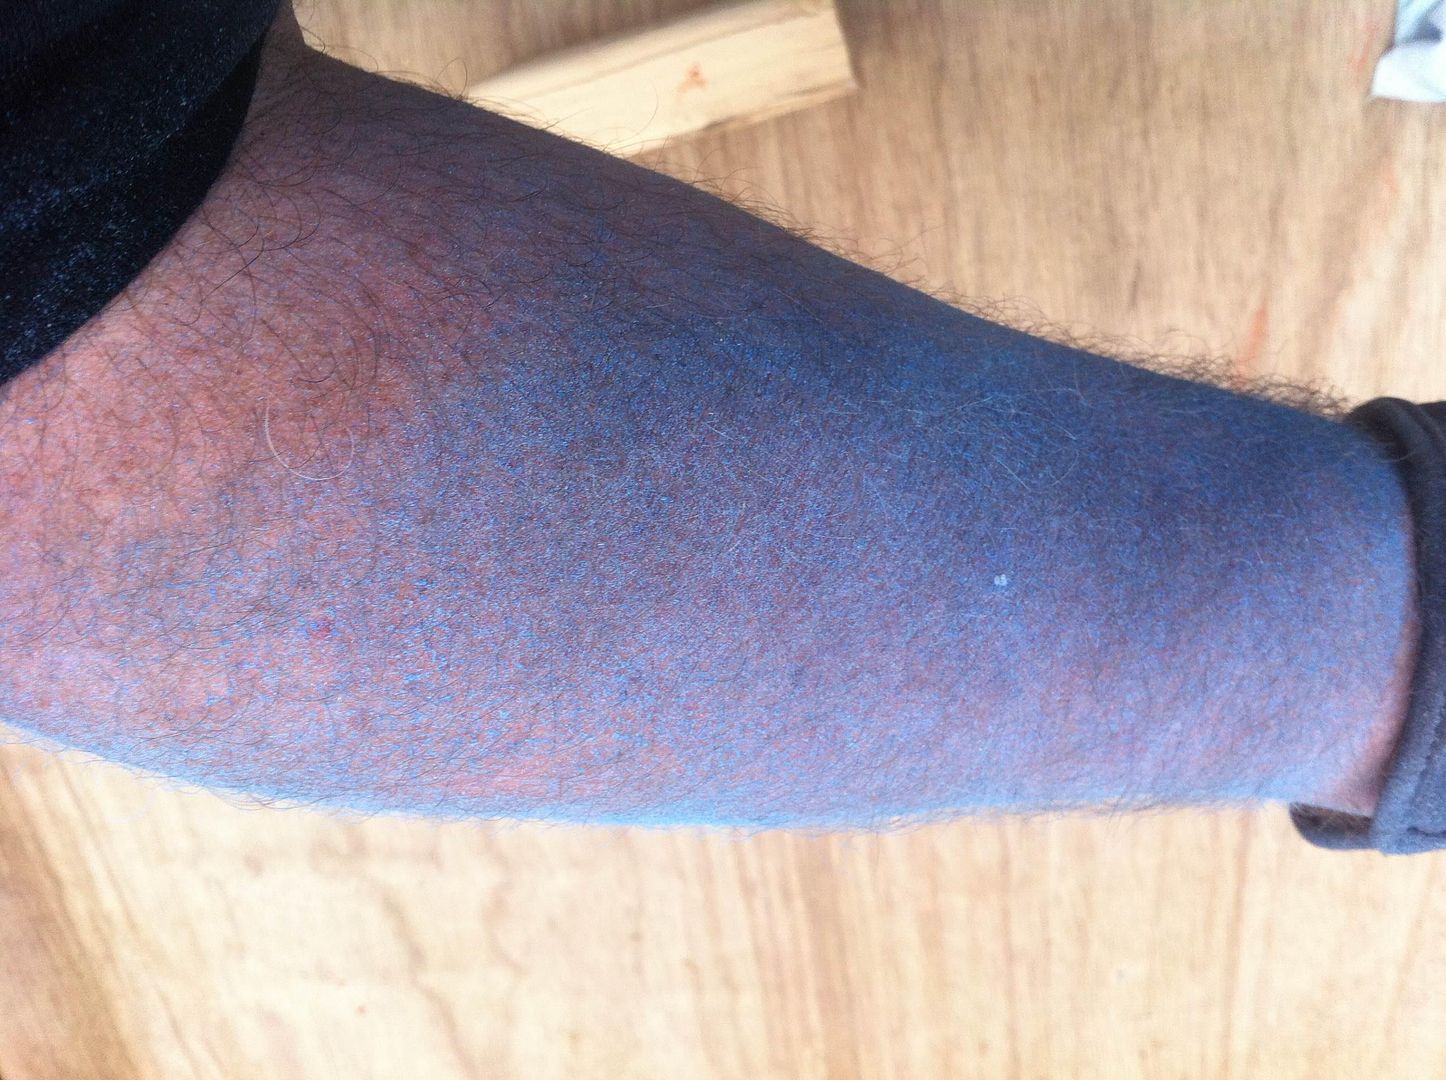
after all that hard work putting on all that nice blue goop it was time to sand most of it off! *lol*
 That's my forearm covered in blue sanding dust! Yes I was wearing a dust mask and checked for blue goo boogers so I'm sure I wasn't breathing the stuff.
Got exciting news coming tomorrow. Standby....
Got exciting news coming tomorrow. Standby....
Wednesday, August 28, 2013
Party Balloons and Boat Building
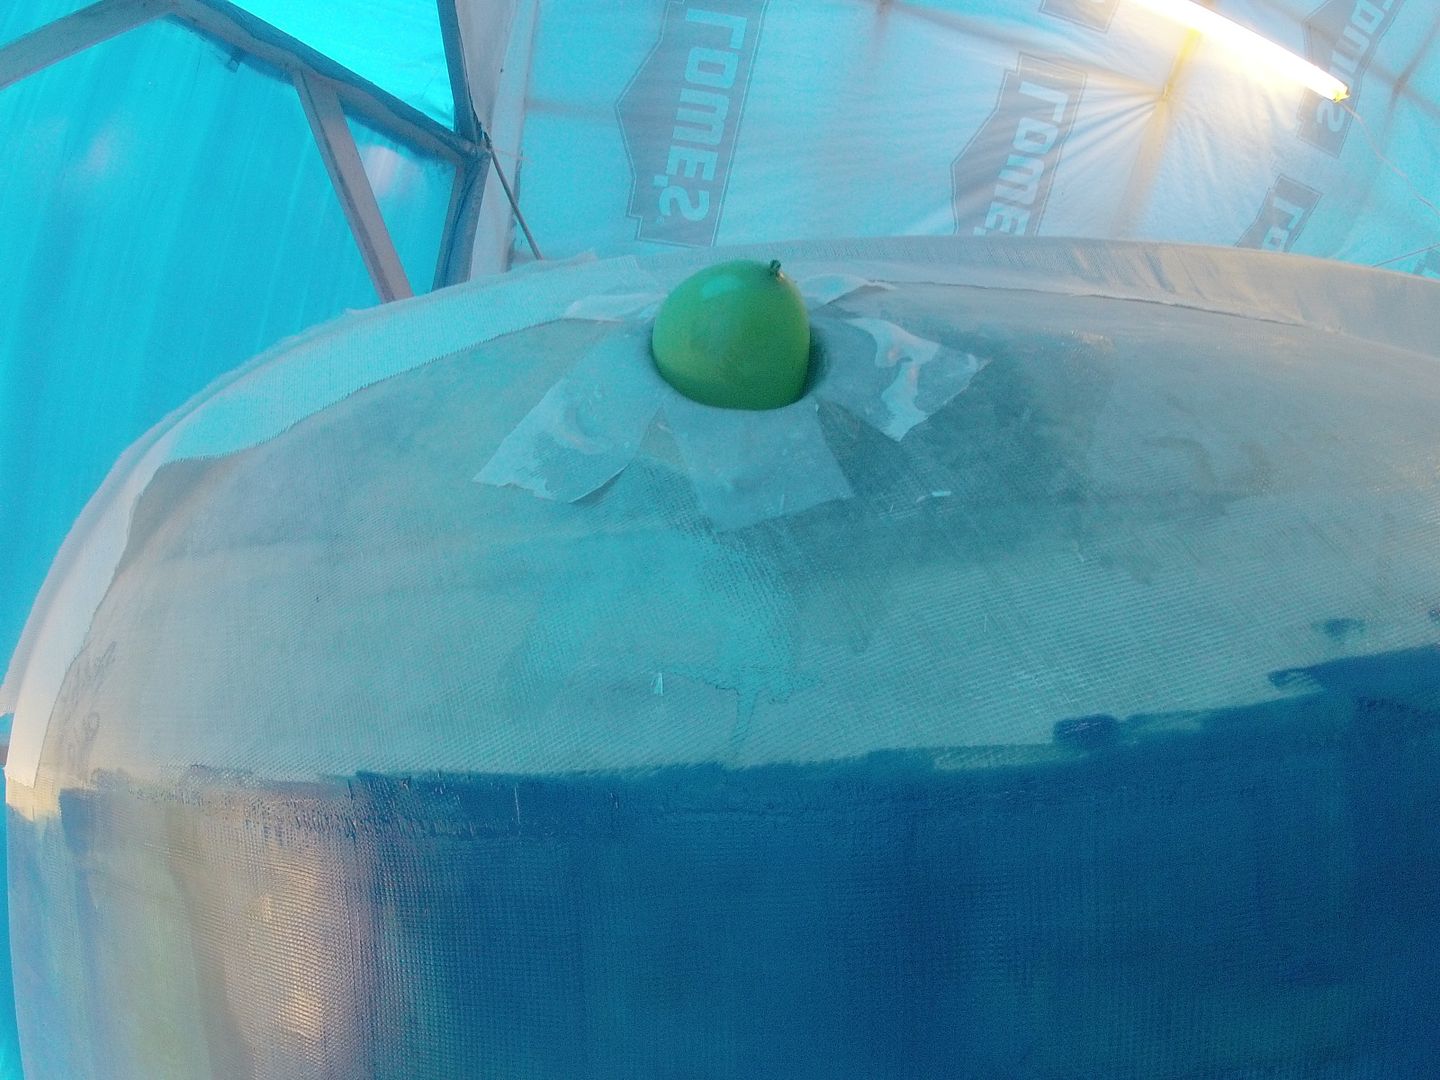
So what do party balloons and boat building have in common? Well it appears balloons can be useful tools!
 So what we have here is a party balloon (or an alien egg) hatching from the bow thruster tube. Actually I was adding some fiberglass reinforcement to the thruster tube prior to final fairing on the bottom panels. I laid peel ply over the fresh epoxy and inflated the balloon to hold it all in place till it cured. I think I picked up this tip on one of the boat building forums.
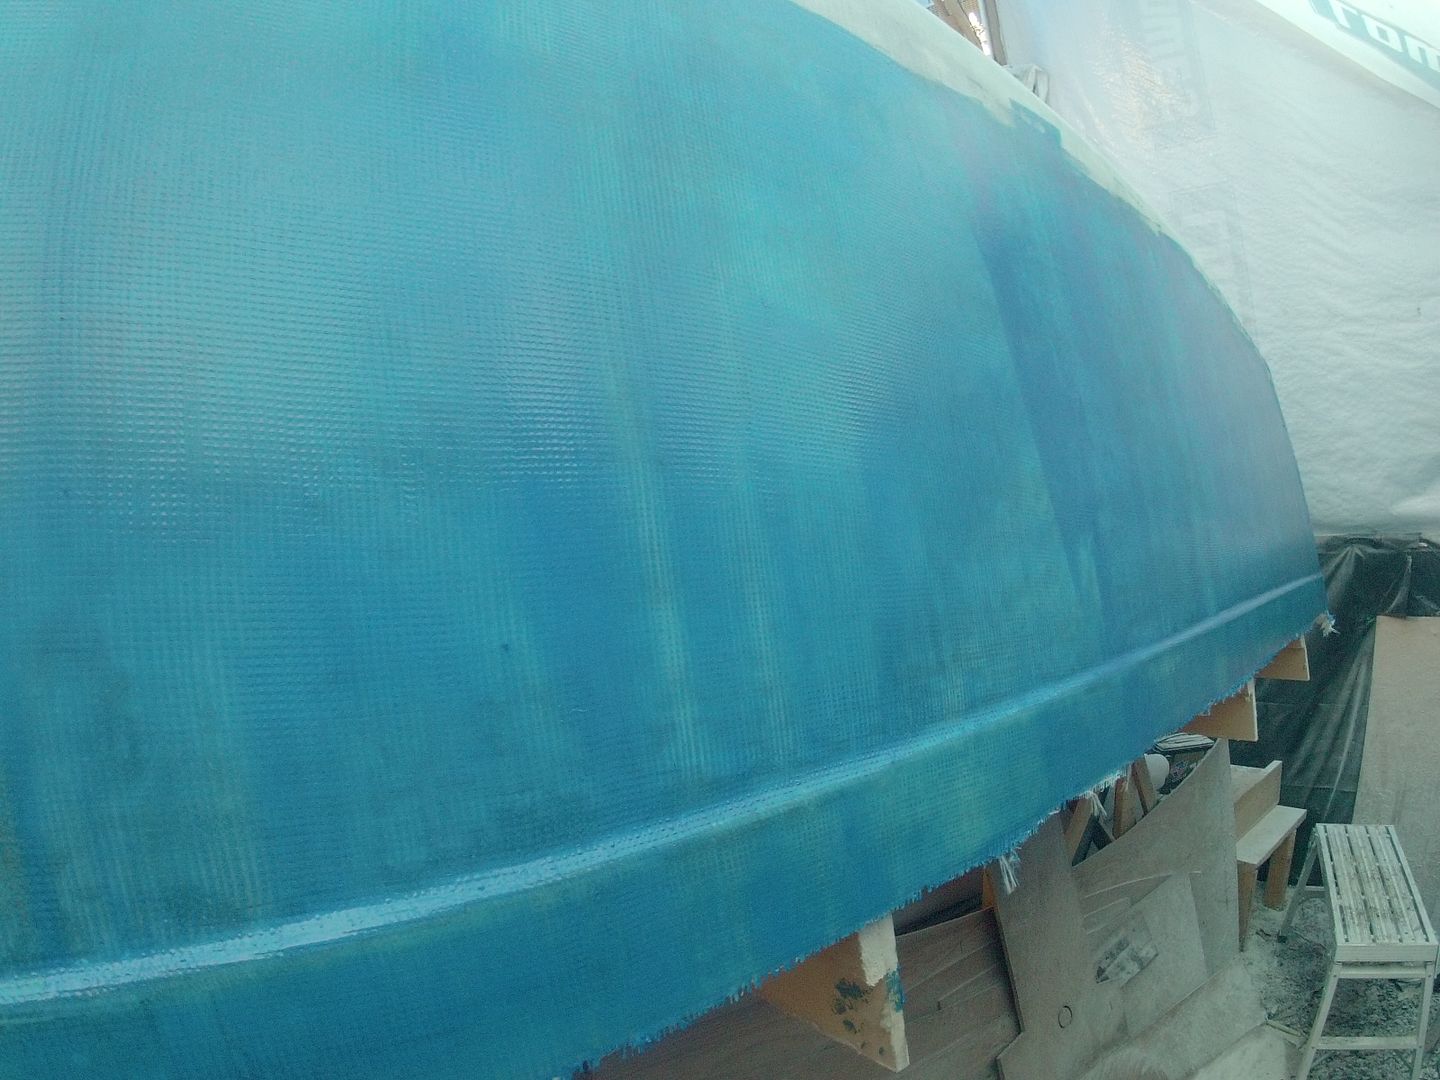
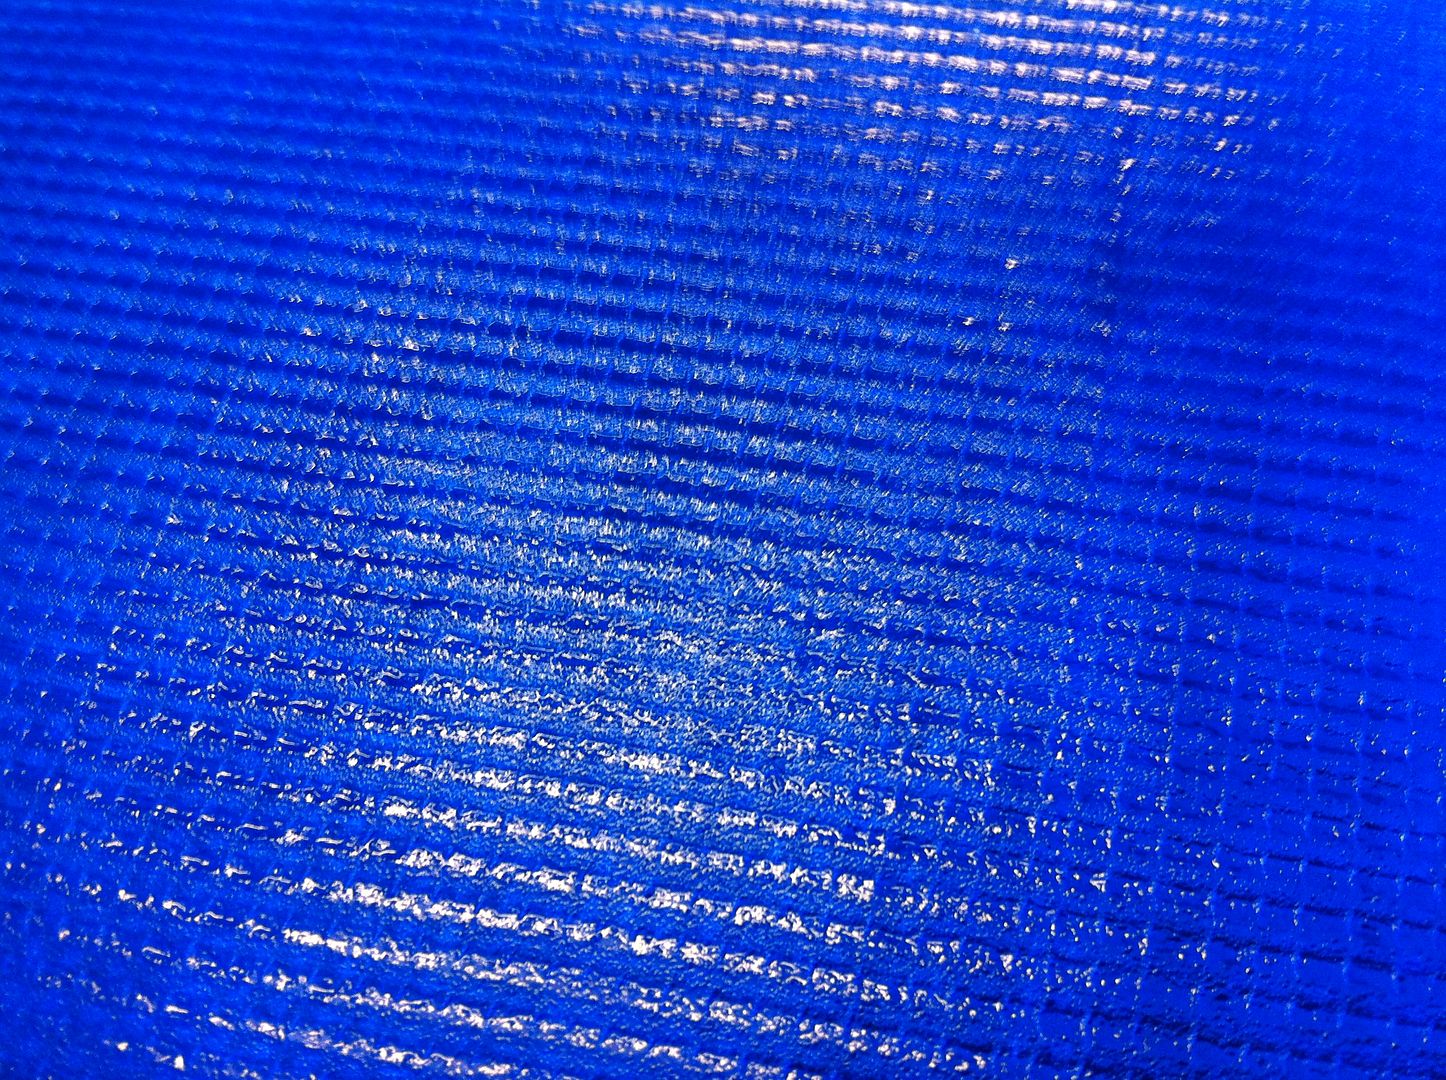
The rest of the day was spent spreading blue goop over the hull to fill the weave on the 12 oz biax fiberglass that was laid on the sides. It left a pretty prominent weave and I experienced some bubbles when I did the transom. Filling the weave should help eliminate any bubbles on the sides.
 The blue color helps me see that the weave has been filled and will act as a marker when I'm final fairing. If I hit blue I know I've sanded too far! The final color of the hull will be Royal Blue so I think it might help prevent some print-through of the weave. Not sure about that but it sure sounds good huh? Just a bit more blue goop to put on today then I'll hang the 10 oz satin weave glass on the sides and wait for a cooler day to epoxy that. Standby.
The rest of the day was spent spreading blue goop over the hull to fill the weave on the 12 oz biax fiberglass that was laid on the sides. It left a pretty prominent weave and I experienced some bubbles when I did the transom. Filling the weave should help eliminate any bubbles on the sides.
Sunday, August 25, 2013
Top Secret no more!
Lori's away working in San Antonio for six weeks so decided to overhaul her sewing room as a surprise. I had watched her work her magic on this double size double sided quilt. She struggled with working space in her cluttered sewing room and that's when I decided to put boat building on hold for awhile and do something about it.
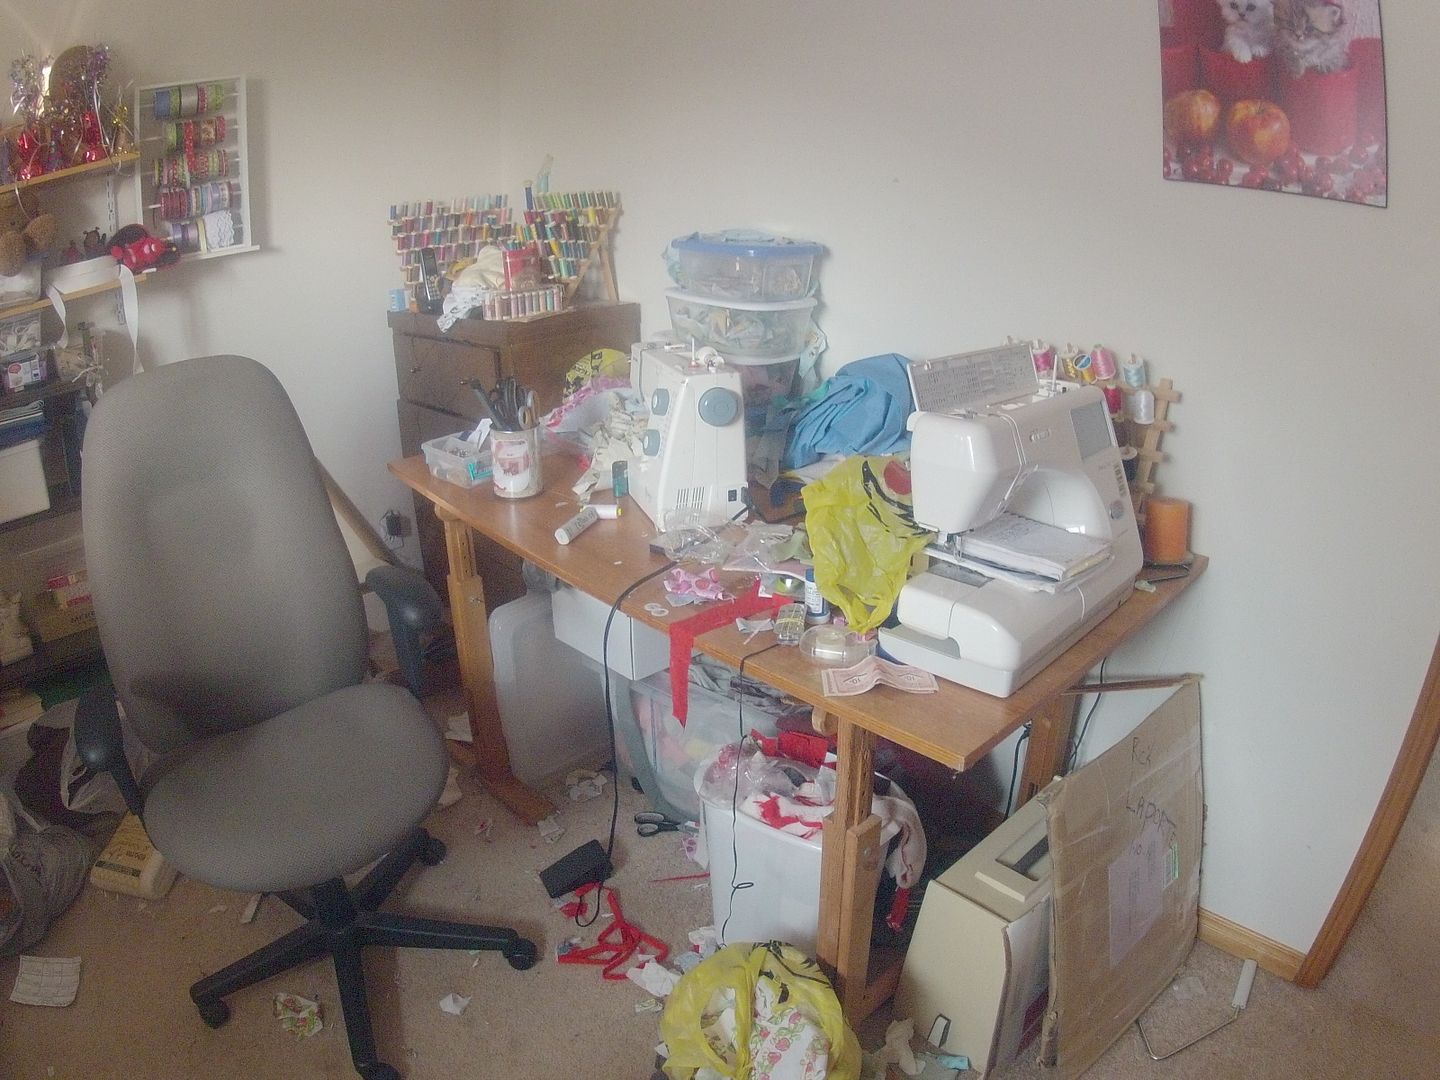
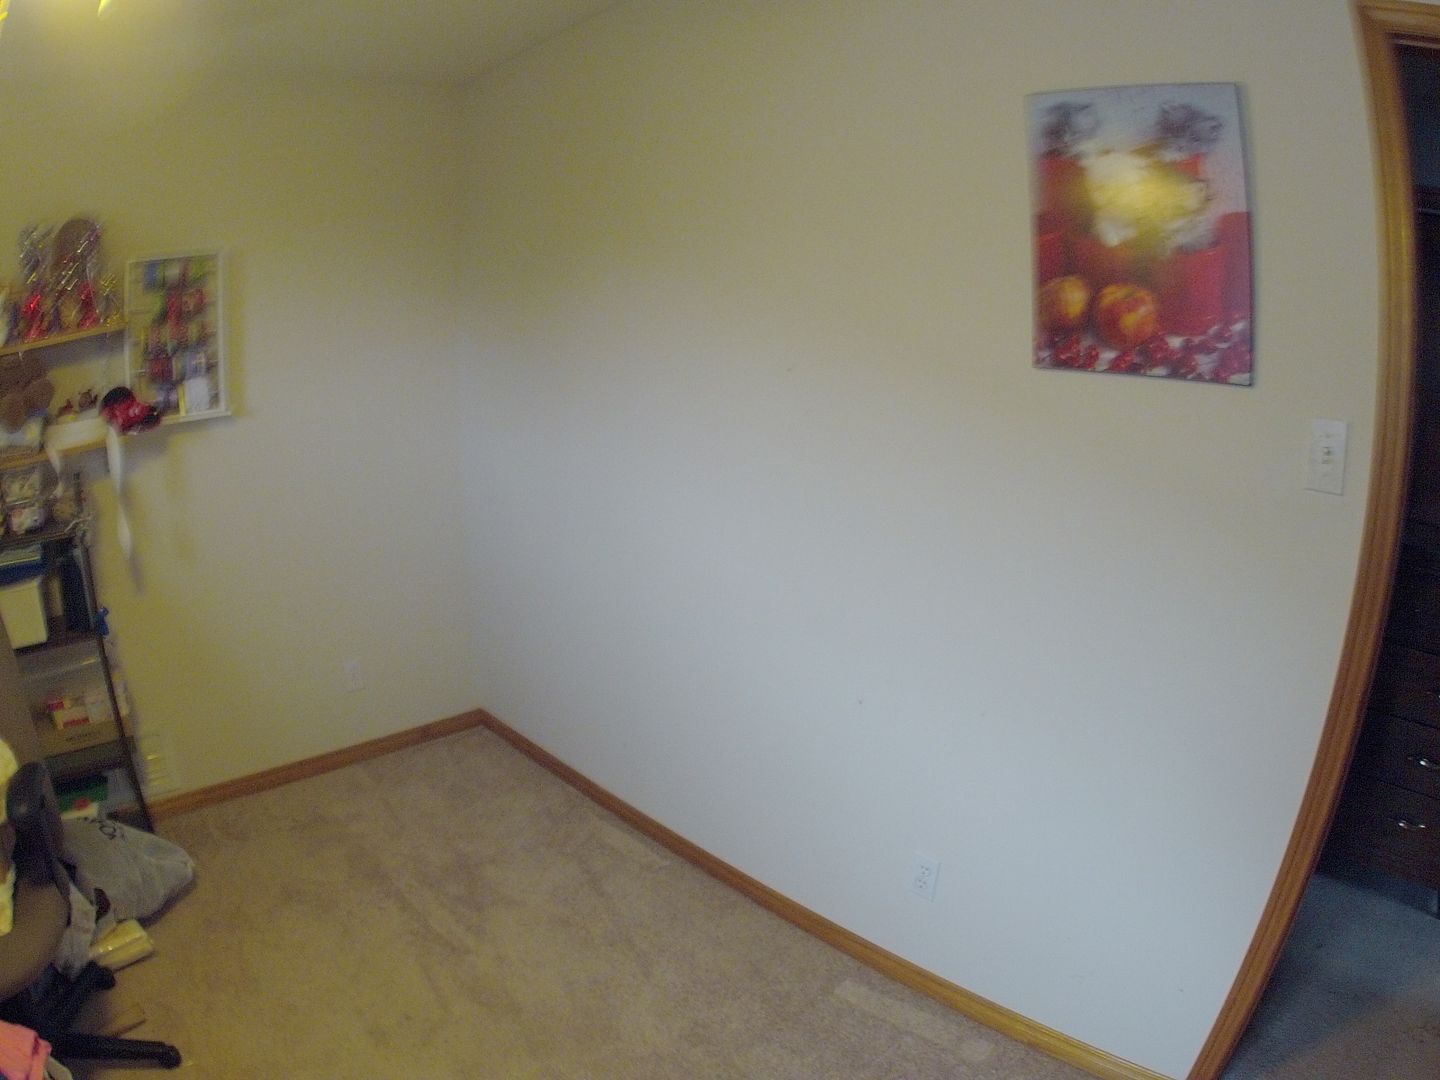
 Double sided she figures she had over 80 hrs into it. So thinking what can I do to help her out. Here's her workspace before.
 I think it was Einstein said; "Only the greatest minds have the messiest desks!" :-) Well cramped workspace seems a slight under exaggeration! I have no idea how she managed to turn out a double size two sided quilt in this space.
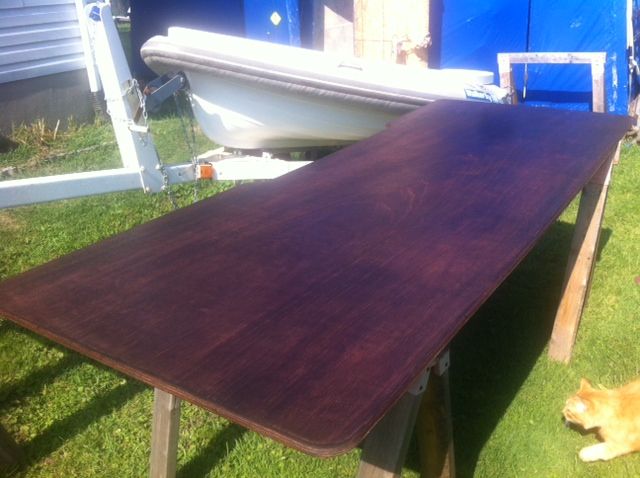
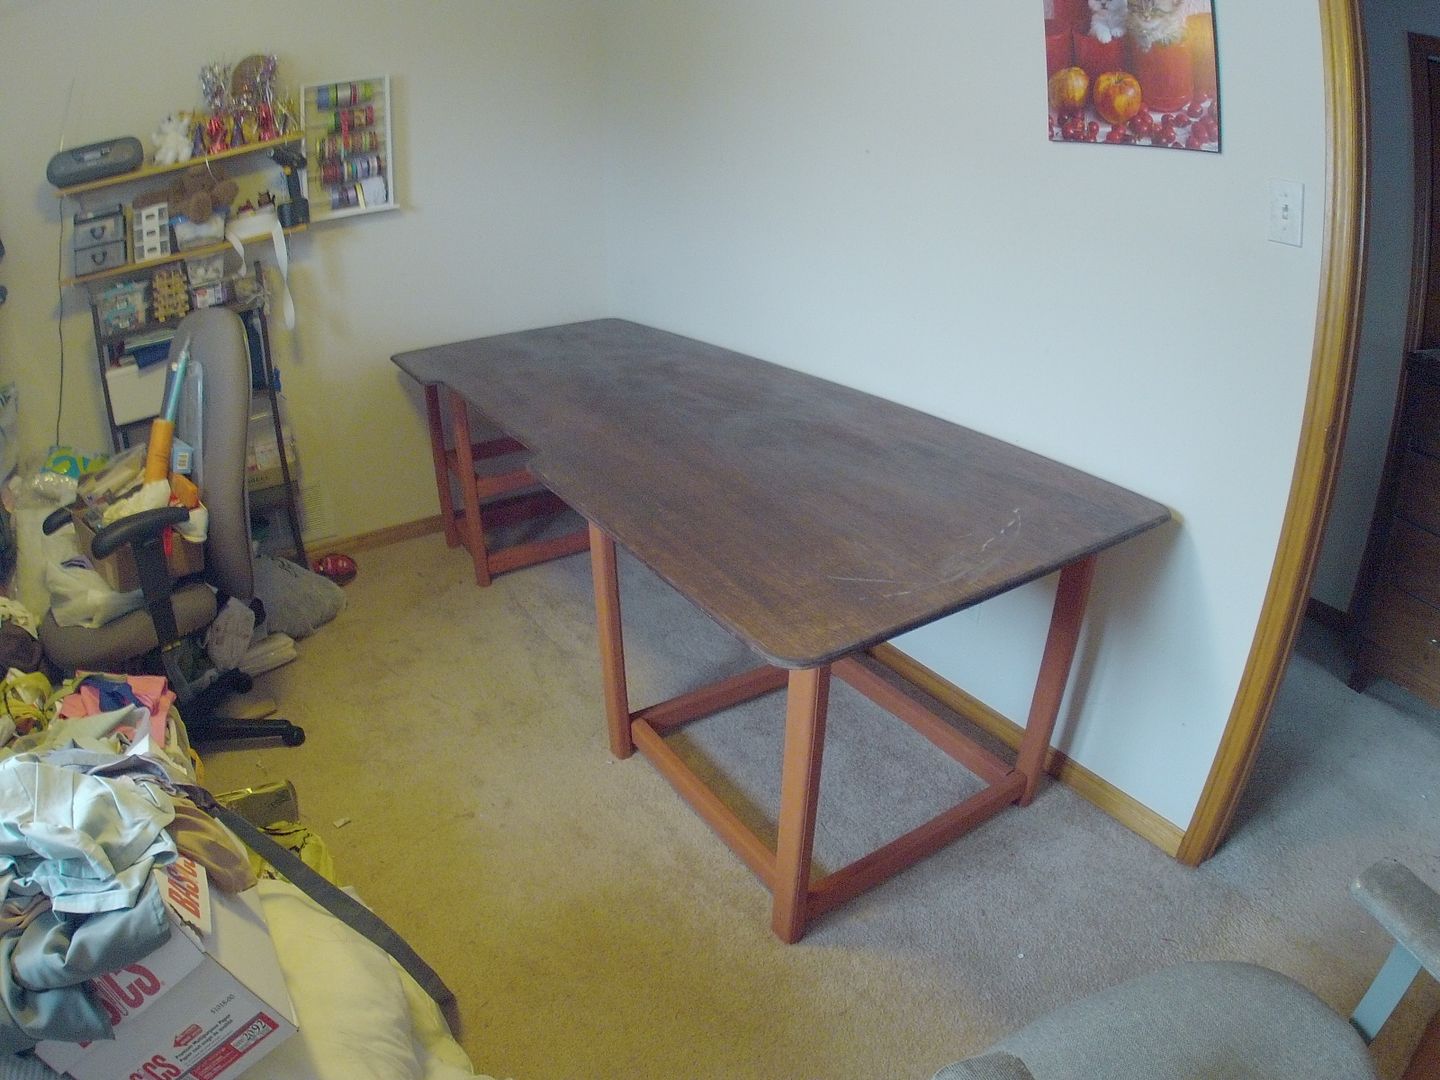
When we bought the boat kit it came with 18 extra sheets of 1/2 Meranti marine plywood. I sacrificed one piece for a table top. ( 8' x 3' ) Red mahogany stain and 4 coats of polyurathane.
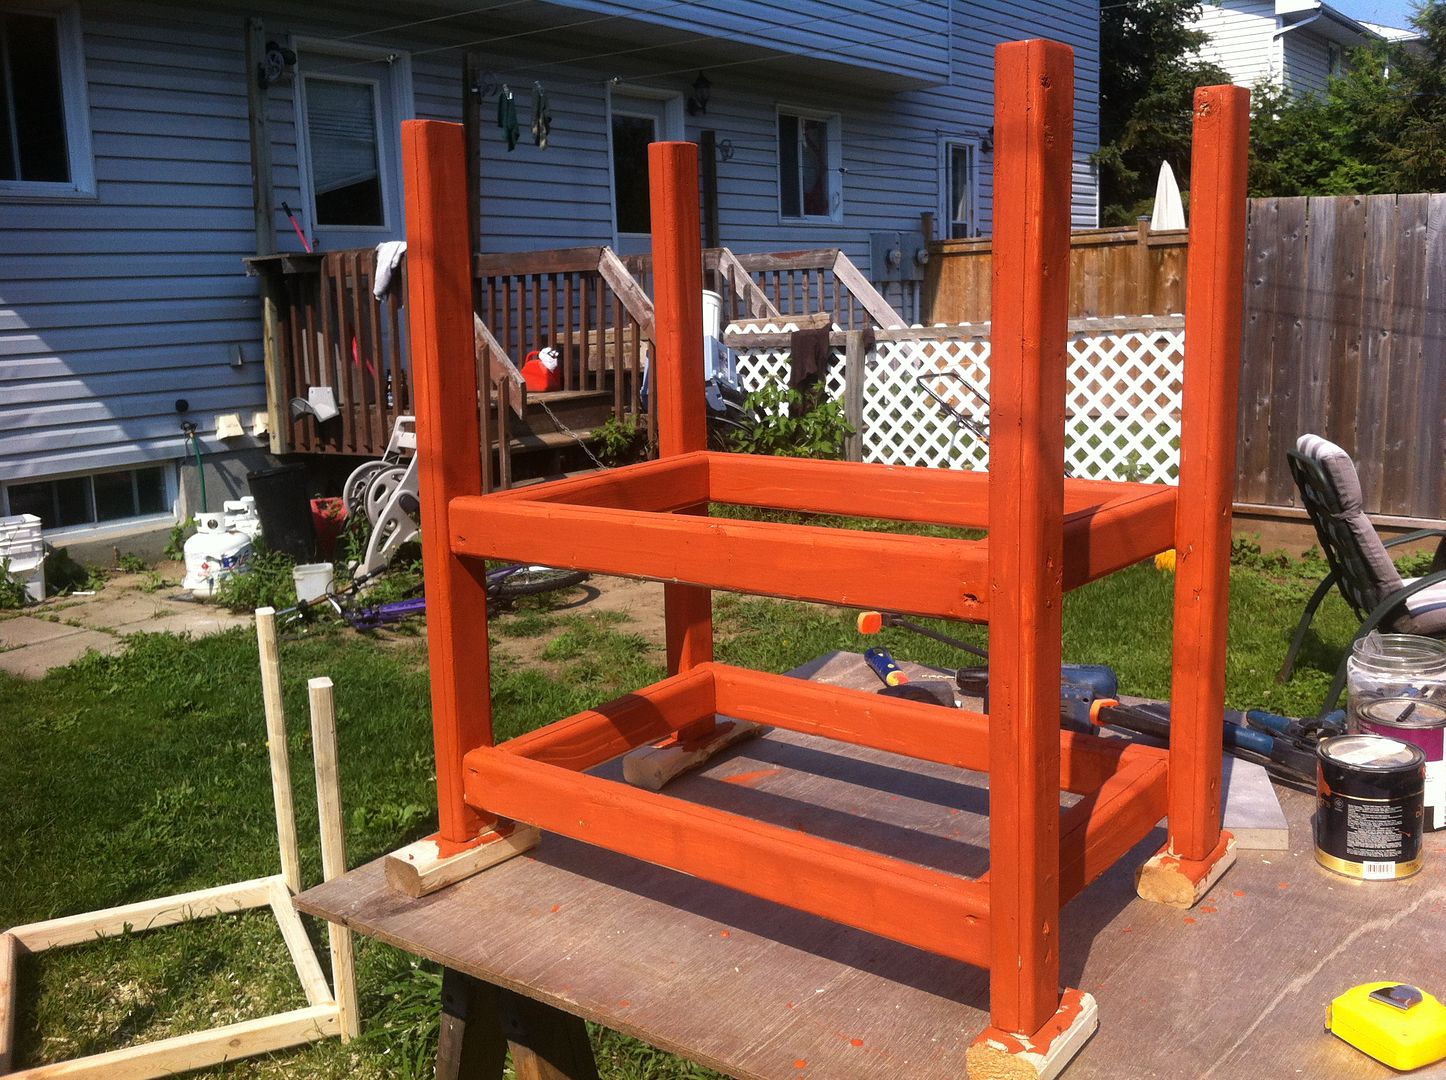
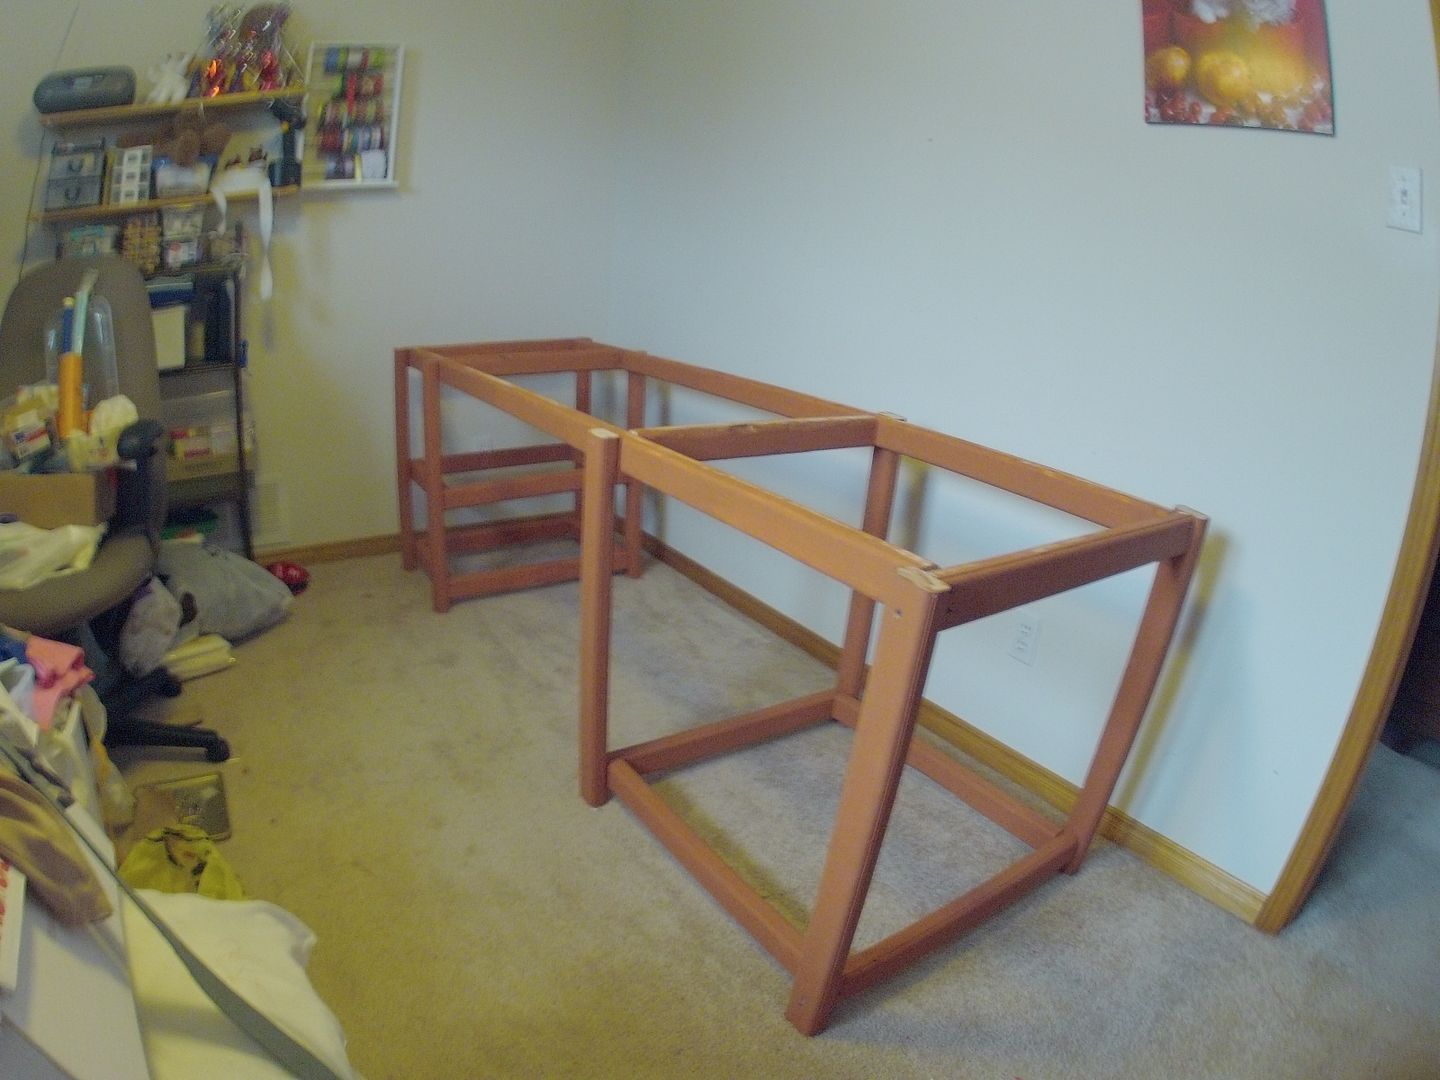
 The plan was to just build her a good & solid work bench with plenty of space to spread out. All the edges were radius'd over smooth so she can lap fabric over the edge without it catching. The frame is standard 2 X 3 construction grade lumber. I radius'd the edges with the router and sanded them smooth as well.
 The color came from 'found paint' from some previous unknown project! It was one of the few cans in the basement that hadn't turned into a solid lump! :-) It took me the better part of an hour to clear out the space (see before picture above). I probably picked up over 200 pins & needles from the carpet as I went!
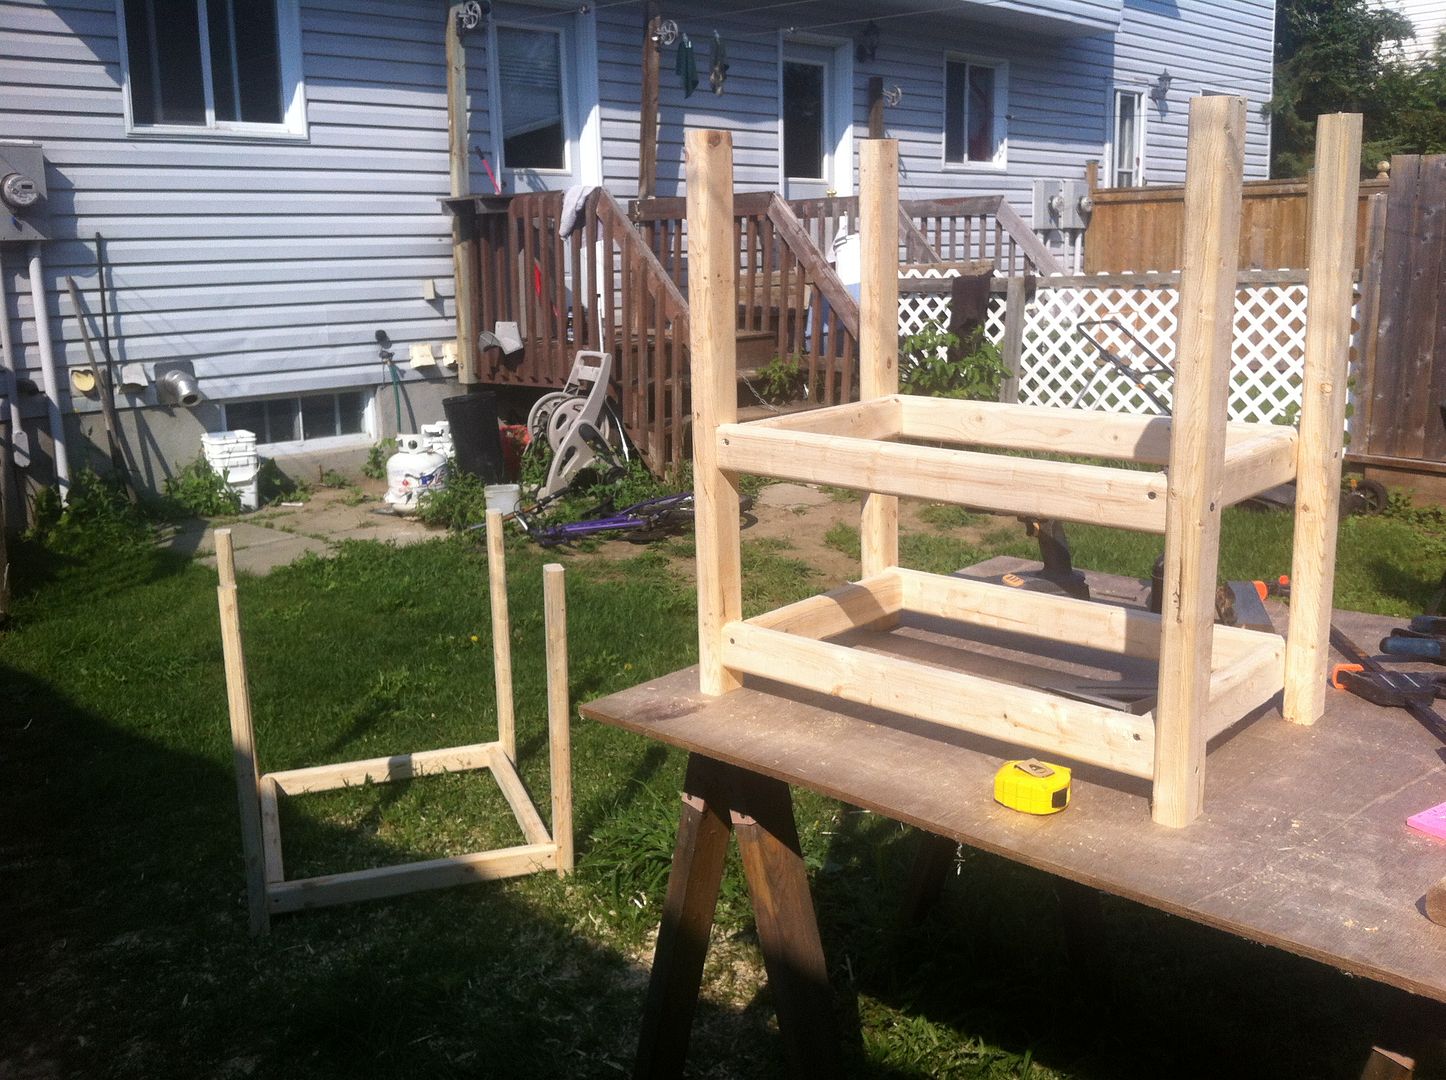
 Assembling the base only took a few minutes. The frame is just a tad under 7' long by 32" wide.
 I brought the table top up the stairs easy enough but had a heck of a time getting it into this small room. Had to back it up into the bathroom and bend it a bit to get it through the door. Had a little run in with the ceiling fan and marked up the top. Blew one blade off the ceiling fan! *lol* Fixed that and can fix the table top easy 'nuff later.
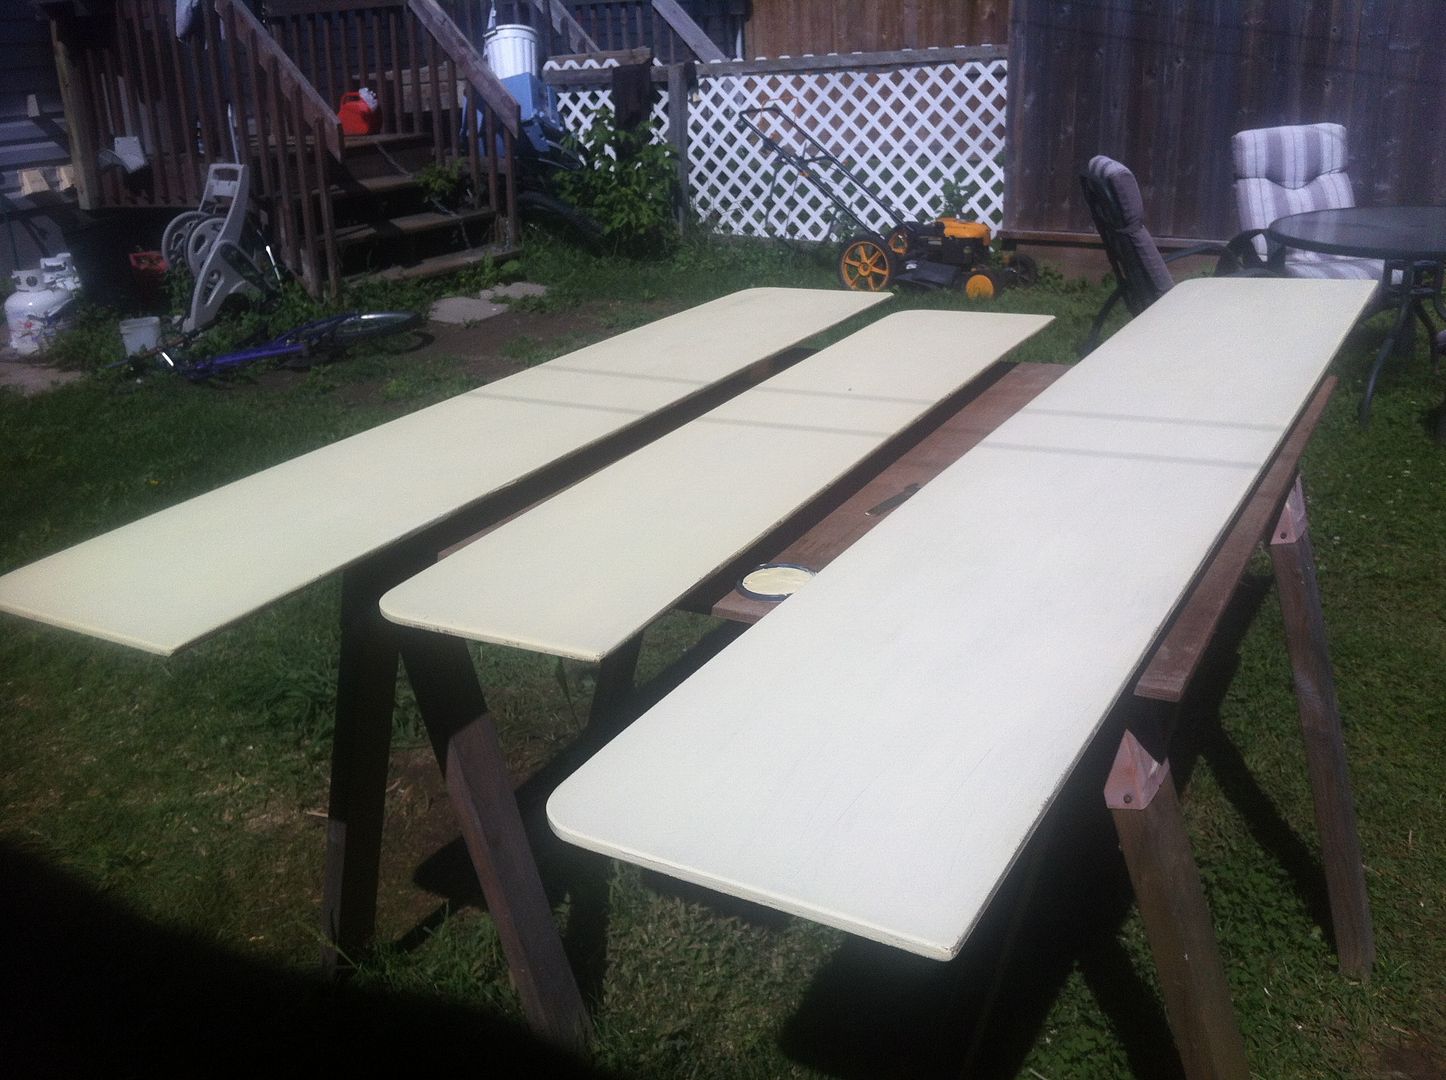
 The next task was to make some shelves to go on the wall behind the work table. Again I used some leftover marine plywood, radius'd the corners and painted them with a different color 'found paint' from the basement. This time a yellowish buff color!
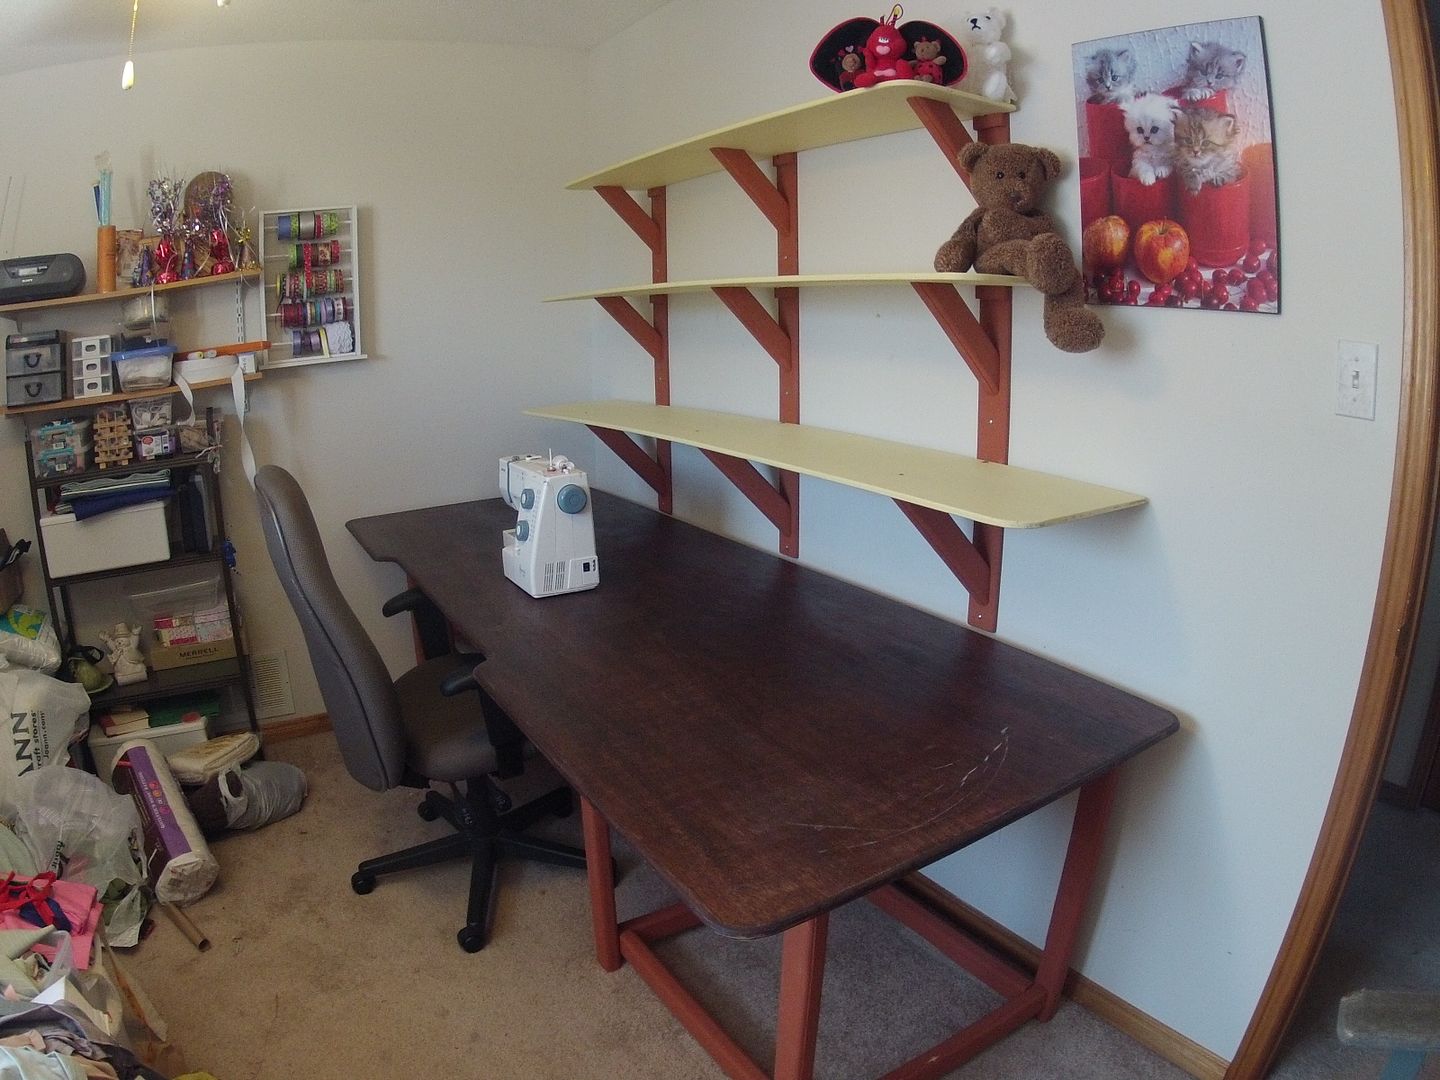
 I painted the shelf brackets the same color as the table base for a little visual variety. This isn't 'fine furniture' so it's all a bit rustic but it's functional.
 When everything was installed it looked pretty good. I was trying to keep this a secret till she gets home from San Antonio but I just couldn't. I'm horrible at keeping secrets so I let the cat out of the bag and showed her what I did. I was a little afraid she'd be pee oh'd at me for messing with 'her inventory system' but she's Ok with it. I'm sure it'll help increase productivity! :-)
 I have to cut a slot in the table top for all her power cords & foot pedals and install a power bar where it's easy to reach without having to climb under the table. I do plan to put plywood shelves under the table to keep stuff off the floor. The next task is to work on the other side of the room. I plan to build floor to ceiling shelves in the same style as the shelves above the sewing table.
Everything I used I had except the poly, stain and 2 x 3's. Total cost was about $50 and 3 days of puttering around.
I know it wasn't a huge project but I enjoyed it all the same. Thanks for looking in and standby....

When we bought the boat kit it came with 18 extra sheets of 1/2 Meranti marine plywood. I sacrificed one piece for a table top. ( 8' x 3' ) Red mahogany stain and 4 coats of polyurathane.

Everything I used I had except the poly, stain and 2 x 3's. Total cost was about $50 and 3 days of puttering around.
I know it wasn't a huge project but I enjoyed it all the same. Thanks for looking in and standby....
Saturday, August 17, 2013
What's Bluer than Blue?
Super Blue!
 Ok, these pics aren't blue because I used my iPhone. They're blue because I tinted the epoxy blue!
Why would I do that you may ask? Well I was working on a recipe for a light filler to pre-coat the hull before I lay on the next layer of fiberglass. The underlying glass, 12 oz biax, leaves a pretty deep void in the weave. I believe this is what caused the bubbles on the transom. I don't want any bubbles on the sides so I decided to try to fill the weave first. I mixed up two batches w/o tint and couldn't really see if it was working. The light in the shed is really low contrast. So the next batch I tinted it blue and could see that my third recipe works well.
 This will get a light sanding prior to applying the next layer of 10 oz satin weave fiberglass. Likely sometime next week. Temps are on the rise again and I only have medium hardener so not taking any chances. Till then there'll be some sanding and fairing going on. Standby.....

Why would I do that you may ask? Well I was working on a recipe for a light filler to pre-coat the hull before I lay on the next layer of fiberglass. The underlying glass, 12 oz biax, leaves a pretty deep void in the weave. I believe this is what caused the bubbles on the transom. I don't want any bubbles on the sides so I decided to try to fill the weave first. I mixed up two batches w/o tint and couldn't really see if it was working. The light in the shed is really low contrast. So the next batch I tinted it blue and could see that my third recipe works well.
Subscribe to:
Posts (Atom)