Saturday, August 13, 2016

Ahhhhhhhh That's Better

Finally some reprieve from the heat! A very nice, but lil' muggy, 19 degs in the shed today!

Dealt with fitment issues on Frame C.
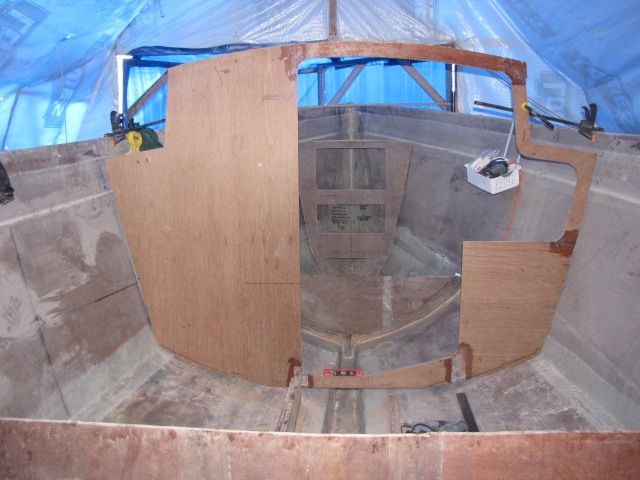
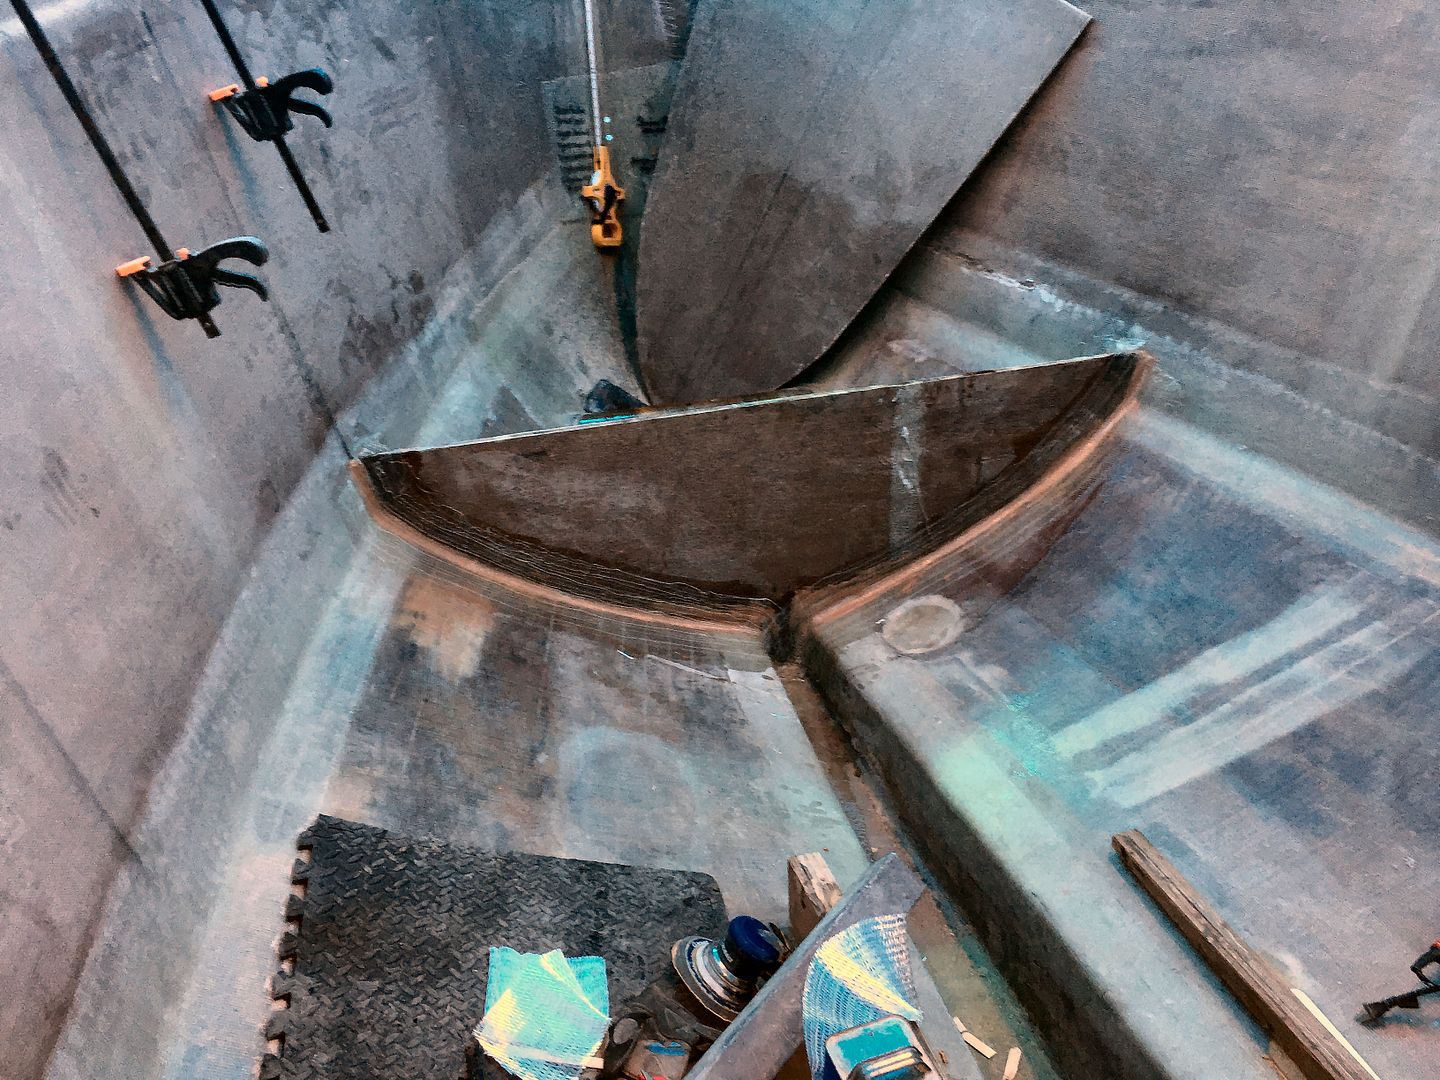
Frame C fitted & ready for glue & tape
Starboard side still needs a wee adjustment but I'll deal with that once the glue & tape has set up.
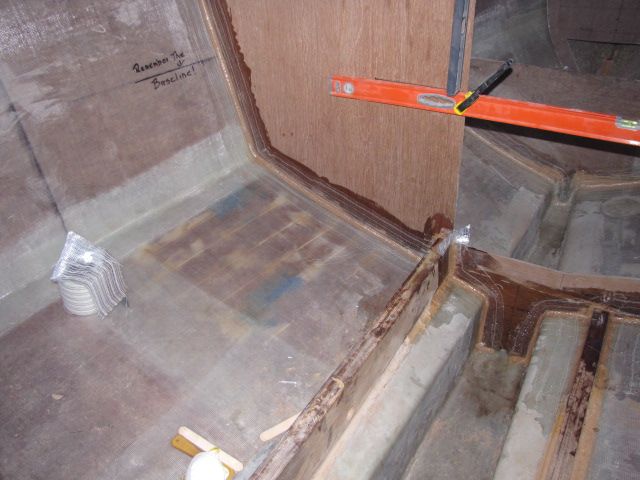
Glued & taped
Notice the 'Remember The Baseline' written on the hull! :-)  Oh my what a brainfart that was! IIRC I was just explaining that concept on one of the forums not that long ago! Doh! Had to have been the heat!

Tomorrow I'll fillet & tape the other side of Frame C. Lots of sanding to come & finish taping fillets up and down the stringers.

The Admiral came out to the boat today to survey the workings. We're planning a sliding work table for her sewing machine. Pretty much got it figured out. It'll be a nice feature.

Standby....

Thursday, August 11, 2016

At Your Own Peril

When you deviate from the plans, plans carefully considered and drawn by a qualified designer, you do so at your own peril. That's what I've done and this is one of the small issues.

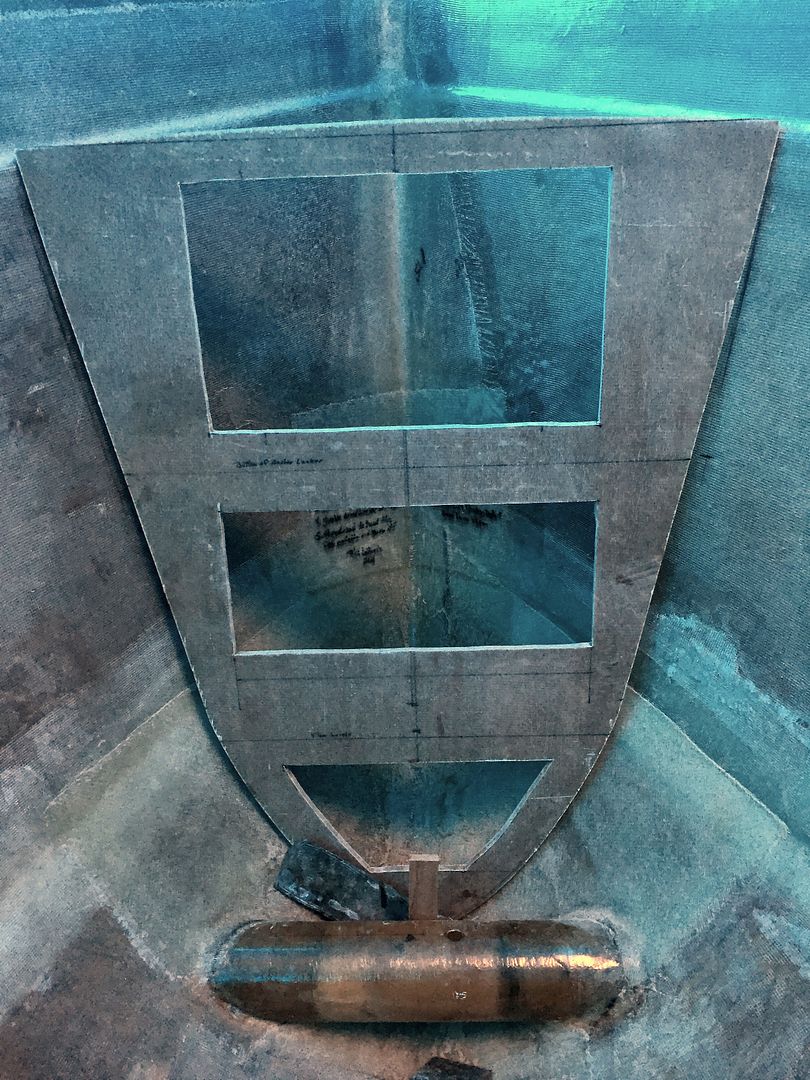
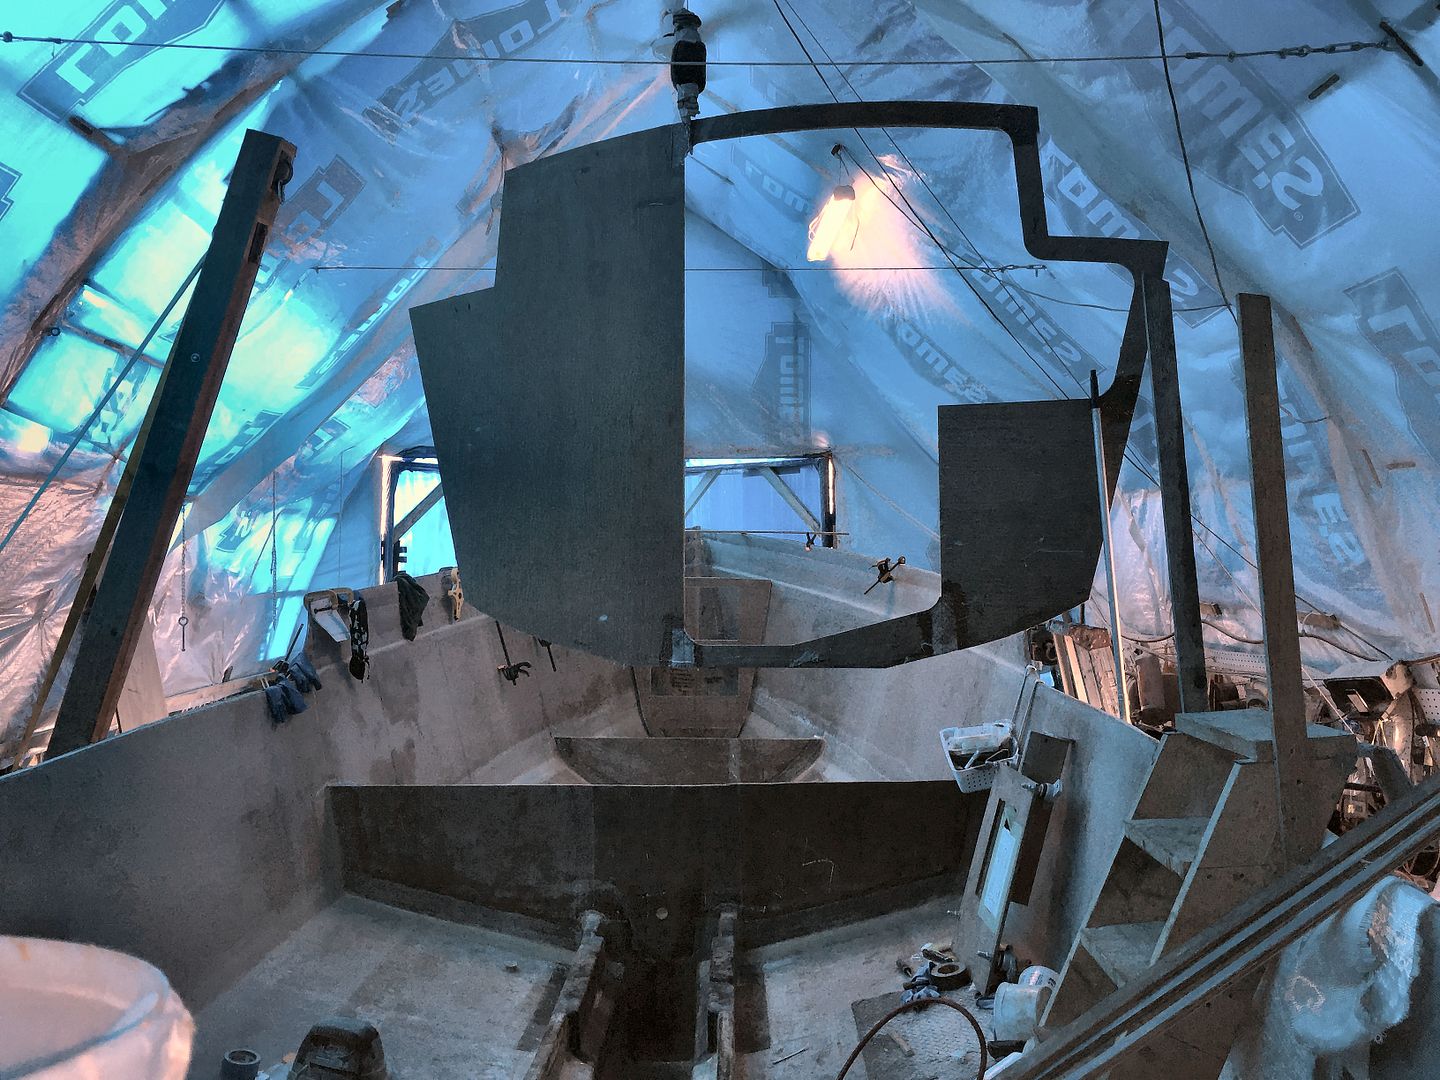
Frame C forms the bulkhead between the sleeping part of the cabin and the washroom. It's a bit of a monster to wrestle in and get fitted.
Frame C sitting in place
I knew there would be some fitment issues as this part of the hull flared out a bit more than expected when the panels were laid up on the strongback. This was a natural occurance due to the stretch in the hull and letting the natural curve of the panel define the hull shape.

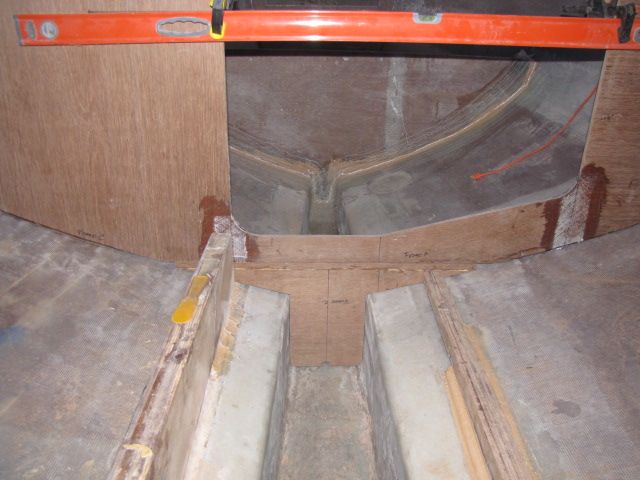
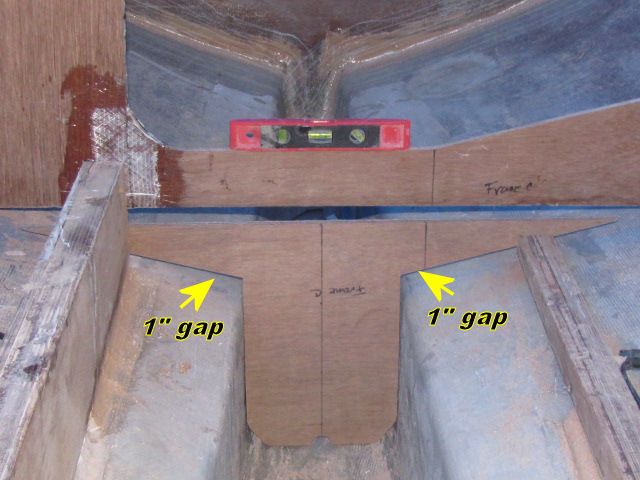
So starting down in the keel the small section of the bulkhead is about an inch too high. Not a big deal.
Lower section of Frame C
I fixed that this morning and it now fits well. The upper section will require a lot of trimming to get it to line up with the baseline. Where it was when I started.

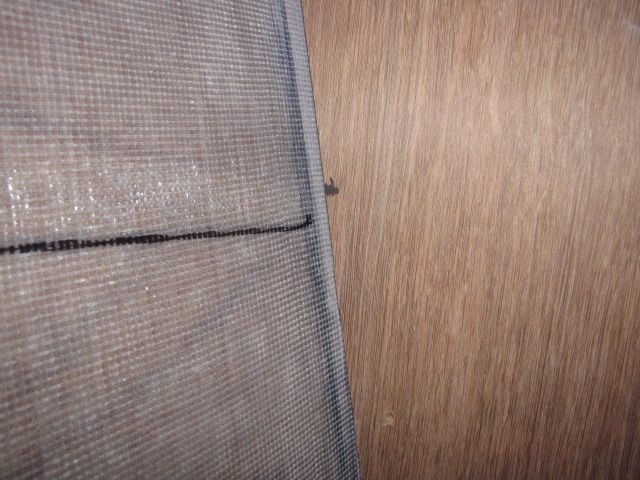
About an inch too high
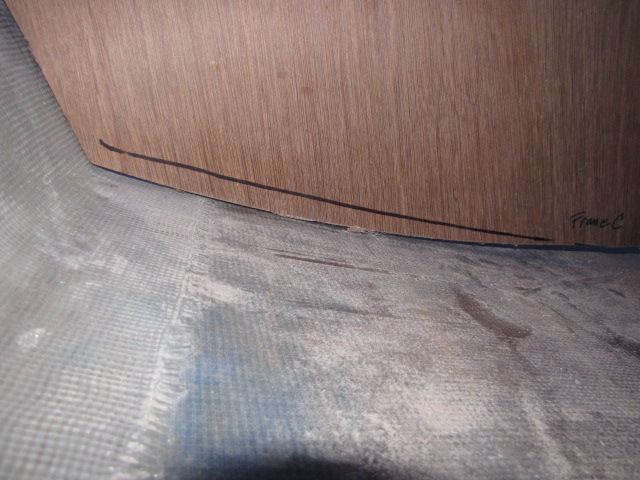
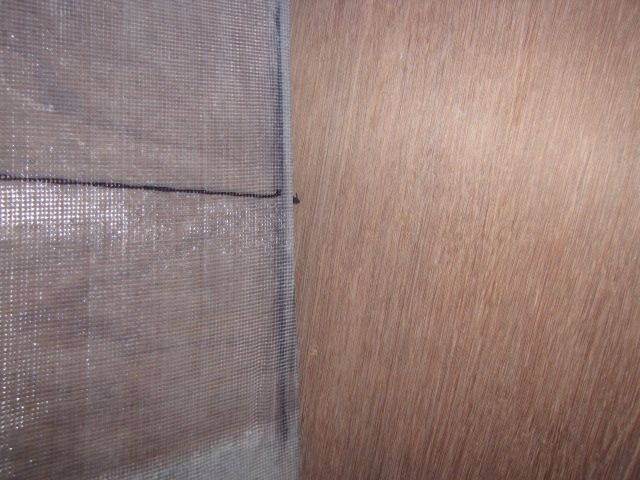
Using a sharpie on a block of wood I scribed about an inch of material to be removed.
Excess material to be removed.
First fit after trimming and it's pretty close.
Damn near right on!
I'll have to trim some more so there's a gap all around the hull. This will get bedded in the same way we did the others. This bulkhead is a bit of a bear to get and keep lined up. It's wobbly and lopsided. More than once it fell on my head!

It's over 90 degs in the shed now I'm calling it quits for the day.

Good news! My son and his wife are having a 'Baby Boy'! :-) My first Grandchild!  Connor Daniel Laporte. ETA end of September 2016!!!  The LEGEND CONTINUES! :-)

Standby.....

Monday, August 8, 2016

More tiny steps

Yanked out Frame A for modifications.
Frame A mods
The top section will be access to the anchor rode/chain locker. Below that will be storage and the bottom just void space. I might be able to get the bowthruster/windlass battery in there. Dunno yet. I'll fab up some nice doors at some point in time.

Flew in Frame C. I'll have a few mods to the stringers to make to get this one in place. It also has a few small pieces that bridge the box keel. I think I know where they are! *scratching head*
Frame C flying into the boat!  :-)
That's 'bout it for today. Got a 'Honey Do' to do!

Standby...

Sunday, August 7, 2016

Little break in the weather

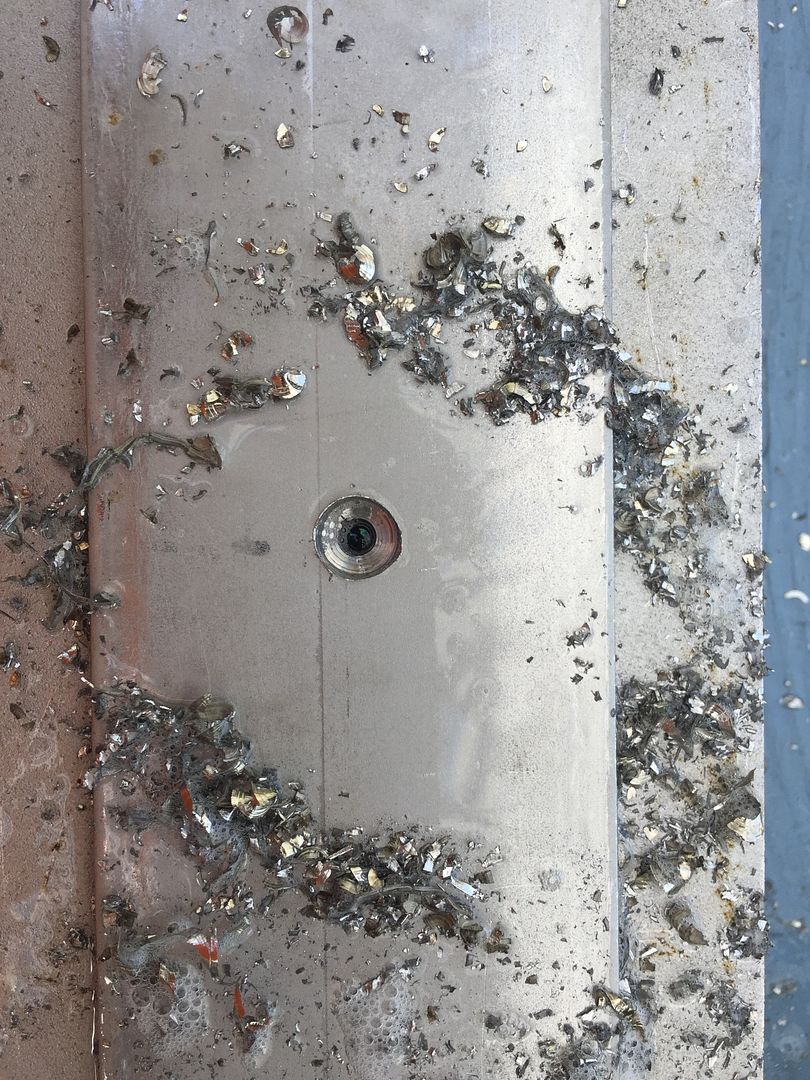
It cooled off a lil' bit today so I got back into the shed to see if I could find my bearings. Started off drilling (or should I say trying to drill) a hole in the skeg.
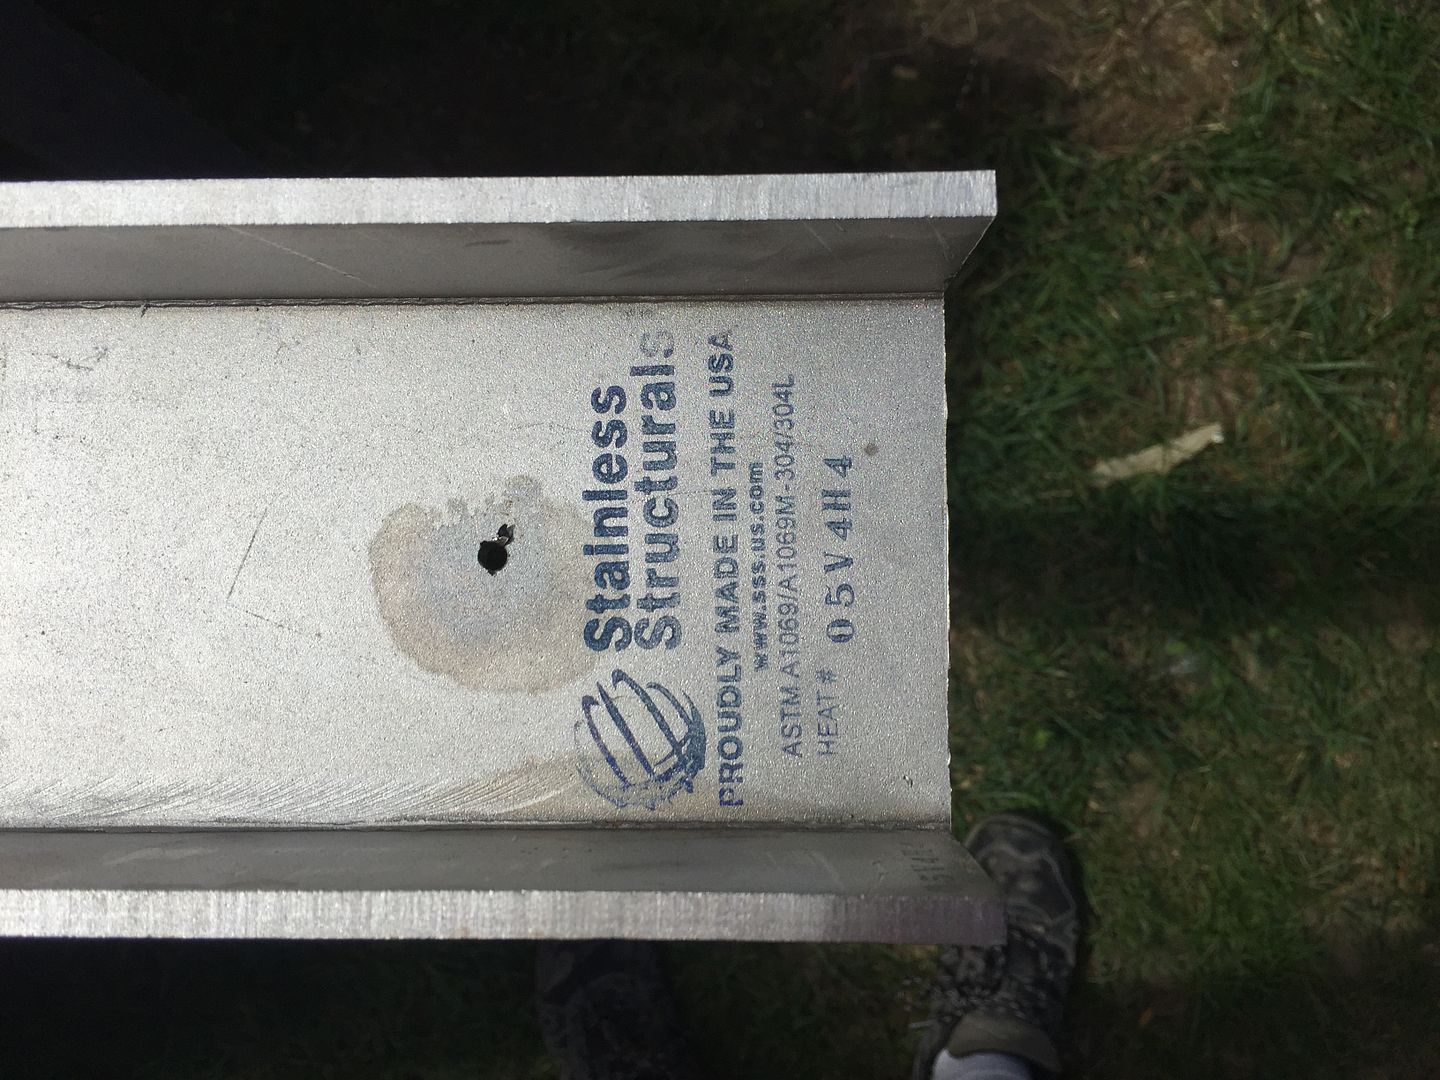
3/16" plate plus 1/4" channel
I thought I had the correct drill bits, Titanium, but apparently not. As I've since found out Cobalt bits are better. The trick, as I think it's supposed to be, is to go slow and plenty of cooling fluid. I did try my benchtop drill press but that's way too fast and I chowdered up a few bits.
Details on the 1/4" channel for the skeg
Ordered a couple of 3/8" Cobalt bits to finish the skeg & backing plate. They won't be here till next week. I've tried to find some, for a reasonable price, around here but all they seem to have is Titanium. I guess it's the 'metal of the month'.
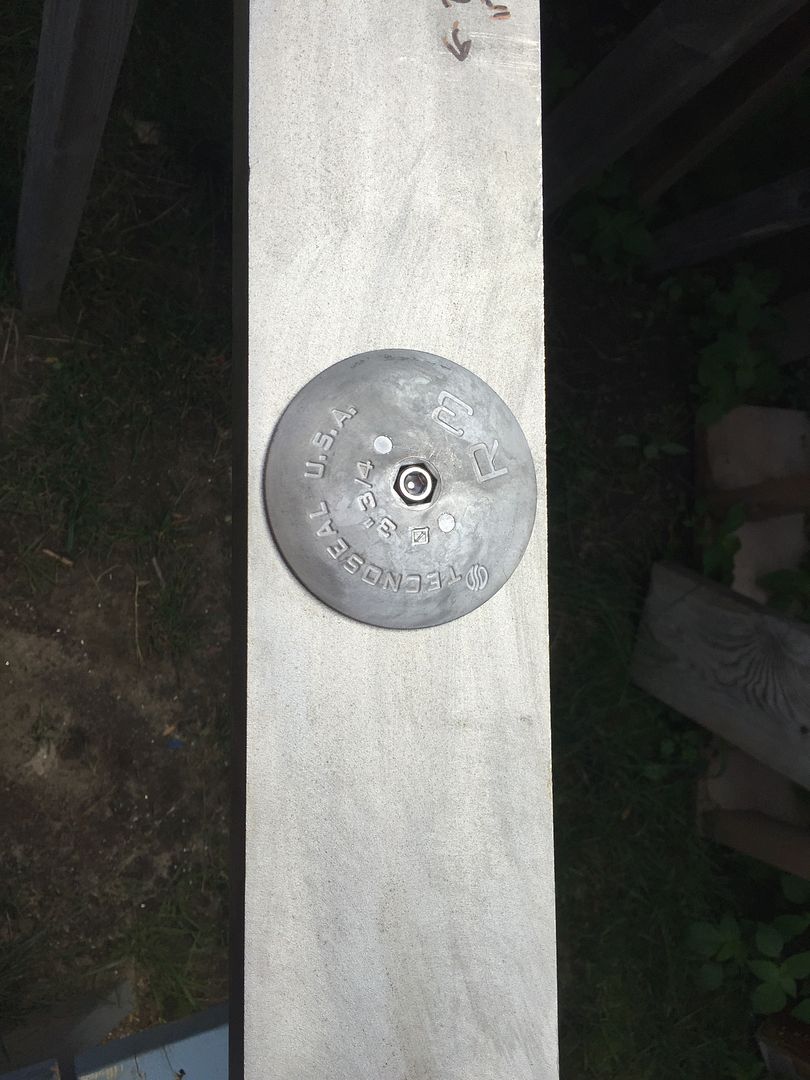
Magnesium anode attached to skeg
I actually got to assemble something! Wohoo! Well temporarily until the skeg is fitted onto the boat. Small wonders!

After some more head scratching and navel gazing I got to work making fillets & taping in frame B.
Frame B filleted & taped
My buddy Jimmy dropped over to work on the throttle cable for his sailboat. He was making up a push/pull cable and didn't know how to finish the end that'll move the throttle lever on the engine. I showed him how to do a 'Z' bend and then a light bulb came on. My neighbor gave me an old hand cart that had hand brakes. It had two bicycle type cable thingies that hold onto the cable with a screw. Perfect!!! Backyard Eyeball Engineering at it's best!

Anywho, it got pretty warm in the shed and I scrambled to get the taping done. Pain in the arse all skrunched up like a pretzel in the bow. I may have to find myself a 'little person' to help in those tighter spots. I don't bend very well anymore! *sigh*

Standby....

Monday, August 1, 2016

Plugging Away

Or should I say, unplugging away. Drilling holes in the hull I've worked so hard on to get watertight is a bit unnerving! ;-)

You caught a glimpse of the skeg in the last post. I've drilled holes in it, no small feat, to align the key components, the rudder shaft and the mounting holes through the bottom of the box keel.
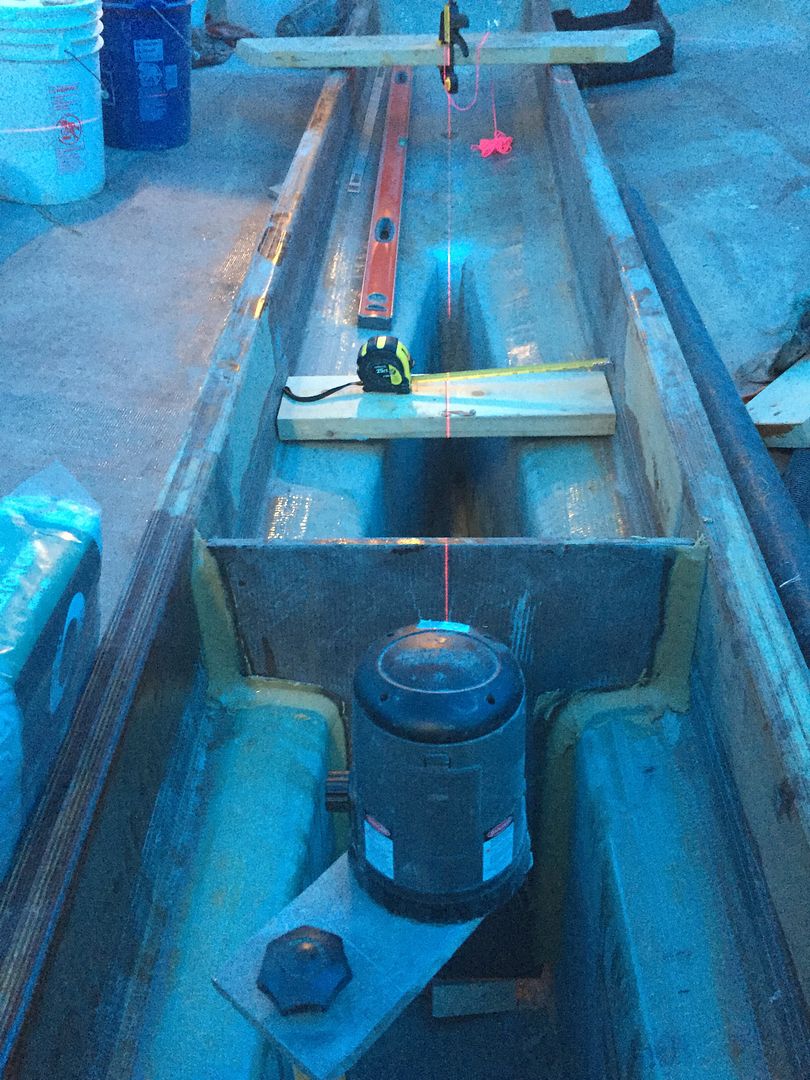
Laser aligning along the long axis of the box keel
I used the laser to align the long axis of the box keel and out to the hole I cut for the rudder shaft. It is so well lined up the laser also lit up the plumb bob through the prop shaft hole! It was spot on.
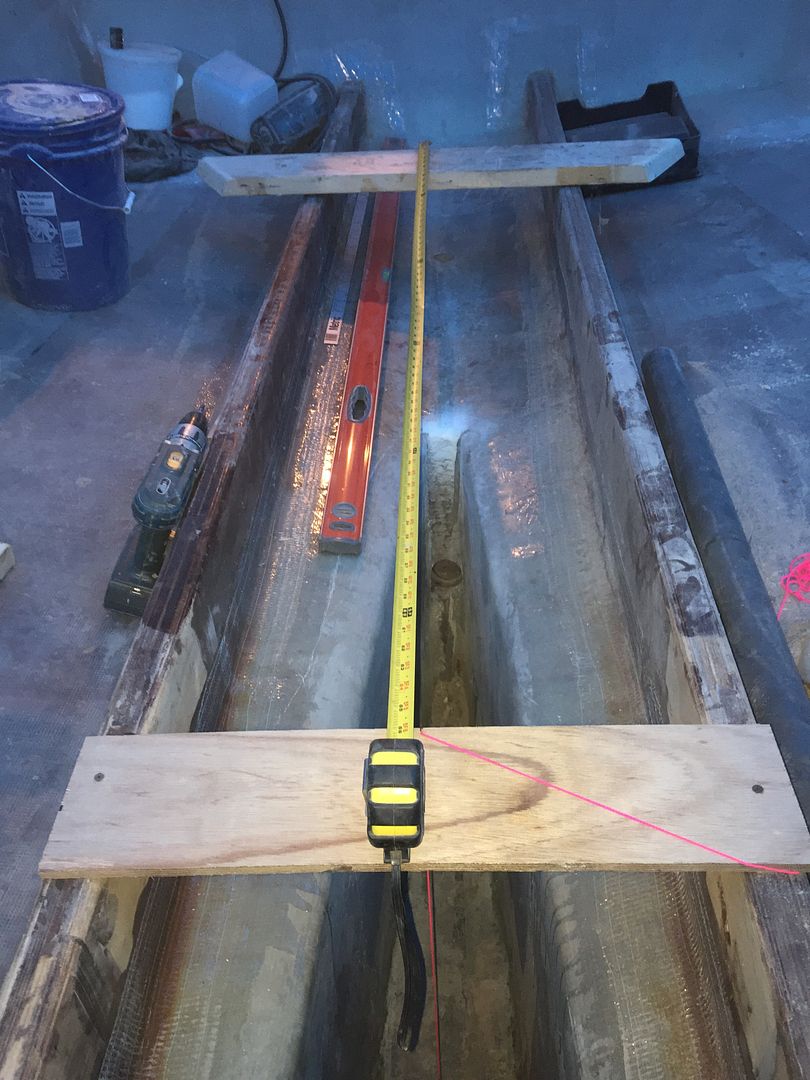
Measuring for skeg alignment hole
The center of the rudder shaft to the first alignment hole is 65 1/2". I am able to locate this by running a plumb bob from the nearest plank (seen above) to the bottom of the keel. Again using the laser I was able to sink it dead center in the keel.
Oh no, it's never gonna float now! ;-)
I opened up the hole to allow a bolt to go through that I'll use to suspend the skeg from the box keel. I can then go on to work out the geometry for the skeg/rudder assembly.
Backing plate in place
I laid out a 3/16" x 3" 304 SS flatbar on top of the skeg and drilled matching holes into the skeg. It's tough going drilling through 7/16" of stainless. Took me the better part of an hour to drill 3 holes. All I have is woodworking tools so it's a bit of a chore. Titanium bits and lots of cooling fluid help a lot.

By the time I got that done it was hot in the shed and the bolts I have aren't long enough so I called it quits for the day. Back at it tomorrow.

Standby....