Sunday, September 11, 2016

Sticktoitness

Sticktoitness  (Capeman 2016)

Capeman coined that phrase awhile back on the Bateau.com forums describing my persistence in working on this big project. Had to correct him though, the wife already describes that trait in me as 'Stubbornness'. Who am I to disagree with her eh?  :-)

Anywho, whether it's sticktoitness, stubbornness, persistence or whatever, I just have to keep nibbling away at this thing. Eventually, at the same pace your fingernails grow, I'll get it done one day.

Today's task was to dry fit and trip up the bulkhead that'll support the Python drive. You saw that yesterday. I measured 6 times and cut once! :-)  See? I learning!
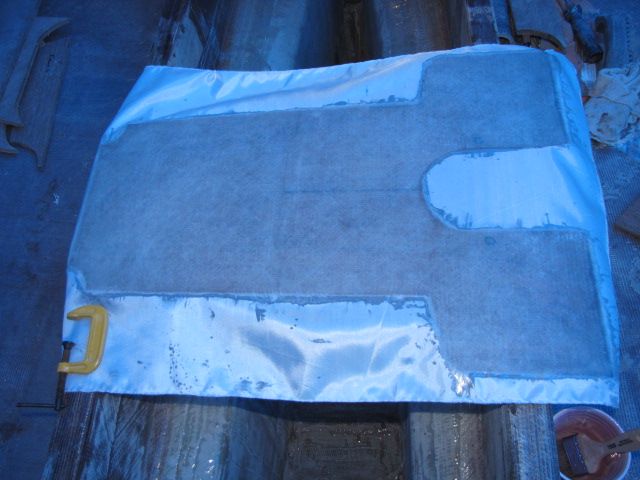
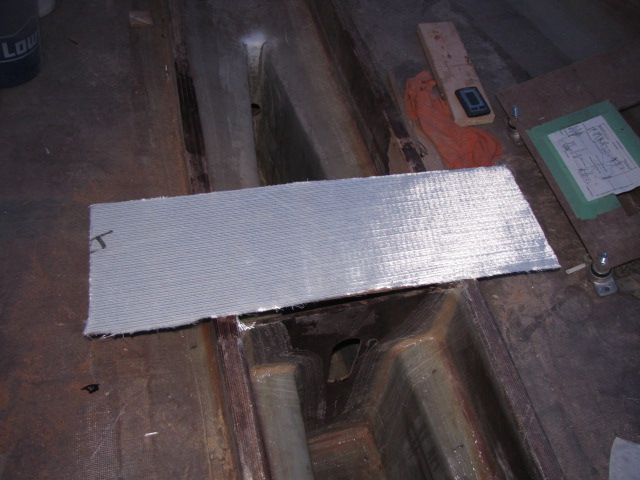
Heavy fiberglass and peel ply
This small bulkhead will get an extra heavy dose of fiberglass on both sides. I think this is 24 oz/yd glass. Seen above it's been laminated and peel plied. It'll be ready to flip over and do the other side tomorrow.
Sanded ready for bulkhead installation
Sanded up the area between the two small bulkheads. This area will form the bilge sump and will have the dewatering pump and the crash pump (I think).

Going back in the shed this afternoon just to clean up a bit. The boat looks like it just got hit by a twister! (no joke, we had them rolling through the area last night).

Standby....

Saturday, September 10, 2016

Massive WTF Moment

Stymied. That's how I felt this morning. Stymied. I sort of had it planned to glue & tape the two partial frames but then go to thinking ahead about the tanks that have to go between the frames. Downloaded, where I could find them, the drawings for the tanks.
Last time I actually saw these was 5 years ago!
We bought the fuel and water tanks 5 years ago on a mini-vacation to Rhode Island and Maryland. They immediately got stuffed in the loft of the garden shed and I haven't seen them since. Didn't really want to haul them out so trying to picture how they'll fit, based on the drawings, in my head hurts! *sigh*

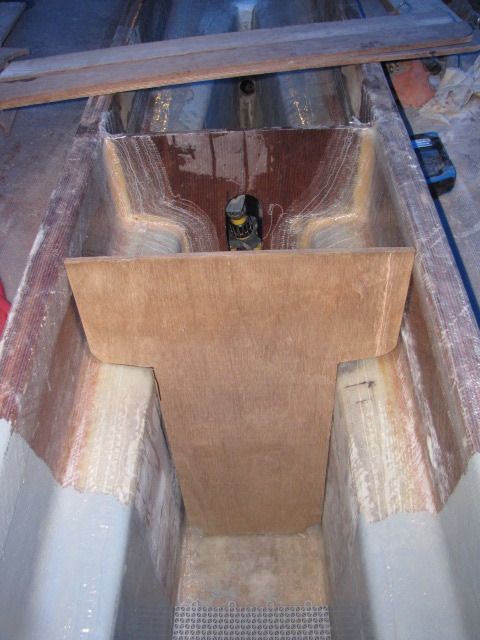
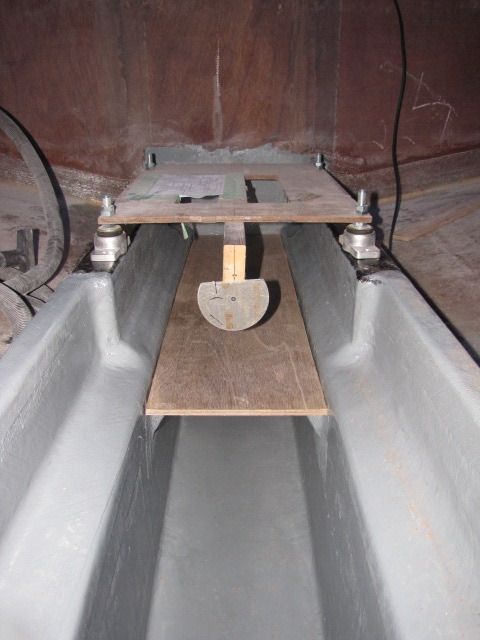
Anywho, as things would have it my mind kept drifting off to other things. I know one of the priority items, stuff I HAVE TO get done before the engine gets here, is the bulkhead in the box keel that'll support the Python Drive. I tinkered with this a bit awhile back. Time to lay it all out again and fab up a bulkhead.
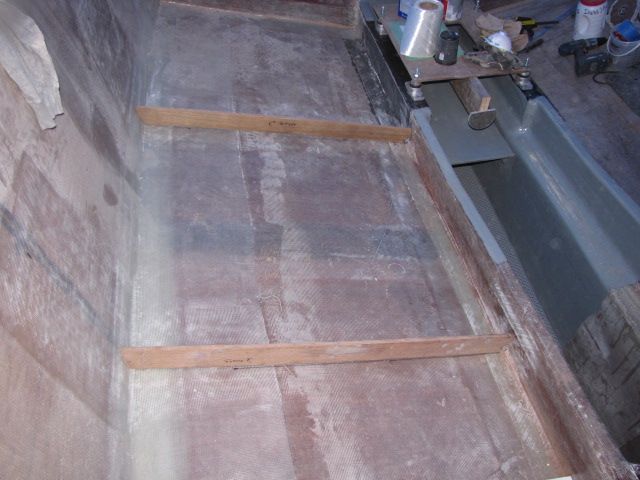
Blank bulkhead trial fitted
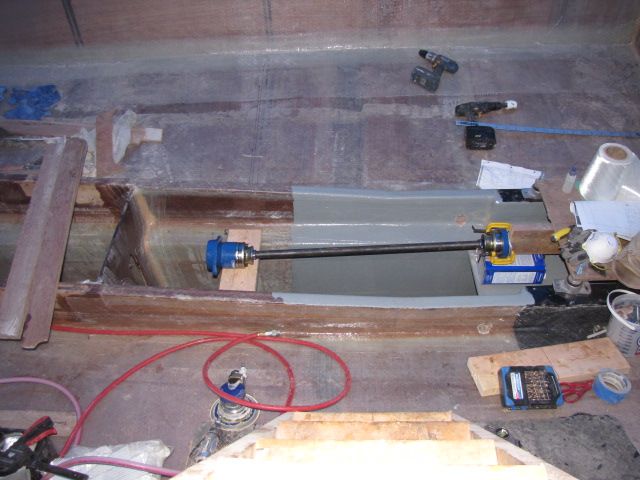
It's going to get pretty tight in there pretty quick. Not much I can do about it. Here's the extended shaft for the Python Drive.
Python Drive extended shaft
The geometry is pretty simple. The prop shaft is at 8 Degs from horizontal so the bulkhead supporting the thrust bearing will be 8 degs from vertical. That's easy enough. The extended shaft has two Constant Velocity (CV) joints. Manufacturer recommends a minimum 2-4 degs from axis for each joint to aid in lubrication so the extended shaft is angled 4 degs from horizontal. Quick & easy until you're standing on your head in the bilge trying to hold it all together and mark it out with only one hand!

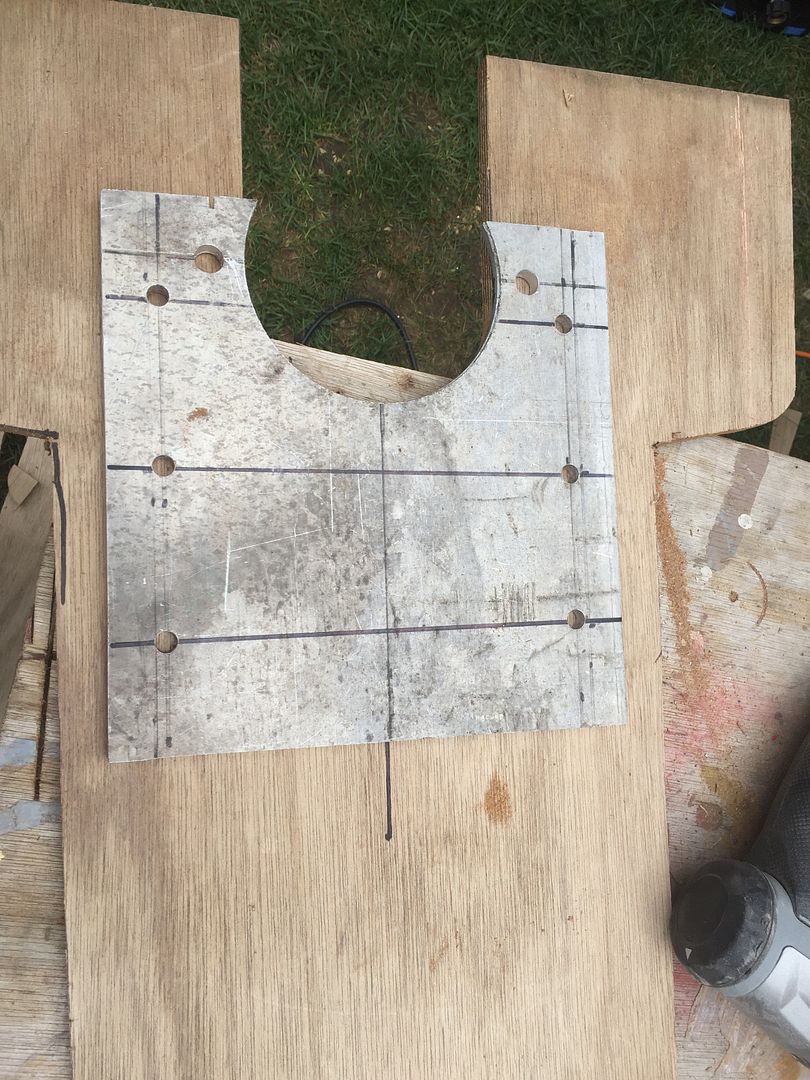
The thrust bearing part of the Python Drive will actually be mounted to a 3/8" aluminum plate. That in turn gets bolted to the bulkhead. This provides some wiggle room for minor adjustments.
Thrust plate
That's about as far as I got before the clouds opened up. Back at it again tomorrow.

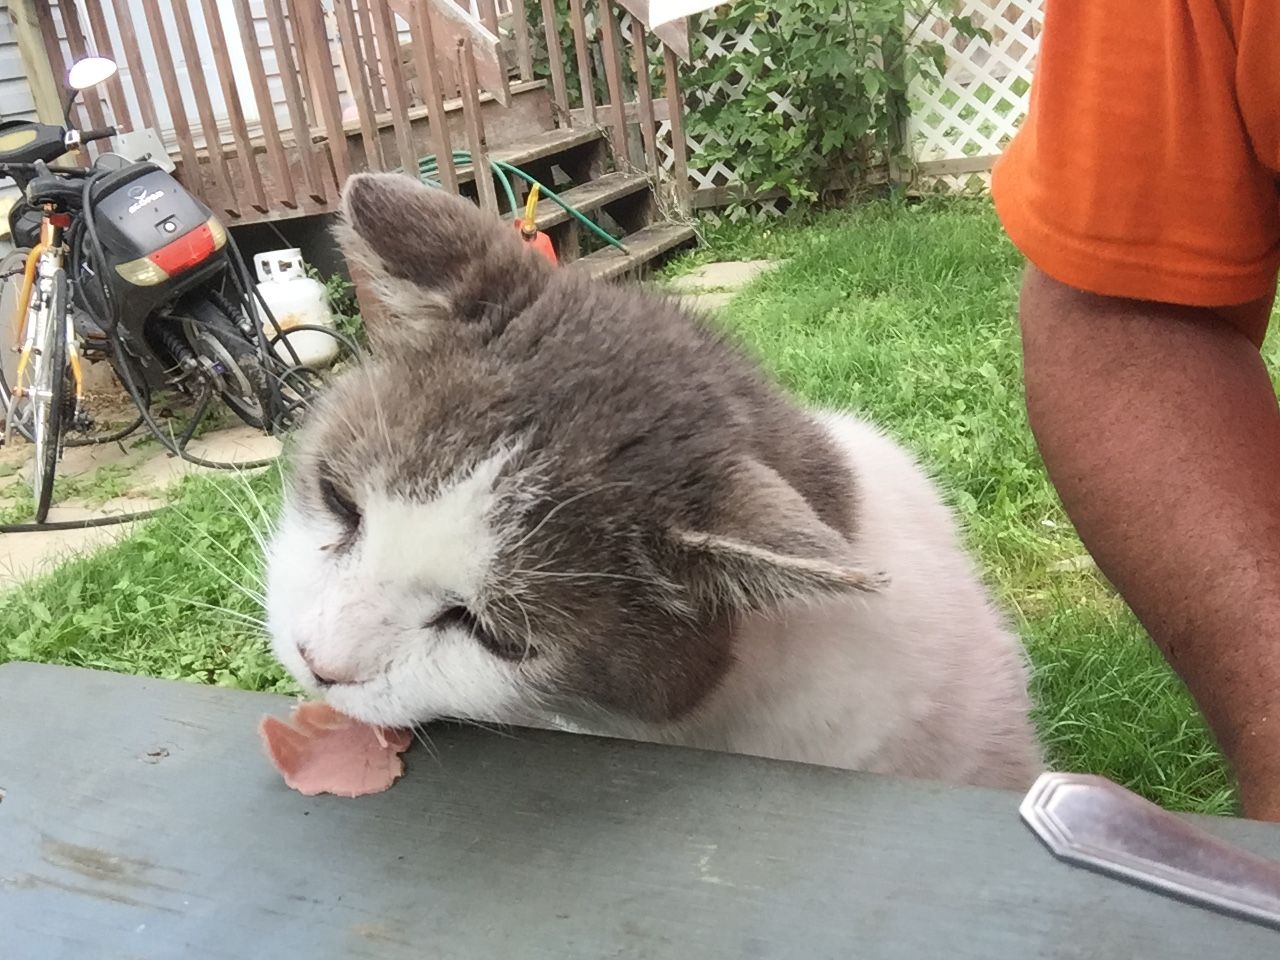
The Project Manager stopped by for lunch.
PM helping himself to some of my lunch
 Can't very well say 'No' to the boss now can I?  :-)

Carry on.....

Friday, September 9, 2016

Drip Tray, Frames & Limber Holes

Trimmed up the drip tray and screwed it into position. Slapped a coat of bilge paint on her and called her 'Sally'! Done. What next?

Started to lay out the frames that'll go in the engine space. E2 and F for starts. I'll have to build small 'shelves' for the tanks to sit on so I have to get my dimensions down now.
Frame E2 (fwd) and F (aft).
Nothing spectacular I know but it's progress all the same. I'll likely do the port side first then switch the ladders around and do the stbd side.

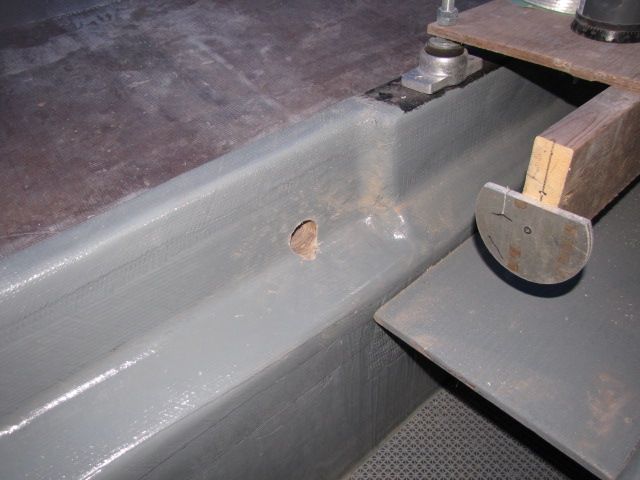
I poured some water on the bottom of the boat to see where it'd sit. Lowest point identified I drilled two limber holes. These will allow any water that gets into the engine compartment above the stringers to drain to the bilge sump.
Limber holes drilled for drainage.
Tomorrow I'll be gluing and taping E2 & F into position then relocating the baseline and set the floor height with the rest of the frames.

Standby....

Thursday, September 8, 2016

Kinda Slow Goin'

Things have been pretty slow around the ole' boat shed lately. I'm still waiting on the engine to be finished it's service and the stainless for the rudder was just cut yesterday (supposedly).

This morning I only had a few small things to do. I cut & fitted the tray that'll go under the engine.
Catch tray fitted under engine.
That got a layer of glass from the 'offcut bin'. Dunno what weight it is, 18 oz maybe.
Glass on the tray waiting for epoxy.
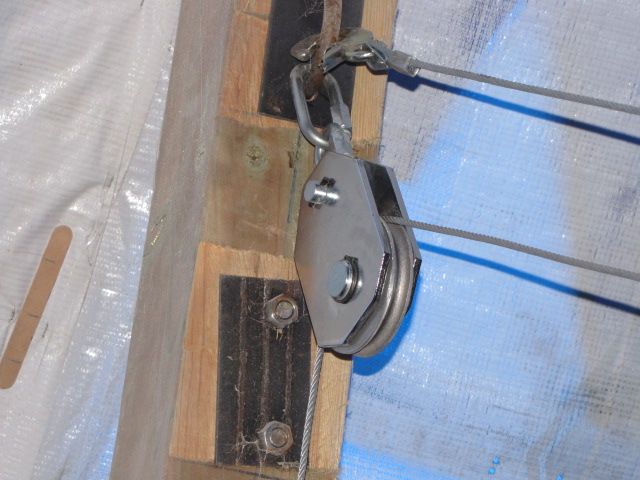
I next had to change out a pulley I had on the boom setup. Originally had just a rope pulley but that wouldn't be good enough to hold the weight of the engine so I swapped it out for an 8000 pulley.
8000 lb pulley ready for action
Also had to hook up a rope pulley to help manage the boom. It'll control the slew as I pick up the weight. It'll naturally, because of the angle of the gin pole, want to swing into the boat so the rope will be able to control that.

Too hot in there now. More tomorrow.

Standby....

Thursday, September 1, 2016

BOOM!

Remain calm. Breathe! It wasn't an explosion! You can sit down now!

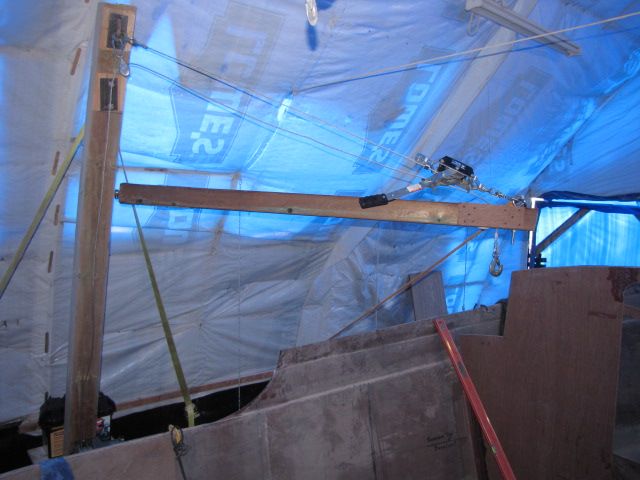
Two days of futzin' around making a boom to attach to the Gin Pole. The purpose of which is to lift the engine into the boat.

The engine dry weights 565 lbs. With fluids let's say 600 lbs. Nice round figure.

As you saw in Sept of 2014 the Gin Pole was more than capable enough of lifting over twice the weight of the engine and hold it there. Amazing considering the little electric winch was only $160 at Harbor Freight.

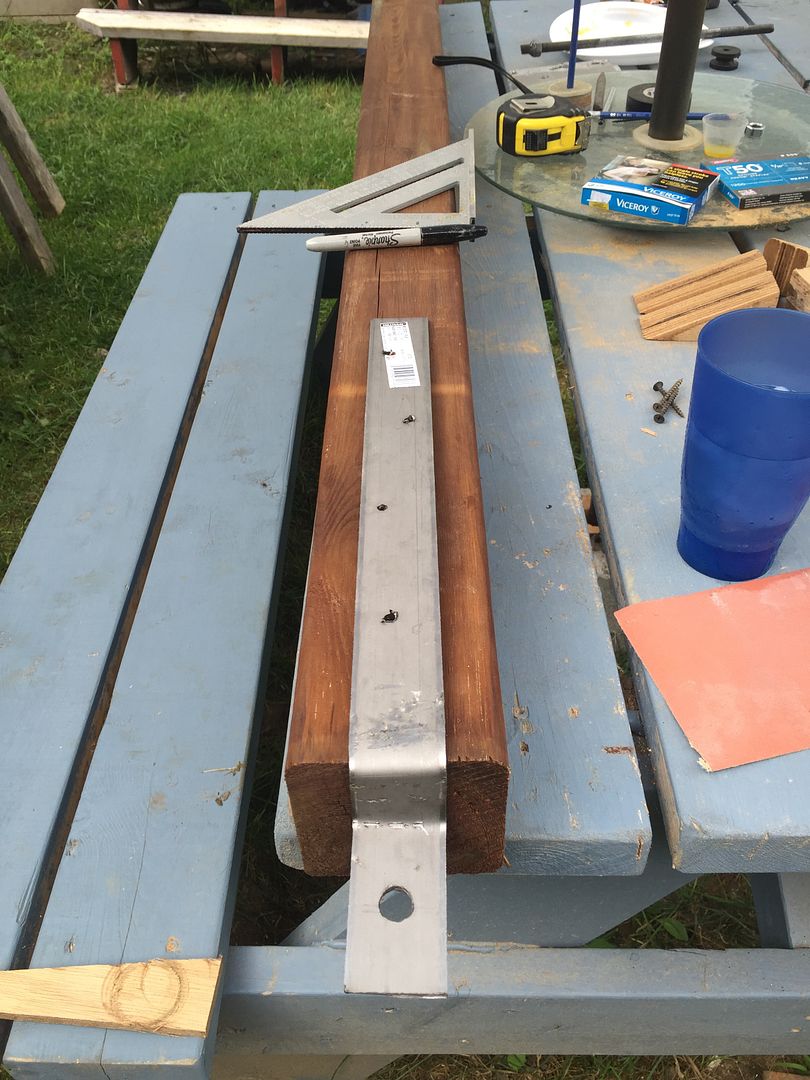
Fabricated two brackets that'll swivel on a 1/2" eye bolt that was embedded in the Gin Pole for the flip.

Brackets fabbed to swivel on eye bolt
Long story short I managed to single handed hoist this hunk of wood and metal up to the Gin Pole and get it bolted & strung into position.
The Boom!
I may add another eye bolt to the end and double up on the hoisting cable. This rig only has to work 'once' just like the Gin Pole did when we flipped the boat.

The cable ratchet is 2000 lb working capacity. The hoisting cable is 2500 lb capacity. The boom swivels on 1/2" Grade 8 bolt with nyloc nut. The sheave I borrowed from one of the 8000 lb blocks we used to flip the boat. I'll anchor the Gin Pole pretty much the same as we did for the flip. Maybe run one more strap to the aft end of the shed to take up strain as we lift the engine.

I plan to put tires & plywood on the bottom of the boat for the lift so if the engine falls it'll wreck the plywood etc. and not go through the bottom of the boat!

Standby....