Wednesday, July 16, 2014

Monsoons and Epoxy

Monsoons and epoxy don't mix. I was out in the shed early yesterday to start some more coats of epoxy on the hull. About 9:30 or so the heavens opened up and it started to pour! I mean it came down in buckets! I knew I was in for it. The shed roof leaks like a sieve. I did get some of the bulwarks done and had to quit till the afternoon when the rain stopped.
About 1:30 I got back out and managed to get the stbd side & transom coated. This morning I was back out there and got another coat on both sides and the transom.
I do have to say I think it's coming along really well. One more coat on the sides and transom then I'll kick it upstairs to the keel & bottom panels. I've sort of got a rhythm and process going that sort of speeds things up. Maybe I can get a helper to mix while I roll. That'd be sweet 'cause all that up & down the latter stuff really tuckers me out!


Standby........

Monday, July 14, 2014

Another Delightful Day

Yet another delightful day of Sandinsanity! Managed to get the rest of the first coat of epoxy sanded. Tomorrow I'll skip up on top and start coating the keel & bottom panels. Got a call out on Facebook for volunteer epoxy mixers. Offered beer & smoked sausages but so far no one's answered the call. :-(

Apologize for the crappy close up pic. This is the epoxy & fiberglass job I did on the air sander swivel thingy. It actually works!
It leaks a little bit but the sander is usable now. It doesn't swivel anymore though! :-)  First thing I did this morning was trip coming out of the garden shed. Doh! Ripped a chunk out of my middle finger tip! Ouch! Some shop towel & hockey tape fixed it up so it was usable too!
Did I mention how much I hate sanding tinted epoxy? Yeah well I do just in case it's not obvious what I was doing today! Hold all the 'Papa Smurf' jokes, I've already hear them all!  ;-)

Standby... more epoxy & sandinsanity fun coming your way soon!


Sunday, July 13, 2014

It's all part of the learning curve

So you saw this pic yesterday.

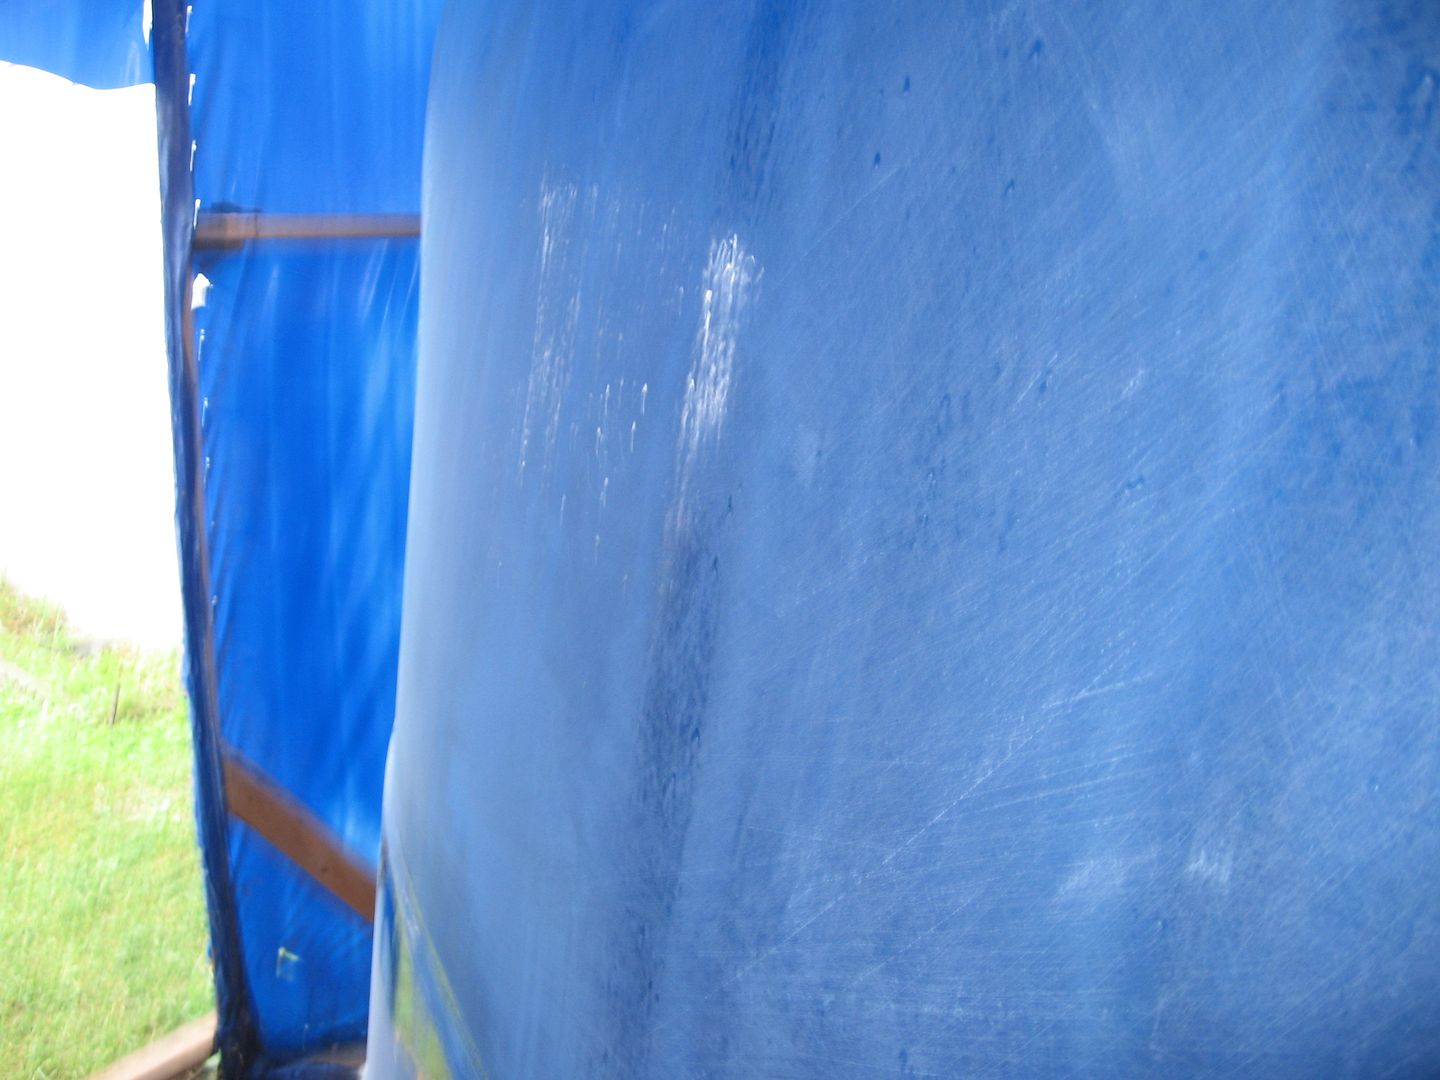
Freshly coated with tinted epoxy. Well apparently I should have squeegeed it out to get the lil' air bubbles etc. out. Live and learn. So today I sanded the area with 80 grit on the RO and the Flexicats. It's amazing how you can now see the low spots!

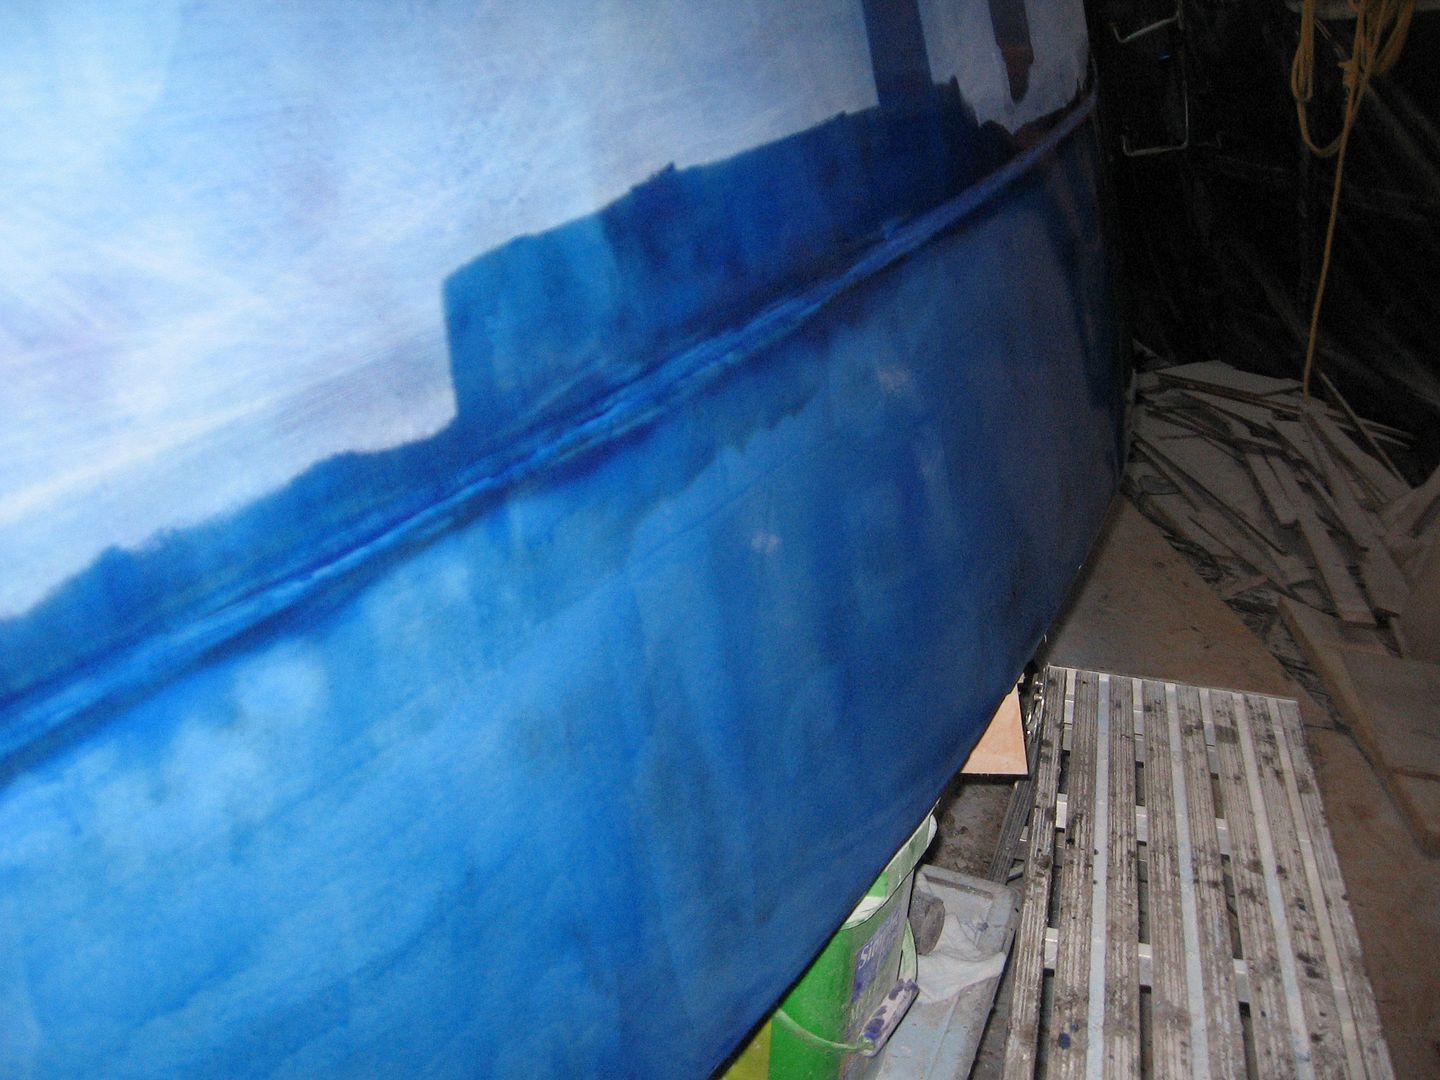
That shiny strip running down the middle is a low spot. You couldn't see it before and you couldn't feel it. I'm kind of glad I actually did this today. Now I know better what I'm in for as I go along. Hopefully by the time I get to the primer stage all these little imperfections will be gone.

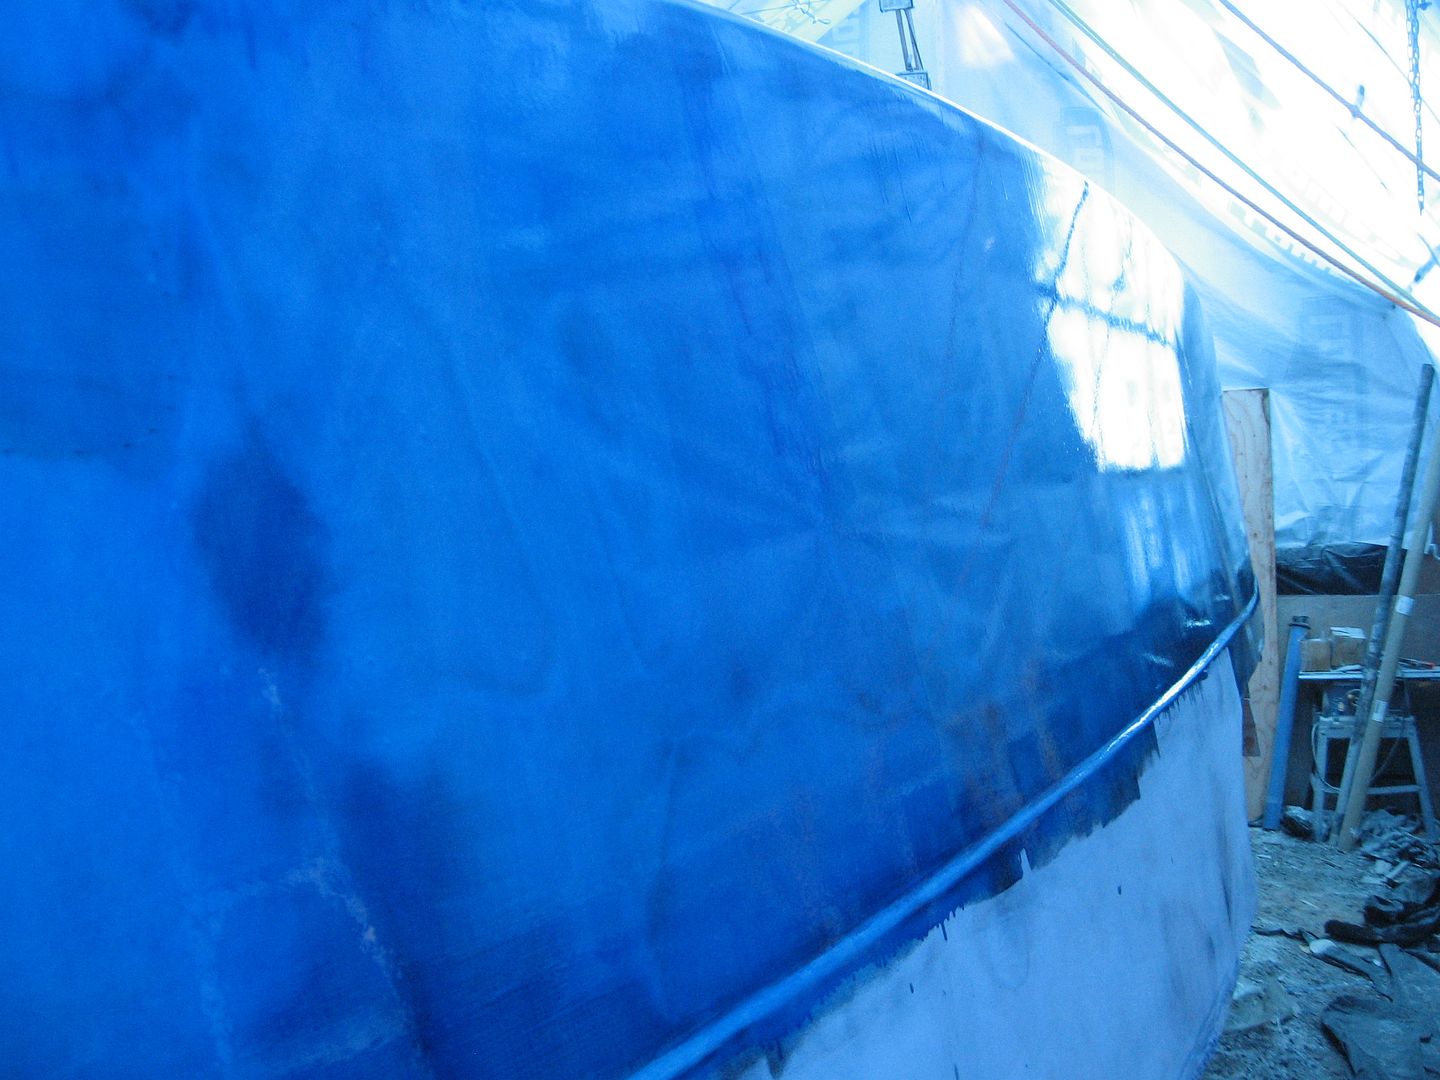
A little farther back the side this time. The dark blue areas are shiny and low spots. Most of the other low spots are much smaller. Overall I think it's coming along well. Patience and perseverance and slow and steady as she goes.

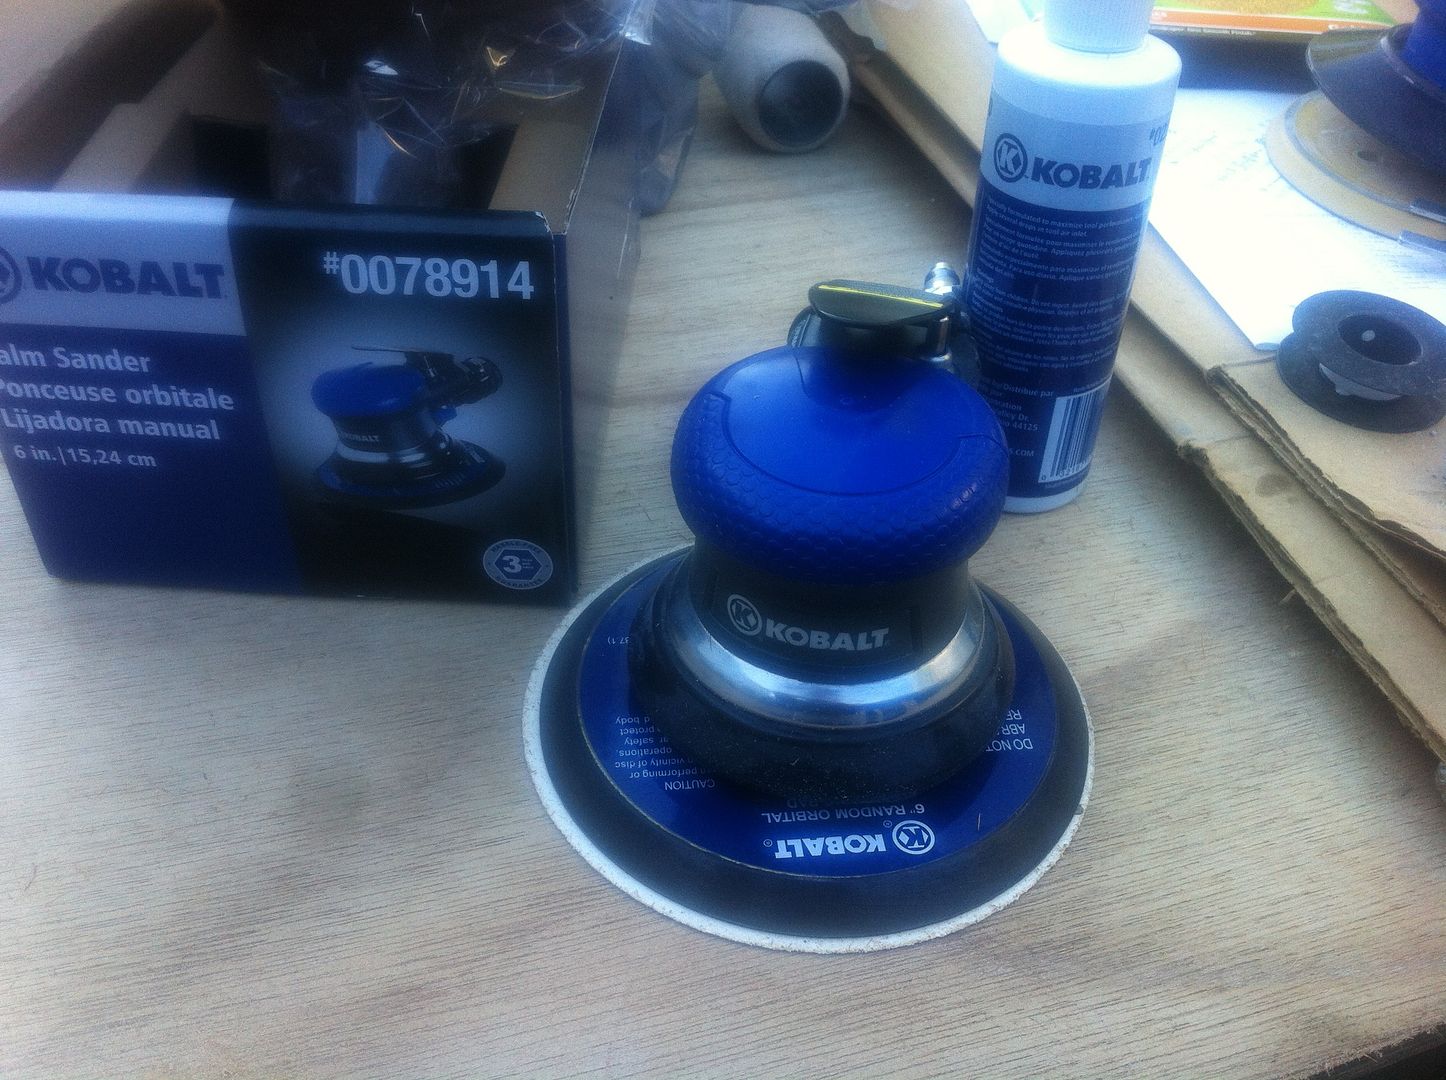
Killed another air powered RO today. Well not dead dead but the Kobalt RO I bought last year (13 days shy of a year) has a swivel sort of attachment on the air line.

I guess the swivel serves some sort of purpose to prevent strain on the air hose. Well that fancy gadget failed. There's a bunch of tiny ball bearings in it and they all came shooting out when it let go so now it leaks air like crazy. You can't get replacement parts. Silly me didn't buy the extended warranty either! Doh! So I do what I do best. I took it apart and epoxy & fiberglassed it back together. I'll wrap it in rubber hose and seal it with a few small hose clamps! Problem solved. Pics at 11:00!


Saturday, July 12, 2014

Starting to seal 'er up!

I had no idea what I was going to actually do this morning when I went out to the shed. I had tested some epoxy tint a couple of days ago and that seemed to go Ok so I mixed up some more and decided to go down one side.

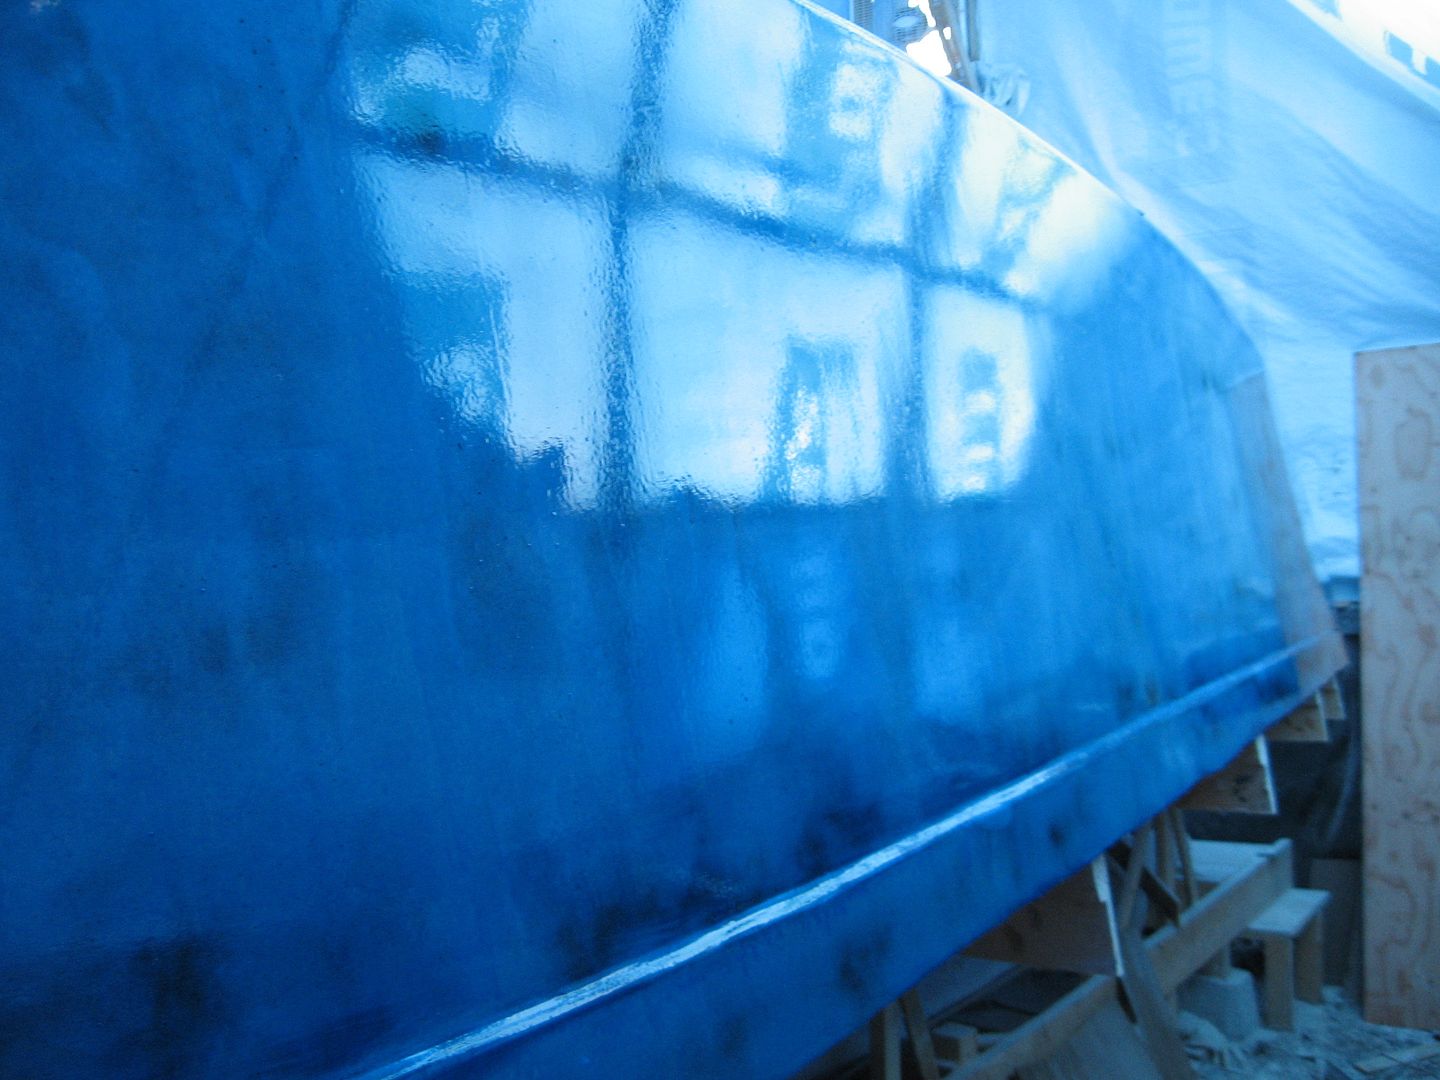
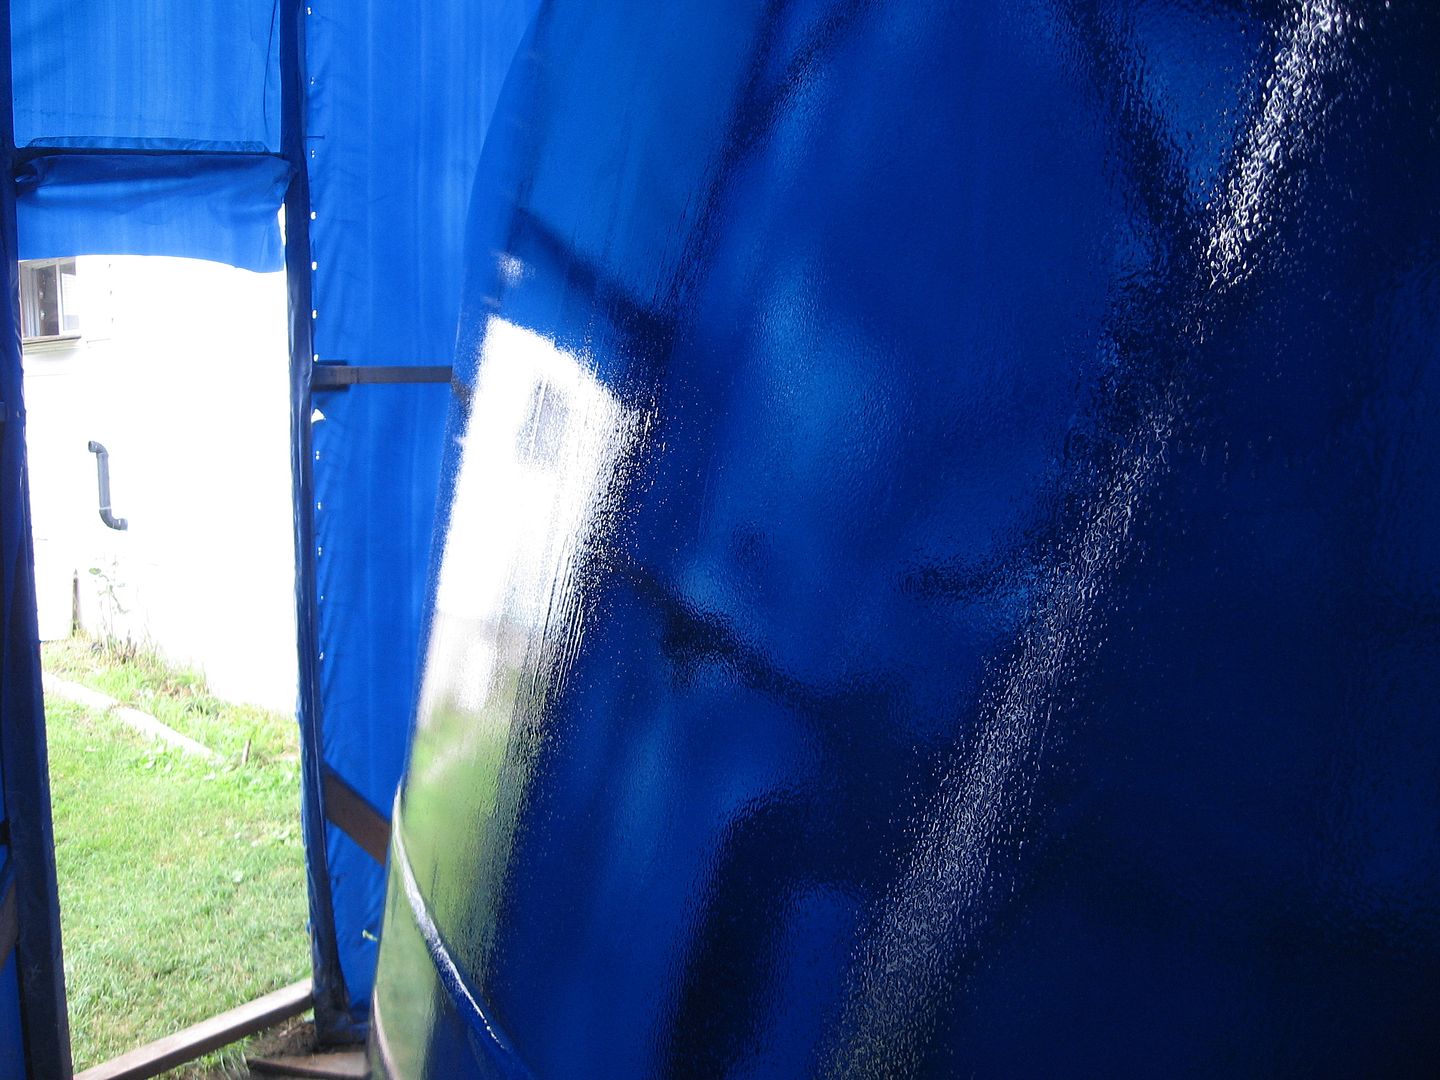
The camera had a hard time getting a good exposure and focus because it was so shiny! This is just plain epoxy with some blue pigment mixed in. Nothing special. It'll seal up the underlying fairing compound.
I'll get another coat on it before any sanding gets done. I'll switch to the other side tomorrow for its first coat then work my way back around.
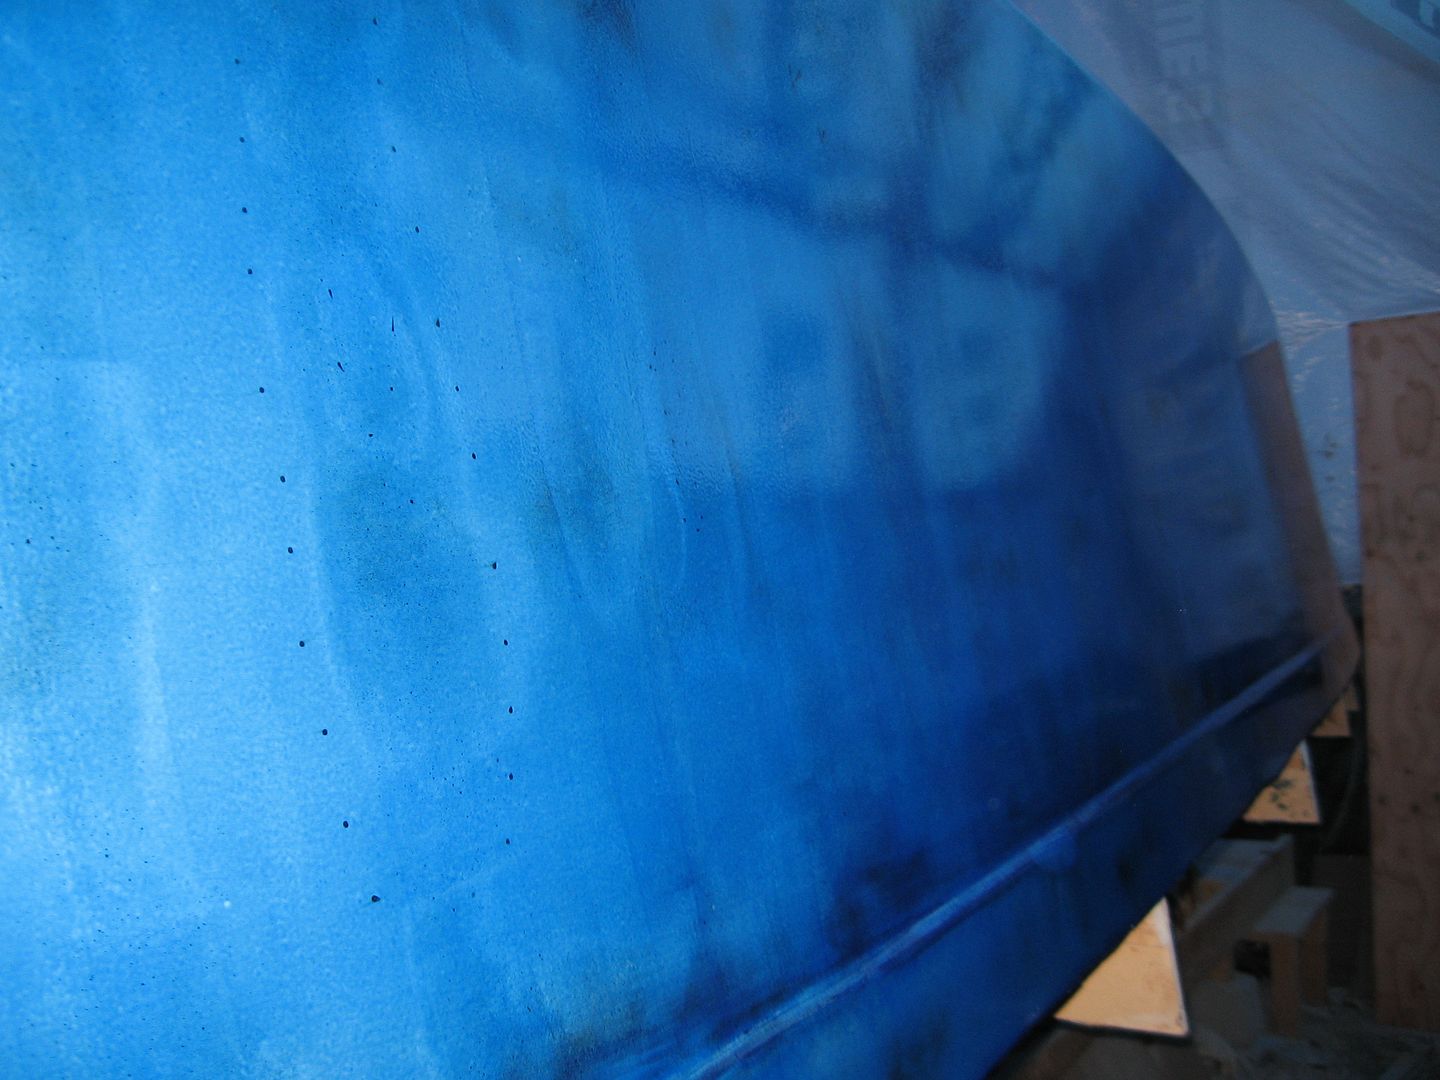
Even with just this one coat on the defects that'll have to be fixed in final fairing are evident. Nothing major just a few flat spots. Once all the epoxy is set it'll get sanded in prep for primer. I did notice a lot of bubbles getting into the epoxy when I used a short nap roller so I switched to a foam roller and it was better but the bubbles are still there. I'm sort of thinking maybe I need to rig up some apparatus to de-gas the epoxy before I roll it out. I have the vacuum pumps for that just not a container to do it in.

This Thursday past a couple of the 'Girls' from the ole' Office came by for a visit. Feeling the need to get away from the hustle & bustle of the big city (Ottawa) they decided to go for a lil' drive in the country and visit the Big Blue Boat Building Shed!
Sylvia & Erika
Sylvia's retired. She packed it in about the same time I did. Erika still works in Coast Guard doing the web stuff I used to do. They had a ball that day. Erika had to get right up on the boat and check it out. Not the best idea to wear black jeans on a freshly sanded boat hull! ;-)

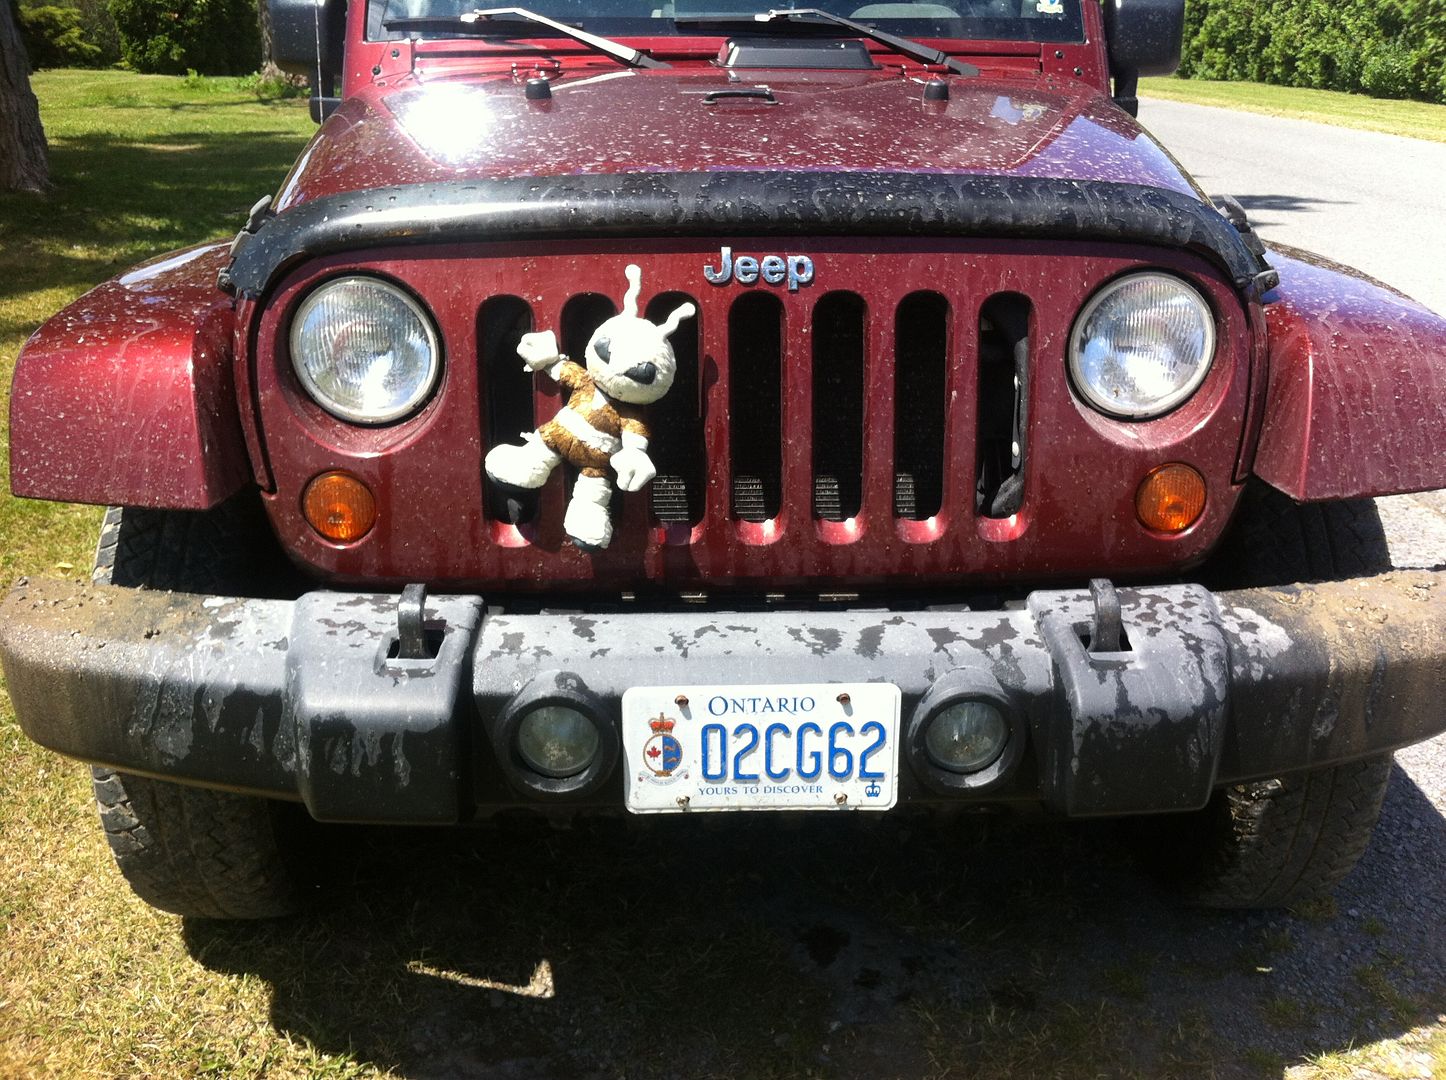
I took them for a ride in the Jeep and we did a little off roading and puddle jumping!
Sylvia was tickled pink to go for her first 'Drive' in the St. Lawrence River! :-)
It certainly was a fun day. Nothing got done in the boat shed but that's Ok! Nice to have company stop by to check out the progress and shoot the breeze! Thanks for coming Sylvia & Erika. Come back again soon but be prepared to work next time! :-)
Wednesday, July 9, 2014

Order from Chaos

I've got this whole boat flipping thing constantly on my brain. Was up half the night thinking about it and how I'll get it done. Decided to break it down into little steps that all lead up to the big event (likely July 30th.).

Step #1:  Get my sh*t together and get some sh*t straightened out.

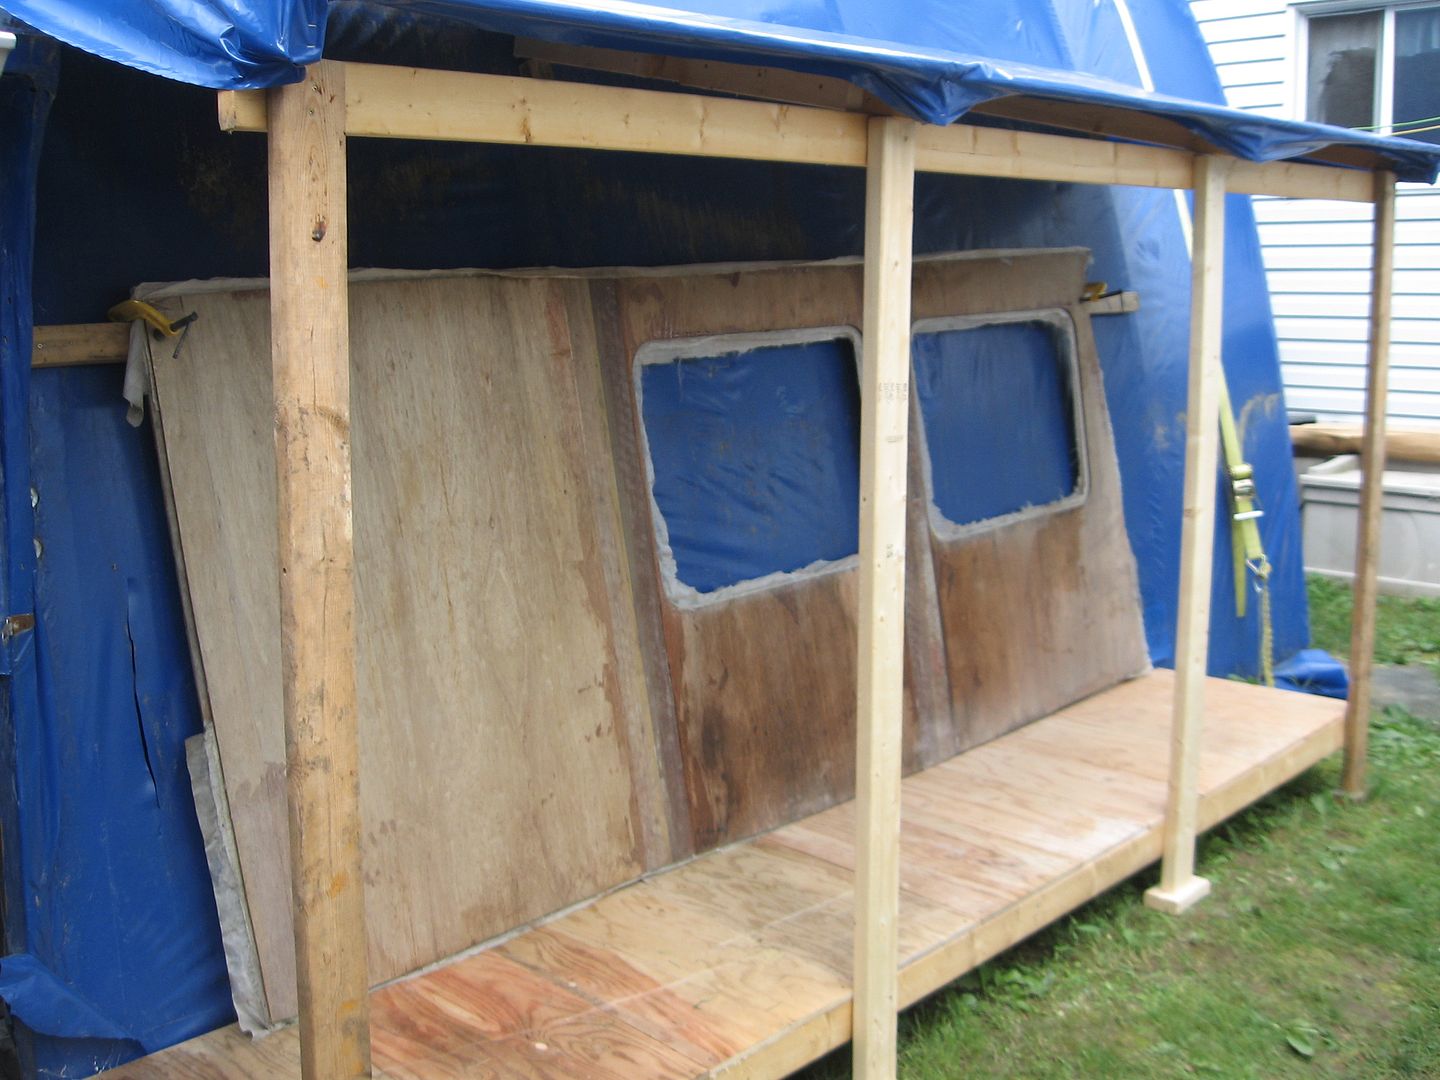
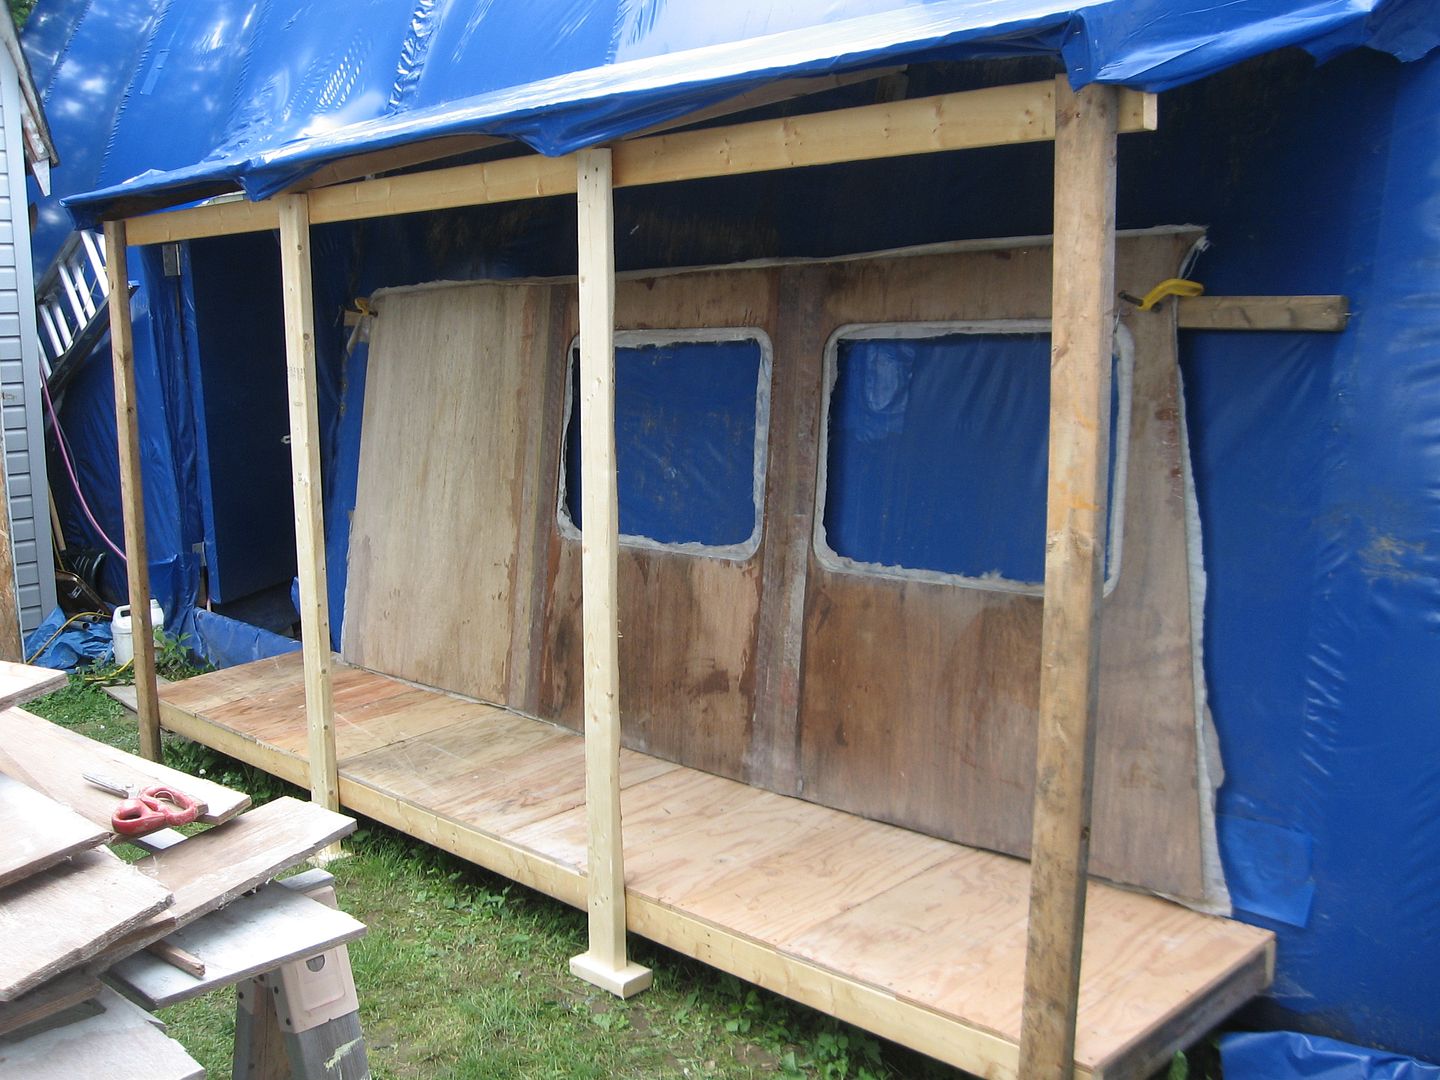
This spring I saw a lot more water in the shed than in any other spring. All my offcuts of mahogany plywood were standing on the ground so they were getting stained. I knew I had to get them up and off the ground. Problem is I don't have much space, at least not in the shed. I'll need all the room I can get in there to do the flip. Eureka! Build a porch!


Attached to the side of the shed where the cabin sides used to reside is the new 'lean-to'. I'll eventually cover it all up with shrink wrap so it'll be weather tight.

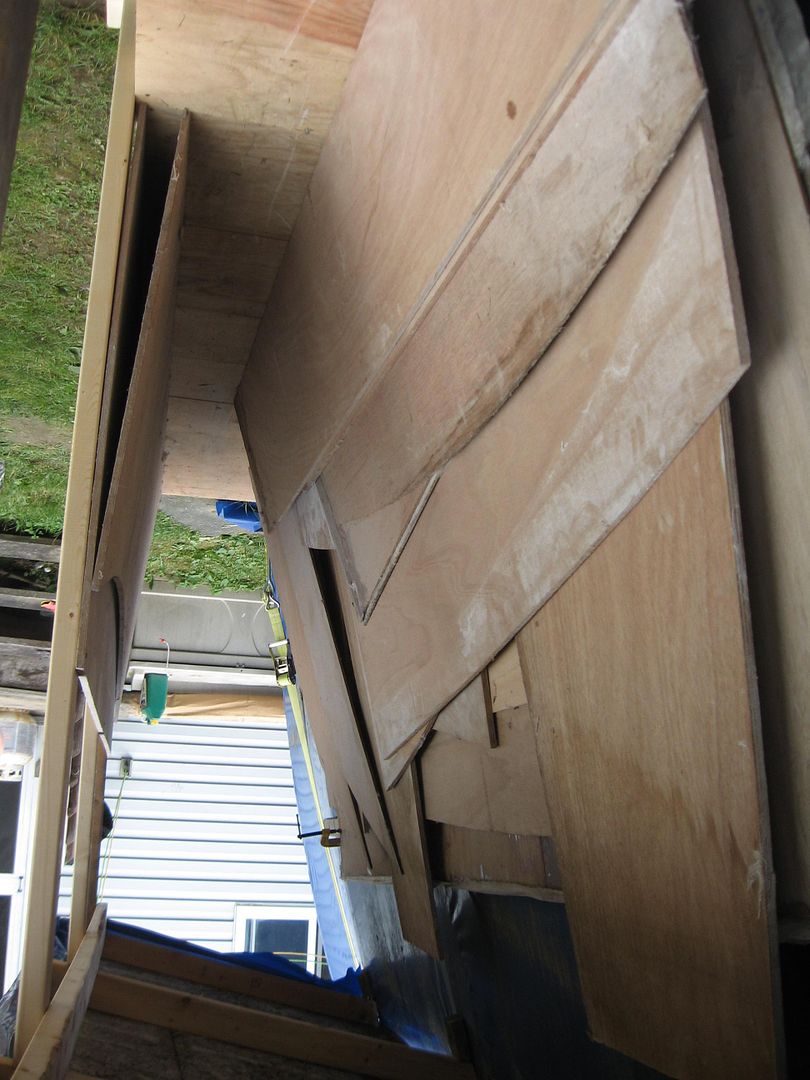
My shop helper and I got a lot of the boat parts out of the shed and off the ground. Most of these are sole panels and side decks etc. The cabin sides are back there too as you can see in the first two photos. I still have a ton of cutoffs that I want to keep. I might have to put them in the shed and will likely build a bin to hold them all.

Tomorrow we build a work bench just for paint! Standby.....