in your fiberglass laminate SUCK! Sometimes no matter what you do or how well you think you did it, you get bubbles in the glass. I promised this blog would show not only the good stuff but the ugly side of building your own boat as well. Well here's some ugly stuff.
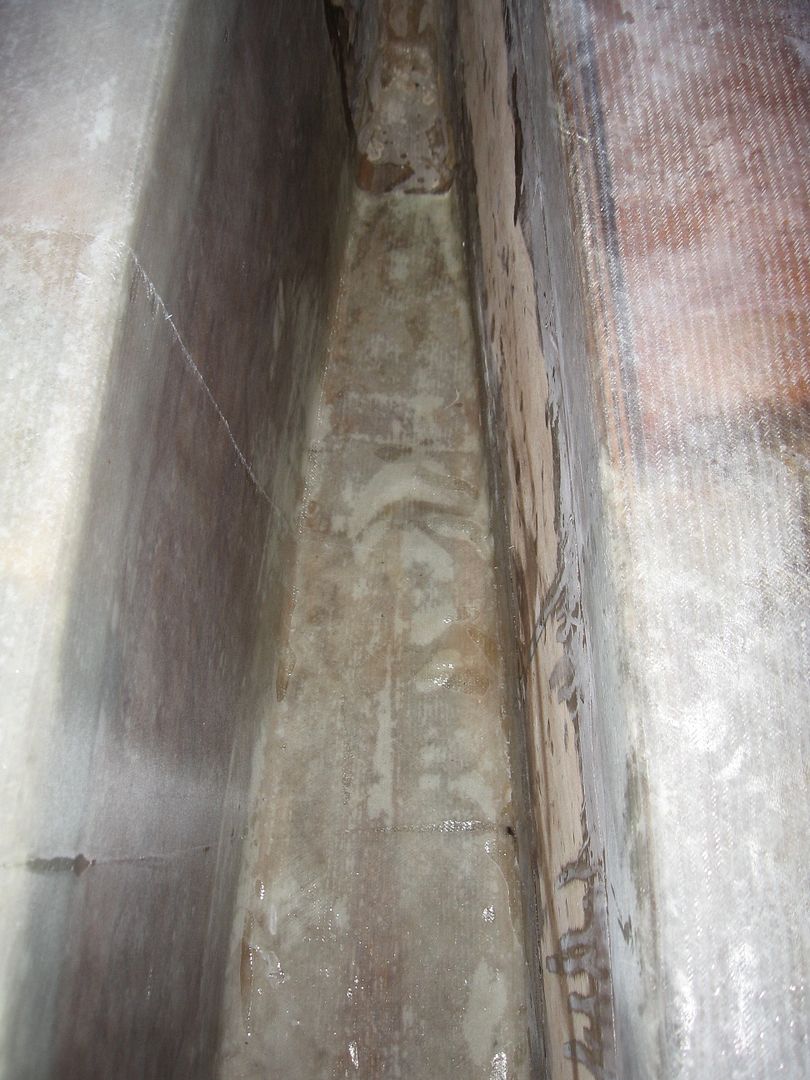
That's a pretty big bubble right along the keel/bottom joint. It'll have to be ground out and a patch piece put in before any more glass goes on over top.
More bubbles along the keel bottom to side joint. "Bridging" I guess you'd call it. These too will get the grind/patch before more glass goes on.
The worst of it. This was my fault. A piece of crap fell under the fabric and I didn't see it until I had rolled the epoxy on. Instead of making a small slit to remove the POS I lifted the entire wetted out fabric to get it out. Big mistake! Again, all will get ground down to good glass then patched.
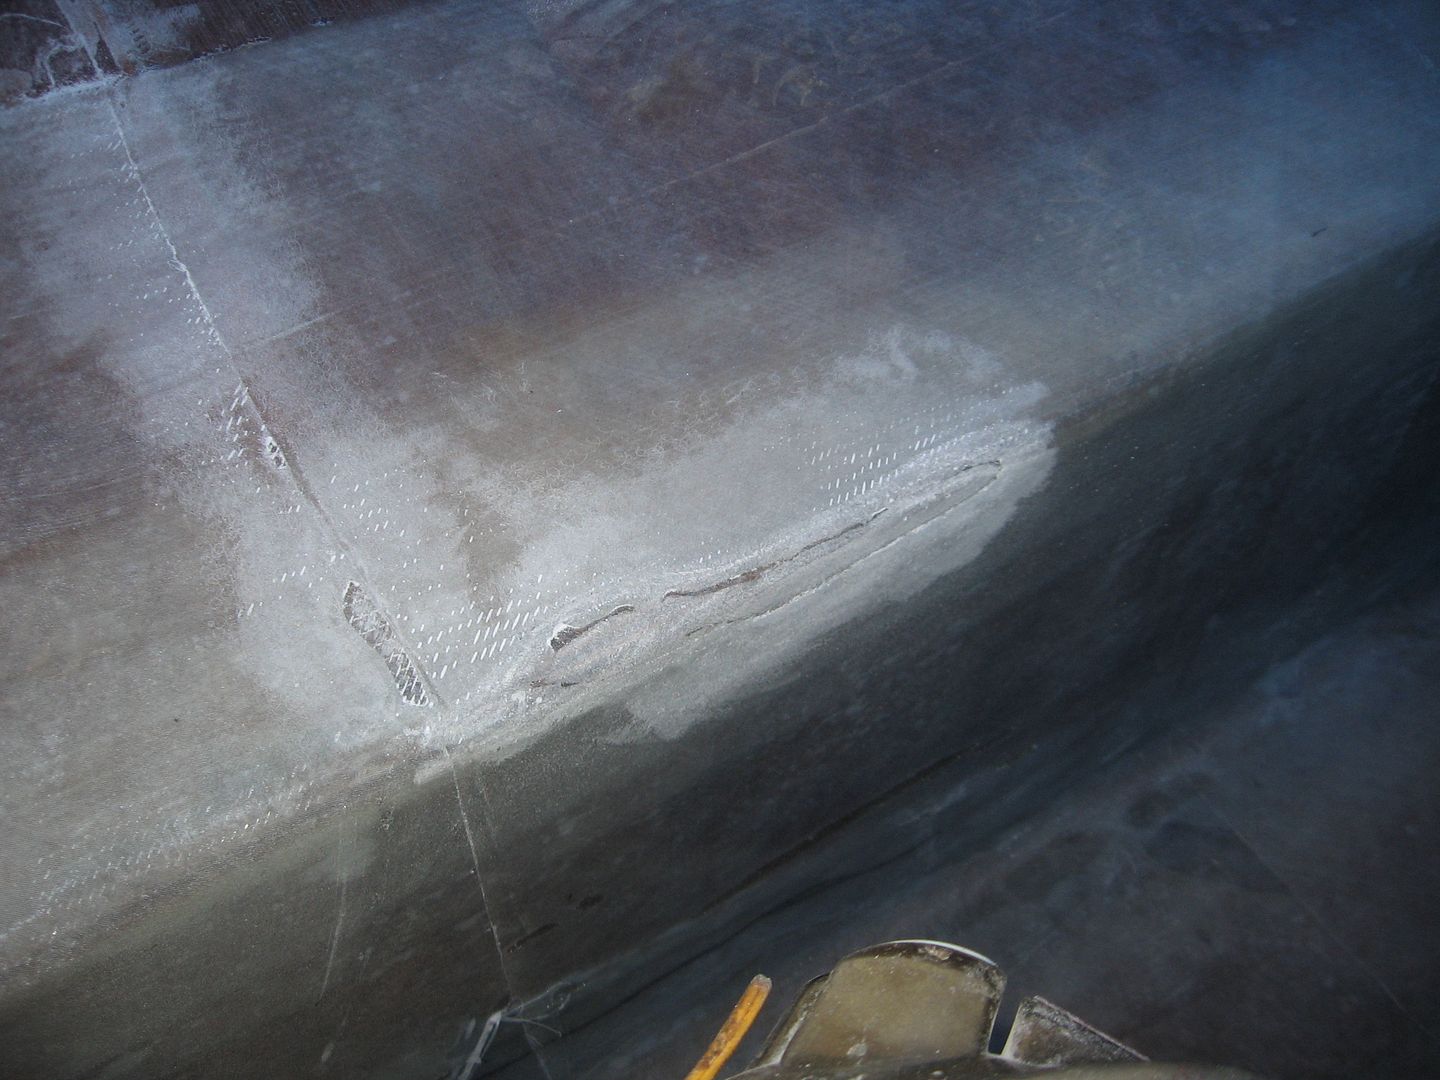
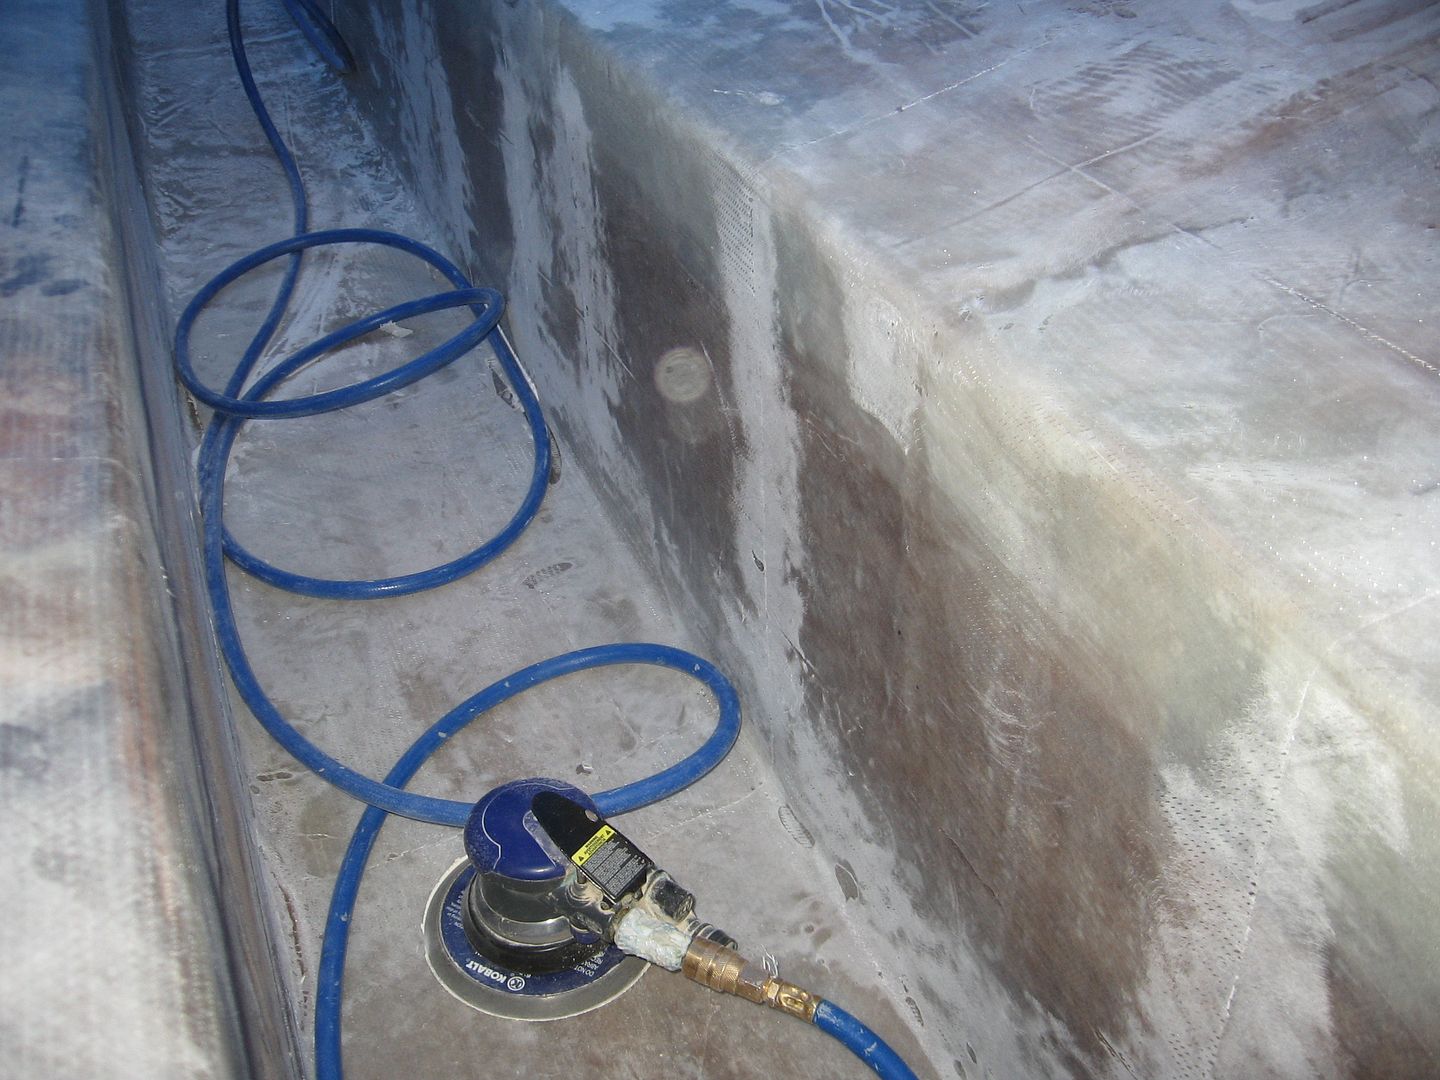
The first bubble ground down. A bit more feathering required of the RO air sander and it'll be ready for a patch.
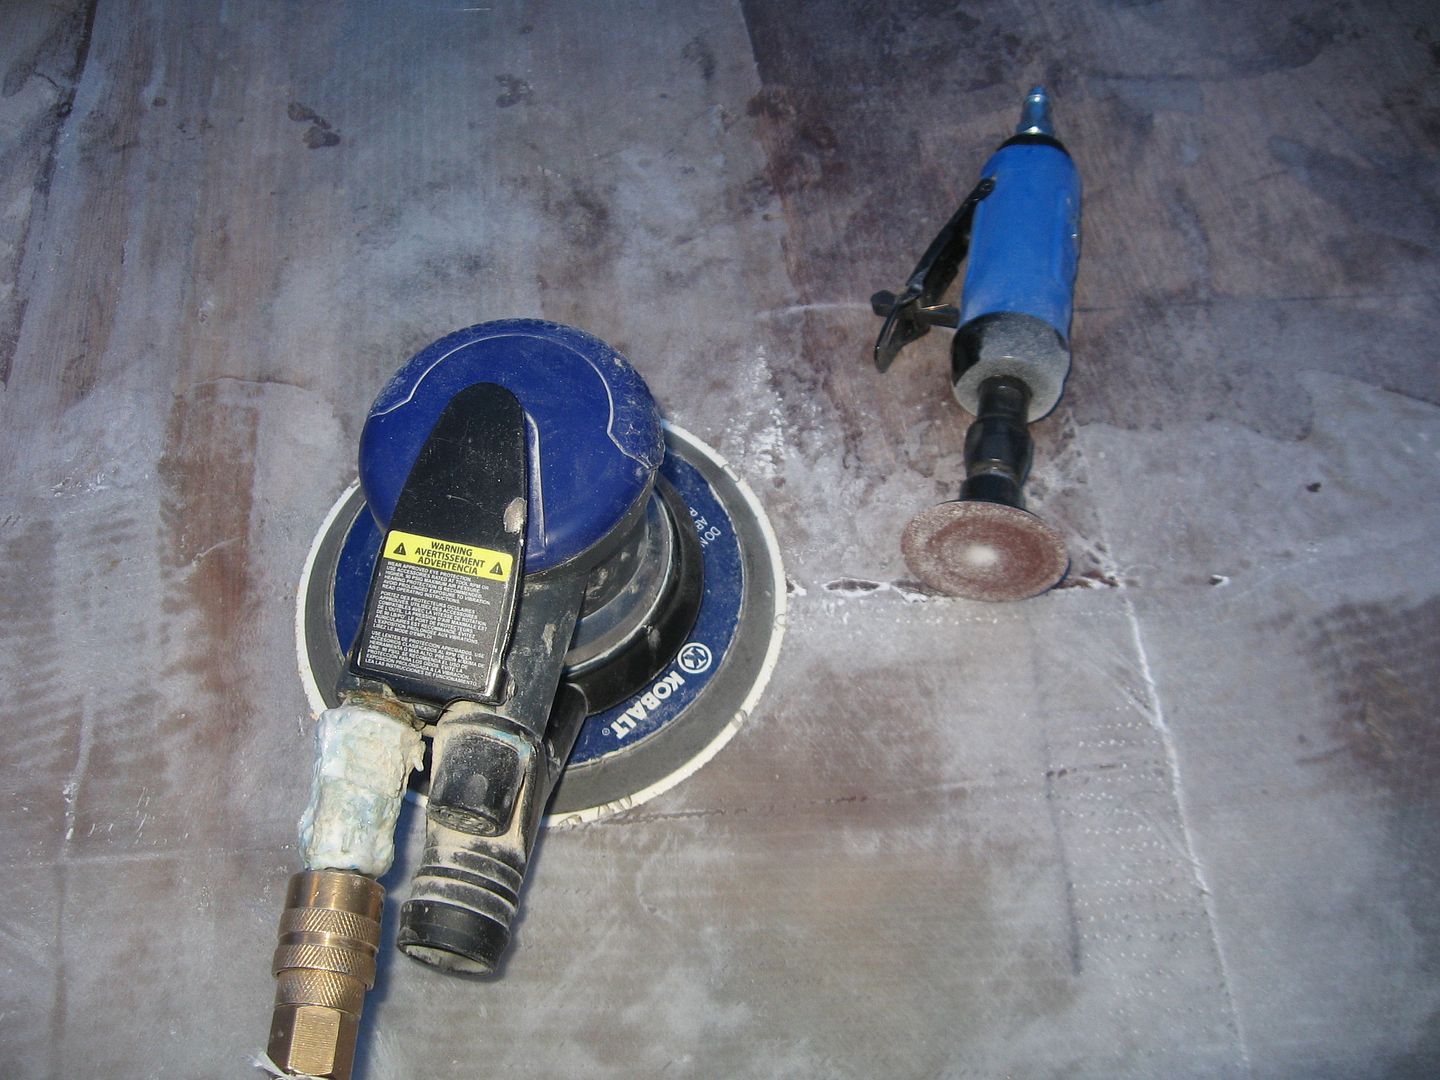
The two main tools in this process. The little disc sander works wonders but it's a bit of a beast to hang onto. It gets the rough work done good enough.
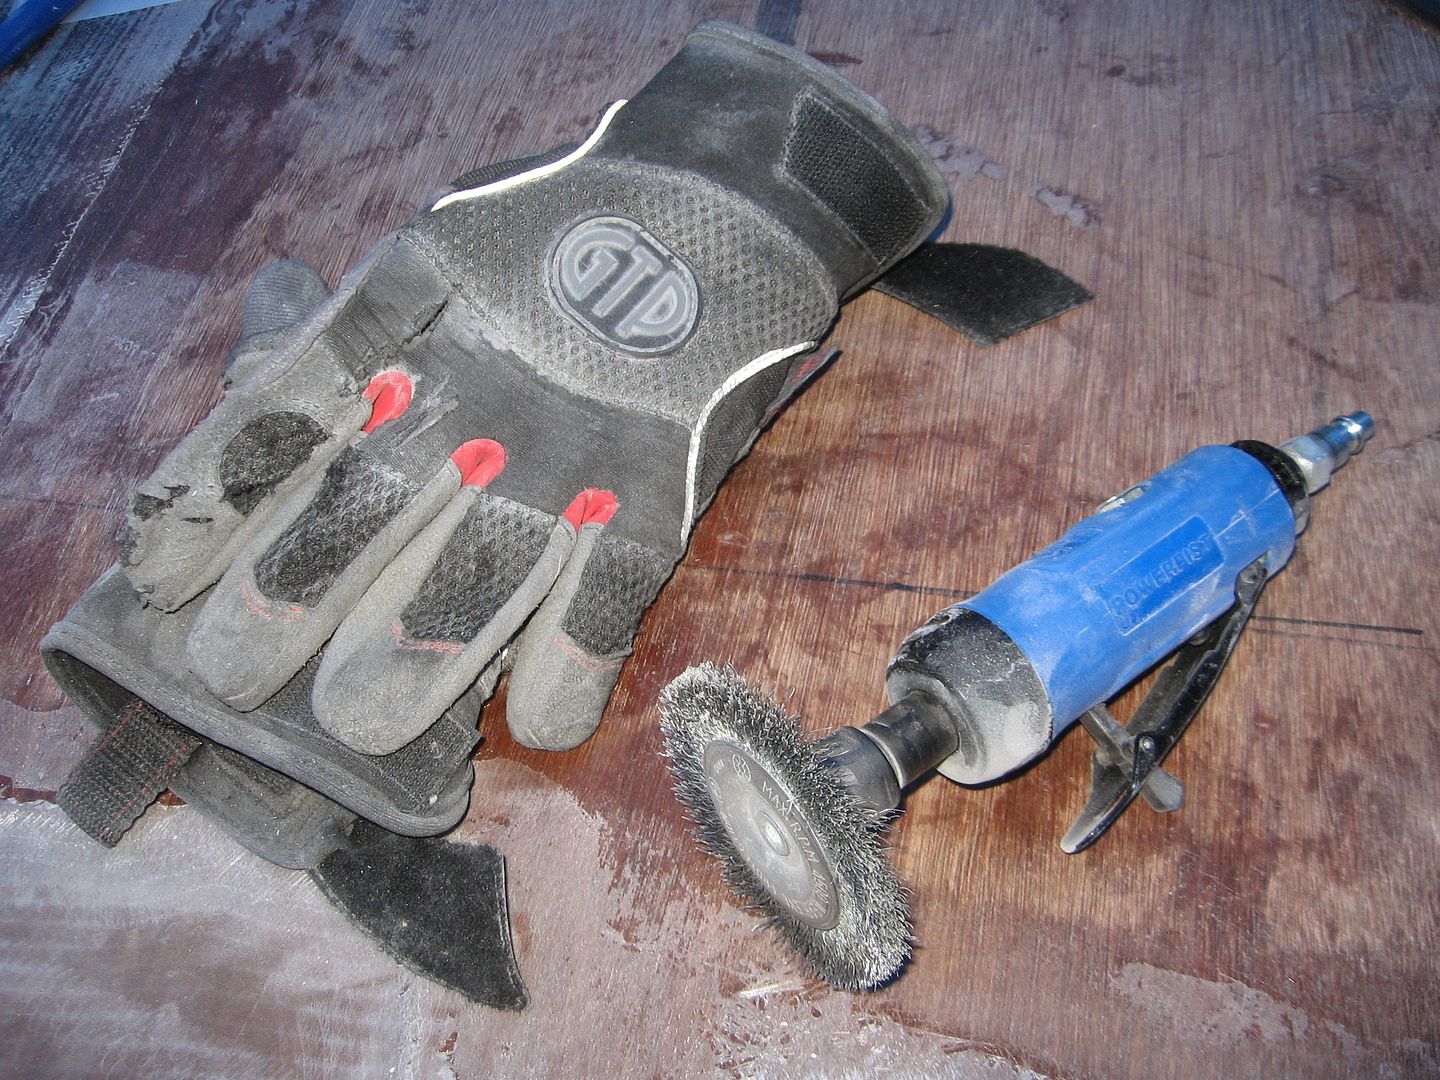
I also used the stainless steel wire brush for ripping the tops off of the bubbles. It's pretty good at it too!
Sanding progressing down the keel towards the stern. A light sanding is required where the peel ply overlaps. I managed to get 3 hrs of sanding in today before the temps drove me out of the shed. Another 3 hrs tomorrow and I should be ready to lay in the patches and move on.
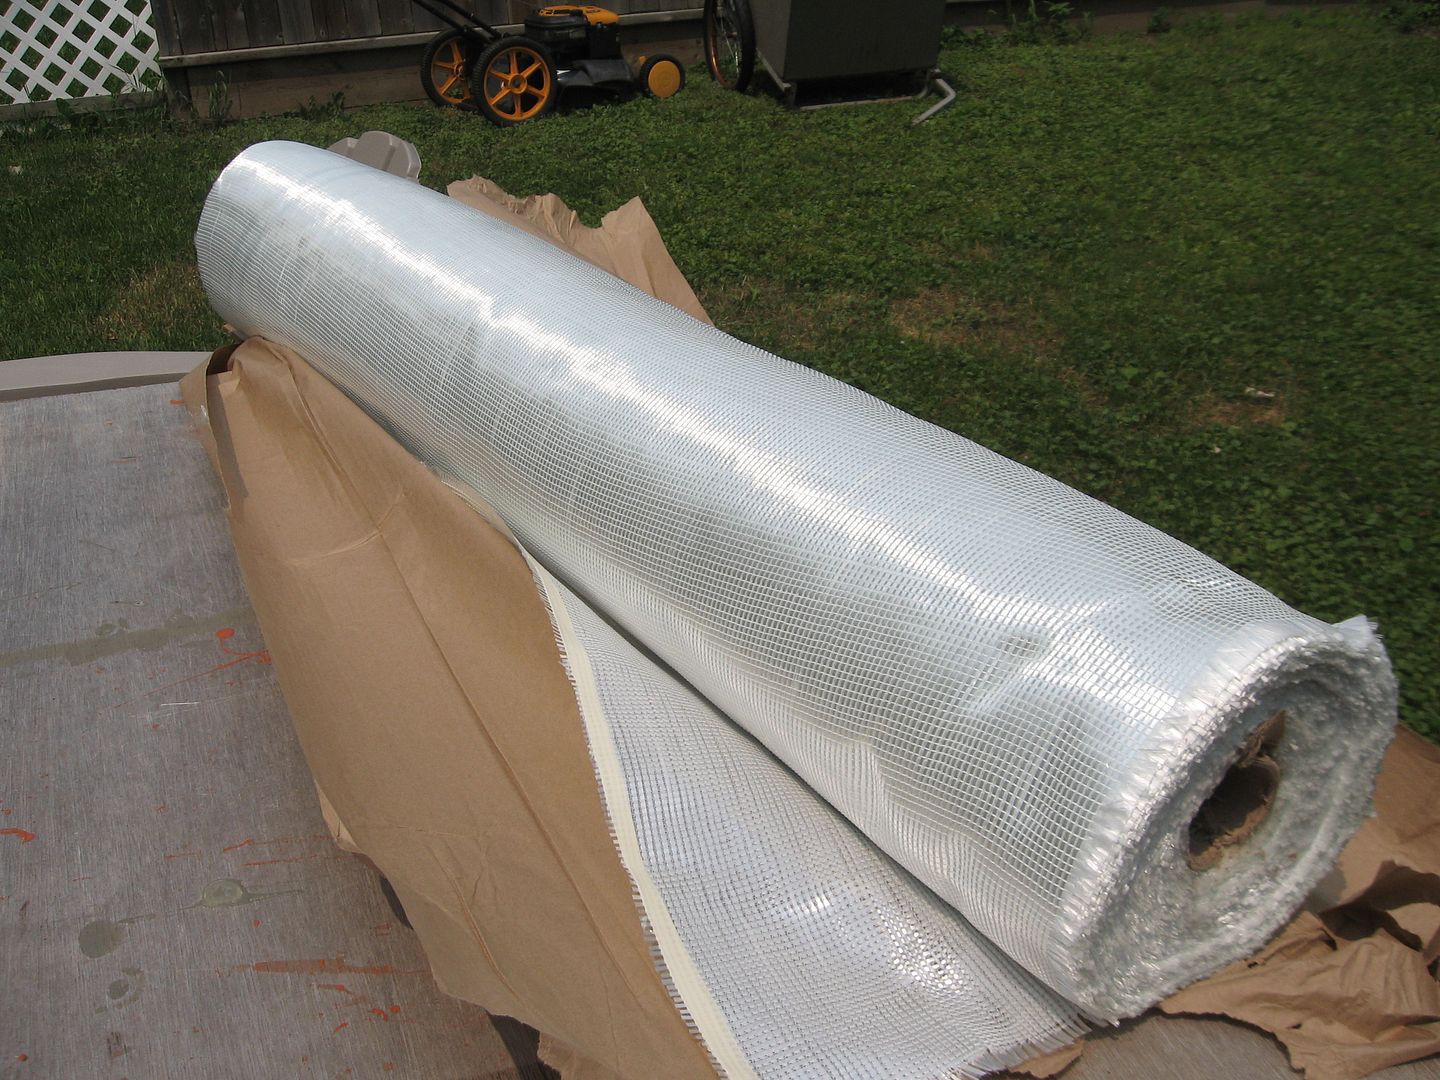
The next layer of glass for the keel is this 12 oz 0/90 biaxial fabric. This stuff is much nicer to work with than the 1808. It will conform to the curves of the keel & joints much easier. Also have more peel ply on order that should be in soon.
Tomorrow's screwed with a mission of mercy for a buddy's cat. Will be back at it on Wednesday.
Standby....


No comments:
Post a Comment