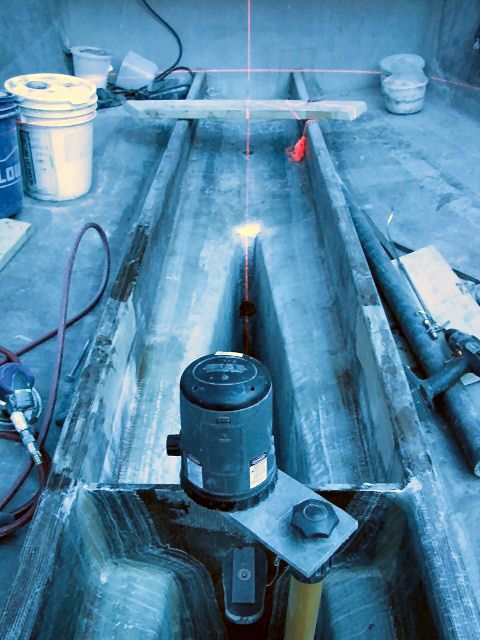
So looking at the stuff I gotta stuff in the keel, skeg bolts & backing plate and the prop shaft tube, I gotta do the skeg stuff first. If I put the prop shaft tube in I won't be able to get to the bottom of the box keel at the stern.
Out comes the ole' trusty laser level! Let's get this puppy lined up!
 |
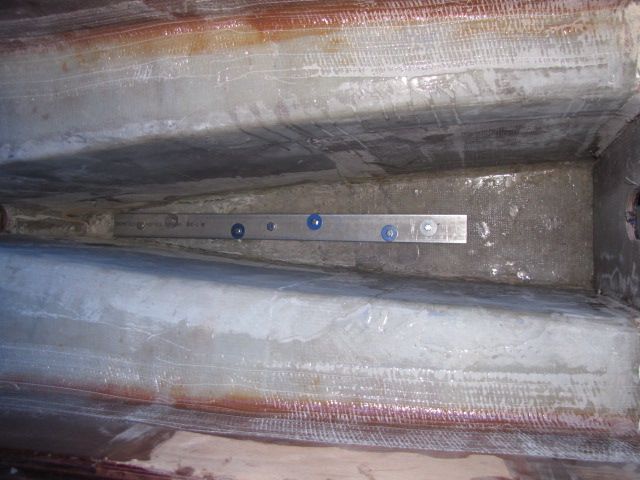
| Lining up the skeg backing plate |
I only had 1 reference hole from the first test fitting. I need at least two to get the backing plate lined up properly. The vertical line from the laser makes an easy job of this.
 |
| Backing plate in place |
I drilled all the holes and dropped the bolts in to see how they'd line up. Just a waste of time really. Next step is to overdrill the holes so they can be filled with reinforced epoxy. This gives a better core for bolting the skeg to the keel.
 |
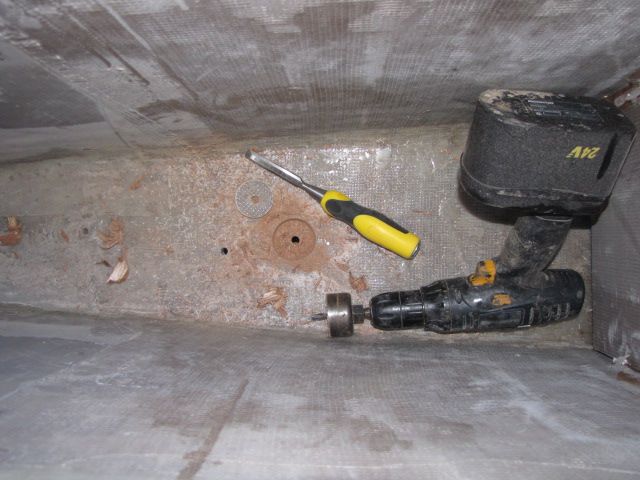
| Drilling more holes in my nice hull! *sigh* |
The trick here is to not cut all the way though. You want to leave the outer fiberglass in place. The old hole saw I had has a 1/2" piece of plywood stuck in it so there's no chance of going all the way through the bottom of the keel. Most of the 'digging out' of the remainder of the core is with a chisel & air sander.
Couple of finished holes.
 |
| ACME Holes! |
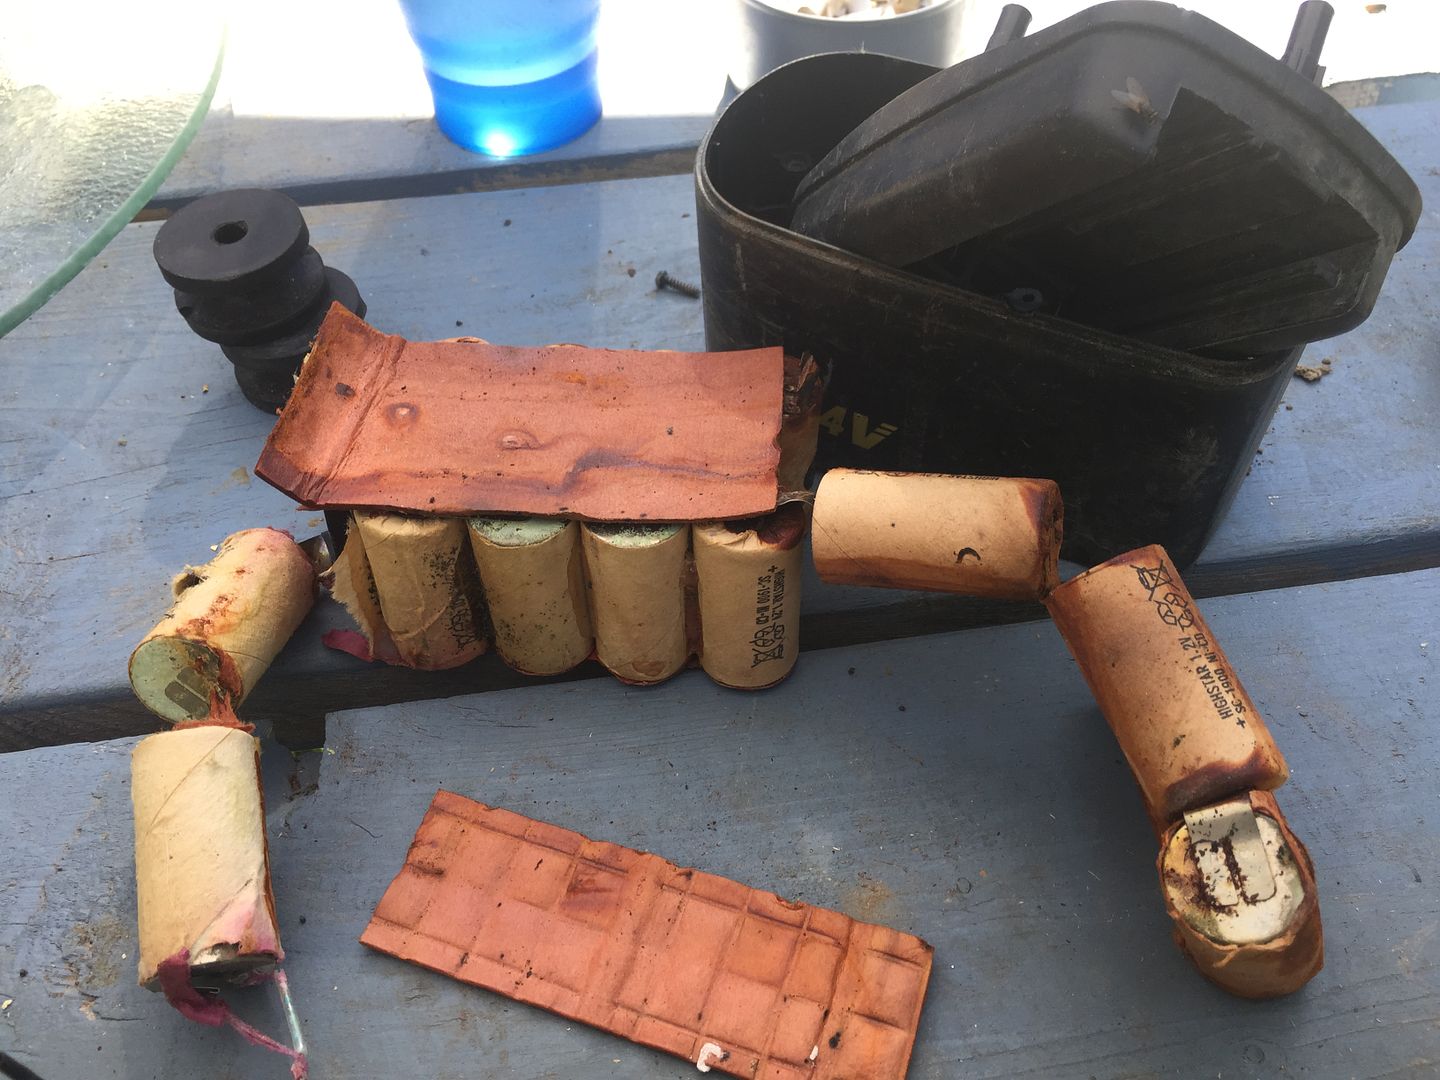
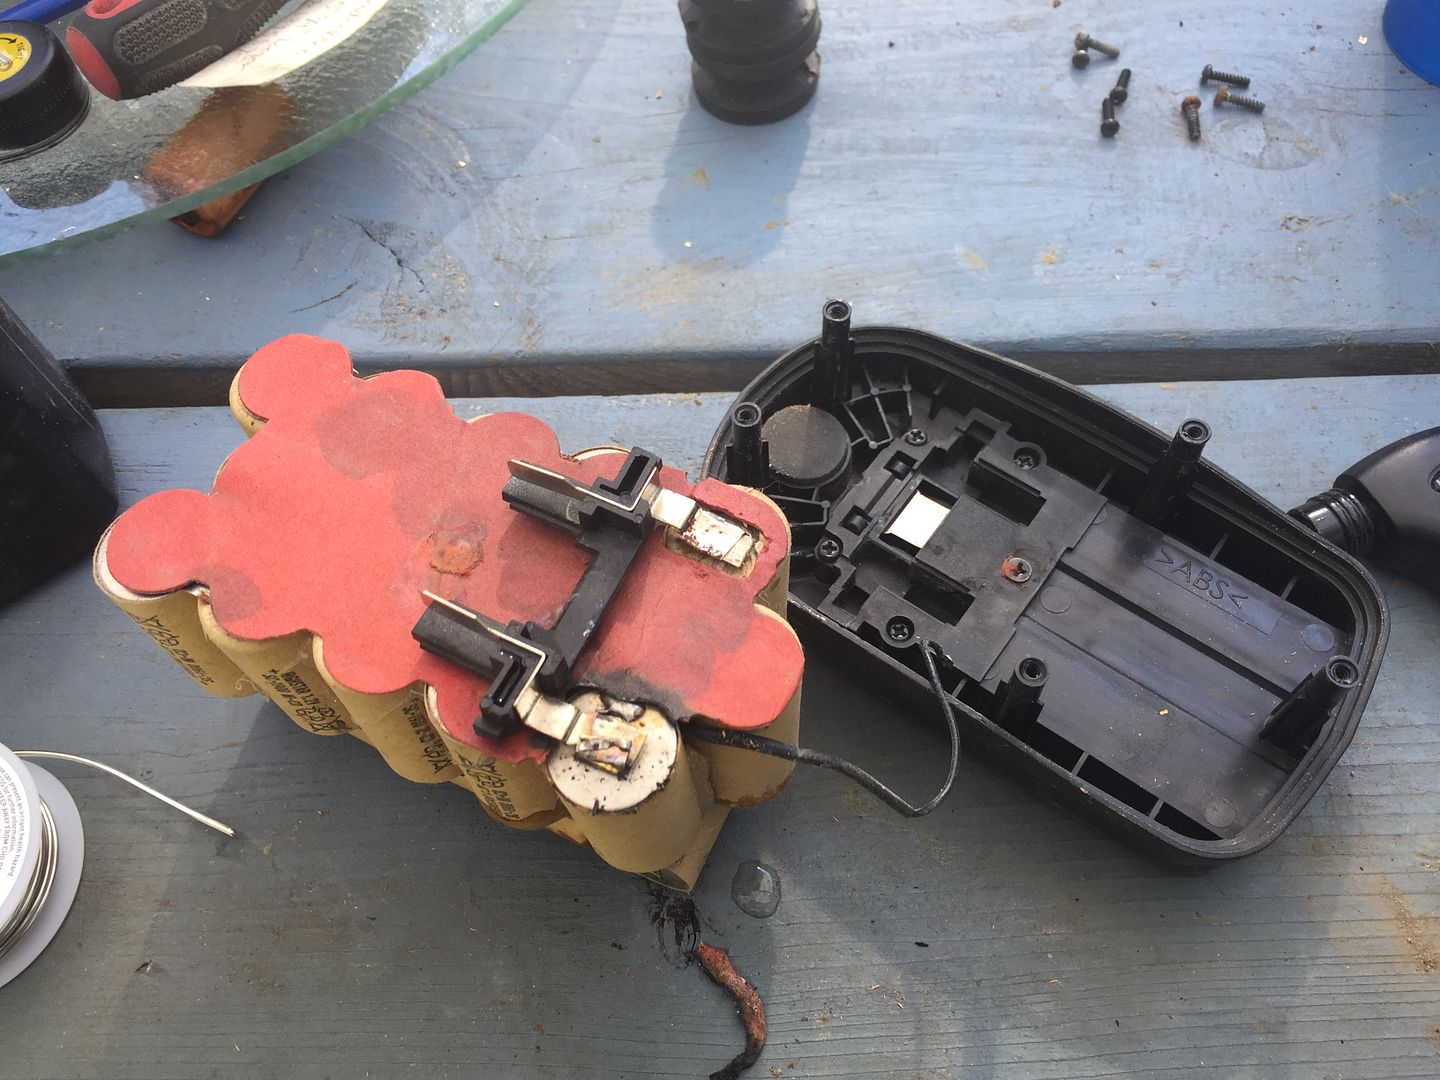
My neighbor, Robert, gave me a 24Volt cordless drill about 10 yrs ago. It's been a real workhorse. Along with the drill he gave me 3 extra batteries to go with it. One has bitten the dust completely.
 |
| Pooched 24V battery. |
Another one has been intermittent. A real PITA when you need it to work. So in order to see what's going on I pulled it apart. One of the contacts wasn't soldered on and just a weak crimp holding it in place. I suspect that was the culprit so I soldered it fast!
 |
| Fixed! |
It's on the charger now so we'll see how it goes tomorrow.
35C in the shed when I left 10 mins ago. Fans going full blast and it's still a scorcher.
More tomorrow.
Standby.....


No comments:
Post a Comment