Saturday, July 30, 2016

My Huggy Blanky

So rolling around in the fiberglass dust ain't much fun. The two packing/moving blankets I got the other day work wonders!
Packing/Moving blankets work wonders
Don't have to strap on my knee pads either to crawl around under there. It is a bit of a workout for a guy my size. Who needs Yoga anyways?  :-)

Beside some bilge paint I picked up the collapsible bladder tank at the Chandlery store. I'm thinking this is gonna work well. It certainly fills up the void space in the box keel.
200 L (52 USG) collapsible tank.
That'll put an extra 200 Kg (440 lbs) right under the engine. I'll have a stainless tray fabbed up to go under the engine that'll help shield the tank from heat. I think I'll rig it like the ballast tanks in the wake board boats so that I can fill it from the main tanks and pump it dry back into the tanks. Its primary purpose is ballast but it'll give us a total of 600 L (156 USG) of fresh water capacity.

So I managed to get the section of the cradle cut away so that I could shove the skeg in there.
Skeg just sitting in place
It's going to take some careful alignment and drilling of holes to get it set up correctly. I'll also have to build a 'wedge' to fill in the gap between the skeg and the box keel.
Pretty close for a first rough layup
I'll have to remove the cross braces and work on the alignment but I think I'm going to be pretty darn close!
Going to be pretty close!  :-)
That's all I could take today. It's warm under there with no air moving around. It'll also take time to work up the nerve to drill a guide hole in the very bottom of the box keel!

Standby.....

Thursday, July 28, 2016

Still at it

Slowed down a bit due to the heat but still at it, sorta. This morning I drilled the first hole in the 1/4" stainless channel that'll make up the skeg. Never had much luck before drilling stainless let alone this size but figured it out.

Next was a lil' 'under da boat' yoga! Oh that hurts, in more ways than one! The ground's covered in fiberglass dust. *Itch*
Under the starboard side
The cradle is the main support for the boat. You can see below where the box keel is sitting directly on the 2x6 cross beam.
Box keel sitting on cross beam
I have to remove part of the cradle that the boat is sitting in to fit the skeg. Here's a shot of the section that has to have some material removed to fit the skeg into place.
Close up of section
I have to take a section about 5" x 3" out. Using my oscillating cutter it'll be easy enough. Just couldn't get past rolling around in the fiberglass dust so it was off to a couple of my favorite stores for some moving blankets & stuff.
Ahhhhhh one of my most favorite stores!
The moving blankets are cheap enough at $10 each. Much better than laying on the cold ground covered in itching powder. Next I skipped over to the Chandlery store for some bilge paint and the 200l (52 Gal) collapsible water tank that'll go in the box keel under the engine.
The 'Spendy' Store!
Tomorrow I'll get that part of the cradle cut out and start to fit up the skeg.

Standby....

Friday, July 22, 2016

Temperature's Rising

10:00 hrs and it's over 100 F in the  boat shed! Had to scamper to get the port side engine bed covered.
Engine beds covered in 22 oz/sq yd basalt fabric
Constantly on the lookout for more basalt fabric. If you should happen to see a deal on it let me know please!  :-)  It is extremely nice to work with.

If you've done any fiberglass work you'll likely recognize this!
Epoxy & Fiberglass Art. One of a kind!
That's what happens when your brain is two steps ahead of where you think you are but you actually aren't! *sigh* So, it's for sale! Unique one of a kind art piece! I'm guessin' some millennial will need it to accent their Pokemon collection!

It was 34C in the shed when I bailed at 11:15.  Time for a ride in the ole' jalopy!

Standby....

Thursday, July 21, 2016

Main Bulkhead Glued & Taped

Yesterday I filleted and taped the fwd section of the main bulkhead and this morning the aft section.
Engine compartment side (aft) of main bulkhead
She's now permanent affixed and never ever coming out!  :-)  Two layers of 6 oz biax tape staggered about 3" offset. I'll go back later with one more layer of 12 oz biax tape on all the joins.

Sanded and cleaned up the engine beds for a layer of 22 oz sq/yd basalt fabric. You may remember I've used this before on the transom and keel.
Basalt fabric on stbd engine bed
This should make the engine beds the strongest part of the boat. The basalt fabric is absolutely wonderful to work with. It wets out quickyl and easily and forms well to odd shapes. I wish I had enough money to do the whole boat in this stuff! I think I bought about 5 yrds of it a long time ago to try out. When I went back to get more it was all gone. I've got enough left to do the rudder post block.

Another view of stbd engien bed
I'll finish the other side tomorrow.

Four hours in the shed today before it got too warm to work.

Standby....

Friday, July 15, 2016

Ordinary Day

Just another ordinary day in the boat shed. Tabbed in the main bulkhead. Got tired of it moving around and having to remeasure every time I stepped over it.
Tabs going in to hold main bulkhead in place.
I'll go over these tomorrow with the sander and finish the filleting and taping. Could have done it all in one shot but you can't rush perfection! :-)

I captured the rest of the morning's boatbuilding session on video. It's a long one so you better take a bathroom break, refill your beverage and pop some corn!  :-)


Special shout out to Doug Jackson and his 'Boat the Internet Built'. I've been following Doug's project from near the beginning. I thought I had bitten of a huge chunk of boat project till I saw this! He's got plenty of info and great video's on his YouTube channel. Definitely worth checking it out.

http://www.svseeker.com

https://www.youtube.com/user/submarineboat

That's about it for now.

Standby....

Tuesday, July 12, 2016

There will be blood

Back in the shed again this morning before the heat starts to rise. I wanted to get the main bulkhead located and marked so I can tab it in place tomorrow.
Lining up the main bulkhead.
I hot glued some small pieces of 1/2" ply to the sides of the hull on my original marks for this station. I was able to use a small clamp to steady and hold the bulkhead in position. You can also see some of the lead bars I have for ballast holding the bulkhead along the bottom.
Aft looking forward. Still some fisheye distortion from GoPro camera.
After yesterday's session of trimming & fitting I think I got it pretty close.
Keel section of bulkhead E fitting pretty well.
I had to trim about a quarter inch off of each side of the keel portion of the bulkhead likely due to the amount of fiberglass that's there.

Had to try to straighten up some of the tools swimming around in the bottom of the boat. It was really starting to become quite a hazard.
Sanders, Grinders, Saws. You name it I got it!
Not being diligent enough to sand all the edges of pre-glassed panels so that there's no 'Fiber Fangs' I ended up with a small abrasion!
More like a paper cut but hurts like hell!
The new GoPro mount attached to some fugly mutt!  ;-)
Oh My Eyes! Ahhhhh!
And now for the main event. You've been waiting awhile now for this. Season 6 premiere Youtube Video from the Big Blue Boat Building Shed!

Thanks for looking in.

Standby....

Monday, July 11, 2016

Fighting Dirty

I see some guy's boat workshops and they're clean as a surgical suite at the hospital. :-(  I definitely am not one of them!
Messy boat workin's!  :-(
My ole Grandpappy always used to say: "Never trust a tradesman with a clean workshop. He's not busy enough to be any good!" I don't think that applies to me though! I'm certainly no master of any trade.

Today seemed to be a fight from the get go! I flew the main bulkhead, E, into the boat last night and knew I was in for a small session of trim & fit but it took me over 2 hours to get the bulkhead to fit in the keel and over the stringers and along the sides/bottom.
Main bulkhead E forward looking aft
I must have lifted that thing in and out of it's spot 25 times and it's no lightweight. It's got 36 oz. fiberglass on both sides! I'd say 60 lbs or so. My poor aching ole' back! *Groan*
Looking forward.
Now I can fix it's position, check my measurements and get it glued into place. It'll be a bit of an obstruction but I don't see I have any other choice if I want to get the alignment correct on all the other bulkheads.

Off to Canadian Tire for more JigSaw blades! *sigh*

Standby....

Sunday, July 10, 2016

Hmmmmmmm?

Today was 'Hmmmmm?' day in the boat shed. I was looking the bulkheads up and down and trying to figure out how I'm going to approach installing them. I know, a bit ahead of myself, but that's how I roll in the shed!  :-)

First up, huge gap in blkd A.
Bulkhead A gap to hull side, approx. 1.5"
I knew fairly early on in the assembly of the hull that I was going to have issues like this down the road. The first thing, stretching the hull, changed some of the way the panels came together at the bow. Second thing is the strongback frame A wasn't secured enough and it moved as we pulled the panels together at the bow which changed the shape just a little bit.
Strongback Frame A
There was a lot of tension in the panels as we pulled them together over Frame A. As you can see in the pic below I had to use ratchet straps to get them to come together.
Pulling the panels together at the bow.
I lined up blkd A and B and tried to get their locations fixed as per the drawings. Something's slightly amiss and I can't put my finger on it.

Hmmmm? It's hard to eyeball a plumb line on the curved inside of the hull. So deciding I need to install bulkhead E (the main bulkhead that divides the fwd cabin and main cabin) first and get it perfectly square & plumb then I can easily determine the locations of the other bulkheads. Yes I did mark them on the hull when it was on the strongback.
Stations marked along the hull
Hmmmm? So blkd E will go in first. I'll get it all plumb & square then pull all the measurements off of it.  Hmmmmm? Now, where is it? There's a stack of decks & bulkheads in the back corner. Let's go look Ok?
Decks & bulkheads, assembled & glassed
Hmmmm? That's a big mother. Way back when, before the strongback was assembled I thought I was smart and assembled all the bulkheads & decks and glassed them while I could lay them out flat and use gravity to my advantage. Hmmmm? Not so smart. Spent a good portion of the day cutting them back apart.

It was about that time the Project Manager showed up and told me it was quitting time. He's not paying any more Overtime on Sunday so I had to call it quits! *sigh*
Boots, the Project Manager
Hmmmmm?

Standby....


Saturday, July 9, 2016

Slow-Mo-Shun

That was the name of my neighbors boat when I was growing up! Always got a chuckle out of that. :-)  Anywho, it describes how this project is progressing. At least we're headed 'in a direction'.

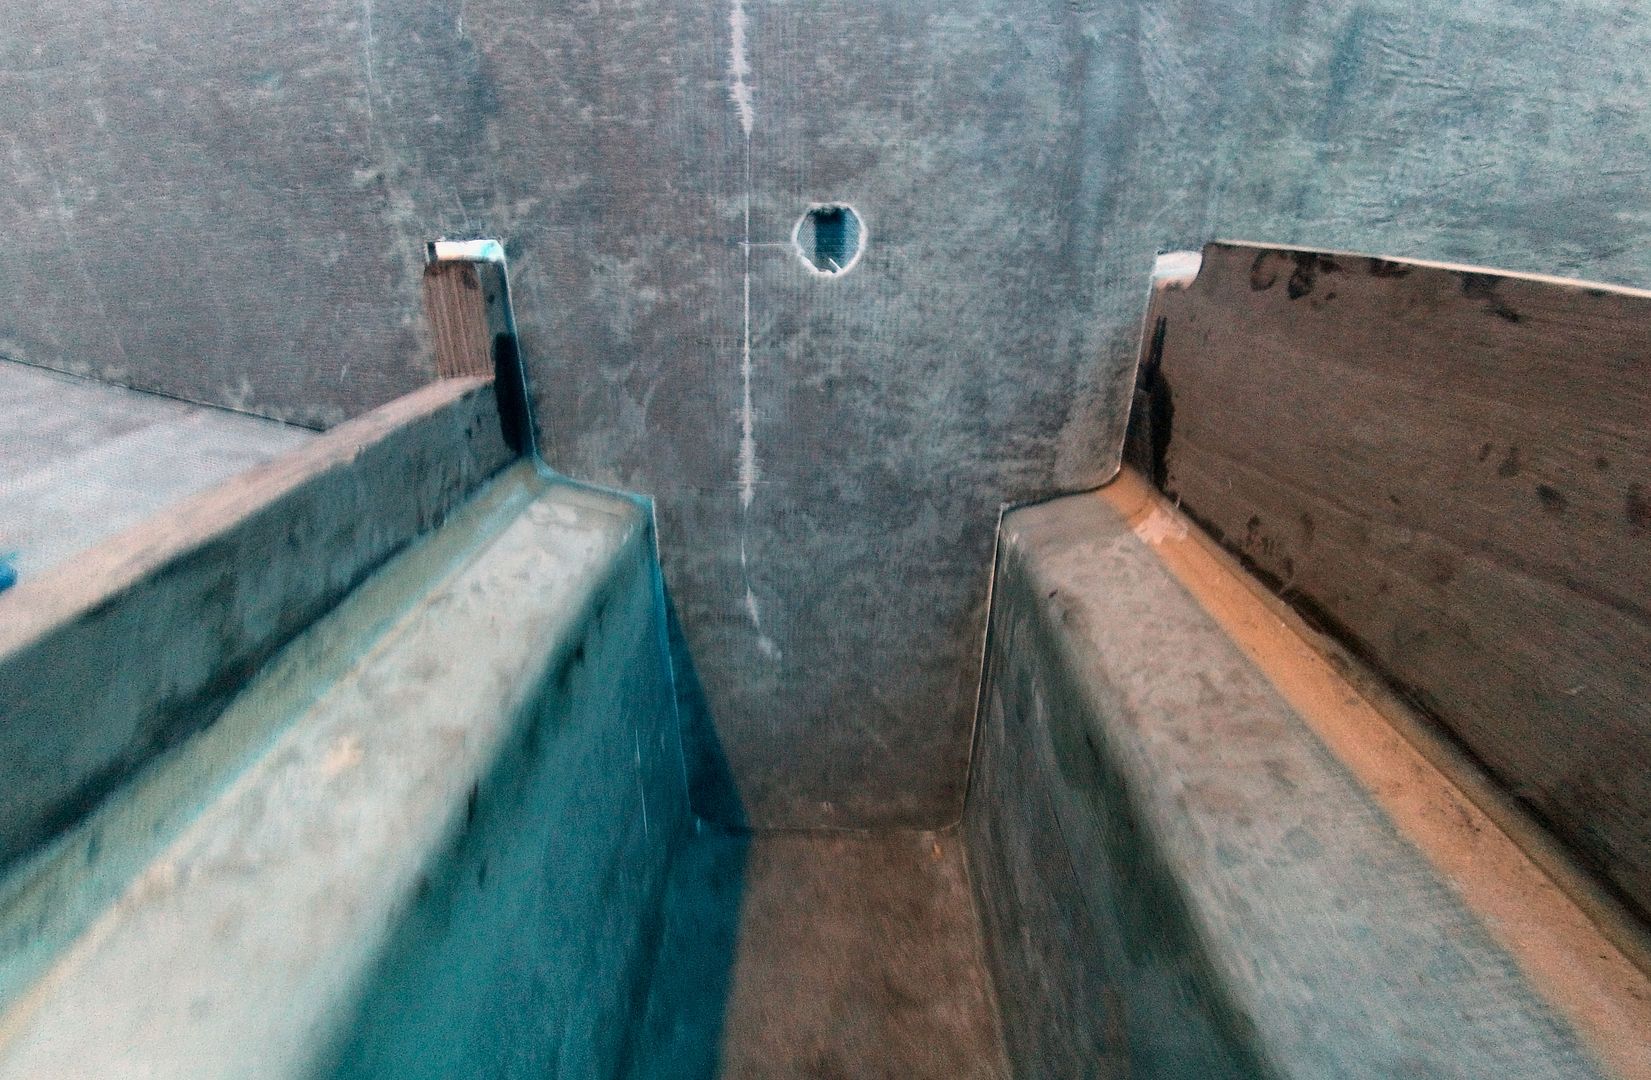
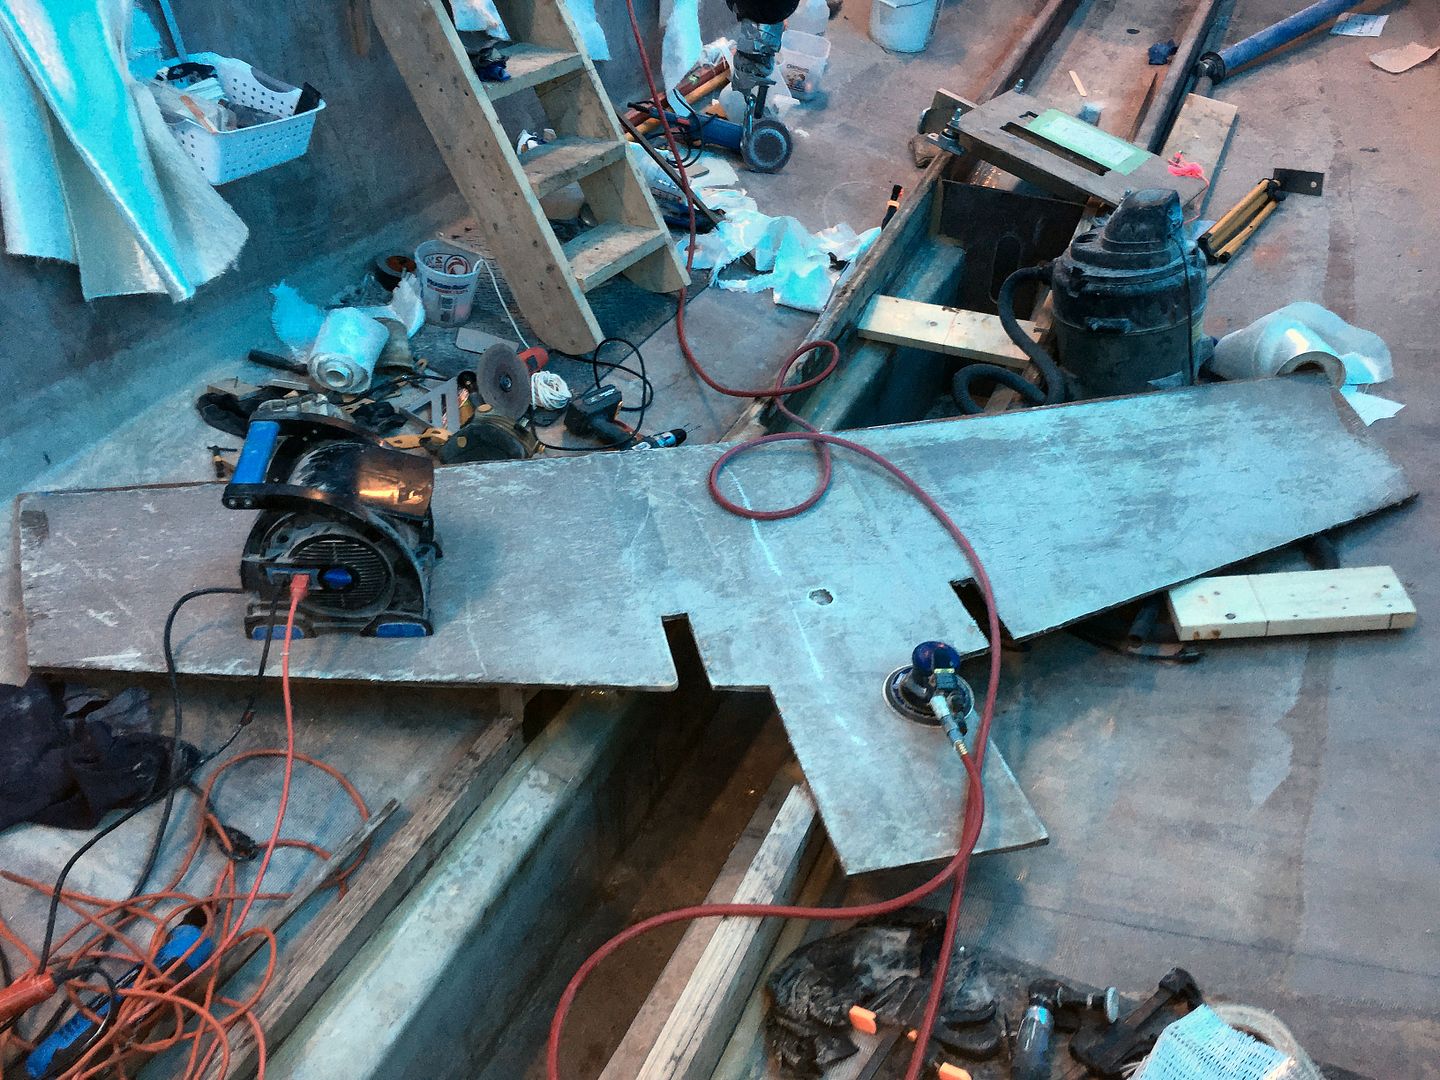
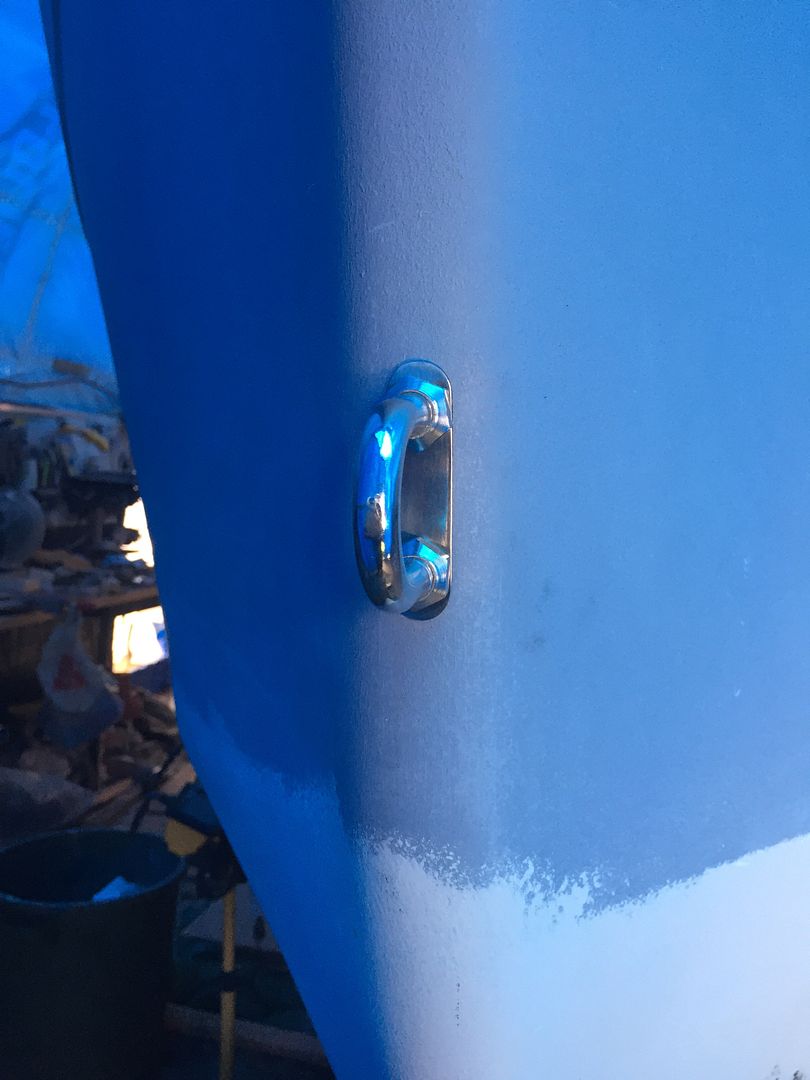
Placed the bow eye and made up a backing plate for it. I need to locate where the floor of the chain/rope locker will sit.
Bow eye placed.
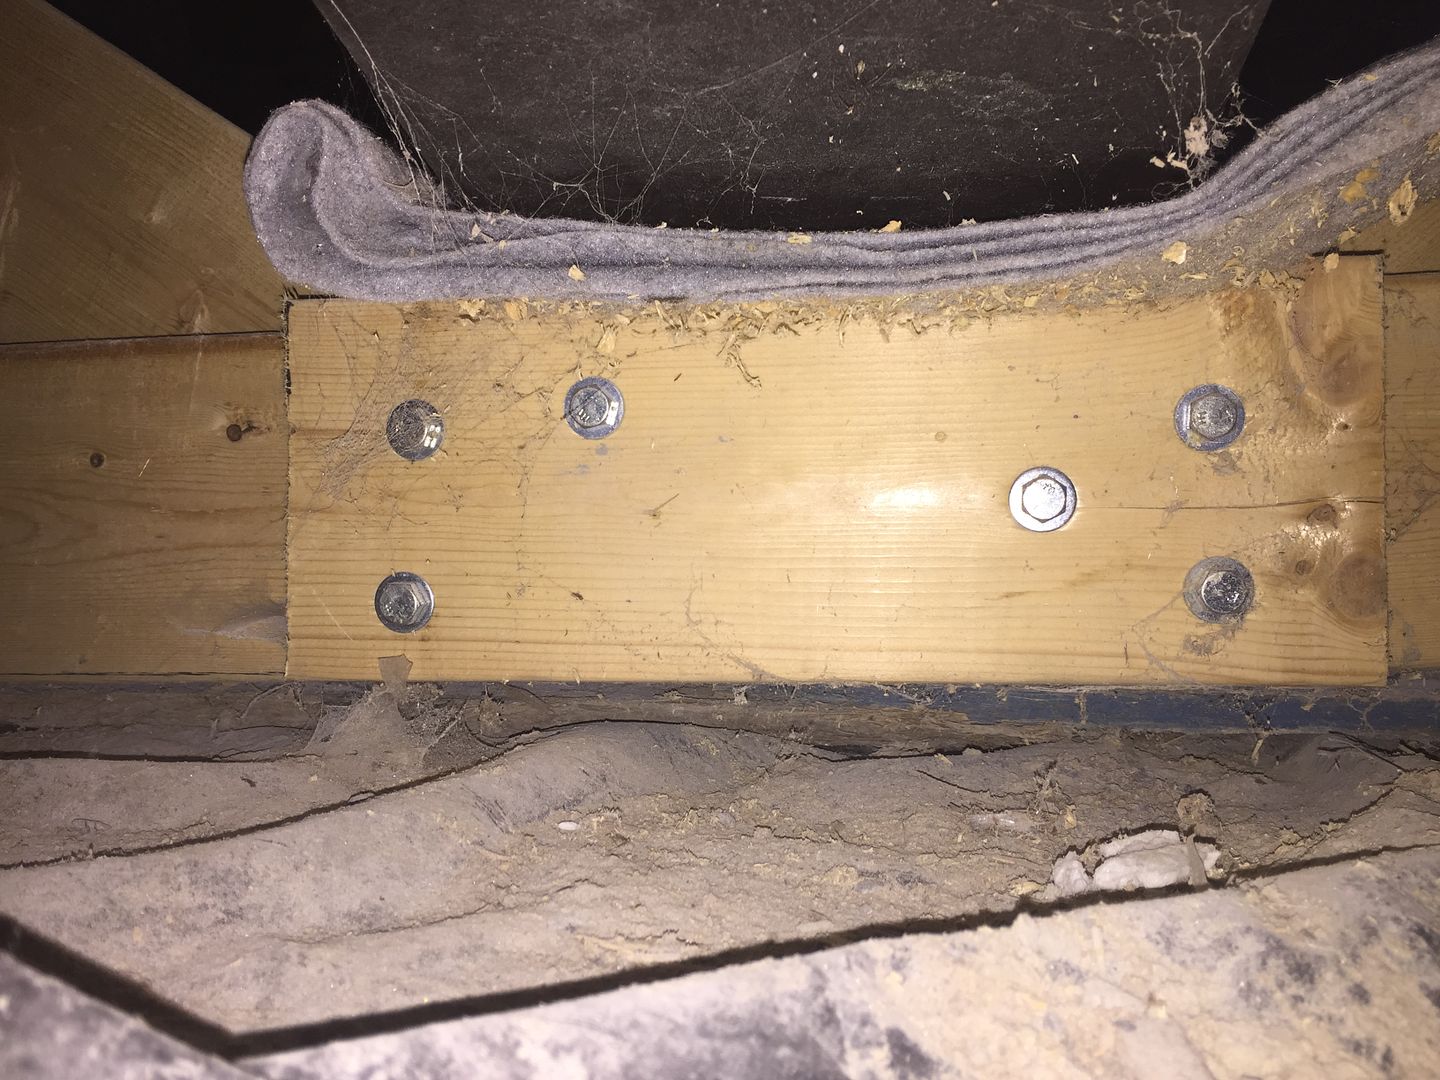
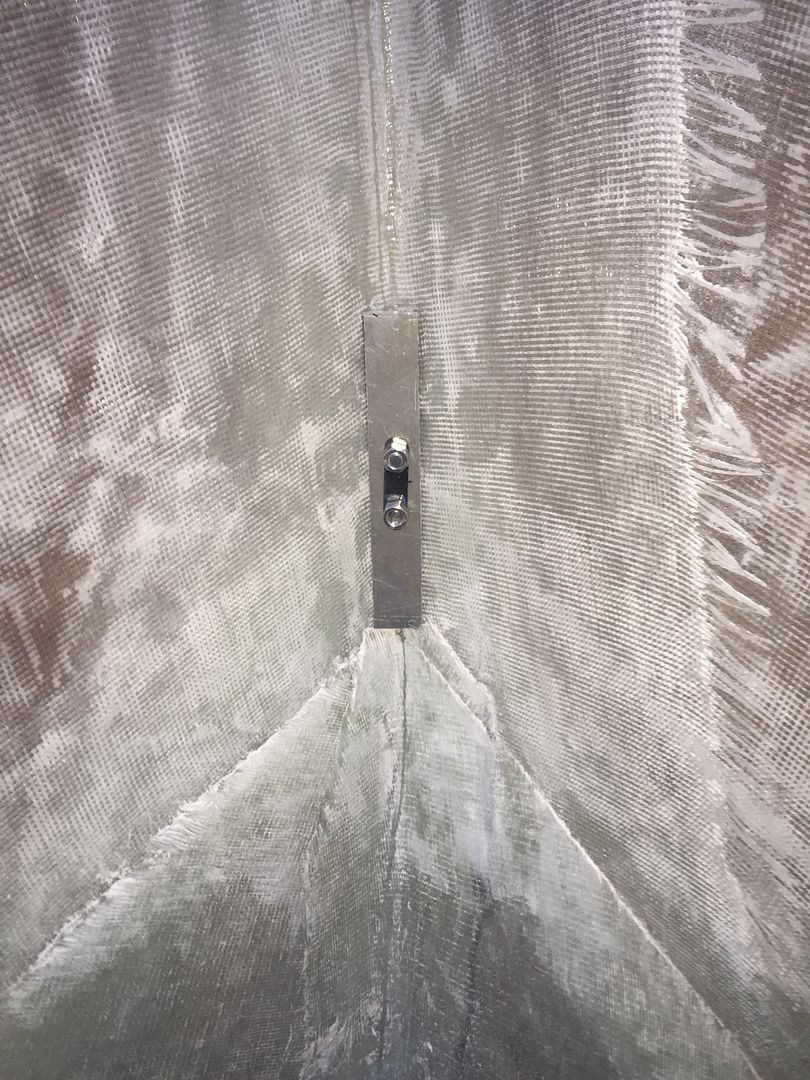
The backing plate is 3/8" aluminum and it's the biggest I could make it due to the narrowness of the stem.
Aluminum backing plate.
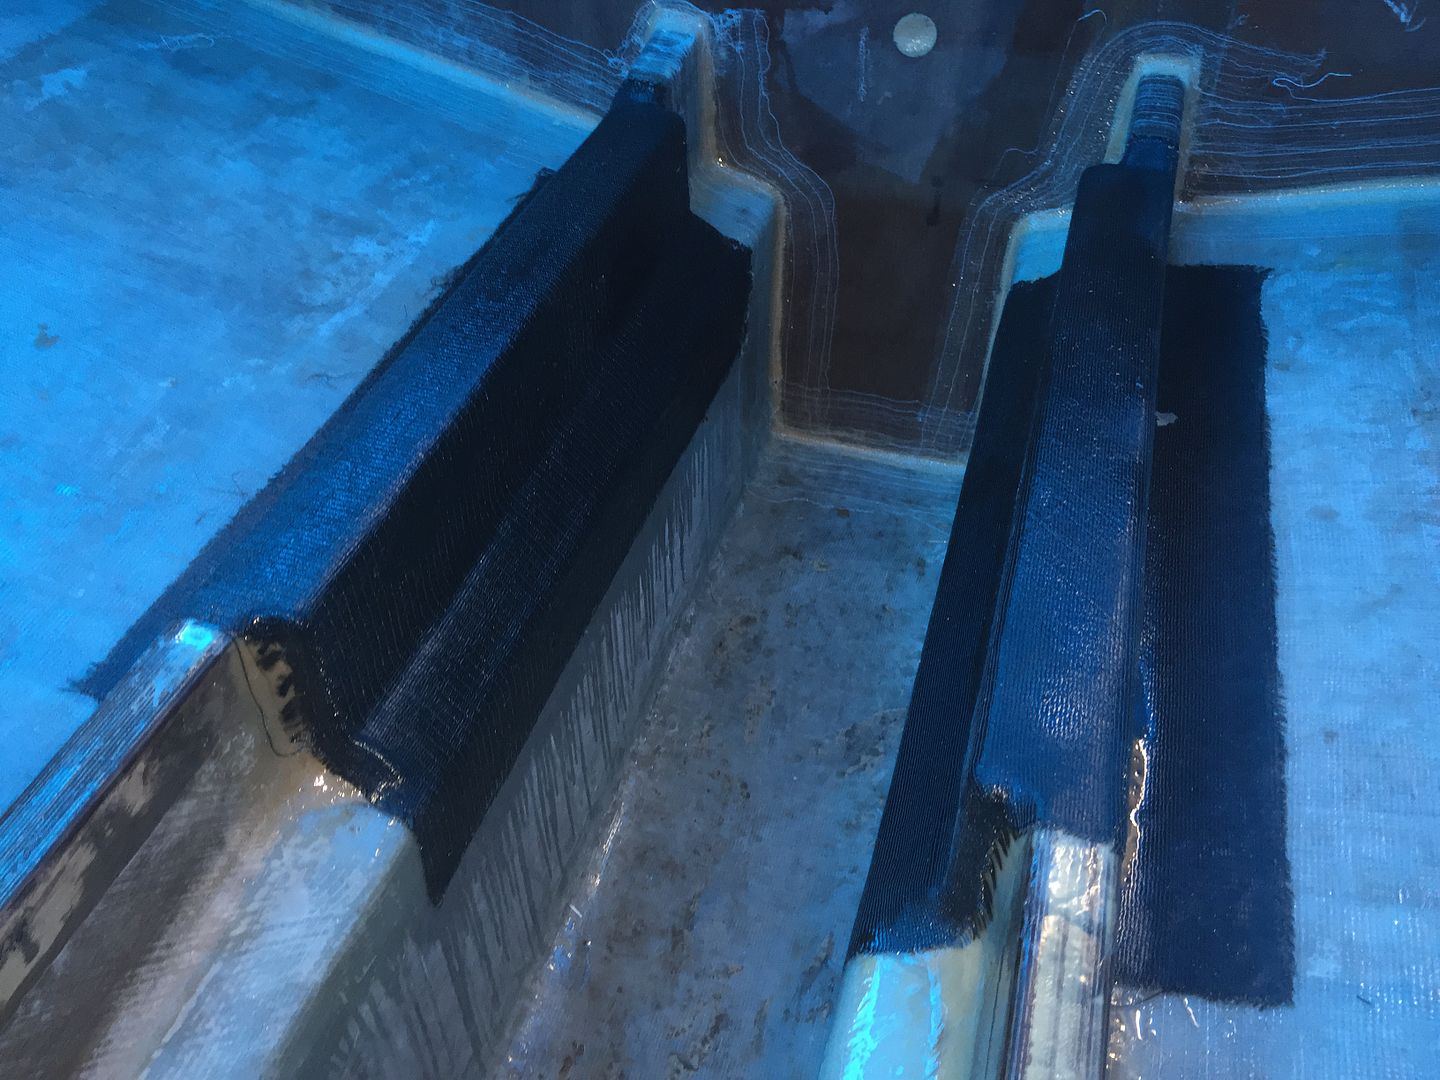
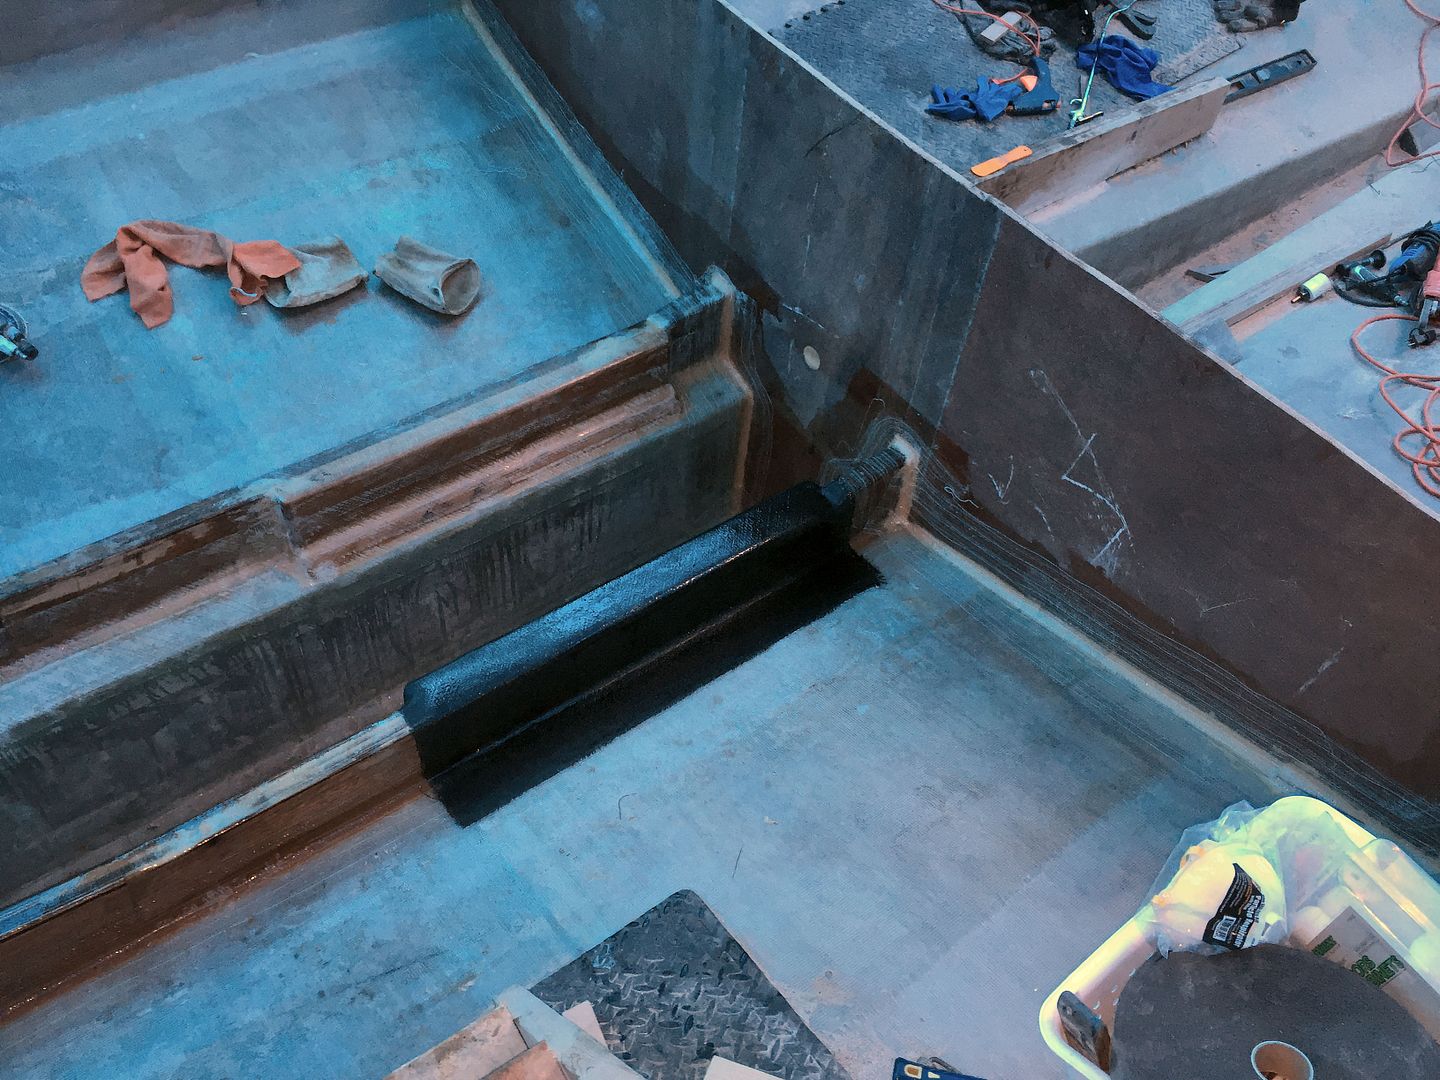
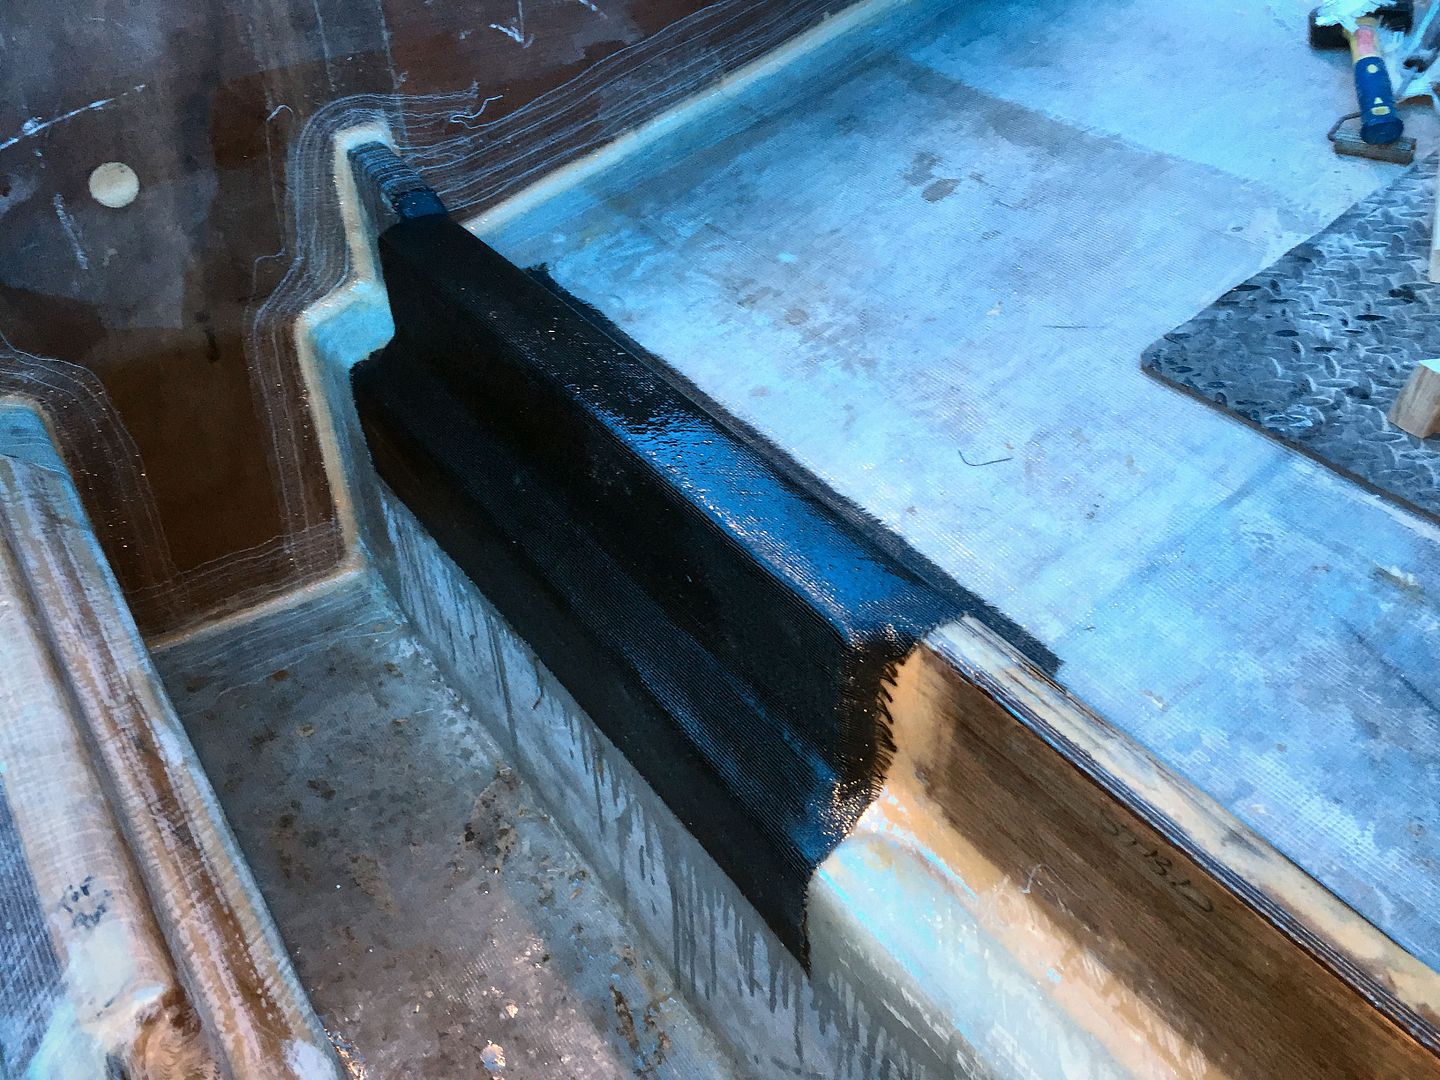
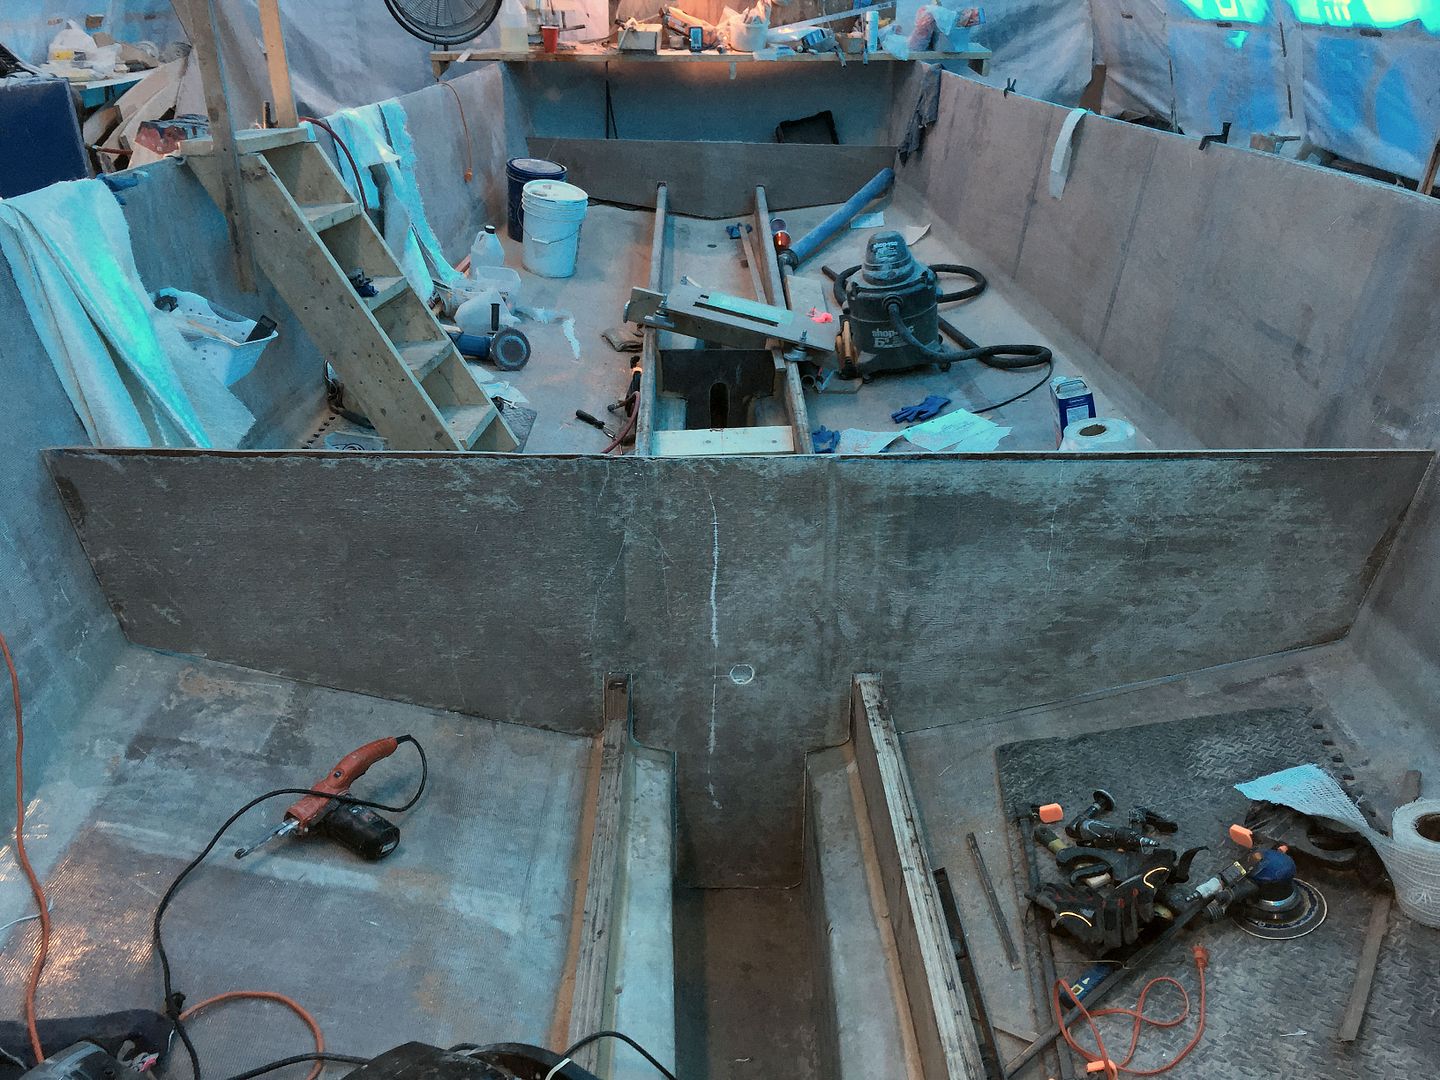
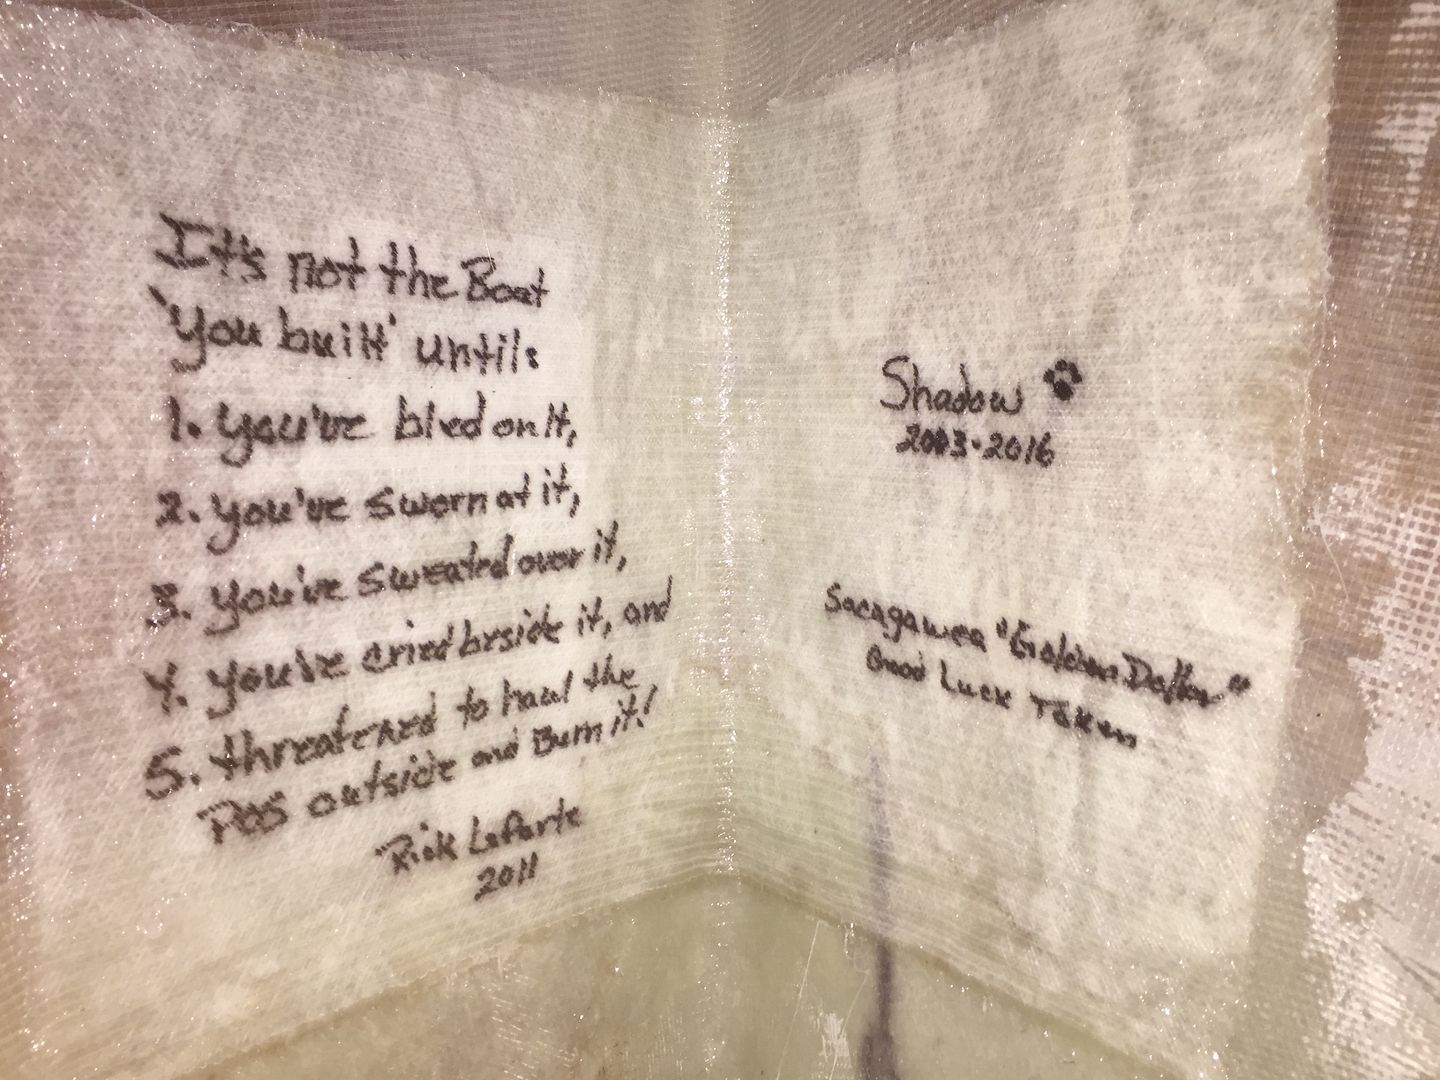
I've added another layer of reinforcement to help spread the load.

A few weeks ago we lost our little cat, Shadow. She was our 'Boat Cat' and had a few adventures aboard our 25' express cruiser. I had hoped she'd live long enough to go for a ride on this boat but it wasn't meant to be.
Shadow on the Rideau Canal 2006
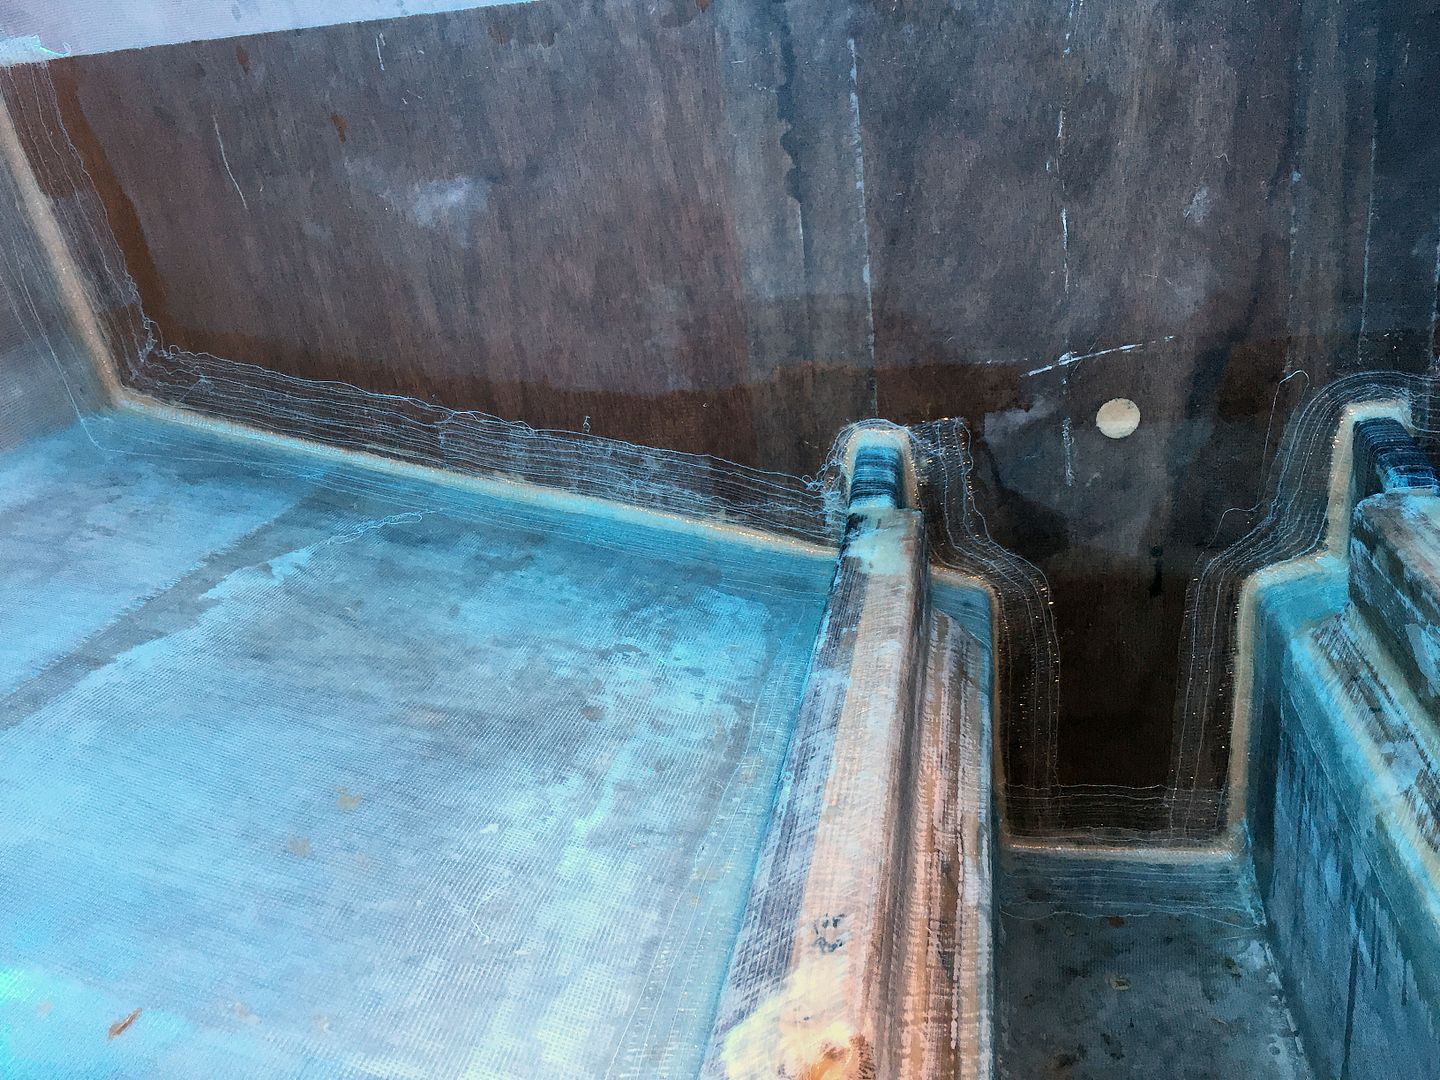
I saved a bit of her fur and planned to make it part of the new boat. I know, what a suck, but she was our companion for 13 years. I stuck the fur in the bow where it can be seen through the hatch into the void space below the anchor line/chain locker.
Reinforcement for bow & Shadow's fur & Gold Coin!
I know sailors are a superstitious lot. Sail boats have coins placed under the mast for good luck but this boat won't have a mast step so IIRC there's a custom to add a coin to the stem of the boat. I have a Sacagawea 'Gold Dollar' (not real gold, can't afford that) that'll go just inside the stem, also where it can be seen.

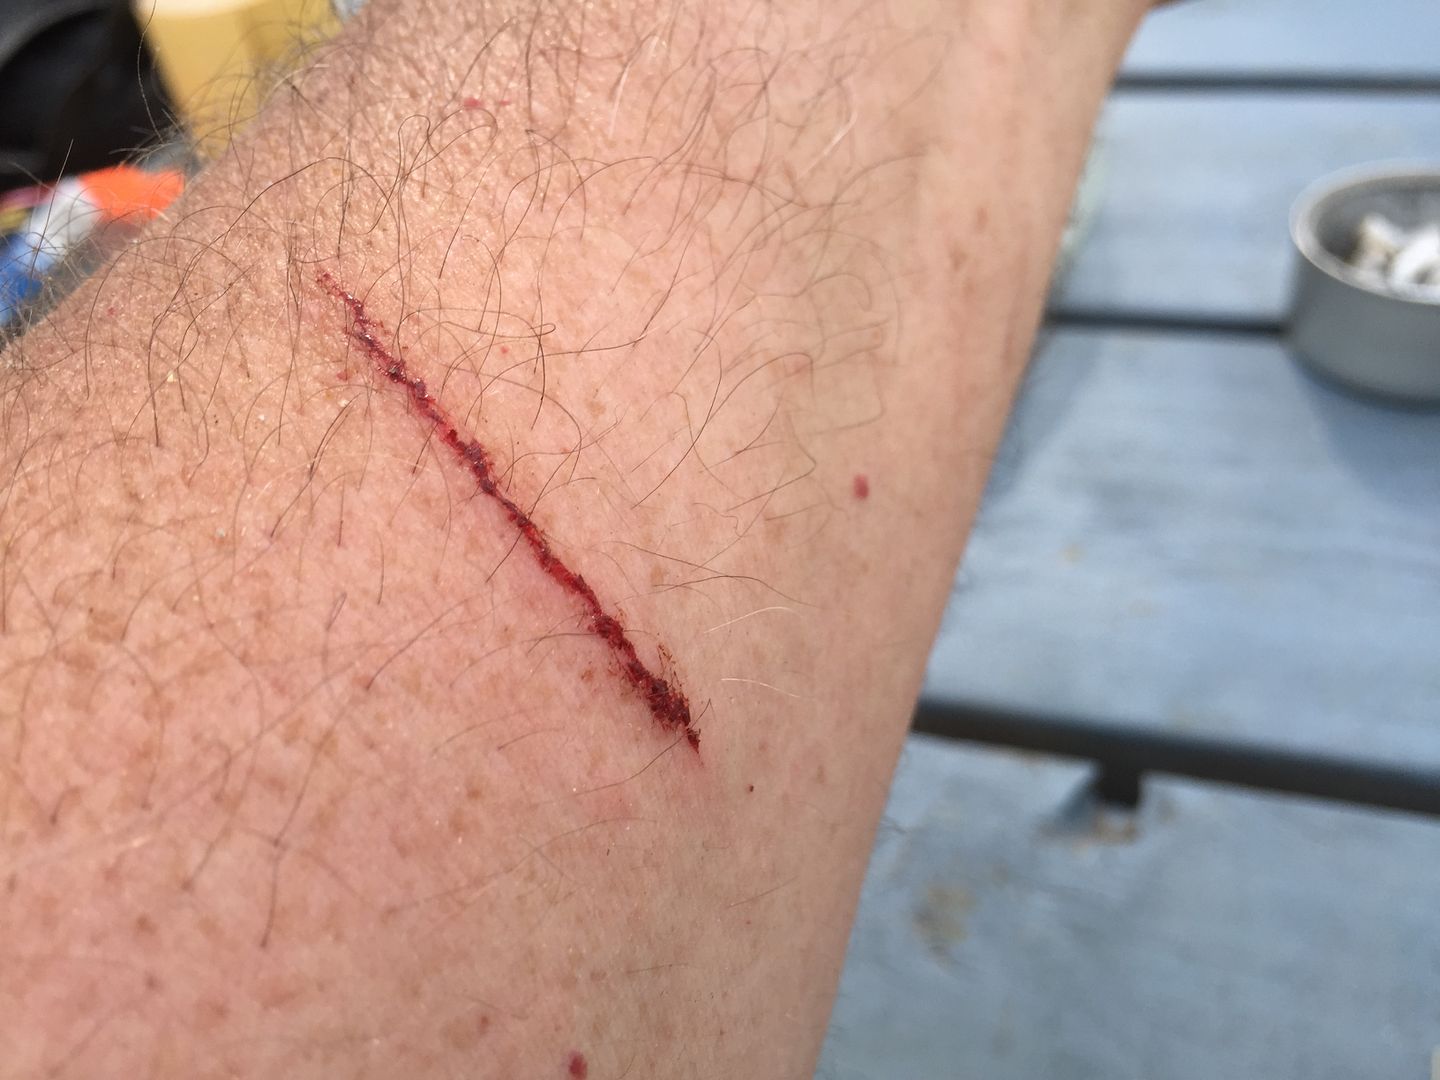
The inscription on the left is a quote of mine I use as a signature on a lot of the boat building forums.

"It's not the boat "you built" until:

1, You've bled on it,
2. You've sworn at it,
3. You've sweated over it,
4. You've cried beside it, and
5. Threatened to haul the POS outside and burn it!"

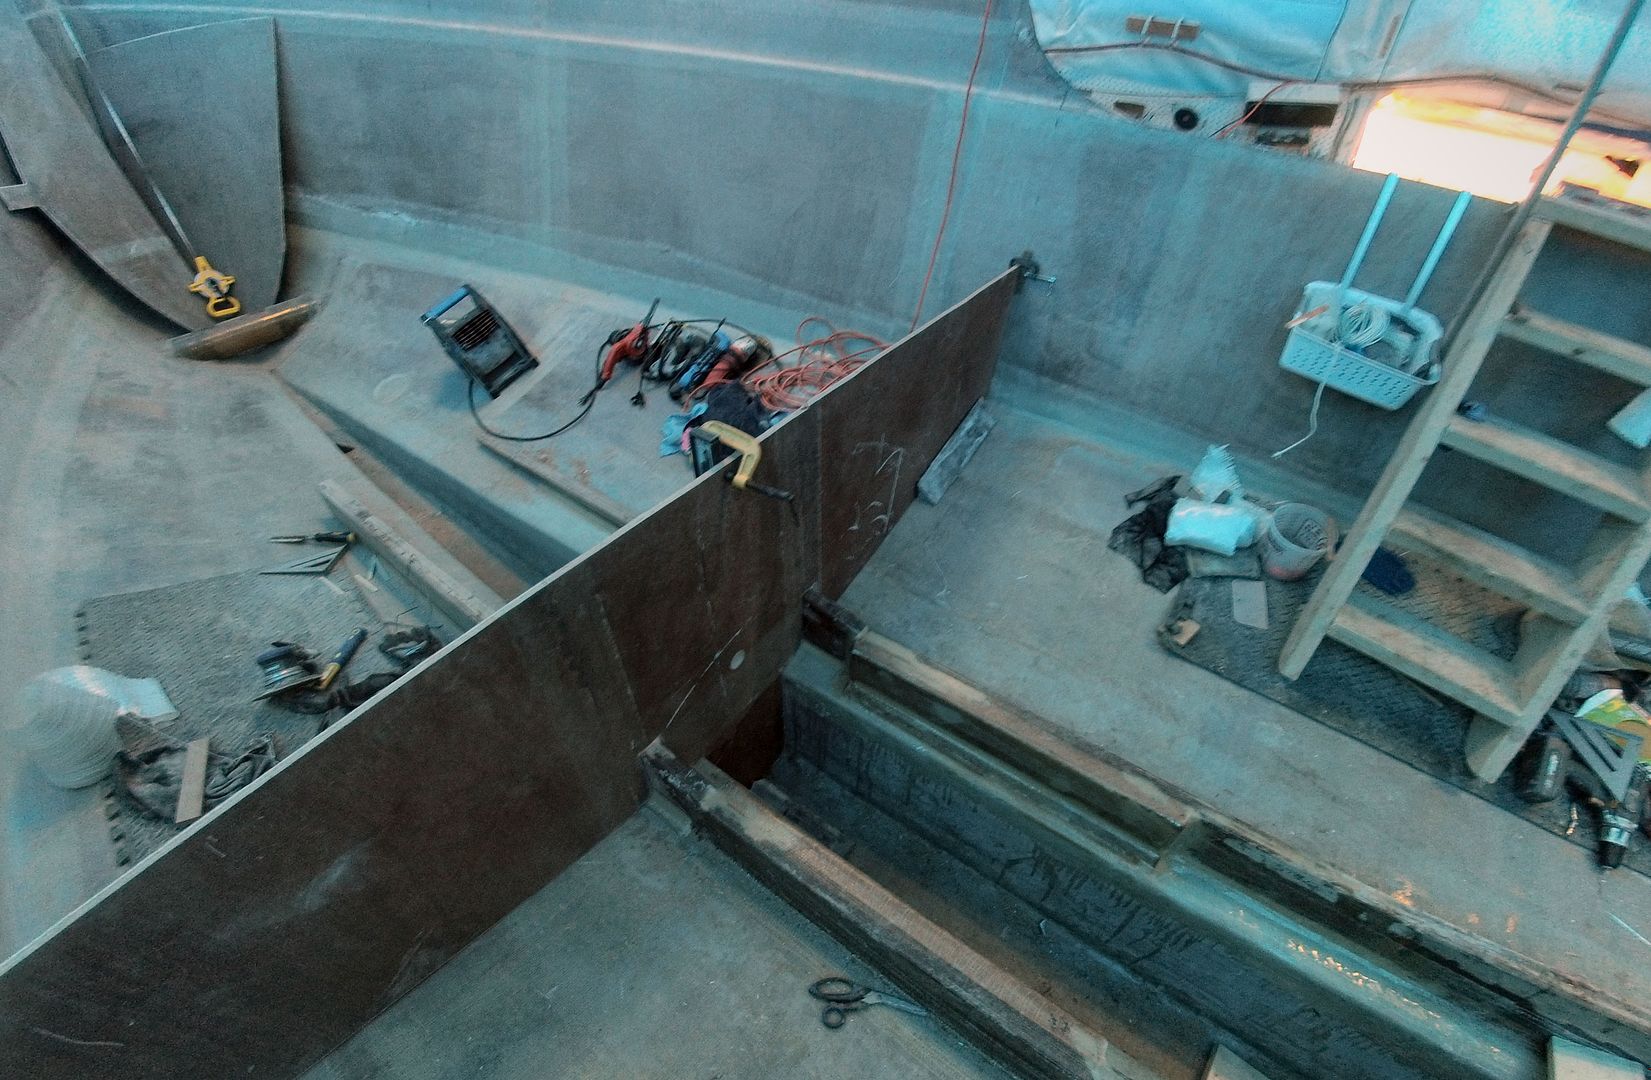
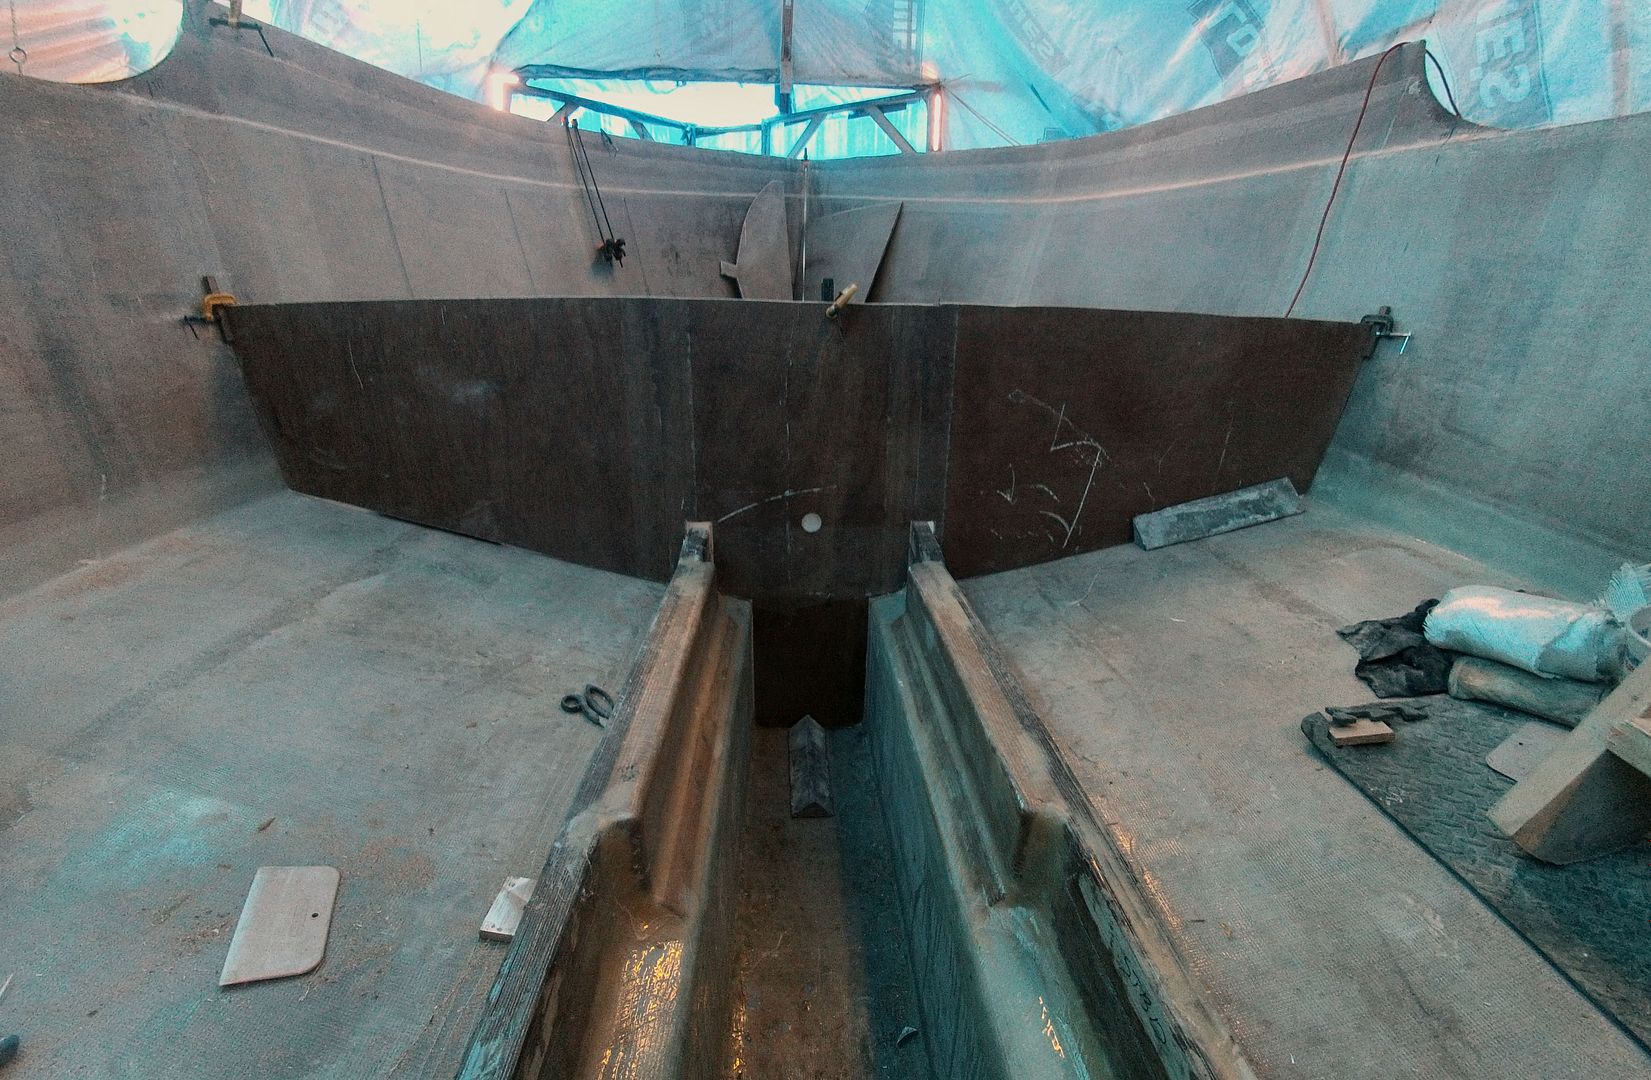
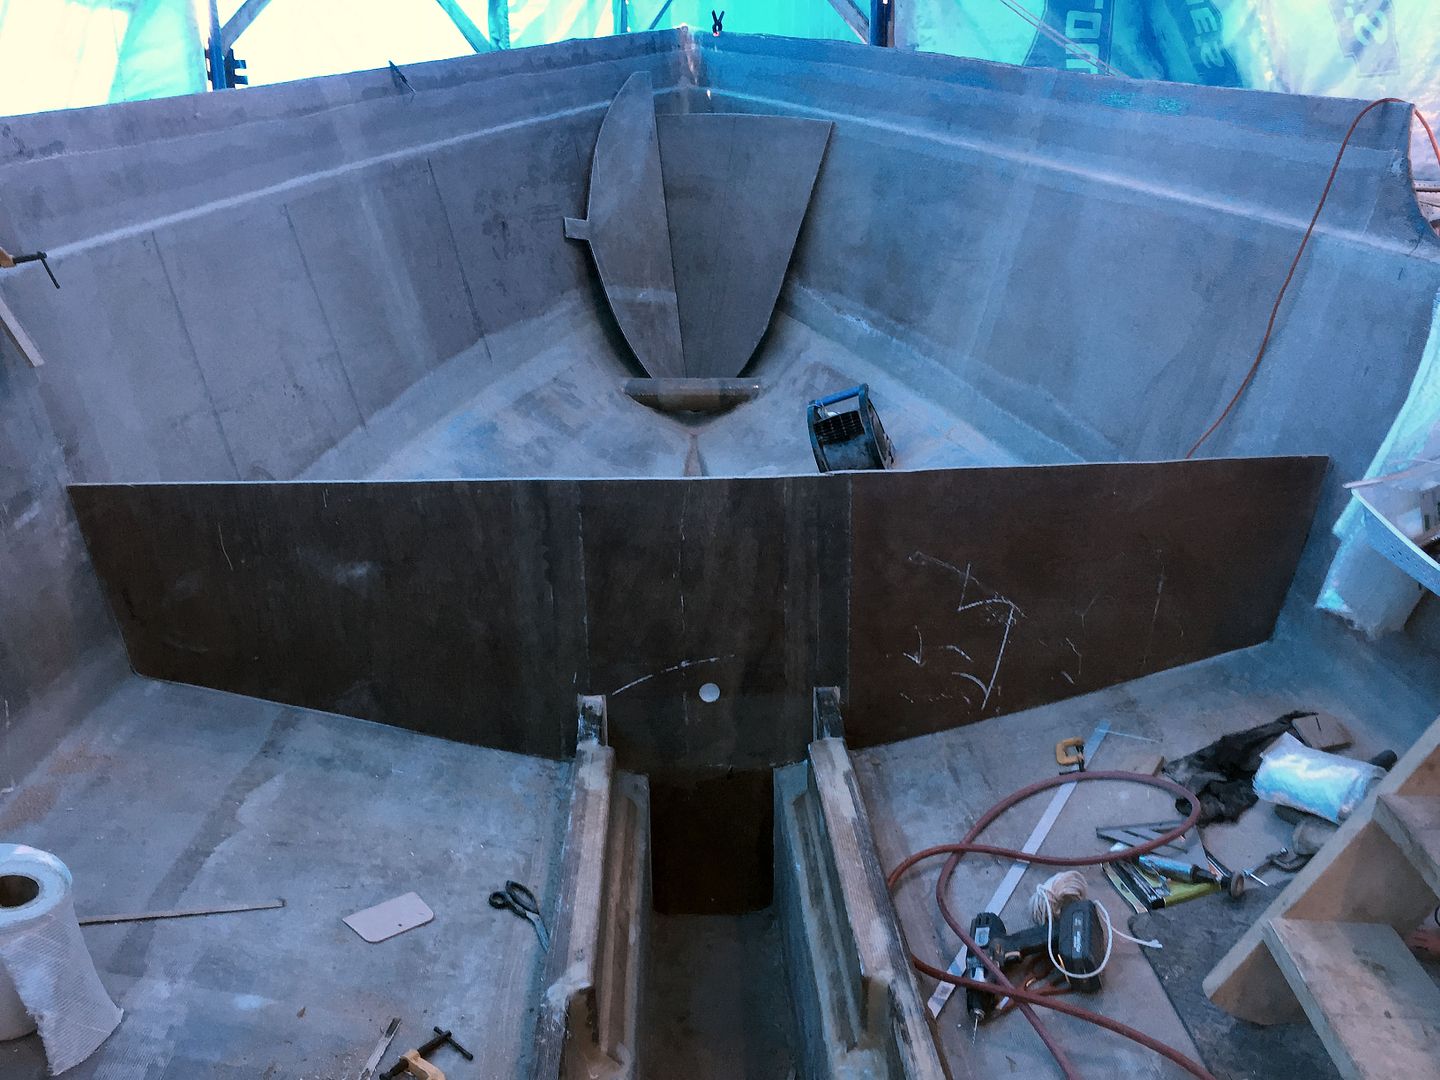
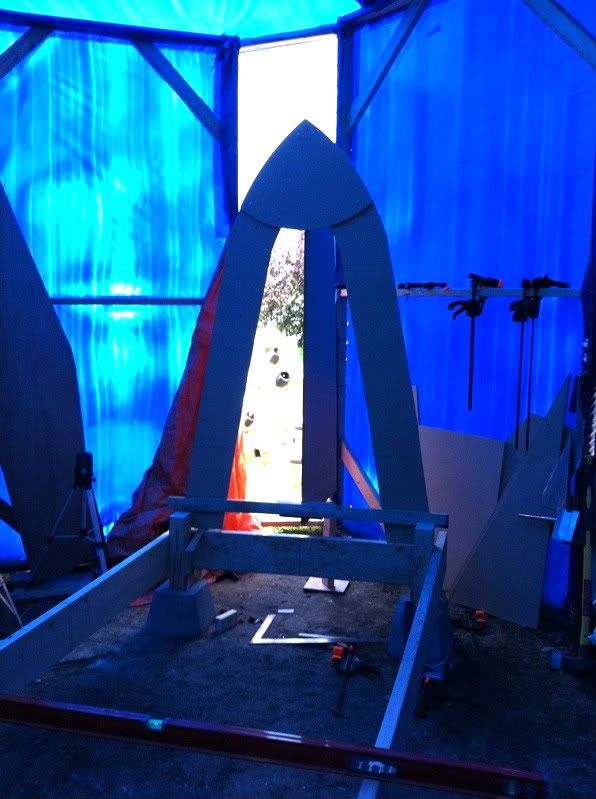
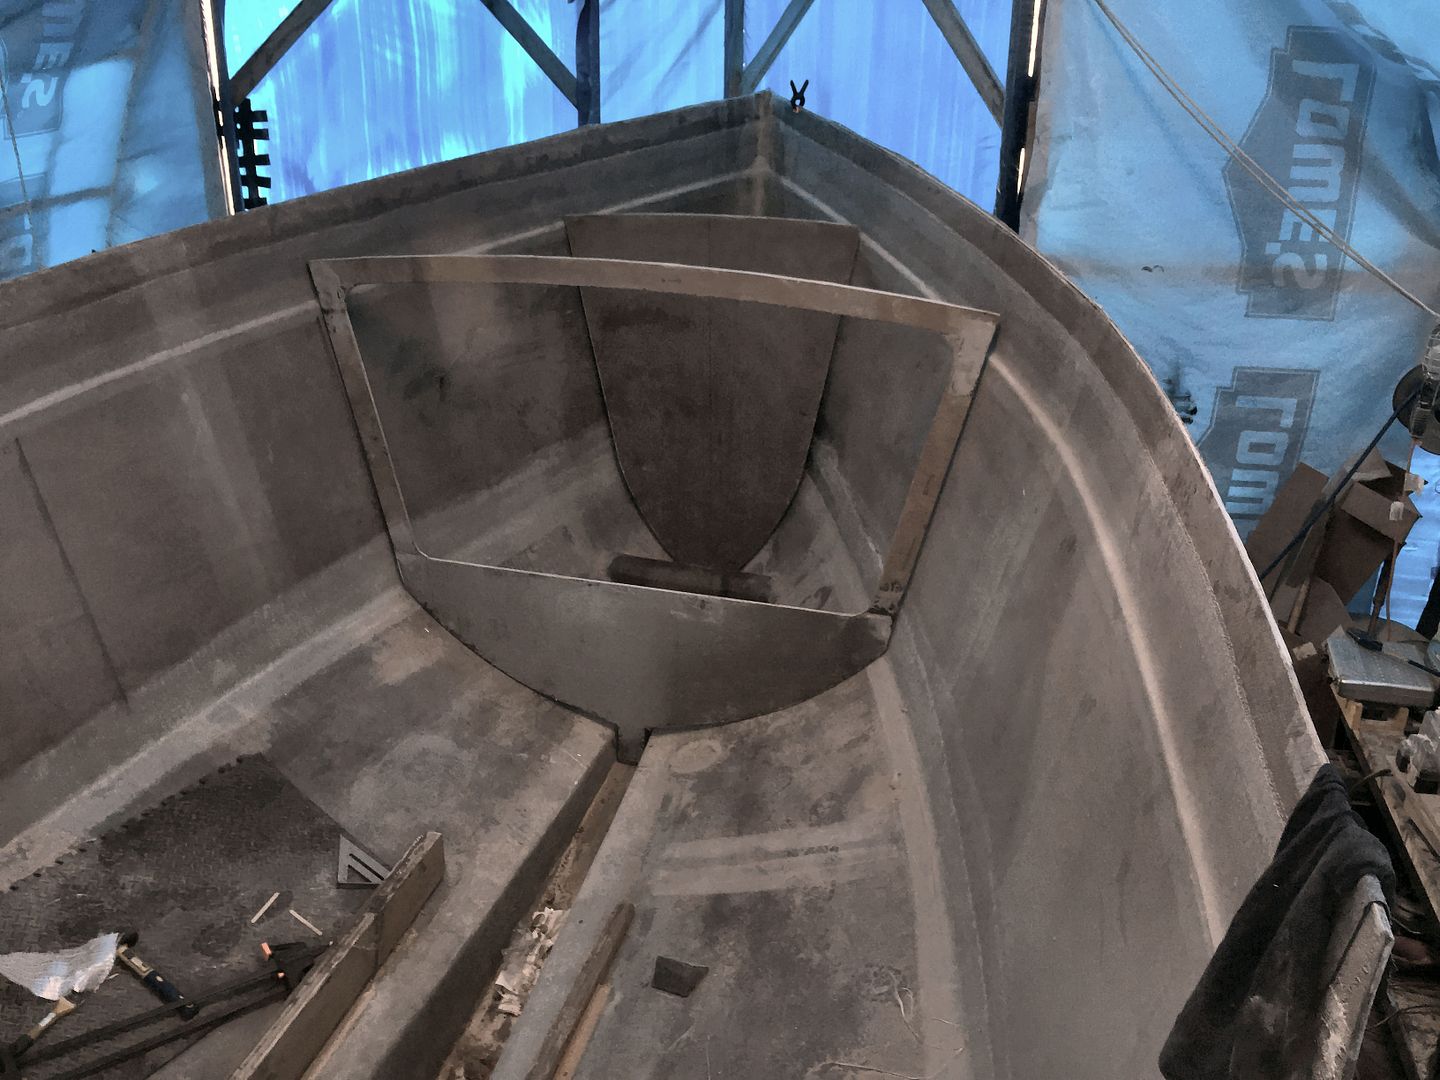
This morning I used my roof mounted electric winch to 'Fly In' bulkhead 'B'.
Bulkhead B coming aboard
Love that winch. Sure saves a lot of aching back muscles.

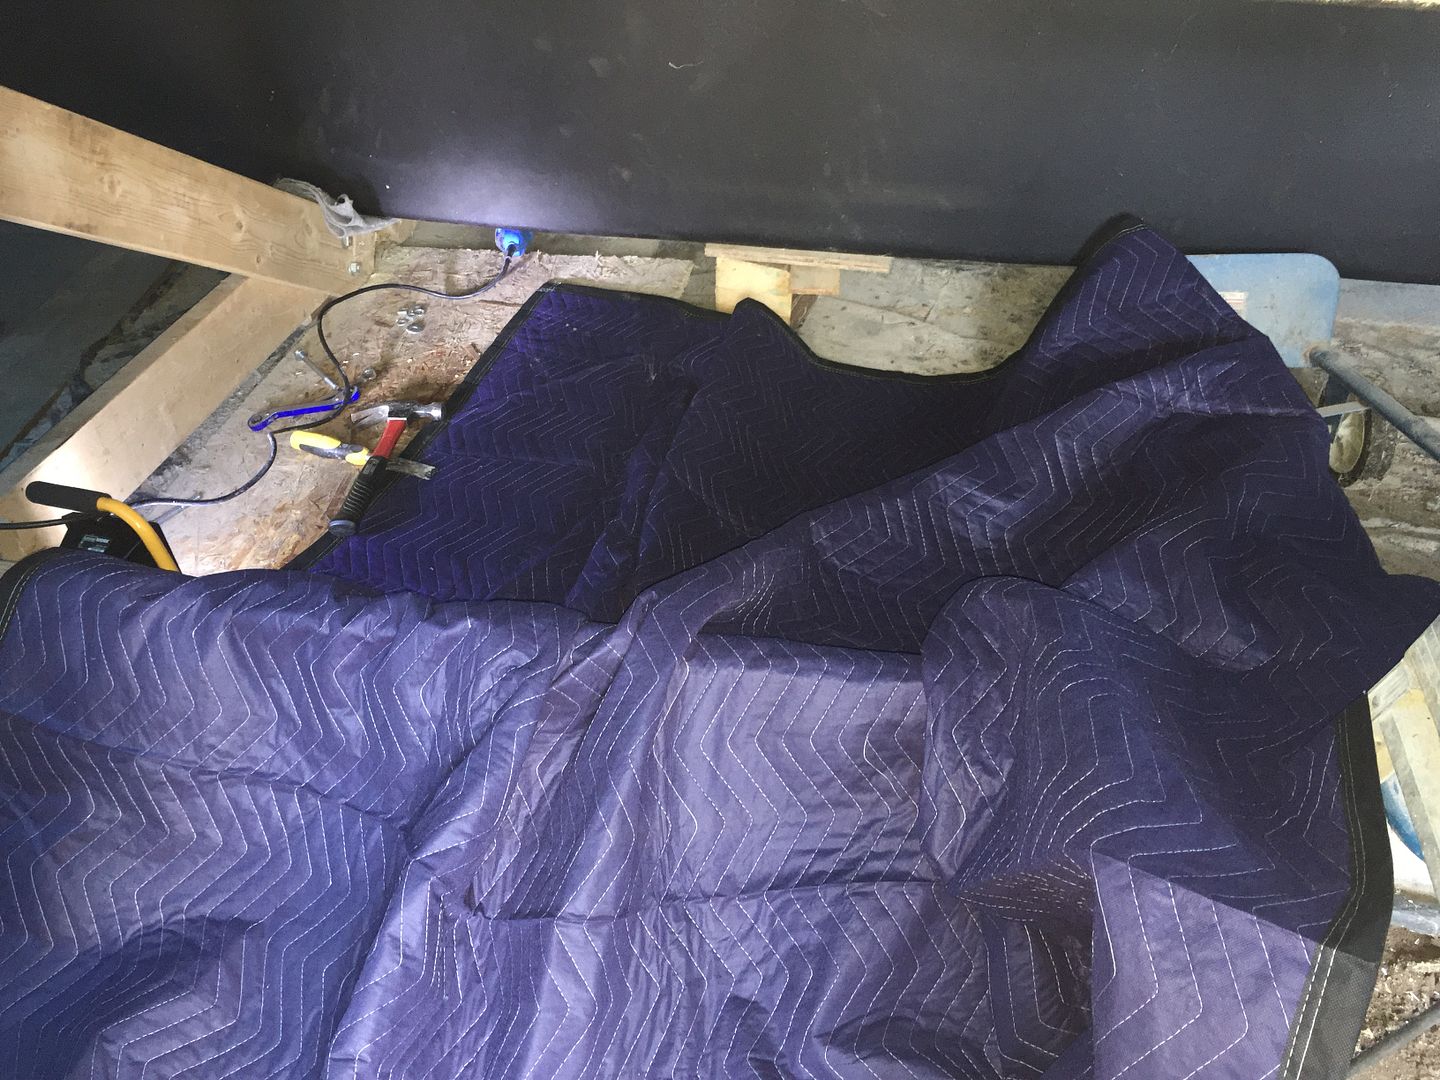
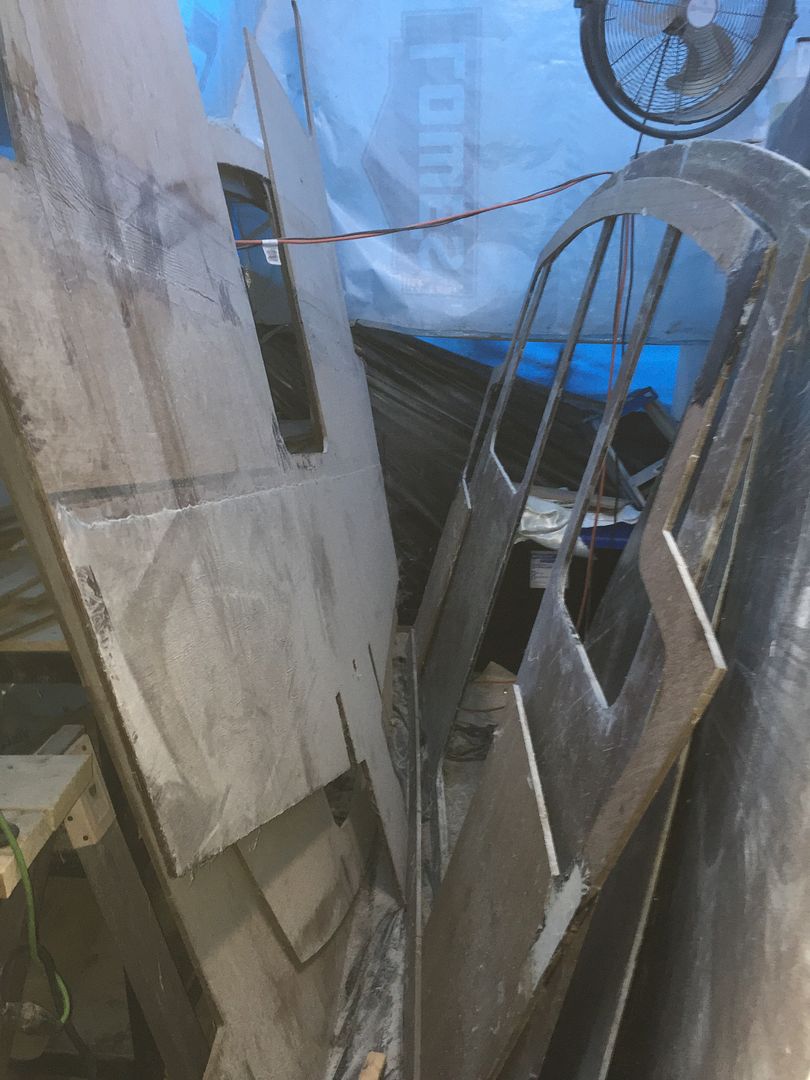
Frames A and B are now just sitting there. I have to figure out how they'll line up etc. before gluing them into place. I may be getting a bit ahead of myself but you follow through on these 'thoughts' as they happen sometimes!  :-)
Frame A & B sitting in place
I may have to set the main bulkhead, Frame E before I glue these first two in place as everything will take it's measurements of of it. That'll be a job, it's in one full piece and probably weights upwards of 100 lbs! Time to charge the winch battery!

That's it for now. Thanks for looking in.

Standby....

Wednesday, July 6, 2016

FAN-tastic

Oh boy! What a difference the ceiling fans make! Much much better!  :-)

So it's warm here again. 30 C in the shade. I'm still able to putter around the boat this morning and did some sanding on the stringers in prep for more goop & glass.

One of the things I wanted to do was locate and drill the holes for the bow eye. The bow eye will likely be called upon many times to take an extra strain whether it's mooring the boat or loading it on a trailer etc. so I plan to add more reinforcement and a generous sized backing plate.
Bow eye located.
Peaking through the hole gives a pretty cool view of the interior of the boat. Sorry for the mess.  ;-)
Through the peep hole!  :-)
Back to it.

Thanks to everybody for looking in. 

Standby.....

Tuesday, July 5, 2016

Thar She Blows

Thanks to Kijiji and the help of a few friends I managed to get a ladder tall enough (12 footer) to install the ceiling fans!
Fans installed
$50 for the fans. $20 for the extension cords. $50 for the ladder!  :-)  These two fans move a lot of air and I can feel it rushing out the doors. I hope that helps moderate things a bit in the shed.

So yesterday morning I glued in the last pieces to the stringers. Sloppy work but it was hot and the goop was going off in the plastic bag so I had to work fast.
Last pieces of the stringers.
They were glued & screwed & clamped as before.

I apologize for the crappy cell phone pic. Didn't have my camera handy.
Fwd section of stringers bedded.
I mixed up a large batch (too large) of goop to bed down the forward stringer sections. Again had to work fast as the glue was going off in the bag. The bag eventually split open and I had to scramble to get it into some place where it would be of some use. You'll notice it's a lighter shade than the glue I've made before. I added some glass beads to lighten the mix and stretch out what wood flour I have left. Boat building material funds are low this month due to the Jeep repair. :-(

A proper 'All American' boat builders lunch for the 4th. of July! Cheers my American friends.
Hot Dog & Mac & Cheese. Doesn't get more American than that eh?
Standby....

Saturday, July 2, 2016

Not my best day

On a bright note I've picked up a couple of industrial ceiling fans for the shed! Now I need a 12' step ladder to hook them to the ridge!
Pair of these for $50!  :-)
 I took my first shot at gluing in the engine bed on the starboard side.
Stbd engine bed glued in.
Not my best work. Very messy. I used a notched trowel to spread out the glue. Same thing they do with tiles. Did the best I could and clamped and temporarily screwed it to the stringer. With a few layers of glass & carbon fiber on it, it's not going anywhere.

Have you ever had one of those days when you pick up a tool off the bench and knock two more off on the floor? Somedays I think it'd be easier just to throw everything on the floor and work from there!
What a 'working' mess!
Had to take some time to clean that mess up before I ended up breaking my neck or an ankle or something like that. Terrible work ethic!

Will get the other side glued in tomorrow.

Standby...