Thursday, June 30, 2016

TENS = Stimulating

A few years ago I took a tumble down the stairs and tore up my right knee and pulled something in my back. Lost about a year of boat building due to that lil' screw up. The knee still isn't right and neither is the back. Brought it to the attention of the Ole' Sawbones but he thinks it's all in my head! Did physio a few times but didn't seem to help.

Anywho, got a TENS device off of fleaBay for $30 USD. What an amazing lil' unit! I had it on my back this morning for 3 x 15 min cycles and *Poof* no more pain! I was able to jump around the boat this morning like a monkey in a banana tree!

Still working on the engine beds. Roughed them in this morning.
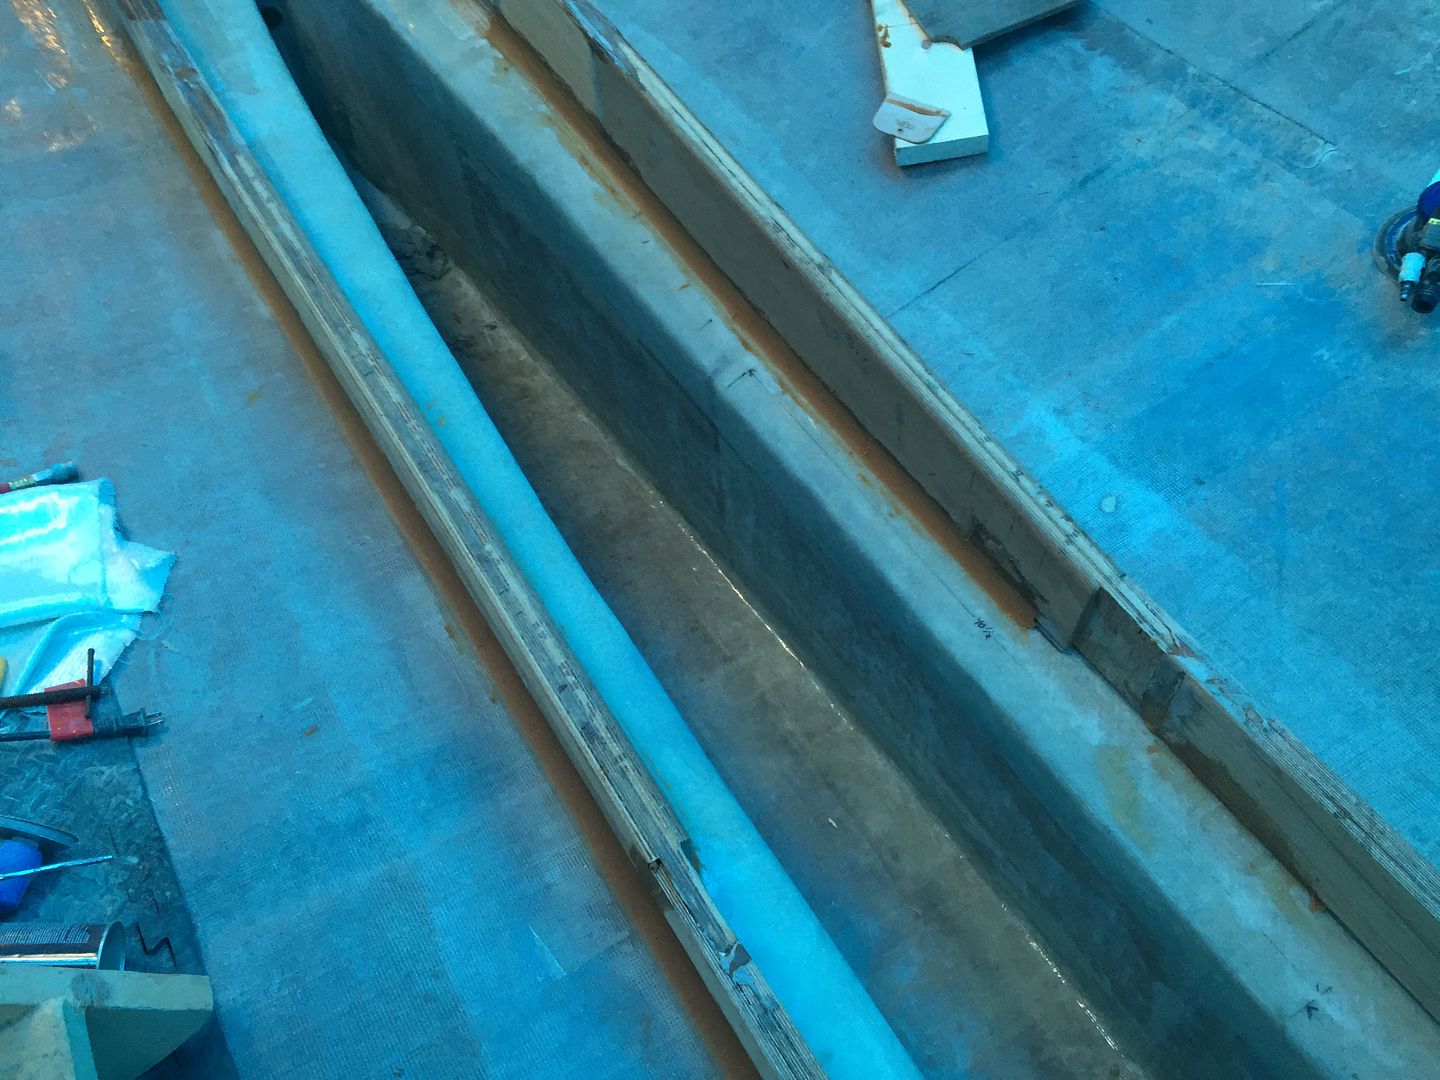
Roughed in engine beds
Both beds will sit dead nuts level in the boat and so will the engine. If the geometry works out I'll have the proper angles for my Python Drive.  :-)
1/10th. of 1 degree, close 'nuff for Gubment work!  ;-)
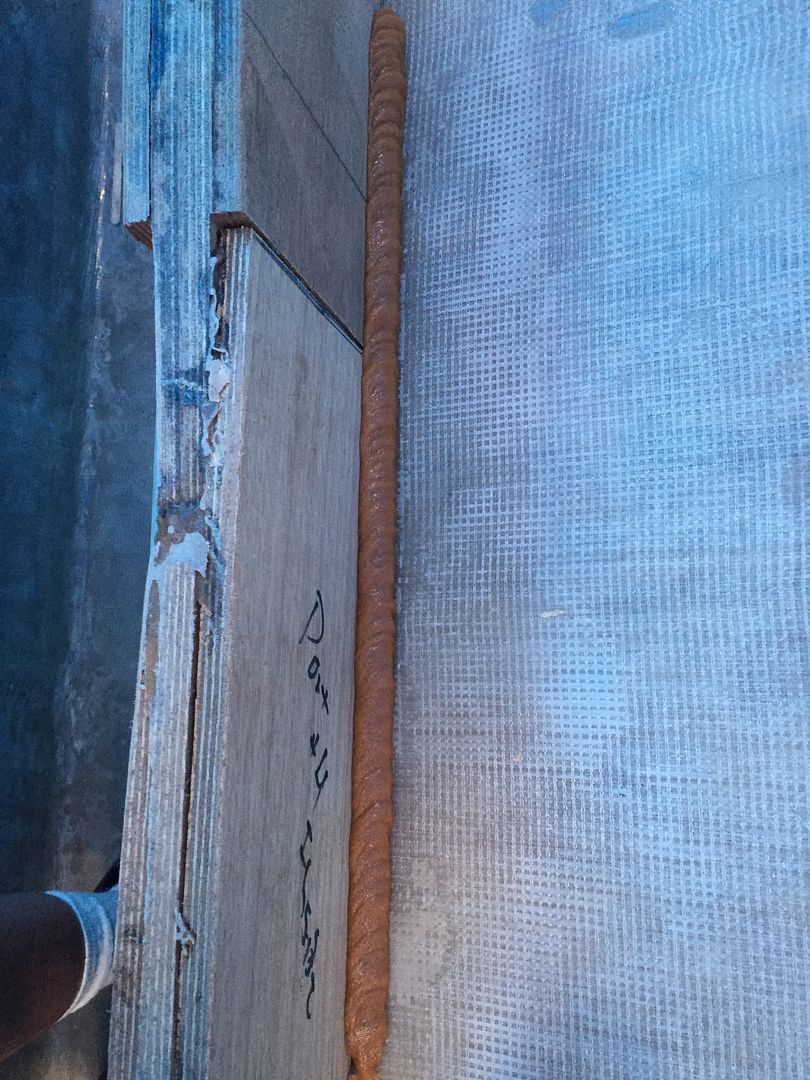
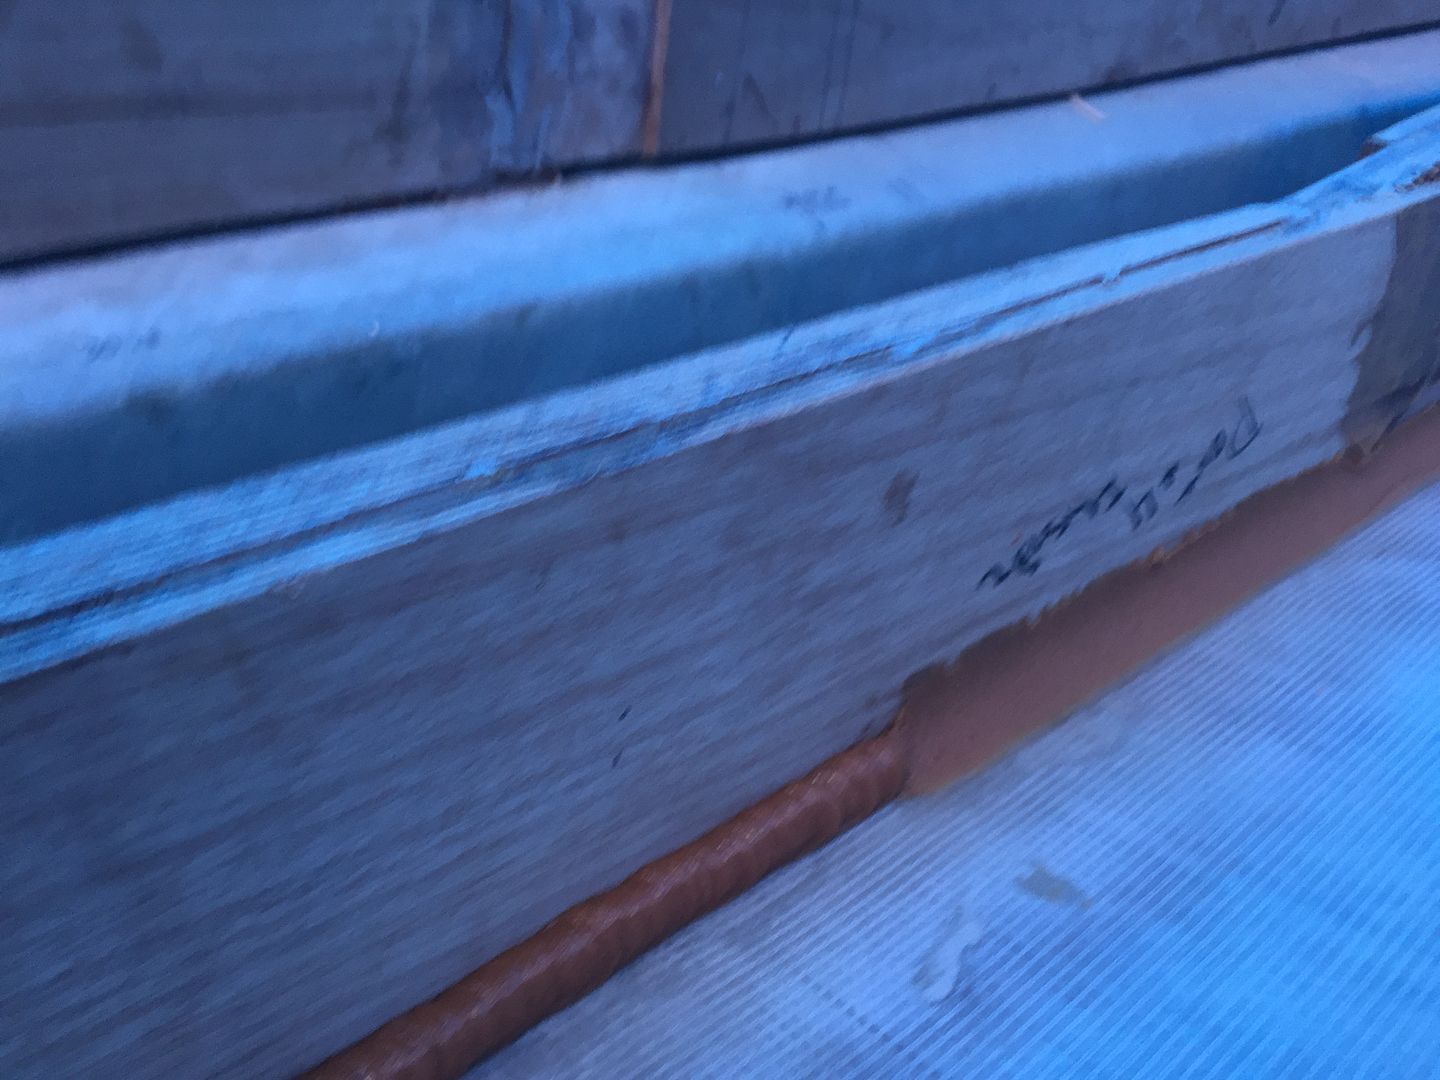
Rounded off the edges that'll need tape/glass etc. The wedges on the bottom are to fill the large gap that's left by the beds. This will all get bedded in tomorrow.
Sanded & ready to be bedded down!
That's 'bout it for today. Gotta get cleaned up and go pick up my Jeep that's been in the shop for 3 days getting a new clutch. (read 'Expensive' repair). *sigh*

Standby.....

Monday, June 27, 2016

In my minds eye

I can see how it's supposed to go in my minds eye. You spend years looking at technical drawings, photo's of how others have done it etc. But until it's your turn to actually do it everything you think you knew all seems to fade away into the ether! *sigh*

Such was the case with the placement of the Python Drive and associated hardware. I know how it's supposed to look (in profile) but once you're actually working in 3D in the real world that extra dimension appears at first to throw a wrench into the whole scenario.
Setting up shaft log support frame
The Python CV joints have to have at least 1.5 deg of angle in order to ensure proper lubrication of the joints. Minimum 3 degs total for both CV joints. I have designed the shaft log support frame to allow adjustments to the shaft angle (during mock-up) and will eventually have to lock in the angle. I was having problems visualizing how the Python drive jack shaft would fit between the engine and thrust bearing. The only way out of it was to haul it all out to the shed and lay it up!
Full length shaft log at 8 degs pointed dead nuts at engine output.
I was shooting for a prop shaft angle of 6 degs. This would give me, in theory, 3 degs on each CV joint. I got pretty close first time.
L to R: Prop shaft, thrust bearing, jack shaft w/CV joints
I will have to fabricate another bulkhead support for the thrust bearing. Easy enough, it's angle in relation to the prop shaft will be the same degree off vertical as the prop shaft is off horizontal.
Thrust bearing & prop shaft
The way it's sitting right now the prop shaft is at 7 degs and the jack shaft is at 2 degs so each CV joint should get about 2-1/2 degs of angle well within specs. Nothings glued in yet so I'll be able to optimize the angles as I go.

I'll double check my work and start gluing in the prop shaft support frame and then make up one for the Python Drive thrust bearing. I'll dry fit the stern bearing carrier and then figure out the total shaft length. I bought an 8' shaft so it'll have to be cut down to size. The one that's in there now is too short but used for mocking up the drive line.

My buddy Andrew came over yesterday afternoon and fixed up the shed roof so we should be nice & dry for another 6 months or so. Thank you Andrew.  :-)

Standby...

Saturday, June 25, 2016

Little fabrication

Pretty warm in the boat shed today, thermometer was approaching 40 C which is waaaay to warm for this fat ole' bastard! I was drenched inside of 5 mins!

Managed to fabricate a new bulkhead or whatever you want to call it to support the prop shaft tube. I planned in some adjustment will fitting it up so I can fine tune the prop shaft angle. I won't really know where it will end up till the engine comes back and I can sit it in the boat. Lots to do before that happens though.
Prop shaft adjustment in bulkhead
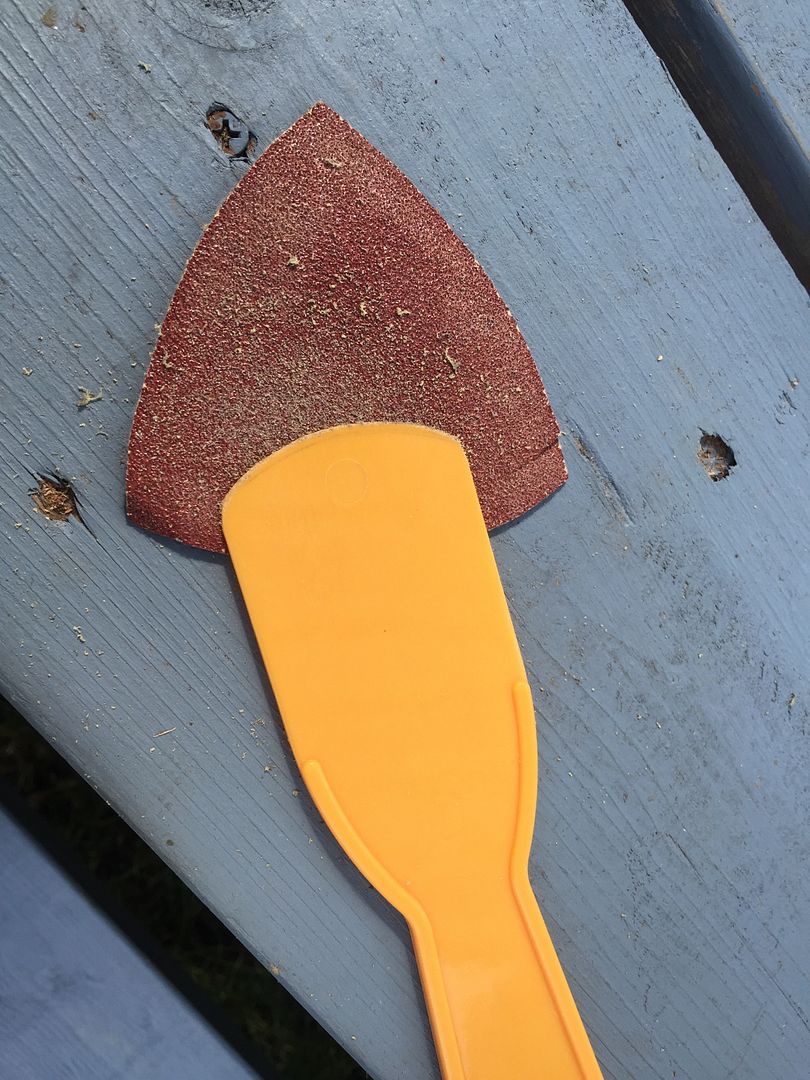
Once the shaft angle is determined I'll glue & tape it in place. Got to use my 'yard sale' oscillating sander today! :-)  Works nice. I can see this tool getting a lot of use on this project.
Oscillating sander in action
Got the bulkhead mocked up and aligned etc.
Mocked up and level

That exercise did illustrate the difference in height between the two stringers, about 3/8" difference. I suppose that's from bedding one stringer a bit higher than the other. Dunno. Don't think it'll affect anything.

Last step was glassing one side.
Glassed & Peel Ply'd
Other side tomorrow then I'll glue it into place with some poo and tape.

Did a lot of navel gazing today just trying to visualize how it's all gonna fit in there. Gotta make sure I get this right. I only get one shot at cutting the prop shaft tube and definitely don't wanna mess that up!

Standby....

Friday, June 24, 2016

Life's little difficulties

Sometimes life just has it's moments that seem to get in the way of a boat building session. Yesterday I was off and running for the UPS store to pick up my new motor mounts. Almost about to cross the border when the oil pressure in the ole' IROC goes to Zero!!!! Haul it over and call the tow truck! Fack!
Smiling Bill the Tow Truck Guy! Caught a big one!
So that little misadventure threw me off track for about 2 days. Luckily it was only the oil pressure sender that was pooched. Total repair & tow, $250. *Sigh*

Picked up the new engine mounts today. They're a wee bit narrower than the Vetus mounts I showed you earlier but not much. The engine mounts will still have to sit on top of the stringers.
New engine mounts, still a wee bit wide but I can work with these.
So this is essentially how the engine will sit once the beds are in place.
Engine mockup with new mounts.
And the shaft tube is getting lined up and measured to be cut to the proper length.
Shaft tube needs to be trimmed back quite a bit.
I've got the measurements all laid out on the bottom of the boat for the various components. Still not able to visualize it yet but it'll come eventually. The Python Drive has some specific requirements for mounting and I have to be careful I respect those requirements. I'll fab up the support frame for the Python Drive tomorrow and set the shaft log angle, 6 degs and glue/tape them in place. I can then trim up the shaft log.
Shaft log looking aft.
Having never done this type of thing before I do a lot of 'navel gazing' and thinking and measuring before I cut anything. I only get one shot at this!!!

That's about it. Not exciting but it is what it is. Thanks for looking in.

Standby....


Wednesday, June 22, 2016

Bedding, fillets & tape

Sorry it's been a few days with no words. Things just sorta got in the way I guess. Jeep needs a new clutch and when I was at the garage to arrange that the old Camaro wouldn't start! I guess if you're going to break down the garage is the best place. $168 for a new battery! *sigh*

Anywho, the engine was delivered to the marina for servicing. That's an infill job for them so I suspect it'll be at least a week before they call to go pick it up.

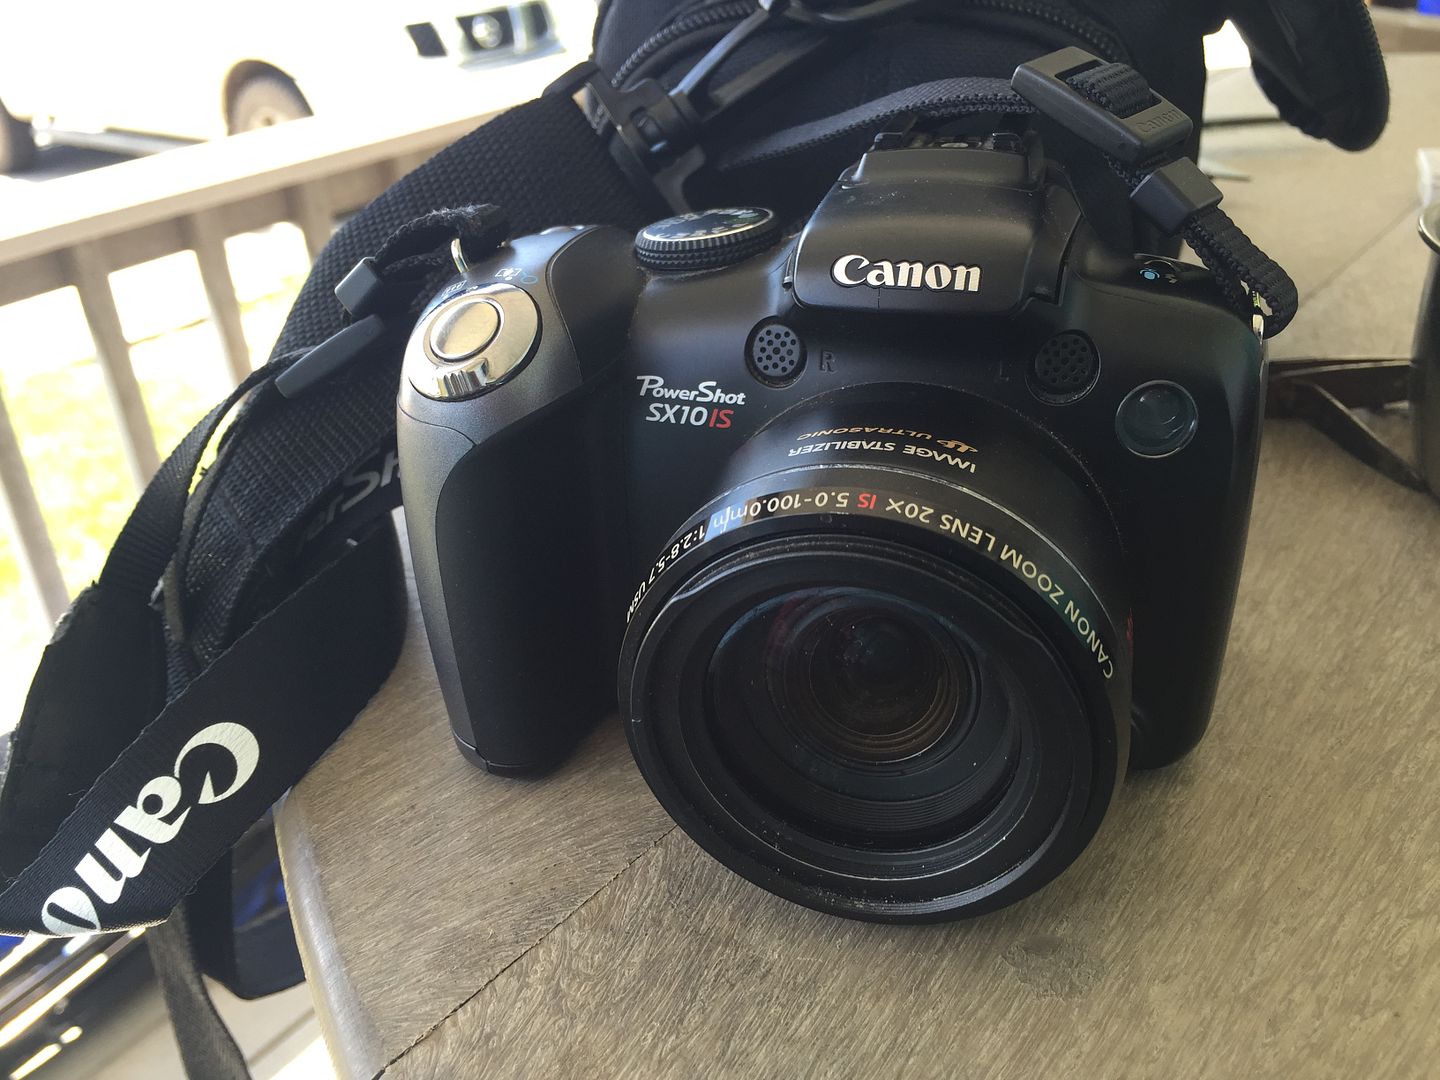
Picked up a new (to me) camera to use in the boat shed. $50 off Facebook. It's way too nice to expose to that environment I think.
Facebook Cheapo Camera
Part of me wants to keep it and part of me says just friggin' use it in the shed. I'll give it a shot tomorrow.

Today was bed stringers, fillet & tape. Got most of them done. First time I've mixed up a batch of poo in quite a while. Got it going good just the right consistency. It pipes out of the plastic zip lock bag just like peanut butter!
Filler flows like peanut butter!
I like the feel of the plastic putty knife as a fillet tool. Cheap and easy to make. Only problem is they don't last very long.
Plastic fillet tool
But they do make nice radius fillets!
Working along the stringers
Probably did 30' of fillet & tape today. Nice and easy. No stress, it was a comfortable 21 degs C in the shed today. Nice break from the heat and humidity of the last few days.
Nice fillets if I do say so myself!
After the fillets were done I laid on a layer of tape. Tomorrow I'll go back and bed in the section where the engine beds go and the forward section of the stringers.


Even the Project Manager stopped by to have a look see and bark a few orders! I was on my toes and not slackin' either! :-)
Uh oh! The boss is here!
That's about it for today. Standby.....

Thursday, June 16, 2016

I screwed up

Screwed up twice, at the same time.

Bought new engine mounts years ago off of eBay. Price was right. My understanding of what they were and how much weight they'd support wasn't.

So the first screw up was on the physical size (footprint) of the Vetus Type 40 engine mounts.
Oooops!
The original Yanmar mounts would have fit within the 21" gap I have between the stringers. These Vetus mounts won't! The engine would have to sit up on top of the stringers.
Where the would have to sit
So the second screw up is with the capacity for the Type 40 mounts. They'll carry up to 40 Kg or about 88 lbs. The 4JH-TE with transmission weights about 232 Kg or about 511 lbs (dry, no fluids). There's no way 4 x 40 kg can carry the load. Soooooooo list the Vetus mounts on eBay and buy new ones! *sigh*

eBay item # 131849914814

Standby....

Wednesday, June 15, 2016

Rearranging Inventory

Today I moved the engine out of the back of the shed into daylight! I can't remember exactly when I put it in there but it's been at least 5 years since it saw daylight.
Moving the engine out of the shed
It actually went better than I thought it would. Figured after 5 yrs sitting it would have glued itself to the floor of the shed.
Daylight!
Once I got it on wheels it was a lot easier to move. Next chore will be to get it loaded on a trailer and taken for service on Monday. Partial list of tasks to be done:

R&R Thermostat
Change oil & filter
Change gearbox fluid
Change antifreeze
R&R raw water impeller
R&R alternator belt
R&R alternator
R&R mixing elbow
Change fuel filter
Change air filter

I'm also going to see if they know how to plumb up the hoses for my Reverso oil changer thingy. Maybe a pressure wash/degrease and a lil' paint to spruce it up. Once I get it home I'll shrink wrap it and (if the boat building gawds approve) lift it into the boat and sit it on the engine beds!

Standby.....

Tuesday, June 14, 2016

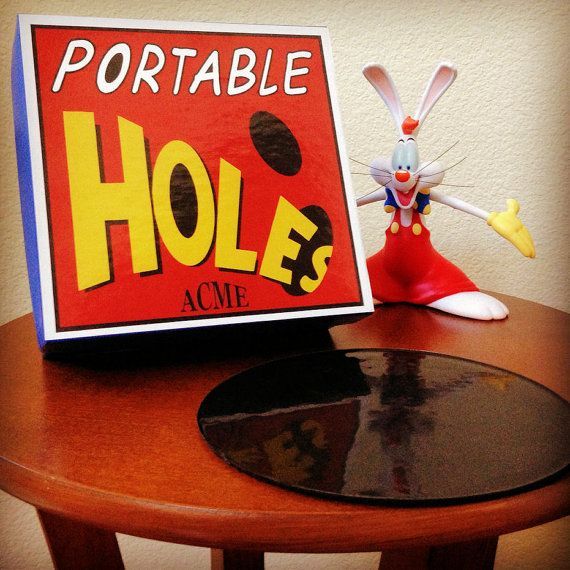
ACME Holes

Well not quite. ACME holes would have been much easier methinks!

Poached from Pinterest
So what's this got to do with boatbuilding?  Well there's an old saying that 'you know you're making progress when you start drilling holes in your hull'. Or something like that.

Hole drilled for the propeller shaft tube.
Hole for prop shaft tube
Next came the hole for the rudder shaft tube.
Hole for rudder shaft tube
Not much fun drilling out the prop shaft hole. I was rolling around in the dirt the cats have used for a friggin' litter box! *sigh* One of the difficulties in building on dirt instead of a nice, clean, level, smooth concrete floor. *sigh*

Cutout from the back of the keel shows about 1/4" fiberglass & carbon fiber. :-)
Cutout from prop shaft tube hole
I split the other side of the cutout off when I cut it in half on the miter saw. It has about the same amount of fiberglass. Should be strong 'nuff! All the thrust from the prop is transferred to the thrust bearing and not this part of the hull.

Also have the prop shaft half frame (or whatever it's called) cut & trimmed to install. This will hold up the other end of the prop shaft tube. I'll get that all figured out tomorrow.

Standby....

Monday, June 13, 2016

Easing myself into this

I gotta ease myself into this boatbuilding stuff. Wouldn't want to pull a beer  muscle this early in the game! :-)

Laminated up some ply to fill in the stringers.
Epoxy glue to laminate stringers
Decided to make full size engine beds from some 8/4 white oak. This will help replace some of the strength lost by having one less ply layer in the stringer.
Test fitting 8/4 white oak for engine beds
Since I'll be using the Python Drive I don't have any critical alignment issues with the engine/drive train. The engine beds will be set at a 2deg down angle. Taking away the 8deg angle the prop shaft is at will leave 6 degs to be made up by the CV joints in the Python Drive system.

I think I'm stewing too much over the details at this point. There have been quite a few deliberations over the various components and how they'll fit in the boat. I mean, I know what they will look and work like, it's just I've never done anything like this before.
My office view this morning! :-)
If it comes together the way I have it laid out now the prop shaft will be substantially shorter than original spec. Which is a good thing unless you've already bought the ultra longy one spec'd in the plans! *sigh*

Anywho, more tomorrow.

Standby.....

Saturday, June 11, 2016

I admit, I've been slackin'!

Yes it's true. I've been slackin' of late. Finished my contract with the Gubment on June 1st and here it is 11 days later before I get into the boat shed in earnest. It's been a wacky last week and a half. Yesterday we had to put down or cat, Shadow. She'd been sick for awhile and we had to do what we had to do. :-(

I had been in the shed doing some general clean up and tried to bring some order to the chaos. There was a ton of lumber left over from the strongback & turning frame. I looked at it for a bit and 'Wallah!' it came to me! Picnic Table!

My $14 scrap lumber picnic table
That took me two days of pissin' around inbetween weather and such. Didn't take too long to turn it into a work bench either!
Makeshift workbench!  ;-)
I have no way to cut stainless steel. Had a few chats with a local machine shop guy and he's agreed to fabricate my rudder assembly. I've assembled all the materials and agreed to cut a mild steel template for the foil shape that'll make up the thingies in the rudder.
Foil shape rudder thingy template
The machine shop will plasma cut the foil shape thingies saving me a heck of a lot of time & effort. The rudder will be the same as Peter's 'Luka'.
Peter's rudder assembly
The first job today was re-leveling the boat. You do this a lot when you're building on a dirt floor. This time I made myself a new, improved, water level. It's 7/16 plastic tubing with black water (food colouring). Worked like a charm!
New and Improved water level!
I also use a laser level to get things level & plumb. Not easy inside the boat where there's no flat surface to set up the level.
Attempting plumb & level.
The laser level has been a great tool right from the start when we setup the strongback. Without it I'm sure this ole' boat would be crooked as a Liberal politician!  ~ :-)
Improvising base for laser level.
Once that was done I located the position for the main bulkhead that'll separate the forward cabin from the engine space. There are notches in the stringers for alignment and I had to be sure they were properly aligned.
Stringers aligned for main bulkhead
Once that was done I could now start to fit the stringer extensions (required due to hull stretch). I'm planning on using 8/4 white oak for the engine beds. These will be incorporated into the stringers so any strength I loose in leaving out 1 layer of ply (my engine is 21" wide, stringers are 20" apart) will be more than compensated for.

That's about it for now. It's raining again and I have a leak in the shed roof. As expected. Printed out all the measurements for the engine so I can double check those and make sure things are going to line up as I had originally planned.

More coming soon.

Standby.....