Yes it's true. I've been slackin' of late. Finished my contract with the Gubment on June 1st and here it is 11 days later before I get into the boat shed in earnest. It's been a wacky last week and a half. Yesterday we had to put down or cat, Shadow. She'd been sick for awhile and we had to do what we had to do. :-(
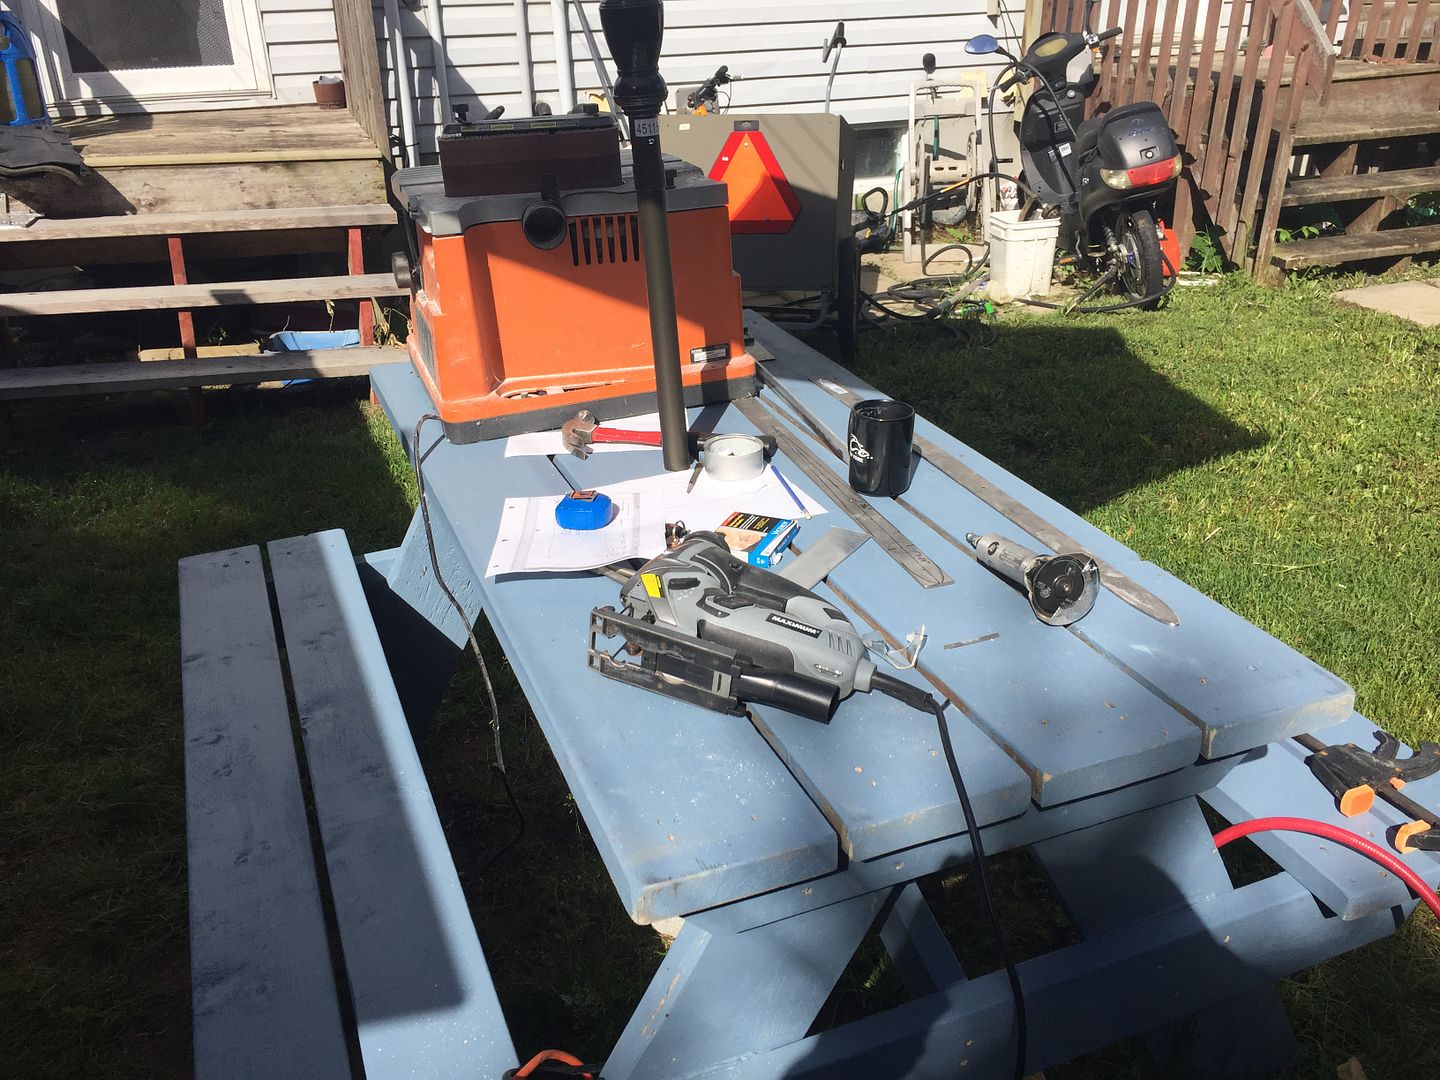
I had been in the shed doing some general clean up and tried to bring some order to the chaos. There was a ton of lumber left over from the strongback & turning frame. I looked at it for a bit and 'Wallah!' it came to me! Picnic Table!
 |
| My $14 scrap lumber picnic table |
That took me two days of pissin' around inbetween weather and such. Didn't take too long to turn it into a work bench either!
 |
| Makeshift workbench! ;-) |
|
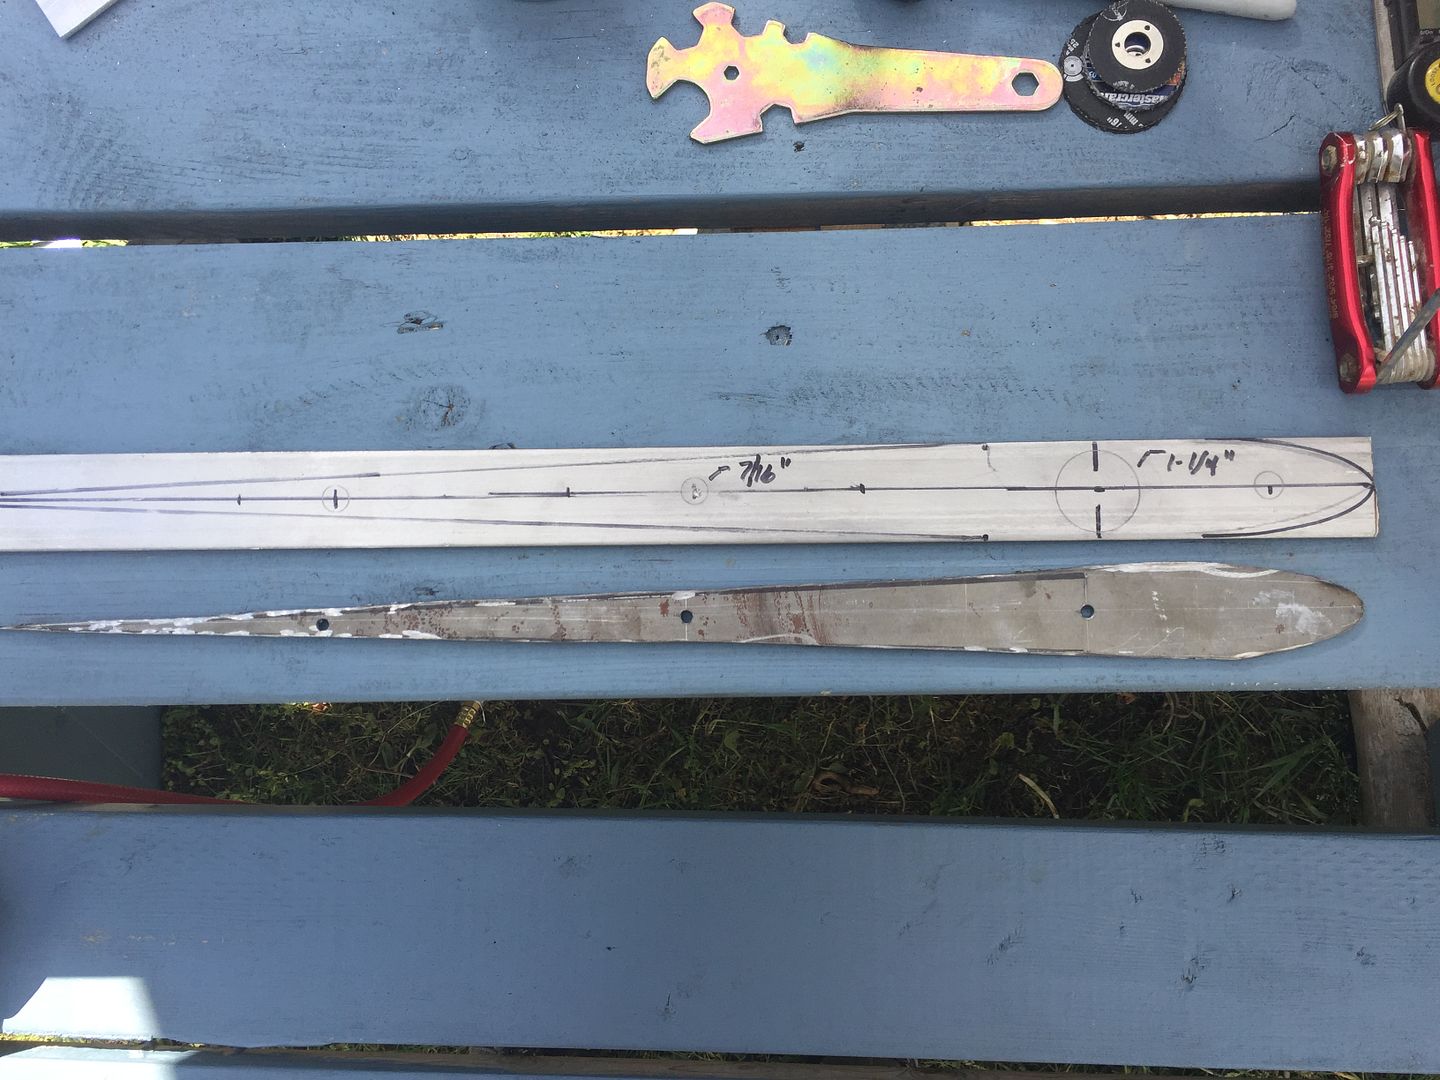
I have no way to cut stainless steel. Had a few chats with a local machine shop guy and he's agreed to fabricate my rudder assembly. I've assembled all the materials and agreed to cut a mild steel template for the foil shape that'll make up the thingies in the rudder.
 |
| Foil shape rudder thingy template |
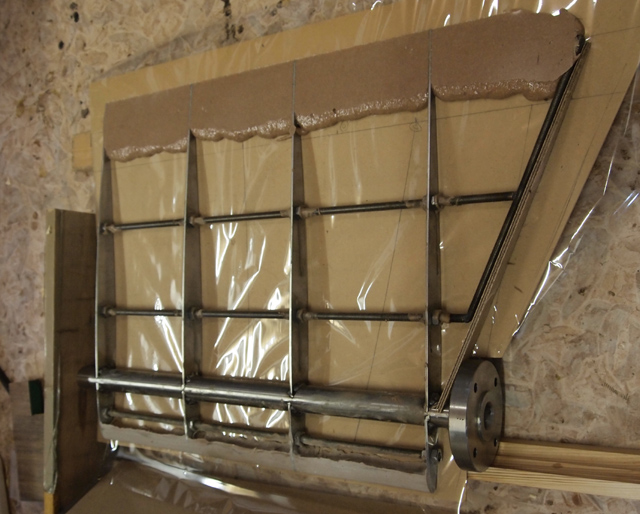
The machine shop will plasma cut the foil shape thingies saving me a heck of a lot of time & effort. The rudder will be the same as
Peter's 'Luka'.
 |
| Peter's rudder assembly |
The first job today was re-leveling the boat. You do this a lot when you're building on a dirt floor. This time I made myself a new, improved, water level. It's 7/16 plastic tubing with black water (food colouring). Worked like a charm!
 |
| New and Improved water level! |
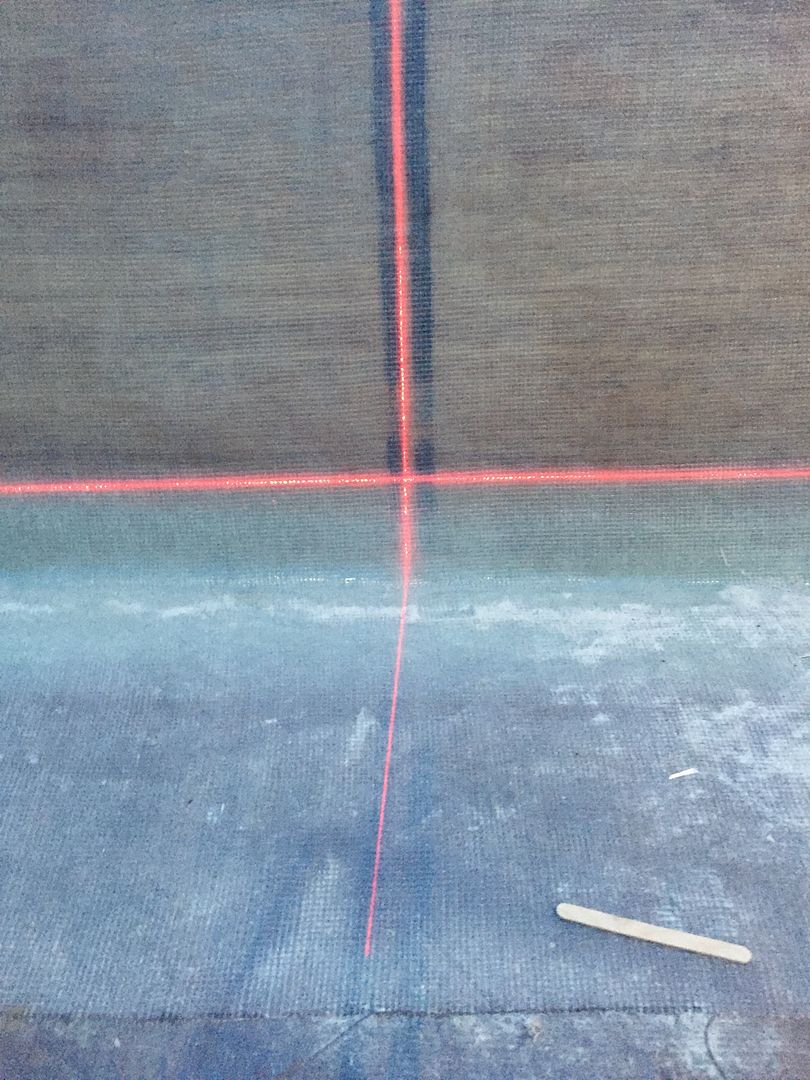
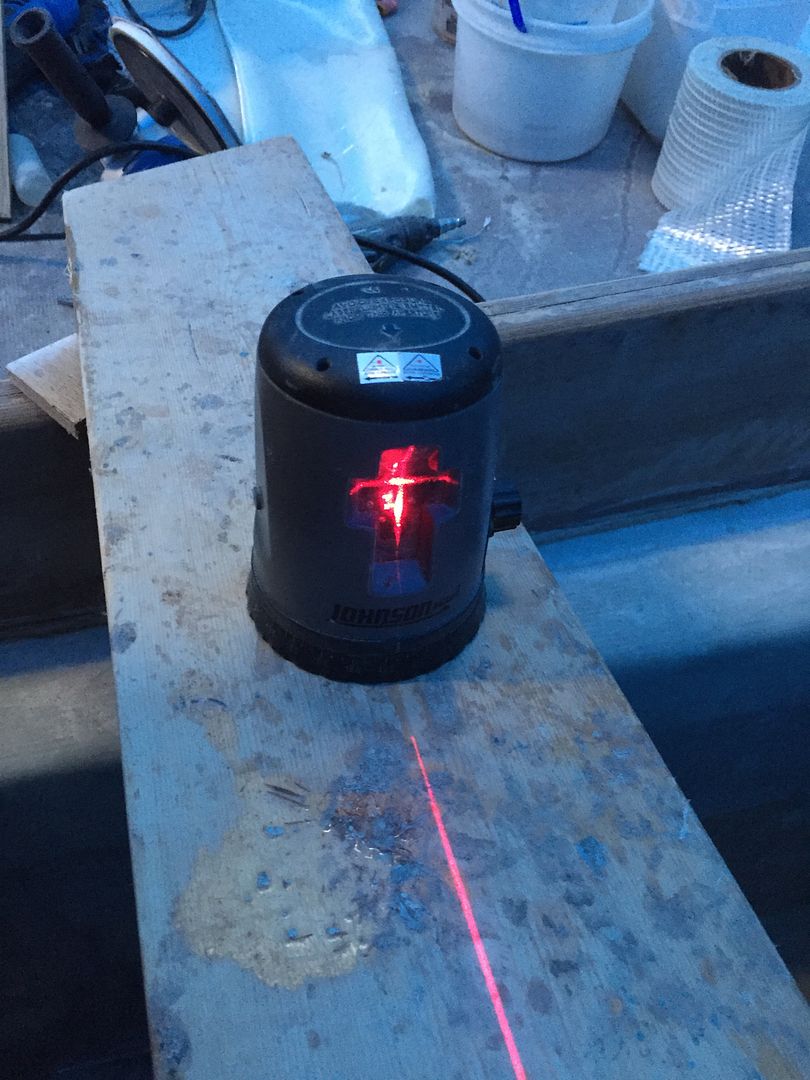
I also use a laser level to get things level & plumb. Not easy inside the boat where there's no flat surface to set up the level.
 |
| Attempting plumb & level. |
The laser level has been a great tool right from the start when we setup the strongback. Without it I'm sure this ole' boat would be crooked as a Liberal politician! ~ :-)
 |
| Improvising base for laser level. |
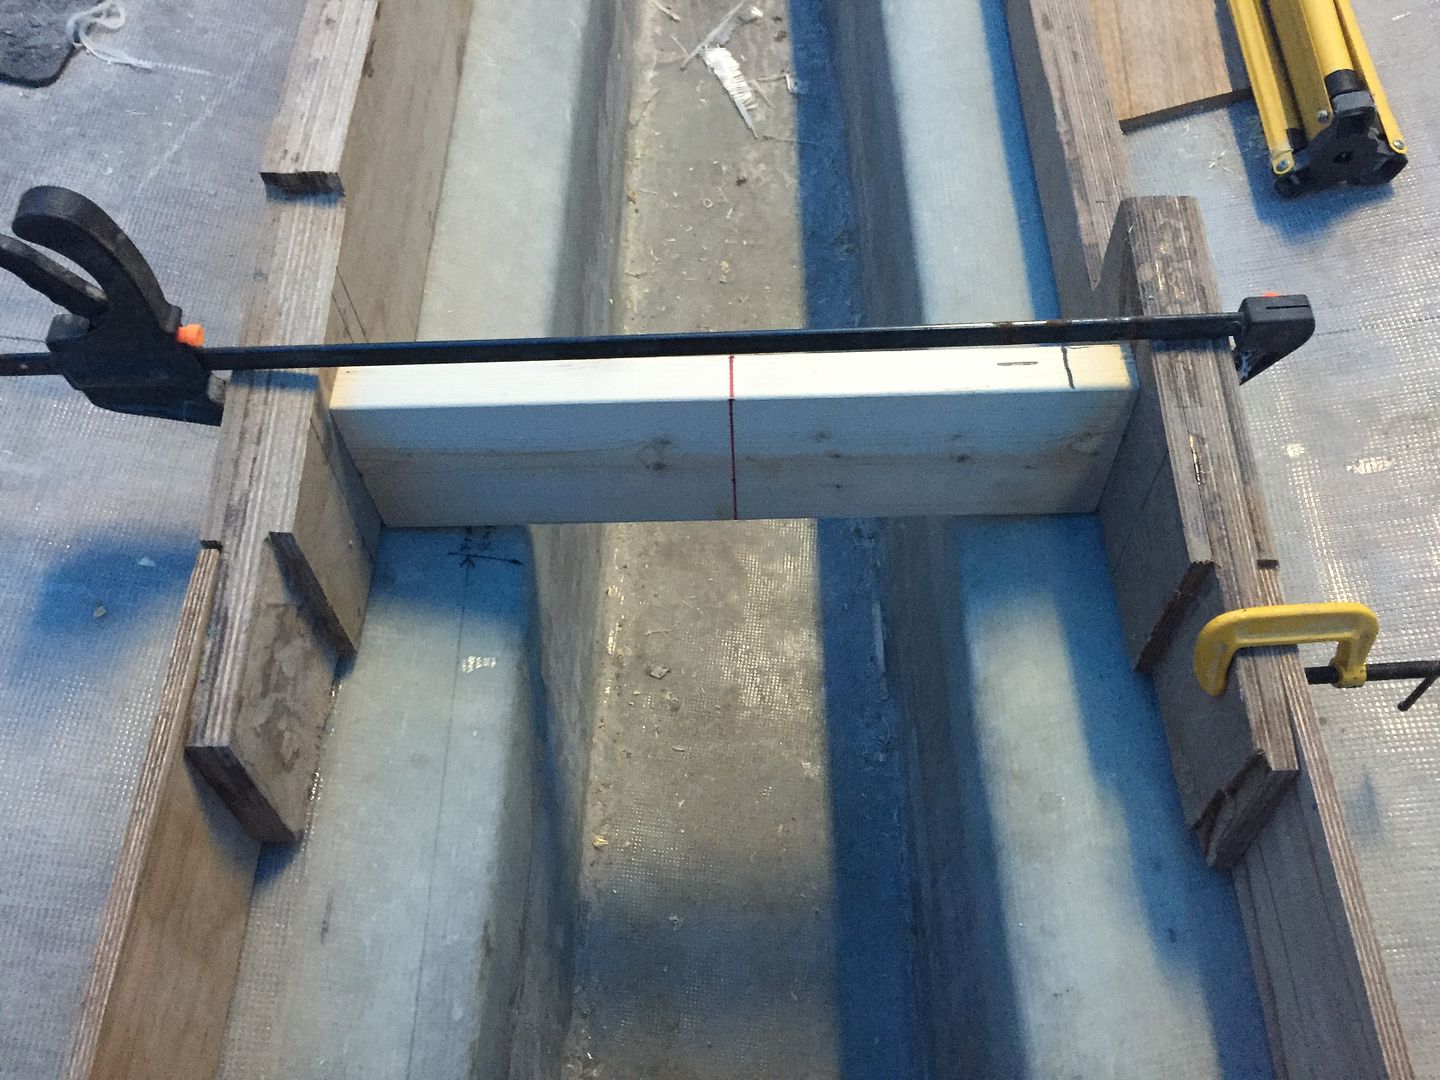
Once that was done I located the position for the main bulkhead that'll separate the forward cabin from the engine space. There are notches in the stringers for alignment and I had to be sure they were properly aligned.
 |
| Stringers aligned for main bulkhead |
Once that was done I could now start to fit the stringer extensions (required due to hull stretch). I'm planning on using 8/4 white oak for the engine beds. These will be incorporated into the stringers so any strength I loose in leaving out 1 layer of ply (my engine is 21" wide, stringers are 20" apart) will be more than compensated for.
That's about it for now. It's raining again and I have a leak in the shed roof. As expected. Printed out all the measurements for the engine so I can double check those and make sure things are going to line up as I had originally planned.
More coming soon.
Standby.....


No comments:
Post a Comment